Designer
-
Posts
1,758 -
Joined
-
Last visited
-
Days Won
182
Content Type
Profiles
Forums
Events
Everything posted by Designer
-
I have already started staring at the dots. I see that Swimboy is out in the gulf NW of Cedar key and doing almost 6 knots. It looks like he might miss the group at Fort Desoto. If I recall correctly, I think that he has the CS17 that Lennie built.
-
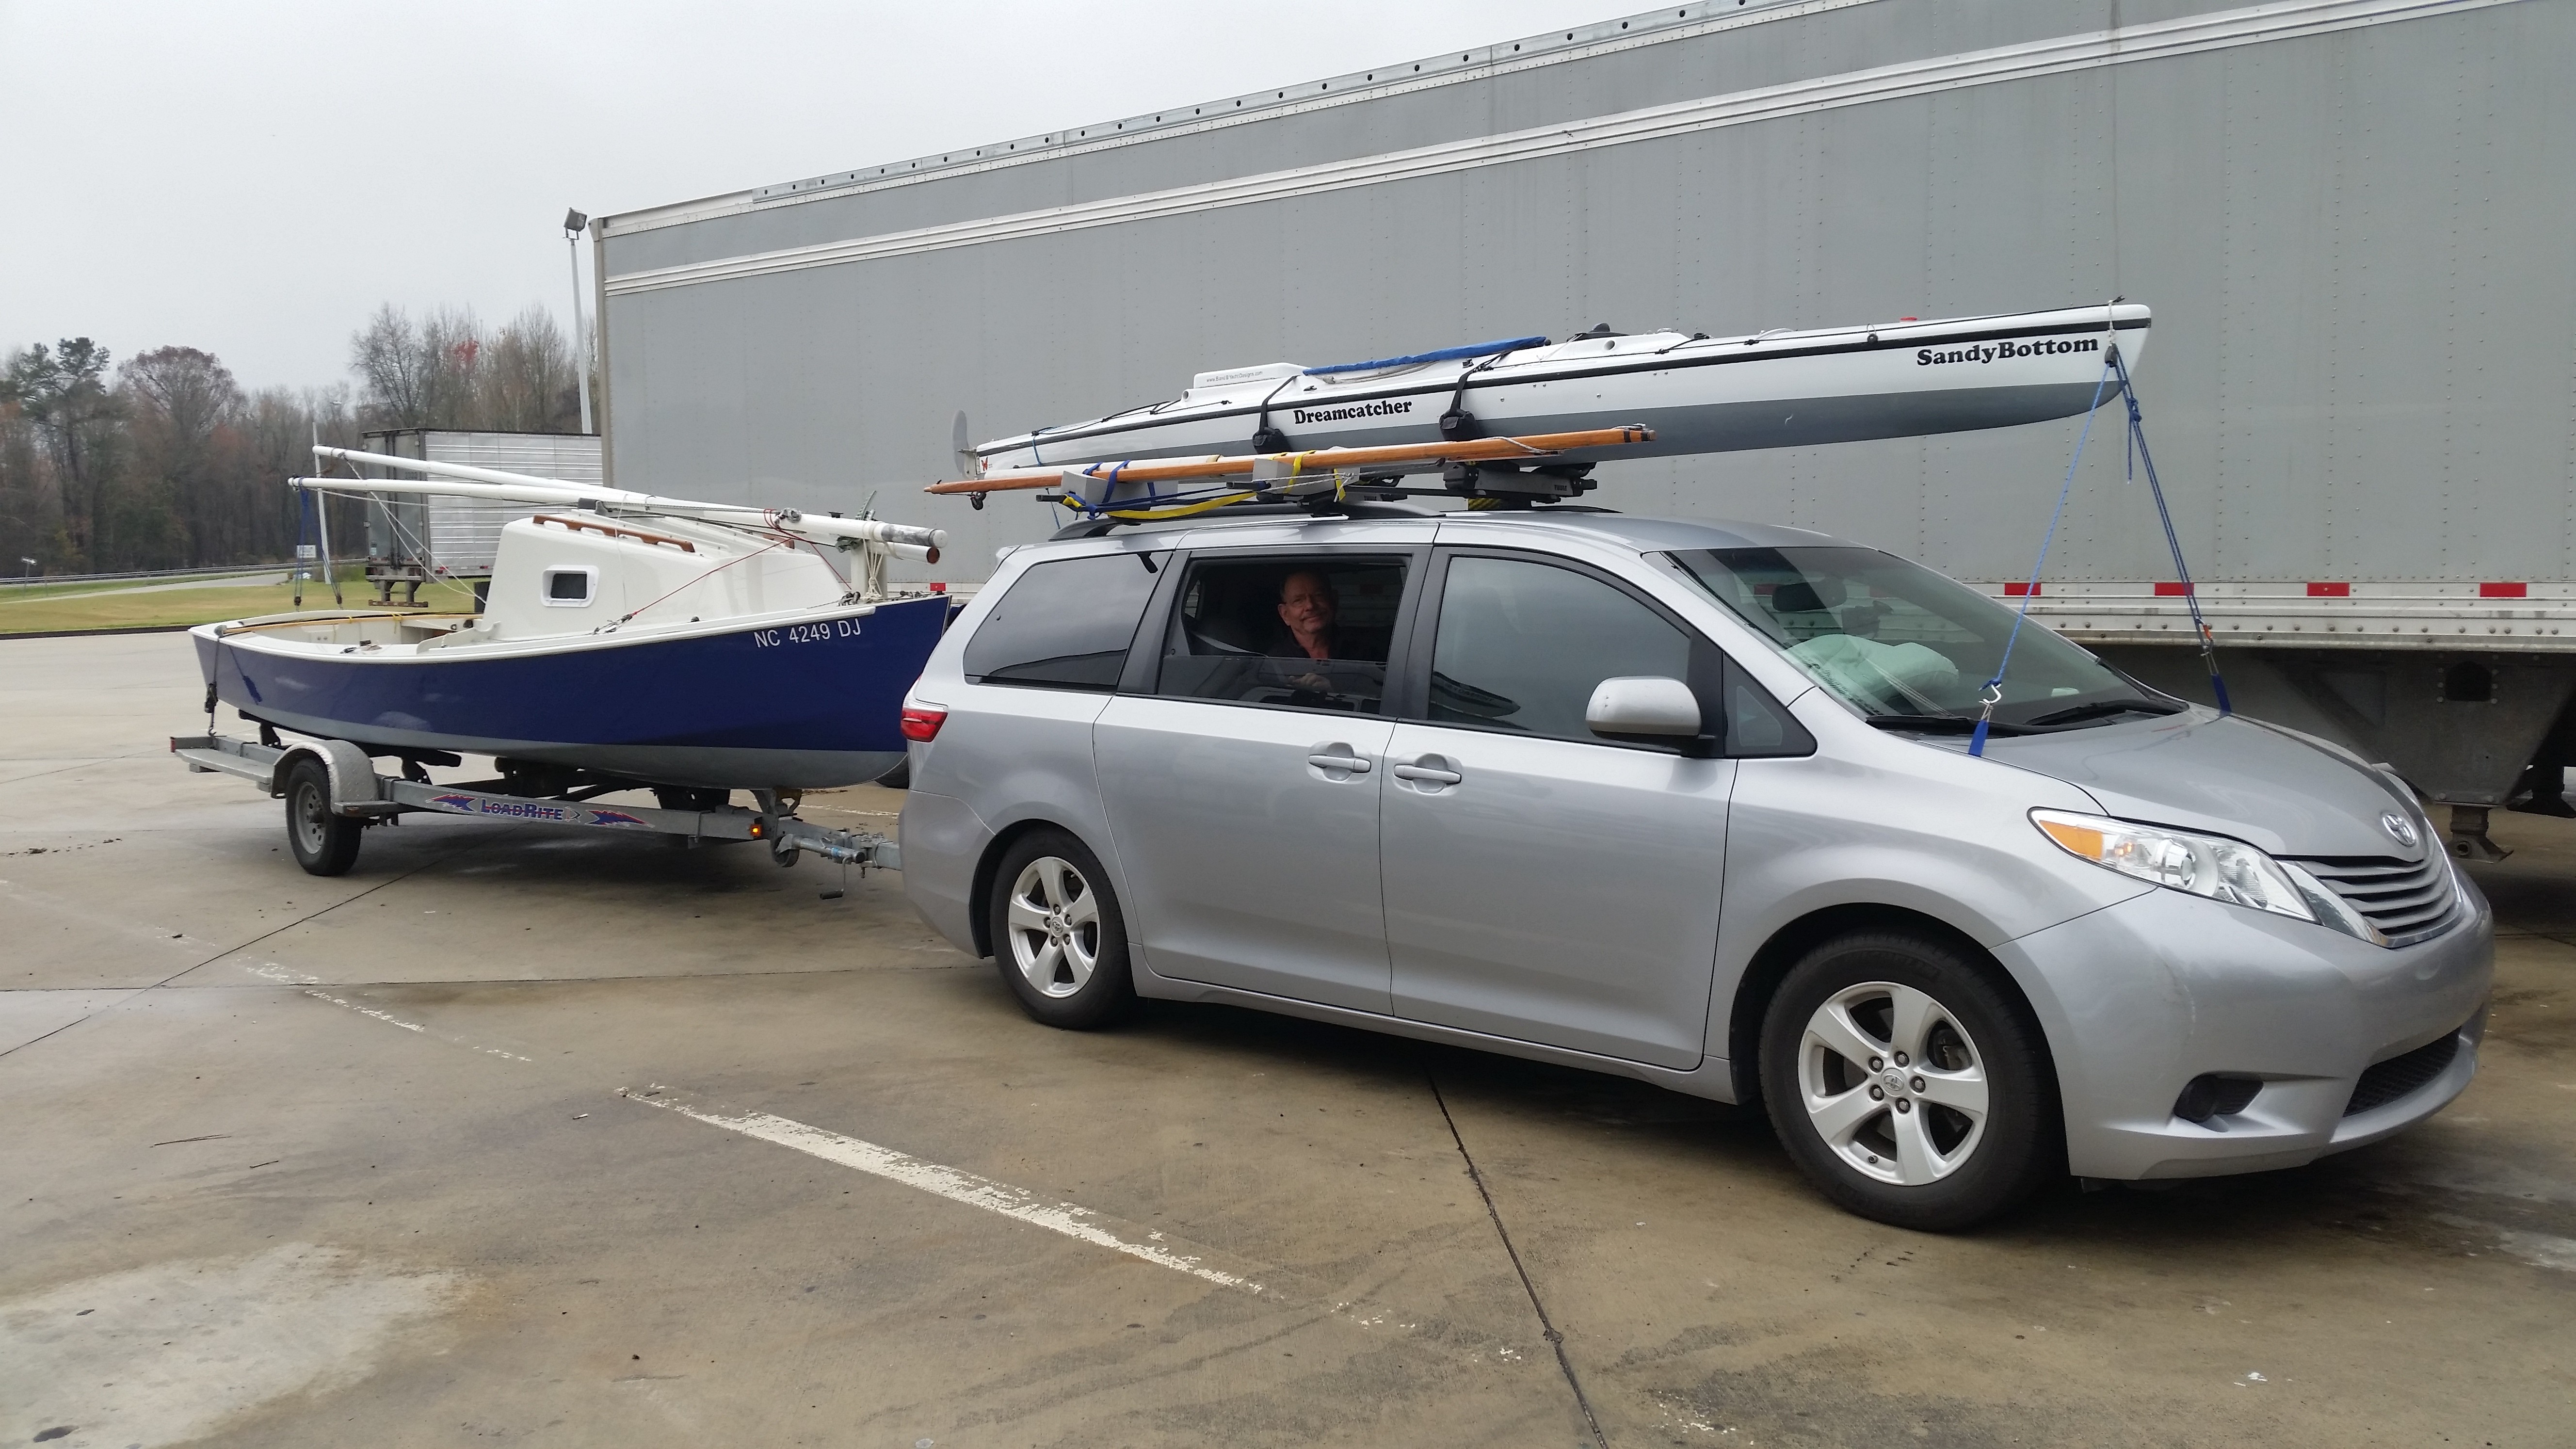
Here is the Stewart family at the SC welcome center earlier today.

-
Steve, I am sitting this one out. I goofed off a lot last year and I have some stuff that I need to catch up on. I will get to look at the little dots too. Mike, I did not see swimboy on the FCC roster, I hope tat he does well. Oyster, I saw Mister Moon posting on the Watertribe forum recently.
-
Alan pulled out this evening for Florida with the mostly put back together after repainting, Dawn Patrol. The event starts at 7:00 am on Saturday morning. There are three other B&B boats in the event. Phil Garland is sailing the CS17 LaPerla, Matt Pinkley is sailing a CS17 and Michael Collins is sailing a new CS17 mk3. Here is a link to the tracking map that will be recording everyone's track in real time http://www.watertribe.com/Events/ChallengeGMapper.aspx The site used to get bogged down at peak times in the past. Hopefully it has been fixed. If anyone wants to learn more they can log into watertribe.org where they can dig around the site for more information.

-
Bill, You are just having too much fun out there, you are making us jealous. Thanks for sharing.
-
Bobby is doing a great job. By the glue drops on the floor it looks like this is not his first build. Tom, I agree that the Brs 15 gives about the best bang for the buck around. That day the three of us in our BRS's were running and surfing up the Bay River the day after the hurricane is still one of my favorite sailing memories. She just has more freeboard and a tiny bit wider, the rocker is still the same. I was just trying to make her a bit safer like the CS17. I have seen the CS17 heeled over to where I could see the centerboard root out of the water and still return back to an even keel without any help from the crew. The standard BRS would have capsized well before this. Here is a render of the BRS mk2 heeling at 45 degrees.

-
I do not think that Gordy will be able to be much of a help. I did indeed visit him last summer, he is on Drummond Island which is as far as you can go north east and still be in Michigan. In fact I circumnavigated the island in Carlita and crossed into Canadian waters to do it. He would have to catch the ferry, drive several hours to get to the Mackinac Bridge and then drive half a day or more to get to Ann Arbor.
-
Just to add to PAR's comments on wood. The reason why I specify SYP over fir on stringers is that first of all, it is readily available and cheaper. They are similar in durability and strength with a slight nod to fir. The main reason I like pine is that fir is stiffer which is great for spars but nasty if you have to bend it around the hull, especially sheer clamps which have a lot of bend and twist. Fir has a nasty habit of failing at the point of maximum bend a day or two after it is installed. It will show up as a small crack across the grain and then peel along the grain. Pine will sometime develop crooks along the board as it cures. If you sight down the board it can sometimes look like a snake. I almost never buy from a box store where they have a high turnover. I usually go to a place that sells to contractors or a wholesale outlet. Rather than dig through the new stock I prefer to search through a dusty stack because it is well seasoned and it has settled to it's final shape. We mostly want to bend the wood so a long fair bend could be desirable. I do not rigidly stick to my shopping list. I might find that the 1 x 4 stack is junk but there might be some nice 1 x 6's or 1 x 8's. I do not mind if I buy more than my immediate needs because I will use the rest later. The next level up from construction grade is called "C and Better". You can usually find nice clear boards in that stack. If you want to save some money and do not mind putting in some extra effort, look in the construction stack. At first glance you will notice that the boards are full of knots and suddenly you will find a clear board. As you study the board closer you will find that there is a corner missing at one end because the board ran outside the edge of the tree and it was downgraded to construction grade. I do not usually do this for pine but they also use eastern white spruce for construction around here which is perfect for small boat spars. We cannot buy premium spruce at any price locally so I have dug through a lot of spruce stacks.
-
Hey Brent, I am sorry to see you selling the boat after all of the work that you put into it. I know that you have been working up to a serious cruising boat for some time. Good luck with your new adventure. I hope that we will get to you some more over time.
-
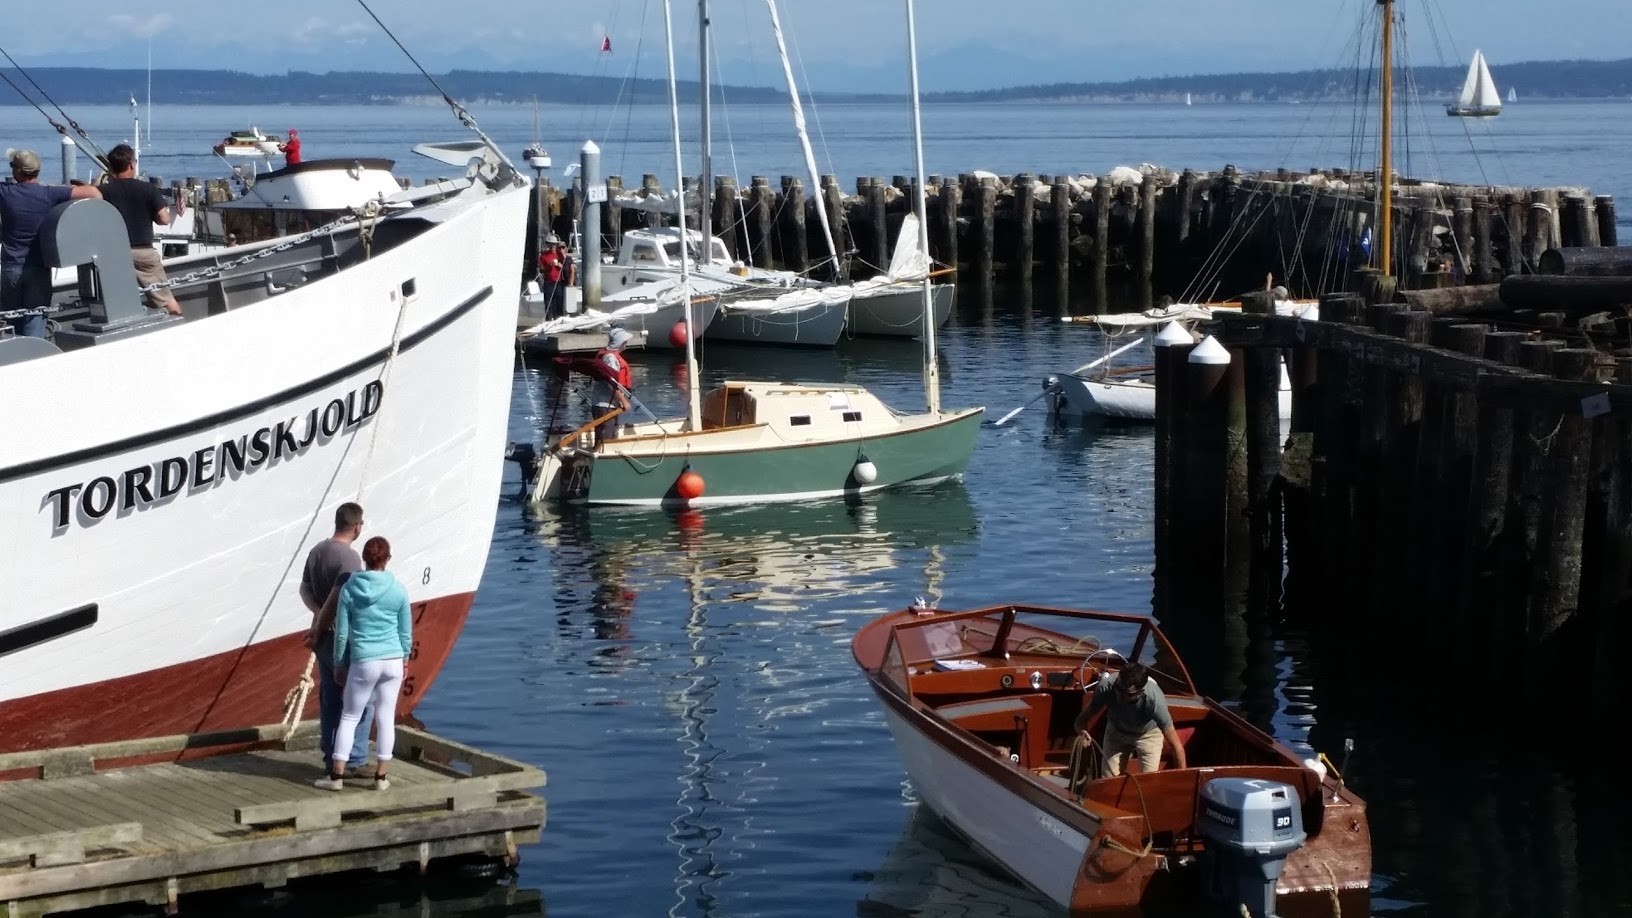
Here are some pictures that I took of Clementine while I was at the Port Townsend Wooden Boat Festival. I thought that Randy and Lynn had raised the cabin as tastefully as they could but the enhancements mentioned above would improve her. Having sailed her with her two previous owners, it was good to see her again. Sorry Scott but I like the new color.


-
Over the many years of marine surveying I have always looked in contempt at the deck fittings shown. After a while water seems to get into pins. On my voyaging boat I built a stainless tube swan neck epoxied to the cabin top. The wires ran from the mast up into the tube and down into the cabin where they went into a terminal block. The wires were caulked where they went into the tube but because it was down facing, UV degradation could not happen. All of the connections inside were smothered in a dielectric grease before the cover went on. IT WORKED. On Carlita I used a cheap fitting like the one shown but installed it under deck so that sun and water should not mess with it and I liberally coated it with tef gel. The only aggravation that I have had with it is gravity. It has fallen out bouncing on the highway. It does not have a screw and depends on friction to hold it in place. A screw on fitting would be better. My pins are round and are split I have been able to gently force a knife blade and spread the pins which has worked.
-
Steve, Like peter suggested, I tend to walk on the garage when raising the main mast. The dodger when it is down covers about half of the garage if you are going to have one. Yes my panel increases the weight of the hatch. I would prefer it if it was lighter but it is not too onerous to live with. I see that Sunpower now has a 50 watt flexible solar panel that is 22" square and has a shipping weight of 3# https://www.amazon.com/dp/B01N1UK50H/ref=asc_df_B01N1UK50H5311125/?tag=hyprod-20&creative=395033&creativeASIN=B01N1UK50H&linkCode=df0& I like to have my electrical panel just inside the companionway hatch so that I can switch on the GPS or turn on the tricolor with having to climb inside. The battery would be fine where you are going to put it. Like Peter said that is where I stow my larger cooking tools.
-
William, You have made some compelling and sound points. We are pretty busy right now but if you can lay out your needs I will see if I can do something for you. I recently updated the BRS15 plans and moved the centerboard and trunk to the side tank to get it out of the way.
-
Steve, Here are a couple of tips that we have found with peel ply. Peel ply uses surface tension to hold the resin up to it's under side giving a nice slightly textures surface with all of the glass weave filled. Well in theory that is what it does. It is tempting to squeegee the heck out of the glass to keep the excess resin out of the glass. If you squeegee it too much you will end up with a zillion pin holes to fill which is much harder to fill than if you never used peel ply in the first place. You therefore need to keep the the job slightly resin rich but not so much resin that will allow the glass to float and give you a wavy surface. You need to get the peel ply on the glass before it has started to kick so that the resin be still worked. When I glassed Carlita I cut the peel ply in strips that ran across the boat so that I could get the first strip on as soon as the first 60" width of the glass was wet out. When the peel ply was worked out as well as I could get it I started wetting out the next 60" and so on. As Stareed said you will need help for this job. If you find an area where there is not enough resin or it is getting too stiff to draw the resin up to the peel ply, you can add resin right on top of the peel ply and work it down and squeegee off the excess. I would try doing smaller jobs until I get the feel for working with peel ply. Maybe do the rudder first and then the centerboard if it is not already done, then the transom. Do the starboard side of the boat as one stage and then the port. Another tip is to trim off the heat cut edge of the peel ply with scissors that goes down into the resin. Epoxy sticks tenaciously to that edge and is hard to remove. Running the peel ply in strips that run across the boat will mean that you will have lines across the boat to clean up later but if the job is too big it will get out of hand and you will have a lot more to fill and fair. I am not trying to scare you but when it goes right it is wonderful. If it gets out of hand you will give yourself lot of extra work.
-
There is no reason why there is no 14 footer I have one in the Jessy range. I have gotten a lot of requests once the boat is in the 14' range to max out the length that can be built from two sheets of ply long. As ply comes in 8 foot lengths, you allow for a scarf and some curvature and suddenly you at around 15'.
-
Steve A Sea Ox is a locally built center console runabout. They are sturdily built and are favored by fisherman.
-
Bill, I like the idea and I am going to look into it. While I am fussy about my nav lights I am more interested in being seen by a power boat running faster than common sense should dictate, not to mention an aggressive marine patrol cop. I do not care about meeting the 2 mile rule but would prefer to light up some of the boat with the light rather than looking like a star at the top of the mast. I had a coastal freighter captain once tell me that he only saw me anchored in an open roadstead at the last minute as he thought that my masthead light was a star. I once had a client who was asleep in his 38 foot Garden ketch in a designated anchorage with his mast head light on. He was thrown out of his bunk when a Sea Ox ran into him at full speed. The Sea Ox climbed up and over the rather high freeboard and tore up the mizzen mast and drove the entire cabin forward a couple of inches. The client was okay after getting stitches for the gash over his right eye. The ketch was totaled due to neglect and incompetence over a long protracted law suit. Like Steve I mostly anchor in out of the way places but that is not always possible. My recent cruise in the Pacific Northwest was an example. With their high tides and signs in some places showing EEL GRASS, NO ANCHORING. The shoreline is often boulders or cliffs.
-
I really liked Jays light but it was priced above my comfort zone. I trolled the cruising forums for owner satisfaction and found that there was a high failure rate with expensive return freight and time delays. I am glad that Jay has had good service from his light, hopefully they have corrected the problem. Beside the two wire feature It was small and light. I had not heard of Chick's light when I bought mine. I chose Aqua-Signal because they have a good reputation and warranty and the light is very strong and our local wholesaler delivers them free. The downside is that they are very tall, even taller with the anchor light. They have a clever removal system which I removed and modified to reduce the height. By modifying my light I probably voided my warranty but I was impressed with how well it was potted in epoxy. I did test that the light did indeed work before I messed with it. It has been very good so far but having an anchor light built in would be nice. Yes I do account for the tabernacle offset when installing the track.
-
Coast Guard or not, you really want to set up your nav lights as accurate as you can. You want to let other craft know what type of vessel you are and what your heading is so that they and you can take appropriate action. The tabernacle does prevent mast rotation but remember that we wedge the tabernacle 2 degrees so that the main mast comes down clear of the mizzen mast, I like to account for that.
-
Steve, You forgot about the real estate on top of the main mast. We have been using a LED tricolor. The brands and pricing have probably changed since. I have been using one from Germany, I think that Jay's is from England and Chicks is from Argentina. The captain of a Port Townsend ferry said that mine looked highly visible.
-
The rub rail, gunwale, guard or whatever you want to call it is a very critical part of the boat and if not done well can spoil the look of an otherwise good boat. Beyond protecting the boat from accidental bumps against docks and anything else in it's path it is the visual break between the hull and the deck and it is right at eye line and is probably the most critical line on a boat. It is further compounded by the fact that it can be fairly difficult to do especially on boats with a lot of flair. The sheer line needs to be fair, both in plan view and profile. On a boat like we are discussing here we need to protect the wood gunwale. This is normally done with a metal half oval which can be done with solid back or hollow back. I prefer hollow-back on a boat this size because it is about 1/3 the weight and at least 1/3 the cost even though it is not as strong. Hollowback can be improved by rounding the gunwale face so that it is has more bearing on the wood. Once we decide on the width of the protective strip we have a starting point for our gunwale design. The next will be the thickness of our wood followed by how we are going to blend with deck followed by whether we will shape the boat to the gunwale or the gunwale to the boat. I prefer to set the gunwale below the deck edge by a little less than the thickness of the ply decking. I have tried many times to make the gunwale top a continuous smooth line to the deck and have usually been disappointed with the results especially on bright finished boats. If there is any movement in either the deck or gunwale it will show big time, not to mention that the tiniest bit of an unfair line in the sheer will show. On this boat I like to glass the deck and over the edge to the hull. This requires a good round over so that the glass will not bubble. The raw end grain is well protected from water ingress not to mention the hard use that the deck will get. If after the the deck is rounded over and glassed, you find some slight unfairness while installing the gunwale you can average out the variations by installing the gunwale with a nice, sweet, fair line which the eye will catch. Thus, the slight variations of the rounded over deck edge will not easily be discernable. Because this boat has a lot of flare and the deck edge has a lot of shape forward it is easier to shape the hull rather than the gunwale in the bow section. This means that the gunwales only have to be bent rather than bent and twisted. Once I decide on the gunwale section section shape, I plane a vertical surface to width of the gunwale height. This means that the gunwale section can be constant in the forward section and the outside surface will be vertical which will work best as a bumper. Of course, this is easier said than done with the boat still upside down because you do not know how fair the sheer line actually is until you turn the boat over and clean it up. I have spent a lot of time with my head down around my ankles trying to sight the upside down fairness of the sheer line; but it is hard to tell how much the inwale needs shaping for the deck camber and see if the inwale sagged between any of the stations. Where there is tumblehome, I bevel the lower inside edge of the gunwale so that the outside of the gunwale stays vertical like the forward section. You can dress the outside edge of the gunwale slightly after it is installed, if this is necessary to make it look uniform. All of this needs to be decided on before glassing as it is hard and unproductive to plane or re-fair glass later on. I like to bevel the underside of the gunwale up by about 15 - 20 degrees so it matches the rub rail on the outer edge, but you still have a lot of bearing against the planking. This keeps the gunwale from looking visually heavy. On this boat I usually use 1" stainless steel hollow-back with a slight round above and below the metal. This sets the vertical height for the outside and I work out the section shape from there. The top edge can be horizontal or angled slightly up towards the deck. Some builders like to use a lot of filler and fair the underside of the gunwale so that it ends up with a continuous fair line with the hull. This is where you can inject your own personality into the boat. Take notice of Oyster's comment on print-thru. I take it one step further, especially if I am going to paint the boat a dark colour. I like to put the boat out in the weather for at least a week before priming to get worst of the print-thru over before painting.
-
Great job and congratulations for getting it done. Seeing that you live only a few hours west of us, you are welcome to bring the boat down and sail it in our waters any time. You do not have to wait for the messabout. Even though our northern friends have put their boats to bed for the winter, we get a lot of good sailing at this time of the year.
-
Core Sound 20 Mk 3 -- #4 "Chessie" . .
Designer replied to Pete McCrary's topic in B & B Yachts Forum
Chick, Have you considered trying to sheet the mizzen from the gallows. If you could make it work, the sheet would be above everything. -
Ron, You could use 1/2" ply on the bottom with 1708 if you use meranti instead of okume. Besides being stronger than okume it is also more durable and cheaper. It will probably come out slightly heavier than 5/8" okume with 10 oz glass but you will have a tougher bottom skin and if you have to add some weight at least it is as low as you can get it.
-
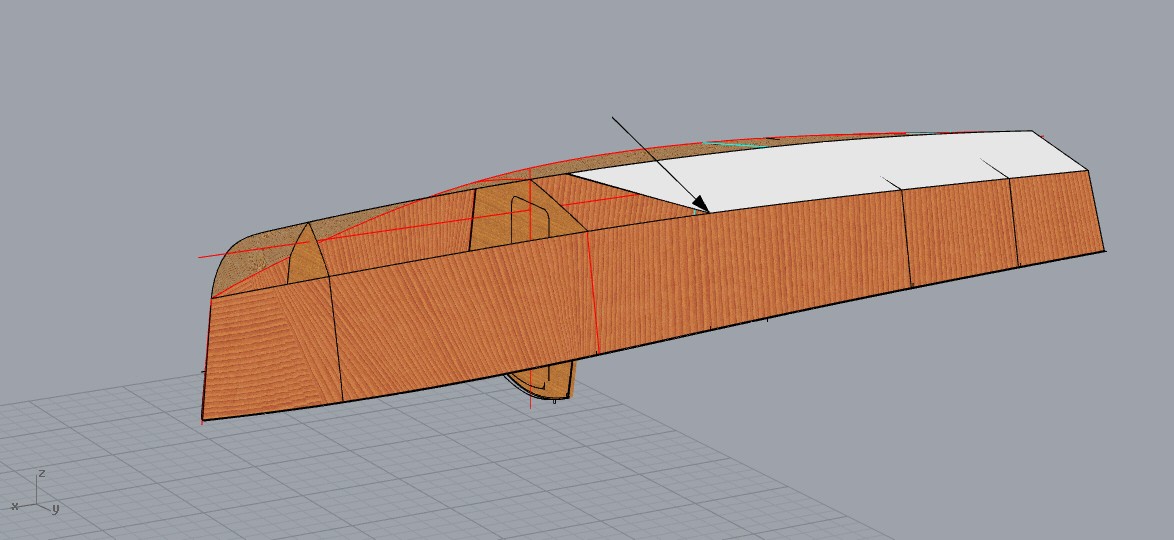
It is tough when you cannot get what you need. As Par said 3/4" ply can be difficult to bend, so is 5/8" but that little extra 1/8" will make make you work for it. Fortunately the bend is not too severe. The brake from sheet the diagonal planking was chosen for economy and convenience. The sheet planking (white)is two sheets long and the forward edge is cut back at 30 degrees to reduce the amount of bend required at the chine and it is about the ideal angle for the bow planking (see arrow in picture). The bend should not be a problem at the keel line as it is less than at the chine and you have something solid to clamp to. The chine edge will be more difficult. One tactic would be not cut back the 30 degree angle until after the bottom is glued to the chine. This will give you a lot of extra leverage and keep the bottom fair as it is almost impossible to get a curve in the end of a stiff board. If you cannot get it to bend for you you can cut back the line of the solid bottom to where it will work for you. Your other alternative is to double or triple plank the entire bottom. Or you can put down a layer of 3/8" ply and then glue on a 1/4" layer.