ecgossett
-
Posts
525 -
Joined
-
Last visited
-
Days Won
10
Content Type
Profiles
Forums
Events
Everything posted by ecgossett
-
You can do the tabernacle on the 17 as well. I angled my build in my garage with inches to spare on each end. If you put a tiller tamer on, and sheet the mizzen in, the bow points into the wind, and allows you to move around and do stuff. The CS17 is easy single handed, however that is rarely the case as it seems easy to find "crew" to go out in it. I take my daughter who is now 5 all the time by myself or my boys who are now 7 & 8. The boys are starting to be able to help, more, and it turns out my daughter is very good steering and holding a course in the wind; so its not quite single handing it anymore with the kids on board . I don't think the two foot different on weight matters, for such a small difference you get a much faster and funner boat.
-

Best Practices for Pouring Large Epoxy Bushings?
ecgossett replied to mjshp's topic in B & B Yachts Forum
I've used the trick of putting a pencil through for small holes, or a cheap piece of cut out wood sanded and waxed for larger holes.. It makes drilling through easier, and saves on epoxy. The pencil trick is one of my favorites. Sears makes a nice precision drill guide (poor man's press). http://www.sears.com/promax-79251-precision-drill-guide-tool-for-portable/p-SPM6308615907?prdNo=4&blockNo=4&blockType=G4 -
Outboard motors adjustable for altitude
ecgossett replied to Fishman38's topic in B & B Yachts Forum
The only problem I had with a 3.5 4hp Mercury Longshaft brand new at high altitude was it took a couple of extra cranks to start... -
I put a couple of simple rivets in mine to keep sections from coming apart. With the fiberglass collars, the aluminum sections are very tight together, and if you add on a track it does even more for keeping it together. For track I used some 5400 caulk for smoothing from section to section for track. I've never had any problem with aluminam rivets on track, and two years later having popped a couple out for inspection I saw no sights of corrosion on SS track. If you are looking for sections I bought the 2" & 2.25" at www.amazon.com; the 2.5" more local suppliers had. I had several people who thought I should just take the 2.5" x 20' sections and use them as a straight mast. However, when comparing weights I was glad I went the harder way. The sections have noticeable weight differences, and together the whole thing is almost effortless to put up.
-
This is a cautionary tale for all of us, and realizing what our actual abilities are when it comes to bad weather or dangerous things.
-
My boat was going awfully slow in the light winds even with the staysail up, compared to the rest of the fleet with a lot bigger sails.
-
Didn't want to take away from EC thread. Just thought I'd share these photos from the Shipwright's Regatta held in Port Townsend on Saturday. After reading about the boats on the EC, I think it's time to upgrade my sails to full battens, and square topped. http://davelindsayphotography.smugmug.com/keyword/fortytwo#!i=2394392075&k=szwsW5R My boat!! And yes I pulled in front of the schooner once the wind picked up. When it was light (5 knots and under) the bigger boats outfitted for racing where passing me left and right even with the stay-sail. ttp://davelindsayphotography.smugmug.com/Boats/Shipwrights-Regatta-2013/28252014_9hFdsm#!i=2389773548&k=JDw36qs Overall race photos. I can't link photos directly as they are available for purchase from the photographer. http://www.foggysailing.com/2013/03/washing-salt-off.html My photos and article. It was a crazy race when the wind hit 35 knots.
-
The twenty could probably do circles around the 17 if it had carbon masts, fancy sails, and wishbone rigs. Imagine what a CS20 MKII could do with that setup, and water ballasting.
-
Philip Garland
-
Those wishbone masts are made by Chinook Sailing Products in Cascade Locks, Oregon. http://www.chinooksailing.com/products/product_info.php?cPath=1_82&products_id=267 I got this info from Phil a while ago. If you want to purchase them at a decent price, talk to Paul, he orders mass quantities of those supplies.
-
Yes I consider the keel to be a part that may be sacrificial depending upon what happens.
-
I pre-drilled and countersunk my holes. Using bronze screws I pre-ran them to verify everything fit. After laying thickened epoxy in place, and putting screws in, I covered screw heads with a little bit of wax before before filling holes with epoxy. If I had to do it again I would use some kind of 1/8" plastic strip down the center, it would handle better on rocks then layers of glass. The kevlar I added over the glass later worked decent except in one place forward, where it always hits the rocks/beach first. The same place that got beat up when the tow truck towed it on board... I'm putting a four foot piece of 1/8" aluminum on the front area of the keel this weekend to fix this problem. I will be using bronze screws with a plastic protection layer around it to keep the metals from reacting. You can buy a box of plastic protectors for screws from many marine canvas supply places for next to nothing. We used small ones all the time when installing SS snaps on aluminum hatch frames or steel built boats.
-
That roller has handled superbly in rough conditions. when the boat is getting bounced around. The wood and roller are not that heavy. Most of the time I heave the anchor over the side, then set the line up on the roller. Sleep comes much easier, I've never had any problems worrying about a battering ram. I based my roller upon Wes's which I really liked. http://www.roguepaddler.com/cs20r.htm PAR when the 17' day sailer get's subjected to a lot of overnight use, and other fun its nice to feel secure when sleeping on the boat, or somewhere comfortable on an island. With a rope running to shore I don't worry about much except during this last camping trip the hard rain that came down all night was keeping me awake in the wee hours wondering how full of water the boat was.
-
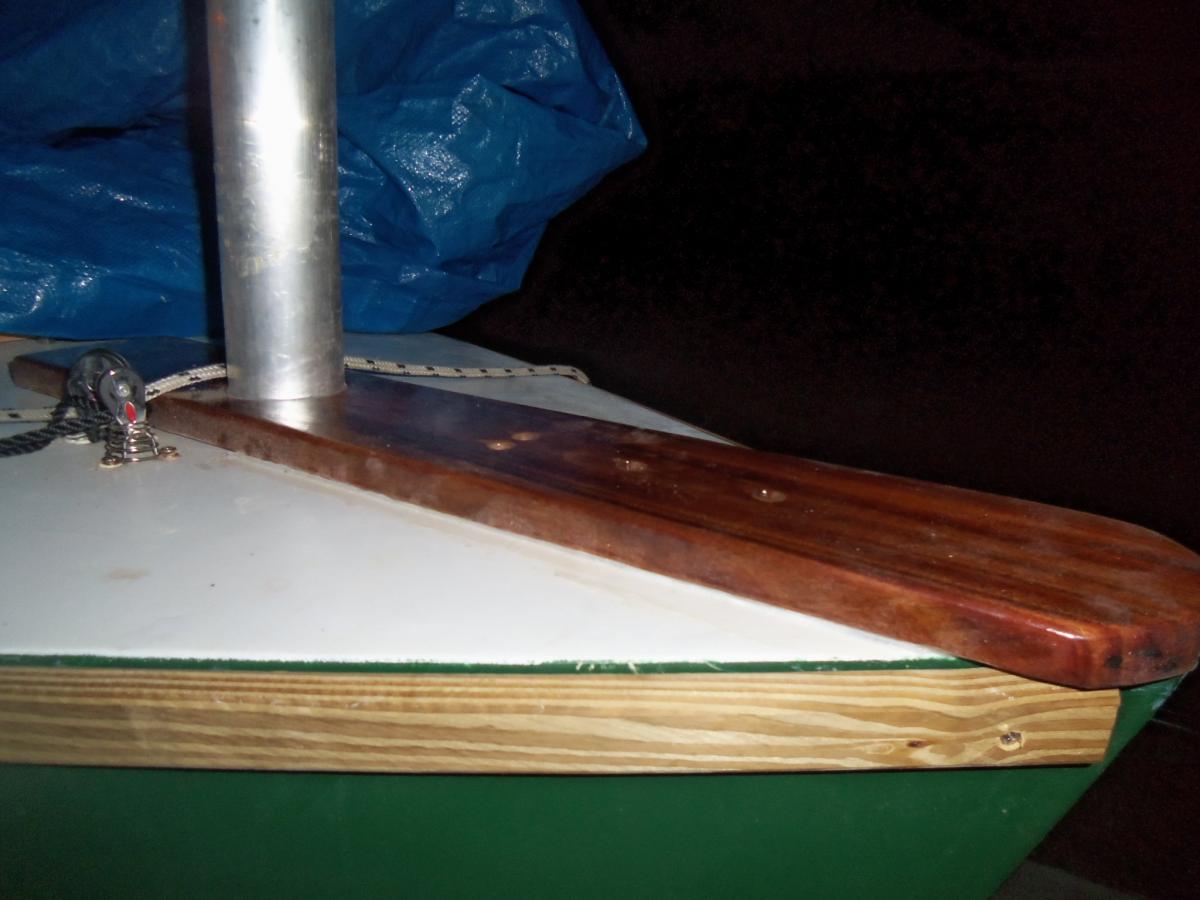
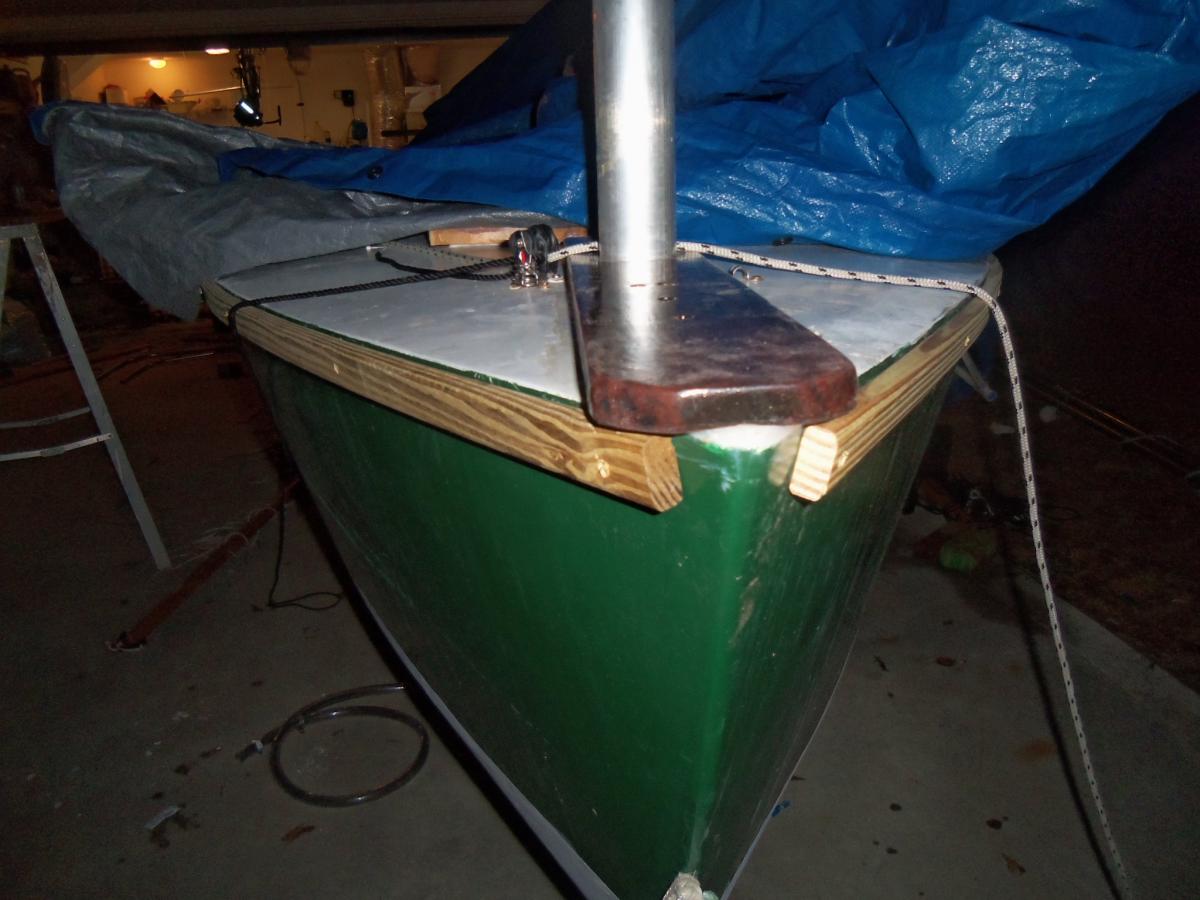
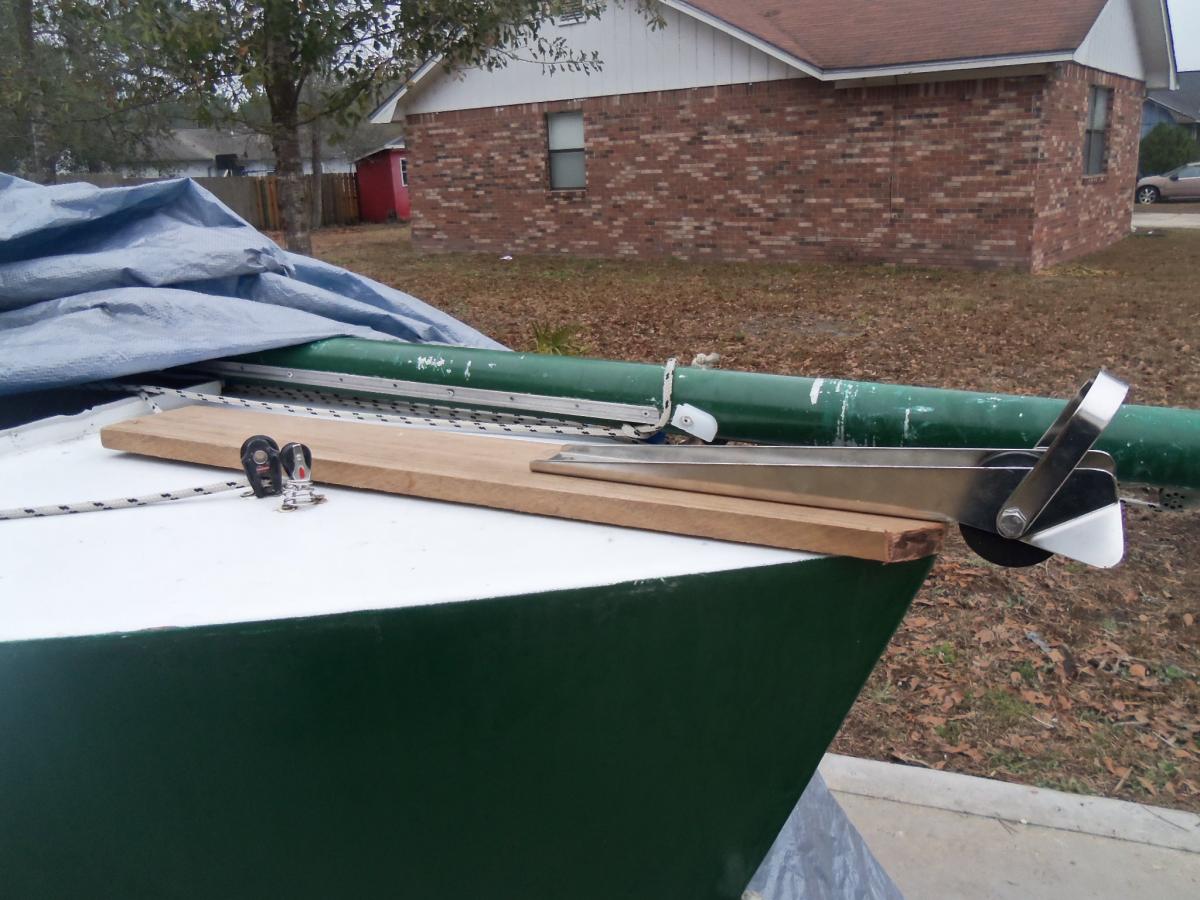
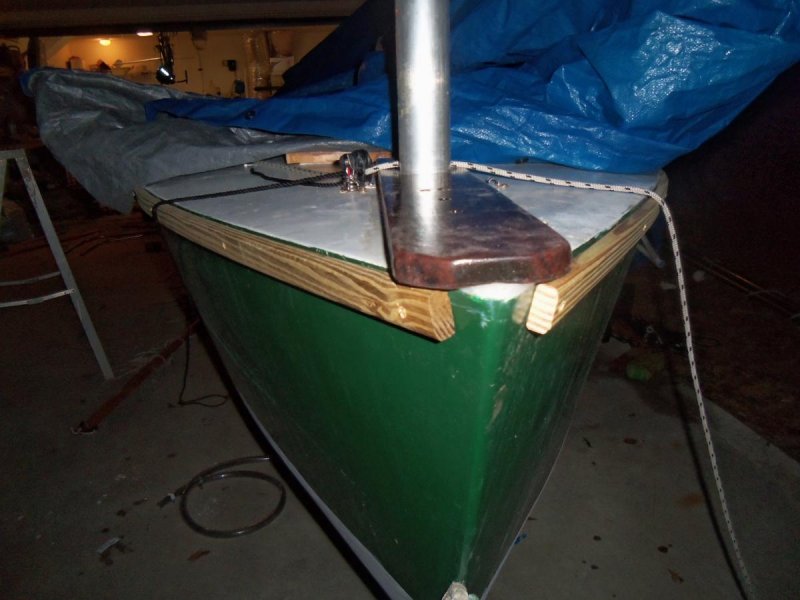
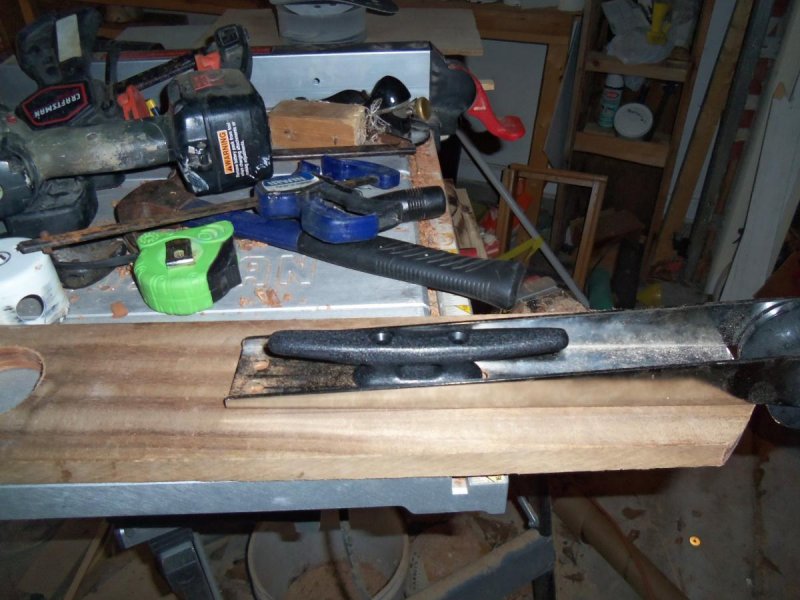
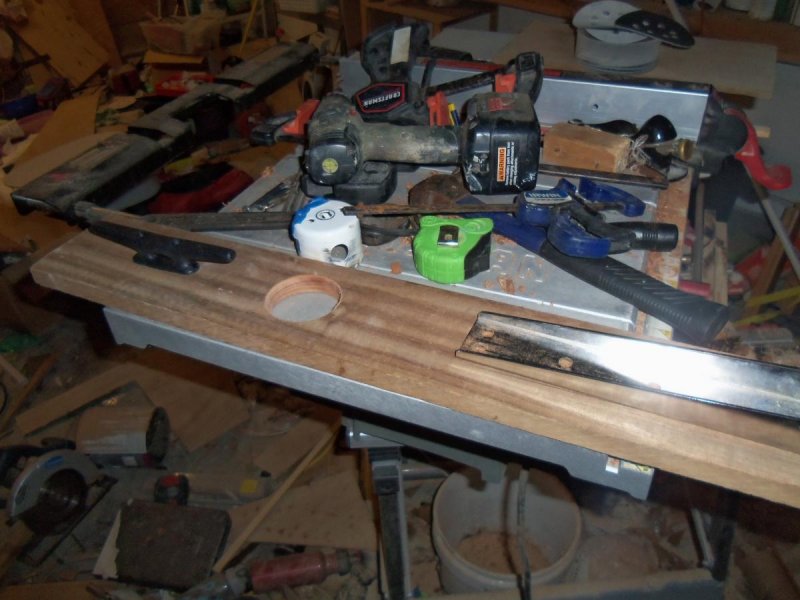
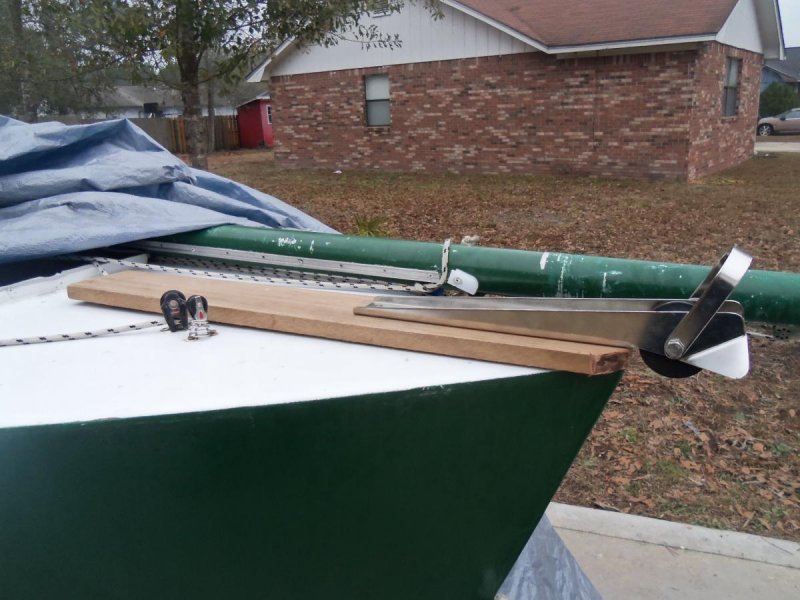
I found a SS bow roller for under $50 on ebay that matched the dimensions that graham recommended in the plans. With a simple bowsprit made of mahogany from an old dresser drawer front, and then bolted on it's a decent setup. I store the rope and anchor in the forward hatch, and the end is tied to the PVC tubes for rowing handles in bottom. Usually when I run out whatever amount of rode that I want I simple tie it off around my main mast. The longer SS assembly keeps the chain from messing anything up. A simple quick release rope and make it easy to release the anchor. I've only used that method twice, its really not hard to get the anchor out and throw it out. To get the bowsprit to fit I wound up carving the underside to match the deck better, and in the end covered the bottom of the mahogany in plastic and made a bed of thickened epoxy, then set the plastic covered sprit onto it to make a decent mold. Options that I have considered are a PVC pipe coming up from the stowage compartment right behind the SS bow roller, so I can auto feed out the line. Problems with that are sealing the opening, and those times that you dip the bow under the waves. I can say with multiple dippings under waves last year, I never got any water in the forward compartment, and besides epoxying the bolt holes to seal the wood, I didn't use any caulk or anything on bolts. I think the thickened epoxy bedding created a decent watertight seal even though its not attached to the bow sprit.

-
Duckworks sells a nifty block/cleat combo that you could setup off the end of the boom. All you would have to do is reach up and pull down end. Then run two lines aft for down-hauls for reefing. With some creative installation of rope underneath boom to catch loose sail, the system will be pretty automatic. Any other arrangement will require running line through the curved boom, and that is tricky and also does some compression loading on it that you may not want. After talking to Allen in depth about how he has seen various B&B boats rigged and his own, simply have a cleat on end of the boom seems the easiest.
-
http://www.amazon.com/Texsport-14100-Tent-Pole-Replacement/dp/B002WQ6MN4/ref=pd_sim_sg_3 Of course you might be able to find a neighbor throwing out a tent or something.
-
Not all of us have a forward mast step. For those with sails tracks and reefing, the fwd mast step was unneeded and just another place for water to come in. For my under the fwd deck is great stowage for shoes, blanket, etc, whatever I want to keep dry but reach easily when day sailing.
-
The problem is your head is going to be about where the end of the tarp comes down on the fwd looking mizzen photo. The only way I could fix that was to bring tarp down on aft end of thwart.
-
Hey guys if you use the search site function on google you can find stuff.. For some reason anything older then about a year on here is not pulling up via internal search;.
-
I have used my main halyard looped around end of boom to hold it up to put a tarp over. I put my head in about the middle of the boat. Under the front overhang is ok, but I found out the hard-way what happens when you sit up suddenly or a wave hits and bounces your head into the overhead. We are taking a tent that we lost some of the poles for apart, and using the material for a new tent. I took poles from a Wal-mart 4 person dome tent, and shortened them by one piece, about 2-3 feet). This does a decent arch to where I can sit fully up in the middle of the boat. My head will go on the thwart. The only problem is the mizzen mast and getting a tent structure around it. We are settling on having the aft end of the tent end at the thwart right behind head, angeling down, so hopefully we only get a little water running off mizzen mast if any at all. I plan to use a piece of ducktape around hole in seat for mast to keep water away. we have another floor board for the after part of the cockpit for my other son who can sleep across it very comfortably. So far we have camped on islands and not needed this. I also think we can succesfully camp at a marina if we had on docks, so am not sure when we will get to test out tent. I do have a frame and material for a dodger, but decided it was more trouble then it was worth right now.
-
No hobby shop on any local bases, I have the tools just need a better work area; am following some leads, I already use the RV storage lot for my CS17 on base.I pretty much had to give everything up to a DNA test in the 9 different forms I filled out to keep the boat there. If I can't loose any weight on the boat its not a problem. I was just planning on adding a little in rubrails, and 4 ounce layer of glass on deck top, and cockpit floor, as well as cloth on outside of hull. My patterns are mylar.
-
Plans are in hand. I'm prefabing parts in my carport, but still looking for a build location for the hull. If anyone knows of or can rent me any places in Kitsap County or Bremerton WA area please let me know. Questions: 1) Would a balsa-cored carbon-fiber deck be lighter (stronger?) then the 3 layers of 4mm okoume plywood cabin top, and 6mm for deck. A lighter deck and cabin top would offset the negative ballast caused by a heavier deck. According to http://www.sagemarine.us/sage_17.html they saved almost 100 lbs of weight doing this on a much smaller boat. Even if would weight is light I still might get similar savings. 2) I'm trying to figure out how to insulate cabin hull better for NW waters, would foam for the forward hull versus double layers of 4mm okoume be lighter and warmer? Also take the forward bends easier. Of Course I could just use space blankets glued to to insides of cabin bilges under bunks and directly on bunk. 3) I'm starting prefab on the carbon fiber / birds-mouth top mast sections. Is there anyone in the Kitsap County area who could help me cut the birds-mouth cuts, I've never made a mast this way?? 4) Any lessons learned from transferring lines from full size patterns would be appreciated. I'm pre-cutting stringers, bulkheads, & jigs. Pre building centerboard, rudder & assembly, and cabin top.
-
Can you give any comparisons / reviews of this kayak compared to others?
-
They gave me $4500.00 to fix the boat.
-
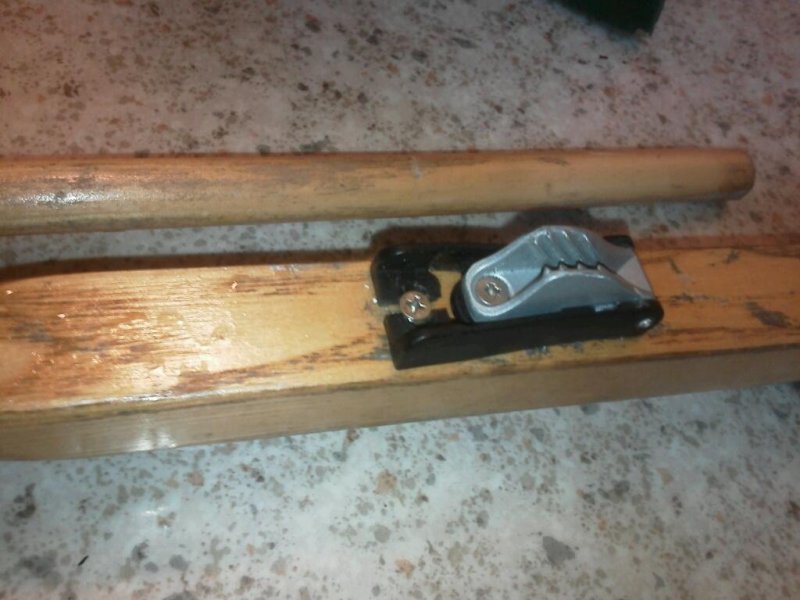
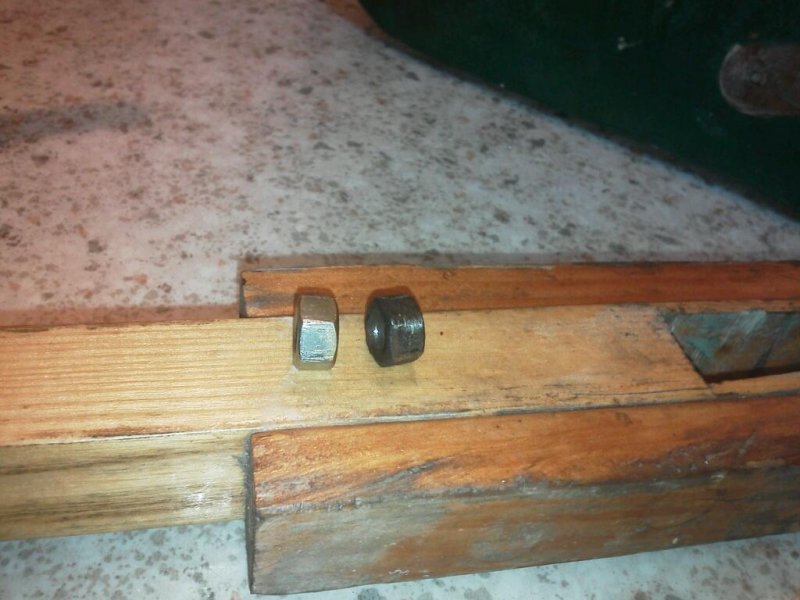
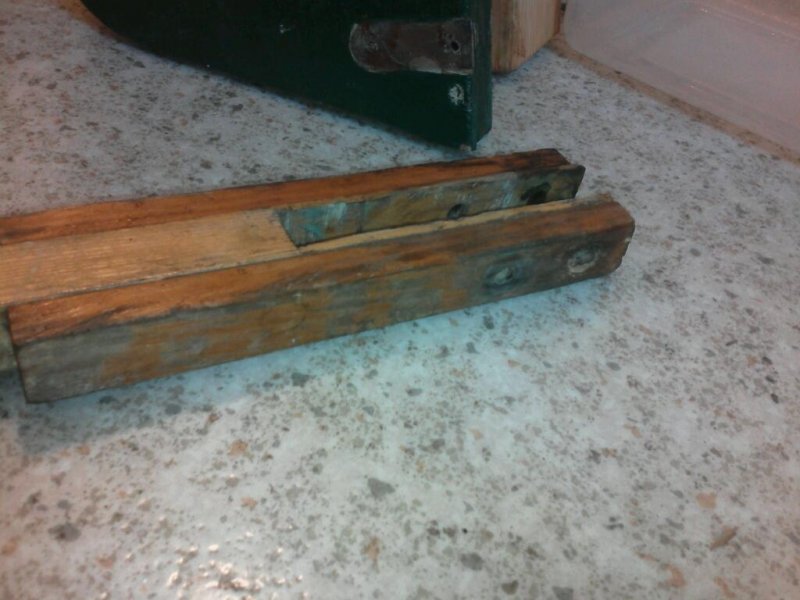
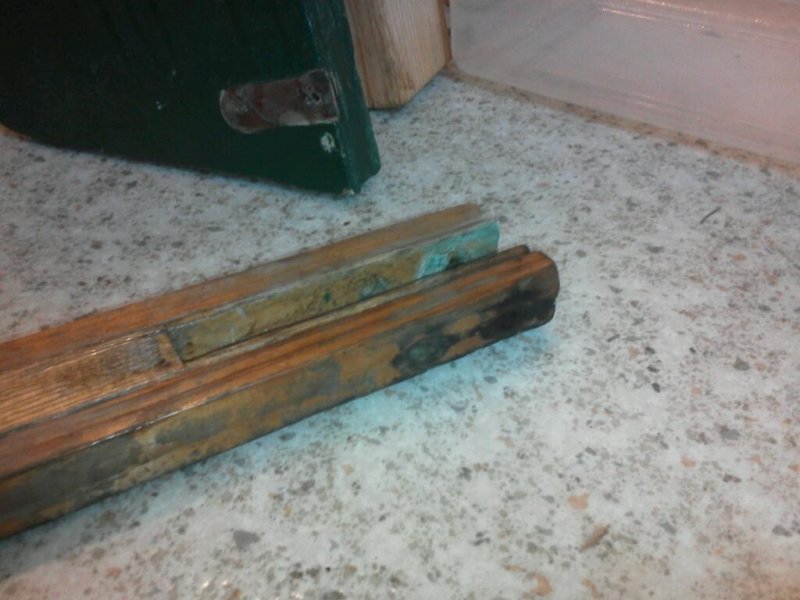
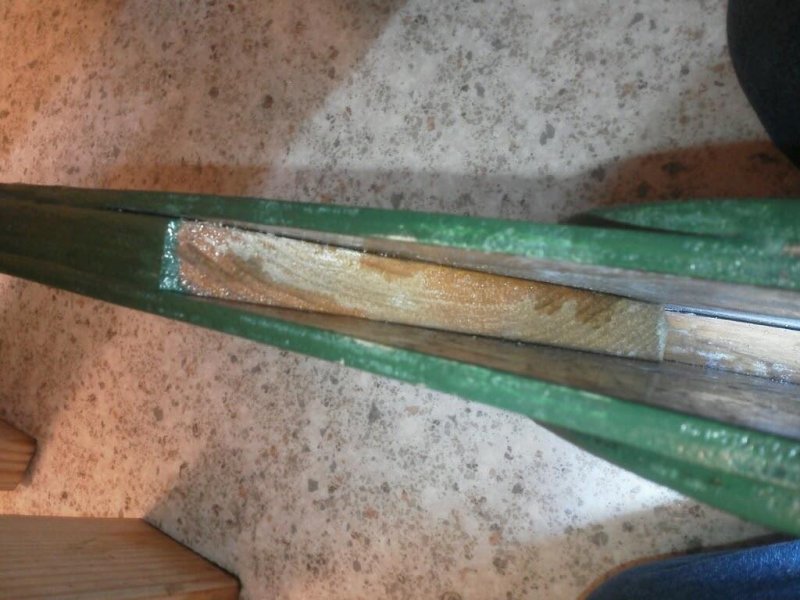
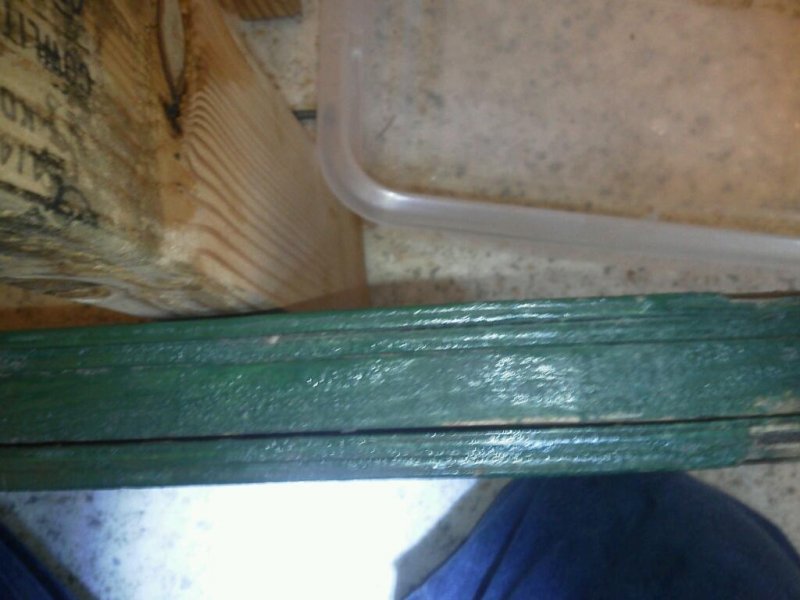
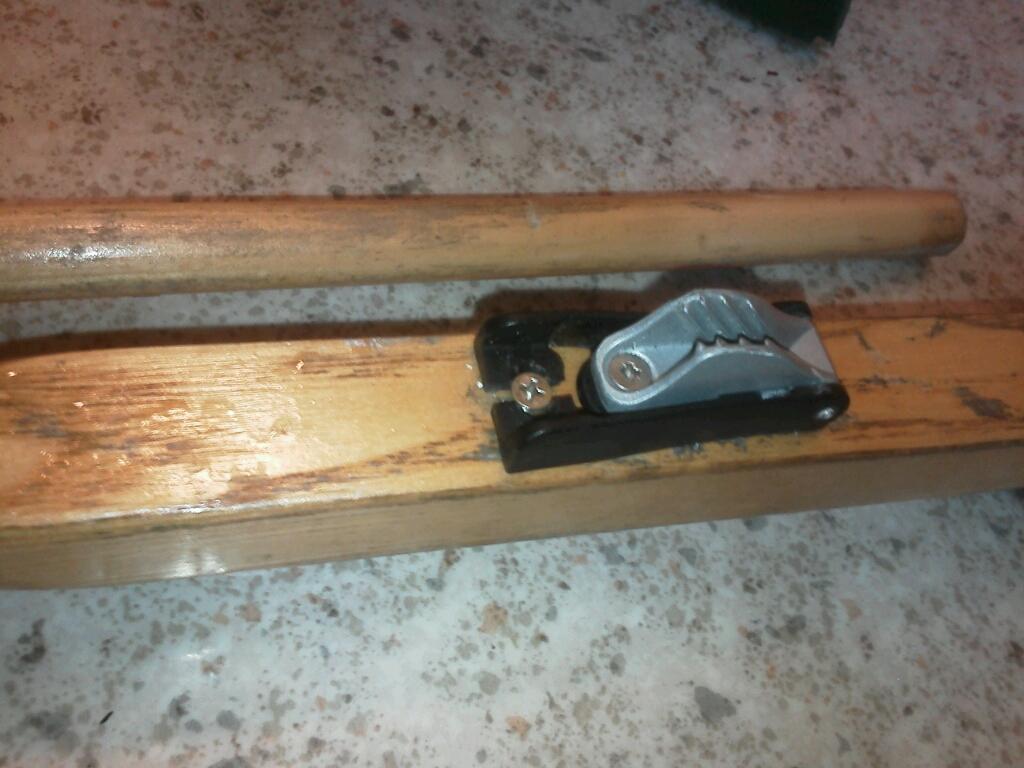
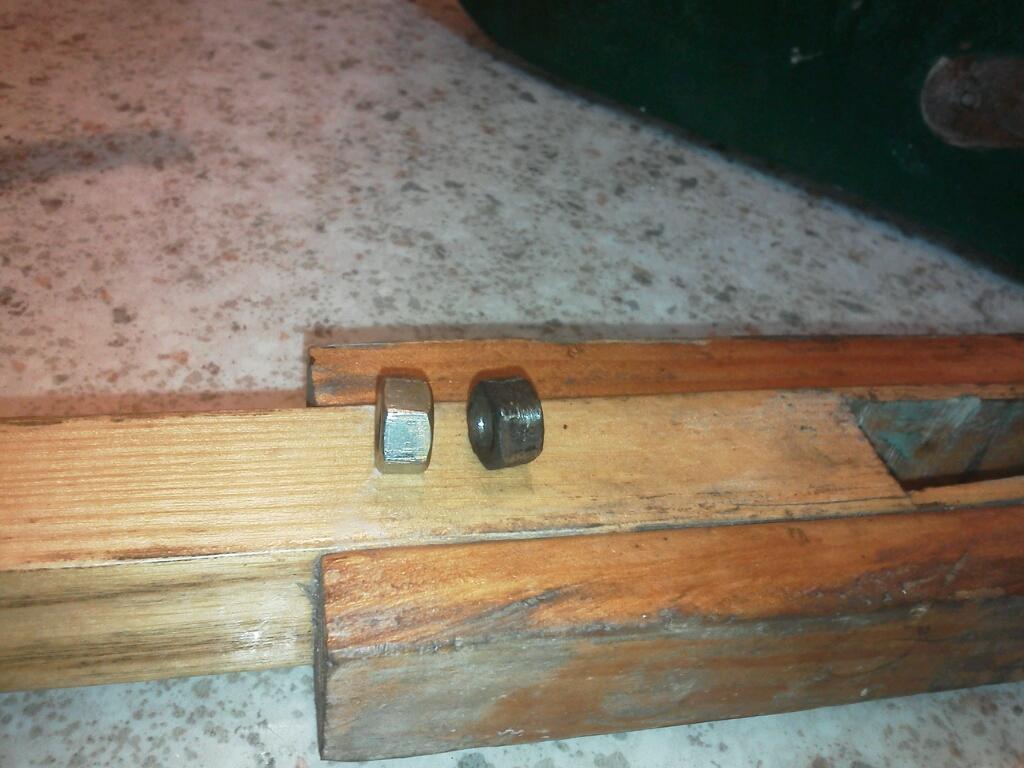
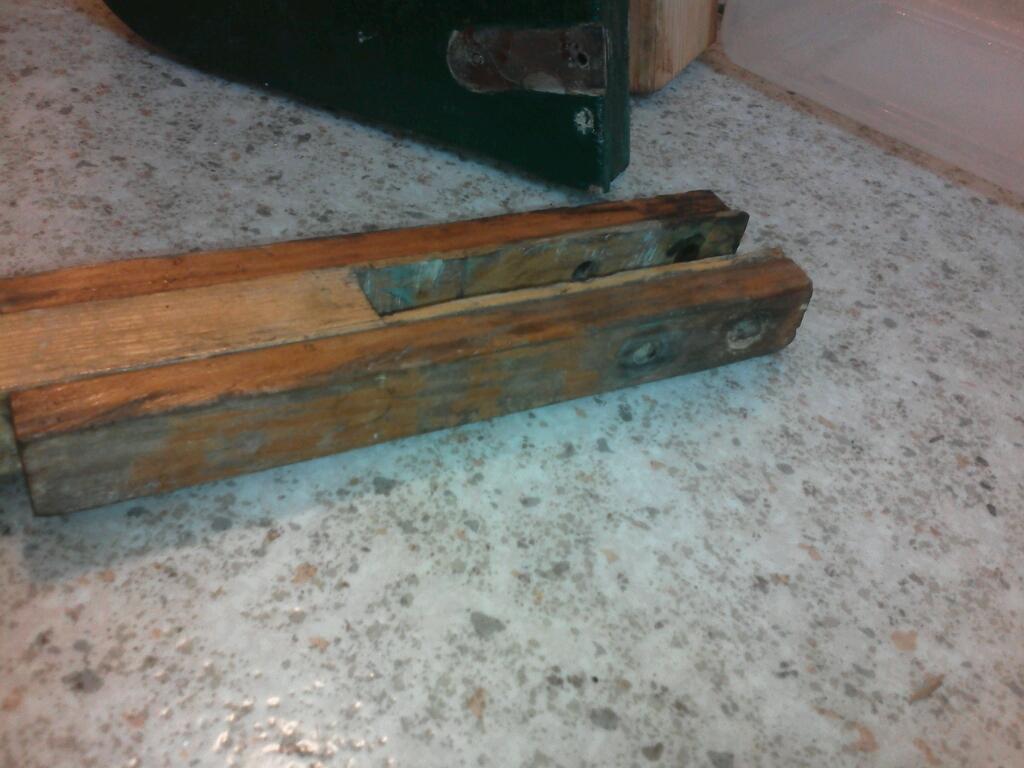
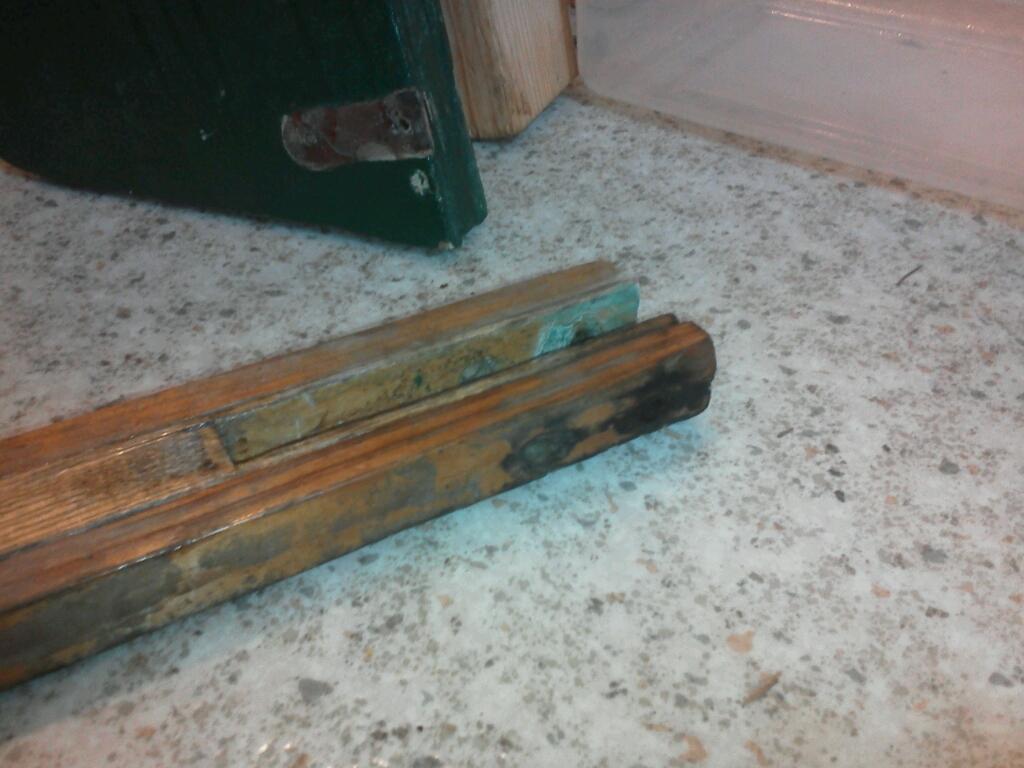
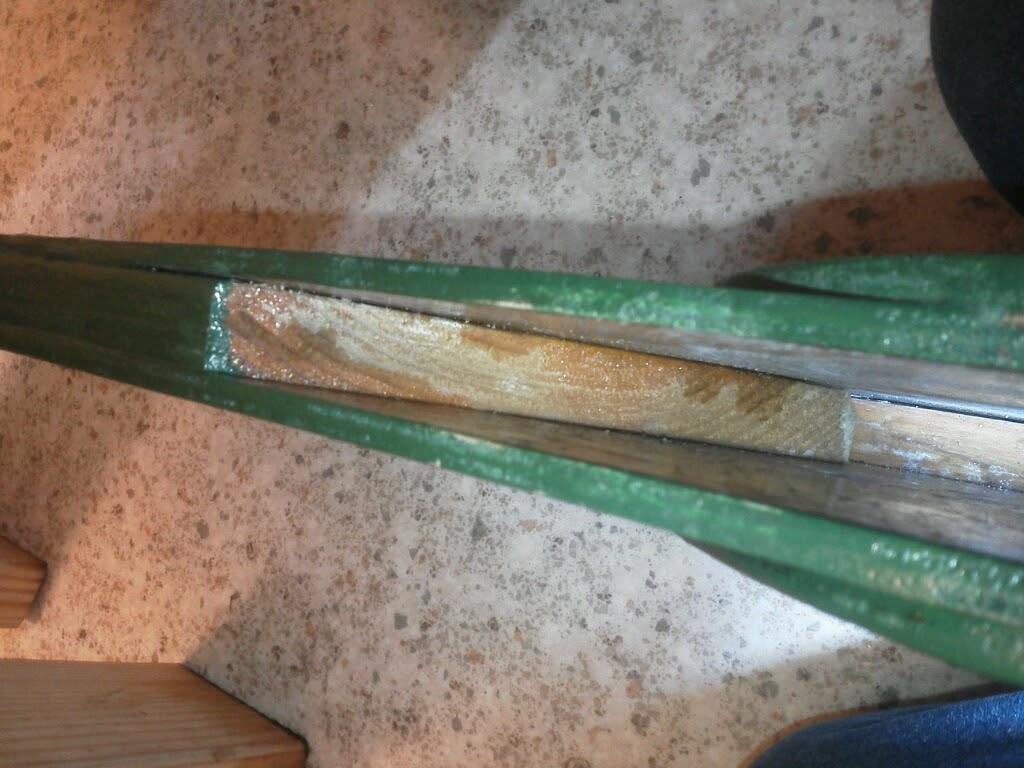
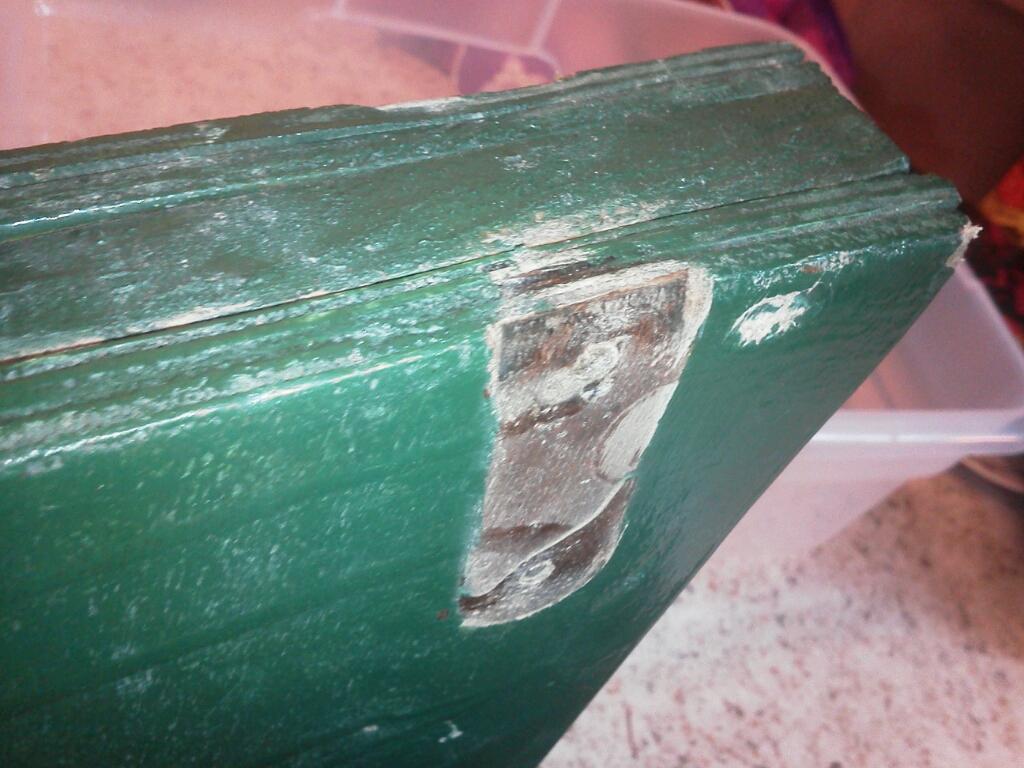
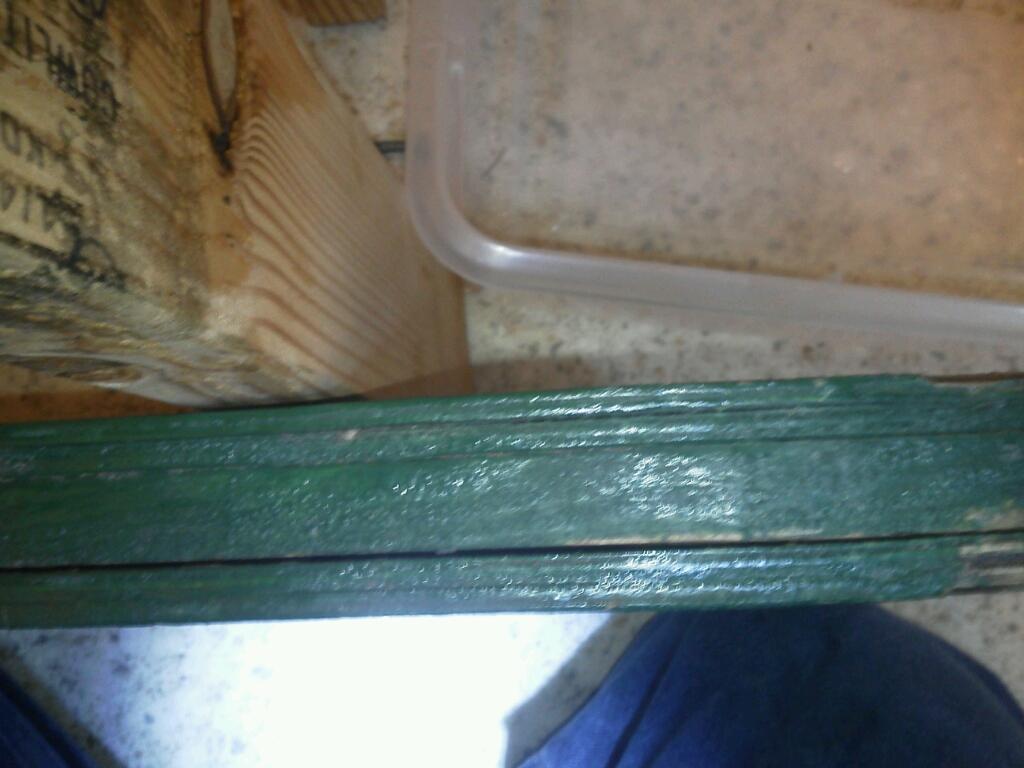
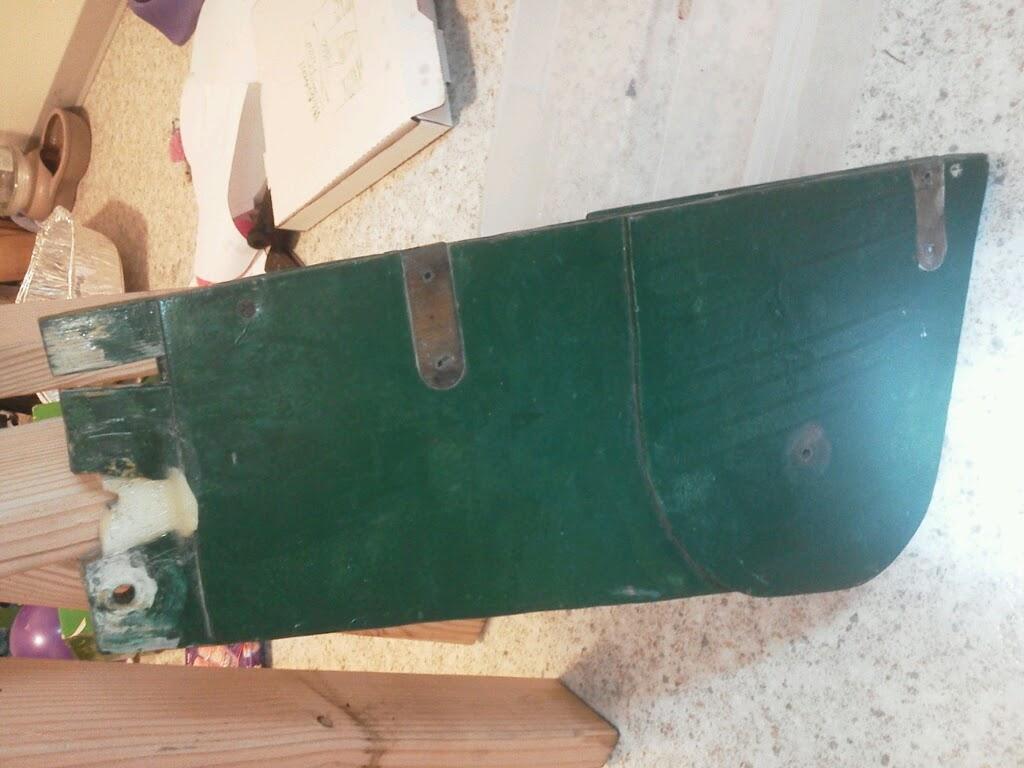
I've finally gotten around to repairing rudder cheek blocks from the accident. 1) Camleat was pulled apart, am considering epoxying back together. 2) One of my SS nuts corroded badly and required liquid wrench to get off to detach tiller. 3) Tiller either requires new handle made, I already have wood, or fixing up existing tiller cheek blocks and oak handle. 4) Am considering replacing main post inside cheek blocks due to the top cracking in accident. I did a temporary fix using a structural epoxy fill to replace cracked wood. The only problem was the top crack out and has made my tiller adjustable up and down. Is this a good thing that I should leave??? The forces side to side are the same, its just the lifting it up that only has the back bolt to pivot on now for tiller. If I replace main block will have to pry blocks apart then sand and reattach with epoxy. This may not be clean or neat. 5) For the downhaul I have a little roller sheave to go inside, am considering drilling through middle of main post corner where downhaul comes through, then using a bolt to attach sheave. Right now the rope just runs on the wood, of course this does add a little friction to keep force off cleat. Any thoughts or suggestions?