ecgossett
-
Posts
525 -
Joined
-
Last visited
-
Days Won
10
Content Type
Profiles
Forums
Events
Everything posted by ecgossett
-

Actual safety differences between designs
ecgossett replied to ecgossett's topic in B & B Yachts Forum
The only problem I had in the CS17 was big waves coming in in groups close together, I turned into them to ride over, which was also into the wind, and lost speed (average 2knots when constantly turning to ride over waves). I didn't like the waves breaking over the side as much, and the irrational fear up rolling too hard in one of the narrow trough's when three or four waves are stacked up I never really worried about mizzen sheets except for major course changes, or when gusts would hit above 30knots for a couple minutes I would have to let out mizzen to fix severe weather helm, until wind slowed 5 knots (at lower speeds the sail would luff that far out). It's also never fun going into the waves on a port tack and having the bow burying, always wondering how much water is in forward compartment (less then half inch after hour (about 2 cups), and if forward hatch is holding. For not having seals the forward hatch kept water out really well. I still want to install some sort of plug for draining forward compartments and other small plugs on tanks to make it easy if needed to drain water (mostly from waves breaking over port side), tank water wasn't a lot just a small bit. The driest/dry place on the CS17 in nasty weather is the aft compartment with forward hatch. -
You did everything right... The big thing is to always measure, measure, measure!! As long as you hit the same marks, and the middle goes in the same place, and clamp is in same place on ridge you are always good. We always do the crown and bends based off the natural curve of the piping. On boats the angle for us usually isn't important because customers want the dodger in specific places and just want it to "work", while meeting there imagined requirements. A few times we've put up frames and covered with pattern material and new holes for base get drilled and frame moved because someone realizes they don't want to bend as much coming out of boat hatch or it overhangs cockpit more then thought.. With binimi's the chief thing is no one every thinks about seeing the sails, or thinks a little window will do the trick. I've talked a lot more customers into splitting binimi in half and having two sets of bows, that way one half can come down when sailing for easier views of sails.
-
I tested the kevlar two layers, on a thin piece of plywood between piece of wood with a hammer.. I went to town "literally" and never broke or cracked wood and kevlar.
-
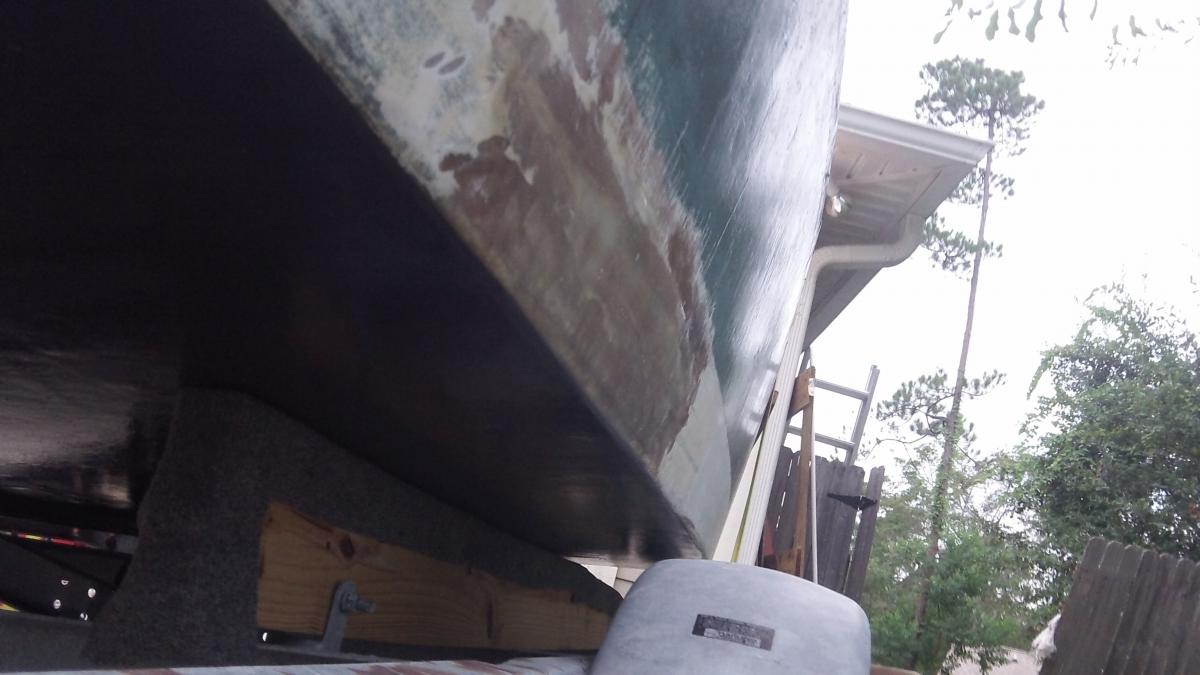
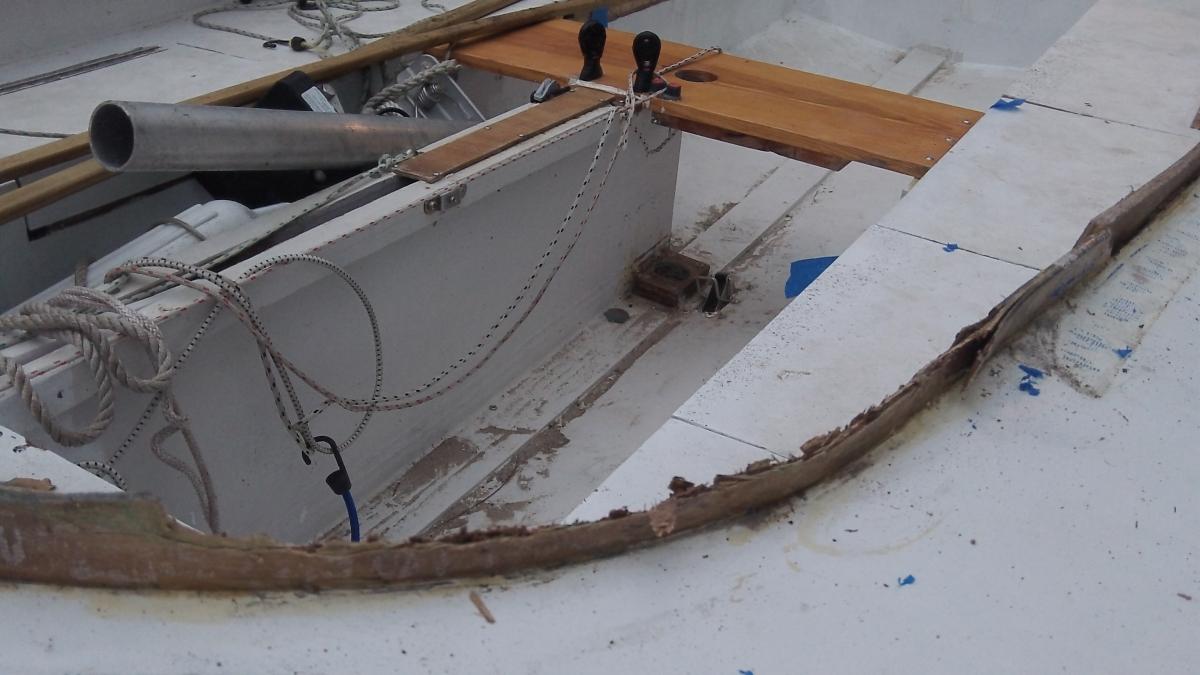
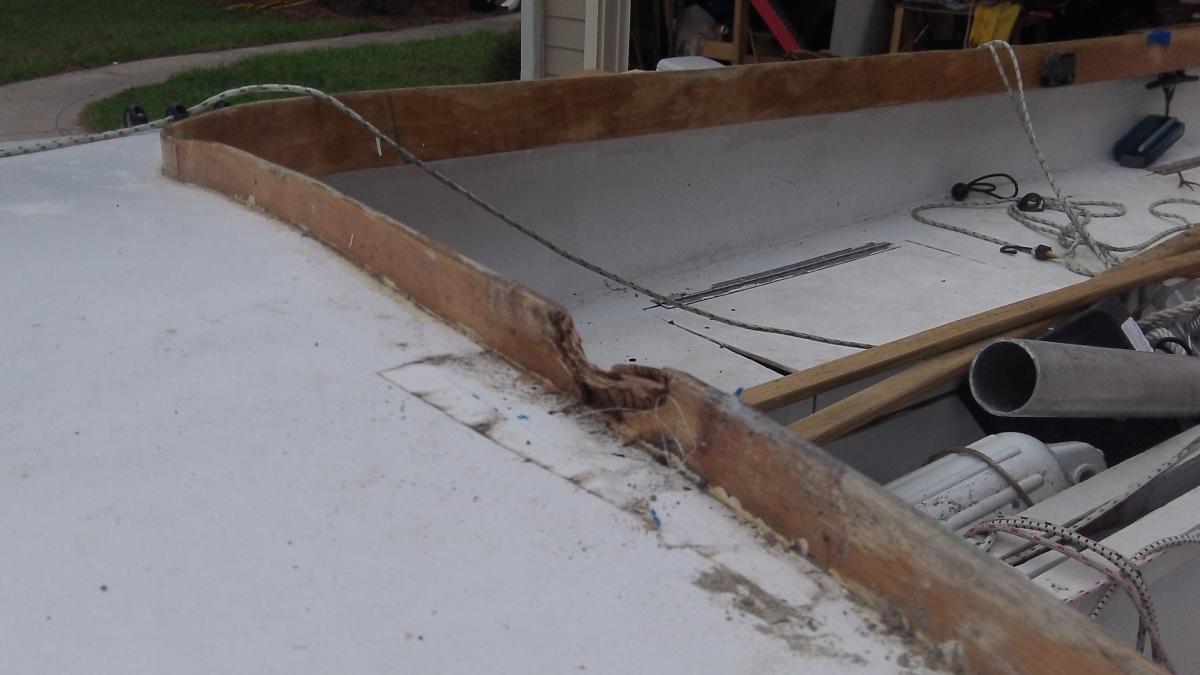
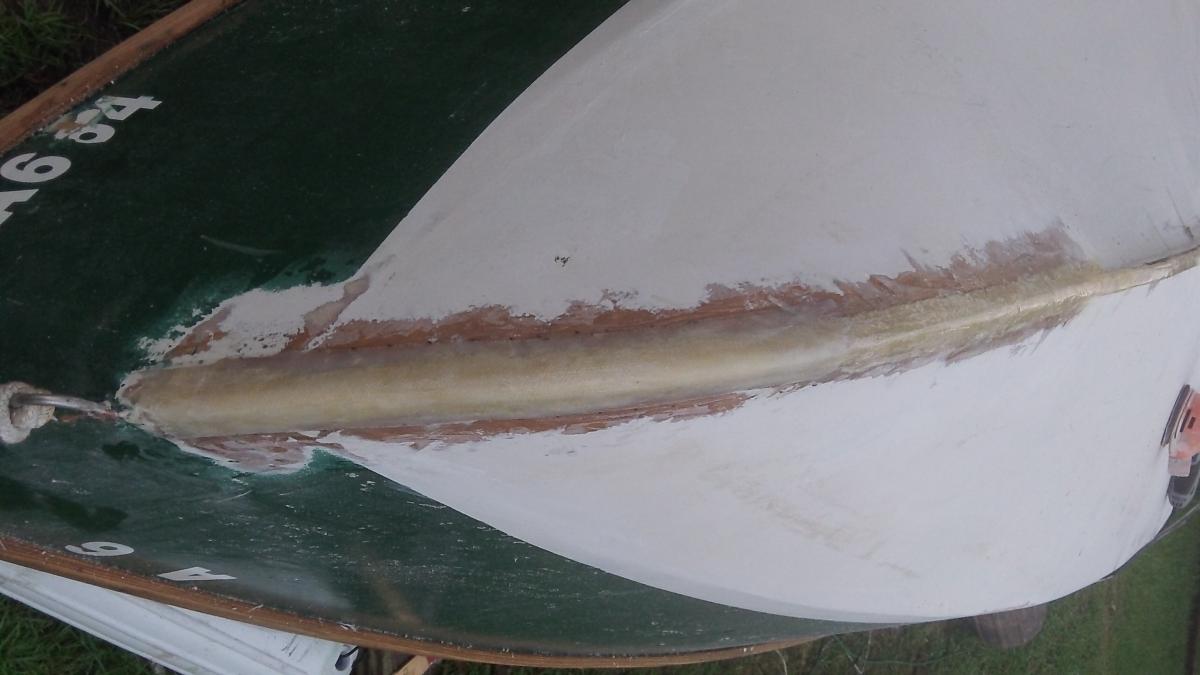
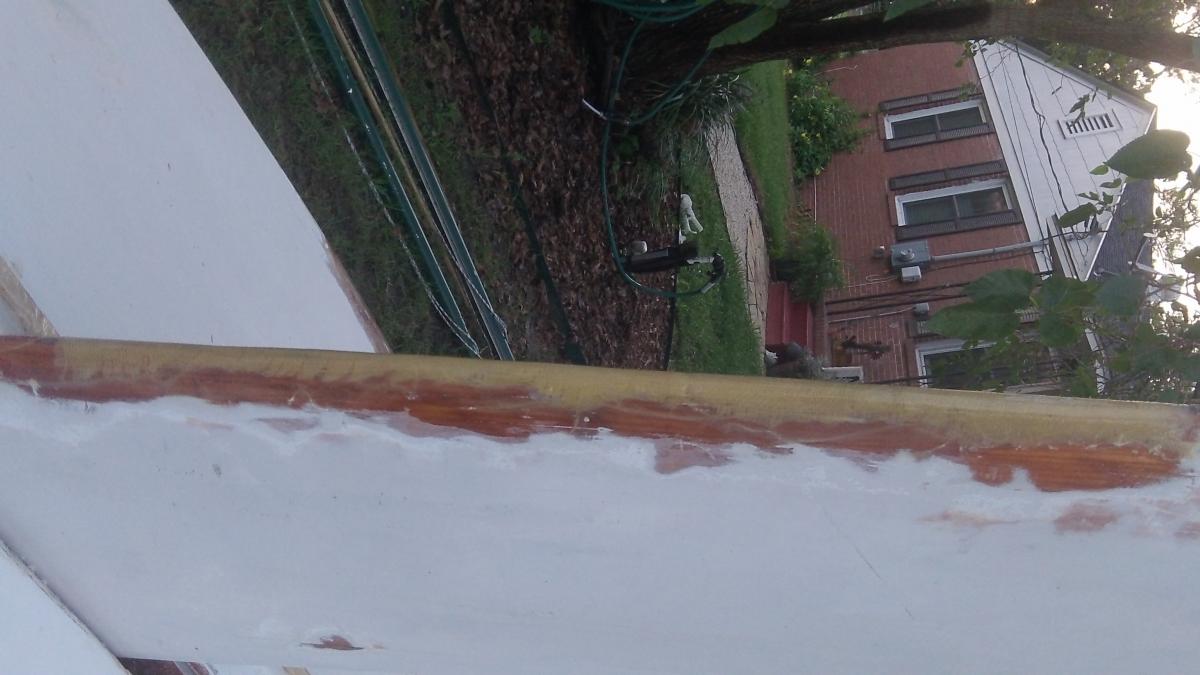
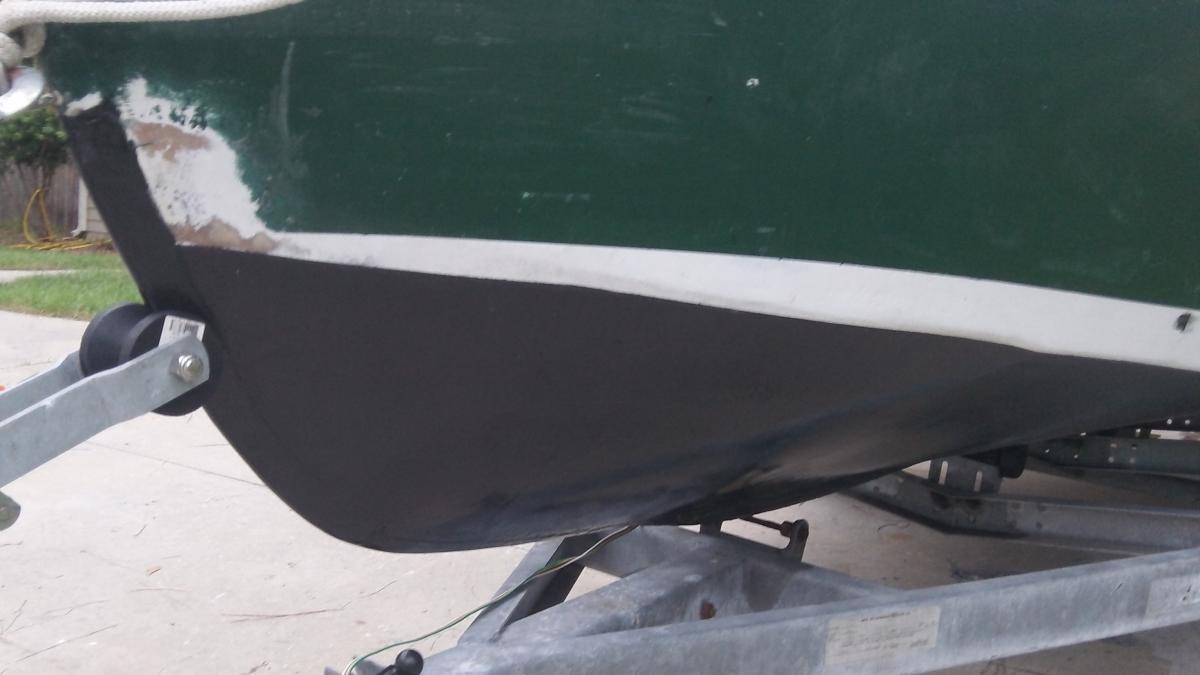
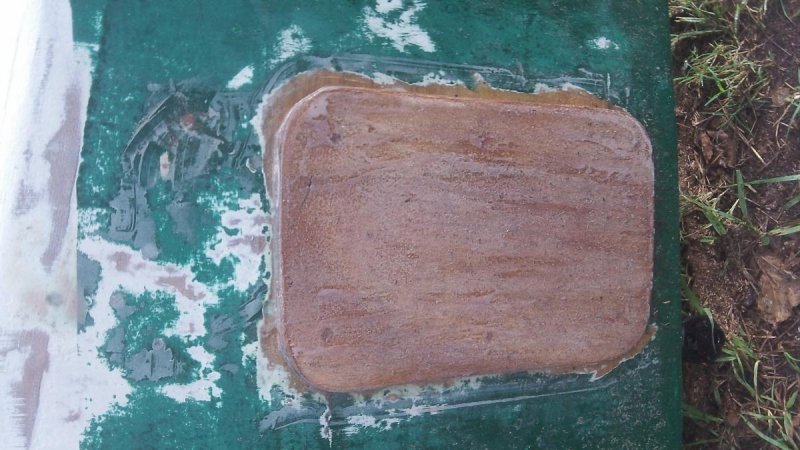
Upgrades since accident, and tow truck pulling boat onto trailer: 1) Two kevlar layers on keel, bow, and centerboard leading edge. 2) Added more tape for crack found on bottom under repair done for compressed side, and two more layers over the two layers of tape on compression crack that was repaired. (you can see where I've nicely sanded it in on bottom and painted black below side repair). 3) Used epoxy mixed with about 15% graphite on bottom, then wet sanded down in two layers. 4) The two stress crack on front deck from boat being flipped over where sanded down, then I used the dremmel multimax to make a narrow channel along crack about 1/16" deep and filled with epoxy. Tomorrow will add thickened epoxy to fair. 5) After a lot of work with dremmel, and wood chisels (they chip bad when hitting epoxy), I removed all damaged coaming sections all the way down, and have a new piece fit in, and drying in place for the curve right now. The other couple places I cut narrow pieces out and replaced with new wood (will post photos tomorrow). 6) Bedded inner support wood for motor mount in better epoxy and glass (original cracked) when boat flipped and split motor). Added a 3/8" piece of plywood off back on which I will mount motor mount. This is 1" wider then base plate and will spread load and stress and helped repair two cracks in hull from accident.
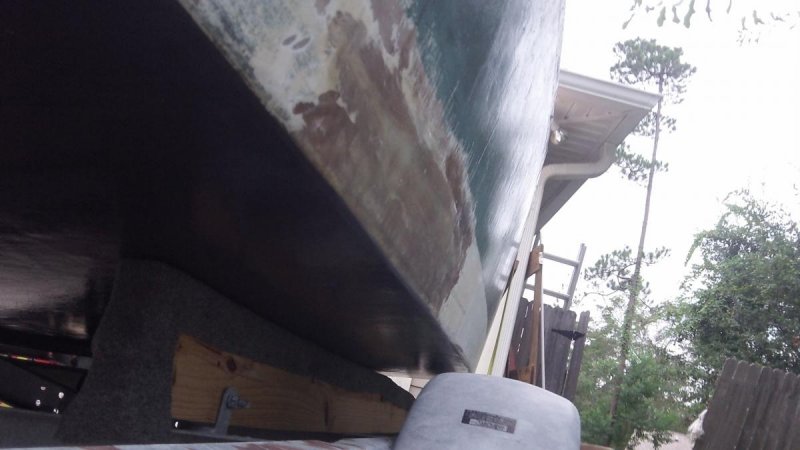
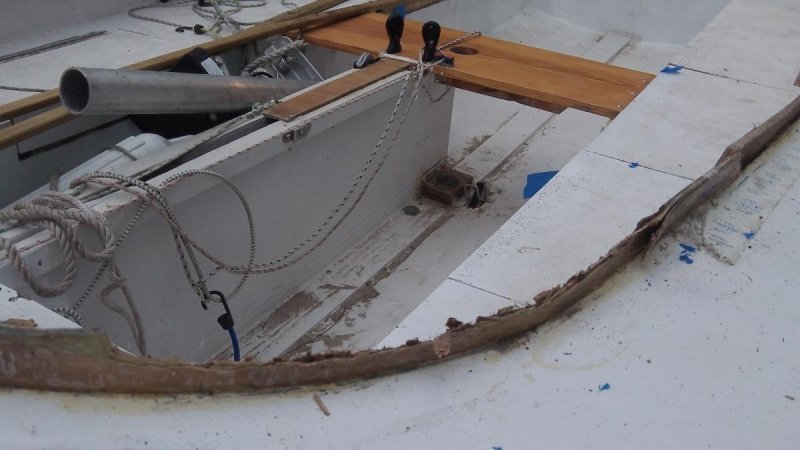
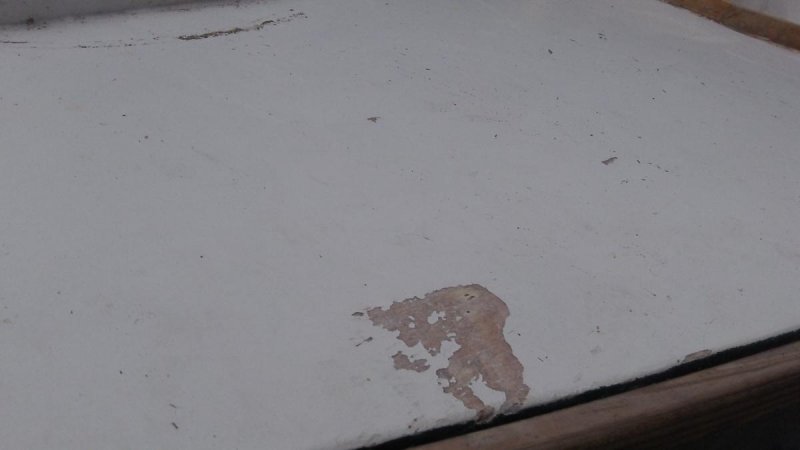

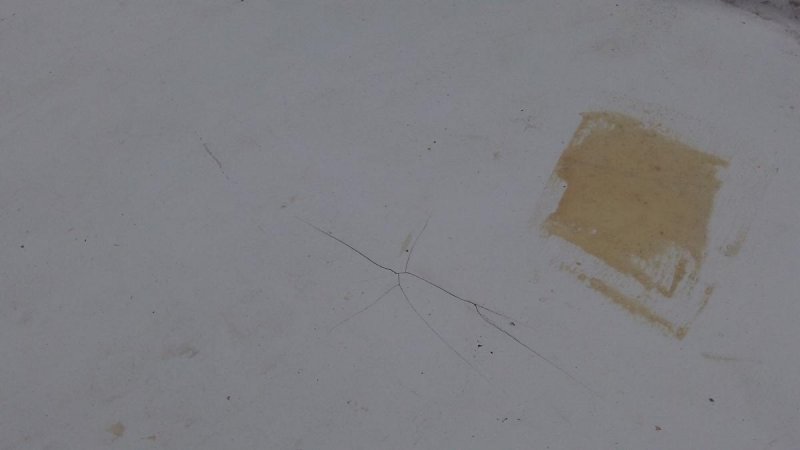
-
Two layers of 6 ounce Kevlar on keel, and lower bow. Experimenting with the centerboard, I put two layers of kevlar on wet, then a layer of 3" 6ounce tape, it was easy to sand, no fuzzing up, and looked great. My bow I didn't put the fiberglass tape on, was fuzzy when sanding, had to cover with thickened epoxy and then massage glass tape into place over top of it to look decent.


-
That looks like a port I saw in a Wooden Boat Magazine and a couple of Fine Yacht Fitting Books. How do you like it?
-
It's all going to change you fit your pattern material over it and you play with it. Then you make your actual cover, and it will change slightly again as things are moved to tighten fabric. 90 is more optimal with aluminum, SS is strong, and for this application its not that big. For some big boats I would be more concerned.
-
It comes down to how much room forward of dodger you want to be able to walk on. On mine I didn't want it beyond the forward hatch. I used the coming curves and matched SS roughly to it so when bars lay down forward they go around it. Other solution is to put zippers so you can have a roll up section forward for windy days, or to climb forward if you want to leave it up. The best would be having a opening section in deck and roll up window, lots of room to climb through.
-
Ridgerunner has an impressive dodger on his CS20. My only thought would be to use all the strataglass possible so I have good view forward and to sides from multiple angles just in case, might save having to look over dodger. Of course that leads to making covers for strataglass so you can sleep at night / day in light/street lights, or protect from sun..
-
My keel is isolated by a thick layer of thickened epoxy from skin of boat. I'm headed to WA state and know about rocks, so I thought that epoxy with kevlar or anything was a better alternative then possibly replacing my keel in near future. I would have used SS, but didn't have money or time to order it right now. Future money is being set aside for next boat build (more to follow as soon as plans are officially ordered from B&. Fourth kid is on the way and the CS17 will not be big enough long term for 2 adults and 4 kids.
-
Actual safety differences between designs
ecgossett replied to ecgossett's topic in B & B Yachts Forum
It was really meant from a standpoint of my wife read the article and asked the question of is "our boat as safe"? Of course my answer was I'd put it along side any day. -
Actual safety differences between designs
ecgossett replied to ecgossett's topic in B & B Yachts Forum
I understand the propaganda part. Also I think B&B's designs are faster, and more comfortable in nasty weather. -
I was reading an article on Duckworks http://www.duckworksmagazine.com/12/gatherings/class/index.html with the outragious claim that SCAMP is quote "safer than any other small boat you’ll find.". I'm not sure if this is some great marketing on part of Small Craft Advisor that has spread like wildfire or some true claims. When looking at a B&B design the safety seems pretty apparent from shorter masts, less things to break like rigging on stayed masts and so on. Does anyone have any actual figures on SCAMP and or B&B designs that can refute or at least offer a good alternative article to Duckworks?
-
I think Carla has a daughter or Granddaughter working in the office this week.
-
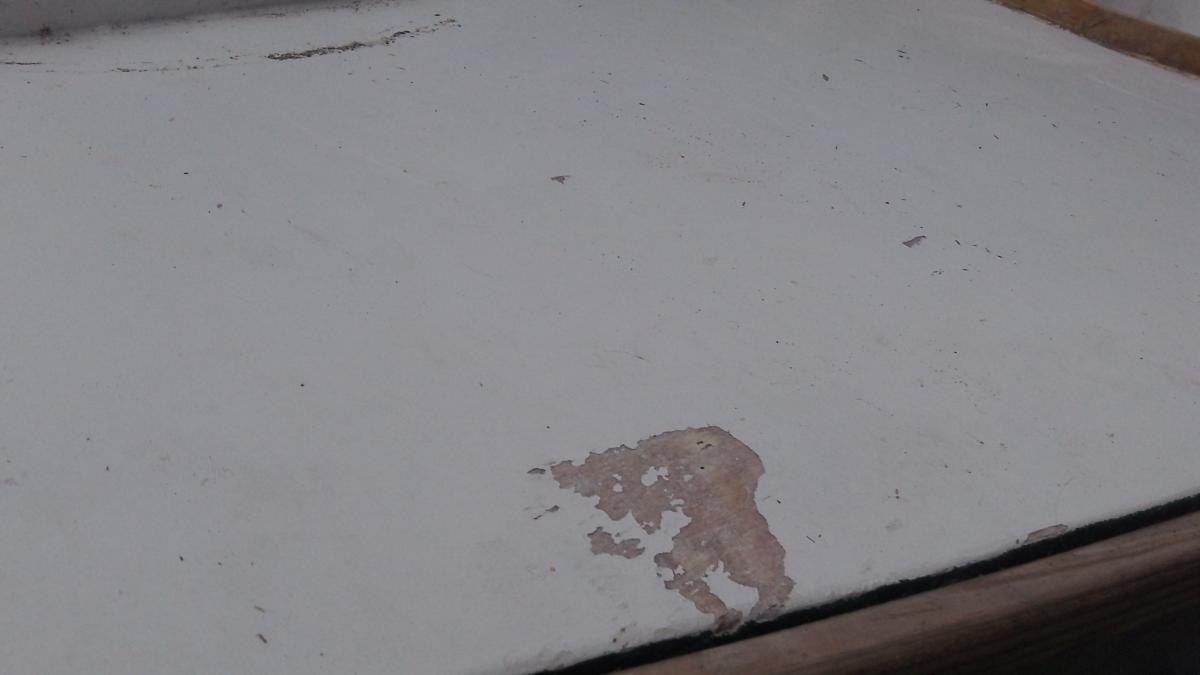
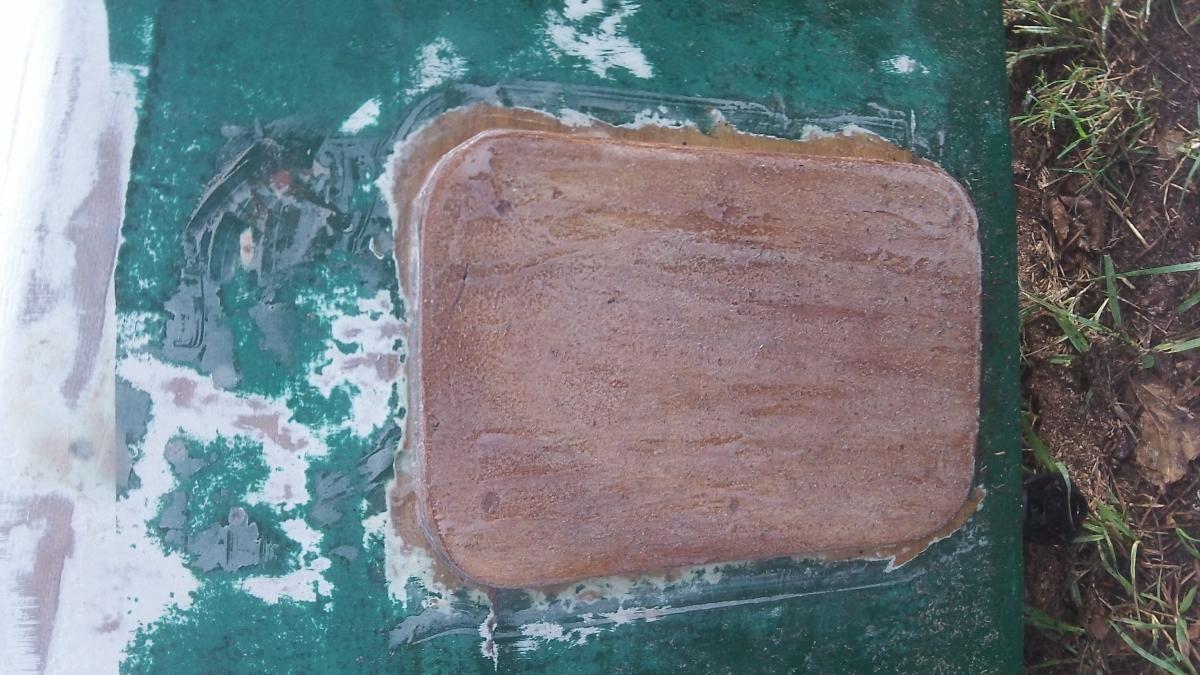
I'm a little worried about the couple above water surface on the deck that I used 407 for fairing.... Luckily it has a coat of epoxy over and then primer. The stuff on bottom pulled out decently easy with a chisel pushing, the structural 406 by itsself underneith was just fine. Thankgod I did it the right way with 406 then 407/406 mix for fairing areas on bottom. Problem was it was done upside down, and never painted over in those areas, I didn't think to put a layer of epoxy. In one or two areas after removing it found a layer of mud on back side. I also put on kevlar for my keel today, 10 ounce I think.. Hope I wetted it down enough, hard to tell. Only 3/4" wide strips, and one layer should be enough supposedly. My other choice was to use a 1/2" brass pipe and beat flat then drill some holes like fishermen used to do. I did read about heating and flattening a PVC pipe, wasn't sure if it could become brittle and provide less protection at some point.
-
your right on ballons, the filler on side doesn't say anything about that, I just selected it because it looked good on usage chart for what I needed. However, on West Marine site it does call it microballon filler, no where on actual container.
-
With my boat upside down working on finally repairing, checking accident stuff I found some epoxy fairing work I did around inside of centerboard trunk and hull is sponge like and peels out. I used West Systems 406 & 407 mixed with epoxy to fill it in. Any ideas? The strictly 406 filler (white structural stuff) underneith is just fine, the areas where I added more of a fairing 407 mixed with 406 later on top so I could sand is the sponge, and peels right off the underneith layer. It used to be hard and was find when I built.
-
and wholesale on fittings.
-
Wes, Let us know we have a wholesale account for our canvas company with Manart-Hirsch. Catalog without prices http://manart-hirsch.com/MANART-HIRSCH.COM/catalog.html I think we can just order wholesale with your address. We recommend SeaMark since it's vinyl backed sunbrella, for around $20 a yard (have to call prices change weekly). Sunguard wicking thread (it seals first time it gets wet), roughly $25 a spool. Stainless steel is cheap, strong and not that heavy, and the 7/8" size is perfect for the Core Sounds. Bending isn't hard, jig is half piece of plywood with 2x4 on one side and a round piece of plywood cut out for middle. Or you can find a used frame cheap that is close, to wide isn't a problem, you cut section out of middle to make it proper length, then split the cut out piece, put it in a anvil or good clamp and bend it slightly narrower and use as insert between to halves with a couple of rivets cost ($20 at back room at local canvas shop in Jax with extra stuff). Buy the fabric and stuff yourself before paying someone to put it together. You can dummy up your coresound layout on 2x6 to take to local canvas shop, or do the patterning yourself. Recommend some plastic track (curves easily) for bottom of dodger and bolt rope (better solution then snaps) so water can't easily spray under. $650 is extreme for materials. $230 for frame is also extreme. Jaw slides and what not are not a problem, and you can beef kit up by using some short length of SS coming off frame on back side instead of strapping to pull it tight, or put the short lengths of front and forward under window to hold steady. A couple clevis pins for attachment points instead of bolts makes dodger easy to take down. Use a couple of split side mounts so you can make simple handles on top sides of frame (also make it very secure), so you can get forward easily if needed.
-
Hey it was popular in St. Marys and Savannah for boat building. In fact the Peterson yards in both cities built massive cargo ships using white oak and yellow pine, and the Uss St. Marys, & USS Savannah. Untreated yellow pine has a well deserved reputation for not rotting. http://www.ussstmarys.org/ A little group I'm involved with for a future partial replica project.
-
I keep hearing about these paste's, never tried them myself. On boat we are installing canvas, etc on we use plastic washers that you can order from most marine fabric, accessories companies to go under things like snaps. On aluminum frame hatch covers this is kind of important when installing fabric covers and snaps. Usually the simplest method is to have some throw away metal screws that match threads on hardware being installed. They usually only last for a couple of holes for tapping but its fast with a drill, and the permanent material is installed with 3M 4200 type stuff usually and plastic washers. In a pinch I've used milk bottles and cut/drilled off pieces to do same thing, also worked on the Hobie Cat as sacrificial material for mast base.
-
Thanks, I had been trying to find info on the various boating meets in WA. TSCA has a nice calender, but no photos!! I just had Shad Dusseau (Graham & Carla recommended him, retired sailmaker) look at my sails, and he showed me a couple things to rig better to improve my shape without any changes on sails!! The run in was at Plum Orchard this weekend camping with kids and boat, when I was admiring a Whitby 42 that is docked at the island. It turned out to be Shad's who I've been trying to get ahold of for a while, and we had met once before about 6 months prior it turned out at the St Marys boat ramp. It really is a small world. Later,
-
Are you worried about corrosion?? On mine I've seen some spot corrosion on top of the track, not from it touching, I used aluminum rivets on track, and no corrosion around them and SS, The mast was painted, so that reduced any possibility of corrosion.
-
I was reading over how you cut out your keel batten. http://sundogboatbuilding.blogspot.com/search?updated-max=2010-03-29T18:47:00-07:00&max-results=22&reverse-paginate=true Is there any easier way to do it then using a chisel the whole way? Say a power planer or a circular saw applier to match the angled notches along the way?
-
Is that yellow pine for some of the structural?