ecgossett
-
Posts
525 -
Joined
-
Last visited
-
Days Won
10
Content Type
Profiles
Forums
Events
Everything posted by ecgossett
-
Before I cut the wood for base, can I get some feedback on the oar socket placement 18" forward of the mizzen mast?
-
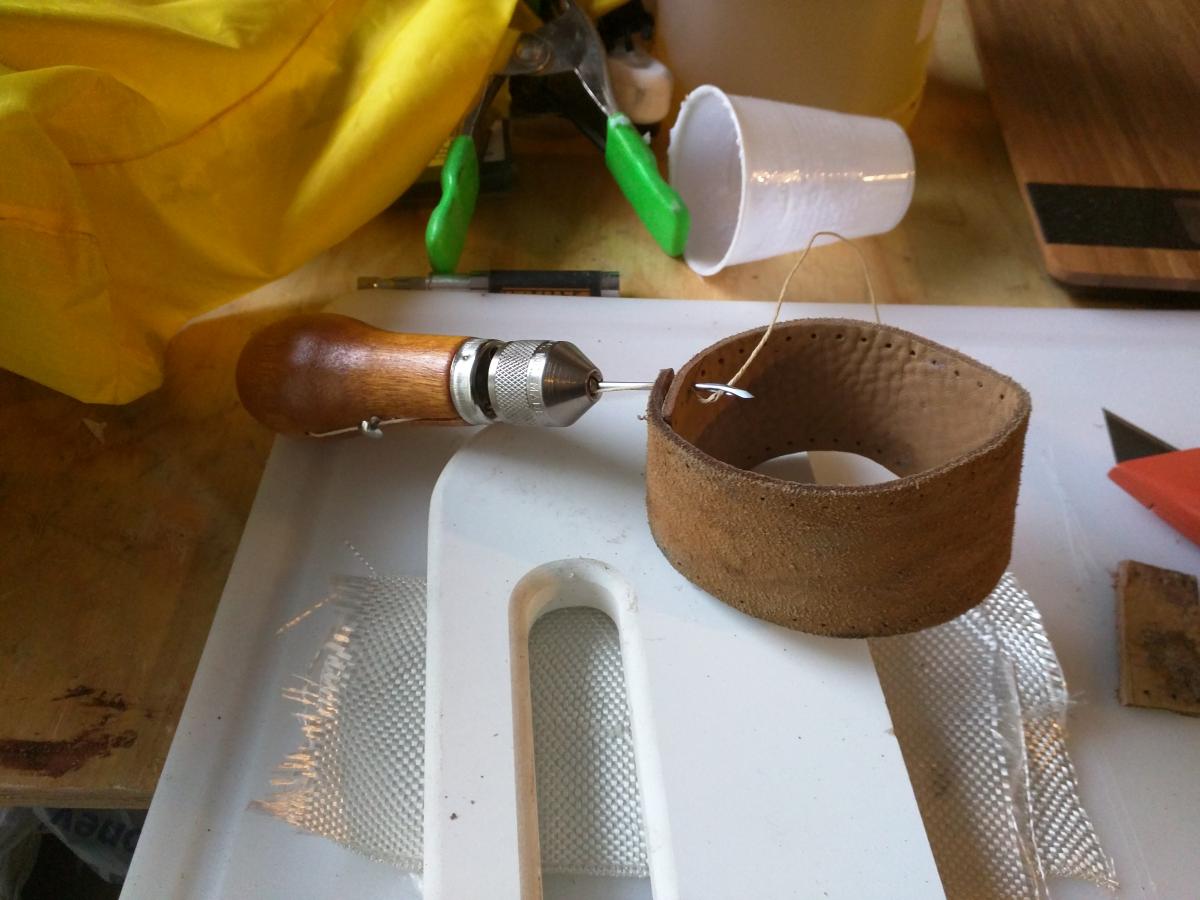
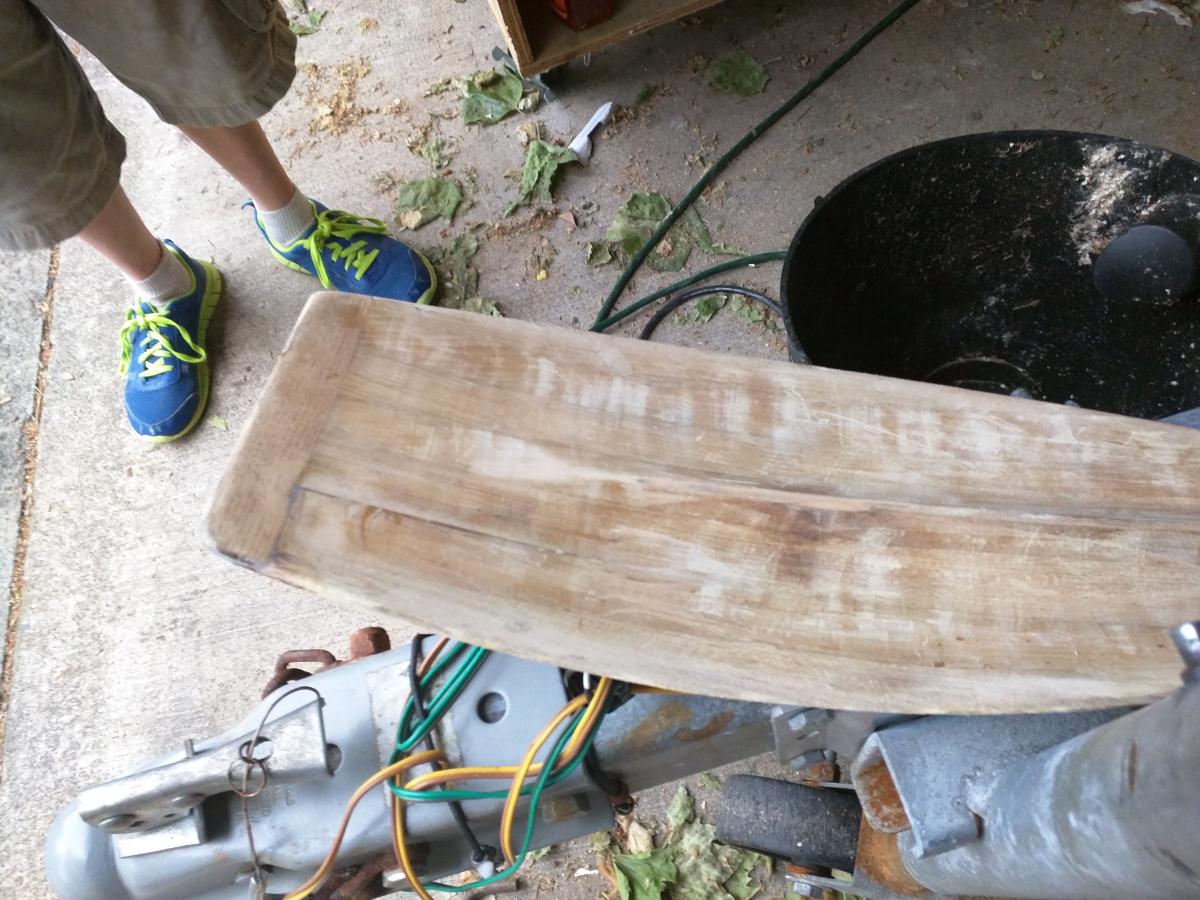
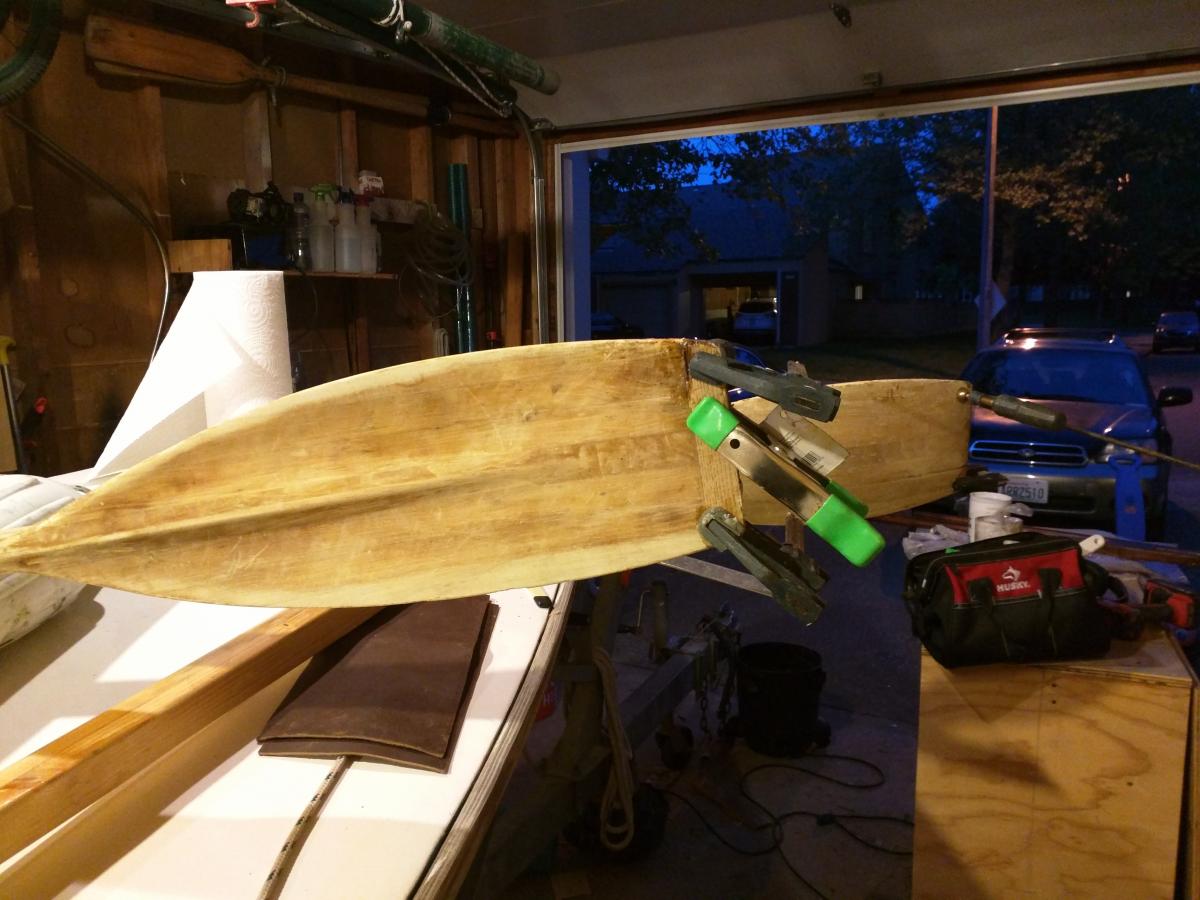
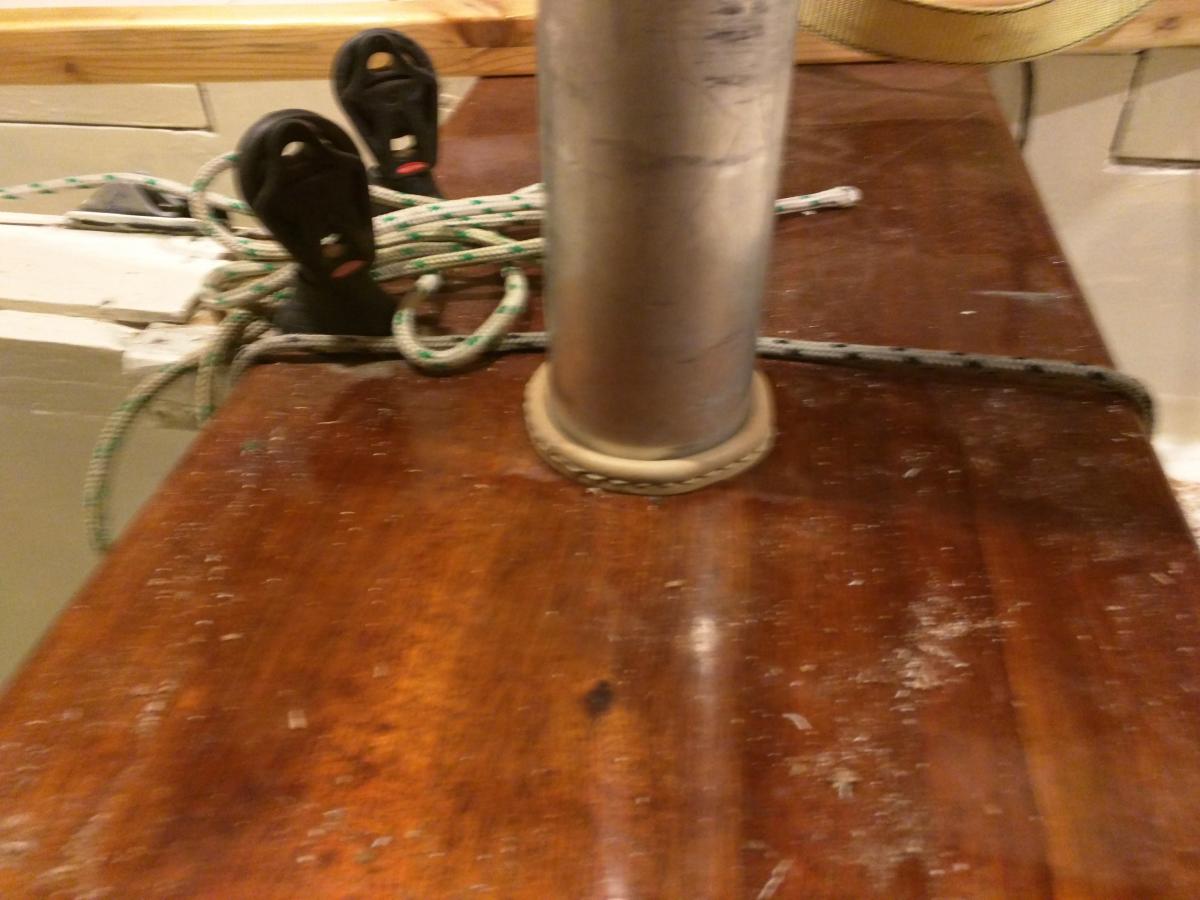
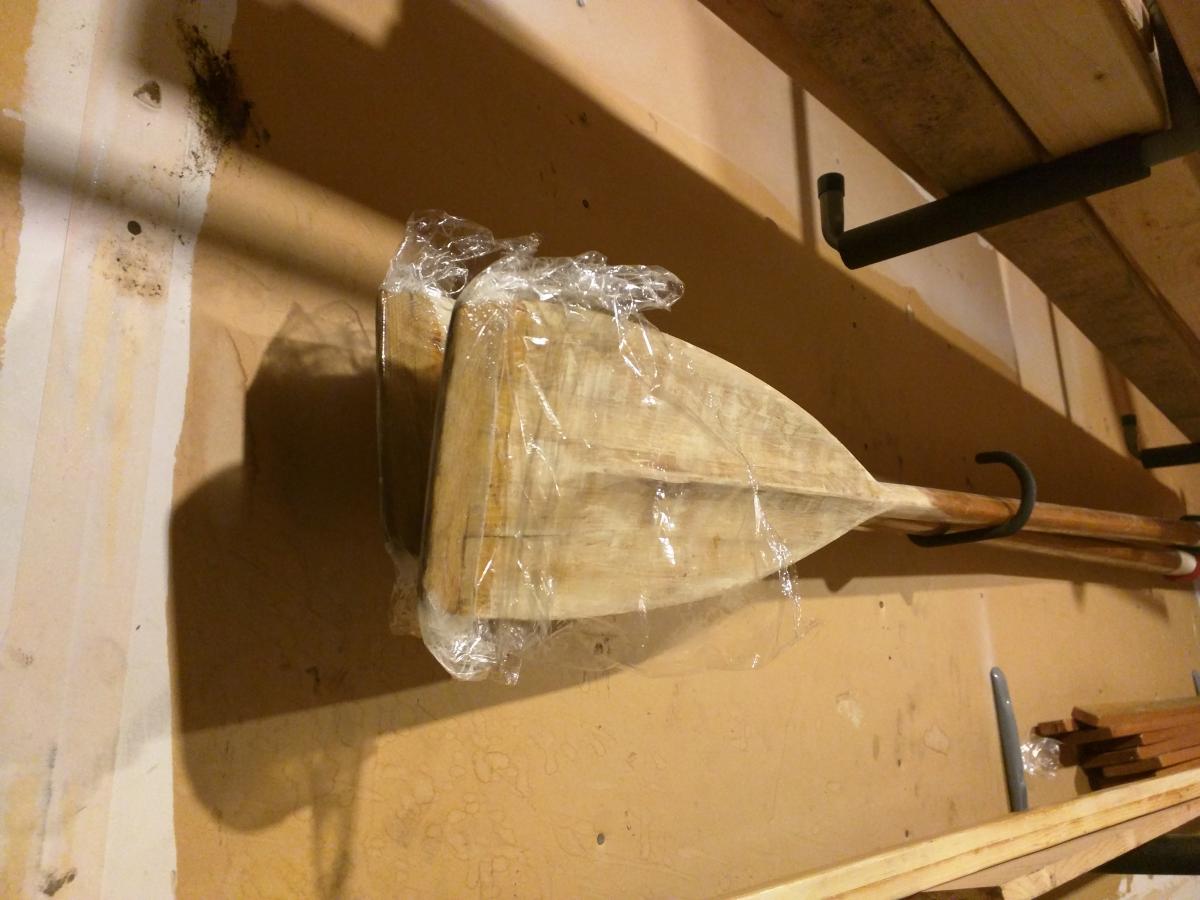
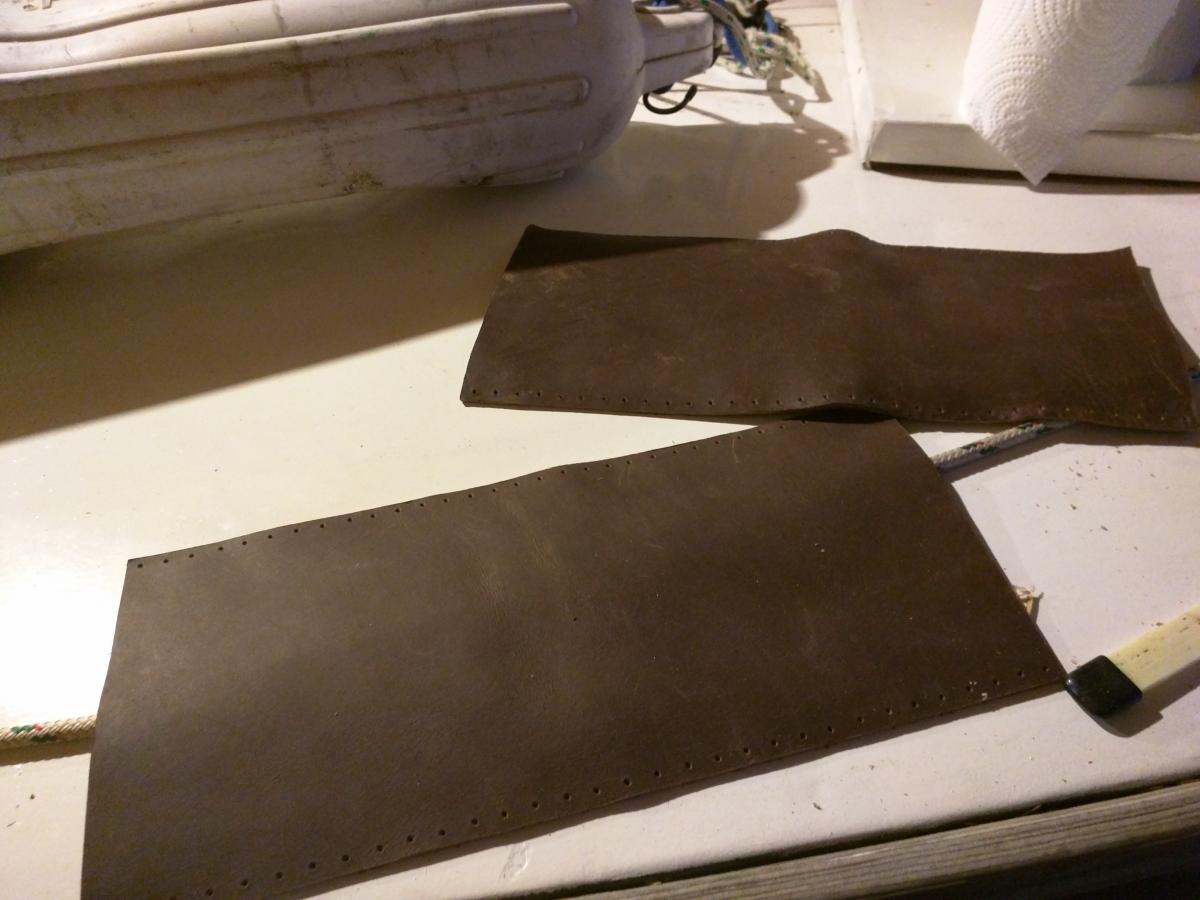
It might be the people questioning who've actually read the coast guard pilot for these waters.. http://www.nauticalcharts.noaa.gov/nsd/coastpilot/files/cp7/CPB7_E47_C12_20150505_0645_WEB.pdf My favorite quote from the Coast Pilot: In few parts of the world is the vigilance of the mariner more called upon than when entering the Strait of Juan de Fuca. Just some of the weather descriptions of different situations have made me write down some careful escape plans. Tasks complete: 1) Oars, tips scraped, bleached, sanded, and then holes drilled in length wise and epoxy inserted with syringe then ends relaminated. 3" 6oz tape of glass folded over tip for reinforcement. 2) Jenn hand sewed new leather for me to project thwart from mast chafing. 3) Leather ready to be sewn in place on booms for chaff protection from masts. 4) Tiller stained, and first coat of varnish applied. Upcoming: 1) Another coat of varnish on tiller and spars. 2) More varnish on anchor roller board, I don't intend on redoing it anytime soon. 3) Drilling oversized holes and filling with epoxy on boom, then installing cheek blocks and camcleats on each boom for easier double reefing then taking the end of the sail off of it. 4) Installing two pulley's for main down hull, running aft to make it easier. 5) Installing rudder lock system, to assist with single handing 6) Reinstall board, and anchor roller. Use 3m 4200 under it, and bolt back in place. This weekend in Gig Harbor: 1) At Gig Harbor boat shop find some meranti or similiar scraps (2) 8x4x1 for forward oar socket mounts. I enjoy the 1" height so they are same level as coaming and comfortable to sit on. 2) Rig the 9' 8" oar locks to proper positions. 3) Bend some copper sheet scraps for chafe protection on aft deck from mizzen sheet cleats.


-
I have been looking for an extra set of hands. I've had two potential crew members back out, and a very experienced CS17 sailor tell me that CS17's are the wrong boat for that race, even just the first leg that I'm doing.
-
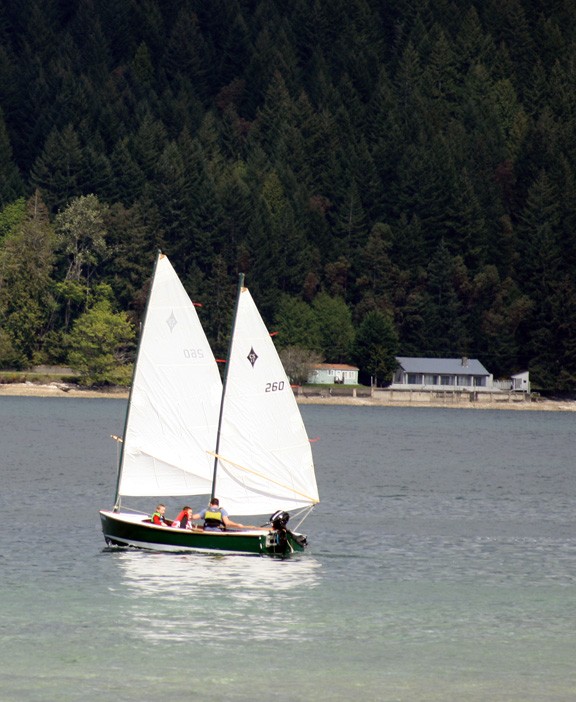
Just starting a topic about the extensive modifications I'm doing on my CS17 #260 name Forty-Two for the 1st stage of the Race to Alaska http://www.r2ak.com. I've been slowly gleaning best of tips on many things, including a conversation with Graham for some small upgrades on how I handle my double reefs, and bending out the SS pins for a better angle for rowing. I'm going to start posting a page on my website www.foggysailing.com with all the preps and everything, I didn't really want to put the CS17 upgrades on my build blog. I'm also using some of Rogue Paddler's tricks for a tiller tamer, and battery (I may not do the electronic system). The race PR writeup on me, yes it's a little tongue in cheek, and yes at breakfast in the beer tent for part two of the conversation Graham Brynes was actually present (he didn't realize it). Team name: Team Foggy Sailing Team captain: Ed Gosset Total onboard: 1 Race vessel: Core sound 17 Team Foggy Sailing’s watery trajectory is one of the few we’ve seen that takes a bell shape curve from sailing canoes on Colorado lakes, through navy training and submarines, then returning to surface sailing small boats in a big way- the biggest was the 2012 run at all 1500 miles of the 2012 Everglades Ultra Marathon. Their name might be Team Foggy Sailing, but Ed has a singular clarity about preparing for the worst: personal skills, getting his boat ready for whatever the sea might throw at him, emergency supplies, and at least a few end of days style scenarios. He’s a medic not a doctor, but he considers himself a prepper and he and his lady work to prepare for the worst. He’s a prepper, she’s a prepper, and after going over his logic we don’t know why we wouldn’t want to be a prepper too. Ed also has the distinction of being at the very table, at the very beer tent, at the very moment the R2AK was conceived. We’re going to skip past all of the shudder worthy possibilities about the moment of conception- we’ll just call him “family”. Welcome to the R2AK Team Foggy Sailing, best of luck on your preparations
-
That is a 1926 Harbor Launch, converted to electric and dymeled and glassed at the Gig Harbor boat shop over the winter. My kids painted (Marshall Cove Paint, made locally on Bainbridge Island) a lot of it, and Josh waterproofed and drilled the oak rub-rails. Josh was acting as 1st mate/deck crew that day as we gave festival attendees rides all day long. He's pretty quick for tying up the boat, situating guests, and giving explanations of all the parts. The crew of the 60' 100yr old Sandman Tug out of Olympia Wa gave him a hat for remembering all the facts about the boat, and reciting them on tours to guests.

-
Building the boat he didn't get to do anywhere near this much stuff, I do let the kids paint with the Easypoxy which leads to SS hardware being painted occasionally. The seat was not reinforced, I did add in the extra framing this time which should really do the same thing. I know a couple of people have put the framing for the seat hatch waterways all the way to the sides to do the same thing. The glass idea in the future is not bad. Oh and on the painting, the entire cockpit was painted by the kids. For the bleaching, staining and varnishing of the coaming I insisted on doing that by myself, same thing for varnishing the thwart seat.
-
How do you feel about the loss of cockpit room for the raised deck cabin on the CS17?
-
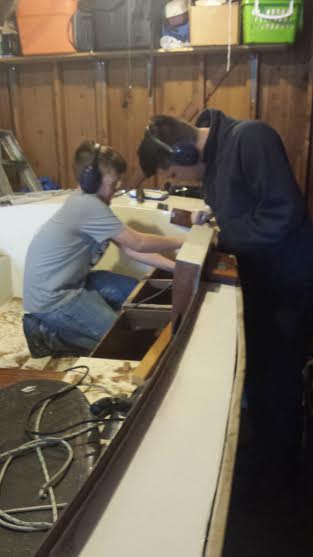
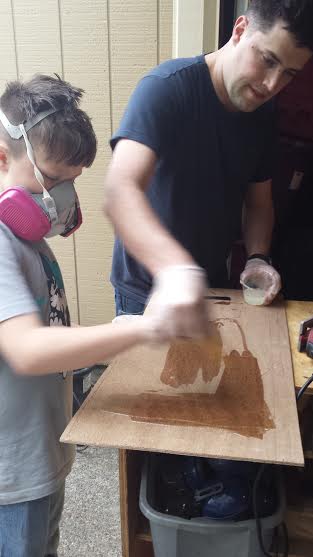
Last year, a heavier passenger at a messabout stepped in the wrong spot when getting out of my boat. The CS17 developed a nice crack on my aft port seat. Over the winter a friend who builds boats fixed it for me by reinforcing with 1/2" plywood, and cutting crack, then having new plywood bolted in place. his easy fix did not work in the long term, and another unknown crack from same incident showed up and then the original reopened when sailing the boat. Using a trim blade on my router and chisel I cut the entire seat to the waterway for the after hatch out. My 10 year old measured and sanded the existing frame on the seat. Then I taught the 10 year old how to loft the measurements which where taken every two inches on to a new board. We purposelessly oversized this board by half an inch. We also added a new piece of framing, to support future passengers getting in and out in the wrong place, and wrong weight. For some reason I mostly dock my boat on the port side, so this will benefit it nicely. Tonight I was very proud because the new seat fit with some 1/8 to 1/4" quarter inch gaps that could be filled in with epoxy. Josh very forcefully said "Daddy lets take a pencil and small piece of wood and draw the hull onto the seat like we do on other boats". After that we took used a jigsaw to take off the wood, and a hand planner and gave it an angle to fix perfectly against the hull. Perfect fit because a 10 year old thought we should go a little further. Next he helped me spread epoxy, and get the new piece on. To be honest I did most of the epoxy work as he was scared of messing up, and a little terrified of the fumes and potential dangers even with gloves and a mask. See attached photos. This boat has been a great long term family project to learn many different skills on. The best part was all the little friends coming over who are curious about boat building, and being able to give my son the credit for the repairs.


-
Mistermoon, are you using a forward rowing station for the oarlocks?? About a foot forward of the mast?
-
http://www.bainbridgeint.com/ www.manart-hirsch.com and if your in the Jacksonville FL area, talk to Pat's Canvas off Roosevelt by pier 17, or there is a marine and fabric wholesale place over by the stadium right by the projects, and next to some giant bread bakery.
-
Interlux interprotect 2000 has lasted 4 years on my boat and masts. Over this I used some Dark Green spray paint for aluminum from Lowes. I touched up some areas where it was down to metal due to wear and tear with just the straight up metal spray paint and it has been fine after prepping the surface prior to applying. As far as corrosion goes several companies sell thin plastic washers that are intended for going between things like SS snaps and aluminum hatches. They are as thin as milk container plastic, and saved the work to cut a milk container for the same thing. Where ever I riveted the track I used the washer between track and mast, and on the rivets applied light anti seize.
-
I used the plans for rigging mine. However, I've always hated the way the main sheets come across the thwart seat, and cleat on the coaming. Having been in several CS17's with with above described rigs, they are much better. When ever I have the boat full of kids, they quite often wind up accidentally sitting on mainsheets when tacking, and occasionally adults do it as well (kids learn faster not to).
-
Randy's Belhaven 19, and my Core Sound 17 launching at the Oyster Messabout on Hood Canal. For any other B&B builders in the Pacific NW we have some great events planned this summer (http://www.tsca.net/puget/). For prospective owners come by and take a ride!!! The next place you'll see some B&B's up here is the Anacortas Pull and Be Damned Messabout May 16th. After that will be my boat in the 1st stage of the Race to Alaska (www.r2ak.com) See attached photos from event.


-
A non build question. Have any other B&B designed boat owners looked into the http://racetoalaska.com/ r2ak event/race coming up next year??
-
Try Dabond Anti-wick Thread or Tenara Thread Lubricated.
-
Wes we still have a wholesale account at www.manart-hirsch.com/ Let us know if you need an order. We never have marketed up, in canvas work we always make our money from labor. You don't get prices until you call and give account number, some prices can change weekly depending upon manufacturers.
-
I think the Core Sound 20 MKIII will be a better and more seaworthy boat then the Belhaven 19. The CS20III also has an alternative available then the two top cabin hatches, basically two tracks, then a fabric covering down the center of the cabin top with battens; so you can use the cabin to get all the way forward comfortably and easy.
-
Originally when I built my CS17 I used a mold and made fiberglass waterways for underneath the seats. If I had to do it again I would use only two layers of glass, and back it all with wood. http://messing-about.com/forums/topic/7367-hatch-waterway-mold/ At Graham's very strong urging and my general dislike of the leaky results that have gotten worse over time, I've upgraded mine to the full wood, back by double layers of 6 ounce tape on outside inner seems, and a single layer of tape on the inside narrow parts. For sealing I picked up some cheap foam weather stripping that is 4mm wide, and some wider rubber stripping. If I use the foam it will go around the top lip. Or I can rubber down and use it for the same thing. Of course this leaves it very vulnerable. My other option is to run the wider rubber stripping on the bottom side of the hatch which would also serve to protect it. Any thoughts? I'll post photos later as it's finished.
-
My downhaul is cleated on the mast, and the other end is secured around the thwart seat. Mine ripped out because of making a base block that was to small, and now using screws. It's not epoxied and tightened with bolts instead of screws. The screws could have had something to do with it. How badly did it screw up the seat? Any cracking?
-
My last two articles @ www.foggysailing.com are concerning a restoration I'm helping on at Gig Harbor Boat Works. The launch is being outfitted with an electric motor, and I uploaded photos of the install, and other work. Instead of water ballast, batteries would work good.
-
I never had to butt join all my seat tops.. It came out perfect where all the "ends" where centered over framing. For the front seats/storage area that is supposed to be a solid piece with the side seats, I made the plywood two separate panels, so later I could unscrew them if I decided to put some clever device or container in like others do.
-
Hey, you guys in Texas gave Pikes Peak back to Colorado!
-
1) You could probably get some small changes on a kit by talking to Graham; everything else small can easily be customized by what you add to hull (type of hardware), or colors of paint, etc. 2) After watching the forums of different kit boats get built it looks fun. 3) Stringers are the only thing left to cut, and that sounds like fun. 4) If you have kids such as I have, a kit is the way to go. Doing 95% of the cutting my kids where unable to help. When it came to fitting in some stringers, or wood that required curves / framing / ect, the kids used a handsaw and loved it. My biggest reason for wanting a kit is a lot less of checking twice or more on measurements.
-
I am considering MERANTI planks. They are a good price at http://www.edensaw.com/MainSite/Store1/StoreProducts/ProductList/1362 near Port Townsend. It's funny I found a local lumber place that can order 6mil Okoume 1088 Plywood for a cheaper price then Edensaw, yet when it comes to the 4mm its reversed. I don't mind using fir for some stuff like centerboard, but am trying to find a cheaper replacement for the framing. I used cedar before for some stringers, I was able to get a 18ft feet of cedar and straight cuts that missed the knots. You just have to be careful when epoxying in place; pre-drill holes so you don't split it, when using temporary screws. http://www.edensaw.com/MainSite/Store1/Store/CategoryHome/1191 Some of the categories I'm looking at for wood. http://www.edensaw.com/MainSite/Store1/Store/CategoryHome/1094 Other wood prices I'm looking at for normal grade stuff.
-
First post talking about this. I've already been up at Enumclaw lumber looking at okoume. I started pricing out Douglas Fir Vertical Grain, for the stringers, framing, and centerboard. I believe on average I'll pay $25-35 per 1'x6"x12' of douglas fir. Can anyone offer some cheaper wood alternatives for stringers or places to purchase better priced Fir. Are there any other highly recommended woods for centerboard, and framing?