makenmend
-
Posts
121 -
Joined
-
Last visited
-
Days Won
4
Content Type
Profiles
Forums
Events
Everything posted by makenmend
-
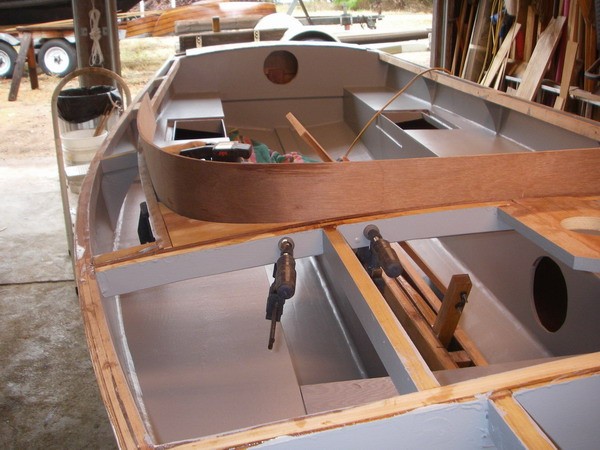
welcome Hal, good to see your at it so to speak (don't forget the pics) for airing out my compartments I've has good experience with Duckworks quick release inspection/deck plates, even after an extended capsize they remained watertight, plus at 8'' they also give me additional storage should I need it. John Farrell
-
I feel for you with your weather situation, I kinda moan at the weather here in Texas, but realize how lucky I really am. My metal 30 x 14 shop has no insulation, heating/cooling except box fans, and yet I,m able to work quite often, I count my blessings. MM Approx 130 hrs into this build to date


-
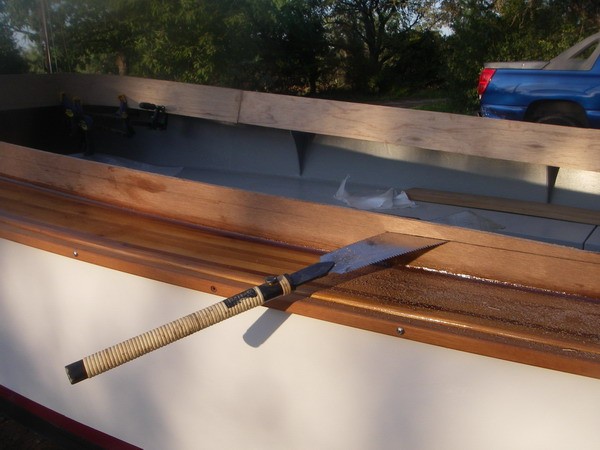
Lennie, I'm with you on the router idea, Might be a little slower but I established my height off the side and foredeck, then used my pull saw to cut close to the line, followed by low angle plane and sanding to round edges. Mat be slow but sure. MM


-
mattp, I have not tried sailing with the Dodger up, doing a dry run I found it would be necessary to change the sheeting run for the Main, which I haven't attempted yet. It would be possible to run with the 2nd loop folded but it restricts your line of sight so I never did that, it go's up/down so quickly I didn't consider it worthwhile. However in last years Texas 200, running Baffin Bay with a quartering head sea, getting soaked and shipping water I will rethink this when the weather warms up so I can play around with that idea. MM
-

Access to Seat Tanks-- Is It Necessary?
makenmend replied to Don Silsbe's topic in B & B Yachts Forum
I installed 8'' quick release see through hatch's in my aft lazerette the 2 seat air chambers and the fwd air chamber. Mainly to ventilate/inspect, but the ability to use as dry storage for such items as my sleeping bag cloth's etc had been a great bonus. And when I did capsize, they remained dry/airtight so I had plenty of buoyancy.

-
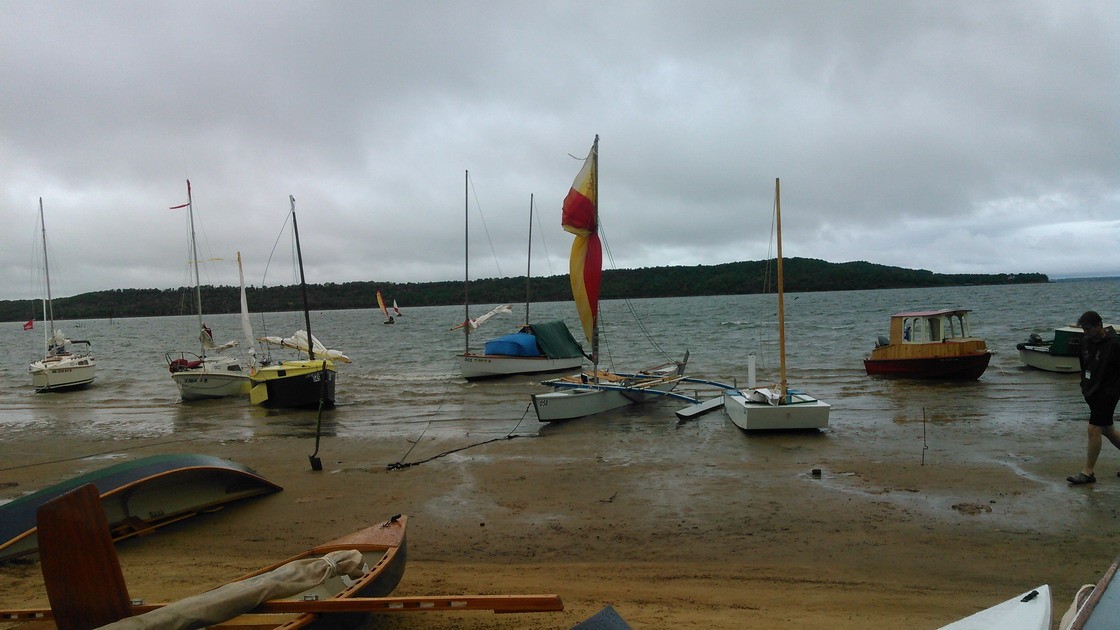
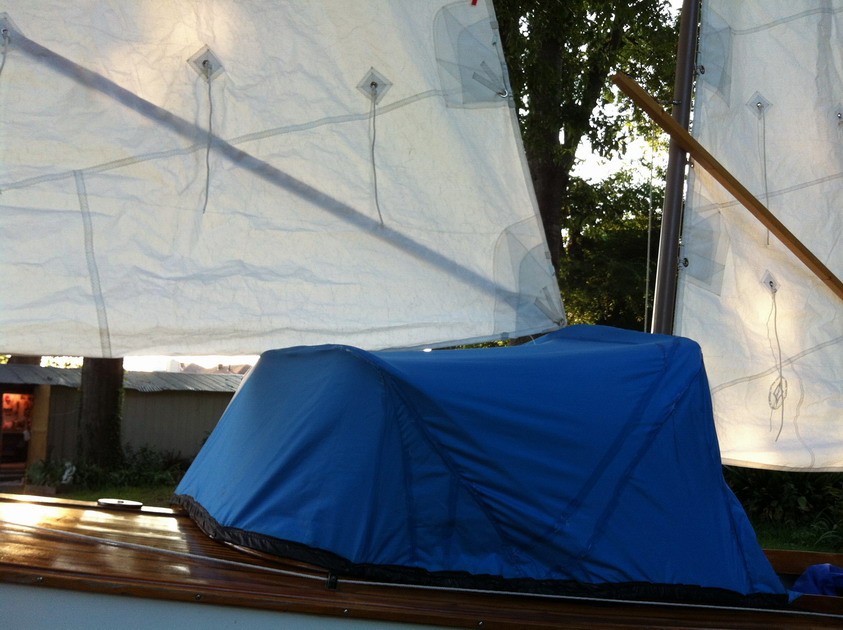
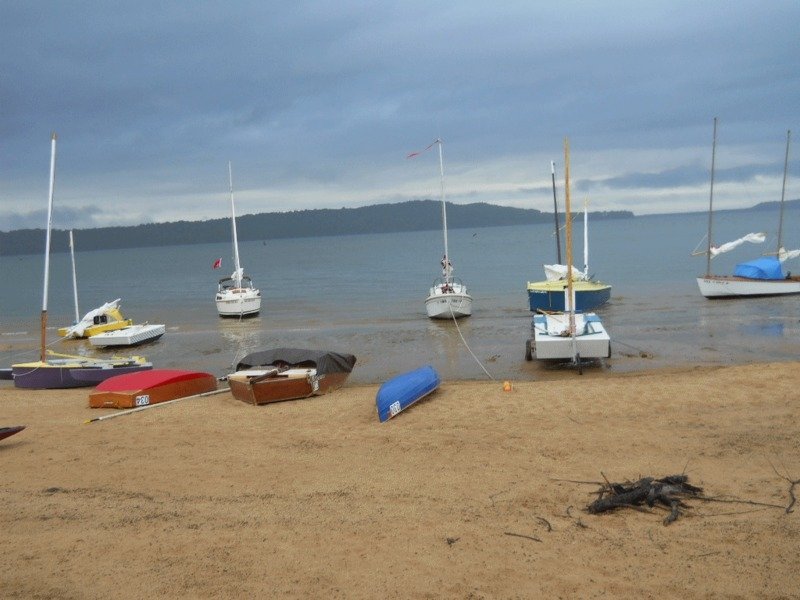
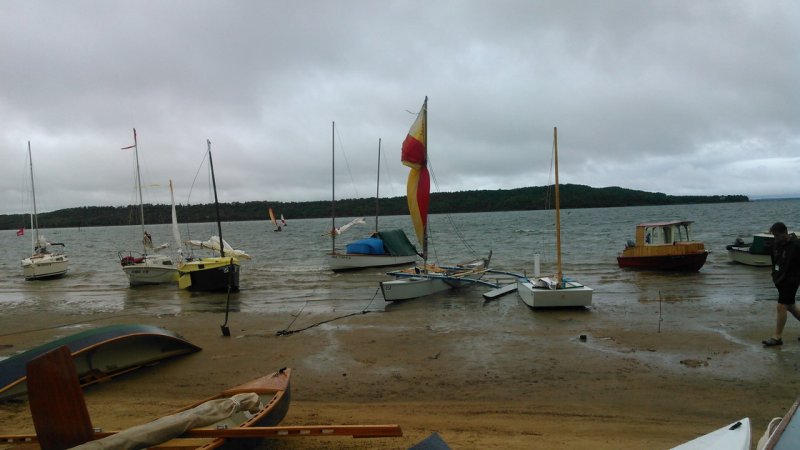
At Sail Oklahoma before the storms And during the storms. For sailing it folds down in seconds and is bungee down. It raises almost as quickly. MM

-
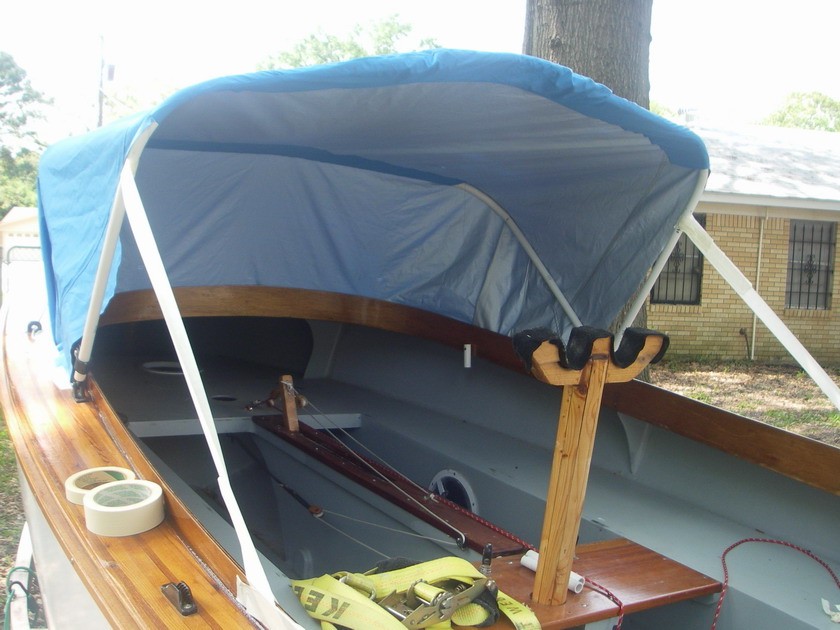
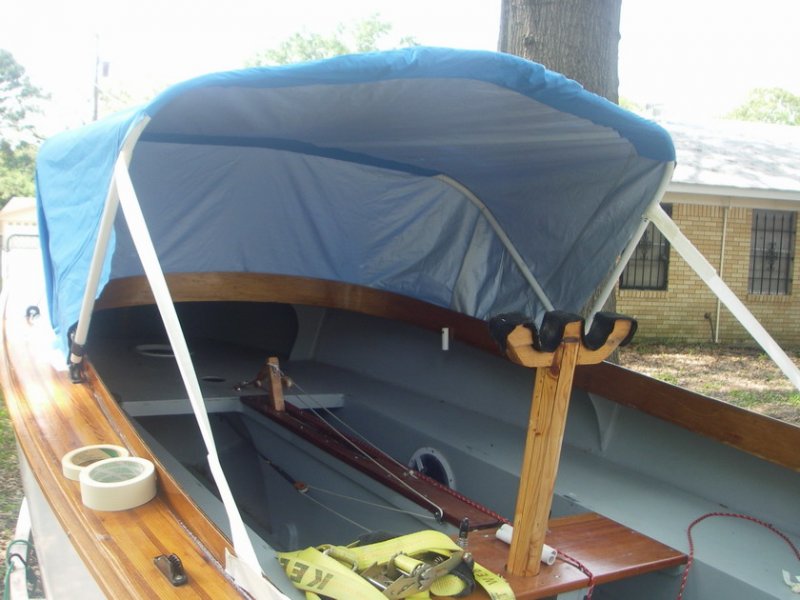
My setup was cobbled up from the material from one of those 10' fold up shade tents that got blown over in wind gust and bent beyond recovery. The frame work is 1/2'' schedule 80 pvc, this was meant to be a template before going to aluminum, but has proven to be more than sturdy enough as is. The Bimini fittings (from Duckworks) work great. The pvc was heated and bent using a large coffee can as a mandrel, pretty easy really. I assembled the frame work, cutting as required, to just clear under the mainsail, and held together with copious amounts of masking tape. I used some inexpensive material and spring clamps to get my cut template. Sail rite has a good video on Bimini construction, that gives a good explanation of this. So after much frustration at my sewing skills to start with, eventually it came together, I did a full length zipper at the rear but no windows as yet, I sewed a looped hem all around the base and threaded 1/4'' bungee cord through, burned holes with a soldering iron every 6'' and lashing hooks on the outside of my combing at corresponding points. Made solid fillers, hinged on center to enable access and sit up function, around center board trunk. Then sprayed a liberal amount of silicone water repellant and seam sealed the seams. Had a doozie of a thunderstorm a couple of nights later with very gusty winds and heavy rain, so I sat out there with my flash lite and was pleased to say the least when it remained dry and intact. But as Dale pointed out I had 3'' accumulation of water in the boat, At Sail Oklahoma this past year I arrived early and slept on board quite comfortably, but by the weekend of the event we had heavy rain and winds, and I did a lot of bailing. This was resolved pretty well using a 9'x 12' tarp over the mizzen sprit and very little got into the boat. MM

-
Marissa (eco 18) went to Europe !! photos of build
makenmend replied to Lotus's topic in B & B Yachts Forum
Extremely well done, must be frustrating waiting on the motor, but I'm sure the wait will be worth it. MM -
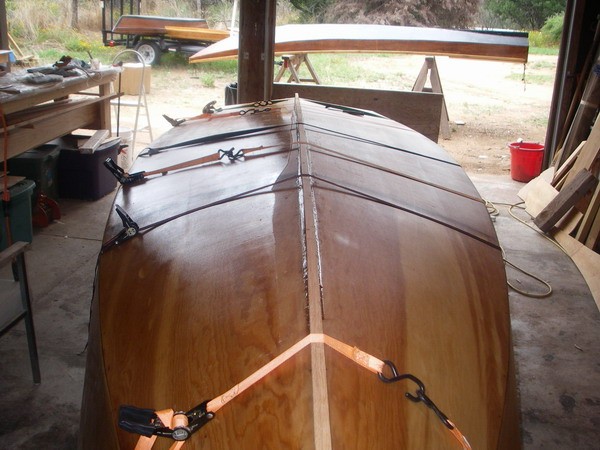
Mike T. I had to flip my boat alone and it wasn't nearly as hard as I'd thought Using the Bow "U" bolt as my pivot point and the transom mount "U" bolts. By crossing the transom mounts. raising boat off work table then raising one side in increments and slacking the other side until she was a the tipping point. I attached a 2nd rope to the high side transom "U" bolt to limit tip-over, then I manhandled her past that which was a little nervous, but worked great. Hope the pics make more sense.. . As can be seen from the paint scheme I did this twice. Be slow and cautious MM


-
I'm in that main category,casual paddler. Out rite speed Isn't important, good easily maintained speed is, most of my kayaking is river camping so capacity comes into the equation as well. For me ( my present boats are strip build ) but I want to do SOF It would be !. stability 2. weight 3. storage capacity 4. Speed MM
-
I used a pull saw and block plane, went quite quickly all in all.


-
" The only problem was with the mizzen sheet occasionally fouling on the lower unit when the motor was tilted up for sailing." This is my problem as well, still haven't figured a way round it. Has anyone come up with a solution to this ?? MM
-
Chick I have used the Sherwin Williams 440 spar varnish with no problems. MM
-
Marissa (eco 18) went to Europe !! photos of build
makenmend replied to Lotus's topic in B & B Yachts Forum
I was stationed in Malta in the mid 60's ( Royal Navy ) you have some beautiful waters to explore in what looks to be a fine build. Keep the pictures coming, and the young ones involved. MM -
Lennie that makes entirely to much sense. MM
-
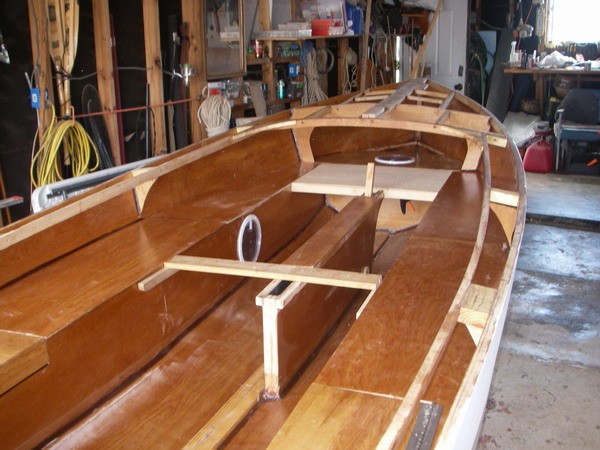
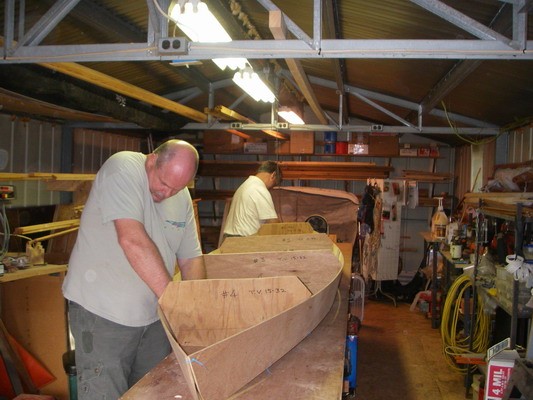
I always get a kick at this stage of seeing a pile of wood go 3D. I recently built a boat for a long time friend, I cut the panels but had him assemble them a great experience, much enjoyed. MM

-
I know exactly what you mean on the time versus expense, Found that my planer purchase saved me many hours of sanding, so the piggy bank is going to hit soon. Thanks for your input. MM
-
Moving along nicely at a brisk pace. I have been curious about those Raptor staple/brad fasteners for a while trying to see if I could cost justify the tool. MM
-
curious, what are those cleats for on the stbd side of the center board trunk ? MM
-
Protective matting, covering for deck areas.
makenmend replied to SteveKos's topic in B & B Yachts Forum
I have used the non slip material that RV folks line there shelves with to stop things sliding around, works in my kayaks as a sound deadened when fishing as well. -
" There have been times when I thought that I was in training for tossing the caber." Exactly Do you have drawings for the Tabernacle set up I could use ?? MM
-
I like this, Graham could that Tabernacle design be adapted to the 17 ? that would make life SO much easier for this ole F=+* . MM This Design could be in my future.!!
-
Why not another CS17 Build Thread? Here's #366
makenmend replied to mattp's topic in B & B Yachts Forum
that's the route I took, easier I think. Tabbed the keel completely as well.

-
Also built mine in Texas, but didn't have the help you will. I enjoyed the proccess throughout, so I feel that your's will be a very rewarding build in more ways than one. Looking forward to your updates. MM
-
Sorry I couldn't make it, ran out of time and funds after Sail Oklahoma and fishing the White river in Arkansas. MM Thanks for your expierenced help Graham, will be making the changes you advised in the near future. And would be gratful for the main tabernacle set up you mentioned. John Farrell