cdunc
-
Posts
108 -
Joined
-
Last visited
-
Days Won
2
Content Type
Profiles
Forums
Events
Gallery
Everything posted by cdunc
-
It might be overbuilt as you said, but it will come in handy to repel borders. ?
-
Congrats!
-

Any interest in a Catspaw build? Also featuring rabbits.
cdunc replied to cracked_ribs's topic in B & B Yachts Forum
Robert Uhh, are you really clumsy or were you an X-Games athlete in a previous life?? Craig -
Congrats!
-
Congratulations.
-
Port Aransas, TX Wooden Boat festival, and onward...
cdunc replied to Docpal's topic in B & B Yachts Forum
That sounds awesome. Good luck on your travels. -
I used the Pettit primer. Works good so far. When applying with a brush I did not get as smooth of a finish. Rolling worked better. I made the mistake of painting in my basement shop and the fumes lingered for a long time. After that all other painting was done in the garage where I could open the garage door and let the fumes vent much quicker. The Pettit paints had a strong odor but not as bad as the primer.
-
Congrats
-
Thanks Amos. First sail will be on Lake Lanier. This weekend might be a little too breezy for the shakedown cruise - darn Irma. Eventually I would like to take it down to the gulf coast.
-
Painting is mostly complete. In the rigging stage. Need to mount the false transom, finish a few painting jobs, install all the hardware onto boom, ... The list goes on.

-
Spindrift 10N help needed - outboard pad and fwd bulkhead question
cdunc replied to Rdubs's topic in B & B Yachts Forum
Router and a trammel plate. Assuming you have the clearance for it;
-
I have also heard it as "Perfect is the enemy of good" or "Better is the enemy of good enough".
-
LOL
-
Good luck on the build and keep the pictures coming. There was no kit available when I built mine so you are already way ahead of the game. It is funny that you mention the bookcases and lawn furniture as I was just discussing the same thing with a fellow woodworker. He started building guitars, I started building boats. Craig
-
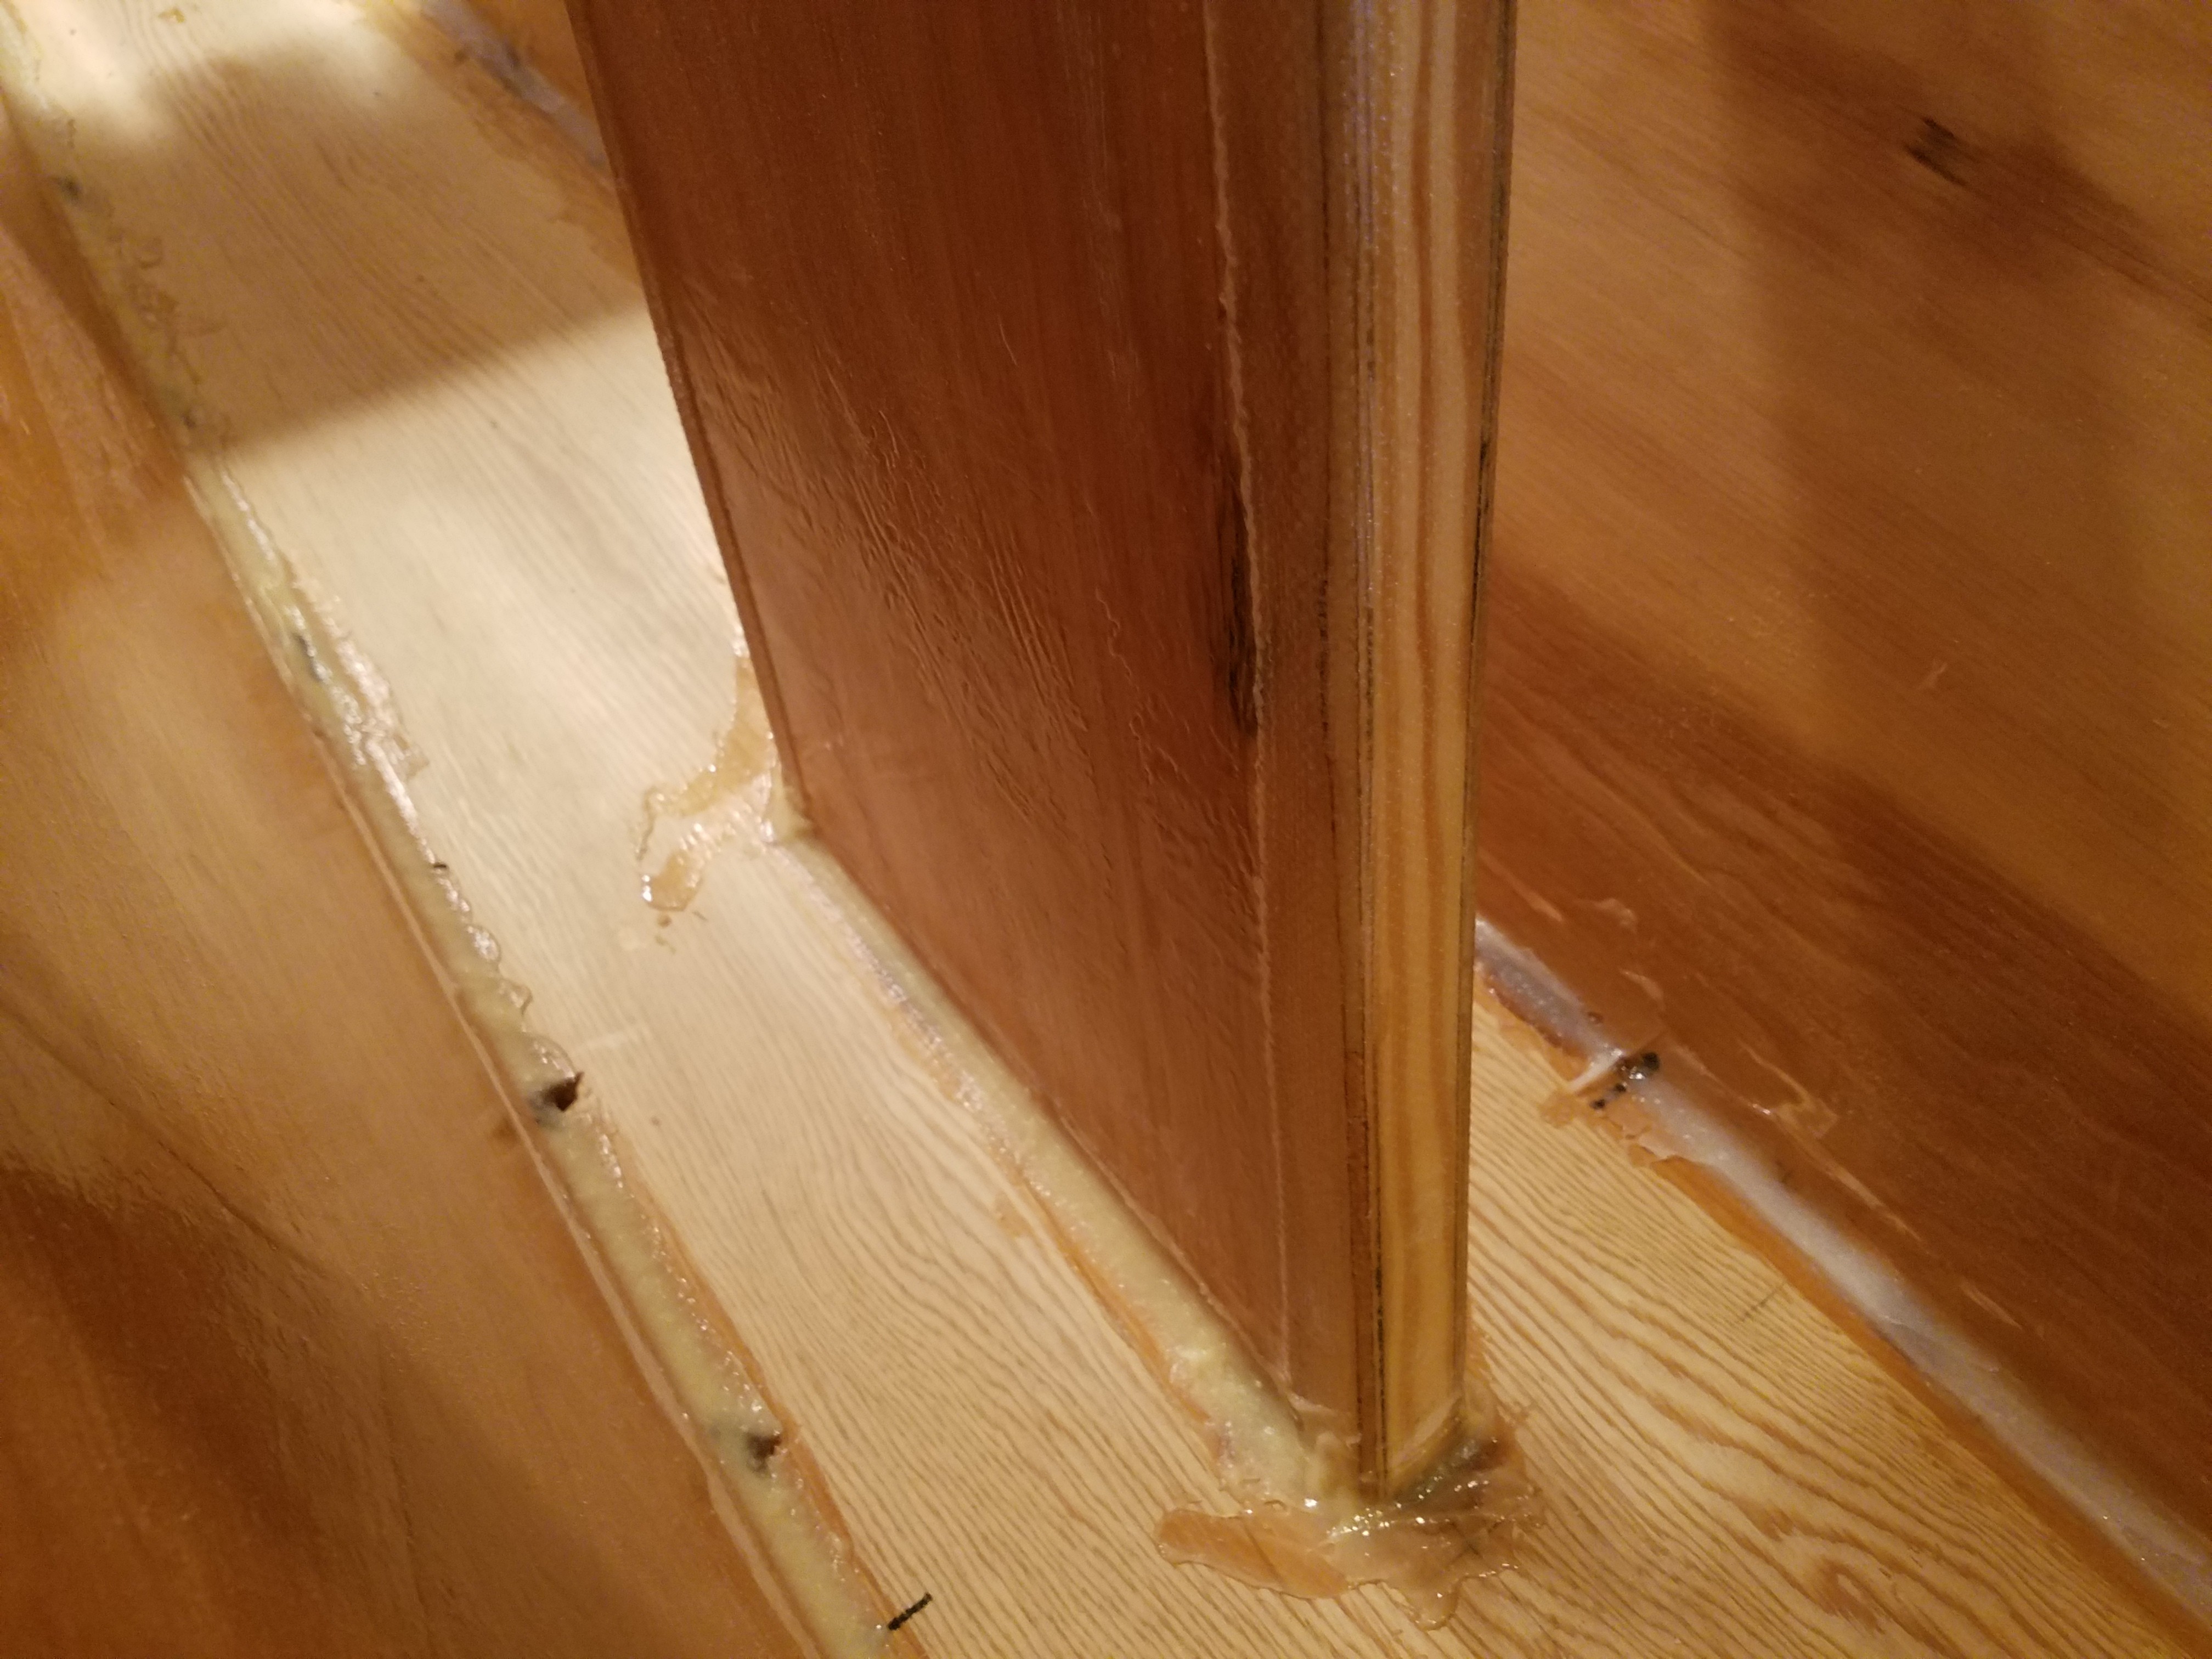
The main hull has gone 3D. All the cross members are cut and fitted in place. Some are already glued in. The daggerboard trunk has been installed and secured to the dashboard. Fillets are done. Once all the cross members are glued in it will be time to flip it over to shape the chine. I won't need to call any buddies over to flip it. I have a finished basement that I am able to use for assembly. My workshop is not large so it helps to have this extra space and an understanding wife. I ran out of West System Epoxy and I am now using B&B epoxy. You can really see the difference in color on the fillets. Port side is West and Starboard is B&B. Trunk extends through the hole to be cut flush with hull bottom.


-
Congratulations. It is a great feeling to see it on the water the first time.
-
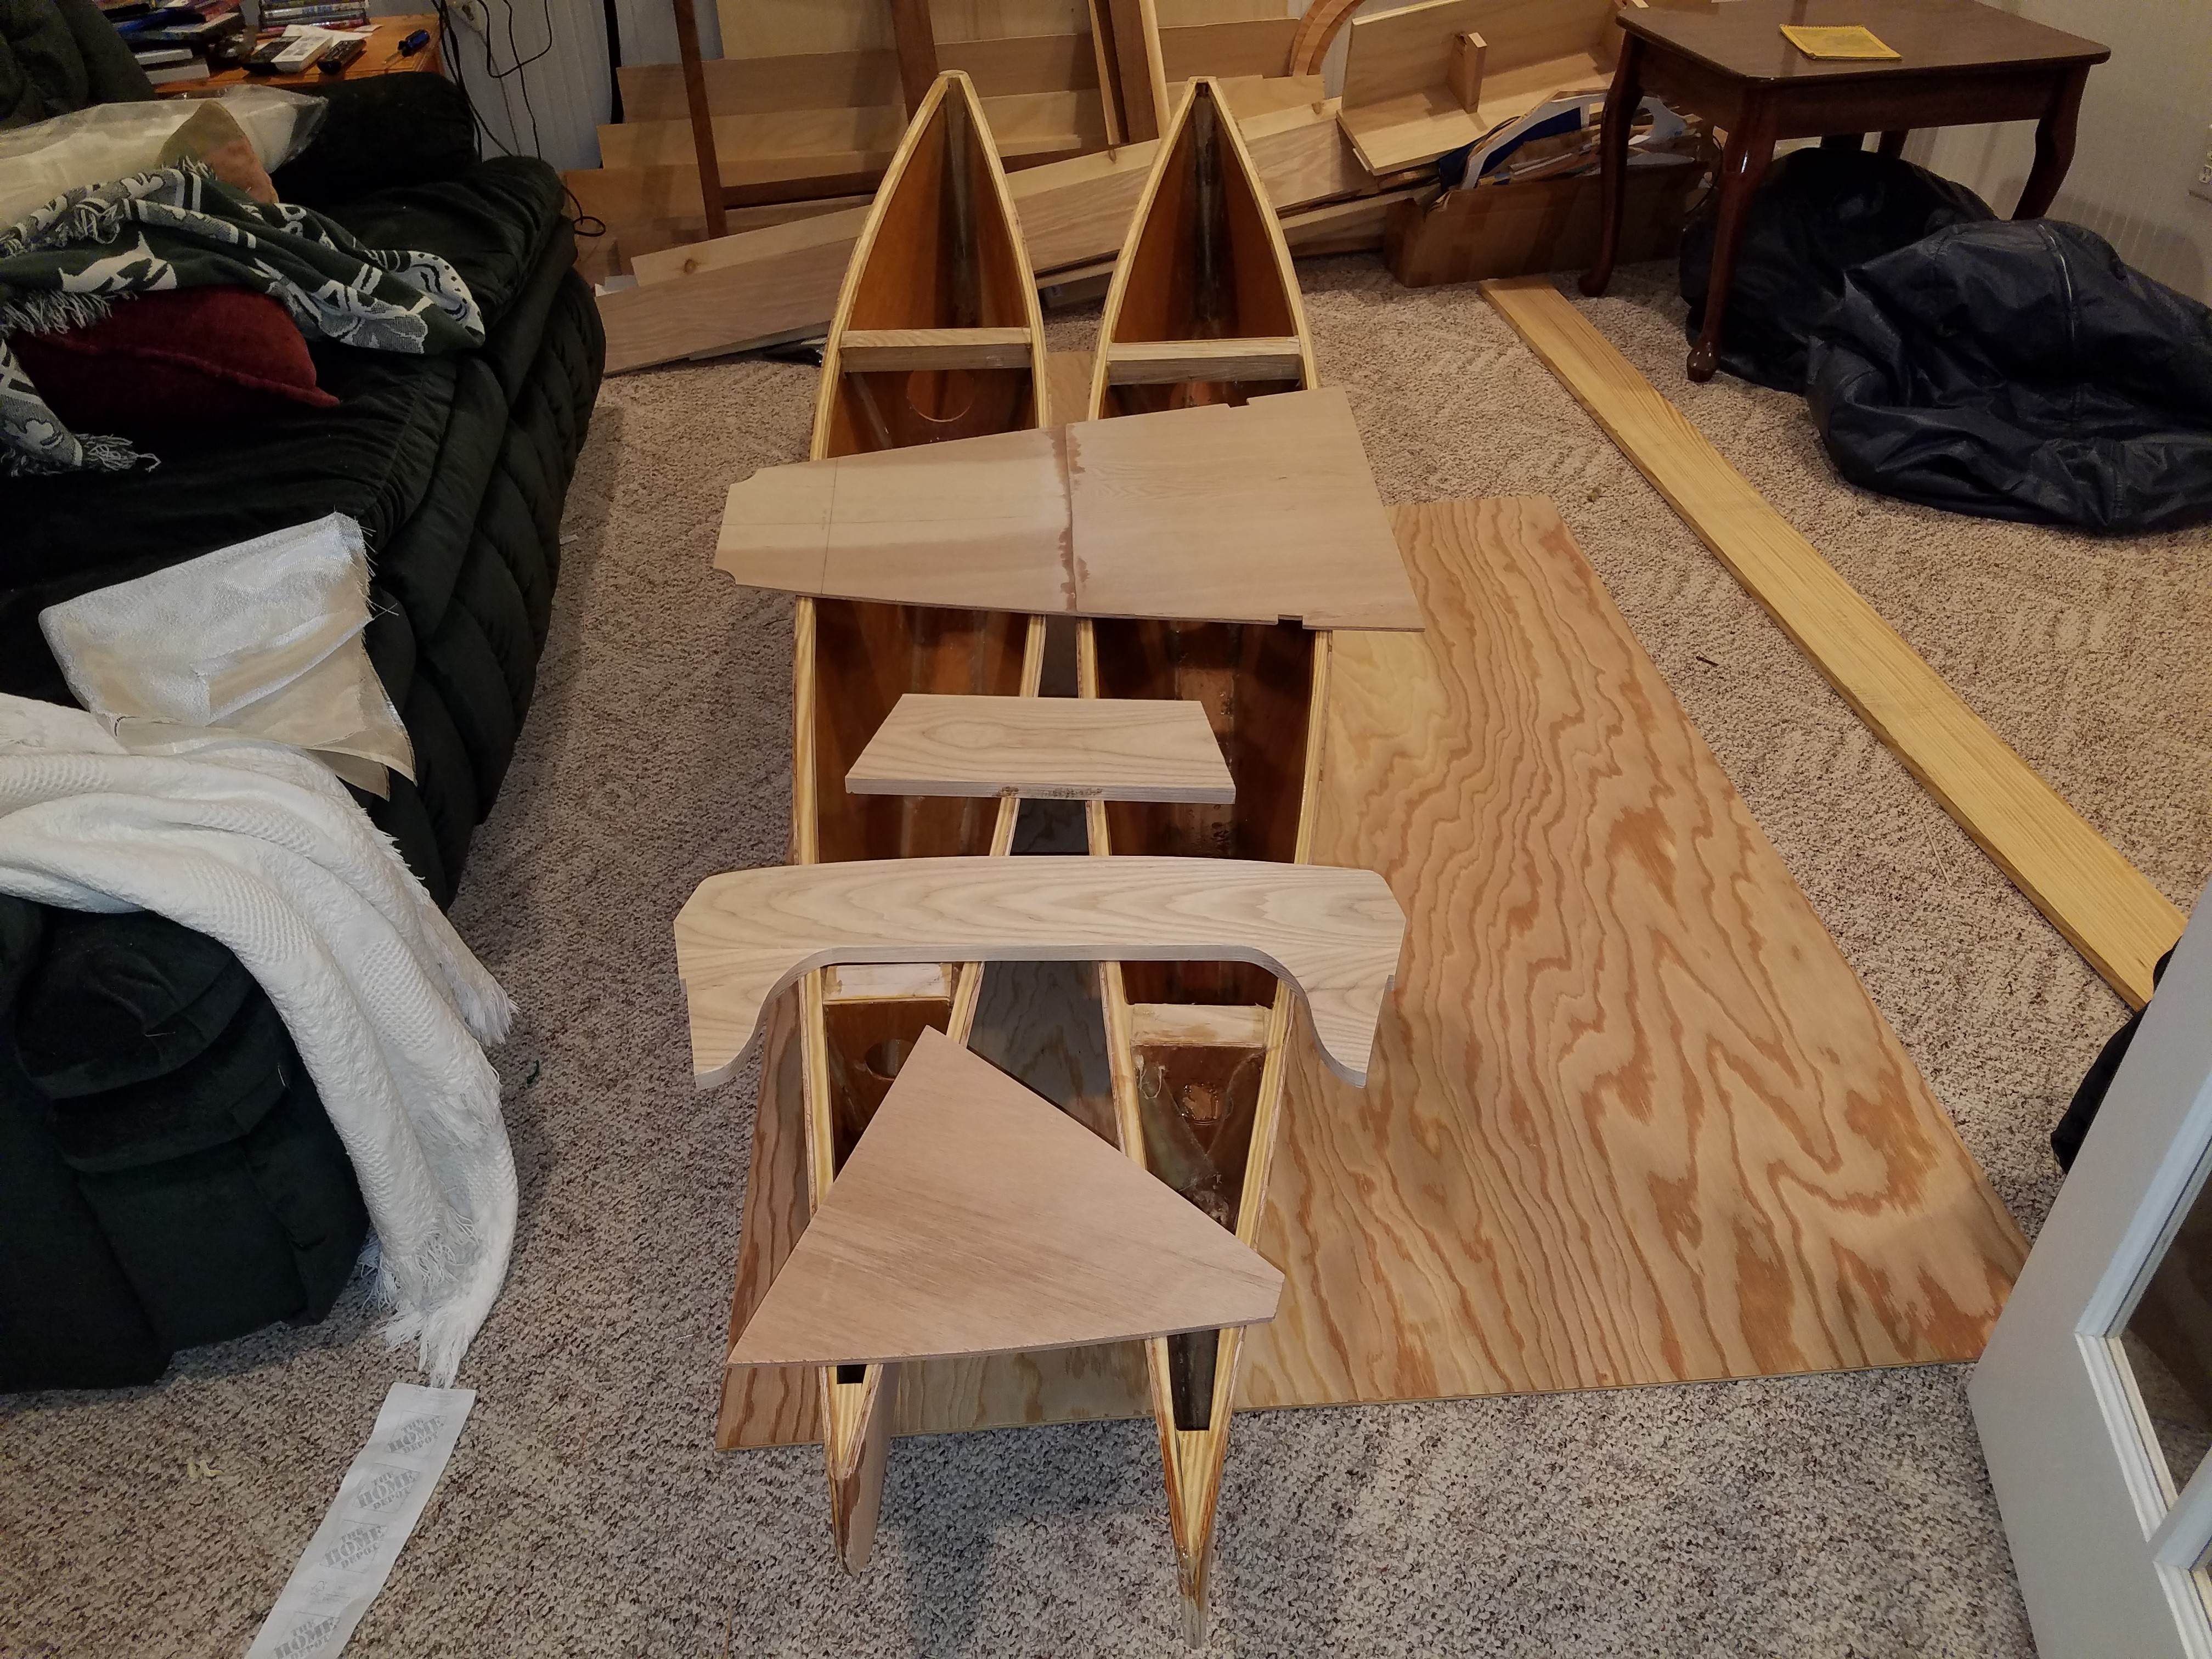
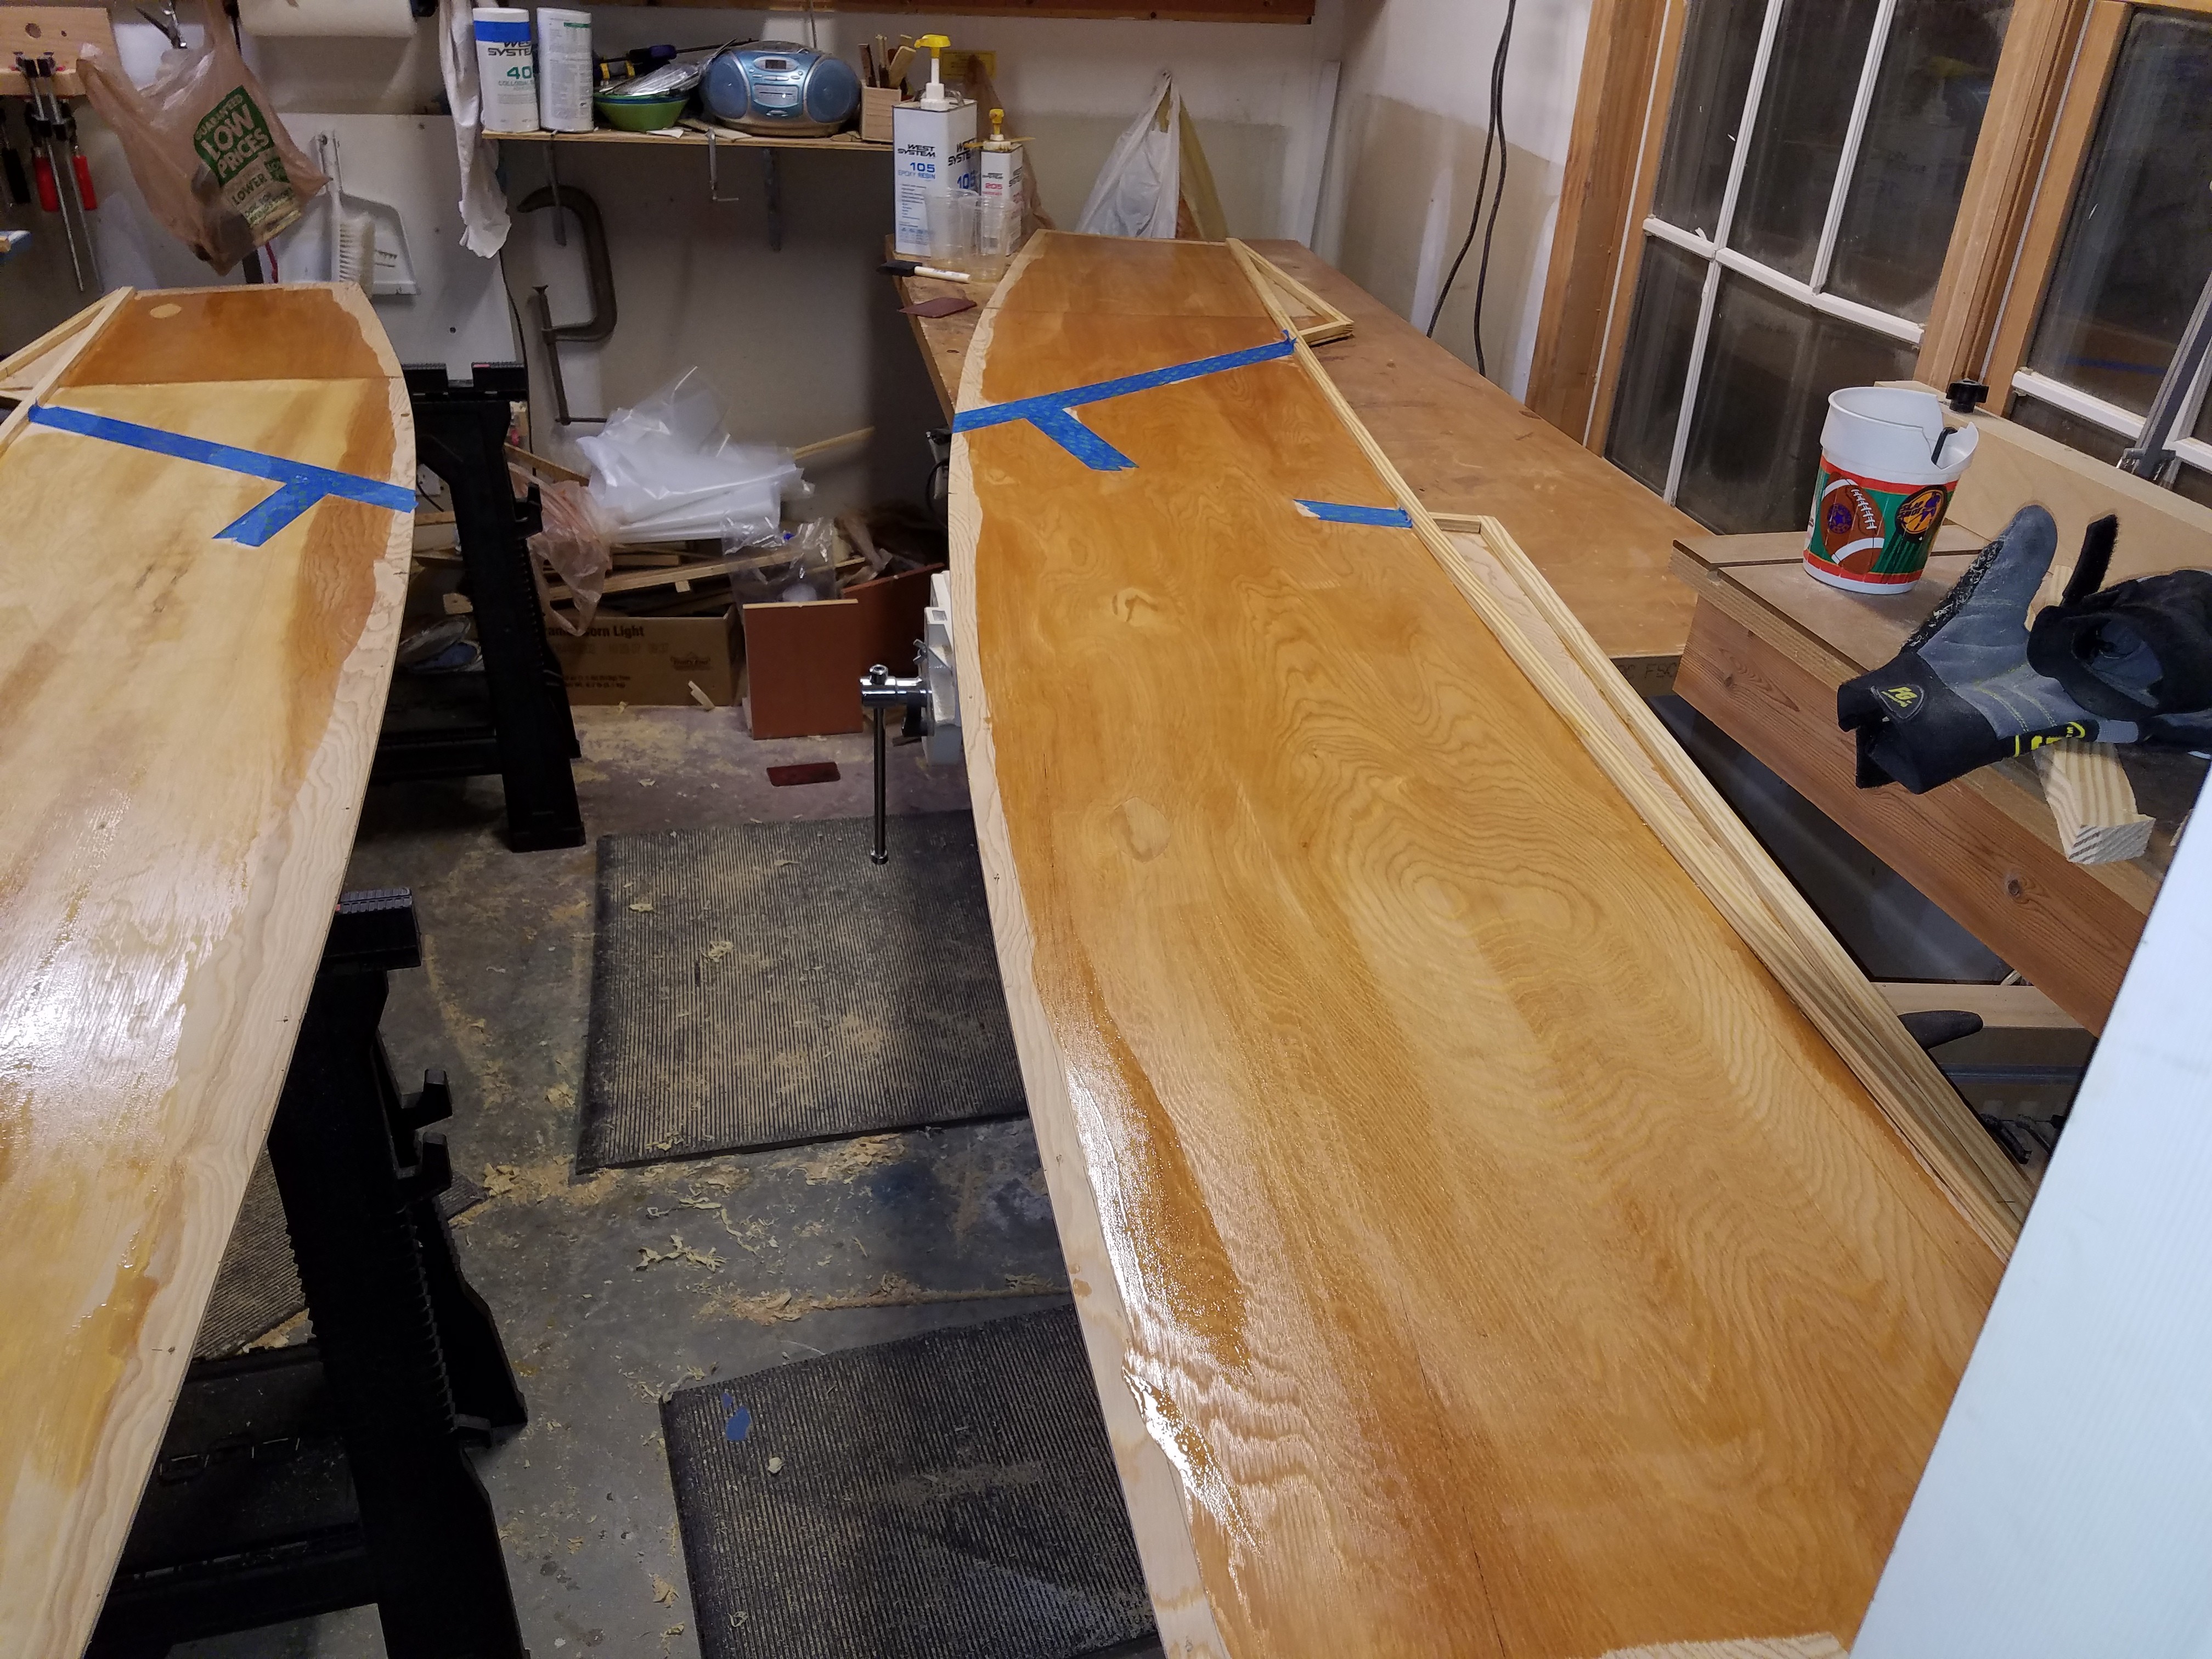
More preparation work getting done so that the main hull can be assembled. The trunk has been glued up. First coat of epoxy on the internal sides of the main hull sides. The blue tape is where the seat back and the dashboard will be attached. This is the 2 amas, the dashboard piece(ash), mast brace(ash), seat back and transom.


-
Since the last post I have been working on the second ama. I also spent time cutting the main hull sides and gluing the stringers in place. To assemble the main hull I need the seat back, the transom, the dashboard, the daggerboard trunk, stem and mast brace. So I have been working on getting all those pieces cut and ready to go. Since I need the daggerboard trunk that means I also needed the final thickness of the daggerboard. The board has been cut and shaped for awhile but the plans call for it to be glassed. This is my first time working with fiberglass cloth. On my Spindrift 12 I only worked with fiberglass tape. The internal faces of the trunk also needed to be glassed as well. Glassing the internal faces of the trunk was pretty simple. After getting both pieces done I was admiring my work when I realized that I had somehow flipped one of the pieces over and I now had glass on an internal face of one and external face of the other, DOH! Epoxy was still fresh so I peeled it off and applied it to the correct side. I filled the weave on the trunk sides with epoxy and some graphite powder I had left from previous boat build. Pictures below of the trunk and daggerboard. You can see in some of the pictures where some of the strands of glass are black. I used a black sharpie to mark the glass before cutting it. I am planning to paint the board so no big deal. But I will remember that in the future.


-
A Source for Marine Plywood in the Upstate
cdunc replied to Don Silsbe's topic in B & B Yachts Forum
Here is the description of their Okuome: I got that from their web site: http://www.hooddistribution.com/import-plywood/ -
Don't let Ken Potts location fool you. I met Ken back in 2009 and I believe he is 'Merican.
-
A couple of pictures of the ama that has gone 3D. Filets have been added to the interior of one ama and I have begun planing the top stringers to create a flat surface for the decking. The other ama is 3D but held together with zip ties.


-
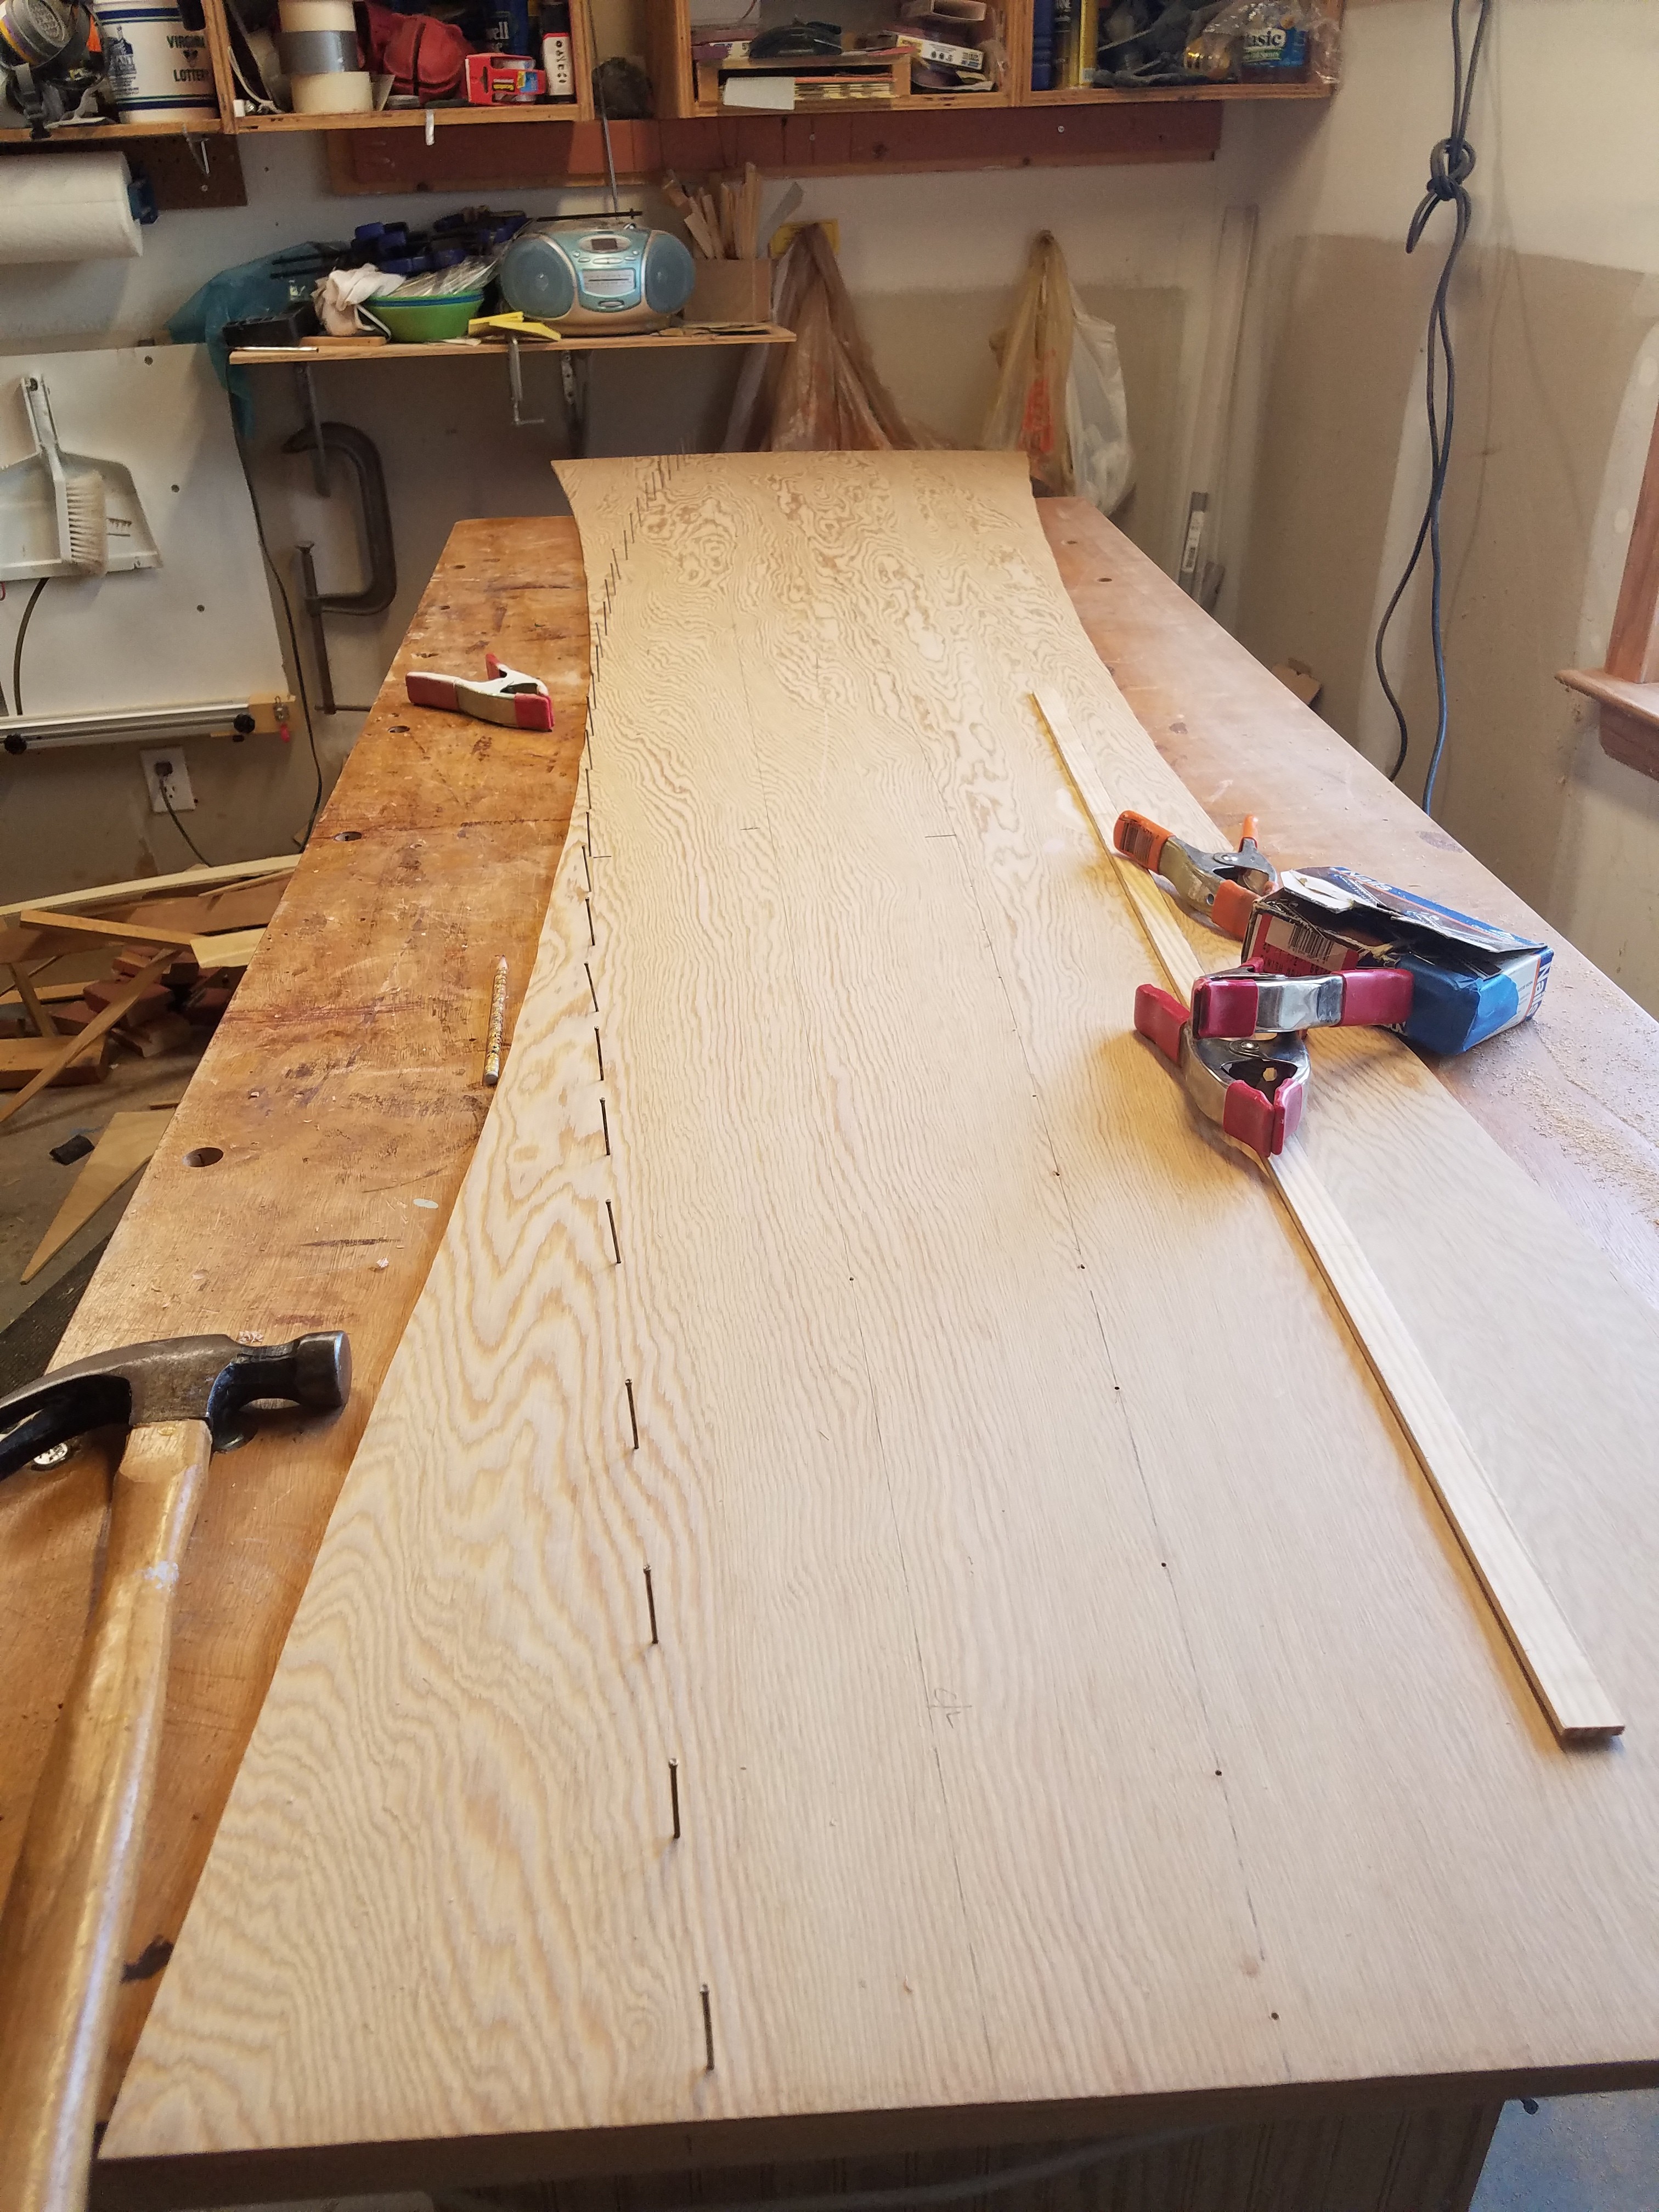
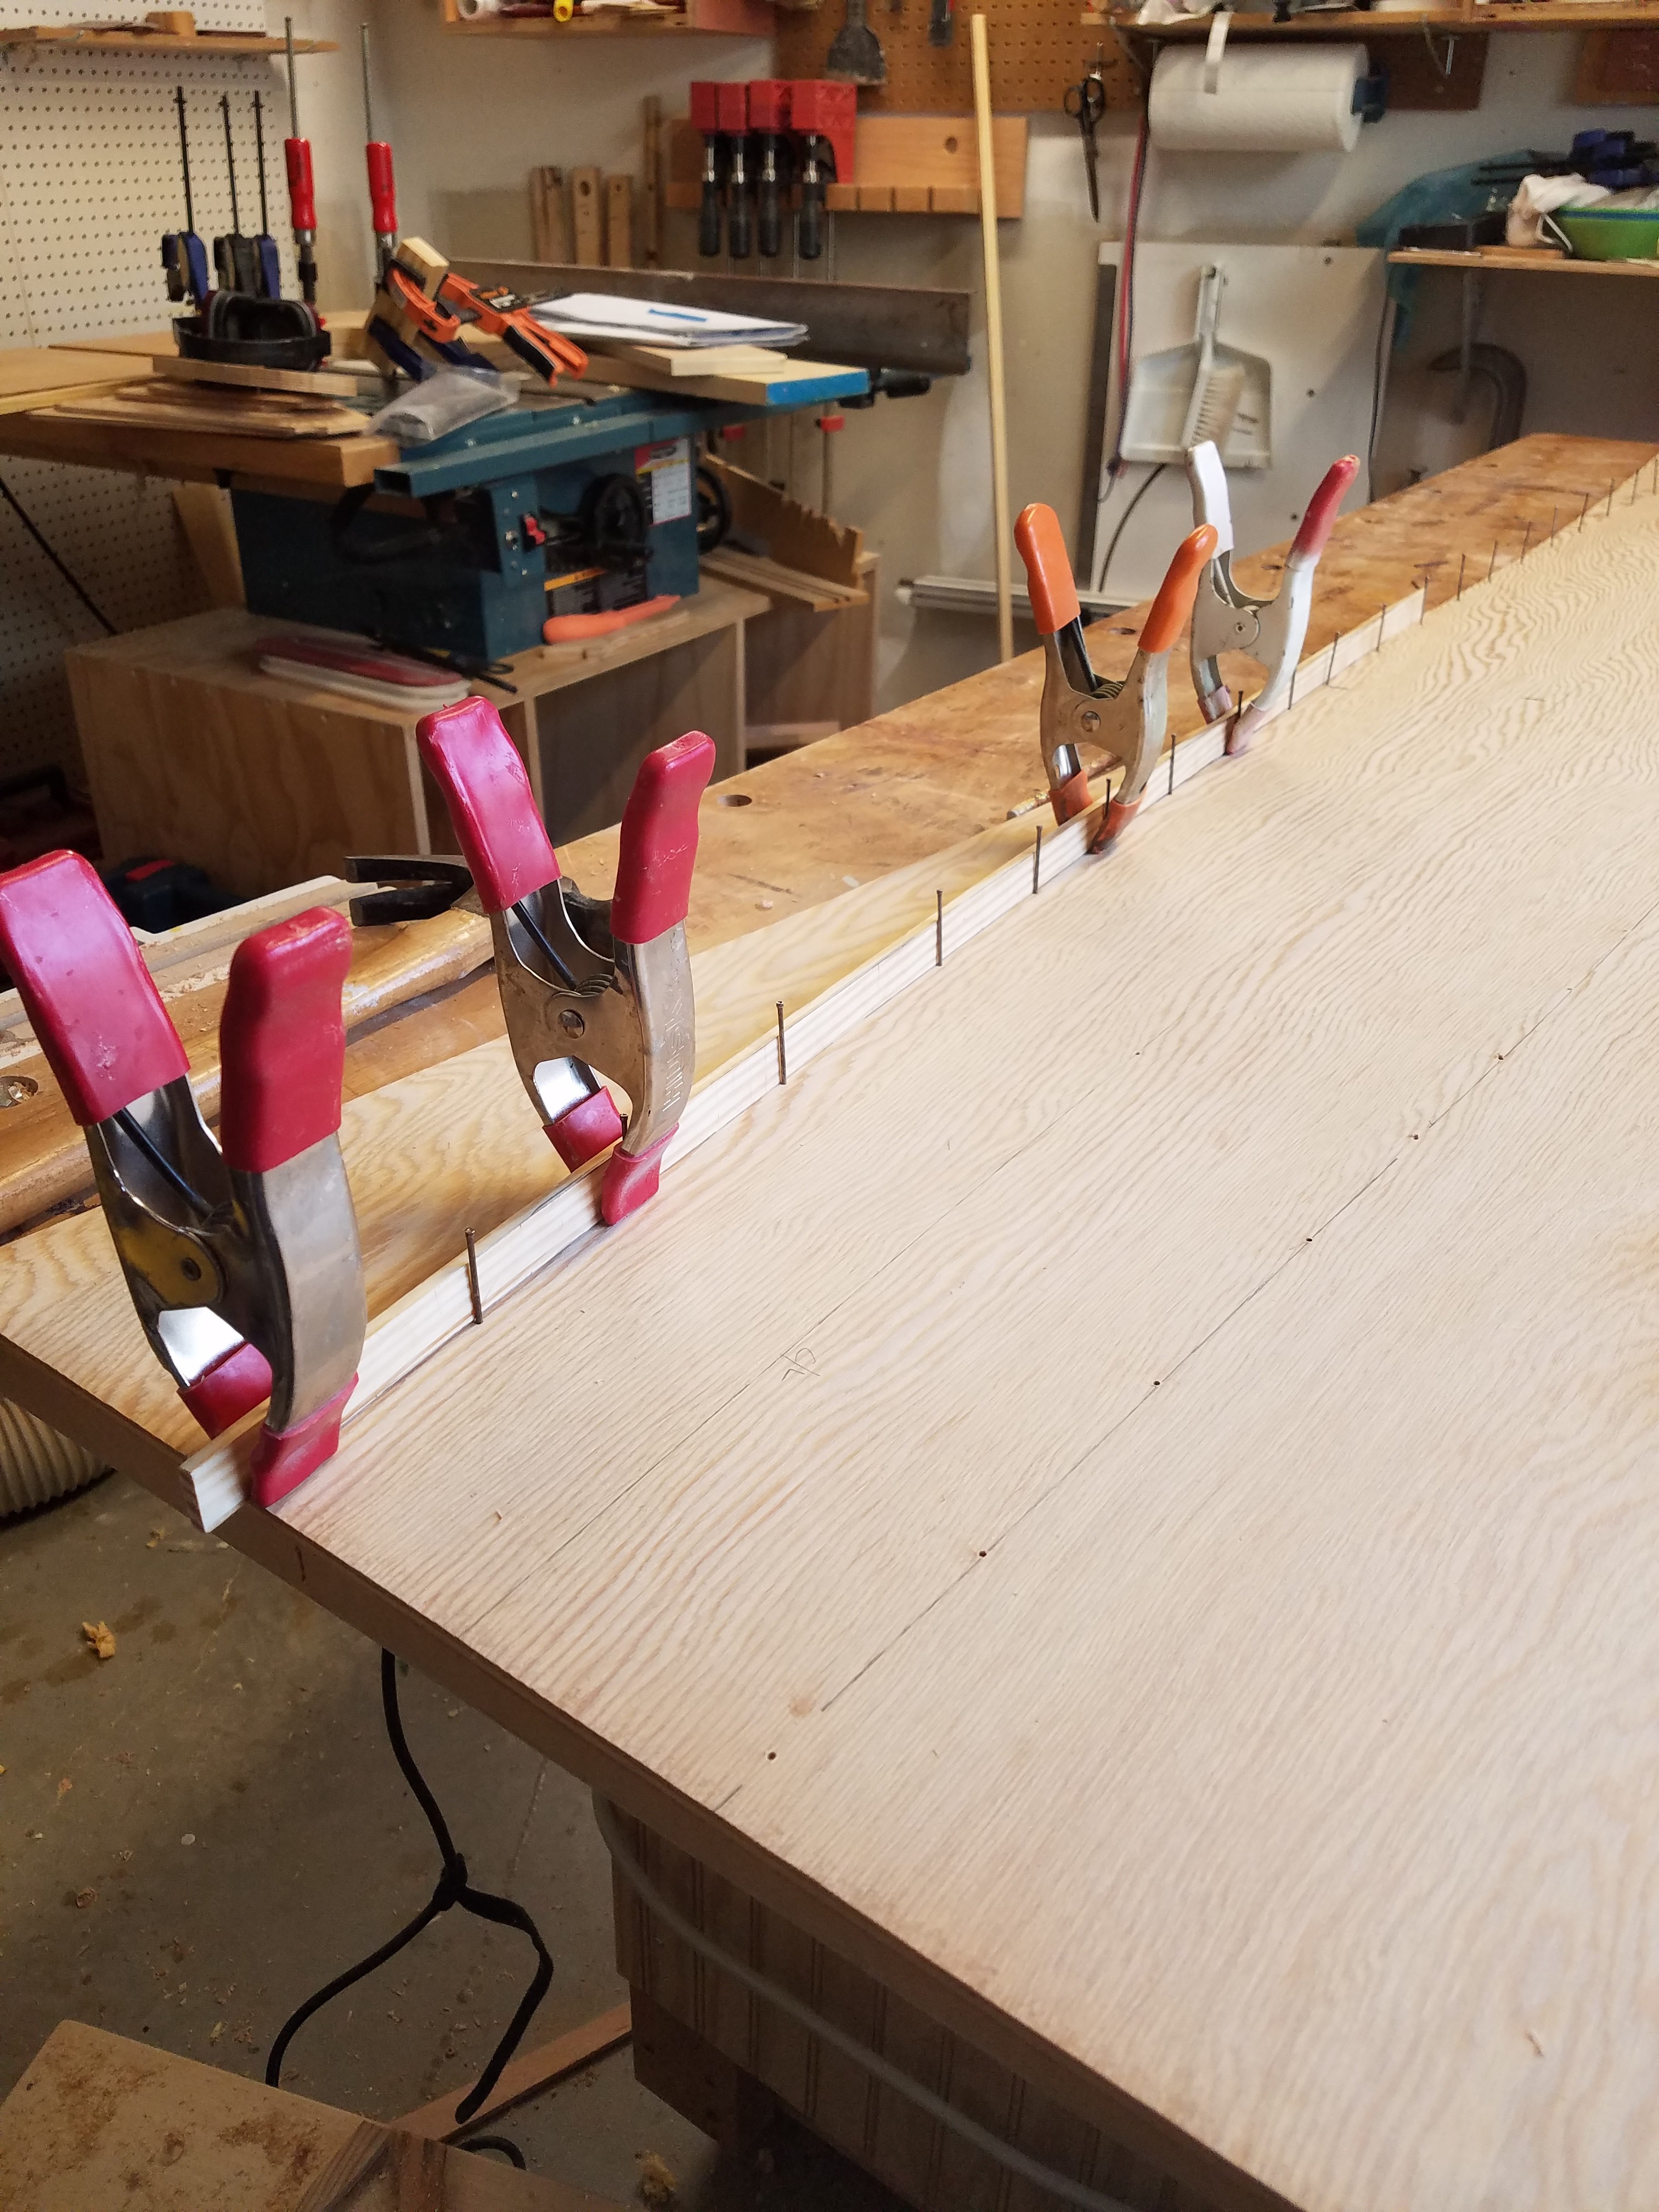
The plans come with full size patterns that I transferred to panel with a nail and hammer. Then used nails and fairing stick to fill in the lines between nails. This panel is for the bottom of the main hull.


-
Bulkheads for amas. The larger one still needs a hole. B Here the ama sides have the stringers glued in place. This is the bottom panel for the ama. This was my first time scarfing plywood together. In previous boat I just used butt joints.


-
After fighting the boat building bug for 8 years I finally succumb to the illness. My previous build was a Spindrift 12. I have chosen to build a Seaclipper 10 which is a design by John Marples. http://www.searunner.com/index.php/seaclipper-10 I have started on the centerboard, rudder and cutting the sides for the amas (outrigger things). I will post some pictures as things develop.

-
Graham, I watched the video of the Spindrift. Does that boat have a topping lift/uphaul? Thanks, Craig