Paul356
-
Posts
795 -
Joined
-
Last visited
-
Days Won
103
Content Type
Profiles
Forums
Events
Everything posted by Paul356
-
I picked up a Suzi 2.5 this week. I wanted to have it available for positioning the motor mount, etc., as I finish off the transom. (CS 17). Good to hear your good reports. I bought it because Graham recommended it.
-
PAR is first class all the way, with amazing results. For the rest of us, 6 oz. cloth with regular epoxy is a good approach. That's what I used, anyway. Flood coating with slightly thickened epoxy, like PAR mentions, is a good approach.
-
if it helps any, the truck driver who delivered my crate had a dolly and brought it back to my garage. also, it was probably less than an hour's work take the cover off the crate and take all the pieces inside the garage and up the stairs to the garage attic to the work area. so the crate was at full weight for really only a few min, and the driver handled that.
-
way too cool
-
Good lad.
-
You're way ahead of me.
-
See how it goes, figure it out. Thought of a taller fiddle as was putting them in, but by then everything was wetted out. Not worried. Weren't any shelves at all before.
-
Yes, meant to mention. That walnut is terrific.
-
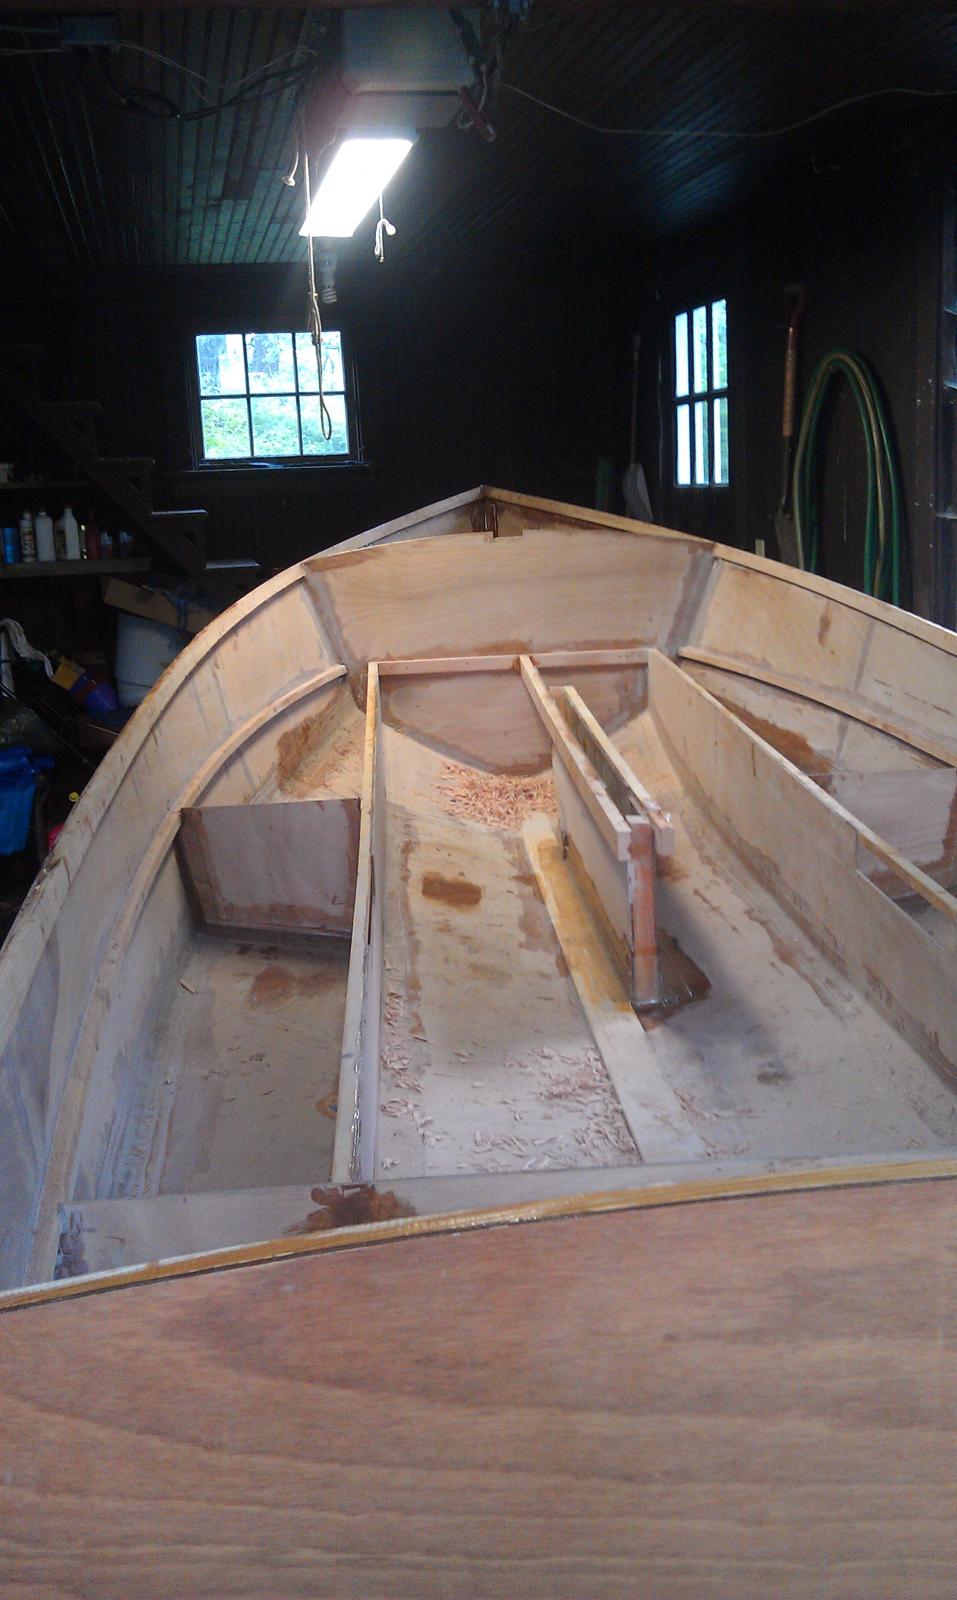
I put a couple of shelves in the bow compartment for odds and ends, maybe docklines and such that would be hard to fish out of the depths.. I angled them outward, thinking things might stay put a little better. We'll see. When I got them in, I told the girls each of their cats could have one.....


-
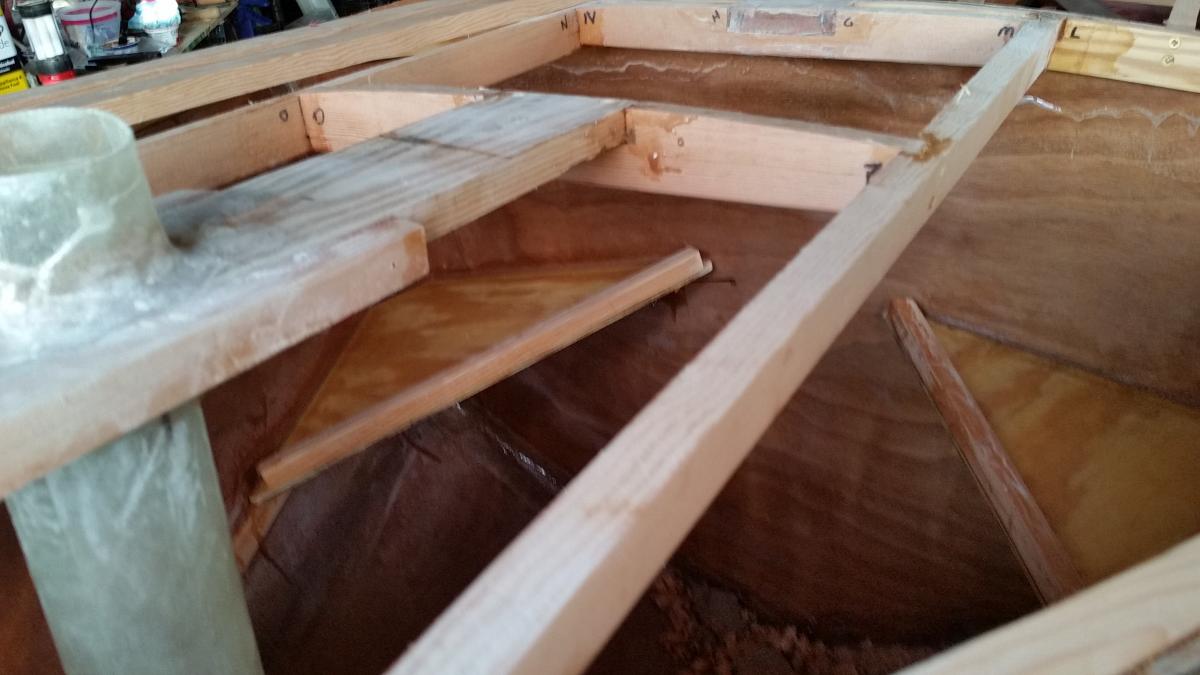
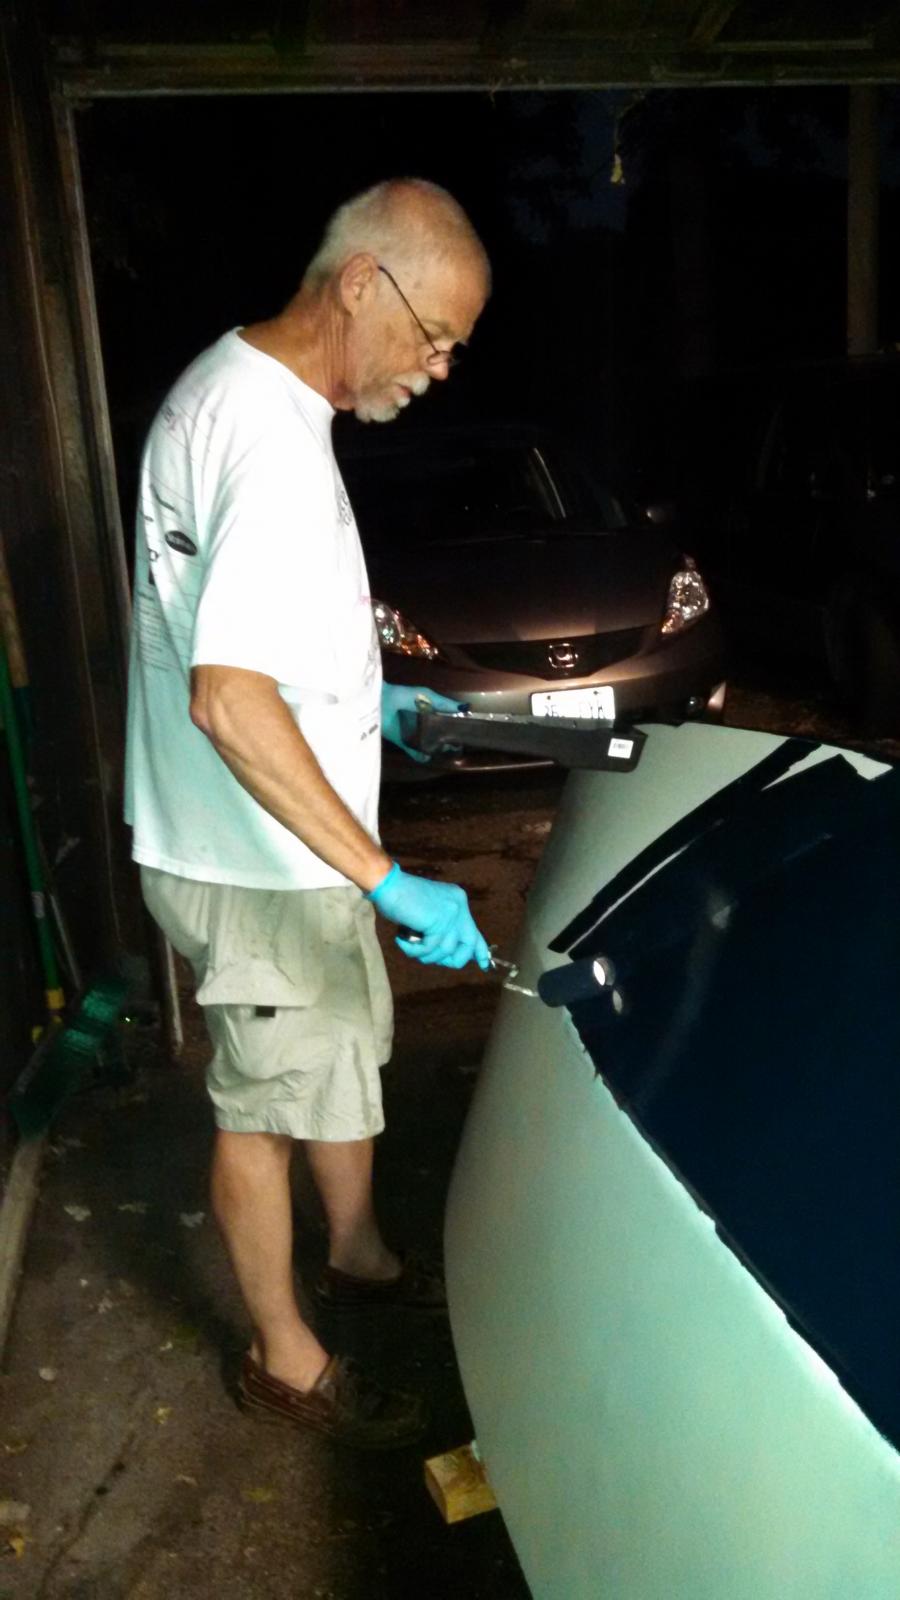
Here's the tube I made, per Graham's instructions and Alan's video, installed similar to what Thrillsbe was working on in his photos. The deck setup is a little different in the CS 17 than in T's 15. I wanted a solid step at the bottom so made one up out of a block that i glued and screwed to the platform shown on the plans. Final photo is the "mast" stepped. Also notice the hull color: dark blue. Not white, not black, but a sentimental favorite around here. (Sorry, no clue why the first two photos list to the left. All three started out on their feet.)


-
Guess I'd like to see a match race between the GIS and the CS 15.
-
Thanks, Alex. I added main mast step, tube, etc., today. Pix tomorrow. Cutting a hole in king plank is slightly traumatic. I should add that the forward king plank section is a piece of the packing crate Graham sent the kit in. I thought it would be fun to include "a piece of B&B" in the boat. That southern pine is tough stuff.
-
Some progress...except I don't know why the pictures turned upside down in loading.


-
I used the new Jamestown "Total Boat" one part enamel. It thins with mineral spirits, so it is at least a modern approximation of good ol' enamel. I primed with two coats of their companion primer (thins with xylene), slightly thinned. I rolled and tipped all. It does not look like brand new gel coat, like the two-parts seem to look, but I am very happy with the results, feel I could do even better with a little more care*, and feel like I got a very good return for my time invested. I did not want to mess with trying to mix just the right amount of two part, etc. I certainly did not want to mess with a paint that required a respirator or Tyvek suit or spray unit or anything else complicated. I used the very short-nap yellow foam rollers from WEST. They did not fall apart. I sanded lightly between coats w/ 220, vacuumed and wiped. Rolled on very thin. The paint was very easy to use and cleanup was no problem. Mineral spirits are very mild (xylene not so much, but used little and it's not too bad). Don't sand the dry primer heavily, and don't wipe it with very much xylene, or it will melt off. *The second coat looked great. I thought I could get by without sanding for the third by applying "hot" before the 2d was hard-dry and it did not look as good. I will probably go back and sand and recoat at some point, just for looks.
-
Finally done, back on her feet.

-
Forgot the foto.

-
Turning primer into color. The first color coat, rolled and tipped.
-
Two coats of high-build primer. A pro could have done more with the high-build properties to get a perfectly smooth finish, I think. Mine's a little stippled. It probably would have taken a couple more coats, sanded.

-
Then more epoxy, then sanding with 80 grit before putting on the final epoxy coat, rolled and tipped with a foam brush.


-
I thought I'd post a few pictures of nuts and bolts process. I ended up with the hull upside down literally from Memorial Day to Labor Day. First sanding and smoothing the hull, then a thin coat of epoxy, then a layer of 4 oz. cloth (on Fourth of July), applied with epoxy. Then at least two more coats of epoxy, three more in some areas, and sanded with 80 grit. Two coats of primer and three coats of color. She's finally back on her feet and ready for some interior work again. It seems like a long haul, but I have not been working very steadily. For those who are planning: Cloth and initial epoxy took about 3 hours. A coat of epoxy took about 2; a hard sanding at least 2. A light sanding and a coat of paint a total of about 3 hrs. By the way, I used the new Jamestown single part primer and enamel and found them easy to apply with good results. I rolled and tipped. I was going for a "4-foot-finish" and easily achieved that. I think with double the prep time on sanding, I could have just as easily gotten a very top notch high gloss "6-inch" finish. This foto shows the cloth draped, ready for application after completing and smoothing the initial coat of epoxy on the plywood.

-
dreamin' of joining you.
-
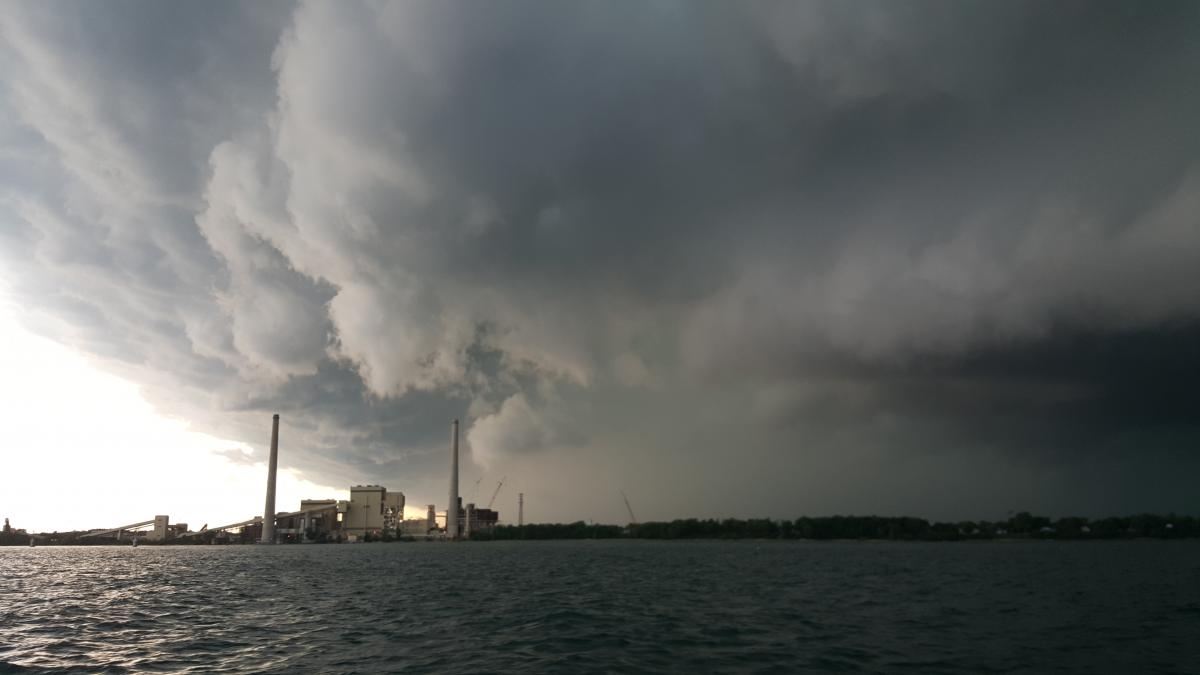
Here's a little diversion. Wife, daughter and I took the big boat (36 foot cruiser) from Milwaukee to Sheboygan last weekend on Lake Michigan. The hot southwest breeze was very, very strong, and we were even surfing some, even under a double-reefed main. Alas, we came up a couple miles short before the squall hit us. Strong winds, downdrafts, blinding rain and even a bit of hail. But like any good boat, she handled it and was ready for a lot more than we were. Here's the squall just before it hit. This is usually known as a "white squall" on Lake Mich. It drove in from the north. I kept wondering what a CS 17 would do in these conditions, both the screaming southwester and the squall. Stay close to the beach, I think.

-
My two cents (should tell how cheap I can be some times): I bought a Master Mechanic RO Sander, which is the house brand at True Value Hardware. It was $30. So far so good, including on vaccuuming when I want it. I figure for $30 I can buy two or three or more of these for the price of one of the others, if needed. But so far, this one keeps plugging away.
-
As long as I'm at it... I finished the sanding I wanted to do yesterday (pix on left), then put on another coat of epoxy (pix on right). It came out very well. I think I'm ready for the keel and painting.


-
Hi, men. Progress goes in spurts. I had thought I was going to get the keel on and bottom painted at the end of May. I taped the chines and bottom vee with 10 oz tape and epoxy, sanded smooth and recoated a few times. Then a) some life events interfered with that week off and I decided to go ahead and put a layer of glass cloth on the bottom after all. I used 4 oz. cloth. I'm glad I glassed it, because the bottom feels much stronger and "tough" and there's no flex at all any more in the 1/4" ply at the bow. But it also meant a lot of extra coats of epoxy both before and after putting on the cloth and, at least the way it worked out for me, several trips over the topsides and bottom sanding, somem light, some aggressive. I have perfected my epoxy-layering technique, however, now that I am almost done (roll on a light coat on a warm day, tip it with a foam brush.) I'm close again to being ready for the keel and paint, but not quite there, and now it's the end of July. More life events, some sailing on Lake Michigan, some extra work commitments, etc. So, no real complaints. Pictures show laying out the glass (not much to show, really) and then the hull after one of the later coats of epoxy over the glass (plus starting a bit of the next round of sanding). It looks great from 8 feet away, but lots of imperfections that needed to be sanded out at some point, so that's what I'm doing now. I doubt I'll be done by fall. I keep telling myself it's a journey, not a race. I threw in a couple of pix of the hull before turning it over, as well. They ended up out of order in the middle. I had no good reason to turn it over and work on the bottom at this point except I had the opportunity and I wanted to cut and finish the centerboard slot before it got too late, just to make sure the board would fit in the slot and housing. What's the progress on your boat? As always, let me know if you're in the area. It would be great to see you and compare notes. --p