Brent
-
Posts
564 -
Joined
-
Last visited
-
Days Won
3
Content Type
Profiles
Forums
Events
Everything posted by Brent
-
Great progress and beautiful work. Here is wishing you the best through the storm!
-
I am enjoying these updates. Keep them coming. Good to see your young pirate crew in the pictures too. I have built a couple of boats now but still find I spend lots of time thinking (fretting) over the next step. It is part of the process. I have sometimes just kicked myself into action, recognizing doing something is almost always better than continued fretting. Like the tabernacle alignment issue, the answer would have come to me eventually ifI had just gone after it, thinking with my hands if you will.
-
I like the stub mast idea, but as Paul discerned it probably isn't needed for the mizzen tabernacle. Totally agree esthetically getting both masts parallel is very important. Getting the first plumb will require running a string from the top of the stub mast to gunwales on both sides or something similar. The boat is not presently resting dead level but doing something about that will make the whole operation easier, then the plumb bob will be useful. Getting the twist in the tabernacles is easy. As said simply sighting down the tabernacle checks gets it close. I ran a string from inboard starboard cheek on the main tabernacle to outboard port cheek on the mizzen. Then used a straight edge on the cheek face to line up with the string, keeping in mind the mast taper. Howard I am right there with you in maybe a 1/16" shim being plenty. The rake alignment is the dimension I had been struggling with the most. I recognize I can trim the mast wedge to fine tune rake but being a little compulsive wanted to get the tabernacle mounted as dead on as possible. Obviously getting the boat level fore and aft will make this easy, thanks for the reminder. PAR's, I completely agree with using the lower wedge to take the bending and heeling forces off the pivot bolt. Are you also suggesting passing the vertical forces on the mast into some type of wedge at the mast base? I think that to be a good idea. I am imagining maybe cut the heel face of the mast at an angle then build a support plate tied to the tabernacle presenting a face matched to the mast heel angle. The angle being such that when the mast is rotated it lifts clear of the support plate... I need to think a little more on that. I am planning to run the mast bases say 6 inches below deck to help spread the bending moment into the deck. I think Paul's cs20 main is done this way also. My tabernacles are built from high density foam and will get a couple of layers of glass. Even without the glass they are quite stiff...and not so heavy.
-
I wanted to express what a great time I had at the messabout. I really enjoyed meeting so many folks and also seeing old friends. Had to some fine sailing too. It was great to be there.
-
For those who have actually done this, what are some good techniques for setting the tabernacles that result in perfect angles, with the tabernacles giving two perfectly raked masts exactly 3* aft and perfectly plumb side to side? I am visualizing a centerline string running from bow to stern for port to starboard alignment. Then sighting down the tabernacle side faces to get the perfect 3* or so twist so that the masts fold next to each other. That leaves only the for and aft alignment which determines mast rake, the method for which seems less obvious to me. The bulkhead the tabernacle mounted to are very close to plump with the waterline, but probably not sufficient to use in guiding placement of the tabernacles. I remember measuring six or seven times when I place the mast tubes on my CS 20, with good results. However I don't remember the details of how that was accomplished. I suppose one route is to get the tabernacle fore and aft alignment close, then tweak mast rake using spacers in the tabernacles. I was hoping to get the tabernacles very close to true prior to making final adjustments with spacers between the tabernacles and masts.
-
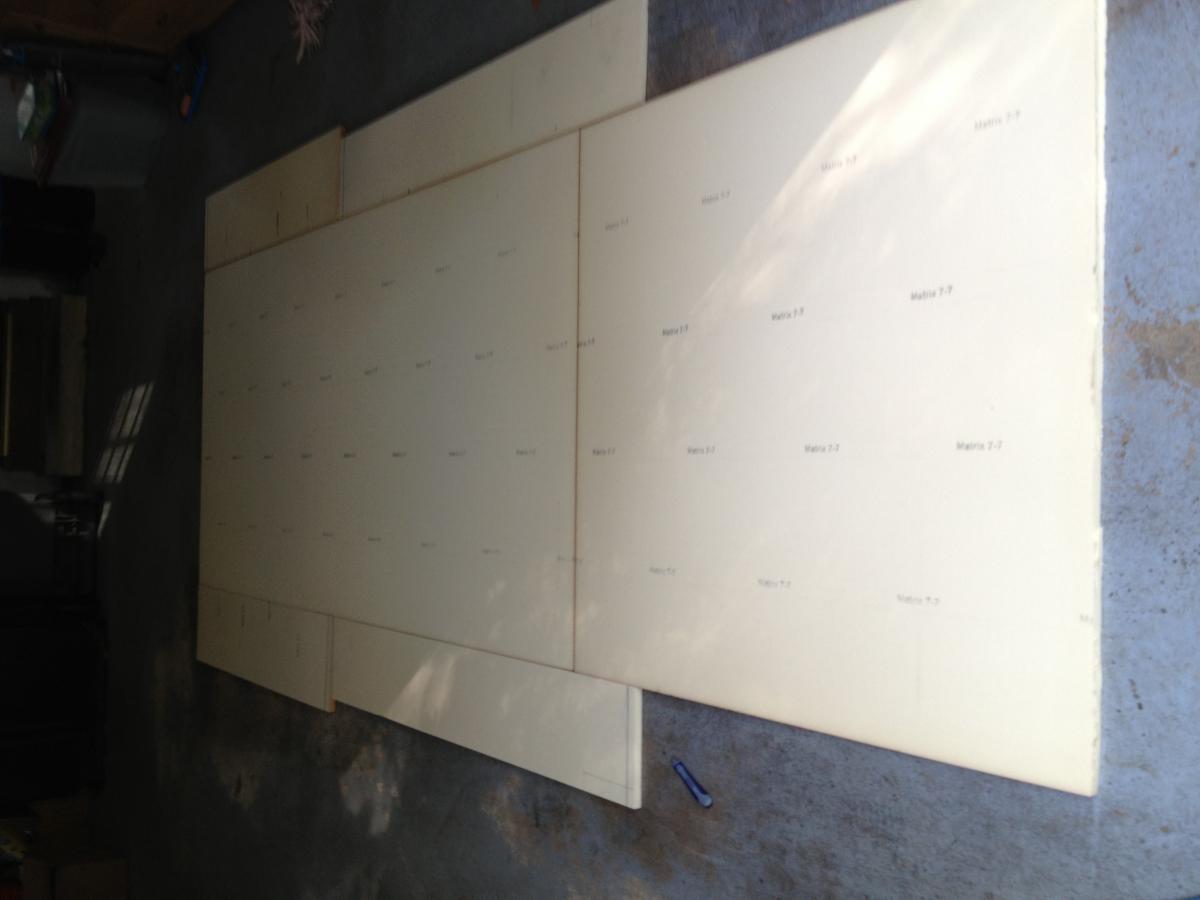
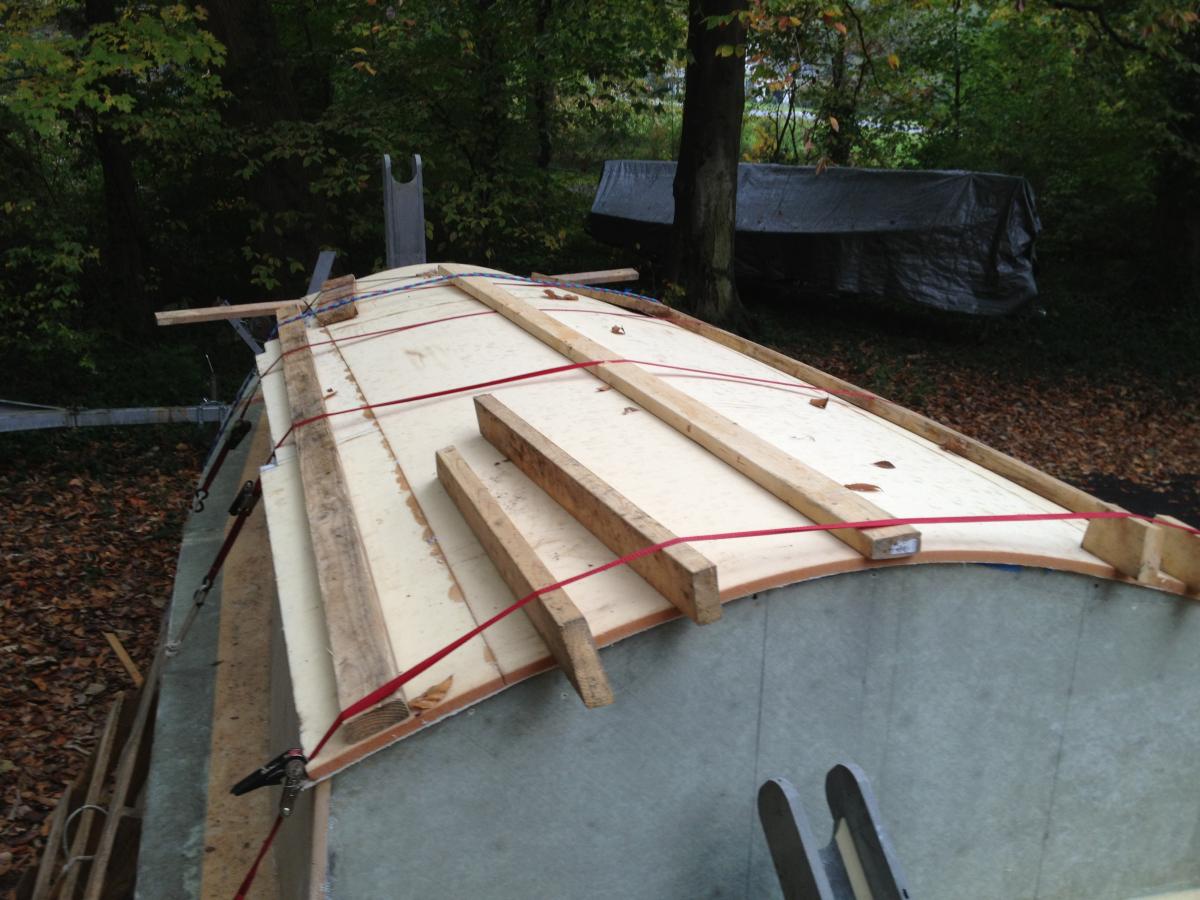
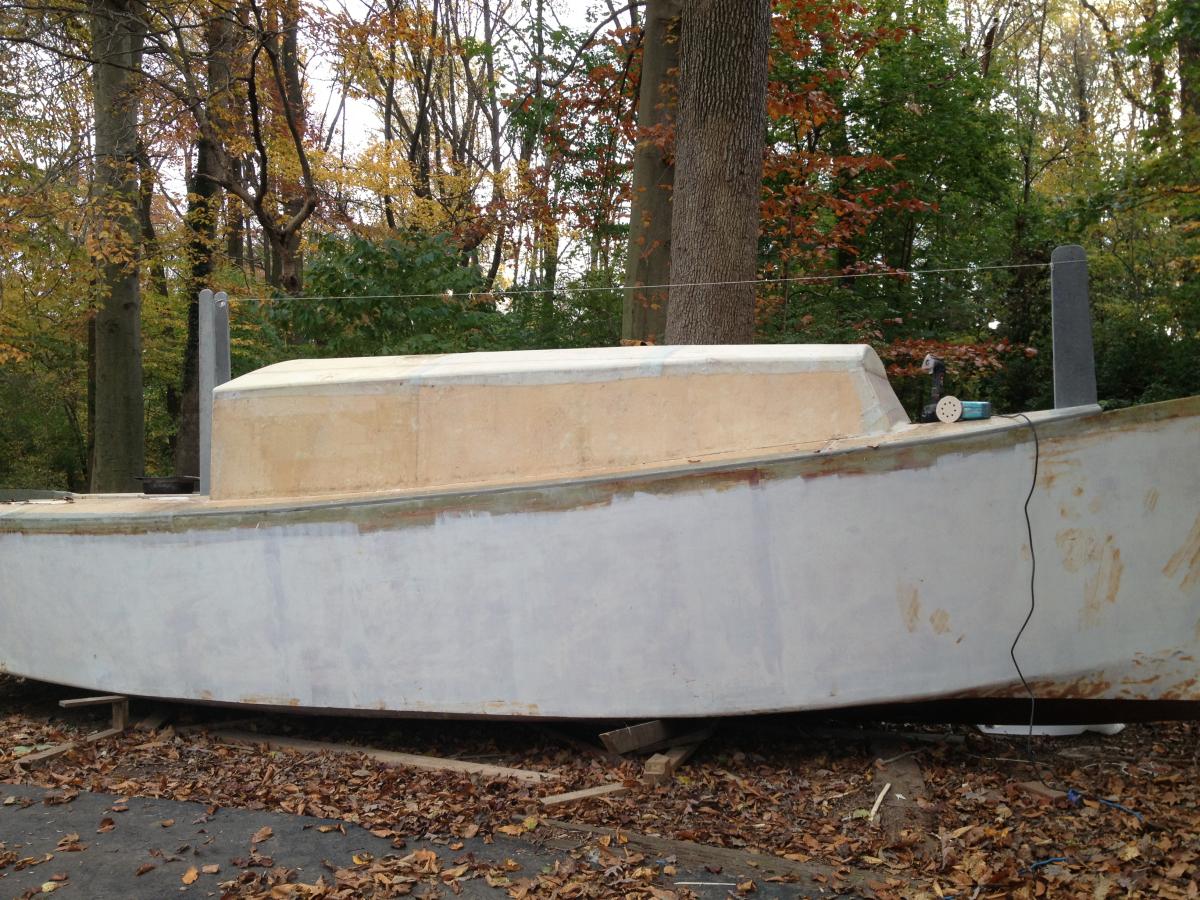
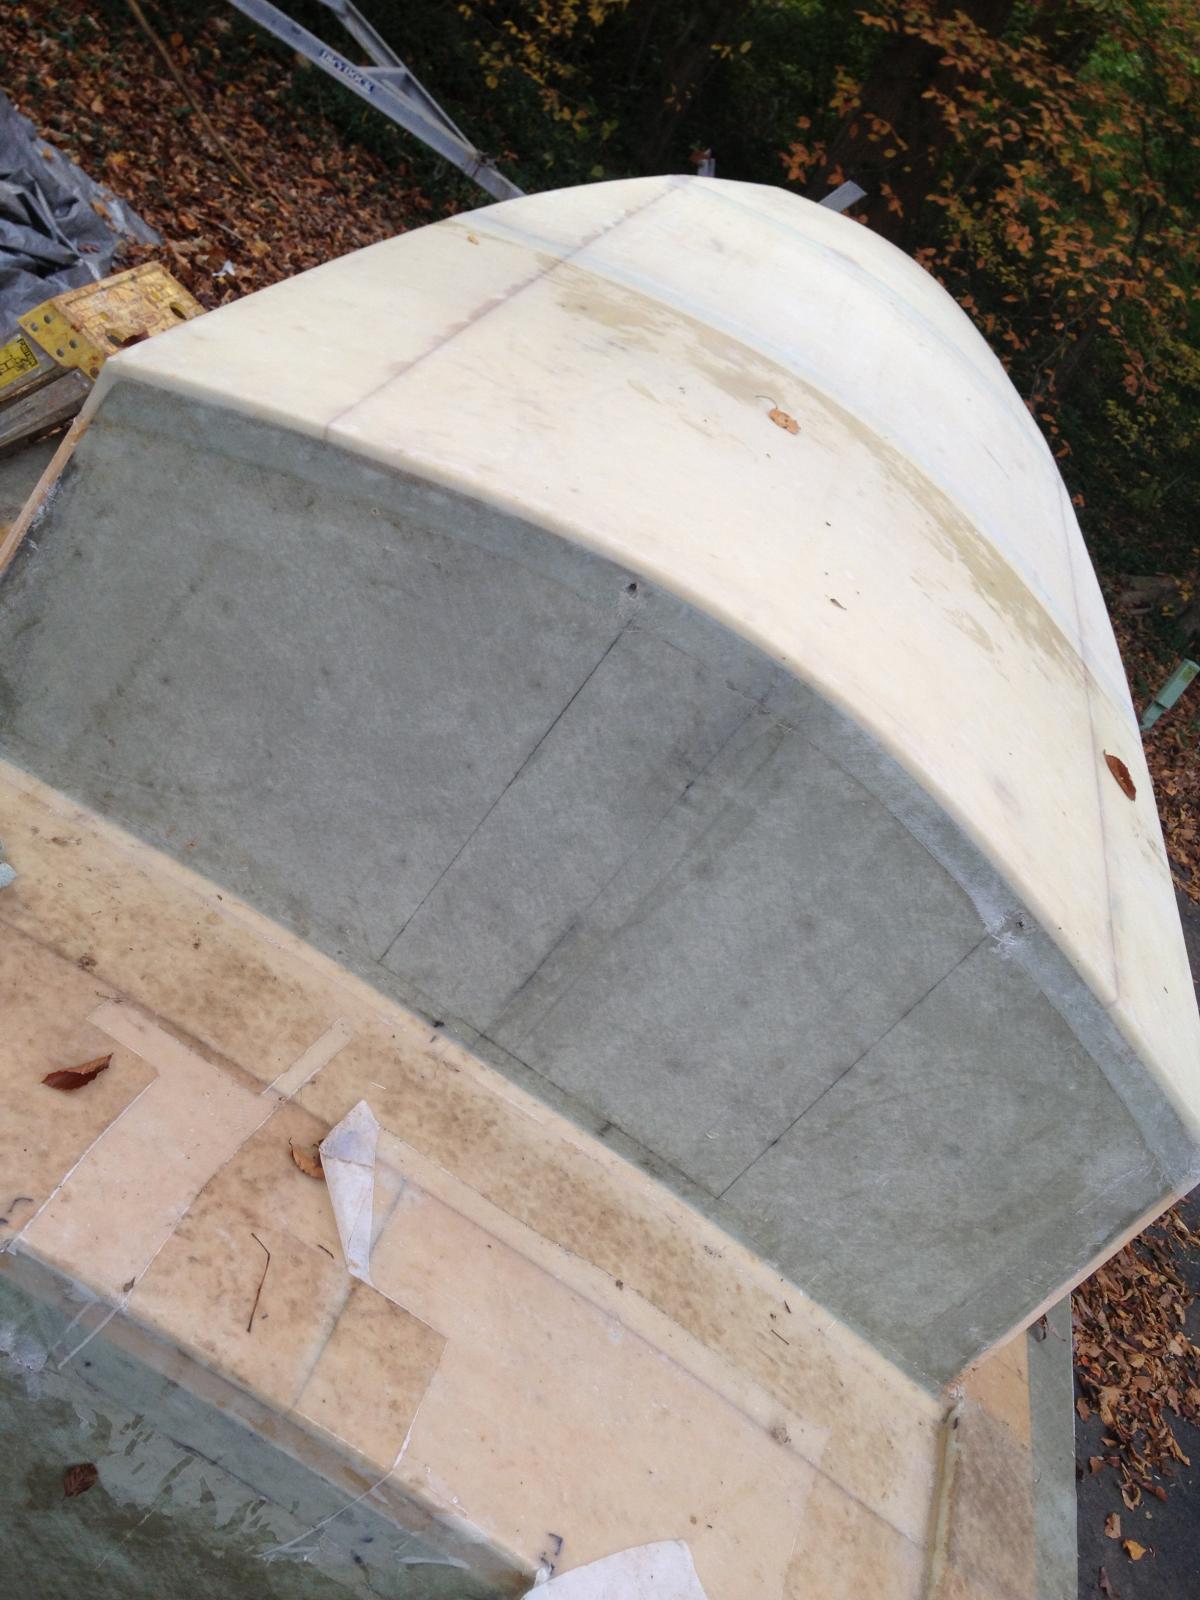
The big goal for this summer was to get the boat far enough along that the cabin could be sealed up for the winter, allowing interior work to proceed even in the cold weather. Getting there... All the major components in the cabin are in place. Anything left to go in there will easily fit through the hatch. Here the cabin roof foam is laid out for glue up and glassed on what will be the interior side The laminated foam is epoxied in place after careful dry fitting.The foam bends with a little coaxing. Care is required to bend slowly and gently to keep all fair and avoid cracking any panel.Note the proposed layout of the companionway to be cut later. The exterior of the foam is then glassed. The foam panels with glass on both sides are incredibly strong. No additional support beams are required to support the coach roof. The forward section still has the peel ply covering in place giving a slightly different color in the picture. The peel ply results in a very nice epoxy surface requiring minimal fairing . Dirt from feet crossing the bridge deck was easily removed with a rinse and a little sanding. Now the overall profile of the boat is coming out. The cabin height is carefully tuned to the cockpit seat height providing just enough clearance to see over the cabin from the helm, while giving maximum head room below decks. The string run between the temporarily placed tabernacles shows the lay of the masts when in the folded position. All the exterior glass work is complete except for some details in the cockpit and the tabernacles. Fairing of the deck and house is underway. I may get a coat of primer on before deep winter arrives.


-
I am on my way... Looking forward to seeing old friends and making new ones.
-
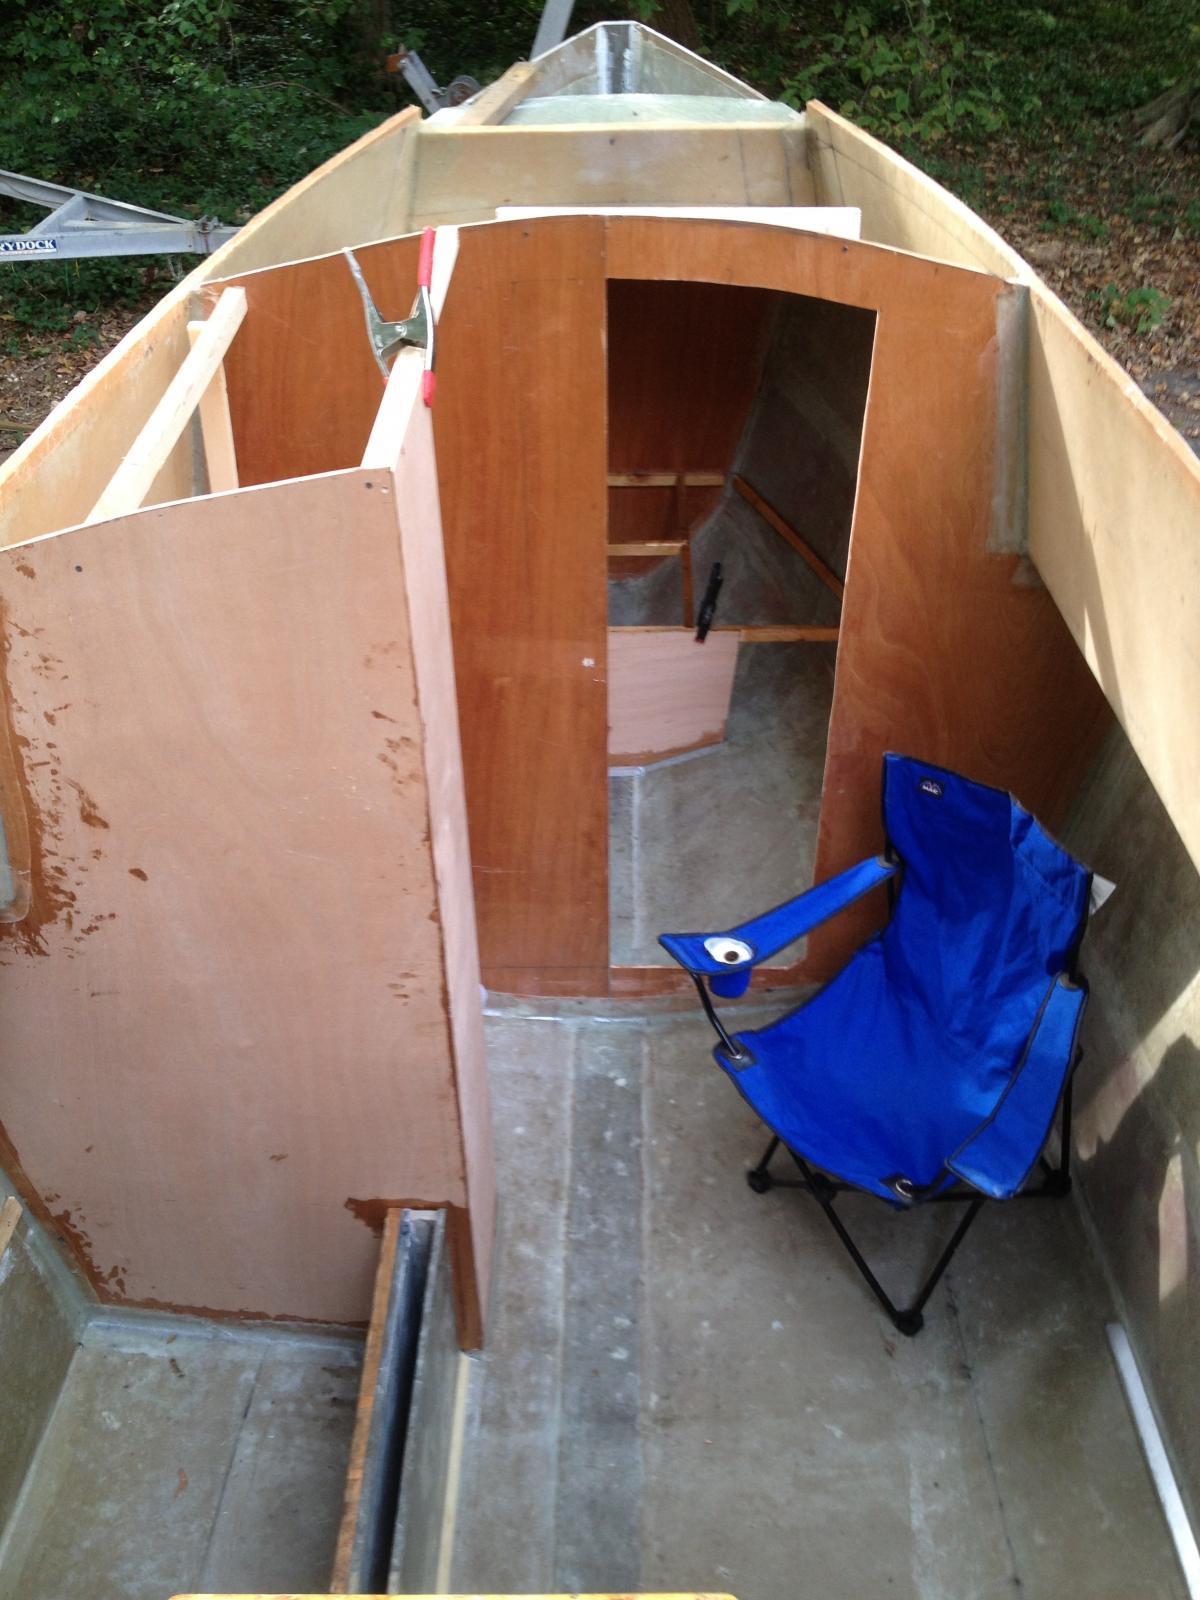
Here is a quick update. The boat was rolled to right side up in July. Since then the interior glassing has been completed. The centerboard trunk, head bulkheads, and seat framing are all now in place. The head was moved to port to provide a large versatile open space on starboard. There will be no bench in the saloon on starboard, only open sole. The folding chair shown there in the picture will be part of the boat furnishings, stowed in its own special place and deployed when comfortable seating is needed. The cockpit seats are in and the lockers built. The cockpit seats are angled, with the inboard edge 2" higher than the outboard side. Port side has a propane locker and a large locker. Starboard has a very large single locker. Still deciding details for the aft end of the cockpit area just ahead of the transom. Motor will be mounted on the starboard transom.


-
Time for an update. The cabin bulkheads went in as soon as the snow melted. The interior hull sides are mostly glassed now, making the hull very stiff. I used battens to draw the lines for the cabin sides. Then laid out the cabin sides on a lamination foam panel Then installed onto the boat. There is some trimming to do to get the final shape, but her profile is coming together. Then it was layout the side deck panels for lamination They are vacuum bagging now


-
Best Practices for Pouring Large Epoxy Bushings?
Brent replied to mjshp's topic in B & B Yachts Forum
I use thickened epoxy with the diameter of the epoxy filled bore about 50% bigger than the bolt hole diameter. Keep the epoxy thin enough to flow into the hole and be careful to avoid entertaining air into the pour that result in voids. -
Cheap braided poly propylene. Notice the open structure which will easily take up resin
-
Where you put your sail trim hardware is personal choice. On my boat all the halyards, snorters, and down hauls are run back to clam cleats within reach of the helm. I adjust these frequently. In addition to facilitating trimming for speed, this also allows controlled depowering the sails as needed for docking and anchoring under sail. Your choice.
-
You will want at least one deck cleat up front and one at the stern for dock lines/Anchor lines. I suggest two cleats up front about 18" aft the main and located near the gunwale to use for this purpose and also to provide an anchor point for the foot of your mizzen staysail. . Through bolt with stainless bolts through the deck and through a 3/8 backing plate underneath. The boat tends to sail on her anchor. This can be mitigated a little by a chock straight on the bow for the anchor line. I also recommend chocks for mooring lines port and starboard, fore and aft. My boat has a single large deck cleat at the stern mounted under the tiller, also with a backing plate. I have found this sufficient. Always go with a deck cleat one size large than what you think you need. You will be glad you did.
-
Can you trade purple heart for some white oak and Douglass fir? Purple heart will be nice for trim pieces such as stem cap, rub rails, hand holds.
-
Congratulations on getting underway. You have already done the most difficult thing: getting started. From here on out it is just a matter of finishing up. I look forward to following along.
-
The Core Sound 20 can certainly be rowed, although other boats are no doubt more satisfying if rowing is the primary means of propulsion. I have made several multi-mile rows in the 10 years of sailing without a motor, but this was always because the wind had given out completely. Many times the wind would die to dead flat, I would row a few hundred yards and then the wind would fill in around the headland. The sails fill easily on a light breeze, and I found the boat needs very little wind to sail faster than I can row it. A sliding seat would no doubt be nice just forward of the mizzen, but only if the intent is to seriously row this boat just because you can. For my style, with sailing being the prefered mode, the sliding seat would be unnecessary clutter. I have rowing stations both for and aft of the mizzen. I use the aft station most, typically rowing from a standing position while facing forward with the tiller between my knees, and the sails hoisted. As soon as the breeze filled the sails I quickly ship the oars and settle in for the satisfying ghosting of this boat taking off on a faint wisper of wind. The boat is better balanced for long distance rowing from the station just forward of the mizzen. With the sliding seat pay close attention to how far aft your nose ends up, as the boat will want your weight close to the mizzen. I imagine with the Mk2 the need to push the rowing station aft will be even stronger. Consider running a steering line around the cockpit so that you can steer with the rudder from to forward rowing position, helping to quickly transition from row to sail as mentioned above. For long distance dedicated rowing you will want both the rudder and centerboard up, and the rudder locked midship if not removed from the water - provide a way to to that. My boat tracks nicely while rowing so the rudder is more drag than tracking benefit. I found 10 foot oars about right for me, but trimmed to 9'5" to allow the oars to slip under the thwart for storage in tubes running up thorugh the forward bulkhead. If you go forego the aft lazarette locker longer oars will likely fit.
-
CoreSound20 or Bellhaven19, find the right design
Brent replied to kaeptnr's topic in B & B Yachts Forum
Kaeptnr, I understood your dagger board description clearly. You have devised a good solution. I have sailed a cs20 for many years. Often sleeping on board with a simple tent arrangement. I imagine the cs20 mark 2 to be a big upgrade for overnighting. This boat will make a fine cruiser for sheltered water. I have taken the cs20 on the ocean a few times, but must pick my days carefully. The boat can handle some wind, and is known to go put when other boats stay in port. I had the opportunity to sail Scot's belhaven. It is a fine sailor which can handle the rough stuff with grace. The boat makes good speed in mormal conditions, but is less likely to plane versus the cs. This would be my preferred boat for open water and more comfortable overnights. -
The floor boards on my boat are really bunk boards like the picture above. I ended up leaving the port side at seat level almost all of the time. This is a favorite pace to relax on board. I also sleep on port side when voyaging. Mine are made of sassafras very similar to the picture above. The wood is completely natural, and they have weathered beautifully. I do use them as floor boards when the going is cold. It is good to keep the feet dry when sailing in a winter gale.
-
Howard, I am going for total clearance between board and trunk of 3/16". Not 3/16 plus 3/16.
-
Howard, I have grounded the centerboard on my Coresound 20 uncountable times...In the shallows of Chesapeake bay the board is frequently scaring crabs or tickling oysters. No issues what so ever with strength of the trunk or board or the trunk to hull joint. The Princess is a little bigger, and considerably heavier boat. Looks like I will have at least 10 inches of board buried in the trunk, and 56 inches maximum dragging under the boat. Finished out the centerboard will be just shy of two inches thick, including a couple layers of 1708. This board and trunk are plenty strong. Perhaps the drawings don't do it justice, I had to see this with my eyes to really appreciate the beefy here. i do plan to lay polypropylene rope along the leading edge,which I have found this very effective for taking abuse. I also second Scott's suggestion of placing a roller under the CB. Relying solely on the CB pennant is asking for a failure while trailering, especially with a weighted CB. A quick lever calculation assuming 50 lbs of lead in the CB with a center of mass 48 inches below the pin, levered against 6 inches on the other side of the pin suggest the pull on the CB pennant will be 400 lbs. Either the 4:1 pulley system needs to be upgraded to 8:1 or less lead goes into the CB tip. Haven't decided which yet, will probably do both.
-
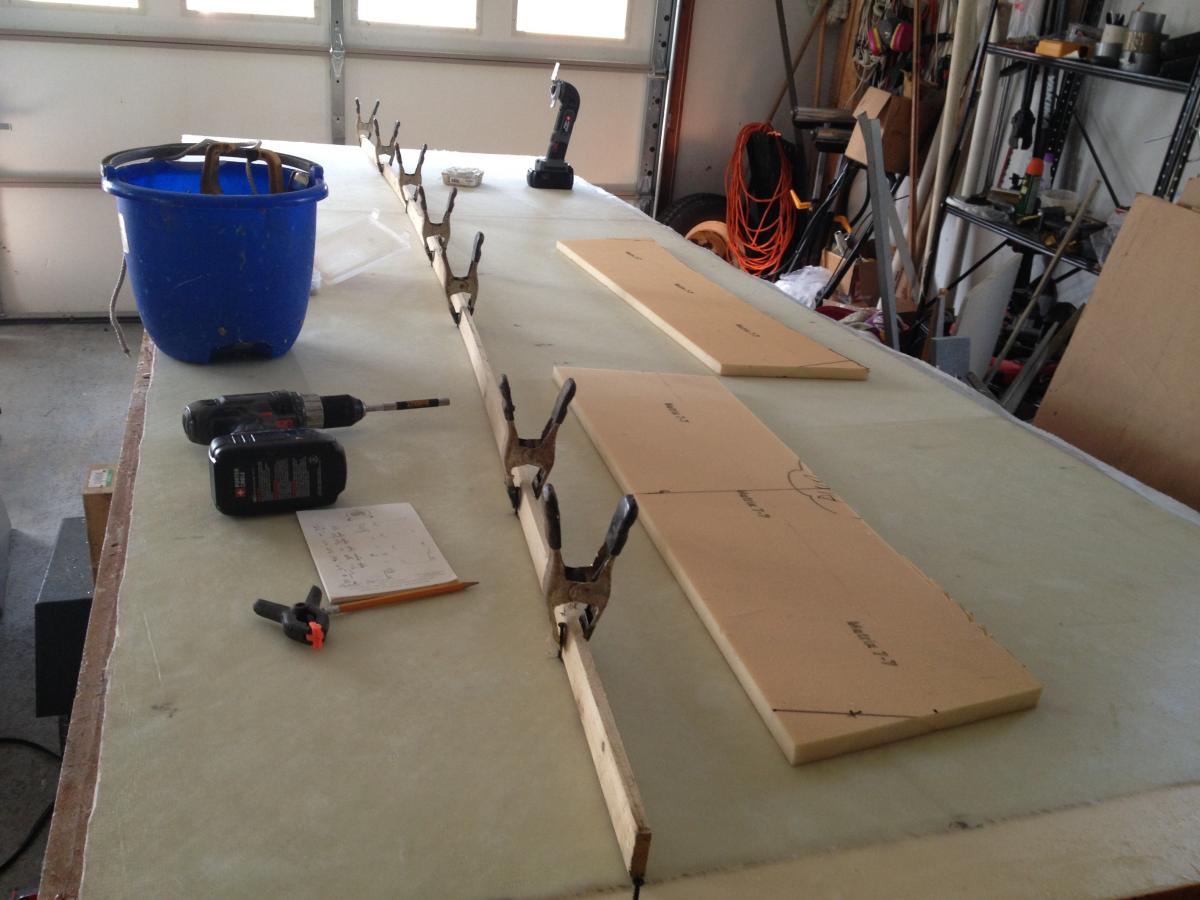
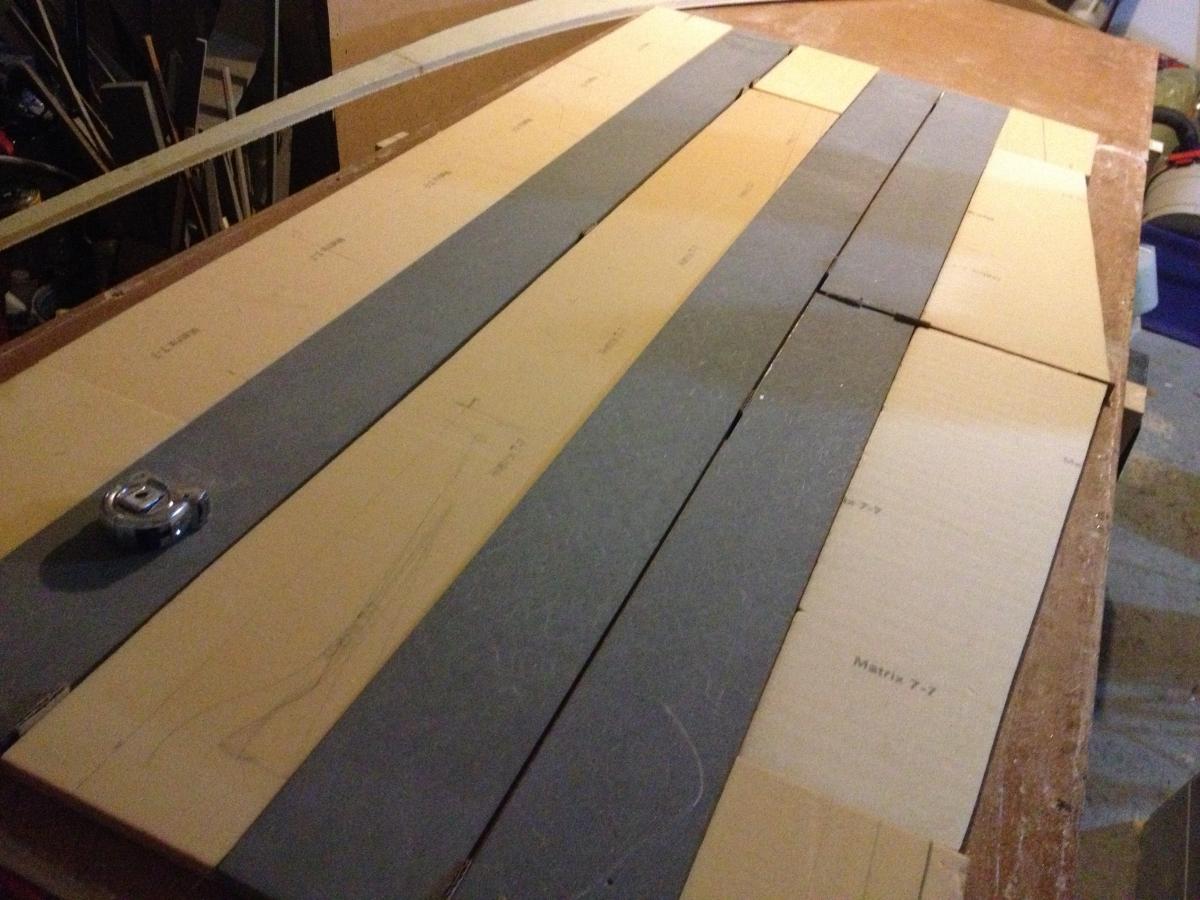
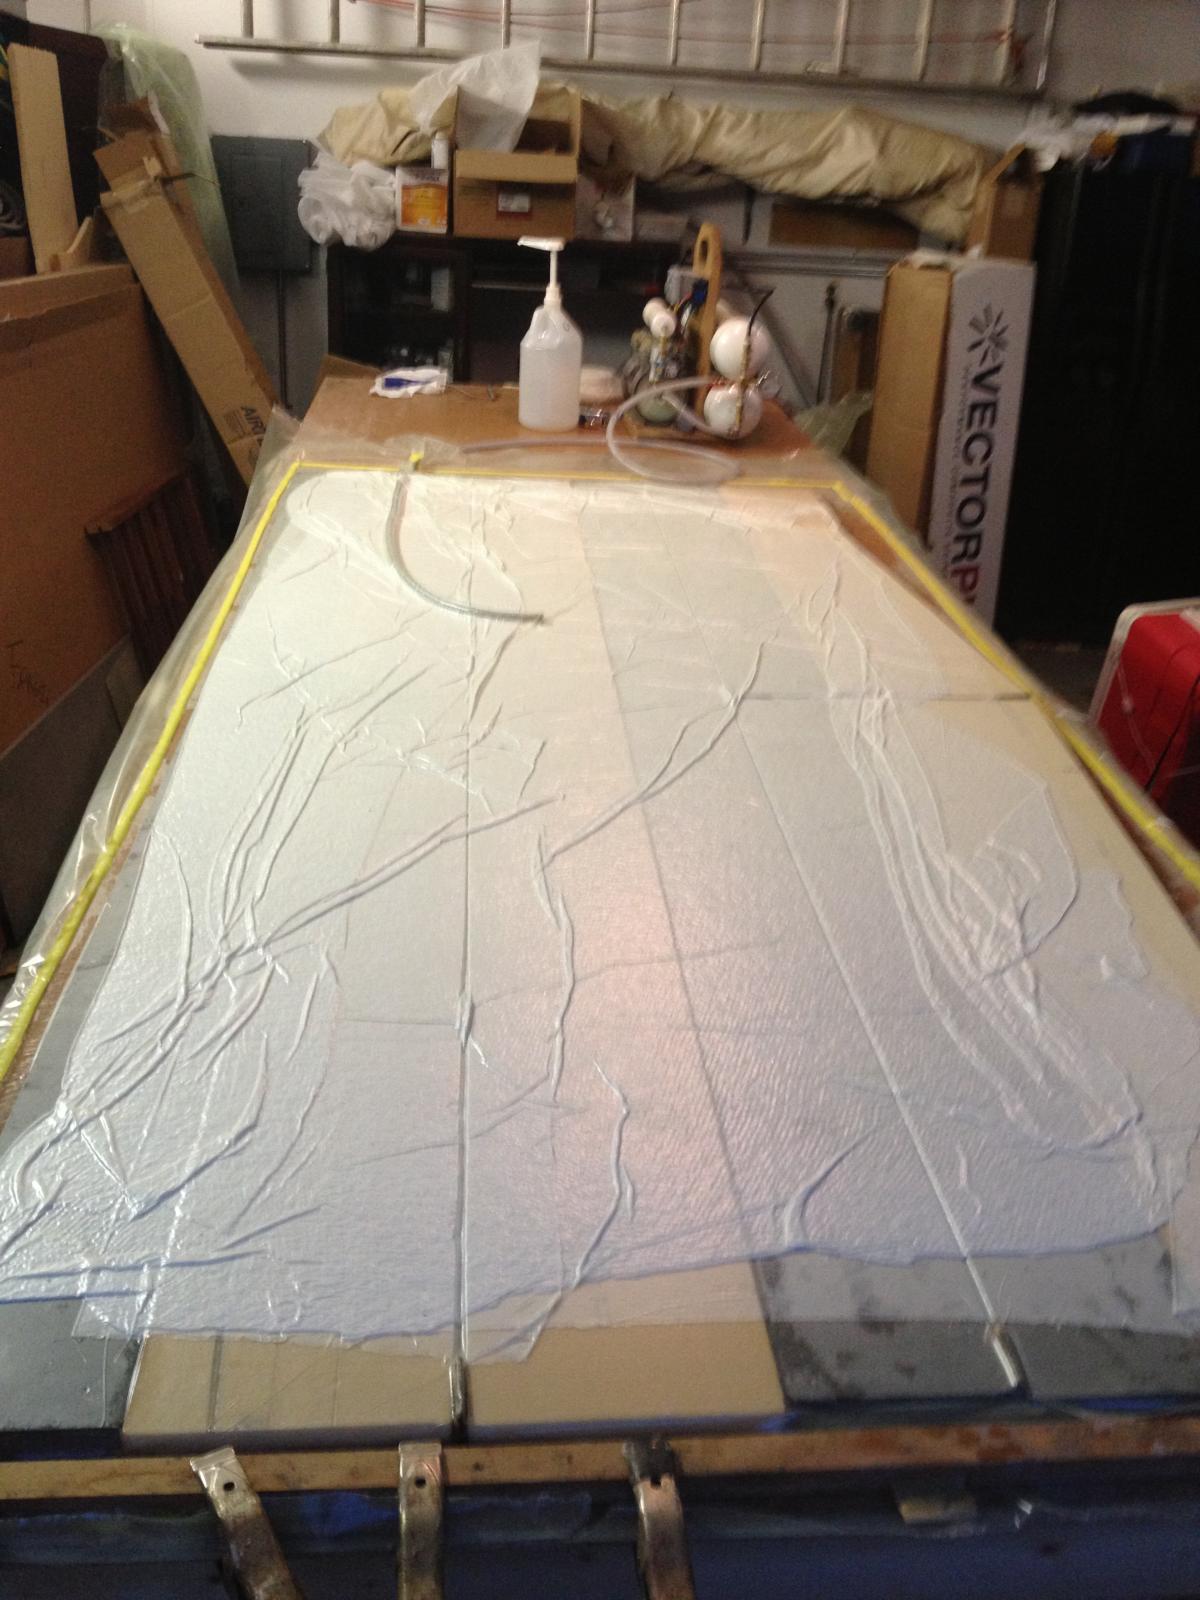
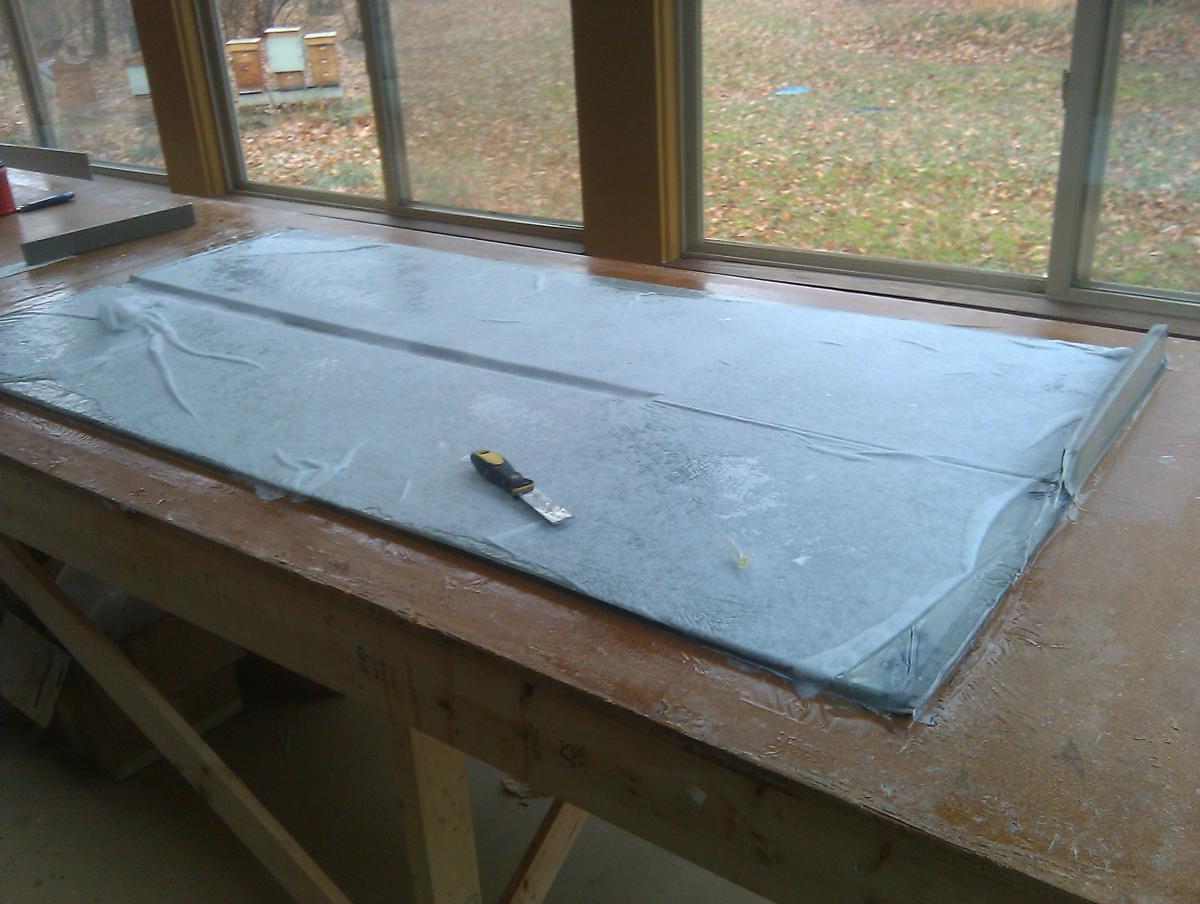
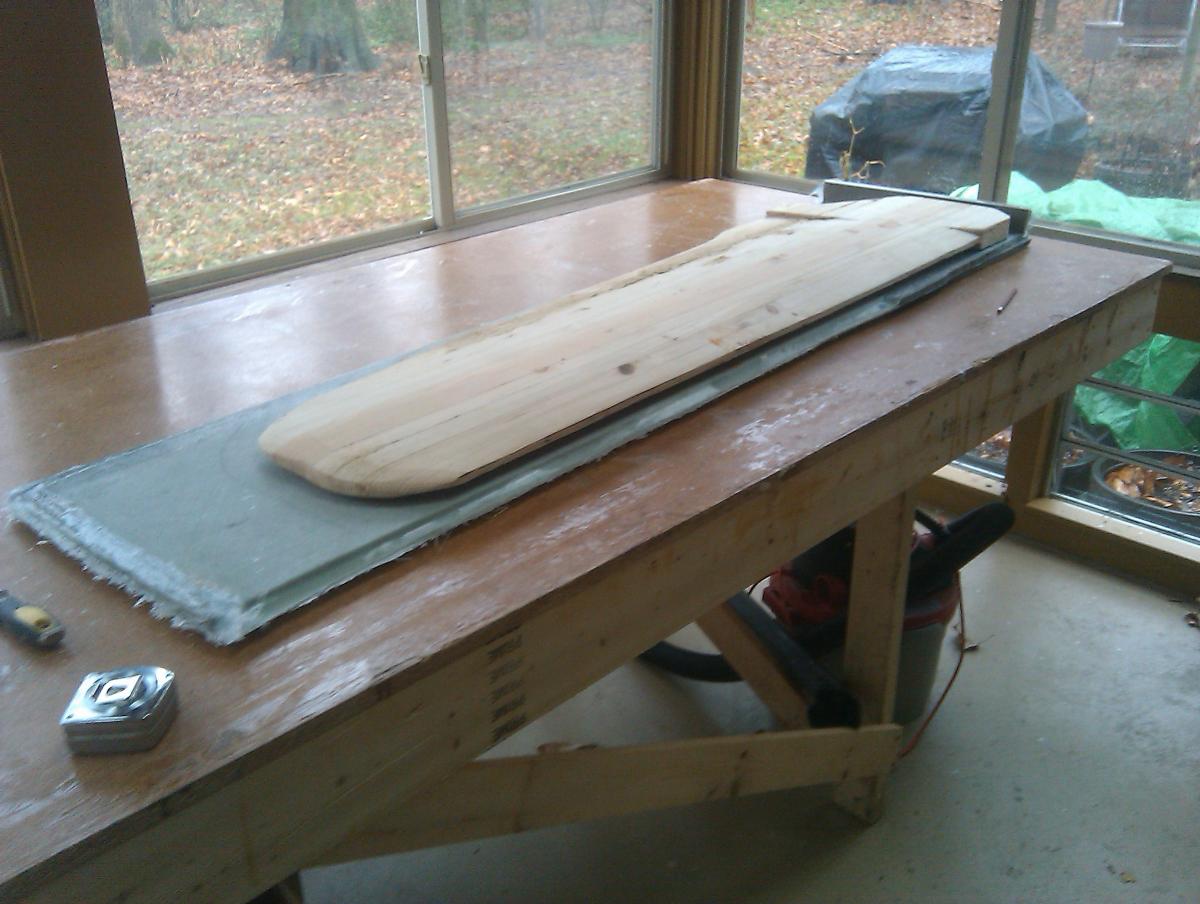
Here is the centerboard trunk coming together. The trunk is built from high density foam up front around the hinge pin, with lighter density foam aft. The pieces are cut to rough shape and laid out on the laminating table. The trunk is shown after vacuum bagging one layer of 1708 on the outside, and two layers on the interior. There is peel ply and bleeder cloth on top of the lamination that is about to come off. Once the peel ply and bleeder are removed there is a smooth hard surface waiting underneath. There is clean up of the edges and trimming prior to fitting to the hull that will wait till later, but here is the roughed in centerboard laying in the trunk. The trunk is longer than I am tall, reminding me again this is a big boat.


-
Thanks Tom for this information. This boating community hosts many wonderful people who live life fully.
-
Brent, if you care about sailing performance you will not be disappointed with the belhaven. I had a chance to sail Scot's, and was delighted with the results. It is a unique combination of speed and comfort
-
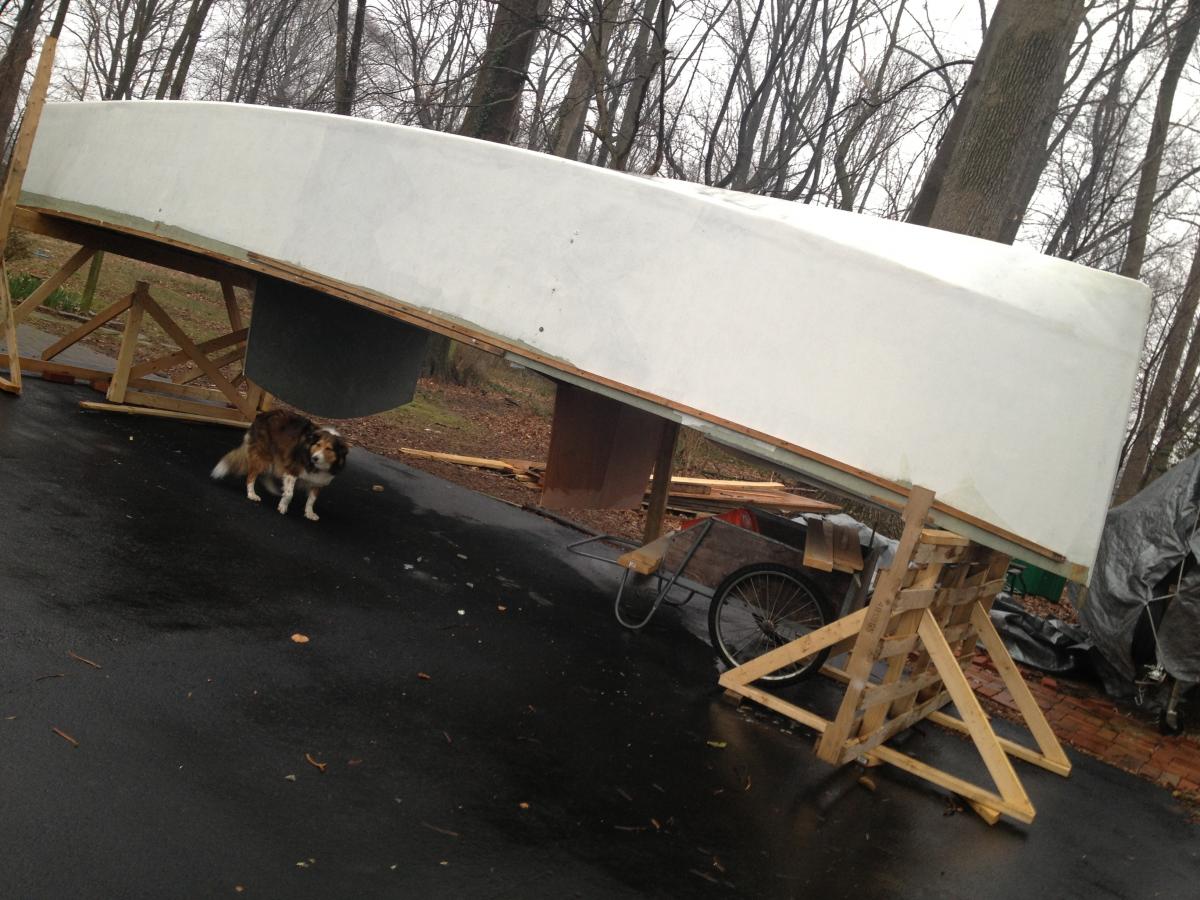
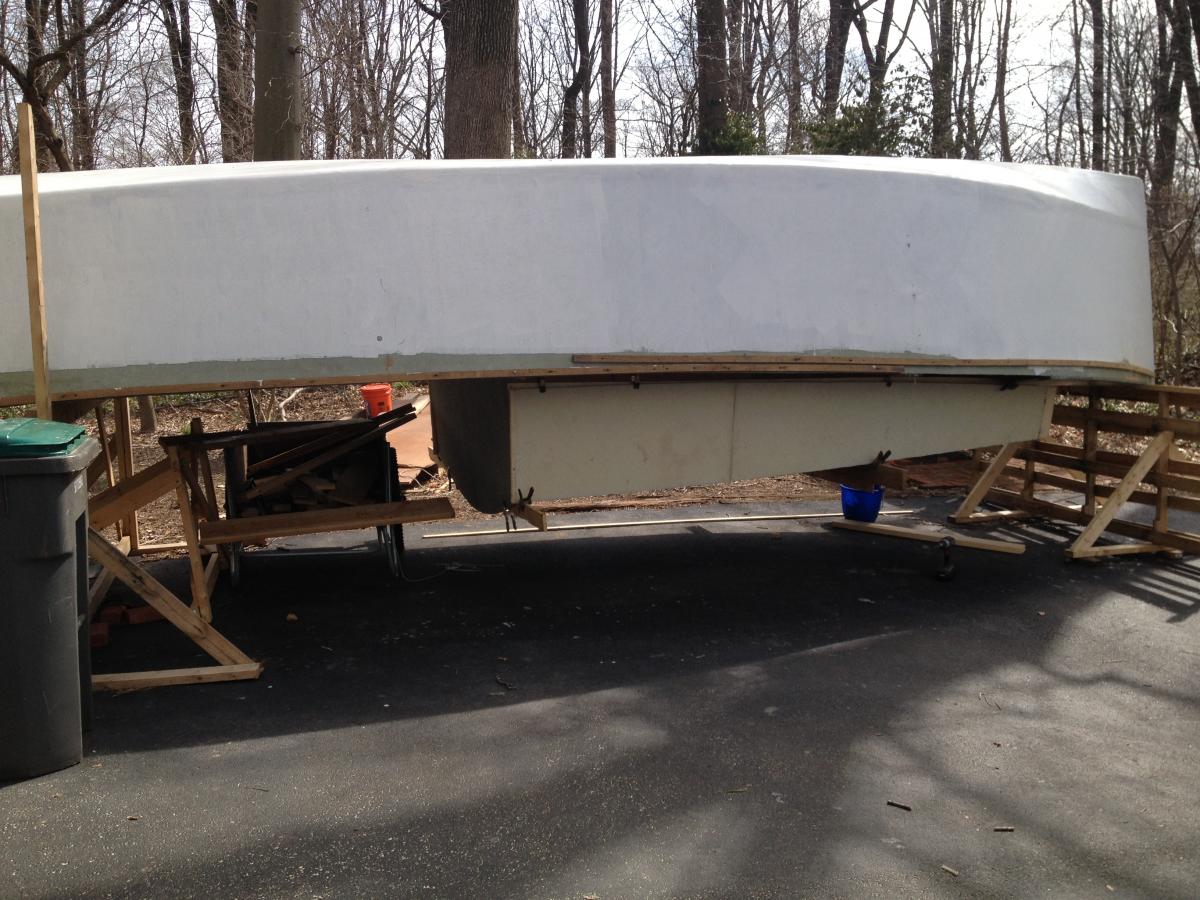
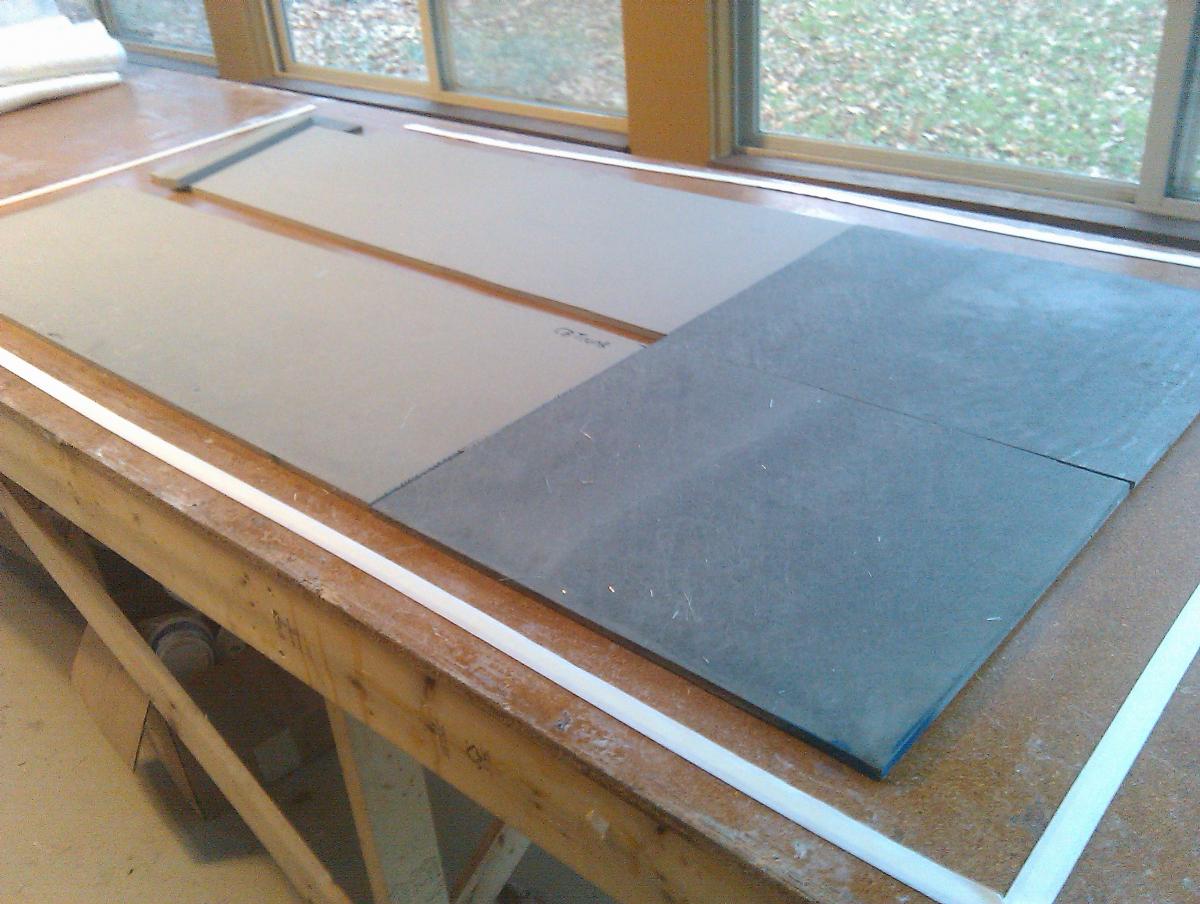
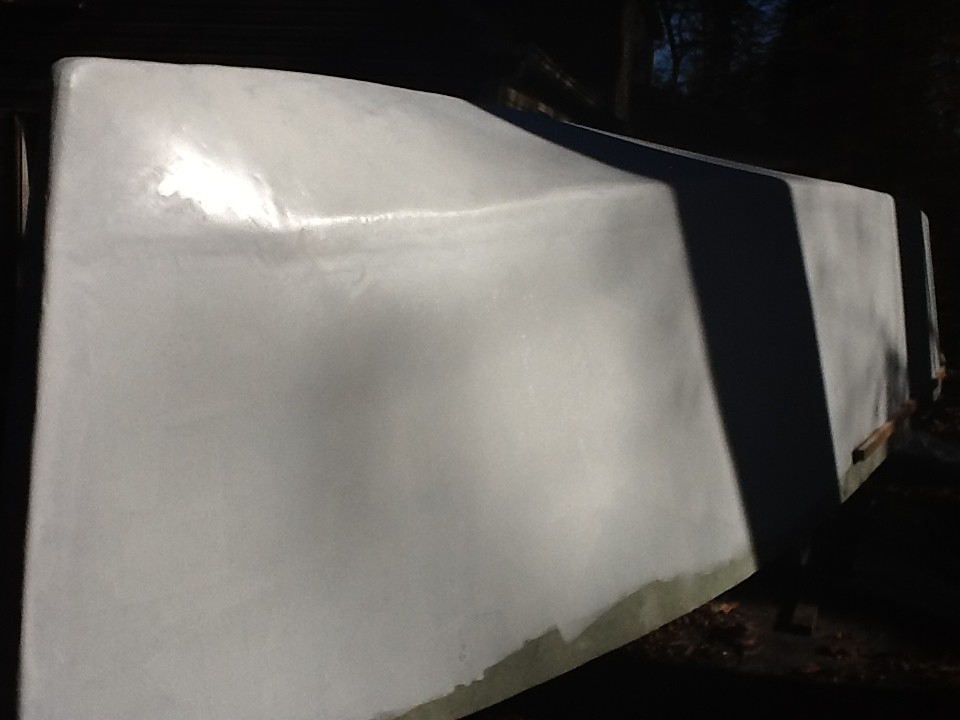
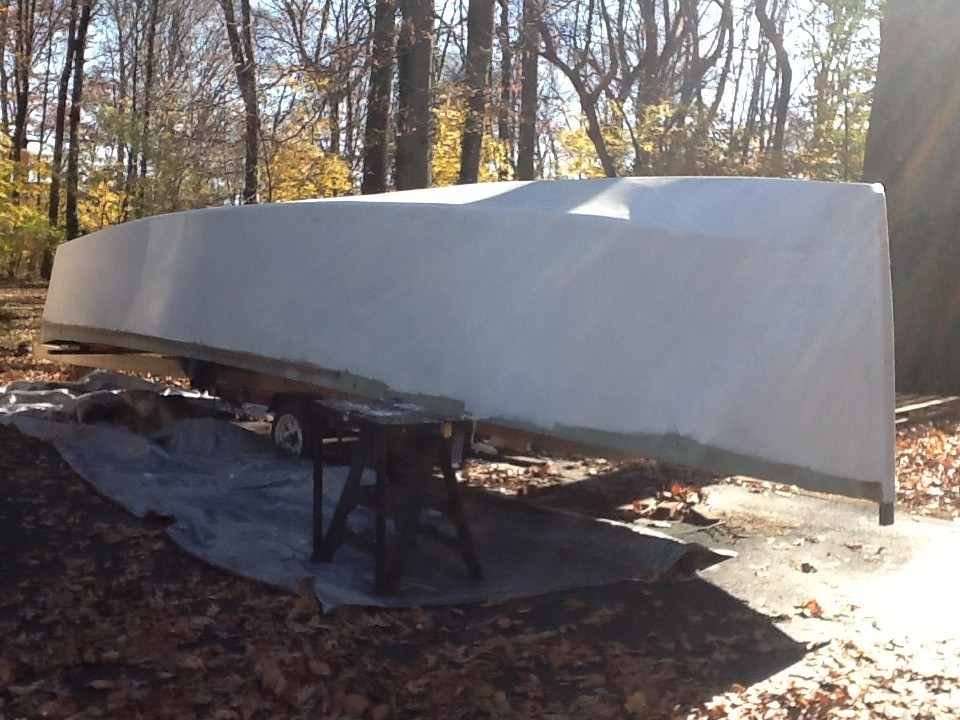
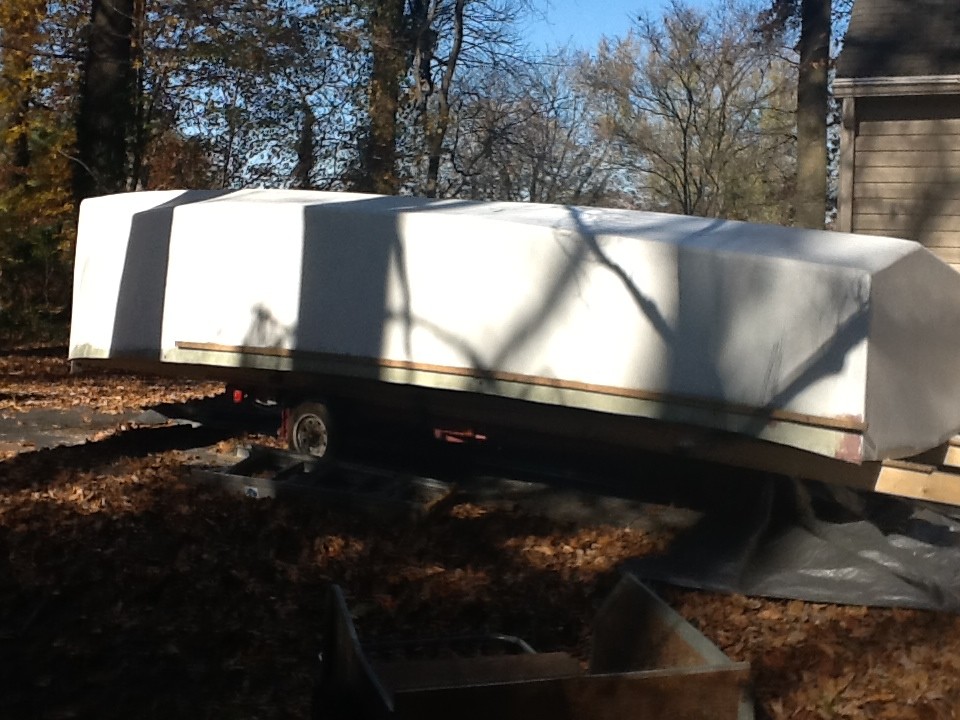
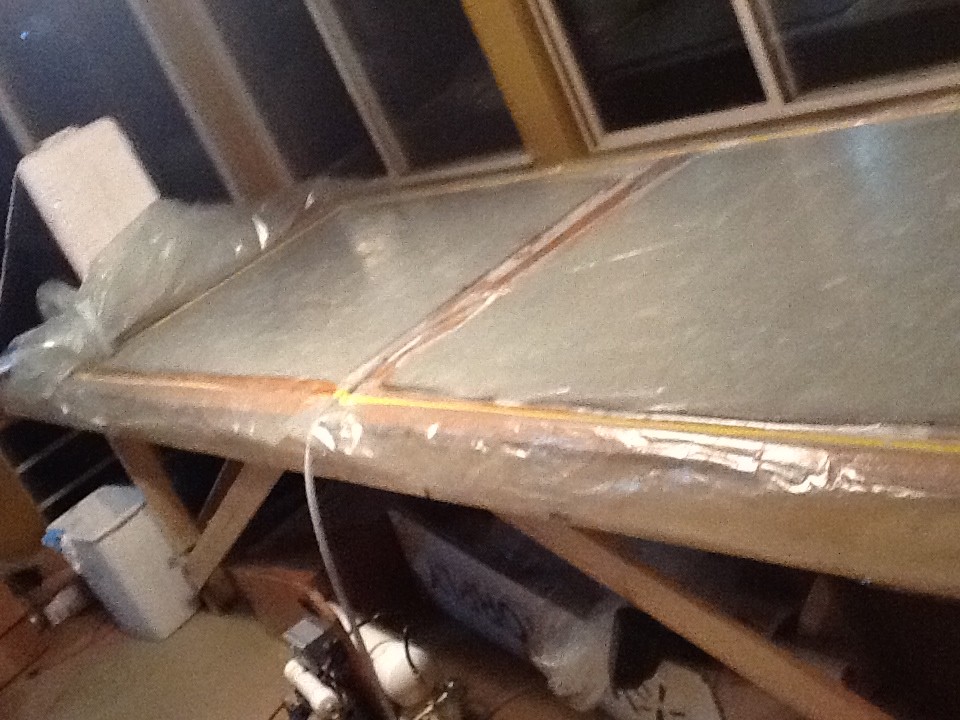
The hull exterior is now complete and primed. I wanted the primer on this fall to protected from UV over the winter, even though the boat will ride out the winter under a tarp. The primer does a good job of pointing out a few places that will get further fairing before final paint. Over the winter vacuum bag laminations will proceed using the sun room. It is a little bit warmer than outside. These panels are the cockpit sides. The whole cockpit is being assembled as a module to drop into the hull in the spring. Once the cockpit sides are cured, they will be connected to bulkheads 4 and 5, which are now removed from the hull. Then seats and cockpit sole will be added.


-
Definitely interested. Time of year is perfect for me. Another idea is circumnavigation of Roanoke. Or ripping up core sound.