


Drew
-
Posts
273 -
Joined
-
Last visited
-
Days Won
12
Content Type
Profiles
Forums
Events
Everything posted by Drew
-
The Myall Lakes are a series of freshwater/brackish lakes situated in a National Park to the North of Newcastle in New South Wales, Australia. The lake system has long been a favourite haunt for trailer sailers and a few "hot water boats". It is best suited to boat camping although there are a few areas where camping ashore is permitted with boat access. Over the recent Easter break my wife and I joined old acquaintances from the Newcastle Hunter Trailer Yacht Association and did a little cruising. Most of their boats range from 23 to 26 foot, but the Coresound held its own and attracted many positive comments. Here are a few pics so you too can enjoy the experience as you come out of your northern winter. Here we are with the big cousins A little untidy - having too much fun, but here is our little galley and chart area. Bath water provided free! And then there was the trip home to Canberra!


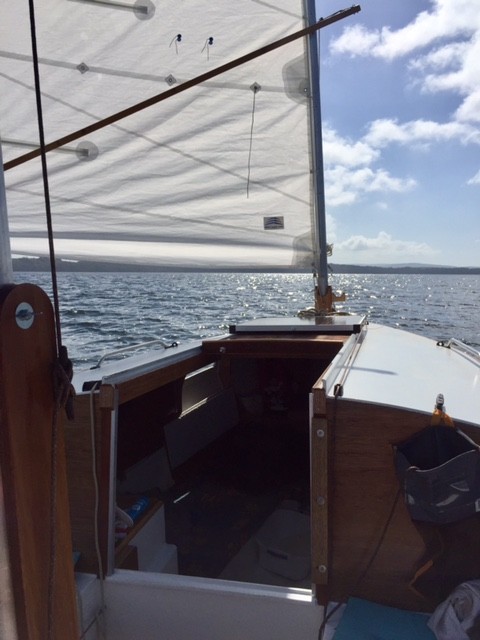

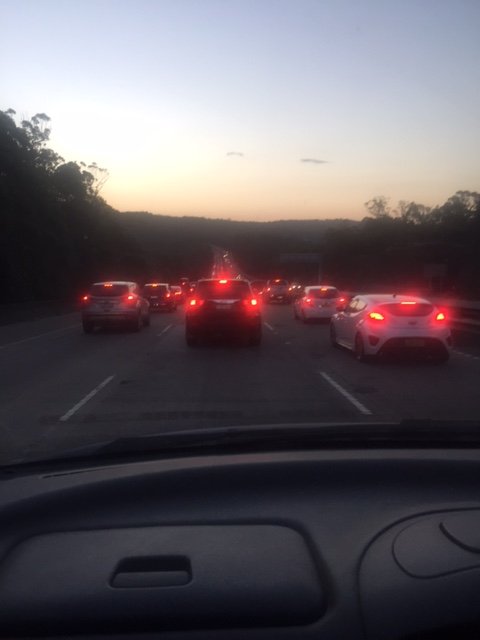
-
I love the way the current kit goes together. Sure beats cutting a boat out of sheets of plywood .
-

Core Sound 20 Mark 3 Build - Chesapeake, VA
Drew replied to AmosSwogger's topic in B & B Yachts Forum
Alan sent me this information Amos: 223 1/2" or 5.67m. -
I recently replaced my old, modified gal steel trailer with an aluminium trailer. I really like it so far. Like Graham I hate putting the hubs in the water but because I have a sizable overhang of the stern at the rear of the trailer I now submerge the trailer to reduce stress on the frame. My wheels are fitted with bearing buddies and I rig the boat before launching to let the hubs cool before hitting cold water. I also pump a bit more grease after each retrieval. I took the hubs apart last weekend and no sign of water getting in.
-
Any interest in a Catspaw build? Also featuring rabbits.
Drew replied to cracked_ribs's topic in B & B Yachts Forum
Ah mate! Sympatico! -
Very impressive Pete. I think you have set a high standard with some very practical ideas.
-
For what it is worth Steve, I put a fillet up the inside corners in lieu of the timber quad and then laid double biased tape over that while it was still very green. I also drilled and epoxied quarter inch dowels through the sides and well into the front face. I have had the unstayed mizzen out in quite a strong blow (28 knot gusts) without any signs of trouble. Still, laying glass over the front face can't be bad, but I wanted mine to have a timber finish.
-
Alan and Paul's secret weapon for the Everglades Challengec
Drew replied to Designer's topic in B & B Yachts Forum
That makes good sense Alan. Your video is very helpful. It looks like it could be safely handled even single-handed so long as no spinnaker pole is being used. Thanks. -
Very nice. Fitting it to the boat or a nice coffee table discussion starter?
-
Thanks for the comments to date. I have made a request to Sailing Australia for a class based handicap and they have been helpful so far. Fortunately, my club in Canberra has two national inspectors as members so we have made a tentative date later in the year for measuring. The one issue that keeps coming up is the low centerboard to total weight ratio. I have said that, as well as Alan's righting graphs, I am willing to emulate the righting experiment and take the masts down to water level, but there is a bit of skepticism on that, arguing that it might not represent what could happen in a sudden squall (a la the incidents recently in the EC). I guess some people feel uncomfortable with water ballast as a substitute for centerboard weight. Comments from you guys, especially from Graham, about the potential effect of adding say 100lb to the centreboard mass in the form of a steel plate CB with a heavy bottom end would be much appreciated. I note that the Norwalk Islands Sharpies seem to carry a lot of ballast weight.
-
Alan and Paul's secret weapon for the Everglades Challengec
Drew replied to Designer's topic in B & B Yachts Forum
Graham, would you get the same effect by shackling the tack of the spinnaker or gennaker to a separate point close aft of the R60 (but clear above the furling line) so the torsion line still operates separate from the lower end of the luff, thus avoiding the need for the swivel? -
Steve, I really like your joinery - you do nice work. Something to be justifiably proud of. I used a similar method to Amos, with real success. Suspended the bow with a block and tackle to a crossbeam in the garage and used two sets of tackle at the stern. After raising the boat we just rolled her over "with a little help from my friends" as the Beatles used to sing! We also put a lot of packing on the floor so we could rest the boat when we needed to, and then put her down onto a frame that we had prepared beforehand and clamped to the boat. https://messing-about.com/forums/topic/9779-aussie-cs-20-35-dragonfly-2/?page=5
-
Wow! You are truly amazing. This should b encouraging to all of us. I am about to submit the initial paperwork and will let you know the outcome.
-
OK guys, next question (Alan). I know the CS20 Mk3 self rights from over 90 degrees but have you worked out a self-righting index for them?
-
Thanks for your reply Alan. I will keep you posted on progress. Can you tell me the designed waterline length (DWL) as I can't find it in the plans data.
-
Has anyone attempted to get a rating for their CS 20#3 to enable club or event racing? I am faced with the dilemma of whether to apply to Australian Sailing, the body that determines local rules and handicaps, for what is known as a class-based handicap (CBH). It is needed to participate in any point scoring racing and seems to be quite a process. If anyone has done anything similar and succeeded elsewhere the details could be helpful to me if I pursue this here. Interested to hear your experiences, especially those who have participated in events such as the Everglades Challenge.
-
Any interest in a Catspaw build? Also featuring rabbits.
Drew replied to cracked_ribs's topic in B & B Yachts Forum
This drink of yours sounds like it could also be used as paint remover and/or to clean up bunny droppings off hardwood floors!! -
Any interest in a Catspaw build? Also featuring rabbits.
Drew replied to cracked_ribs's topic in B & B Yachts Forum
Rip sawing that length by hand requires grit and determination. Keep up the posts, I love your sense of humor and look forward to seeing this little catspaw afloat! -
Steve, I put some of that rubber mat with holes in it that you can buy from camping stores to use as a tent floor, about 3/8 inch thick on the bottom of the anchor well. I just remove it after each trip and hose it off and dry out the anchor well. To protect the top edge from the anchor chain I shaped a piece of rubber mat that I drape over the edge and hook onto my fairleads.
-
Thanks Alan, I also like the tapered drop board, but didn't think of it at construction, so like Steve I have parallel sides. Regarding the size of the board, I have found a neat little stowage area inside the cabin, but this will vary from boat to boat. I really like the look of the design you have made but for now I will continue to experiment with the solution I have done. Providing a range of solutions might help a number of people to find something that works for them.
-
Well friends, here is my latest little experiment on the wonderful Coresound 20 Mk3. Like many others I have found it inconvenient getting into the cabin when the masts are shipped due to the drop hatch being unable to be lifted out of its slide. We often want to get into the cabin enroute or prior to rigging to unclip the forard hatch cover. So this is my experimental solution. I originally used aluminum channels to slide the hatch into, so I removed the starboard channel and replaced it with some 10mm Al angle. I then made up a wooden sliding lock as the following pictures will show and also put a strip of Aluminum on the sliding hatch to act as a hard edge and add to its water resistance. I hope to load three pics showing the hatch closed in its normal slide role, then opening at the side to remove the hatch, and then a final shot of the hatch sliding up. The lock could feasibly be screwed down tight if conditions called for it. The rag and rope are purely to hold the hatch for the photo. I will experiment further in the near future to see if the idea can be improved on without going to laser cut parts.
.thumb.jpg.7bf0501f62df0e1daaf8d8c36ec3bf27.jpg)
.thumb.jpg.74d4751525eebb402035898a97026b29.jpg)
.thumb.jpg.c1de88a424a7c67422ed5f27131726aa.jpg)
-
Amos, the runners are simply a length of hardwood with a track routed into each to take the side of the hatch. I simply wax it occasionally and it runs nice and smooth. The tracks are dead straight, the hatch has a curve upwards (slight dome). Across the front of the tracks near the forard tabernacle I have included a straight breakwater and the front end of the panel is screwed to that. I decided not to make it able to be angled to keep the cable run simple, although the rear mounts could easily act as hinges if I choose.
-
Here are two pics of my solar panel used as a garage for the long sliding hatch. I need to add a section between the panel and the closed hatch, or some other strategy to ensure that no water can be forced under the front of the hatch. I have made a cover for the panel to protect it when travelling and when rigging, just in case I drop a pair of pliers or something onto the glass top.


-
Tomorrow I will post a pic of the "bridge" that my solar panel forms across the sliding hatch runners. The solar panel forms the sea hood or "garage" for the hatch but there is a space between the forard end of the hatch and the panel when the hatch is closed, and this allowed a small spray of water to enter in a storm when towing. I am looking at ways to fix this very small problem.
-
It looks like a handy little boat, and the background suggests a lovely place to sail her. Yes, oval and slightly larger ports, and possibly a timber strake along the top edge of the cabin might break the apparent height relative to the size of the boat.


.jpg.9a37c6aa06690acaabc5606812410698.jpg)
.jpg.afc1619285e294e9b2f006fa2123916f.jpg)
.jpg.35031bd63dd021add7117ad42cd9a62d.jpg)