smccormick
-
Posts
298 -
Joined
-
Last visited
-
Days Won
26
Content Type
Profiles
Forums
Events
Everything posted by smccormick
-
I've spent more time working the egg crating on this build than anything else. Couple of items that I could have done differently to speed this along for those of you who are considering a build of this sort and for my future reference. Clean your glue joints up nice and neat and tight. I thought I did a decent job but it has caused some extra time. Glue seeps between the seams of the planking in the first layer when you add the second, sounds obvious right? Not at the time of doing battle, never even thought about it. Add the stiffeners/bearers whatever you call them at the tops of the stringers and frames before assembling them. Glass the stringers and frames before assembling onto the jig. Use peel ply on every glassed surface, not just the ones you think you'll be bonding to. Much better for finishing and secondary bonds If you can't glass it, hot coat it before you start planking. Don't allow surface intersections that create a thin deep slot to remain. Fill them. I did fill beside the keel but left the forward bottom planking and stringer intersection creating a difficult area to work. Cockpit shear clamp needs to be more robust Don't be in such a rush to have a chemical bond on the outside glassing. Would be better to do one strip, cure, then bevel the edge to accept the next sheet so it can all be ground flat. Ease fairing immensely and reduce the amount of fairing materials used and time and labor. I did do a couple things right Fill beside the keel. Worked out very nice. Lifting strakes were a pita, but I like what they provide. Filler sheet at the stem to fair the bottom planking to the topsides planking worked nicely Fairing all outside corners to a sharp edge. Sand, sand and sand some more. The joy of being done will be forever diminished by the sight of an obvious blemish that could have easily been removed. I still like double diagonal planking. I'll have more as I think about this.
-
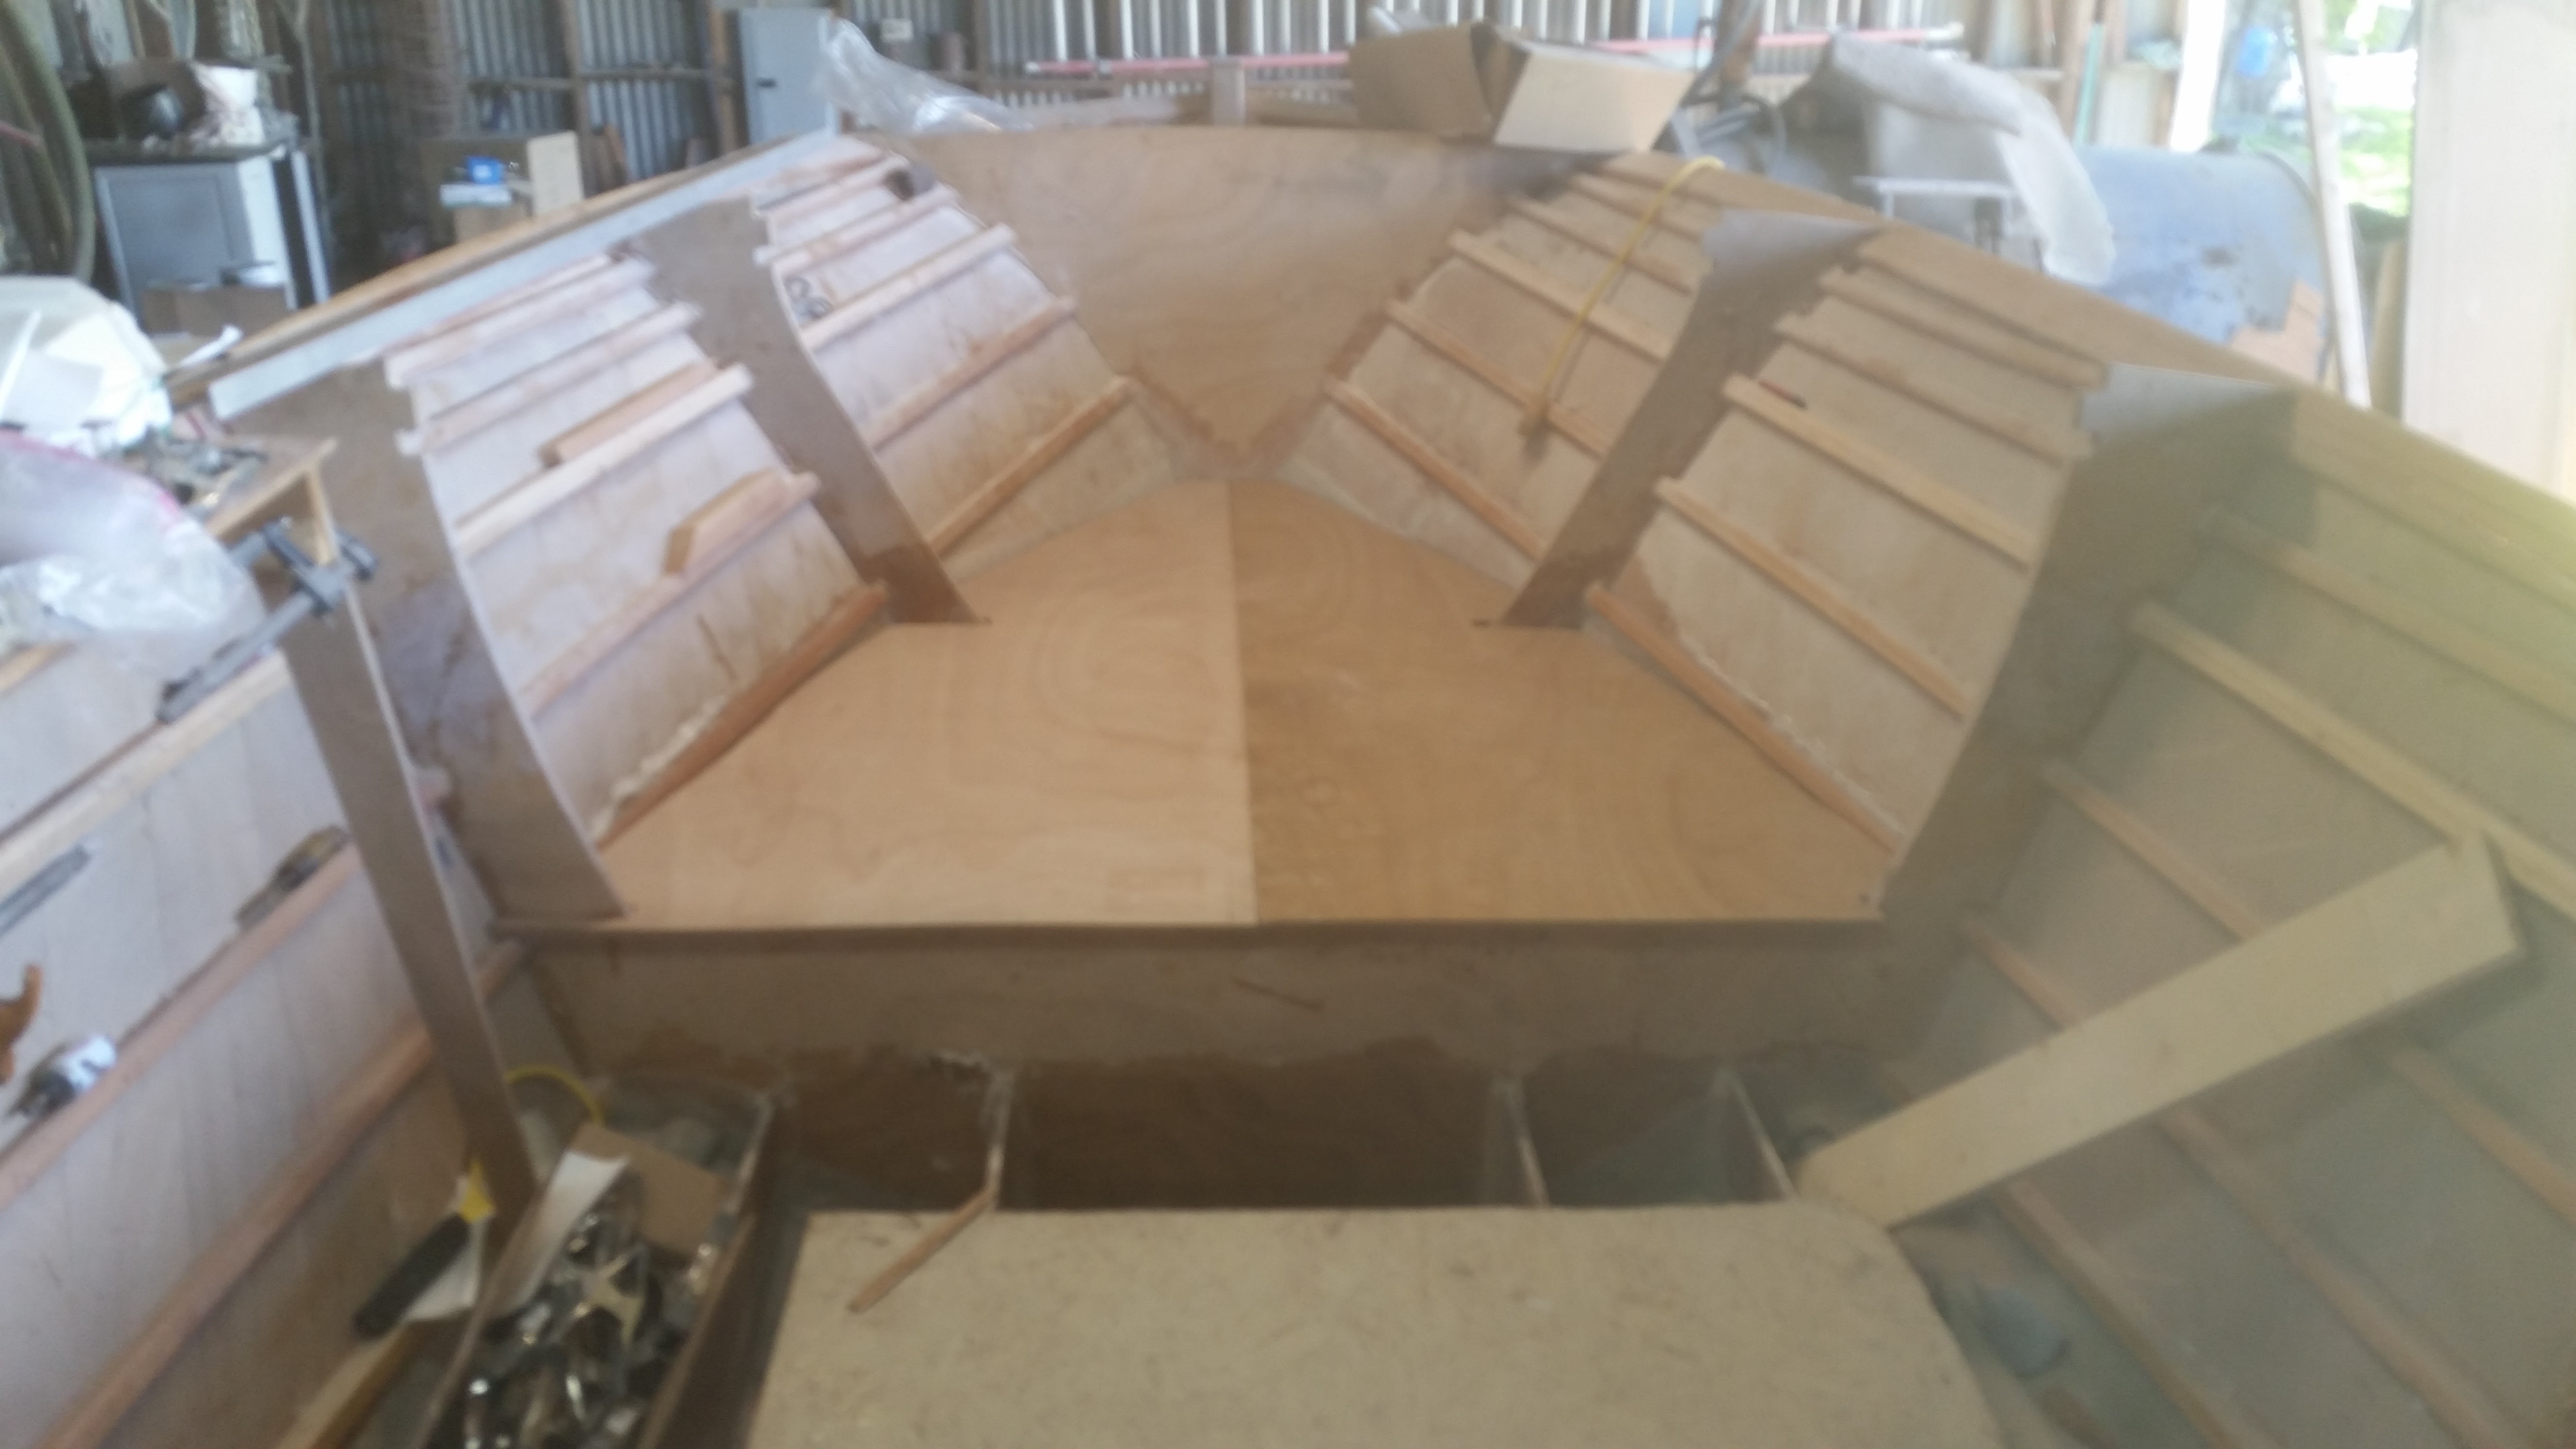
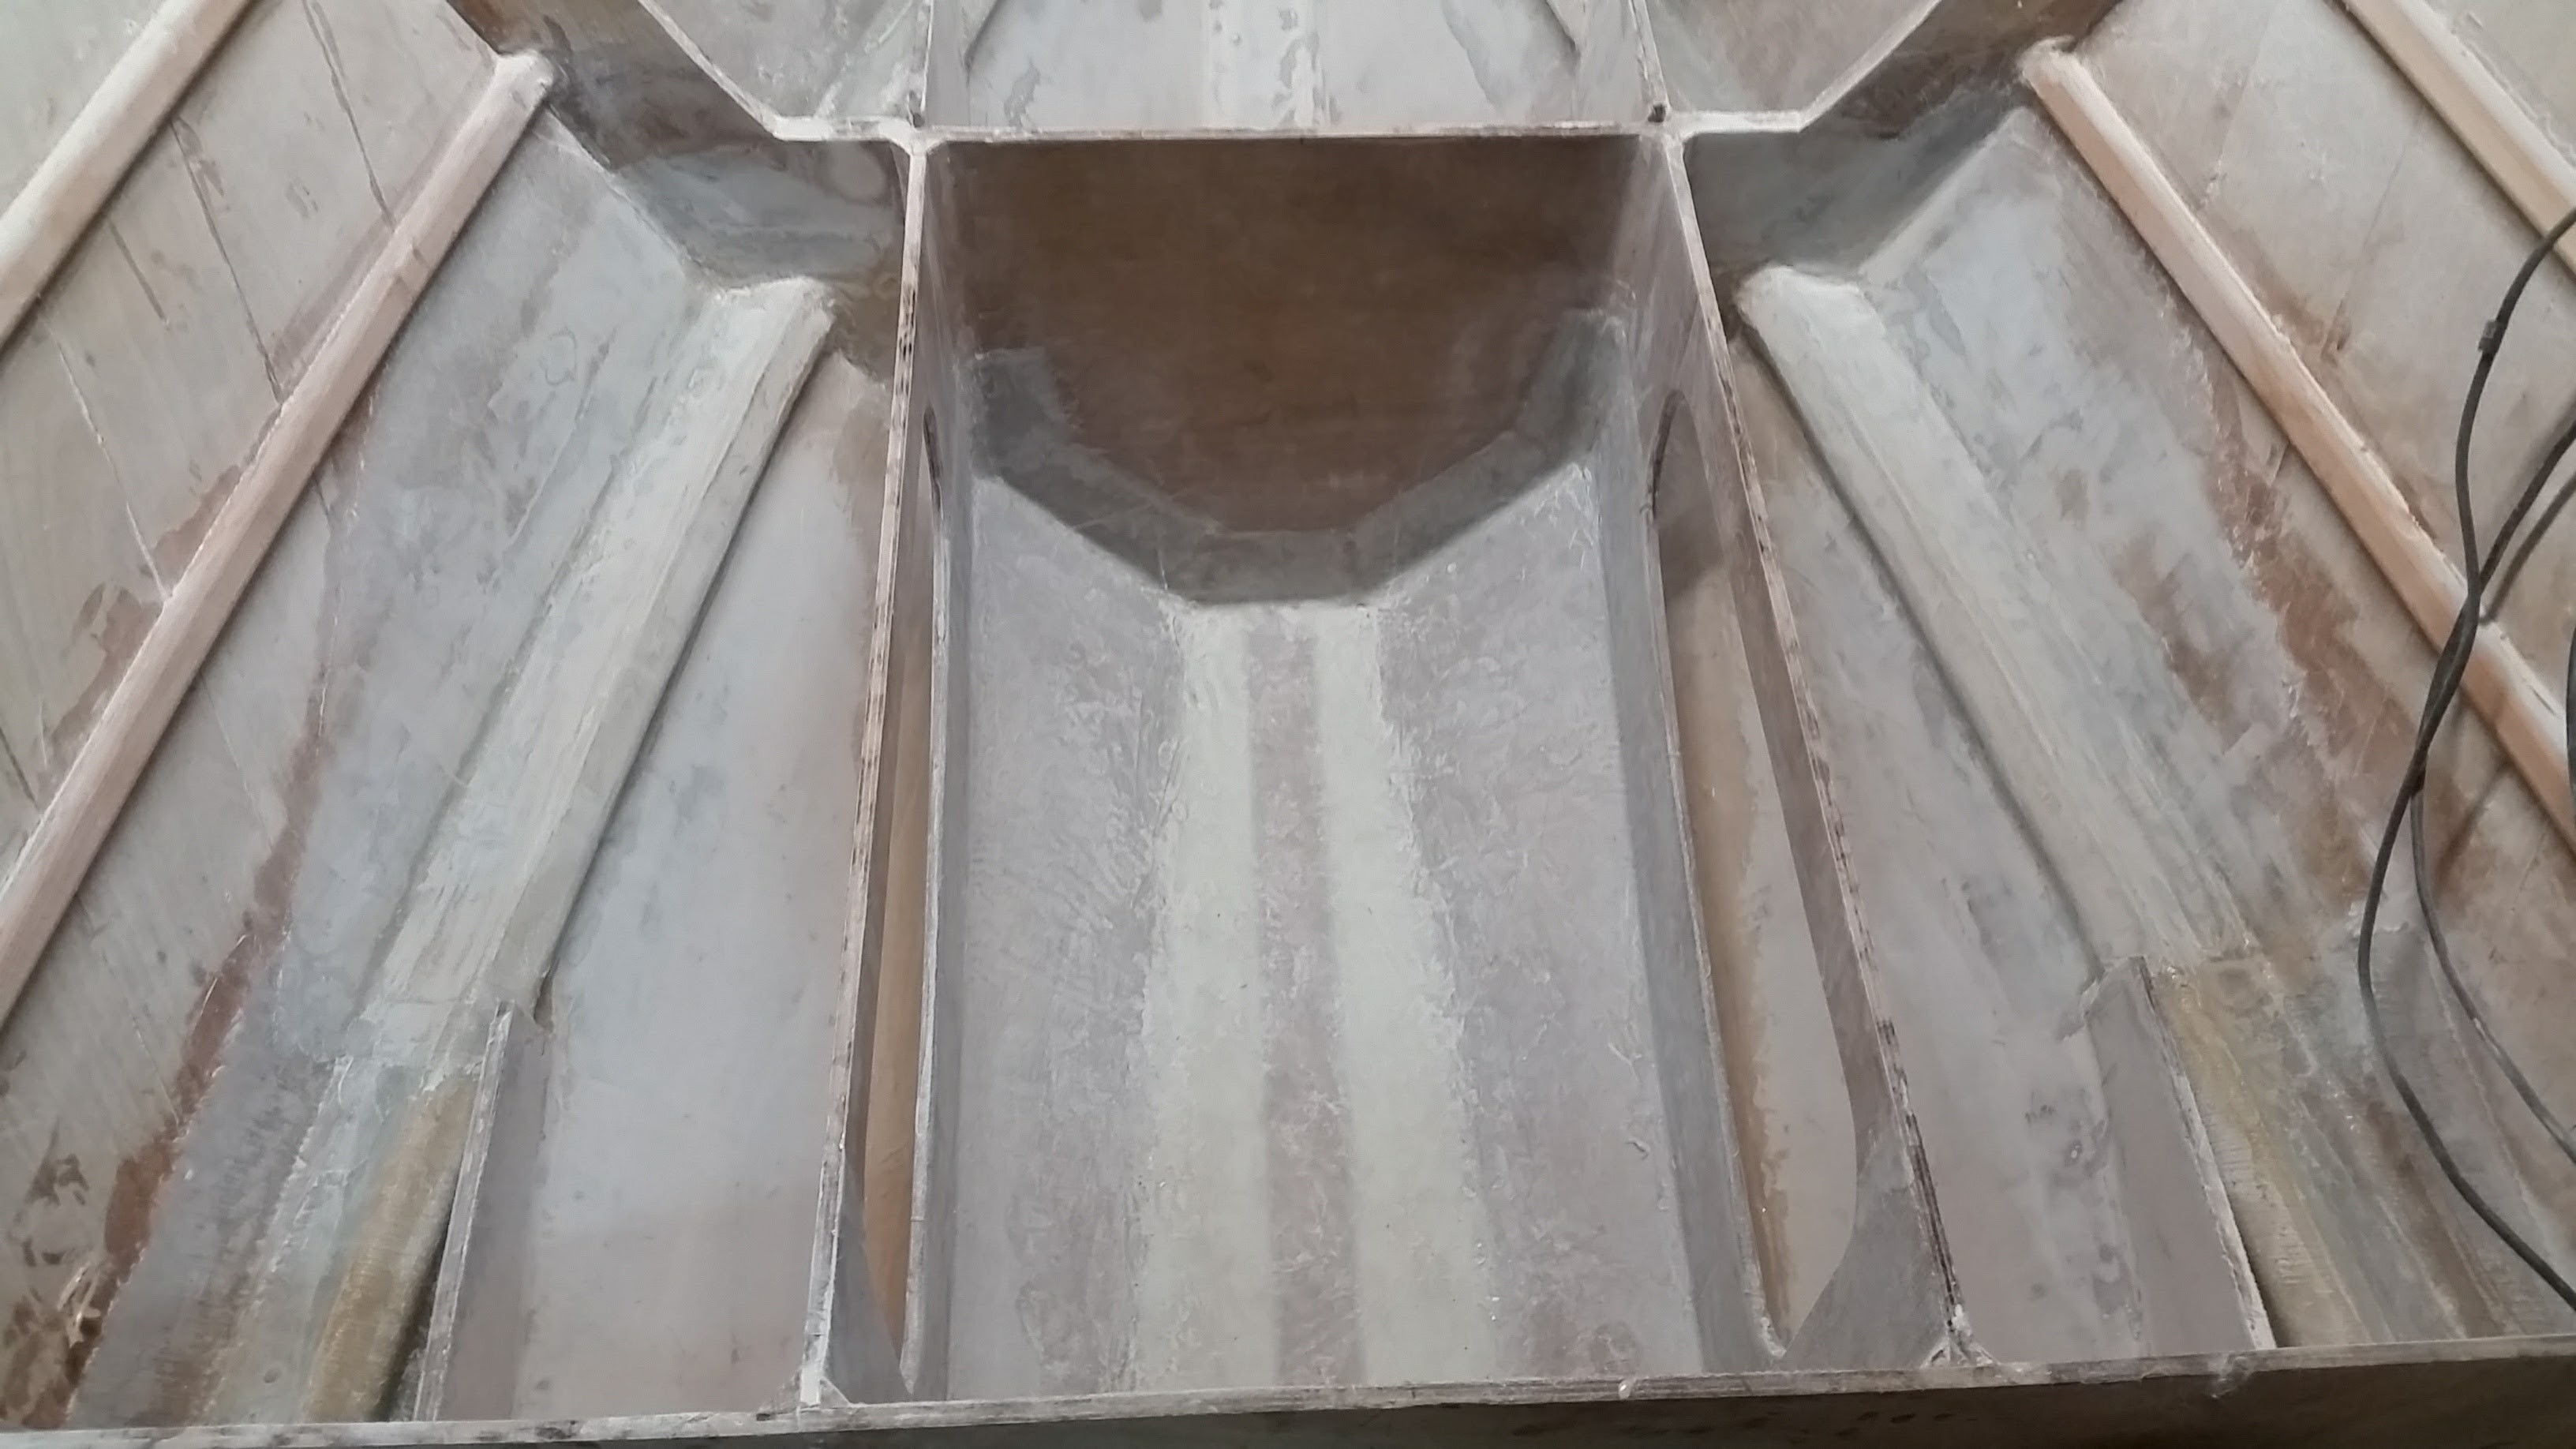
I've been moving this project ahead working all the interior sub-sole areas, sanding, filling, fairing, grinding, glassing for way too long. It's time to begin wrapping it up. Compartments are all faired and I have reached the point where I'll begin painting spaces that will remain accessible. Hopefully tomorrow . Begin adding wiring and plumbing chases in the next couple of days. Glued in the first of 4 storage tubes below decks that will provide locking storage for 4 rods or handled tools. Water tank table ready to install after I have painted underneath. Tank beds complete Have all the plumbing for the tanks... except the 1.5" fuel fill hose. Back ordered at my supplier. Need to nail down routing for all the systems below deck and there are a lot of them I thought I had photos with all the tanks in place and everything else looking done, but I guess not.
-
I've been sanding/fairing my project for a year. Figure I'm about 60% done with that operation.
-
I'm going through the platform for the same reasons. I'm thinking I can hug the bracket transom with the steering penetration and i have an idea about the rigging tube that I need to run by a rigger. I'm thinking if I turn the deck fitting 90° so it's discharge is parallel to the platform and point it outboard I can move the whole deal much closer to the bracket transom.
-
Looking very nice. Thanks for keeping up on the photos.
-
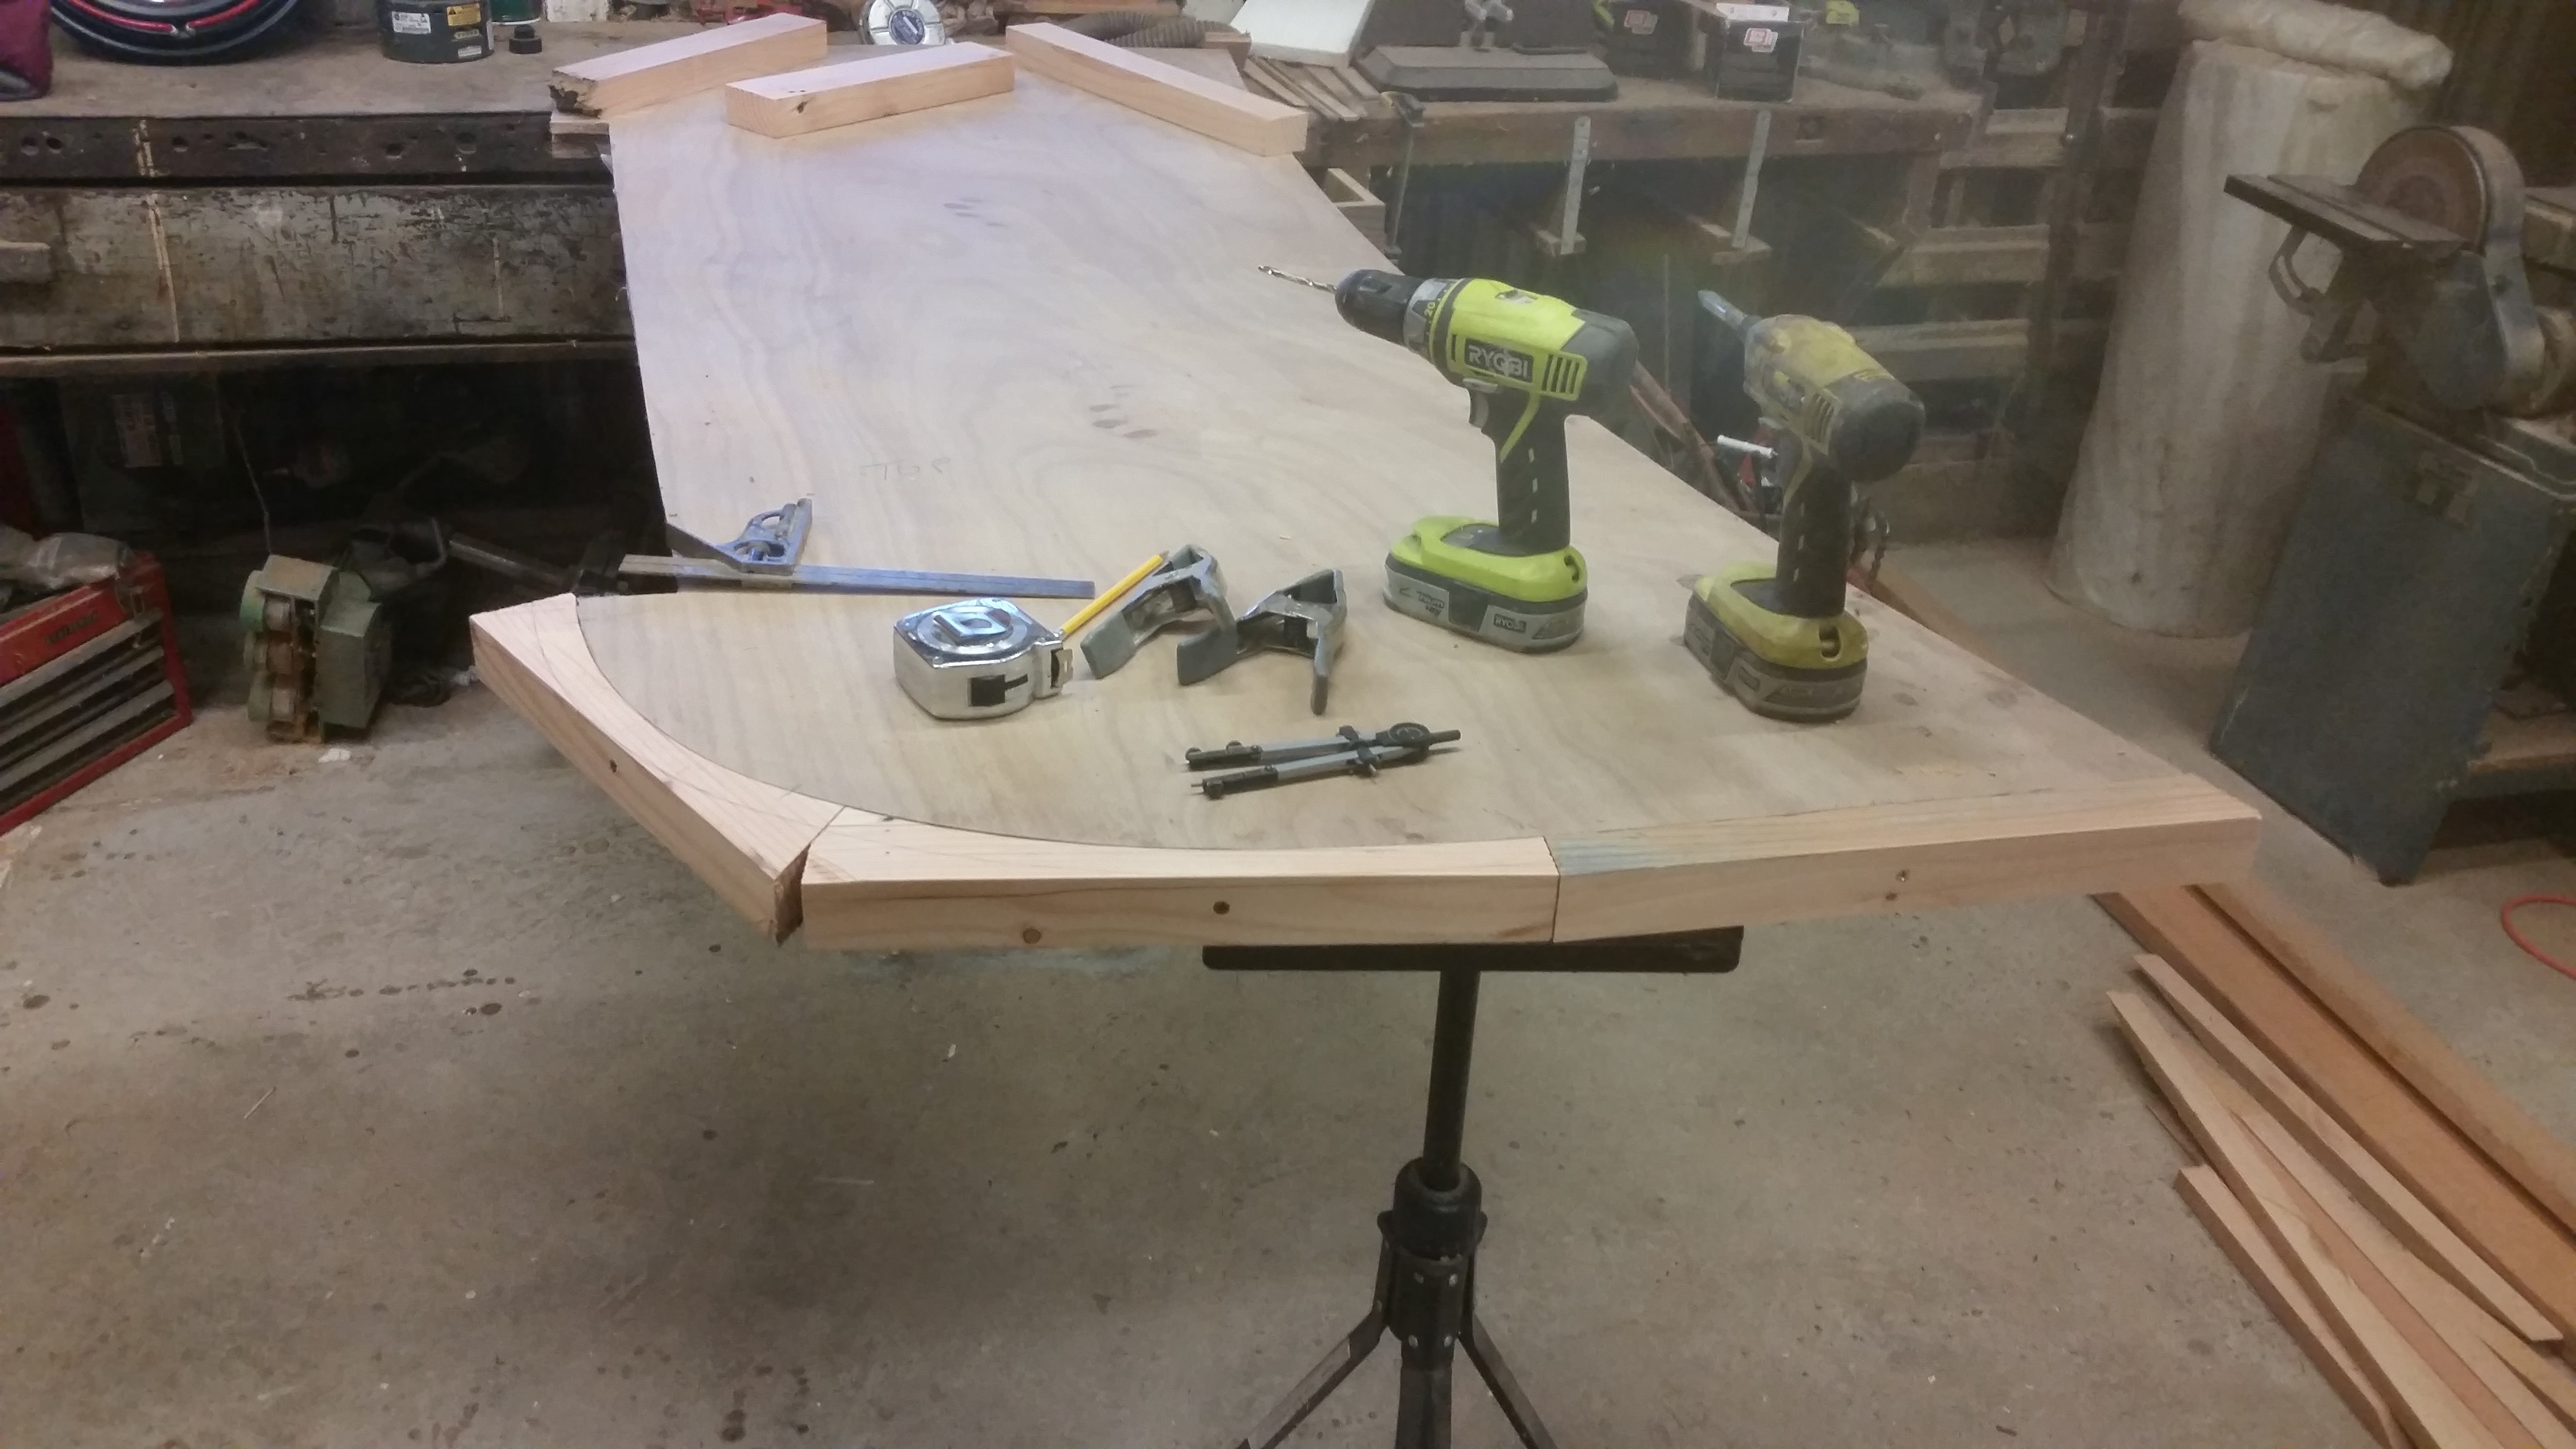
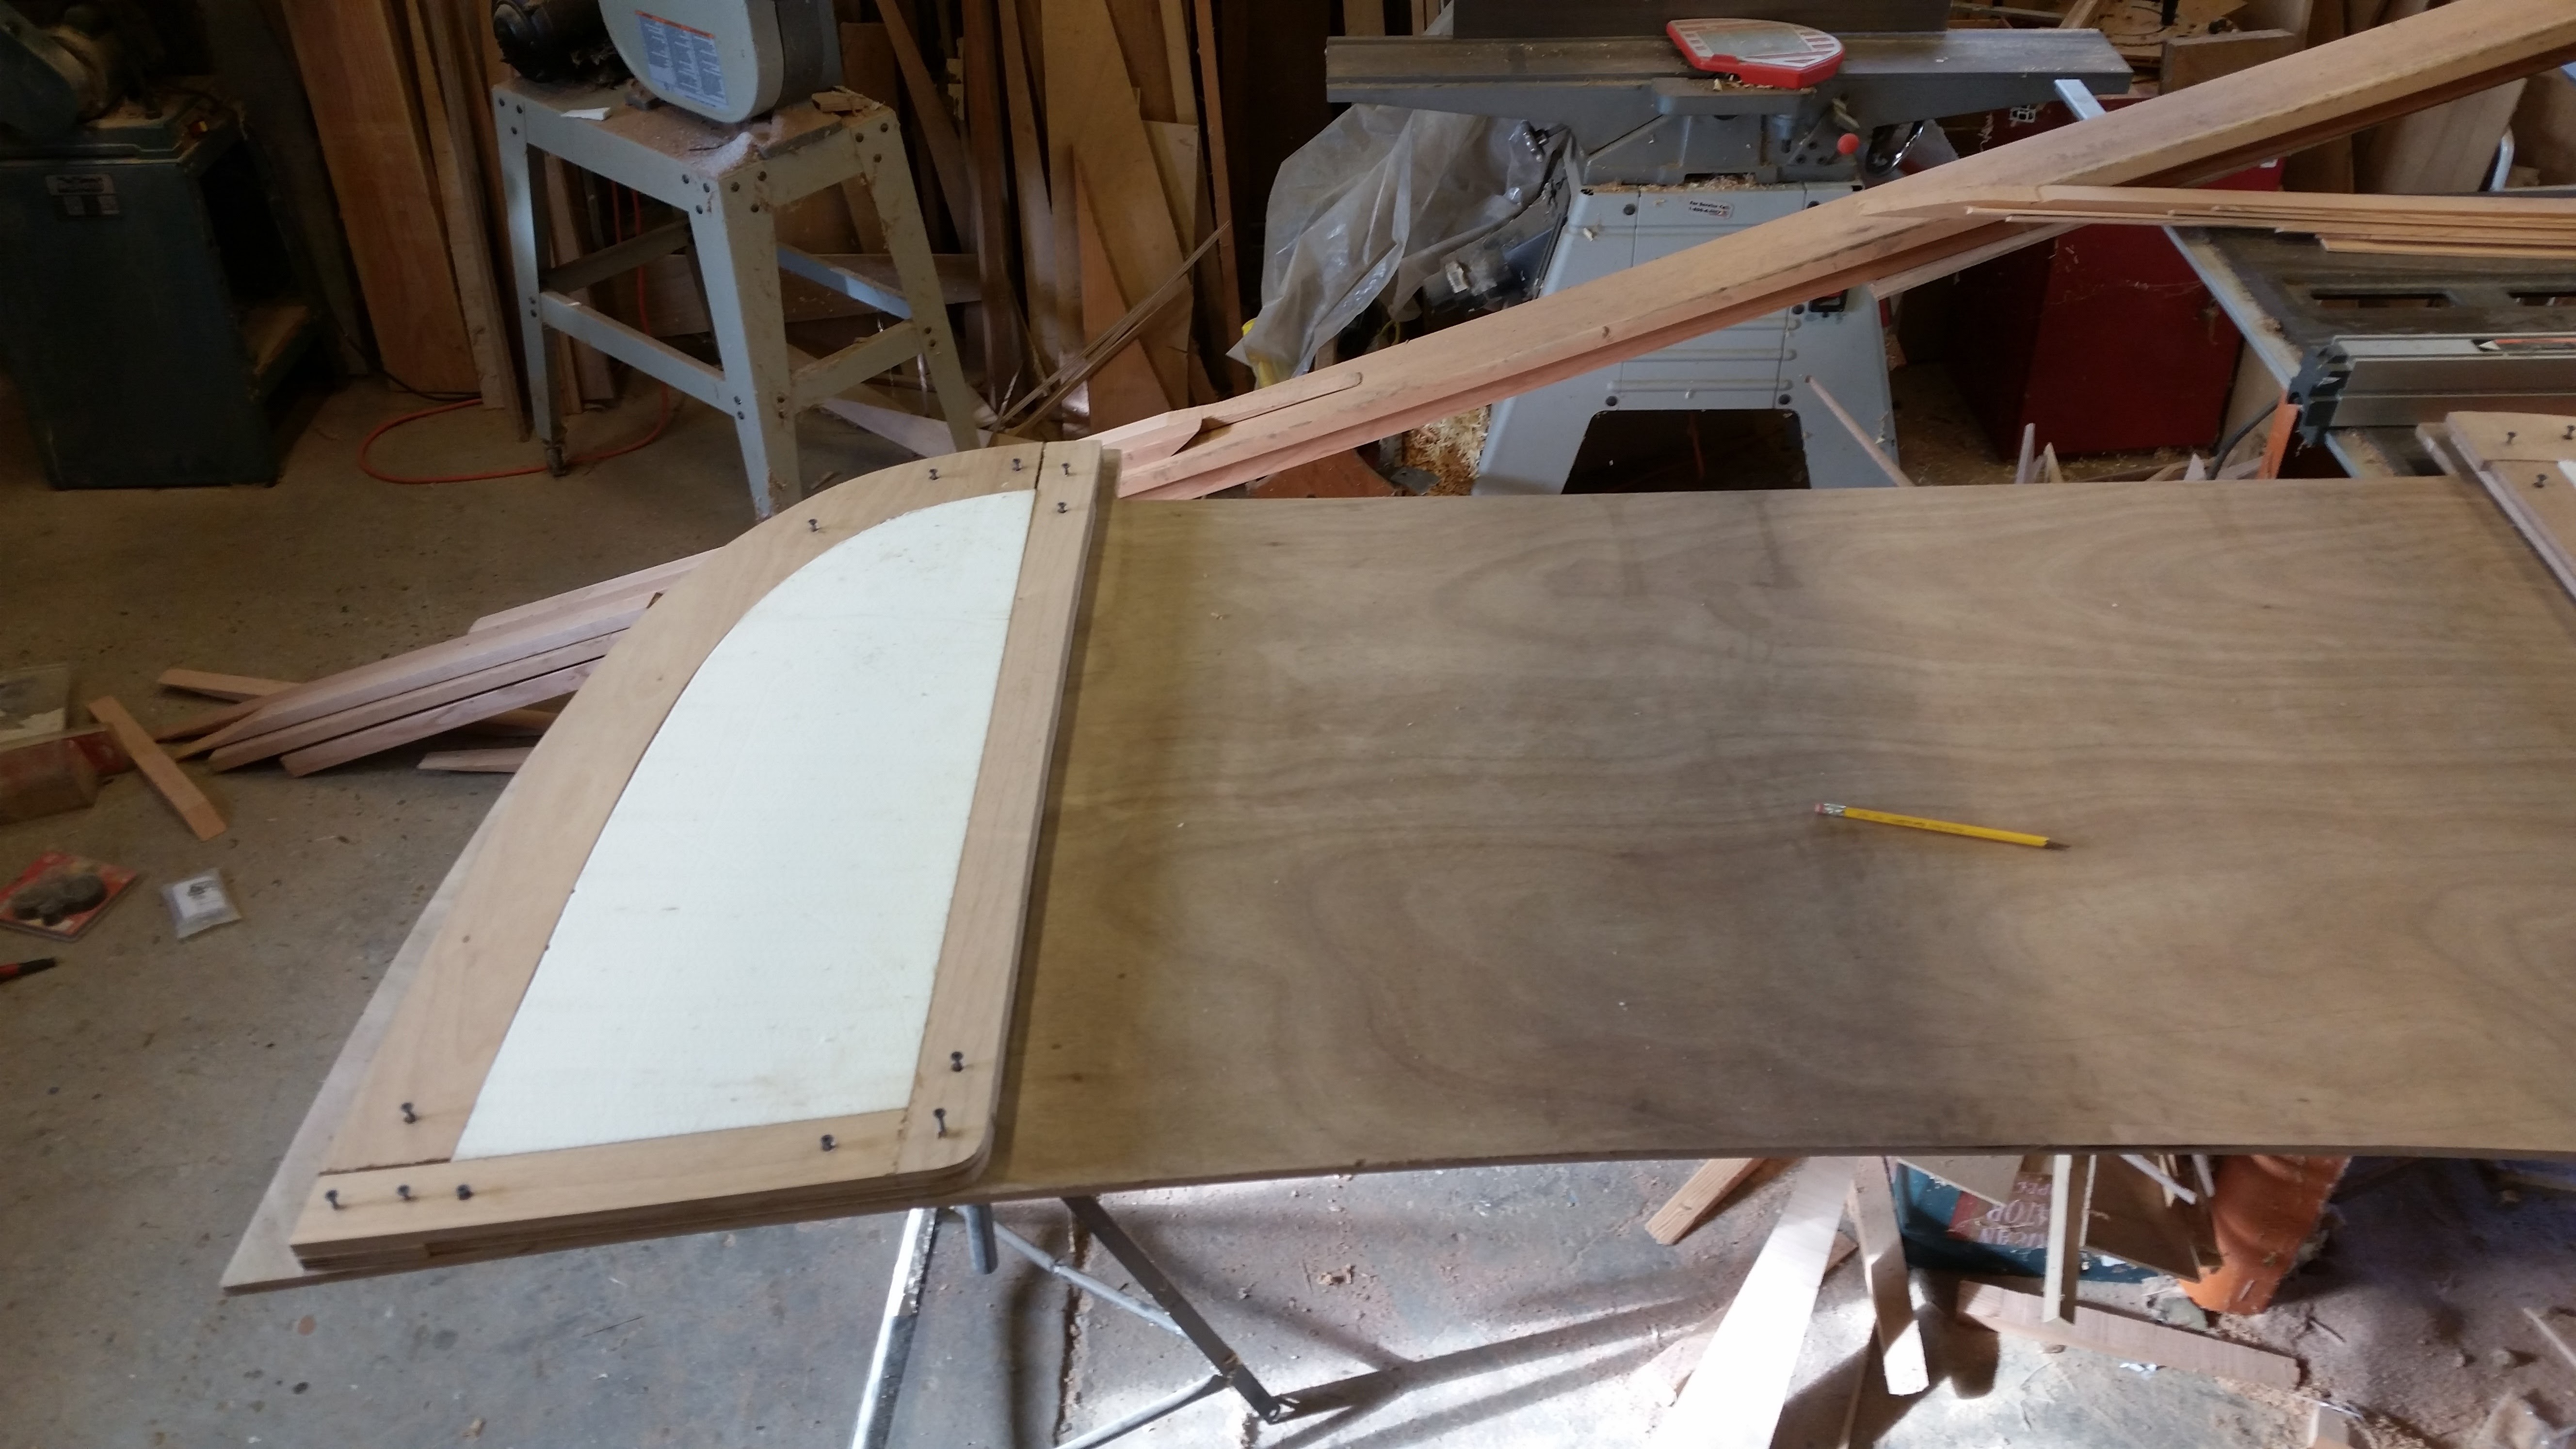
Here's a bit more progress. Continuation of the swim platform. I banded the edges to provide more screw holding power and impact resistance. Don't think I will do that again. Not sure if I really got any real benefit from the extra work.. If I apply a metal rub strip and the screws will be going into a resin lined hole so holding power is the same. Wanted two layers of 1708 on the edges but not cause a fairing problem, so I let in the first layer on both surfaces around .050" with a router to make it flush then applied the covering layer of the bottom with no bump. Easy fairing for a few minutes work and no glass grinding. Yay! Glassed the underside too. Biaxial is so nice to work with. No pleats or darts to make this drape. The unglassed margin is for tabbing onto the bracket and transom without creating a bump of two layers. Peel ply over the whole thing to make it smooth for fairing. I will fair most of this before it goes on. No one wants to fair upside down. Forward casting platform sole dry fit. I have just a bit of sanding to do up there and it's ready to close up. Console and rear bilge compartment is faired. All limbers are done. Installing ledgers/stiffeners. Tank beds are complete.


-
Nice neat work.
-
Very nice work. I may have to steal that.
-
Thanks, some funny stuff right there. I got bagged baking paint on some parts in the oven and drying a large bag of seeds in the clothes dryer, among other things. Still have to hear about it from time to time. If she only knew what has happened to her measuring cups, plastic bowls, knives, cutting boards, etc when she's not around.
-
I can't get .75" material around that area either. I worked around it by kerfing the material in that area and fill the kerf with glue and set it in place. So in other words, I take my clamp stock, and set it along the shear area to get the location where the curve becomes too much. Mark about a foot or so aft of that point. Then run it through the table saw cutting down the middle perpendicular to the bend from the stem to the mark. Fill the kerf with glue and get in in place. I find splitting the piece and leaving it together is much easier and faster that laminating up separate pieces. Stagger your kerf starts on each piece so the thinning is tapered. You will need to add one more piece to make up for the lost thickness that is created by the kerf X 3.
-
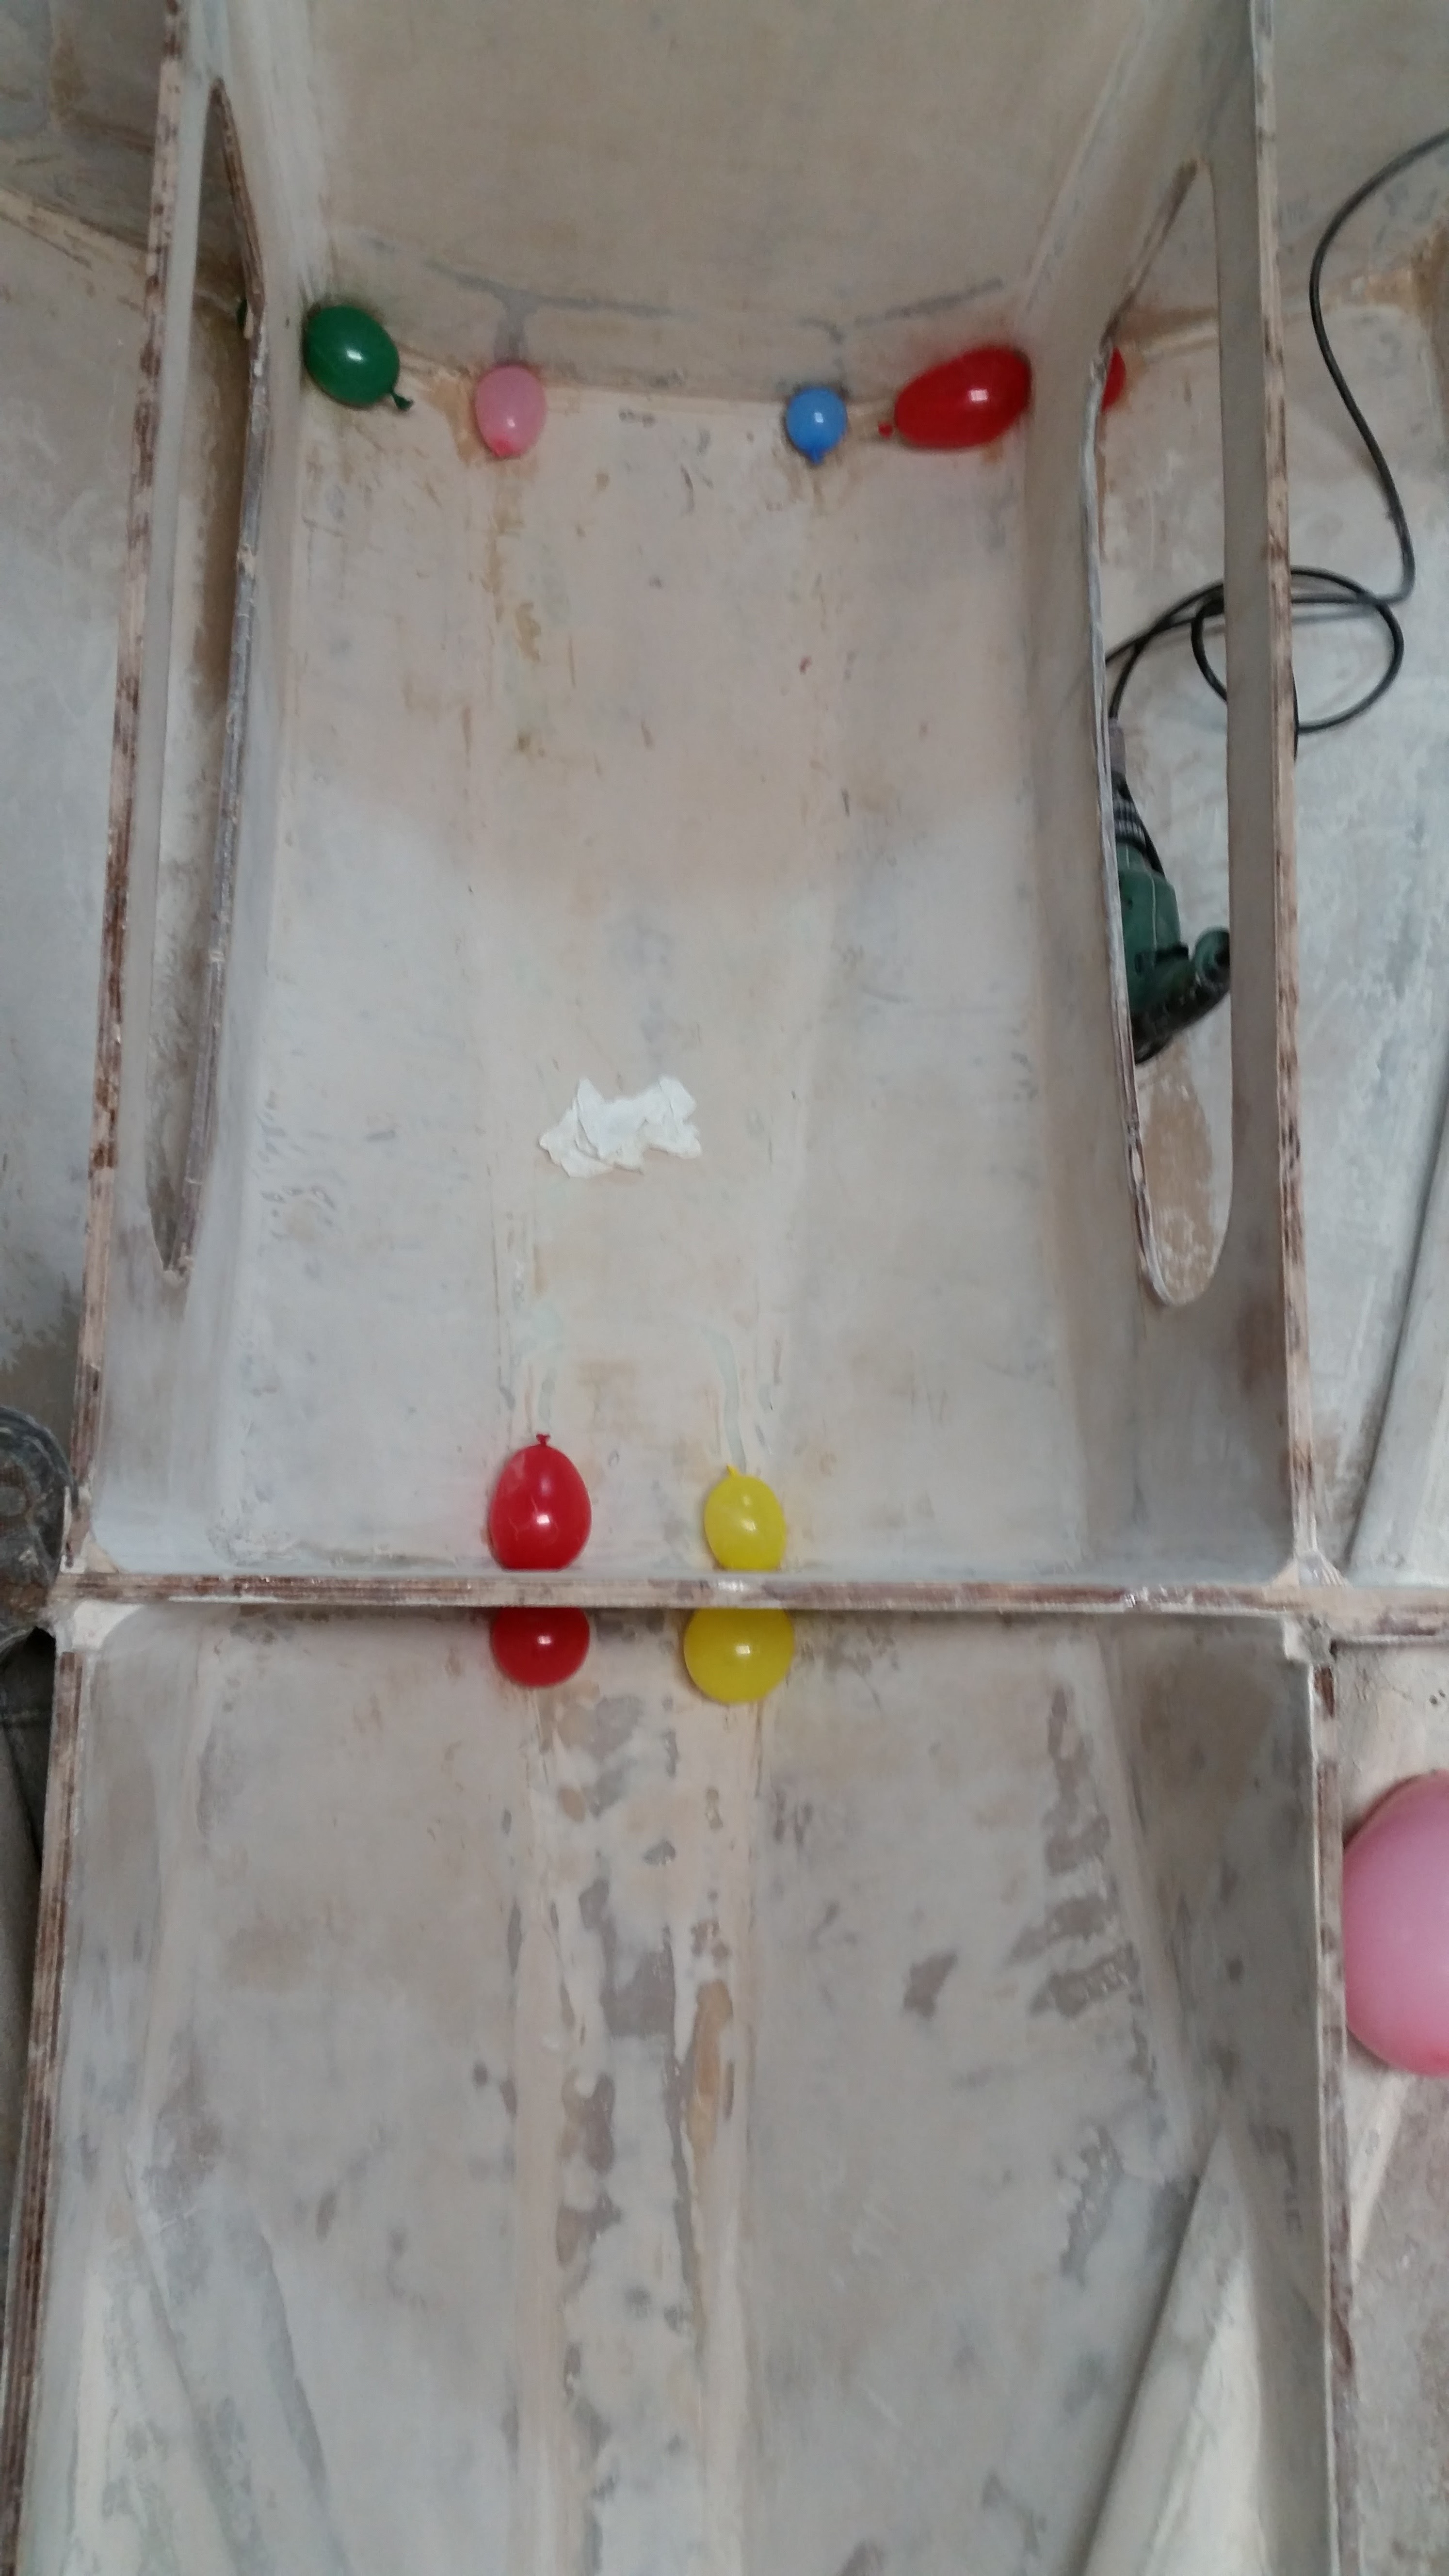
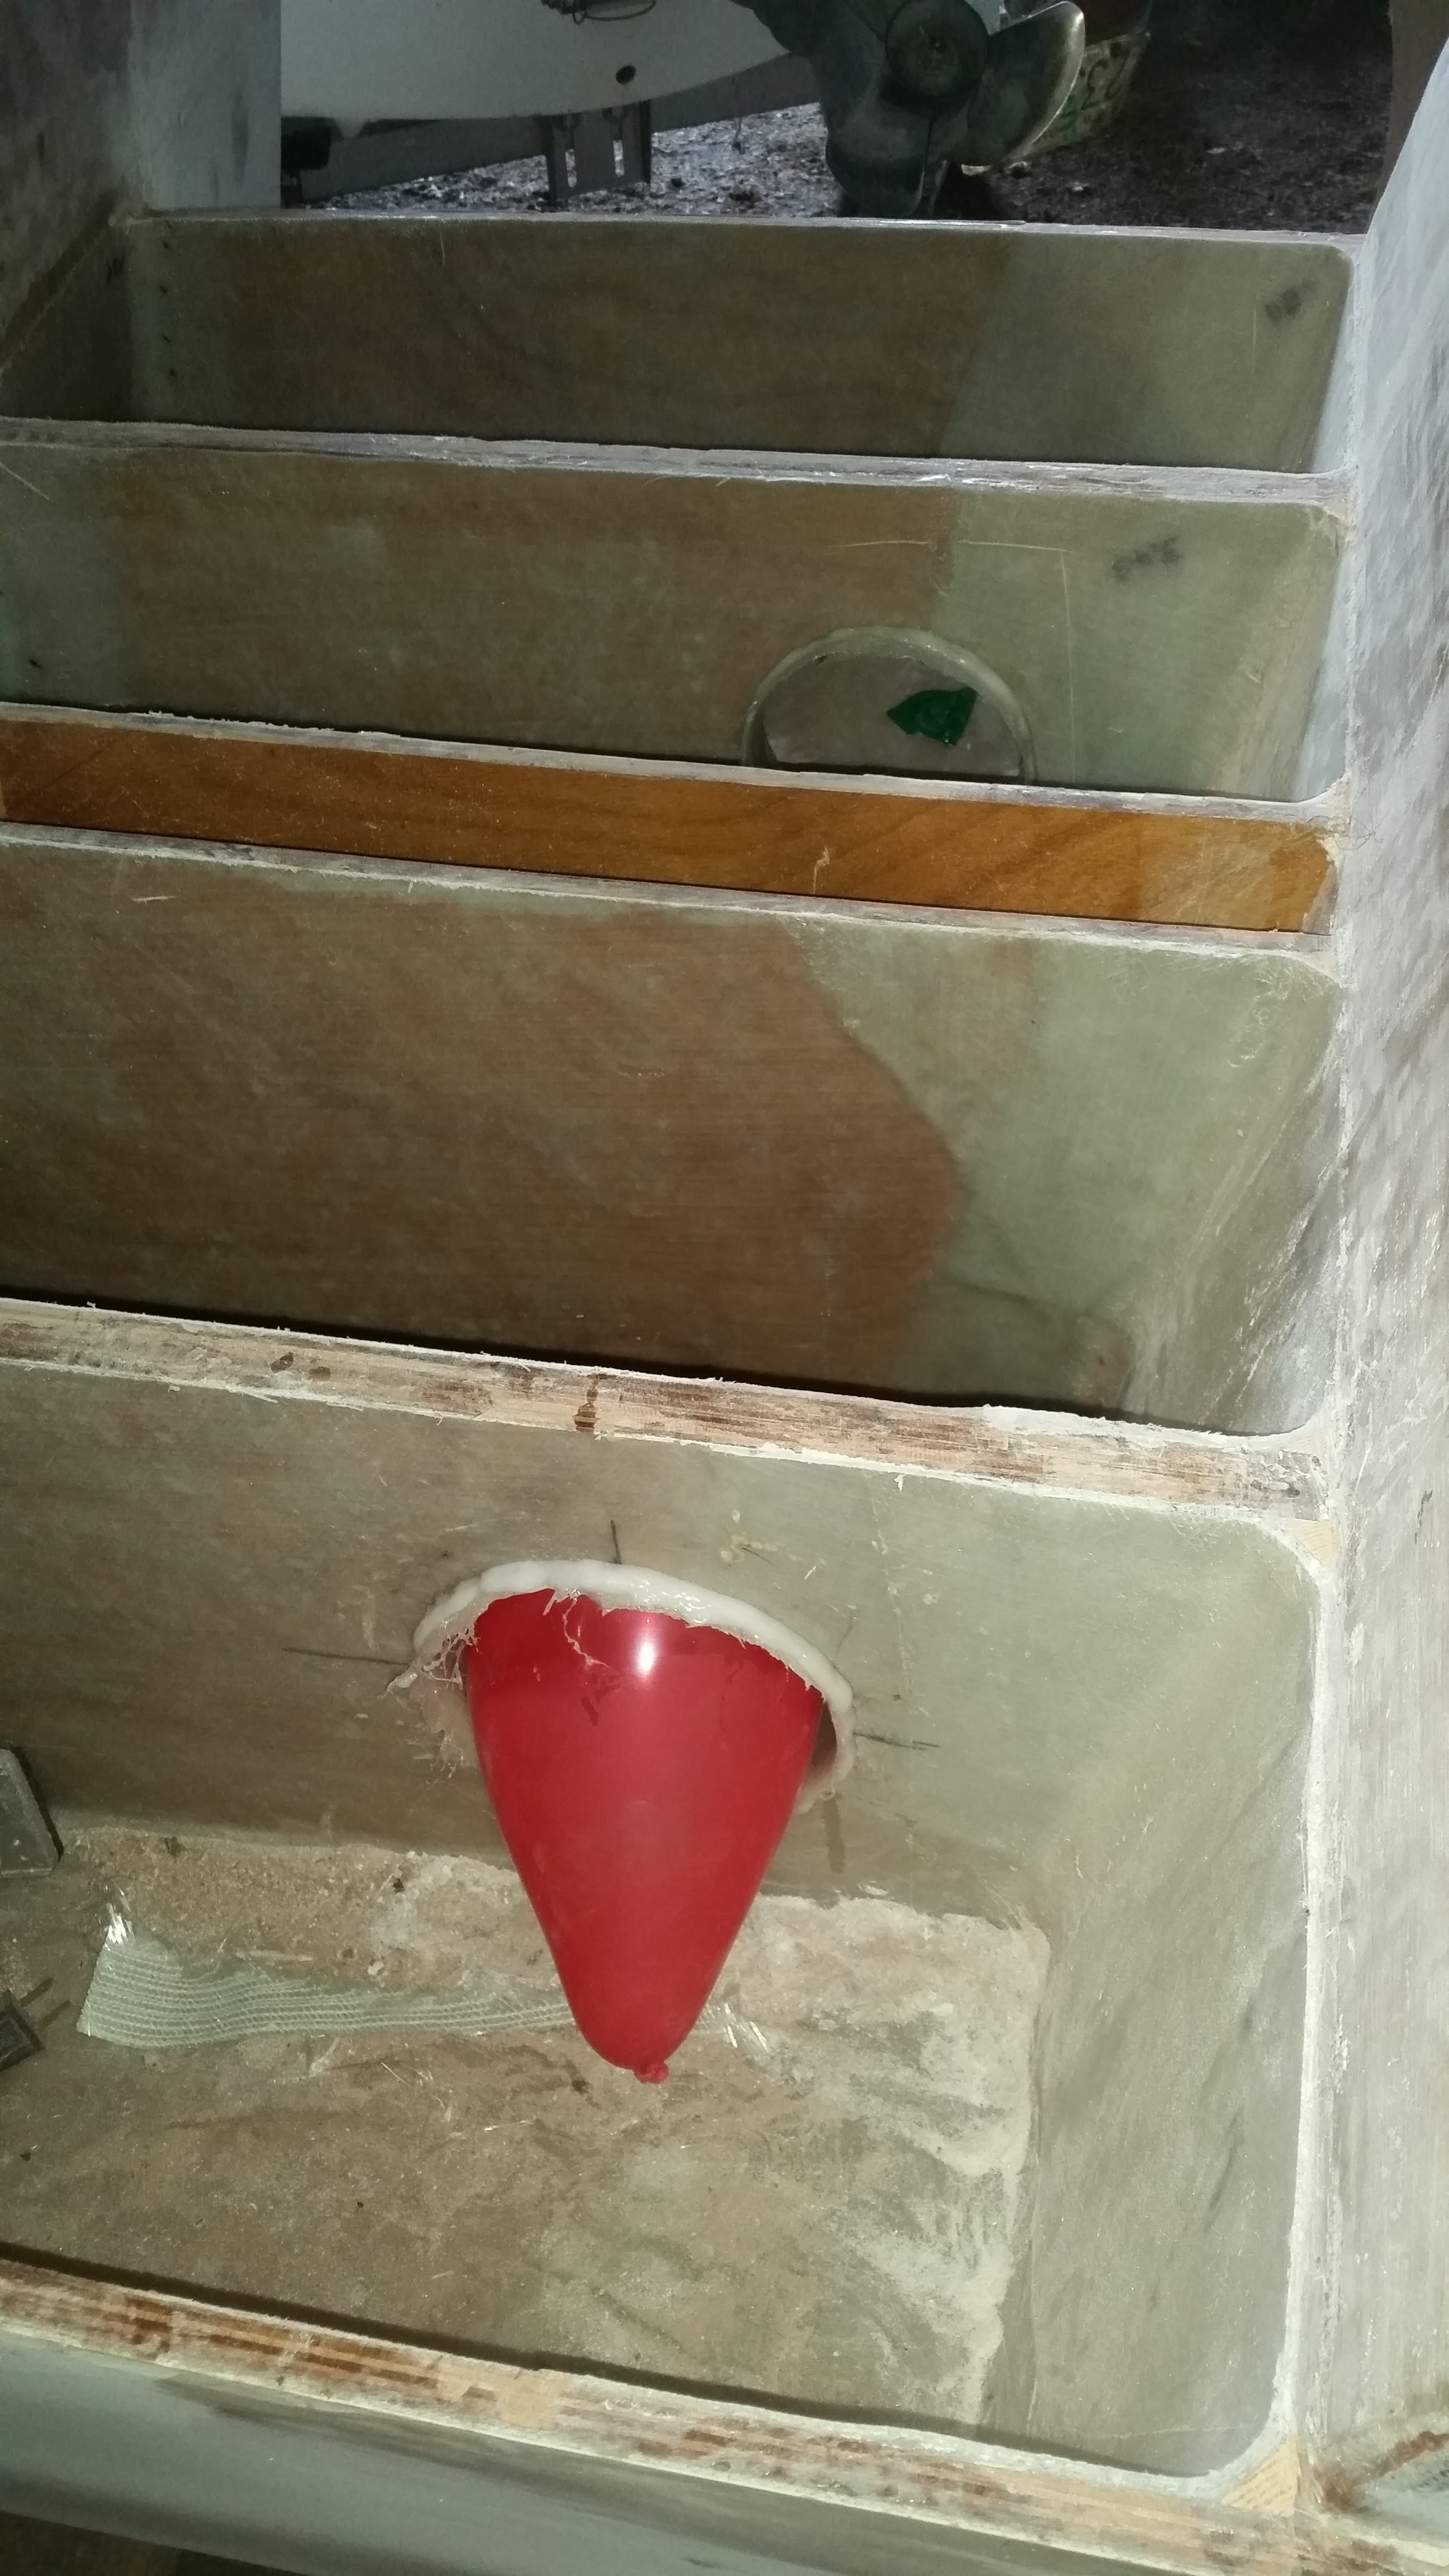
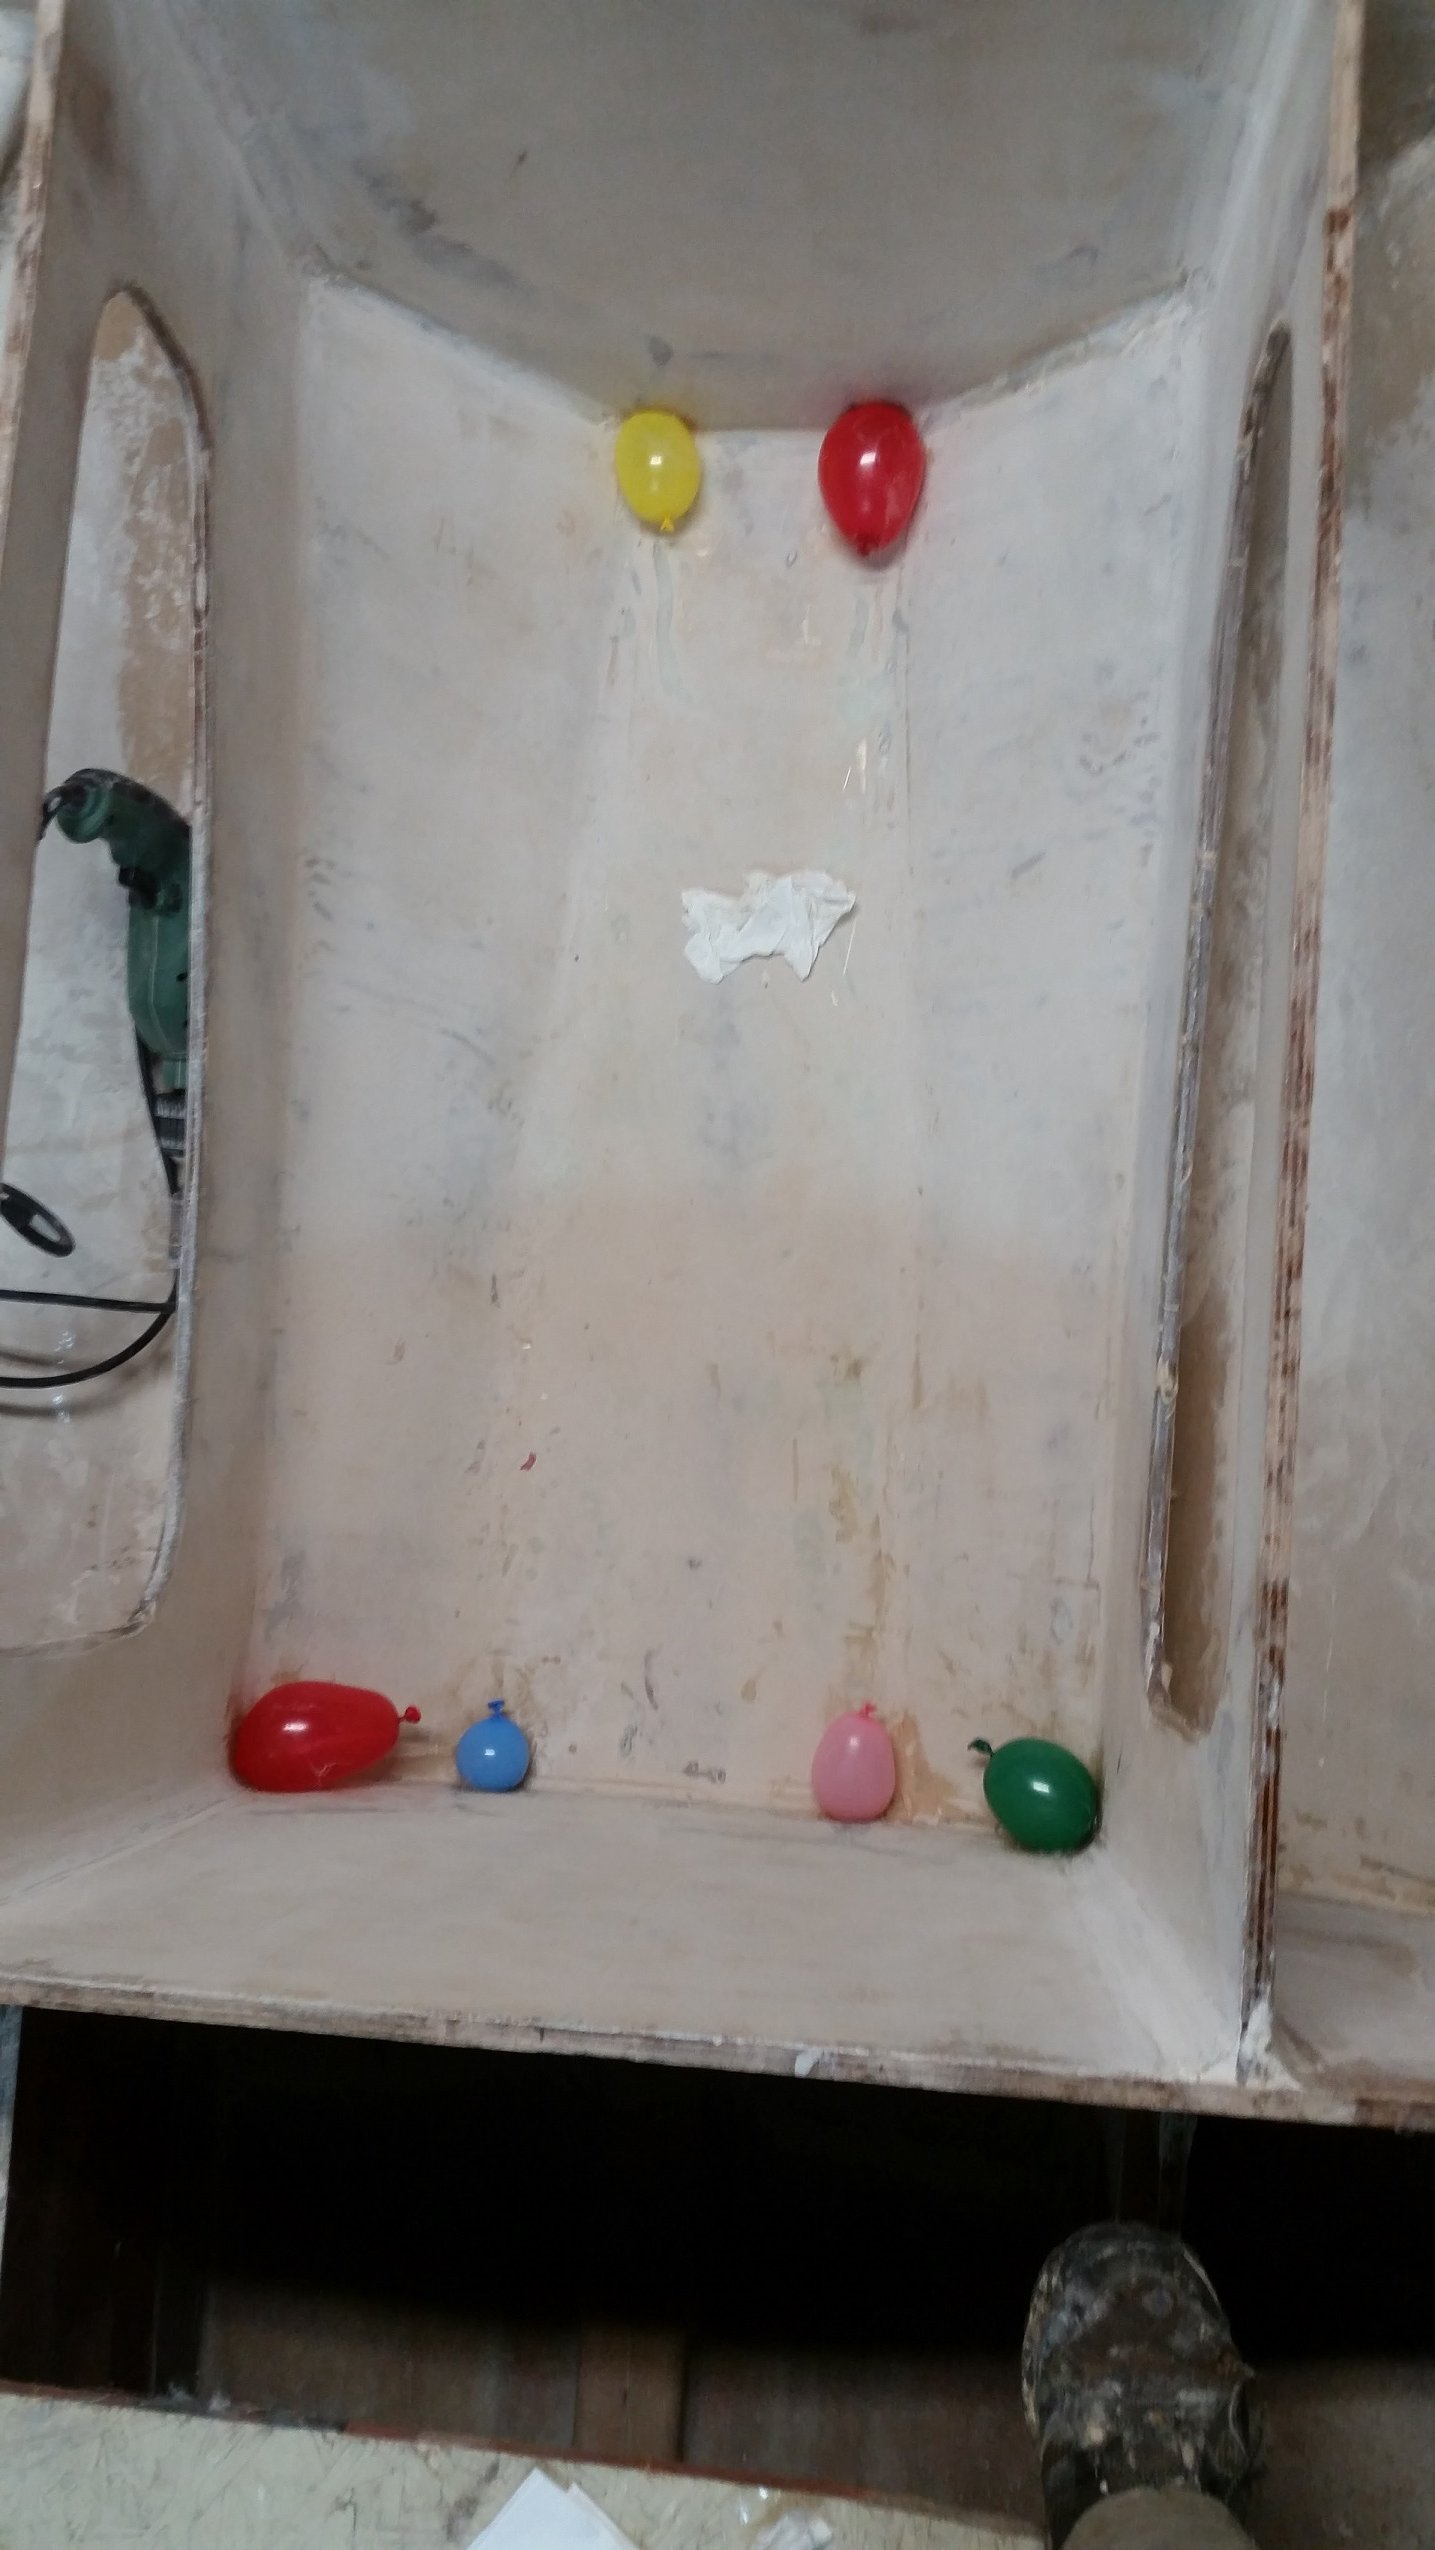
More than you would think, I need to stop playing with them. Oh, I certainly blow them up with a compressor. It's tying off with goo covered gloves that poses the challenge. This photo may help explain the earlier balloon application.

-
I have glass everywhere, there will be glass on the bottom of the sole too. I have a phobia about hot coating. Pure resin is more likely to crack if highly loaded, so I throw 6, 8 or 10oz plain weave in where hot coating is recommended. I select the weight depending on the application. Doing the math; weight and cost are similar with labor being the big cost difference on the face, but when you think that hot coating requires 3 coats for a proper moisture barrier and I can glass in one pass, things start to even up. At the end of the day I think it is a better product so I'm willing to put in the effort. I have done some experimentation and with every day application on a relatively flat surface my usual 8oz thickness is between .016 and .018. Enough for a barrier but not a lot of weight. At the bracket transom I did throw some extra glass at the surface that will bear the engine mounting bolts to help with compression loading. While I was there I figured, why not wrap them onto the stringers. Everything structural has gotten at least one layer of 1708 biax and non-structural got 10oz. Graham recommended 1808 but my local supplier only had 1708. You're right on the array of fabrics out there. I spent a day last week with composites one and vectorply tech staff working on infusion techniques. They had their samples book out and the specialty fabric selection was truly bewildering. Cold molded construction, fortunately, is much simpler to make the selection. Just need a wear and waterproofing layer. Biax is available, cheap and easy to apply. FYI for your project. I used a full roll (215lbs) of 1708 for my build. Ok I still have a couple yards left on the roll, but i have a home for all of it. I thought I would have a good portion of it left when I was done. Glad I bought the full roll. Much Cheaper
-
A little more progress. I have actually been working on the compartments in the hull fairing and glassing the last items and fitting the casting platform sole, but no photos.


-
Forced to walk the plank, he was.
-
Looks like chris deleted his account.
-
Here's little progress. Glassing limbers in the forward compartments.

-
Thanks for checking in Chris. Haven't done much of anything this month. Faired the console area and the front compartments, drilled limbers in the forward area. Was hoping to have the bilge glassed this last week but didn't get to it. I have had a hard time getting anything done this month.
-
Fairing the forward compartments... well more like smoothing.


-
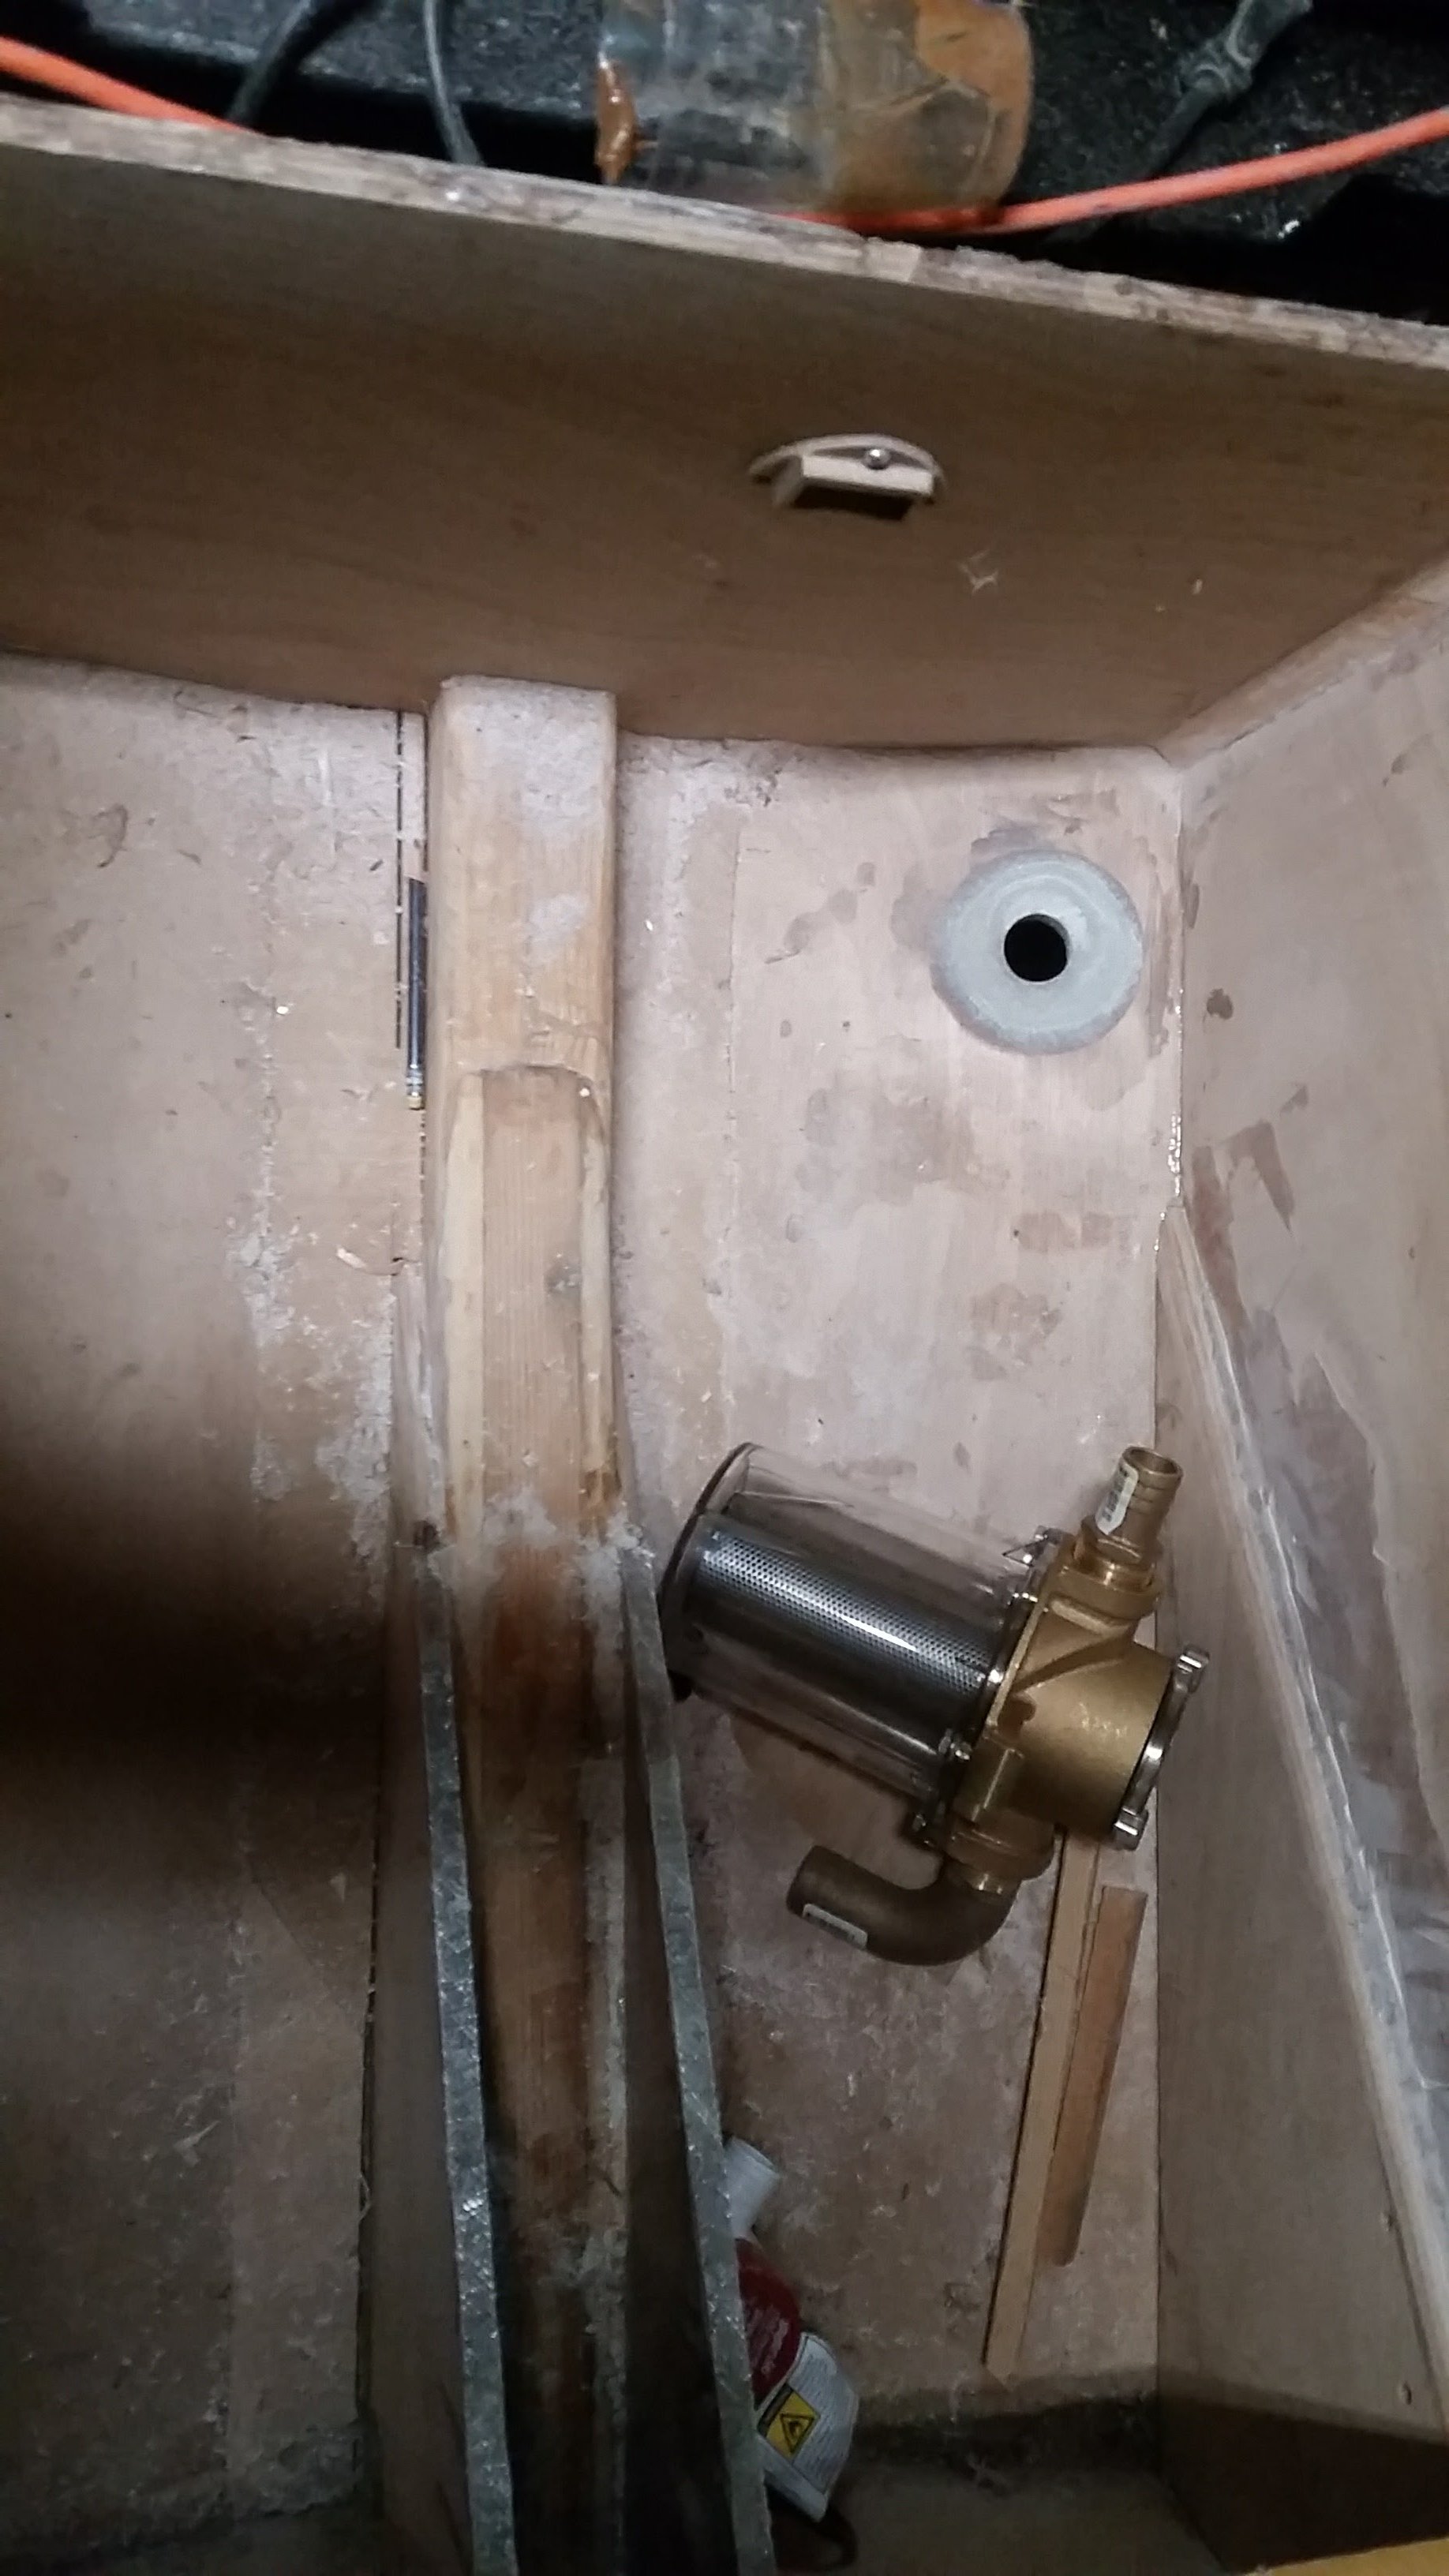
A couple more toys for the rear bilge. Noodling the layout. Raw water pickup through hull bored and glassed.


-
Nice work Chris. Teak covering boards too,
-
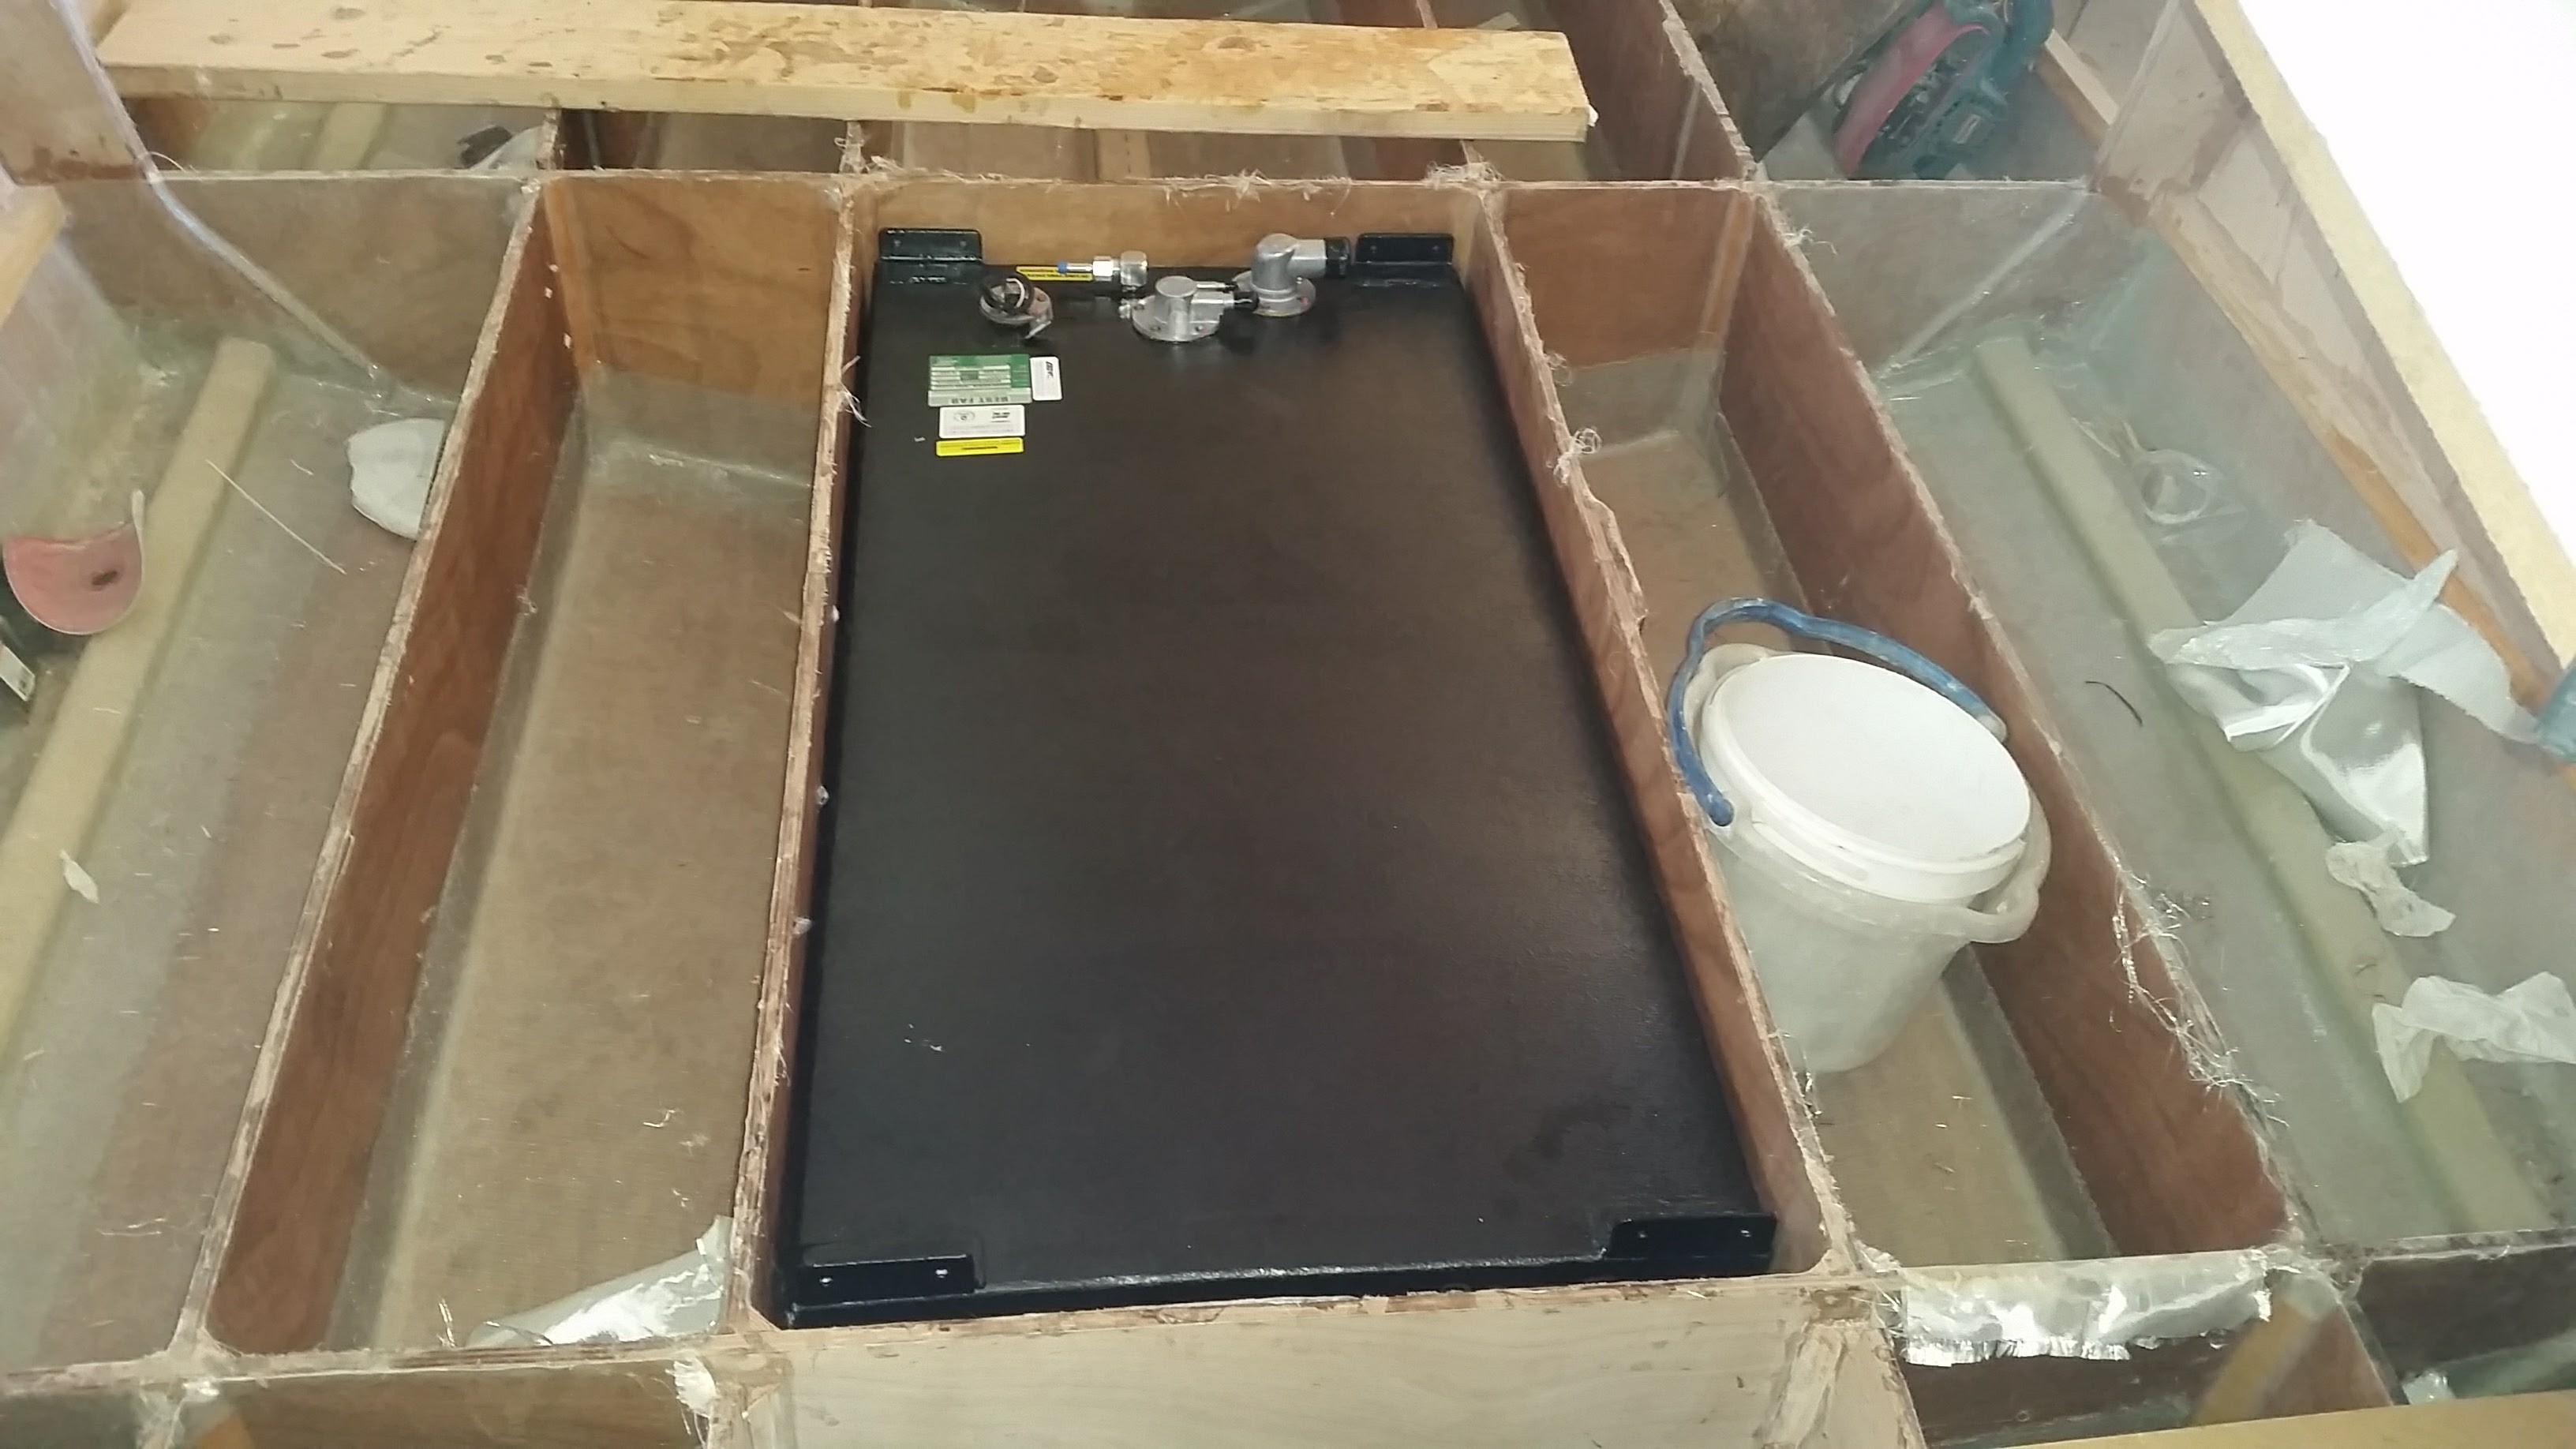
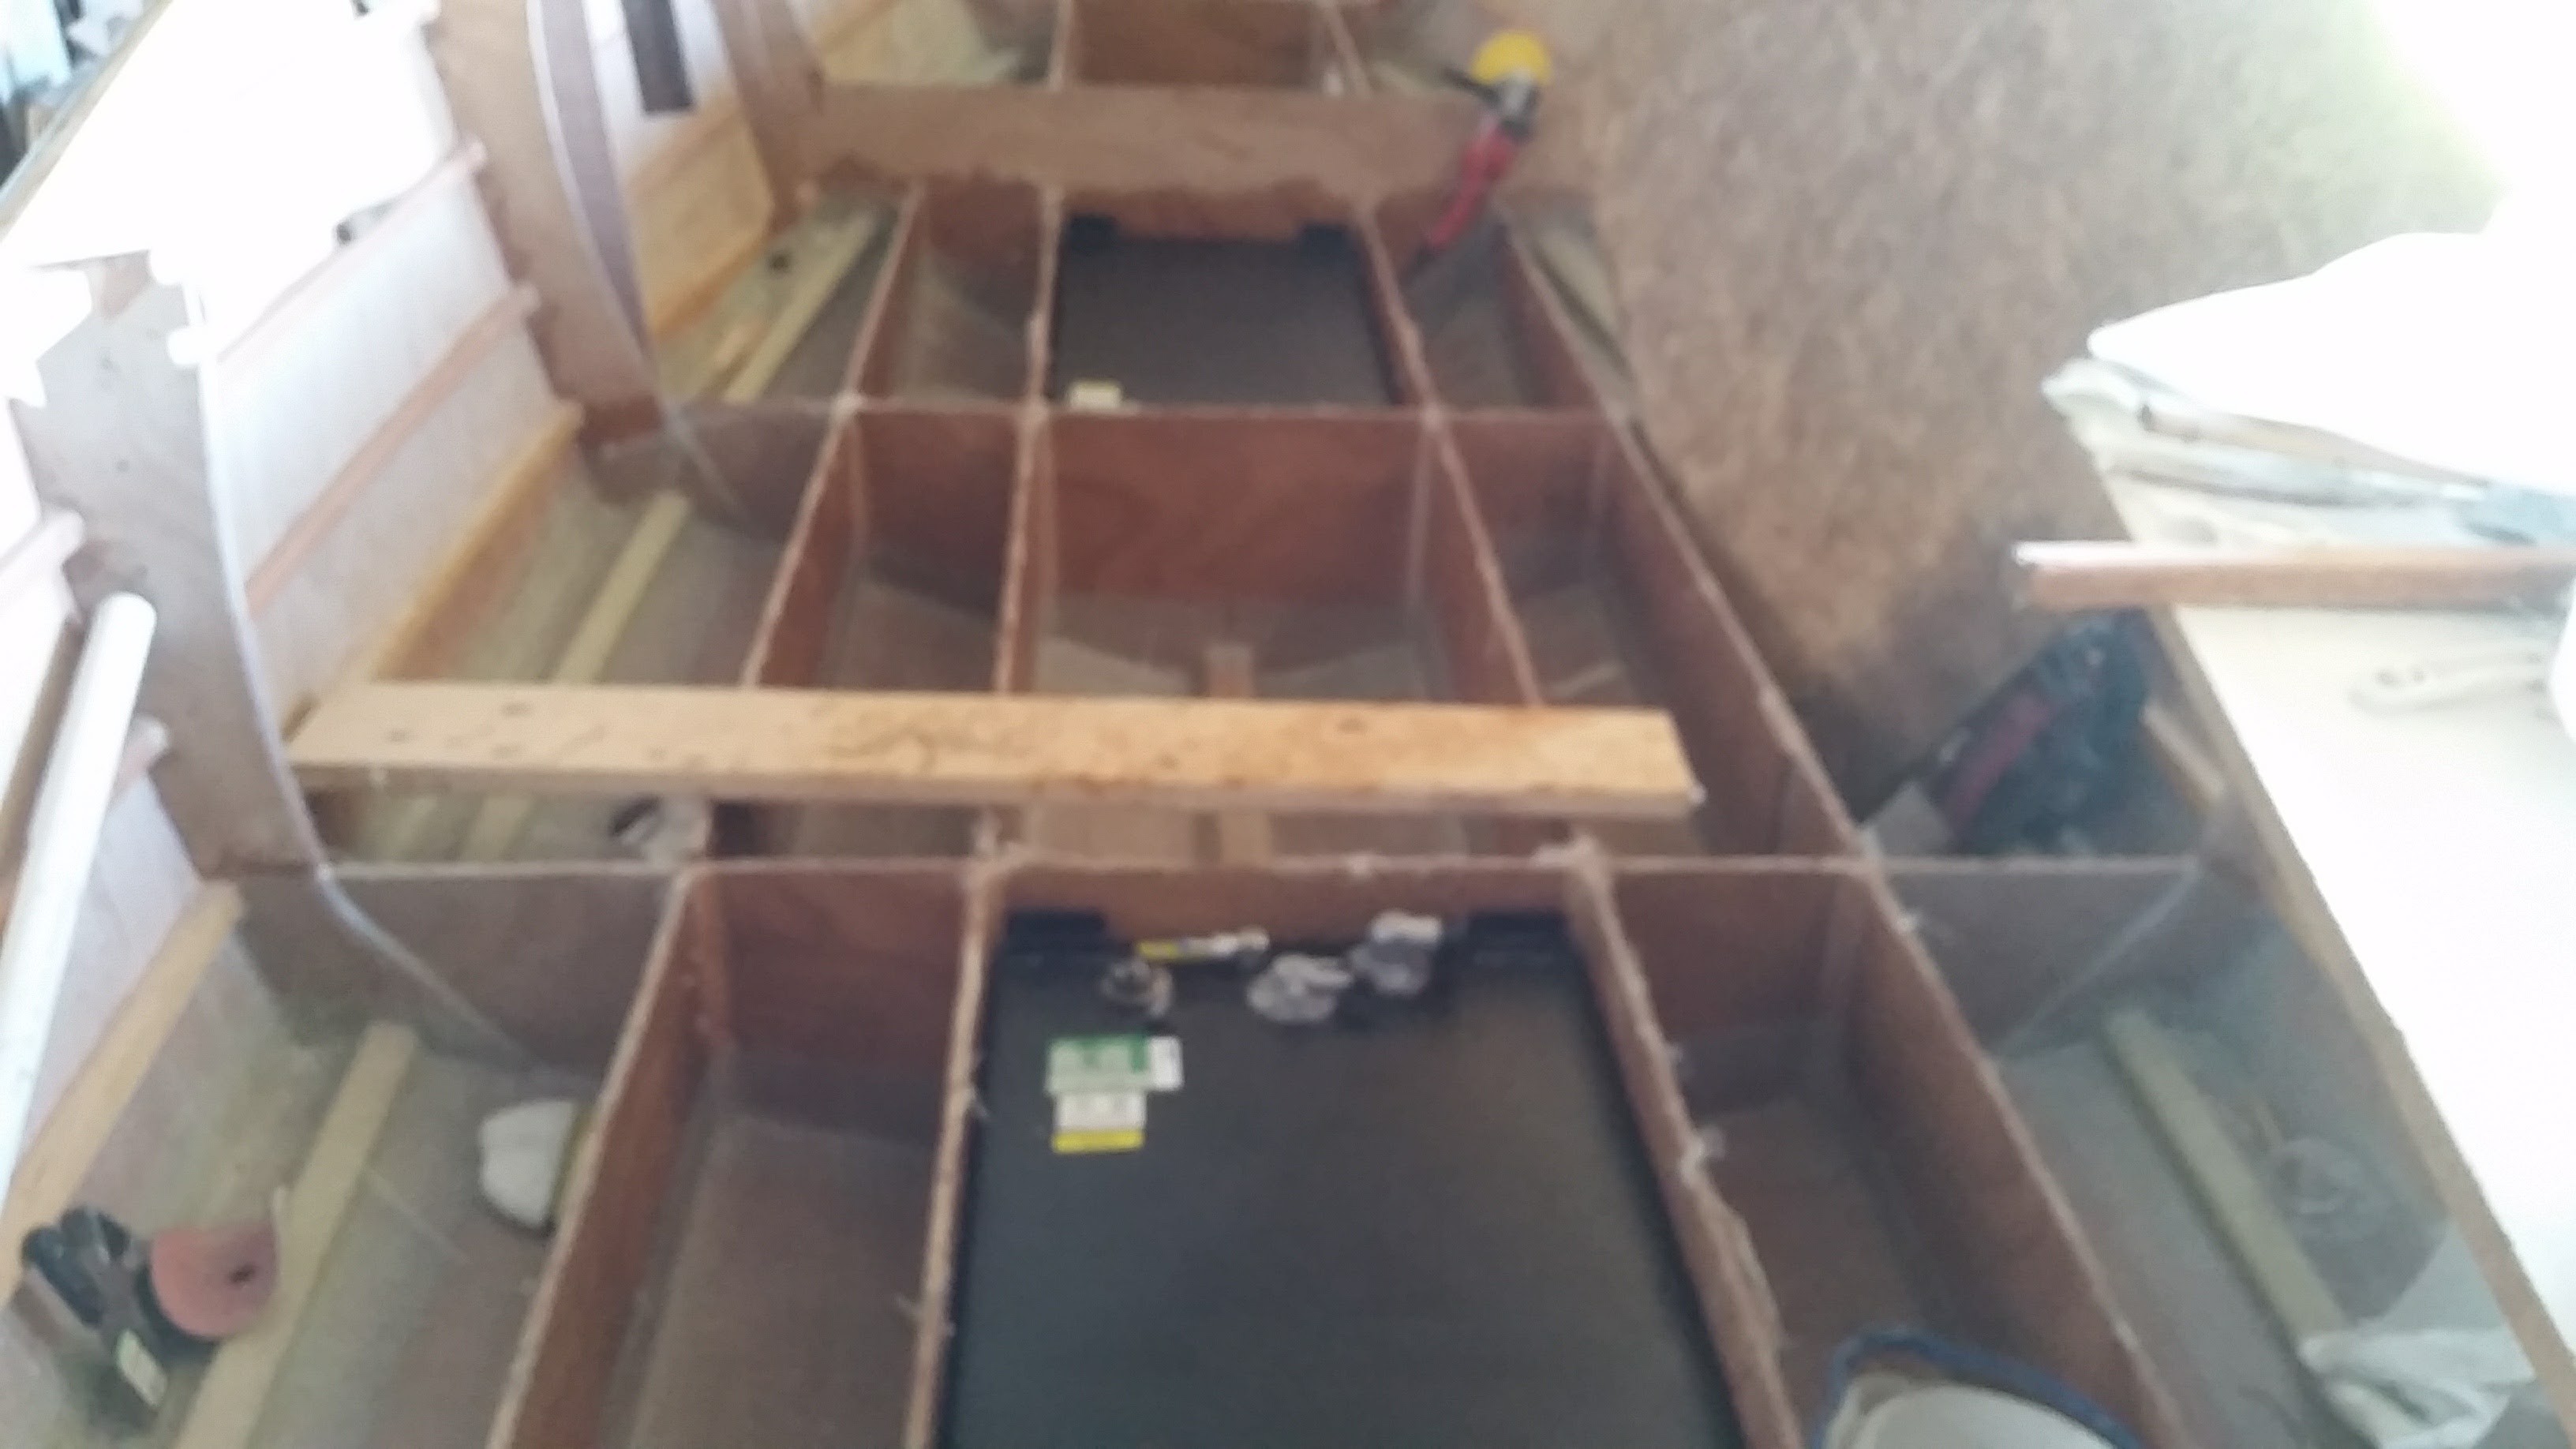
Here's some poser progress for the day. Tanks arrived today, ordered on 10/25/16. Customized, custom tanks. Relocated and reoriented all the fittings so that no fuel lines will be routed through the console. Eliminates needing to use explosion proof everything in the console to meet abyc specs. Also leaves the console uncluttered for access. Fittings will be accessible from the console through a cutout in the frames after the sole is installed. There may be some creative cussing to make it happen. Aft Forward


-
Unfortunately this project has been moved to the back burner for a couple of months while I complete another. I'll have much less time, but will still work on it when I can. It was supposed to be done for an outing in June. Not really looking good now.
-
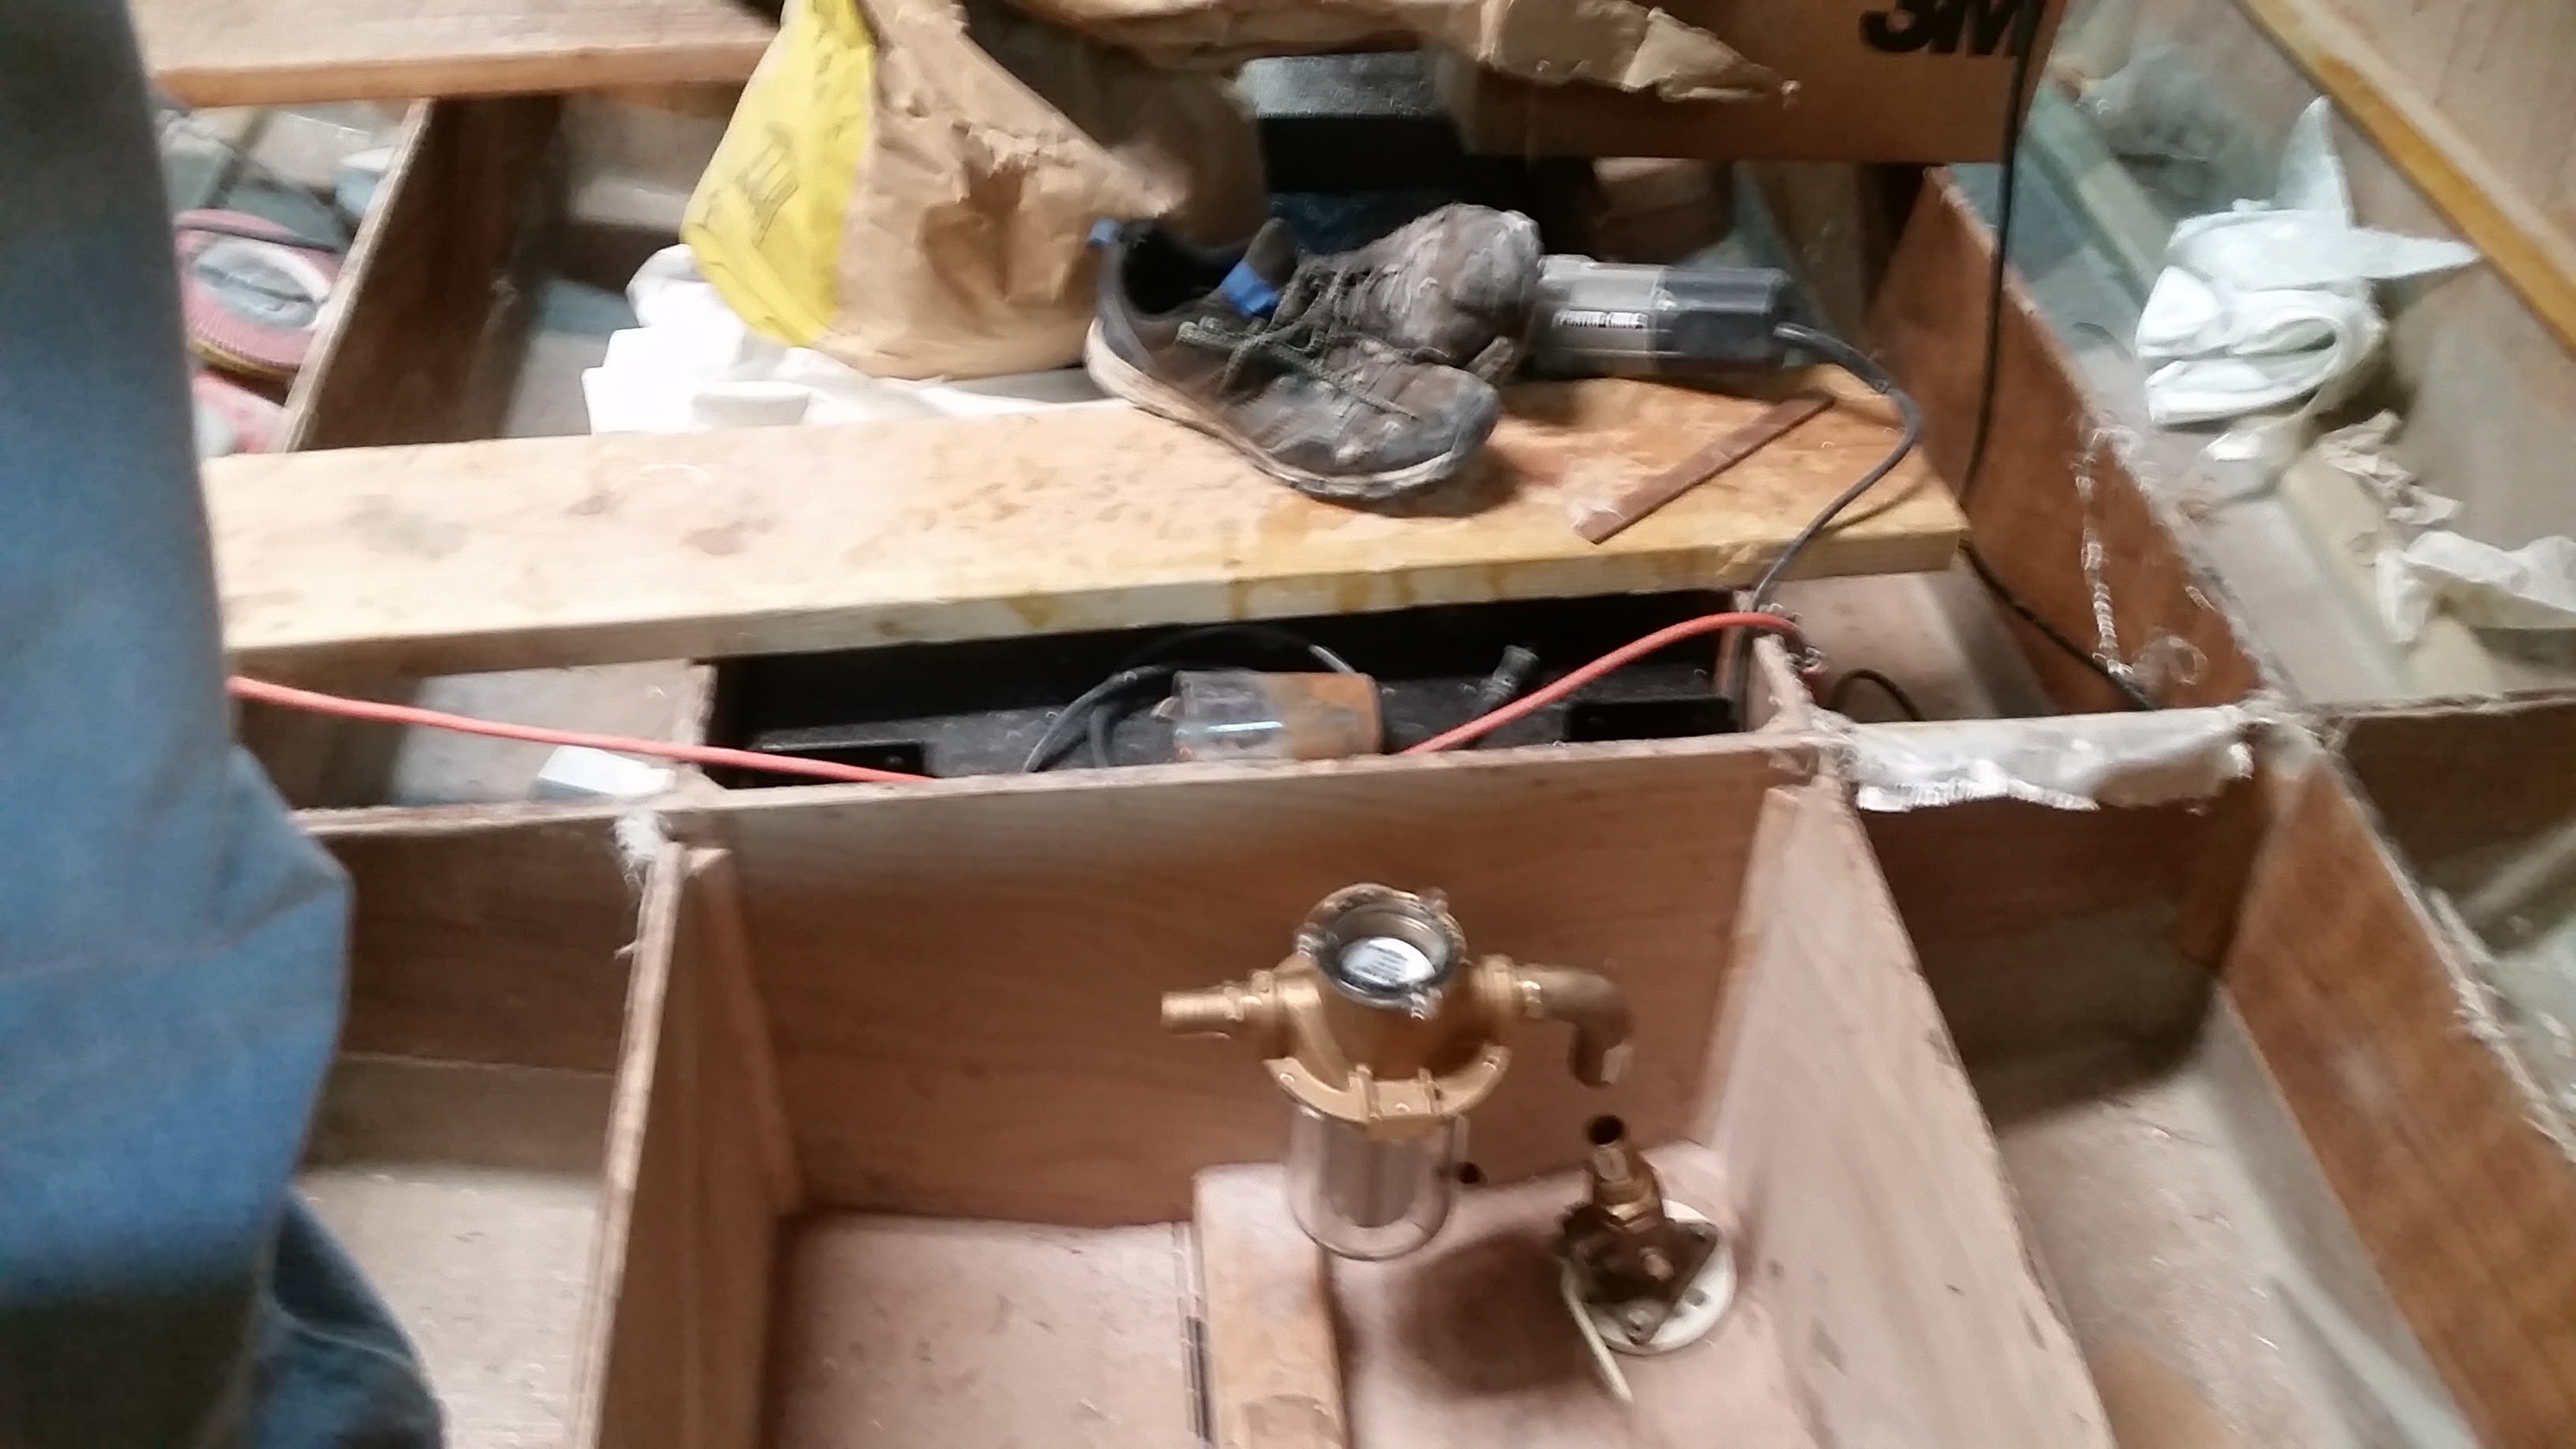
A photo to go with the last post. Starting to layout the rear most bilge area. The pump you see there is an 1100 for primary. It sits down on the flats quite nicely. There will be a 2000 added on the other side of the keelson as a backup.


-
Ah, I went back and found the holes cut in the bracket stringers to reach the outboard bolts. Now I get it. You may see a couple extra ponies on the back of mine too.