PeterP
-
Posts
407 -
Joined
-
Last visited
-
Days Won
16
Content Type
Profiles
Forums
Events
Everything posted by PeterP
-
Esthetically, the bow can be bit difficult. And it is easy not to get right. Some builders let the chine crease come all the way into the prow and that does not look so good. Your crease should peter out about foot short of there. In other words the the bow should be visually flat for about 12" -16". Especially if you plan on topcoating with polyurethane. The high gloss will magnify the slightest bump and imperfection. On my first butterfly attempt I ended up grinding back the chine tape to iron out the crease. I re-taped later after the prow was done to maintain the designed strength. On my next attempt I screwed a piece of 2x4 across the chine about a foot from the prow to hold it flat through the butterfly. It worked well. The bolts have two advantages: much greater holding power - especially when combined with oversize washers, and they are infinitely tweakable. The bailing wire has an infuriating tendency to break at the least opportune time in the wost possible place. Especially, when you have to nudge them in and out few times. Good part of boat building is about making compromises that look the best so you do a lot of tweaking. PeterP
-
If you cut out windows at the chine and over the keel batten then you can leave the temp in the boat until you are ready for the seats. Don't be timid and cut the windows good size especially the one over the center line. The windows will allow you to run tape and even the keel batten without removing the temporary thus avoiding the risk of doing work on a distorted hull. The risk here is to put too much glass over a warped profile and not being able to recover later. Make sure all your bulkheads are not bowed/buckled along both x and y - run 1x2 to straighten them out if need be - they are under a great deal of compression. I don't think you will need short pieces of tape to hold the boat together to pull the wire - I got by with short tacks of fillet. And this is where the #10 bolt comes in. In some areas you need so much wire to hold stuff together it becomes difficult to do any filleting. Also the wire has a tendency to bust out. Hence the bolt and couple of fender washers. Much better holding power this way. I am too tight to buy bolts- it's scraps of ply for washers and 3" dry wall screws for me. Good luck PeterP
-
Don't let that woman out of your sight is all I can tell you. Regarding the mast -as Par pointed out elsewhere on this forum -there are cruisers and then there are racers. The cruisers tend towards wooden masts because they have the time to admire the beauty of wood plus they don't usually worry about squeezing every last bit of performance out of the rig. The racers will tend towards the stiffer aluminium because it is more efficient and that's the way life is for them. The sails -as designed- are meant to go on aluminium. The difference in performance is negligible IMHO. As for the motor if the price is right you can make it work but it is way too much horsepower and way too much weight. See if you can trade it for something half the size. Check the leg - make sure it will reach the water for you. PeterP
-
Couple of points I would like to add to what Dave already mentioned. You really want to make sure none of your glass is exposed. That stuff will absorb moisture like crazy. One alternative to more epoxy would be to go with epoxy primer such as Devran 201. I use it and like it. Cures up almost as hard as regular epoxy. Use with any paint from oil to polyurethane. The only drawback -in my opinion - it takes a while to cure hard enough not to gum up the sand paper. If you top coat with polyurethane you can lay a coat on 4 hrs into primer cure. That rarely happens to me as I tend towards sloppiness and have to do lots of sanding between coats. The cost is reasonable $35 -40 a gallon I believe. PeterP
-
Googling teflon will pull up numerous options. I recently bought a strip from meridiantelescopes.com for my 12.5" Dob bearings. Virgin is more expensive but you don't need much. PeterP
-
Frank, you'll need a GOOD 4' level. Check it against a plumb bob to make sure it is bang on. Fasten a 2.5 in piece of ply to one end of it so that when you measure something 3 deg out of vertical your level will read plumb. Save the other side for true vertical as you will need both. Presuming your boat is perfectly level both fore aft and athwart. Make your mast step where it fits in at the right depth. Make it large enough to allow some room for movement of the mast heel. Put it in using dry wall screws - check to make sure it has the correct slope. If you have your mast section set it on top of the step and clamp it against the king plank -and put your 3 deg level to work. Naturally, your stick/mast will lean along both axis but you only need to worry about fore and aft. Find the center of the mast hole. Drill out using a hole saw. Save the round. Run your mast section in and plumb it along both axis. Don't forget the mast goes through the center line at deck level. You plumb by moving the heel. Once you have it in there just right outline the mast step against the hull with pencil in case it moves when you take the screws out and then proceed to epoxy it in. Think how you will put it in and how you will do the fillets. If you worked carefully everything should be within say 1/4" max. If you messed up -you can epoxy the round back in and start over. Good luck PeterP
-
Frank, tangent of 3 deg works out to hair over 5" rise on 96" run. Or about 2.5" on 48" run or about 5/8" on 12" run. Your main mast step will be about foot long so tilting it is the better thing to do. My mast tube is exactly 23" to the top of the plywood deck ( which is 1/4" ). The aft end of the center board case is 54 1/2" from the aft bulkhead. I have to warn you though - my boat is sail No 14 but built from probably the original set of plans. Graham has done some tweaking since then. So I don't know how applicable these are any more. Best way for you would be to get an architect ruler and read your measurements off the plans. Those things aren't much at office supply stores.Good luck PeterP
-
Roll some epoxy on it overtwist it and let it set up. Do one board at a time. If it comes out good do the other the same way. If it comes out still twisted get your heat gun to soften the epoxy and twist more. If you over did it let the gun relax it some. You go to school on the first board and the second should be a cinch. Little bit of twist is OK if it goes the opposite way as they will cancel out. Good luck PeterP
-
Par-Here's a use for your flour sifter. Get a stand and a bag for your belt sander if you don't already have them. Then the saw dust caught in the bag can be sifted and used for wood flour in your next project. Again, the name of the game is not to get caught with stuff lodged in the sifter but if you do the wood can always be claimed as good supplemental source of dietary fiber. PeterP
-
Ken just beat me on this post. So I'll just sort of belabor the point. Bailing wire is the ticket for wiring the panels together. If that is what you want it for. It gets pulled out by most builders. While back Charlie had a post about using 12V battery to heat up the wire to facilitate extraction. I just managed to pull mine using end nips. If you end up with a bit of wire buried in the wood it will most likely end up under a layer or two of tape, epoxy, paint etc etc. out of sight out of harm. Stainless would be a total waste here. Save the money for where it is going to be seen. PeterP
-
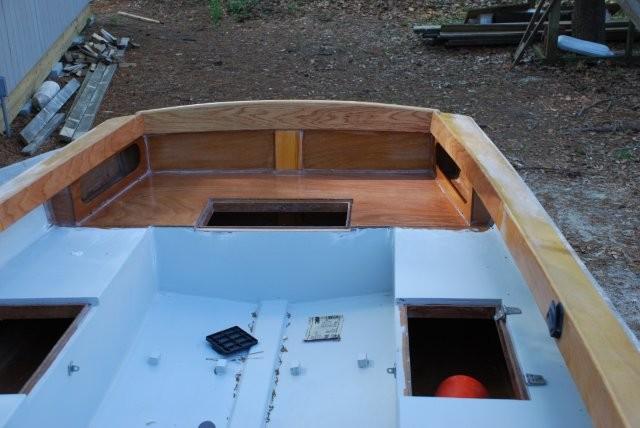
I see you did the smart thing and painted the forward part of the footwell and your bow compartment. If your keel is on then finishing the outside first is a reasonable approach. Leaving the foredeck off as long as you possibly dare is something to consider which ever way you go. It is amazing how much that thing gets in the way. If you have a trailer and finish the outside now then you would be able to move the boat in and out of your shop for extra space without worrying about scuffing things up during flips etc. Good luck -PeterP
-
Nobody seems to be taking the bait on this one and I hate to think you are sitting there worrying. The glass will work. You could also snake a doubler to the underside through the inspection port in the side of the seat. About 10 -12 in long. For this to be effective it needs to go stringer to stringer or close to it width wise. Then again your port may not be wide enough to allow this. But if you can work it in it will be a beauty. The stiffness goes up as a square of thickness so you will get the biggest bang for your effort. Even a simple 3/4 x 1 1/2 epoxied in will add considerable strength. The glass will definitely stiffen it up but not as much. For maximum benefit it should, also, be on the back side. As to your fore deck: it will be fine-the camber pre-stresses the plywood. It is plenty strong. PeterP
-
Two per oar. Obviously, I made mine after I shaped the looms to get the right fit. Good luck. PeterP
-
The oars are held by homemade C brackets made out of some scraps of plywood. They are stuck on with silicone and through bolted. The bungee cord knot came undone one too many times on me so I got some stainless wire and crimped it instead. PeterP

-
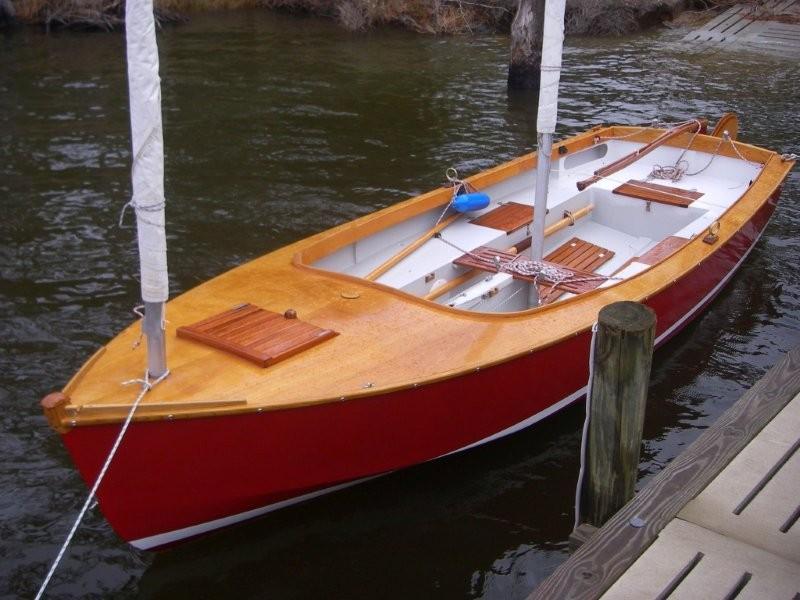
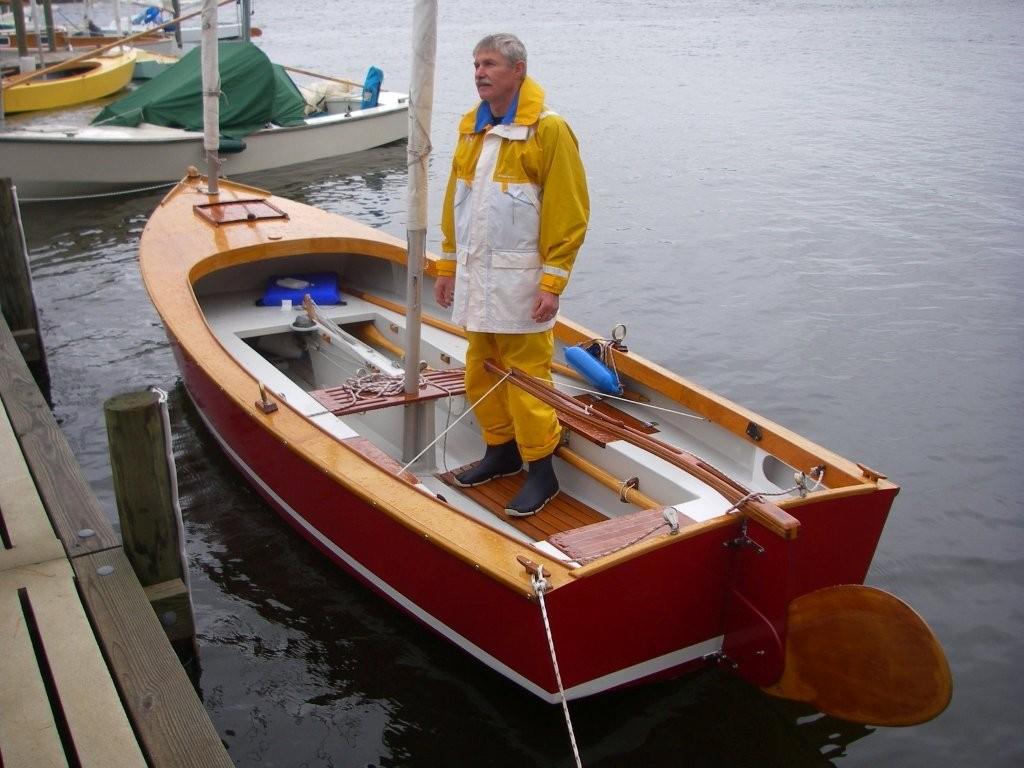
Thank you for the kind words - yes the boat picture at the dock is from the get together. Kindly provided by Paul Steward. And yes it was a blast sailing it that day. It was also a great fun meeting you all and I still say Let's Do It Again. Only Carla needs to come up with better weather. Don't know what got into her that day. PeterP
-
Ray may hate me for saying this but now may be the time to build it yourself. I got laid off in '86 when the oil business went bust. It is real easy to loose heart and start chewing on your tail doing nothing all day long. So I cashed in my retirement and went out and built a house. With a clever brother in law and a carpentry book for help and experience. Don't laugh- I actually sold the house for decent profit to pay for two years of staying busy and learning. Best of luck with whatever you decide to do. PeterP
-
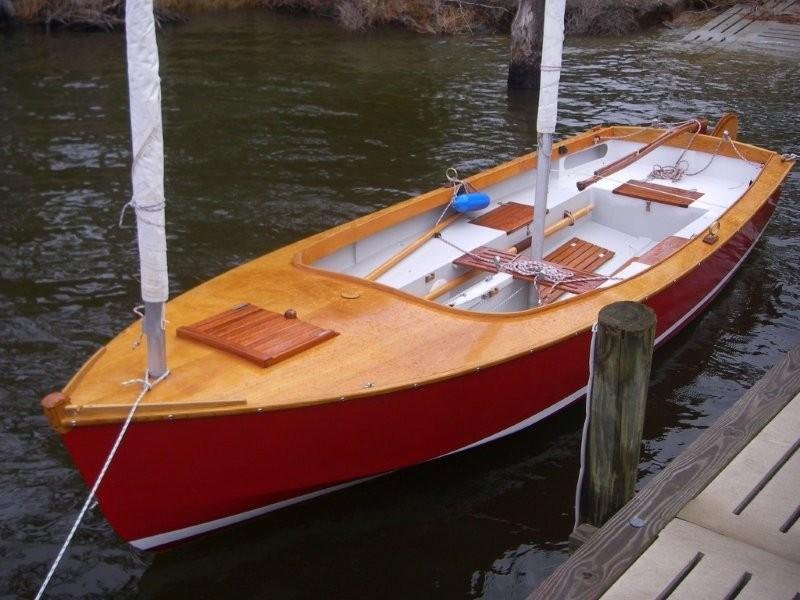
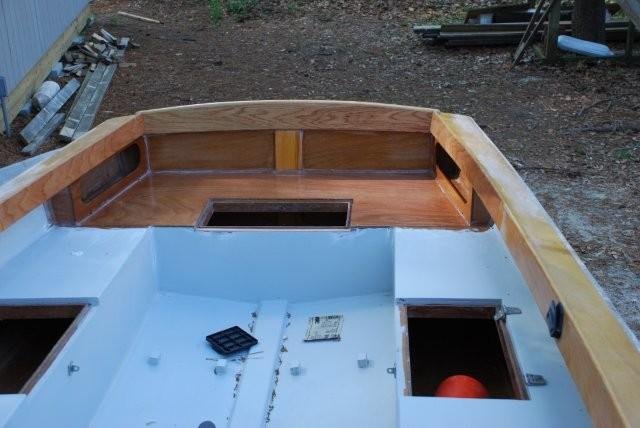
I put in extra 3/4 x 1 1/2 beams in the seat tops. My fear was that sooner or later I would step off a dock carrying a cooler or what not and crack the ply in the seat. Hard to fix that. You could spoil your whole day doing something like that. Also the little cubbies are a terrific idea. I had precisely the same idea myself a while back and in fact I ended up tearing out the back of a perfectly good boat so I could put two of them in. Look at the pictures. It will hold my GPS & VHF( when I remember to bring it). It will hold my thermos of tea (which never gets forgotten). All right there. Perfect. PeterP
-
I have a Ritchie Explorer up forward next to the centerboard. Works really well - very little parallax from my usual steering position. PeterP

-
Eric, your report brought a bit of nostalgia. I worked out of Singapore in the eighties and did spend some time in Thailand. From Ko Kut to Pattaya up to Chiang Mai. It was absolutely wonderful back then and I envy you a bit even though I realize it is not what it used to be. PeterP
-
While everyone is hot and excited about Messabout I -I think it may be good time to consider Messabout II. Slightly different format perhaps - ease Carla out of the kitchen and Graham away from phone organizing everything. Earlier in October -definitely. How about sail-in for those so inclined-from Oriental to Graham's. Easy 25 - 30 miles down Neuse and up Bay River. Camp at Graham's if that is OK and if enough people make a financial commitment we could have a catered pig picking the final night. I know Graham misses The Great Race and so do others. Perhaps a full blown blast down Neuse from New Bern is the ticket. It could be a "hunt your own rabbits" affaire with nothing but the starting and finishing points given. How about it people! Let's get together again -I can't wait. PeterP
-
I would like to add my thanks to Graham and Carla for the nice time I had at the get together. I know for a fact both of them nearly busted their boilers getting all the food and stuff lined up and going. If man's (and woman's) worth be measured by the amount of good will he spreads around then then Graham (and Carla) are tops -without doubt. Graham's company and boats have always provided tons of good time/memories for me and my family. Thanks again. PS I would appreciate any links to photos of PeterP and Redbeard at the meet. PeterP
-
Count me in as well. I can bring my Spin 10 and CS 17. PeterP
-
We had the discussion about the stringers b4 when Wes asked about leveling the the boat. Those stringers can be pesky and usually are. In my opinion glue them on before you butterfly. Here is why: the best way to make sure they end up about where they are supposed to be is to run screws through the ply. This is best done when you can flip the sheets. Weights will not do all of it on account of the sharp bend in the bow section so screws it must be. Pull them out later and fill the holes. 1" dry wall are perfect. In fact get an assortment of dry wall screws -boat builders best friends. None of those stringers ever glue up perfect. So don't feel bad - you will have to spend time fillin' and shavin' just like the rest of us. The reason for inaccuracy is just that plus the fact that every sheet of ply will bend differently to a certain degree. Graham's program could not possibly allow for such a range of variables. PeterP
-
David, here's another way of doing this. Take your wooden mast plug and clamp it in a say Jorgensen clamp. Mark the two flats you need to cut of. If you have a band saw run the plug through it. The Jorg clamp will keep everything lined up right. Pick up the two wedge shaped chips & sand out the saw marks - sand out the flats on the plug. Don't be afraid to over sand as you'll be building it with epoxy later on. Apply release agent of your choice to the plug. Coat backside of chips with epoxy and insert all of it into the mast step hole. Hopefully when it sets up your release will release as planned and the plug will pull out. Sand the mast step top flush, sand to fit. If you don't have a band saw-hand saw will do in a pinch. As a safety -in case the epoxy ever lets go -drive a couple of small nails/screws through the chips into the step. PeterP
-

Third coat of expoxy on mahagany still bumpy
PeterP replied to davidpm's topic in B & B Yachts Forum
David, epoxy is neither paint nor varnish. It is mostly too viscous and lumpy and it does not flow out same way. It is an excellent stuff but you are using it for what it is not meant to be. Do what Tom says and sand between coats. Or, personally, I go over each coat quickly with a cabinet scraper to knock of the big ones. I don't worry about the minor stuff - then I sand the final epoxy coat slick. Remember it is the final coat of paint /varnish that counts - the intermediate coats underneath do not have to be perfect. PeterP