Lotus
-
Posts
266 -
Joined
-
Last visited
-
Days Won
14
Content Type
Profiles
Forums
Events
Everything posted by Lotus
-
Par, when you heat the acrylic sheet ( with heat gun or heat torch ) do yo heat one side only or both sides before you put the sheet on the mold ?
-
The first mold was curved both ways ( like a bubble ) so perspex could not lay flat when heated
-
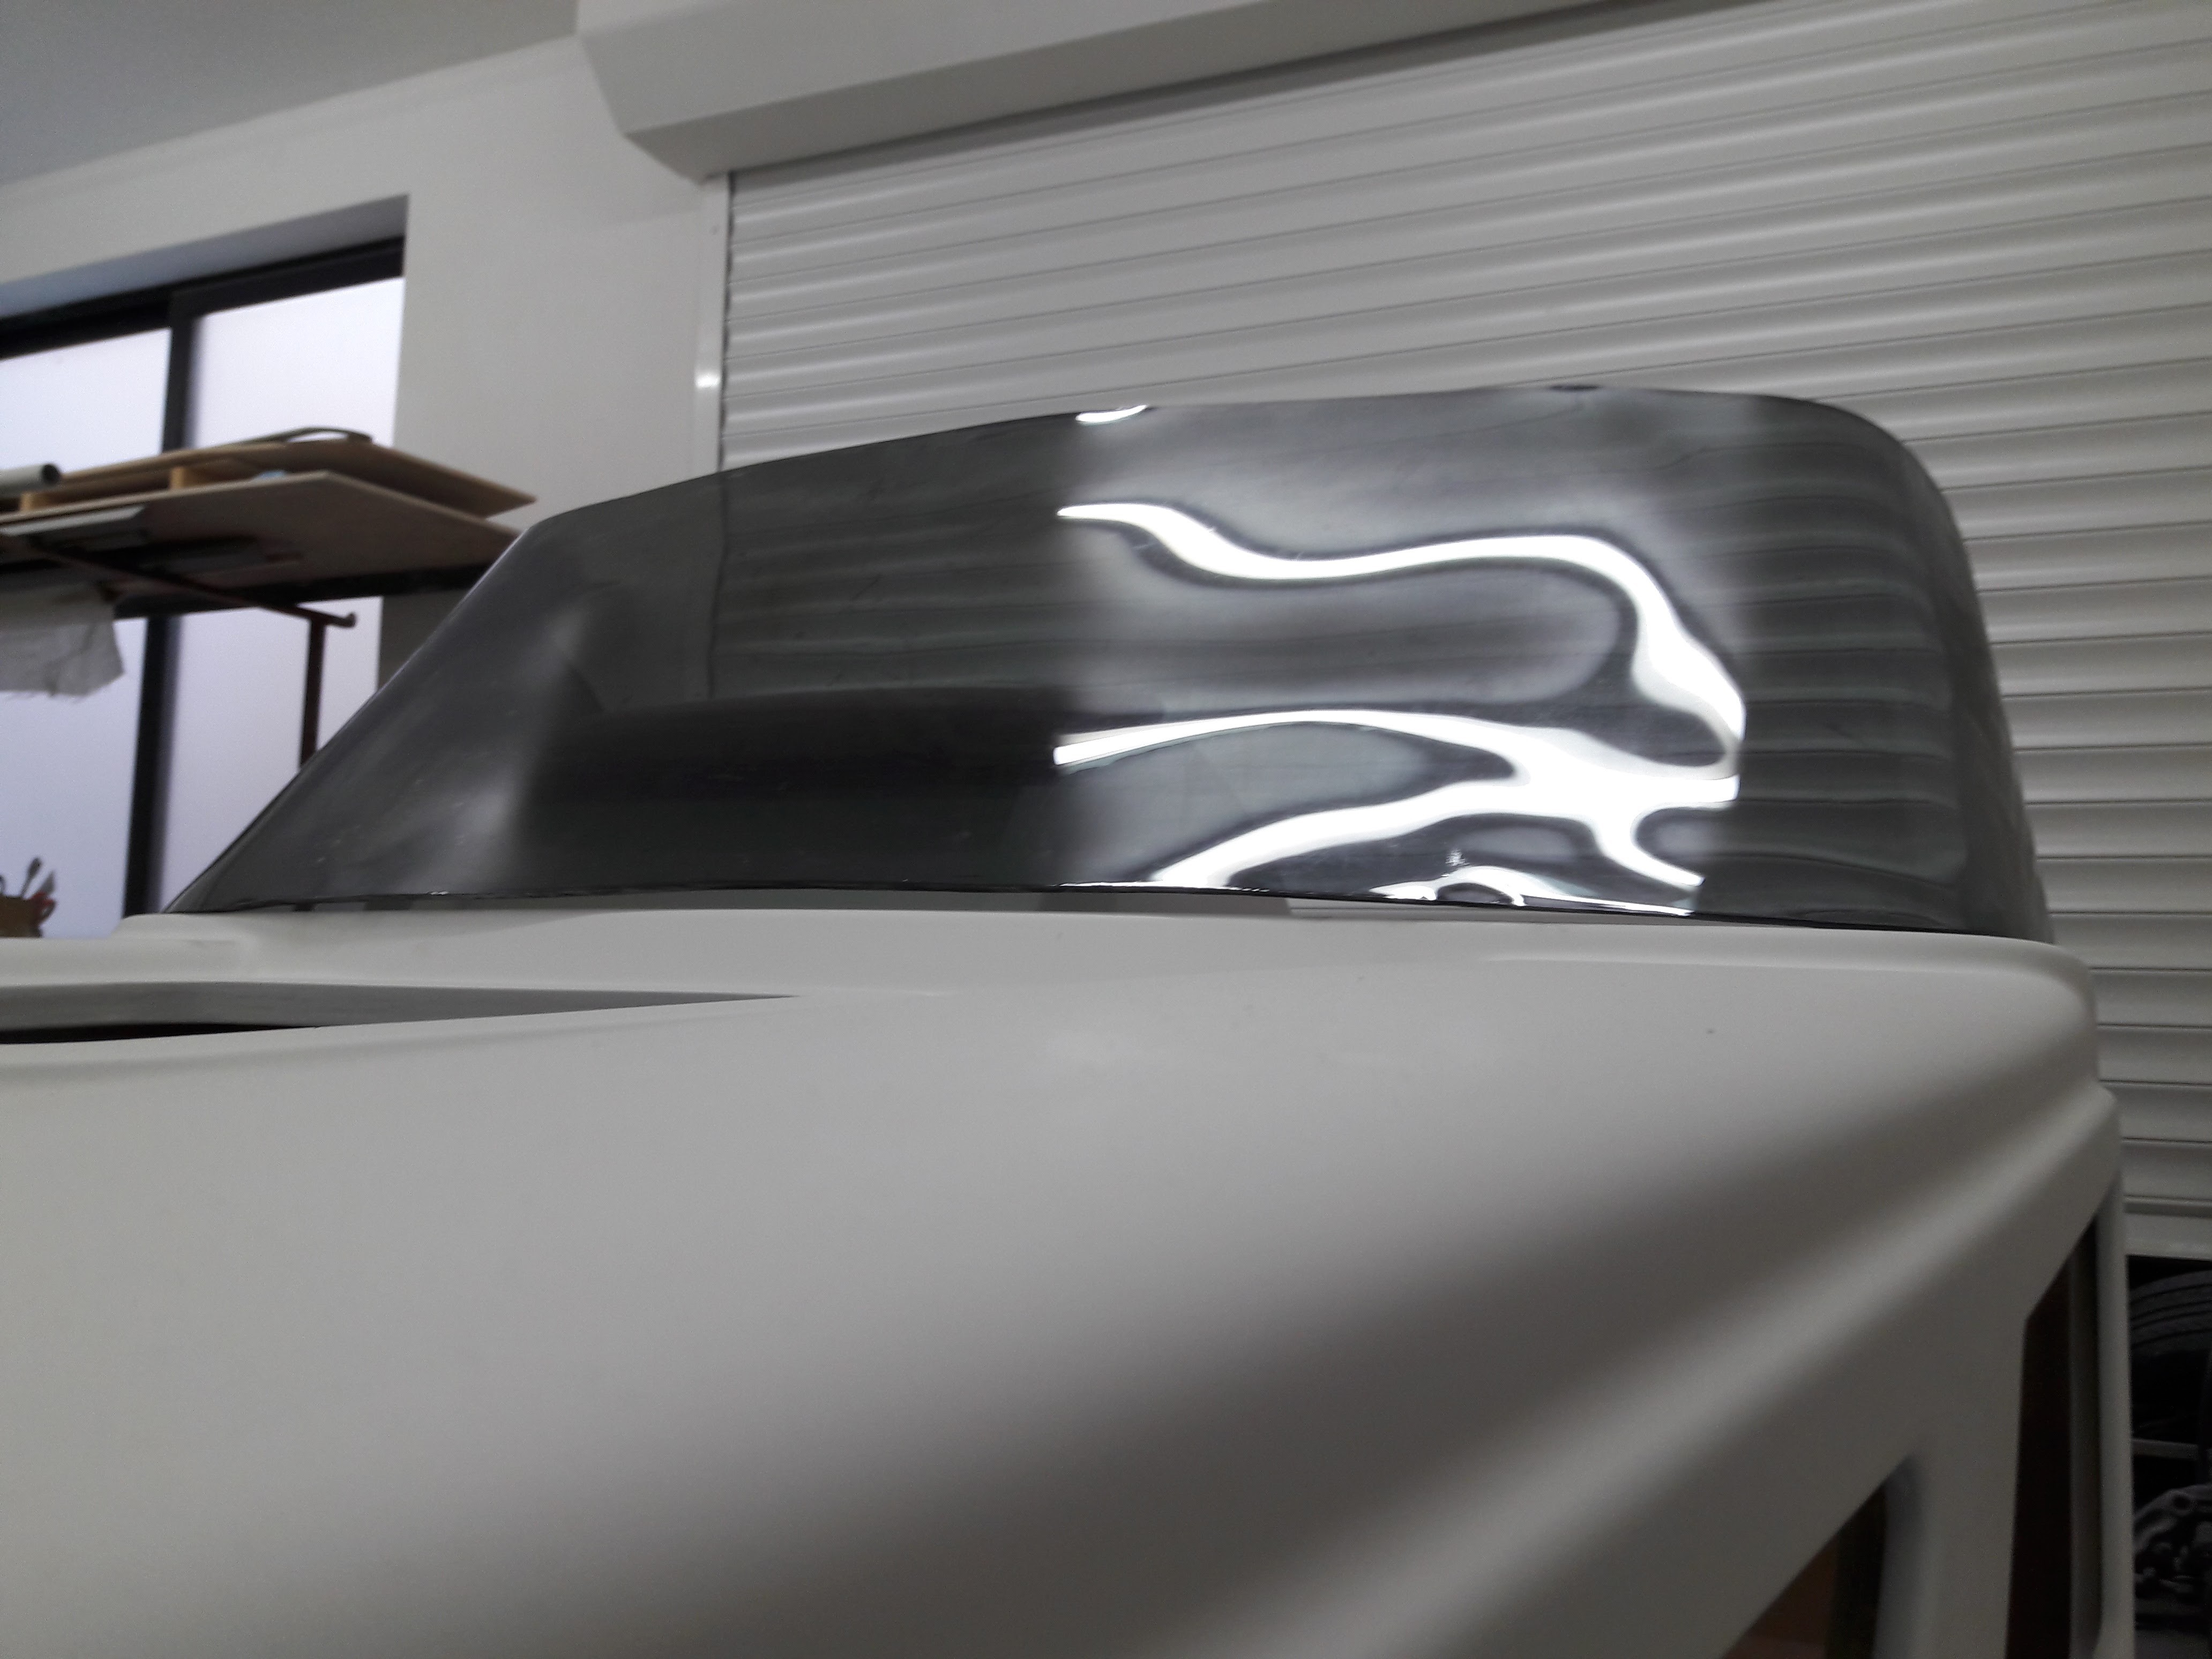
Finally got it right !!!!!!! All it needed is a perfect mold and a propane torch !! BTW that wind shield is the same one that was all wrinkled


-
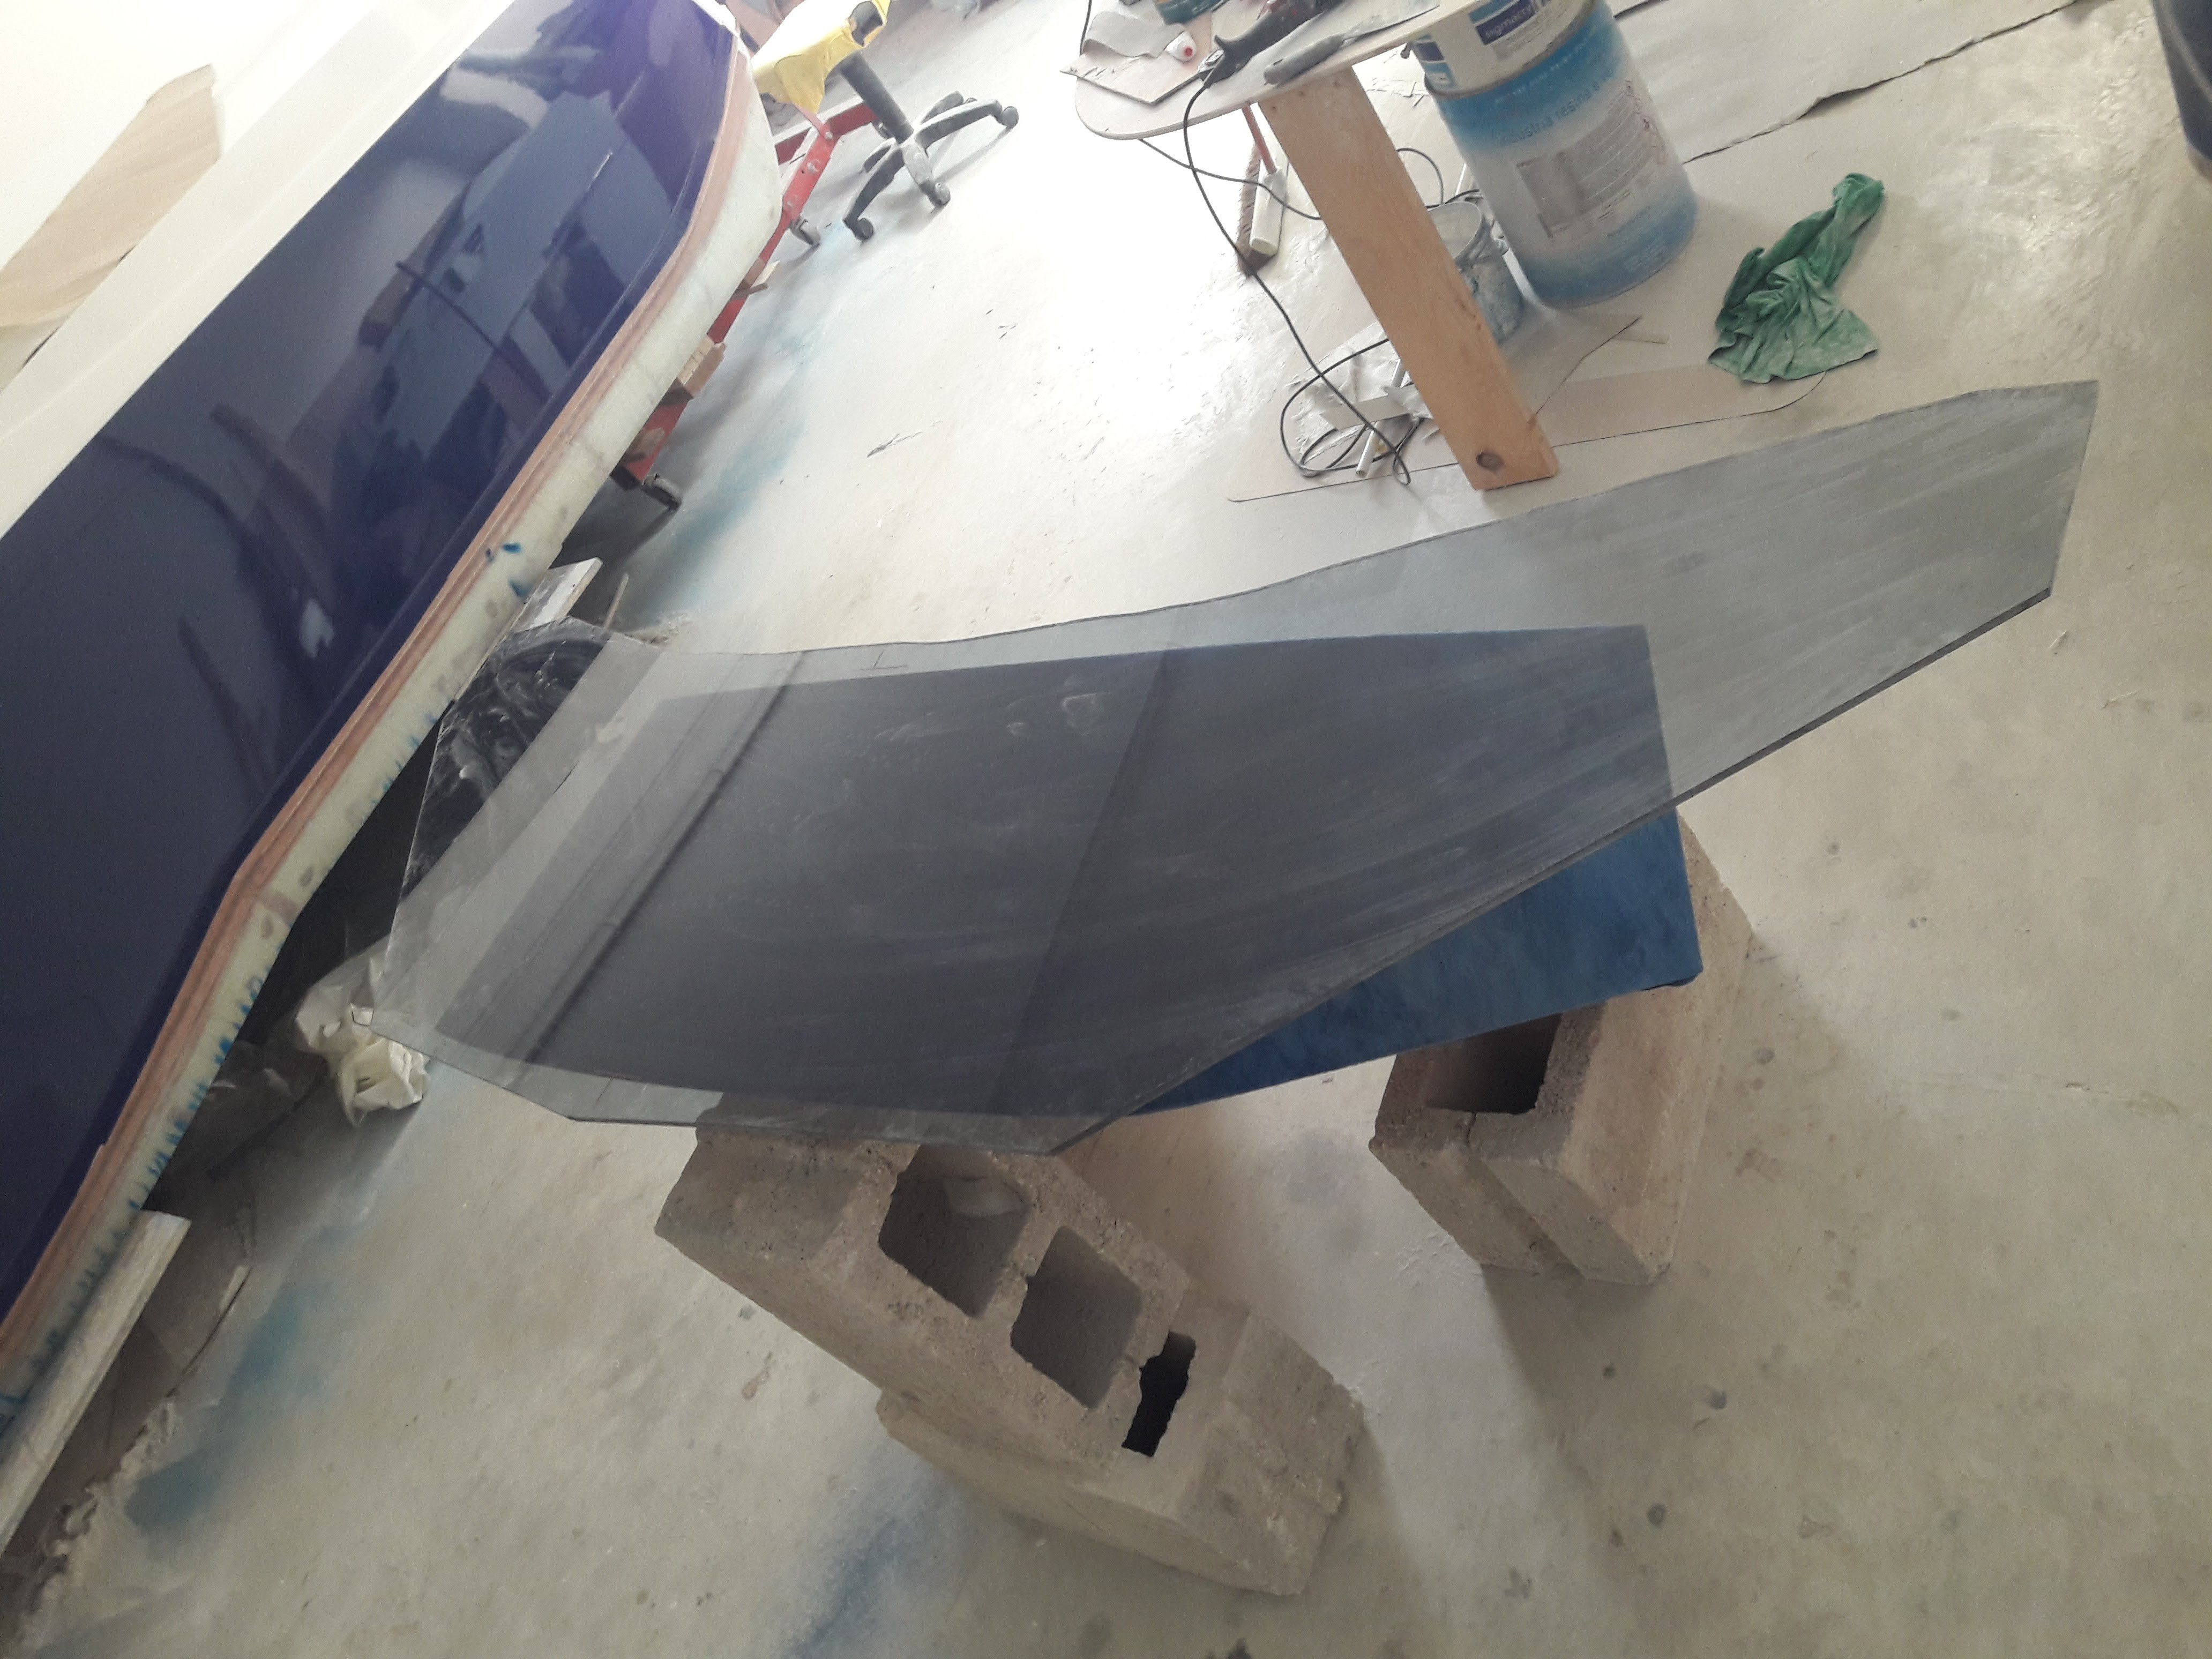
Lenm polycarbonate seems much better than acrylic but unfortunately unavailable the thickness and tint in my country !. Much more unfortunately is that it was a total disaster trying to form this wind shield !! It came out all warped , even more when it cooled down . I tried to re heat it again on the mold itself but with no luck It will look fine wile heating but will warp again when it cools down. I think the first mistake was the mold . I made the mold in a 'convex' shape ( to look nicer , like a car windscreen ) therefore the heated acrylic could not lay flat compleatly . I assumed that when the sheet will be heated it will take any shape ( sort of melting on the mold ). The second mistake was that the sheet was too thick 5/16" (8mm) to be heated with a electric hot air gun . I even tried to heat it up with a diesel heater blower . I noticed that while heating one side it was still 'cold' on the other side , then while heating the other side the first side will begin to louse temperature immediately. I have to do an other mold and start allover again using 3/16" (5mm) or 1/4" (6mm) instead of 5/16" acrylic sheet. BTW the sheet to be formed is about 7ft x 2 ft in size !!


-
Hi Capriosca, Yes those flat section are intended for trim tabs , but was going to use the standard 9x18"(flap) Bennett trim tabs not that type you mentioned. Personally dont like that type much and think the flap ones are much more effective . Maybe I will incorporate an automatic trim controller ( bennett ) so that it will balance the boat automatically . BTW yours is a great nice boat !! Well done !
-
Thanks for the advice PAR. Will a cotton sheet do the same job as felt ? I thought felt is made out of nylon and it may melt with the heat used !
-
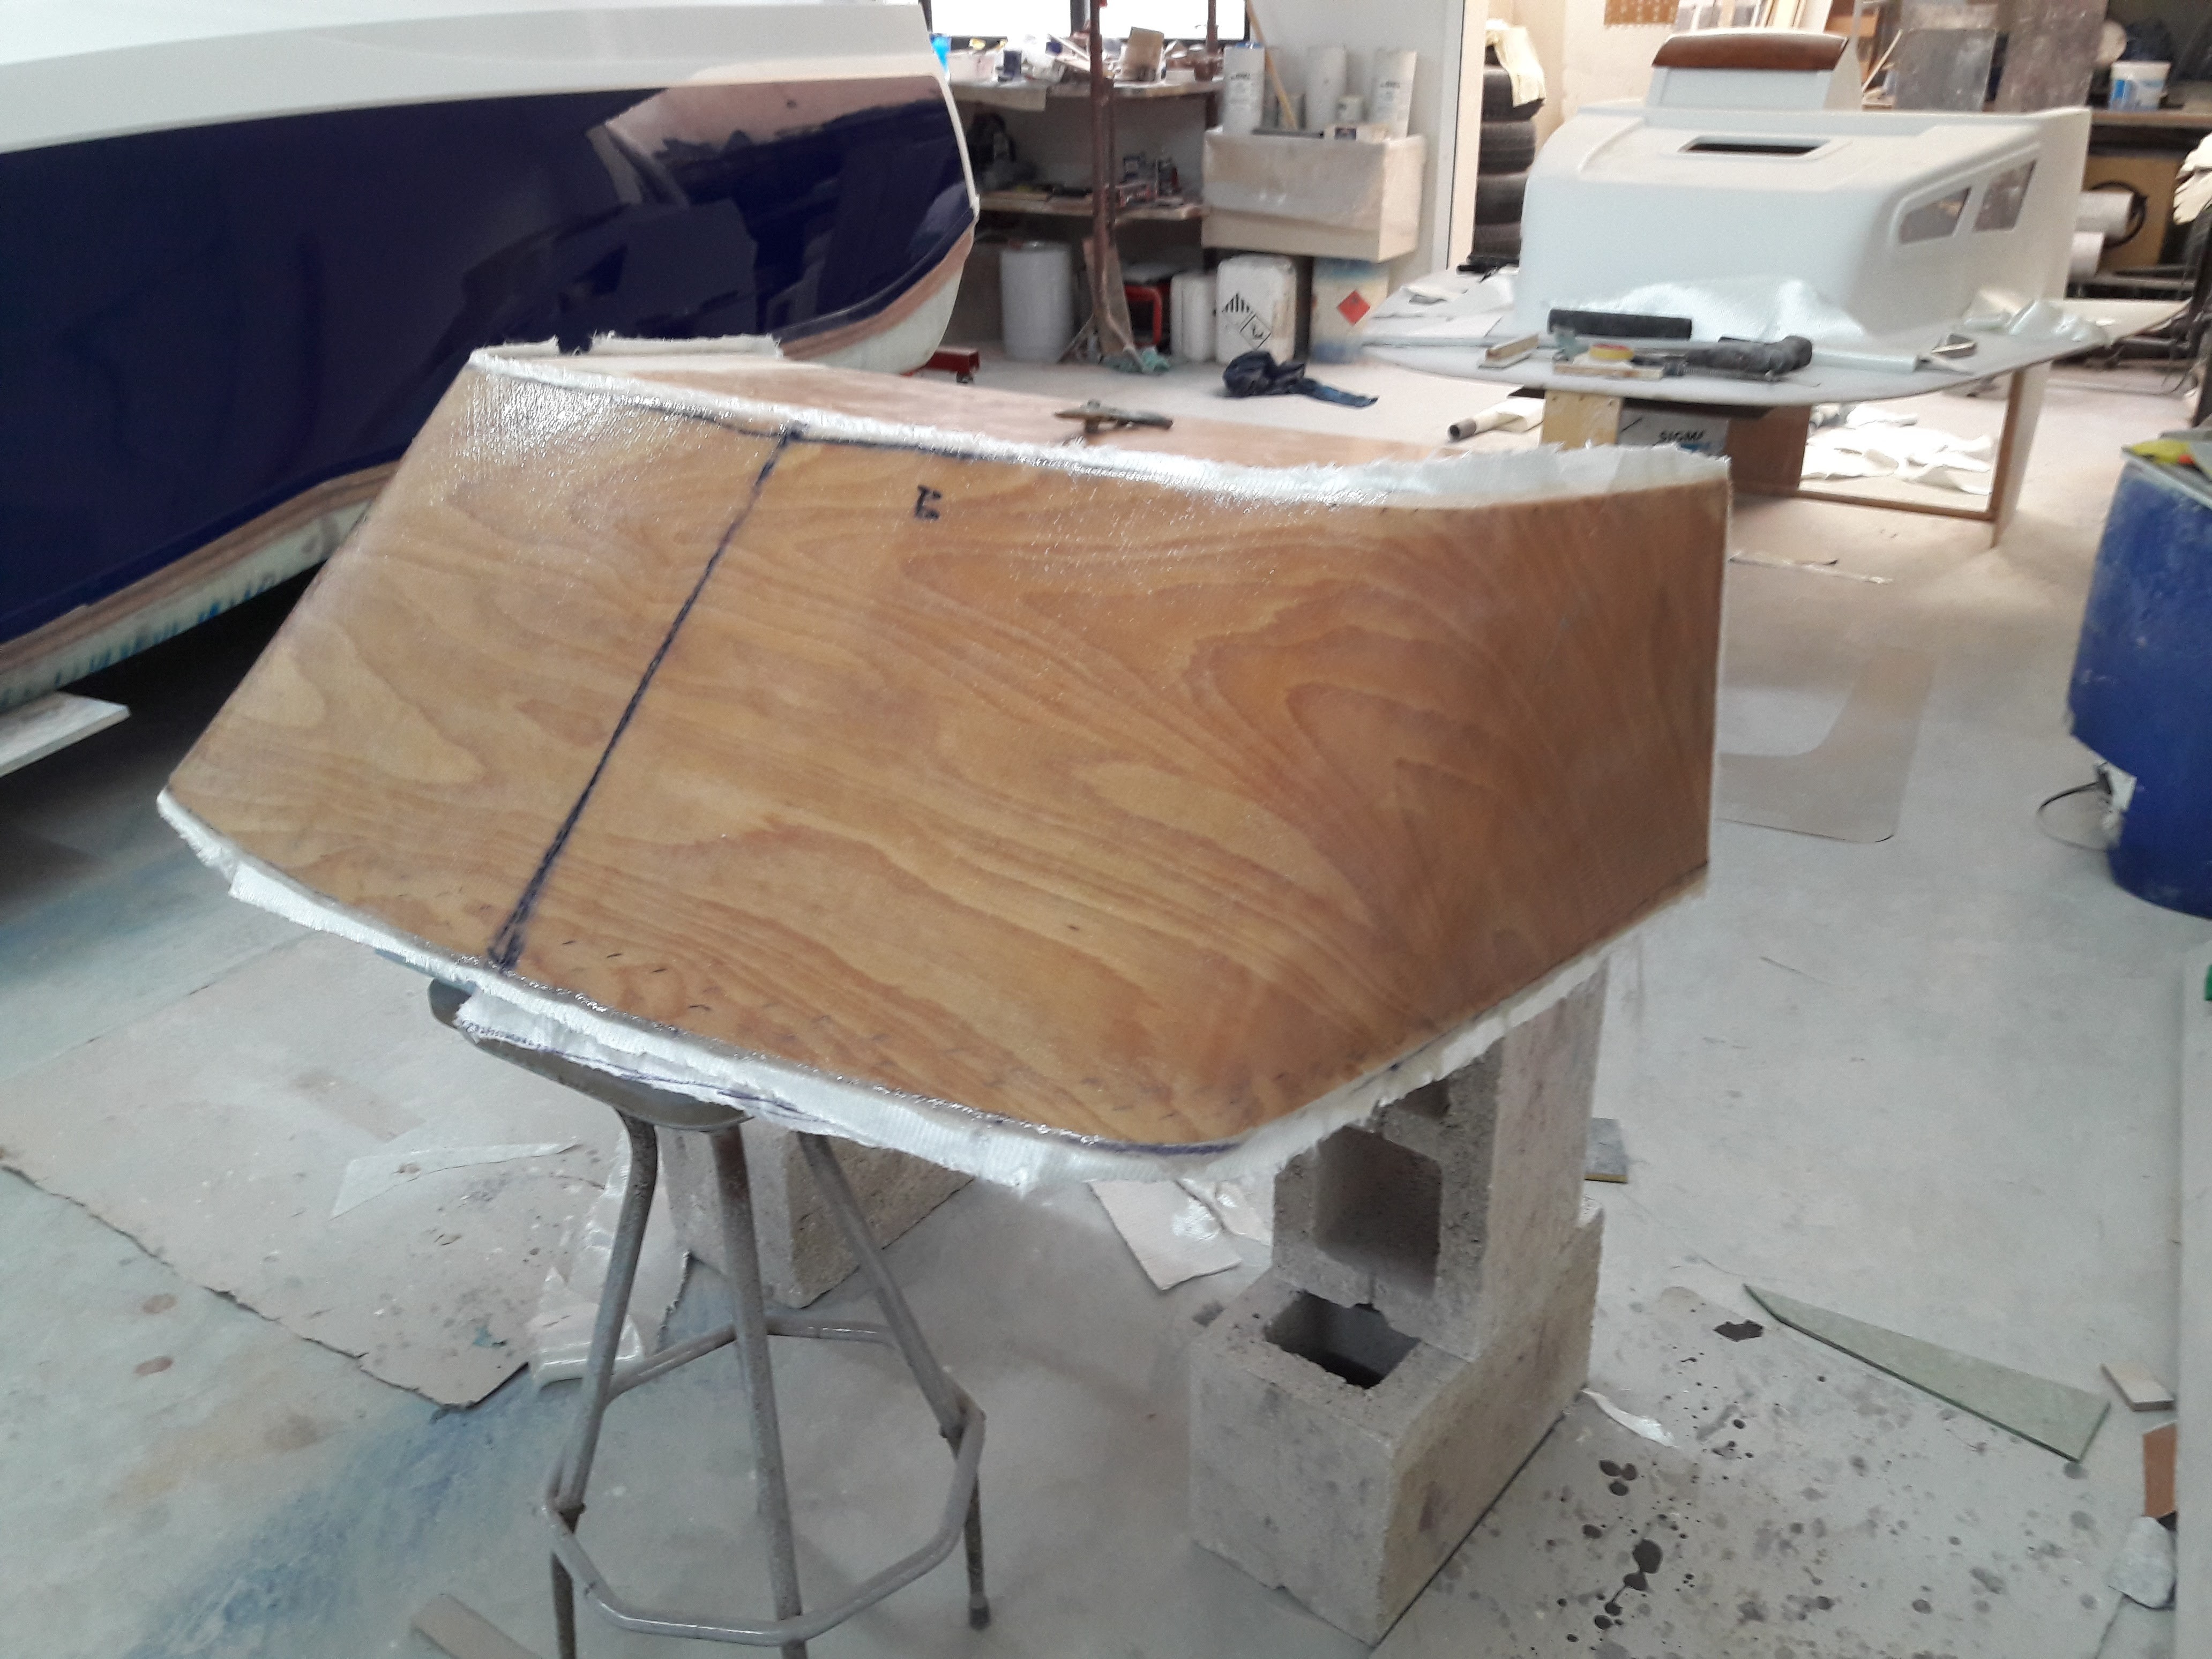
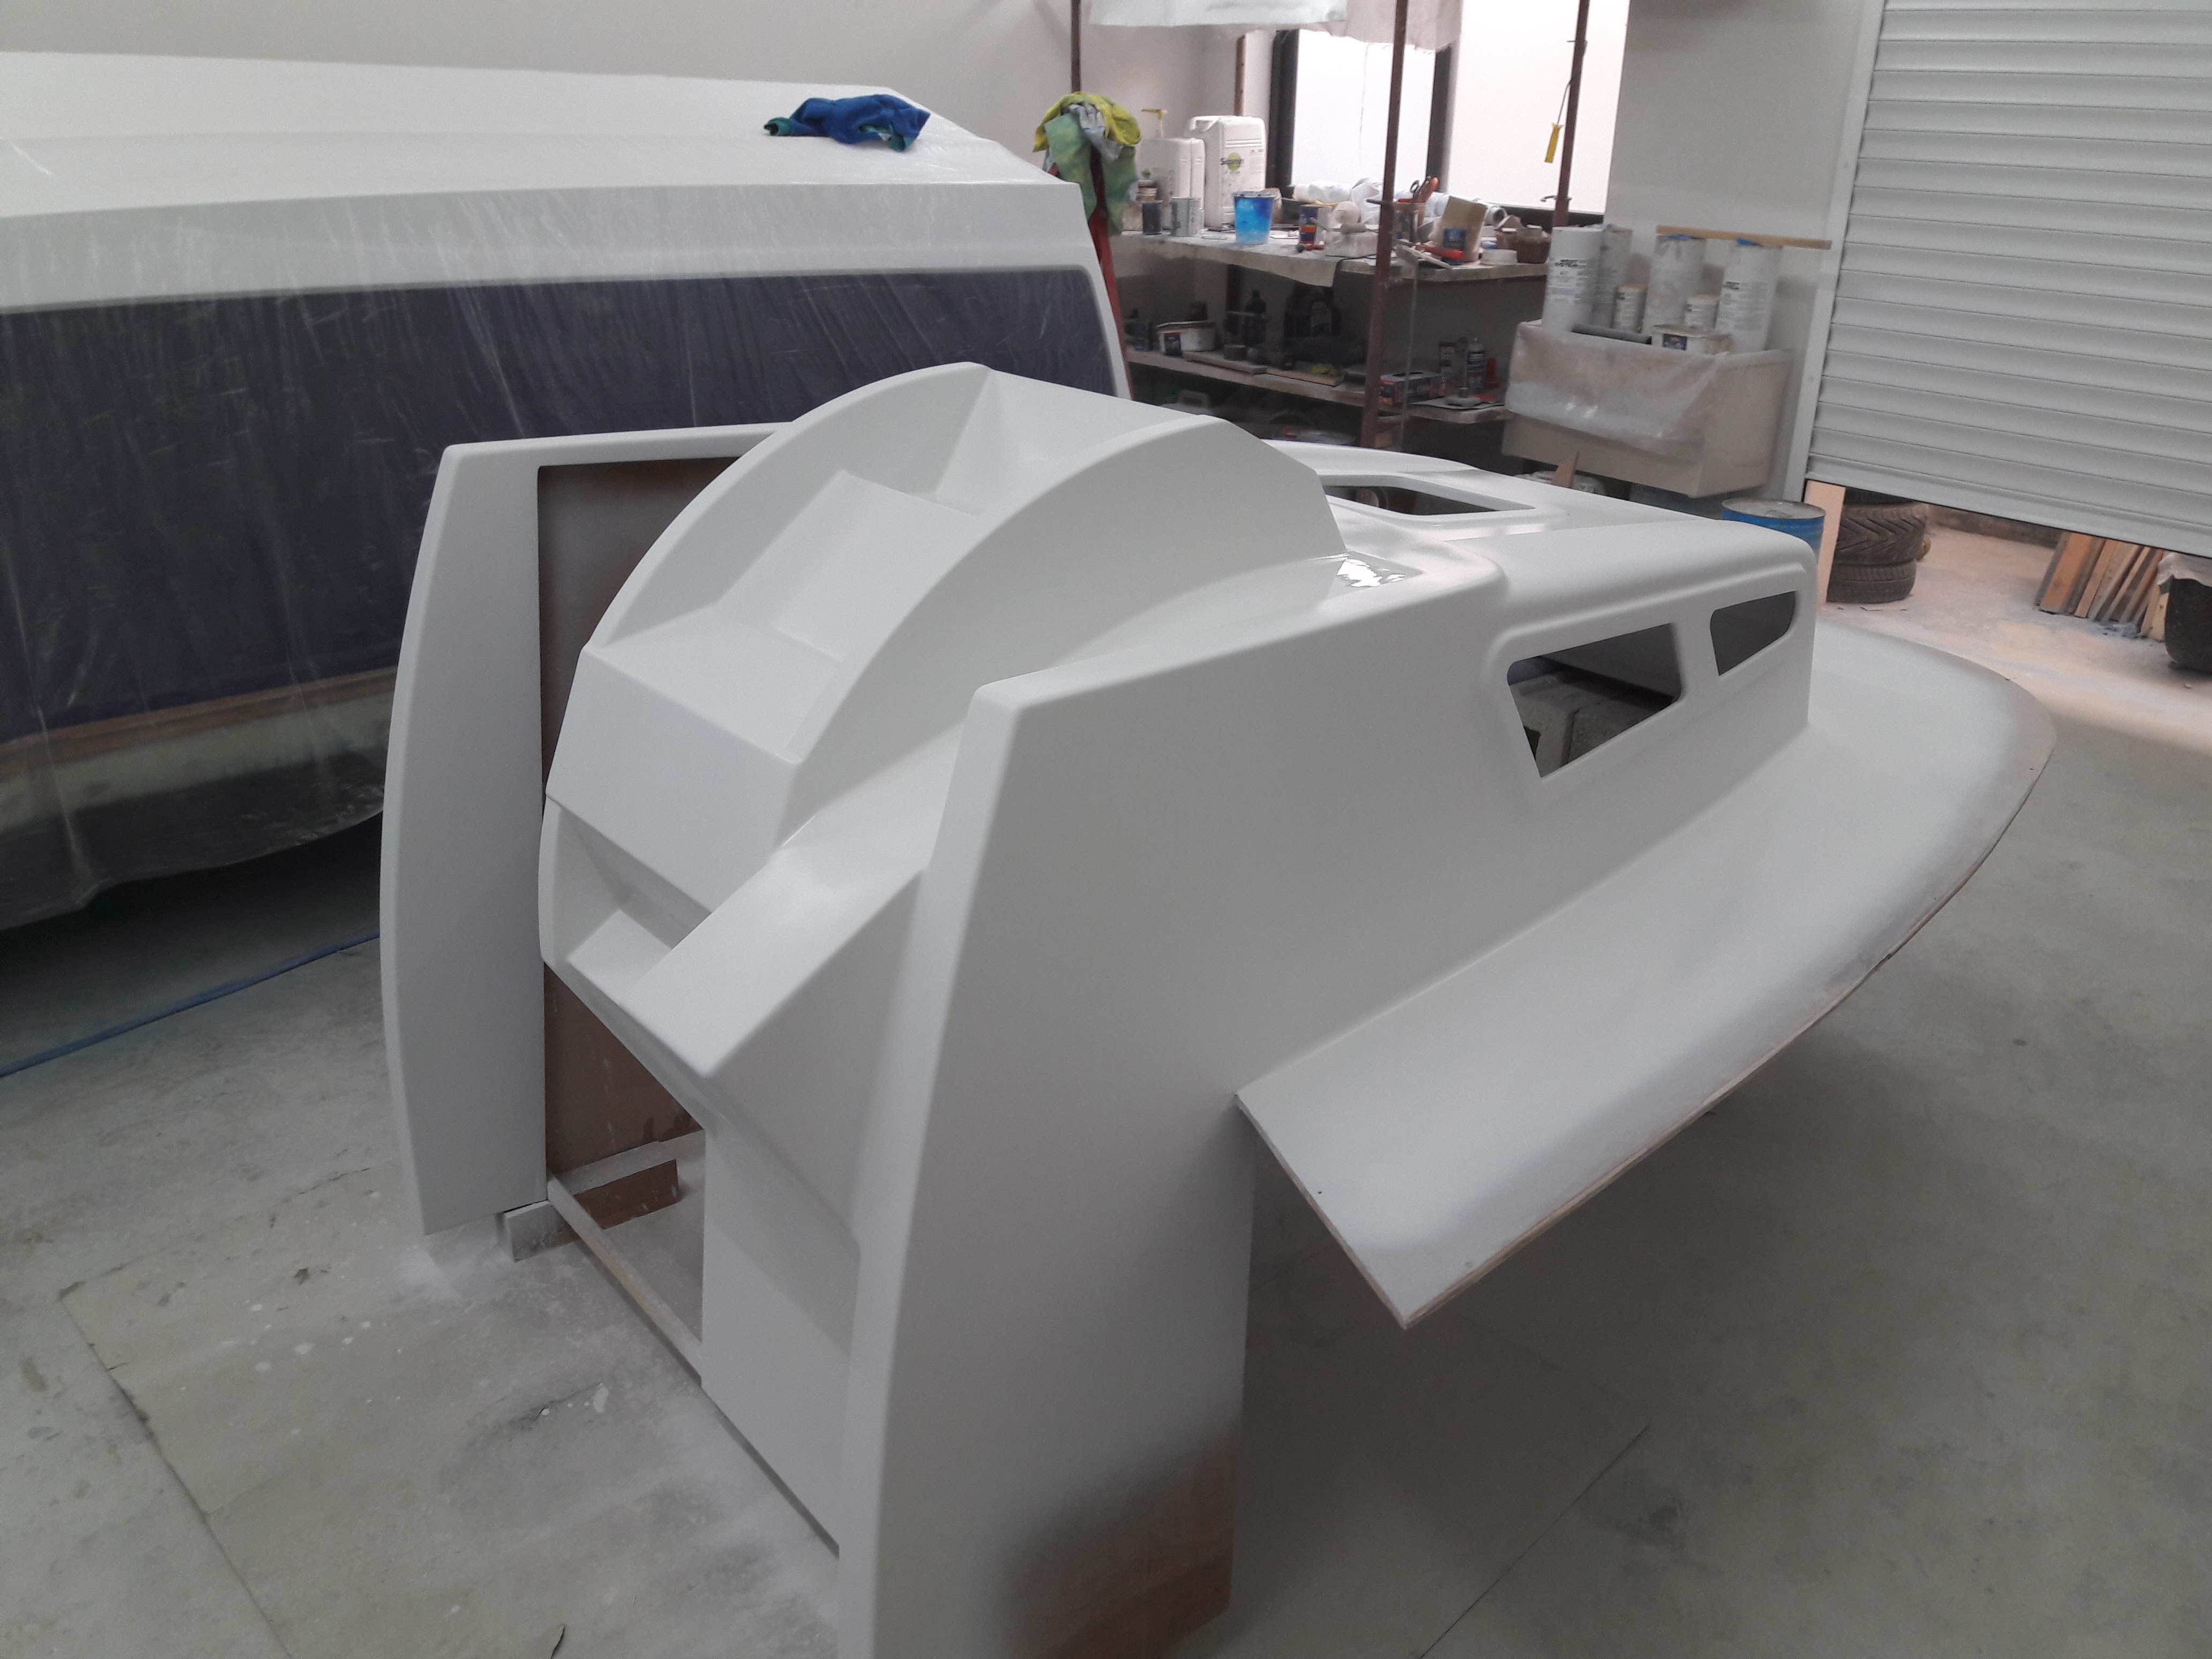
Making a mold to construct the windshield on to Its gonna be formed from an 8 mm acrylic sheet It was tricky to wrap the 1/8" ply around those tight corners . I had to sand off one layer of ply ( 1 from 3 plys ) otherwise it kept breaking , than 2 layers of resin and cloth to bring back some stiffness . hope it will work out !


-
Adding some small details before flip


-
Thanks Riggs, only the top one will be on hinges
-
Some work onto the cabin while waiting for the hull paint to fully cure before flip


-
!!!!!!!!! Patience is a virtue !!!!!!!! Will continue sanding and glassing the cabin and the seating setup in the meantime . These are out of the boat.
-
Tks everyone guys ! Lenm, I'm using 2k acrylic over epoxy 2k primer , same technique used on Marissa 3 years ago with very good results. I will leave the paint to cure properly for about 3 weeks before re-flip the boat for the last time and onto the trailer .
-
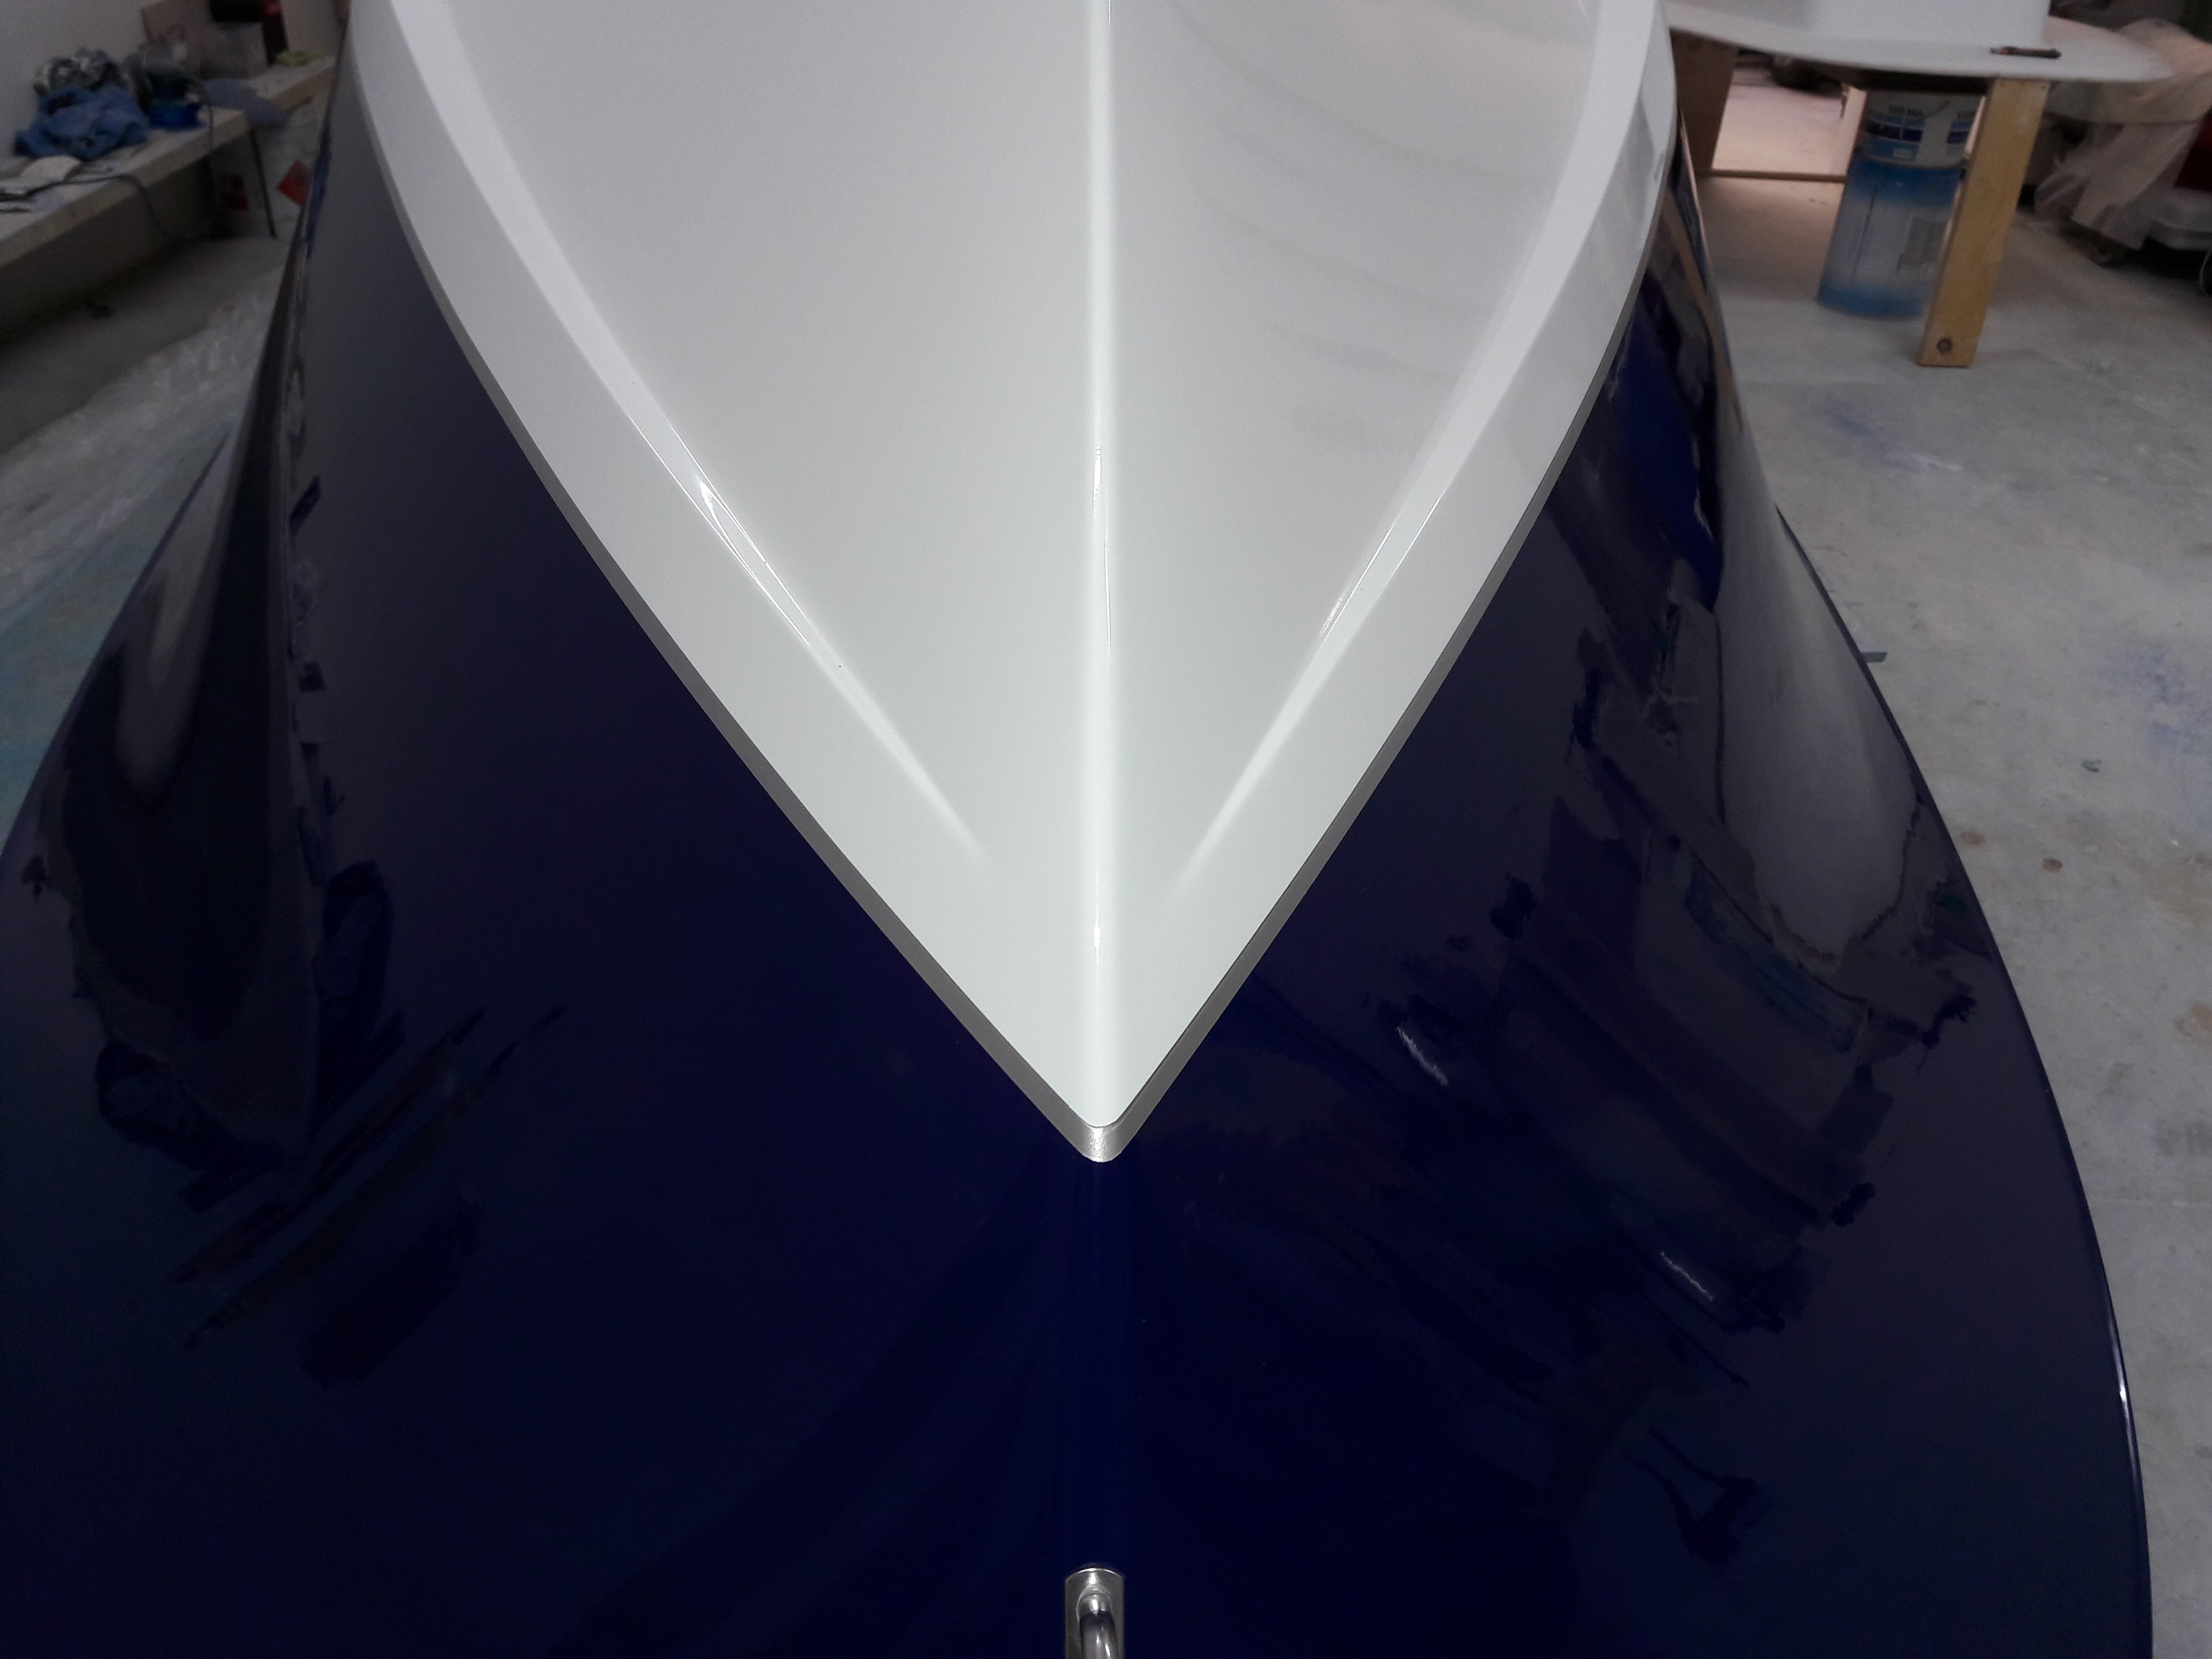
Two tone done


-
Assuming you are using only EPOXY as glue and not some other kind of stuff like PU based glues ! If the surfaces that are going to be glued together are roughened with a rasp ( or 40 grid sandpaper ) this will help the epoxy to penetrate easier especial an solid woods like fir .
-
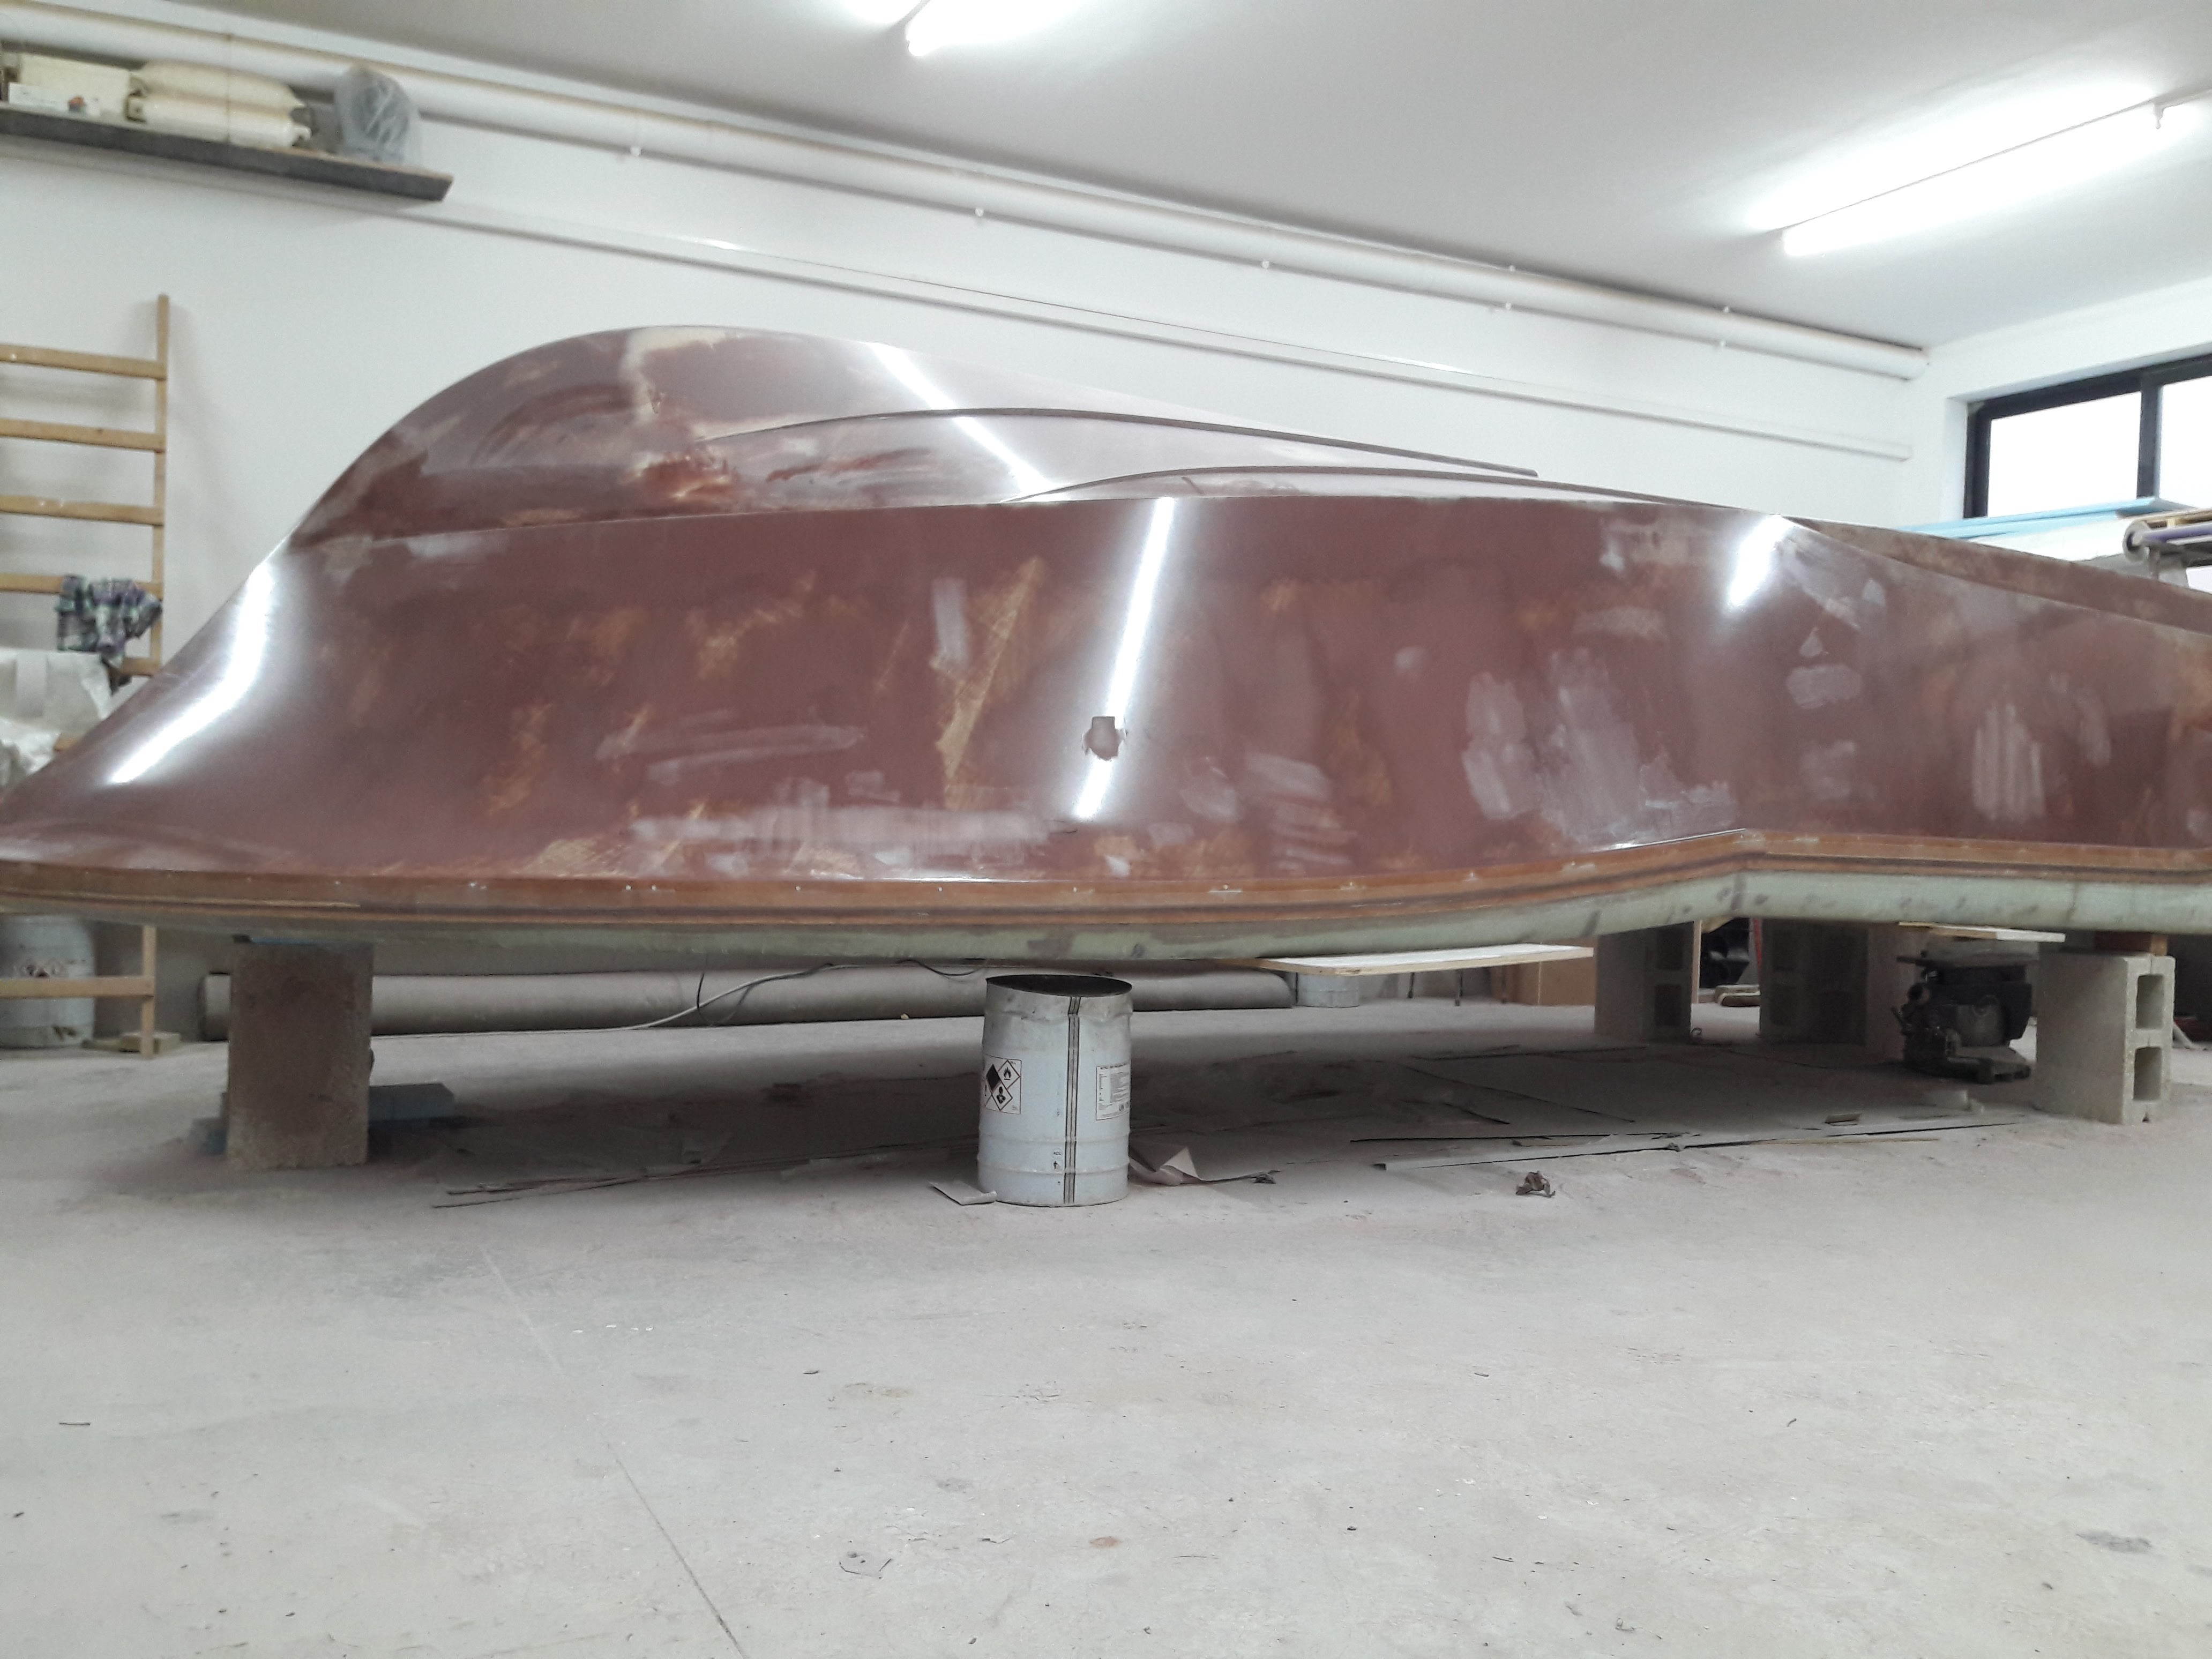
After another long session of sanding here is the bottom , transom and part of the sides finished . It's gonna be a two tone color


-
Wow that is awesome !! and a fantastic idea too !! A lot of extra work but it pays off !!
-
I think Smccormick is right . You can also separate (cut) the stringer where it meets the keel , reshape it's end , give it enough twist and re glue. ( most probably when you twist the stringer it will bent slightly upwards therefore its length will permit to re shape the end ) If I remember correctly there's a secondary outline mark on the keel edge (on plans ) that shows how much the keel have to be shaved to get its angle , and also a mark where the stringer meets the keel. If you transfer these markes to the keel these will guide you correctly
-
BTW , I will put an other pvc pipe on the other side , just to separate the electronic stuff from the motor harness and cables , and for sure an other 1" pipe for fuel line . These can all be done later on before fitting the sole
-
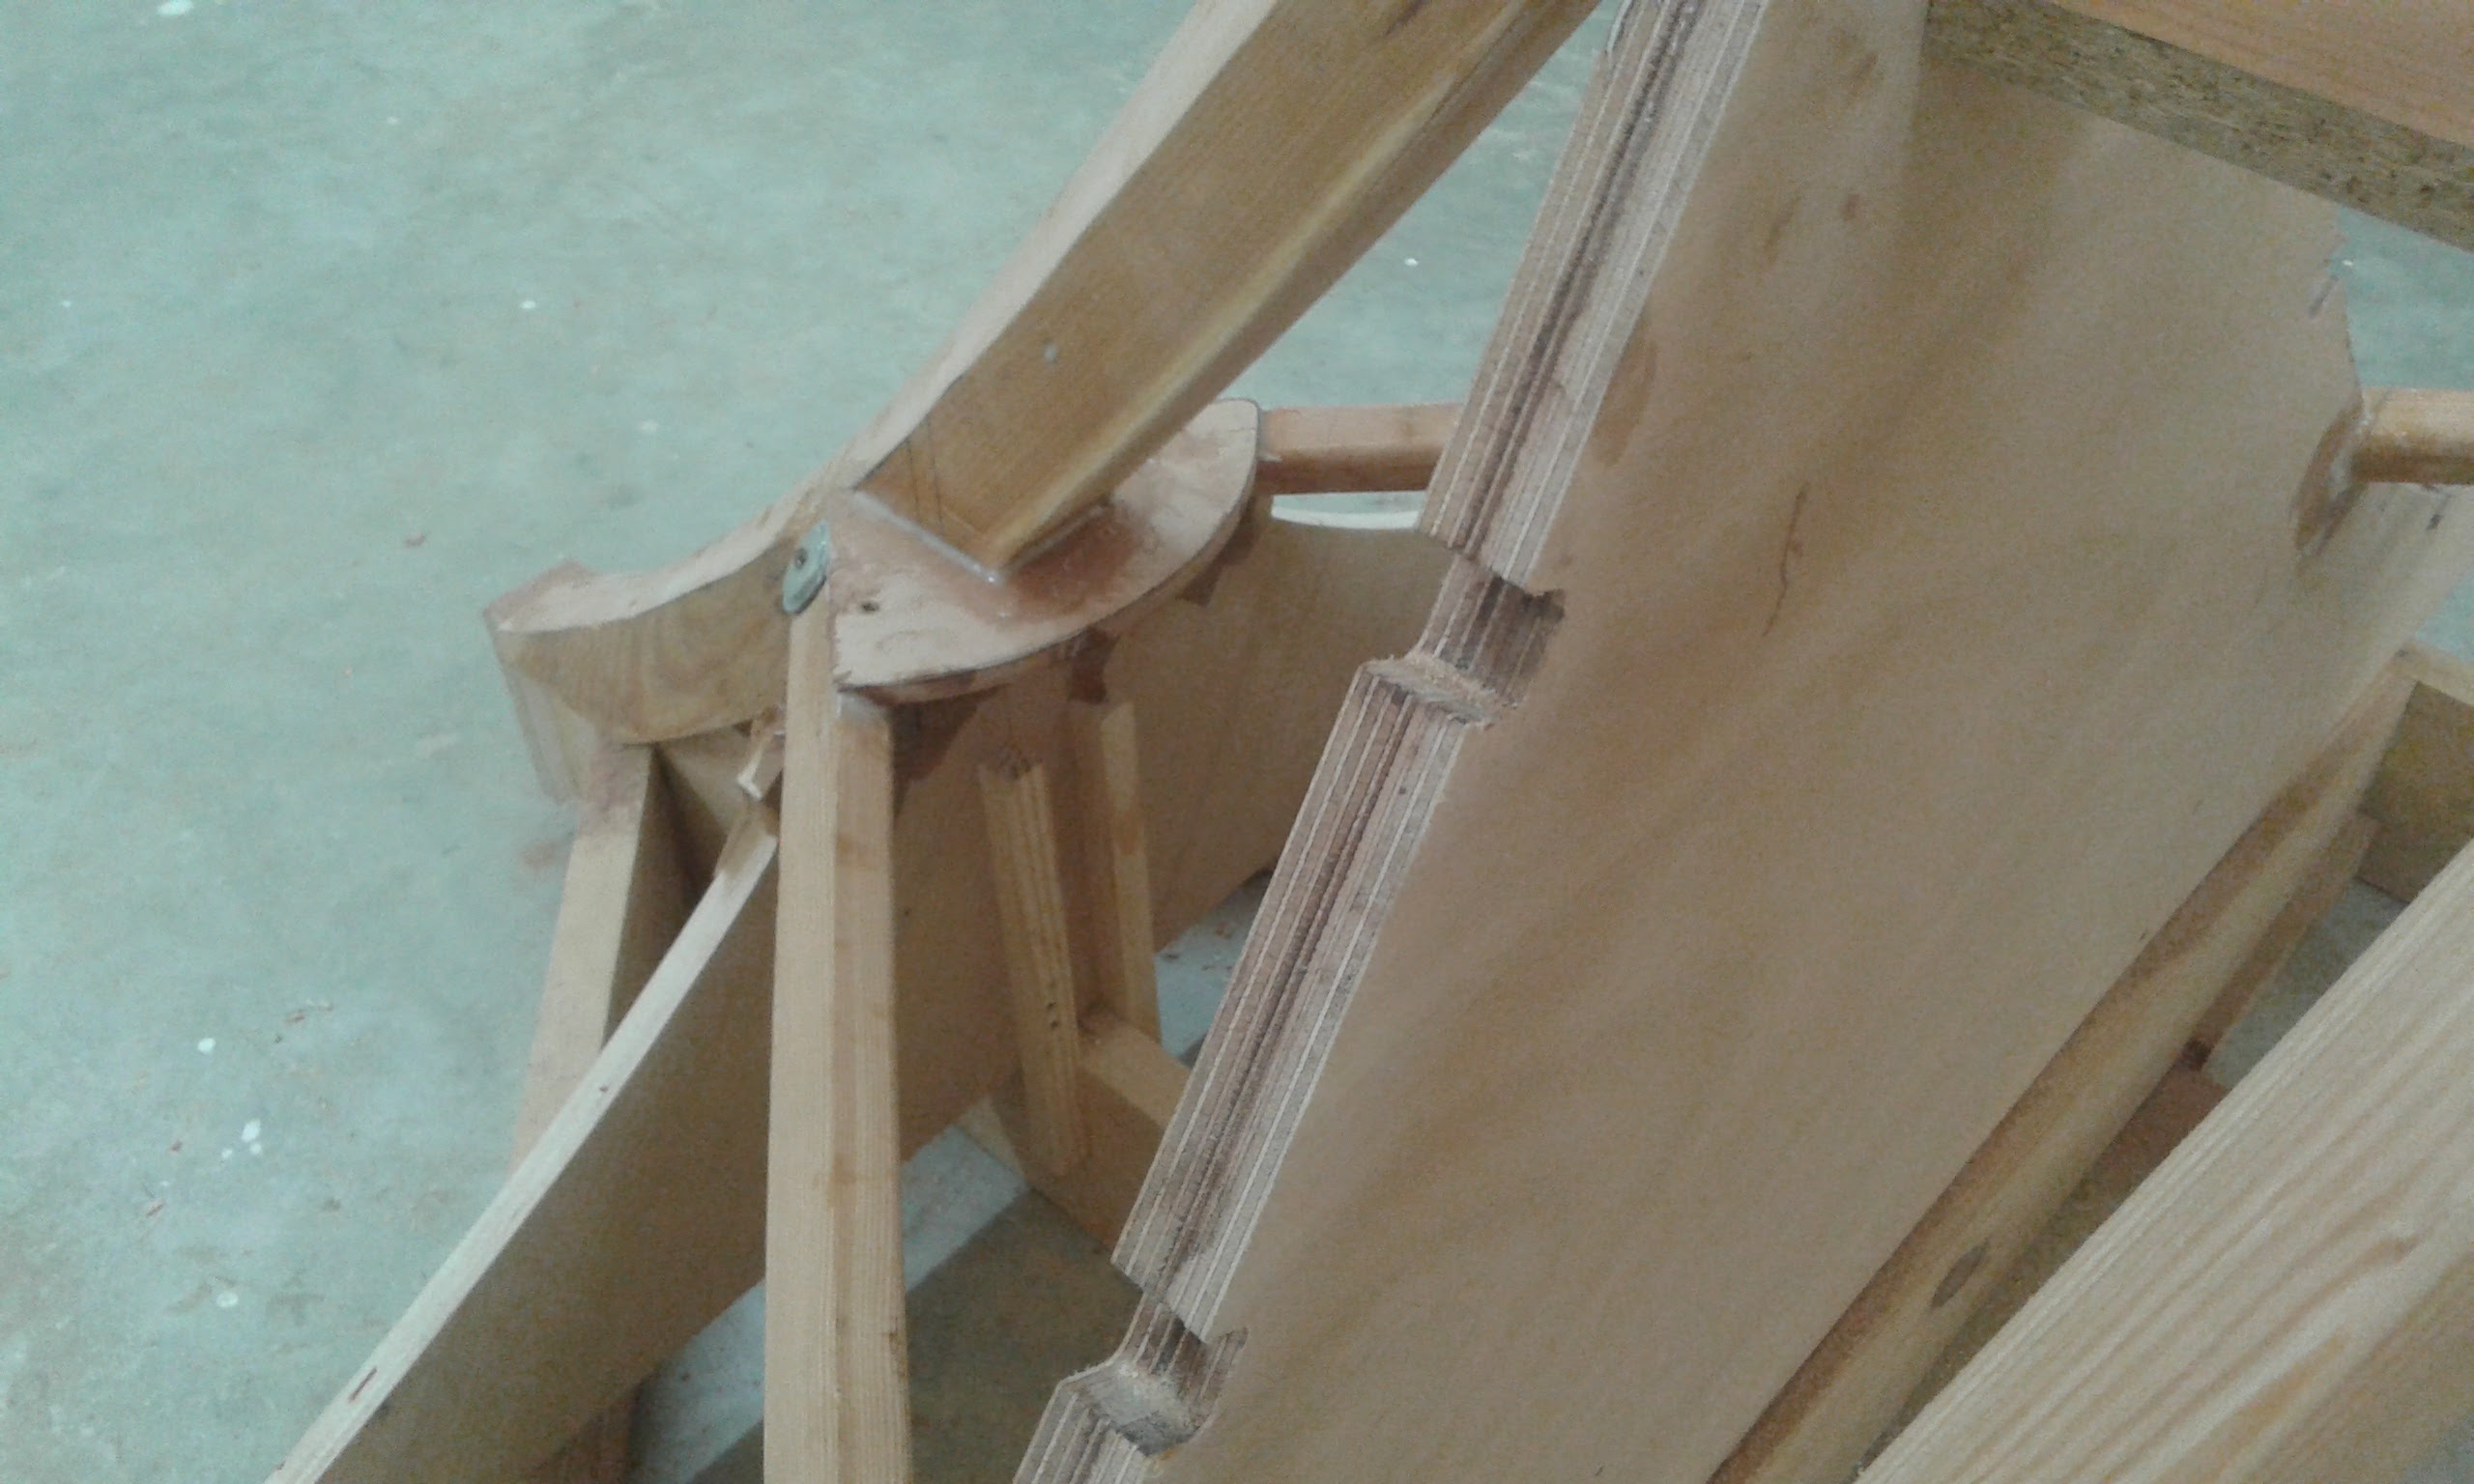
On my OC20 I reinforced it this way ( photo ) but today I think this was useless , as when you sheet the sides with plywood, the stringers and the keel will become one solid part

-
First layer of epoxy primer sprayed !

-
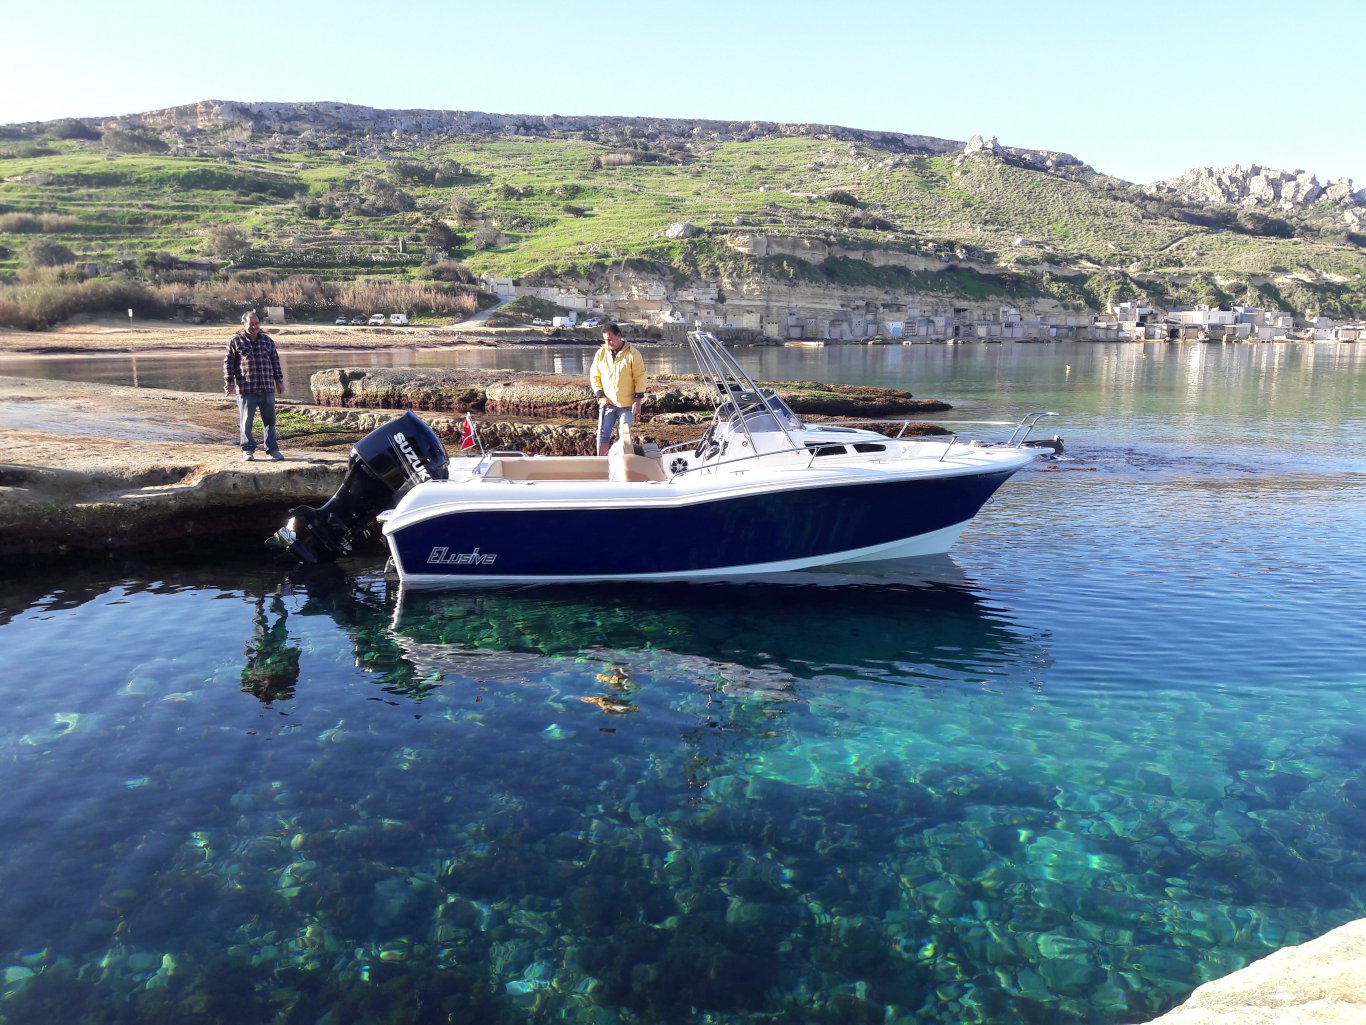
Welcome and good luck ! Very nice shop and clean work . Marissa has very straightforward plans , yet interesting to built and very pleasant to drive and enjoy even in some rough waters . Looking forward to follow this build as this brings me memories of my marissa build plan #50 , back 3 years ago !
-
Almost forgot to form 2 flatpads for trim tabs !! Was thinking of 18 x 9 " bennett hydraulic trimtabs and maybe will go for the auto tab control


-
Sanding and more sanding Lenm I like the idea of wet sanding . I am using 3ft long boards ( one rigid , one flexible or less rigid ) and with wet sanding these are much more easier to push and pull !! Yesterday morning I rolled and tip a coat of clear epoxy to get the side gloss , but again more points to fill and sand


-
I used the notched trowel method on the bottom and seems to work fine , but lots and lots of sanding !! Decided to go for ' normal ' methods on the sides using a 3ft long aluminium trowel ( ruler) to smooth the fairing compound . One of the mistakes I done on the bottom was building the splash rails before fairing , that made it more difficult for long board sanding


-
Hi guys, what do you think about this fairing method to get a smooth perfect finish ? First apply thickened epoxy (407) with a grooved trawler ( pic 1) , than long board sand until it's almost straight ( ie some of the resin grooves had disappeared ) pic2, than repaste thickened epoxy with a straight edge trawler to fill the remaining grooves . I think this method saves a lot of sanding fatigue and also lots of epoxy material too . Basically you're sanding only the upper point of the grooves on most parts and not the whole area to get it leveled !! Any ideas and comments ??