Lotus
-
Posts
266 -
Joined
-
Last visited
-
Days Won
14
Content Type
Profiles
Forums
Events
Gallery
Everything posted by Lotus
-
Last weekend was busy fabricating the lifting strakes or splash rails . After getting all the measurements of width height and deadrise angle for every 10" of the strake, I transferred these measurement on to an angled aluminium strip , trimmed out the markings and therefore this aluminium strip became a mold (plug) of the strake itself ! All I had to do than is fill the mold with thickened epoxy , separate the cured epoxy strake from the mold and glue them onto the hull ! This way was much more easier to do than I thought As you can notice if photo 1 the aluminium L strip was covered with plastic tape so that the epoxy will not bond to the strip , in fact when cured it came out very easily ( photo 2 ) Hope that this will information will help someone out there because my impressions where that fabricating the strakes on to a modifies deadried hull is one of the hardest things to do !!


-
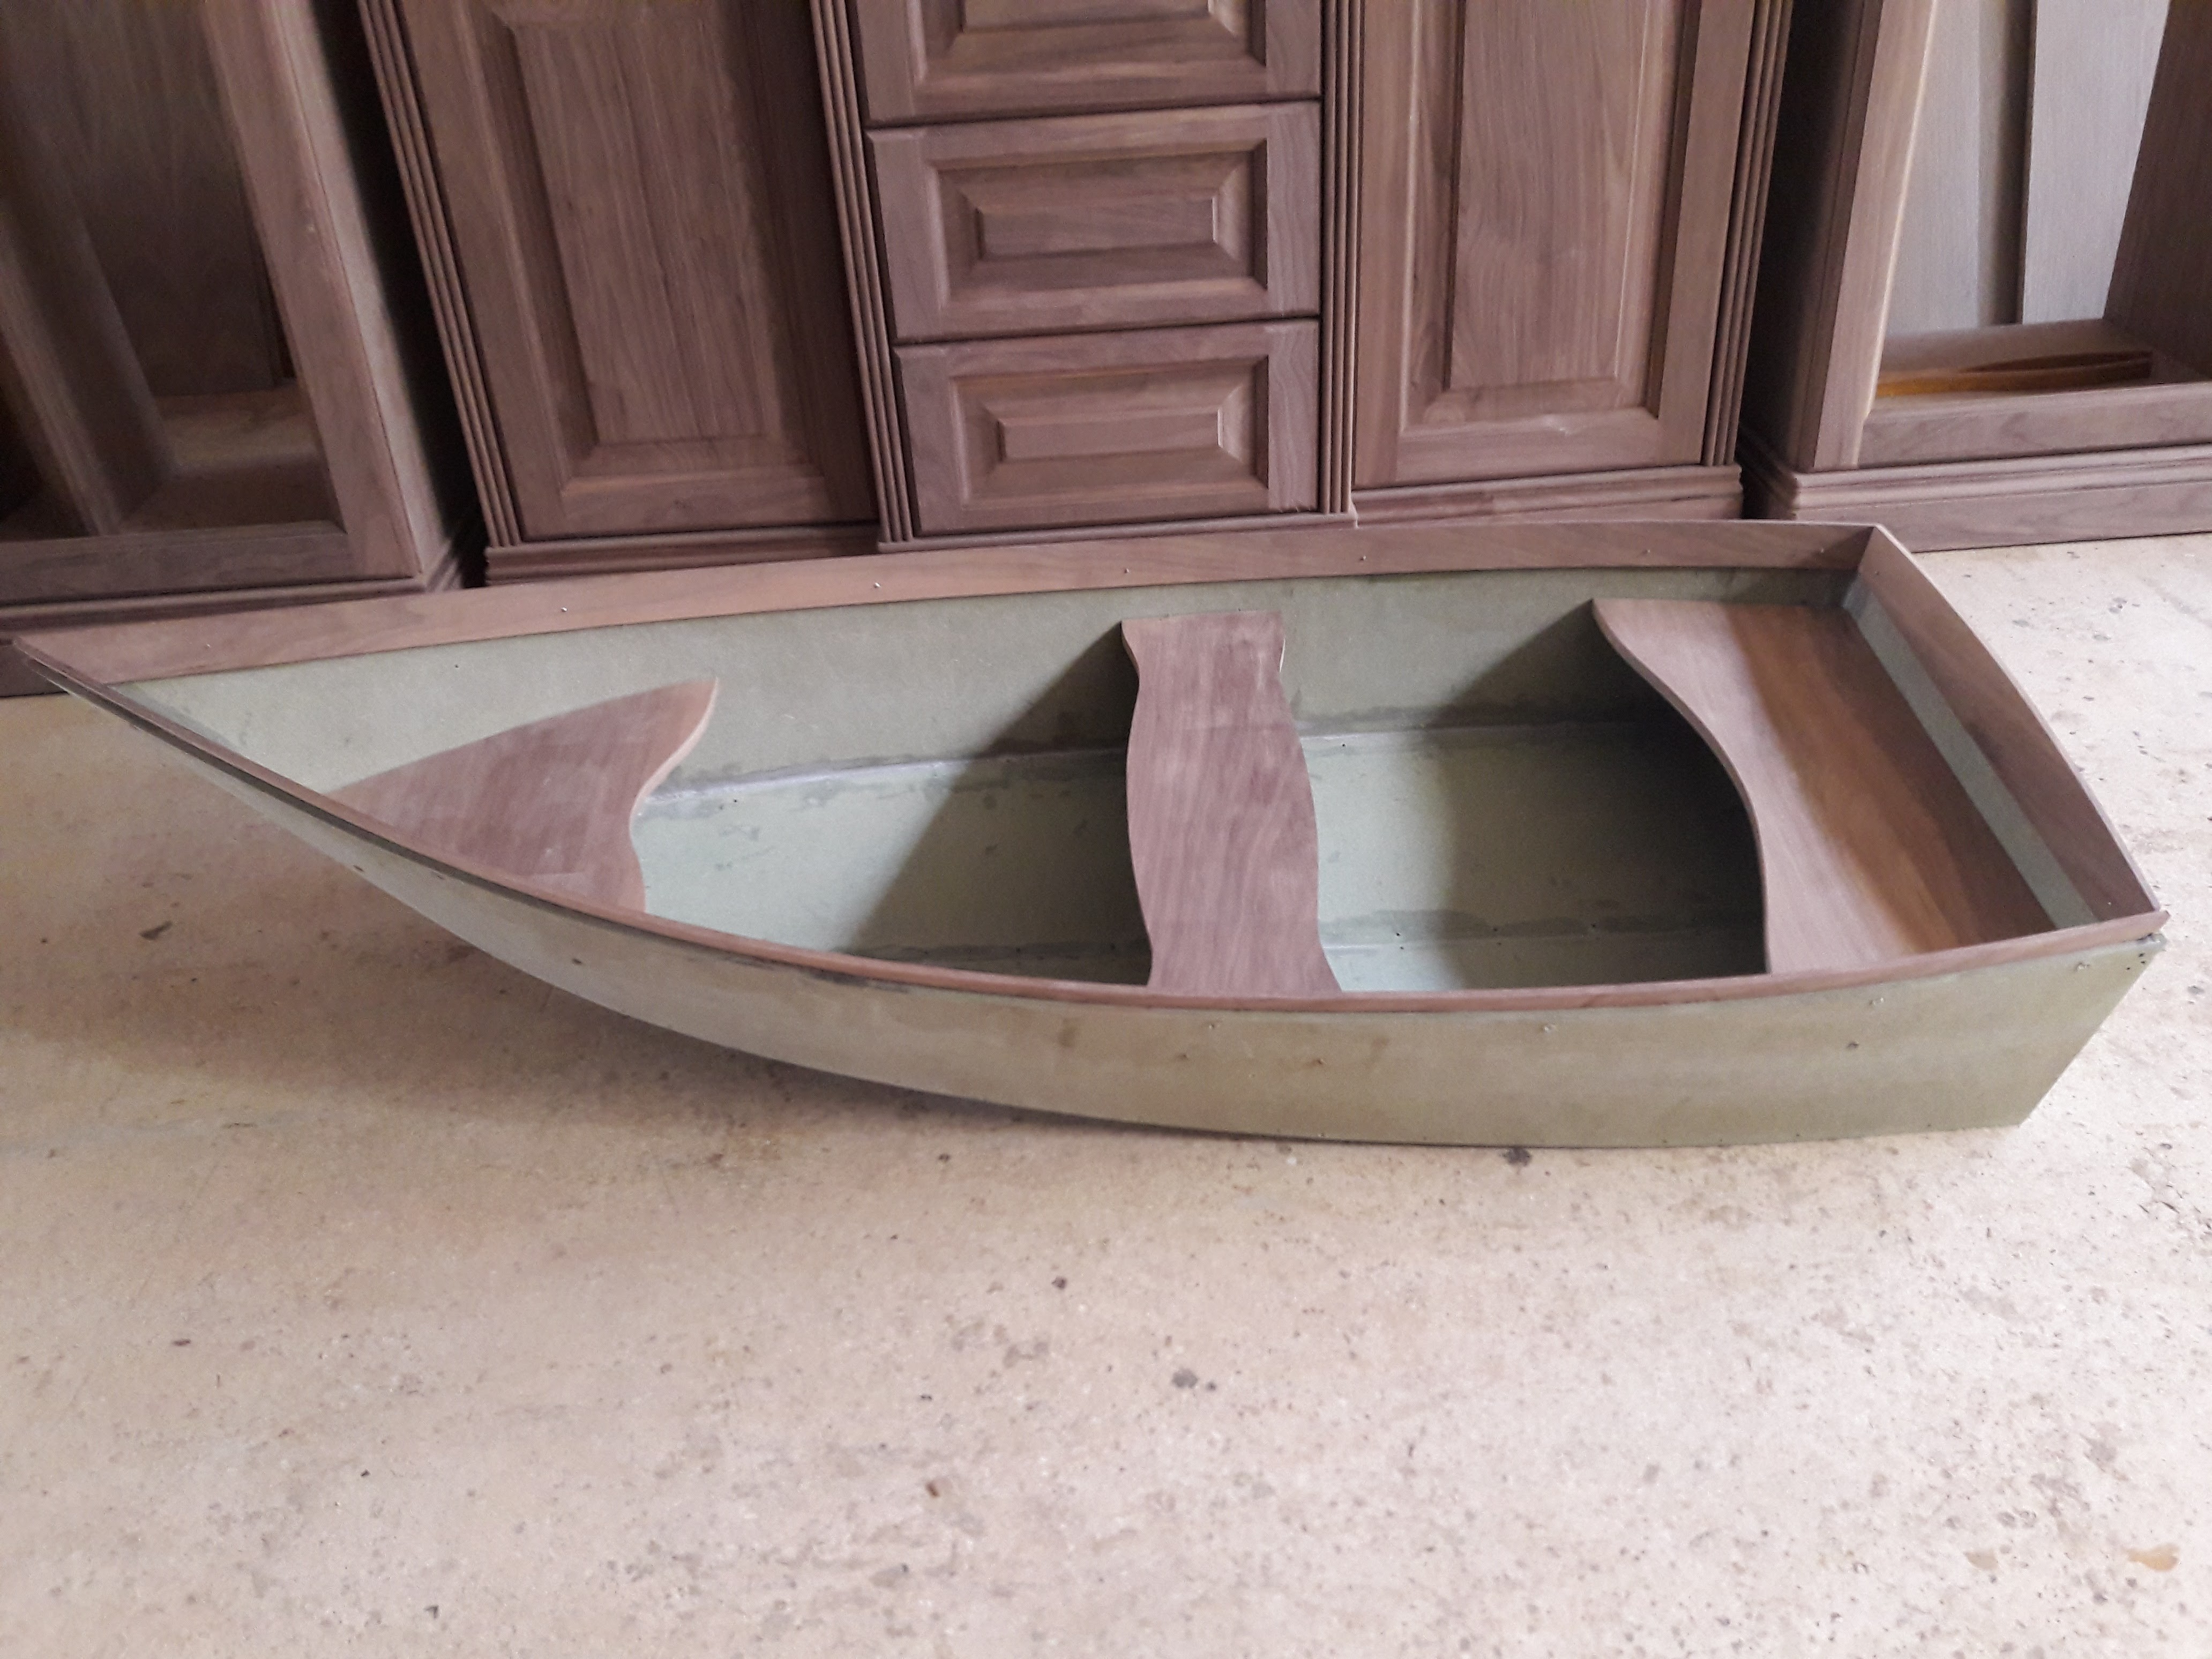
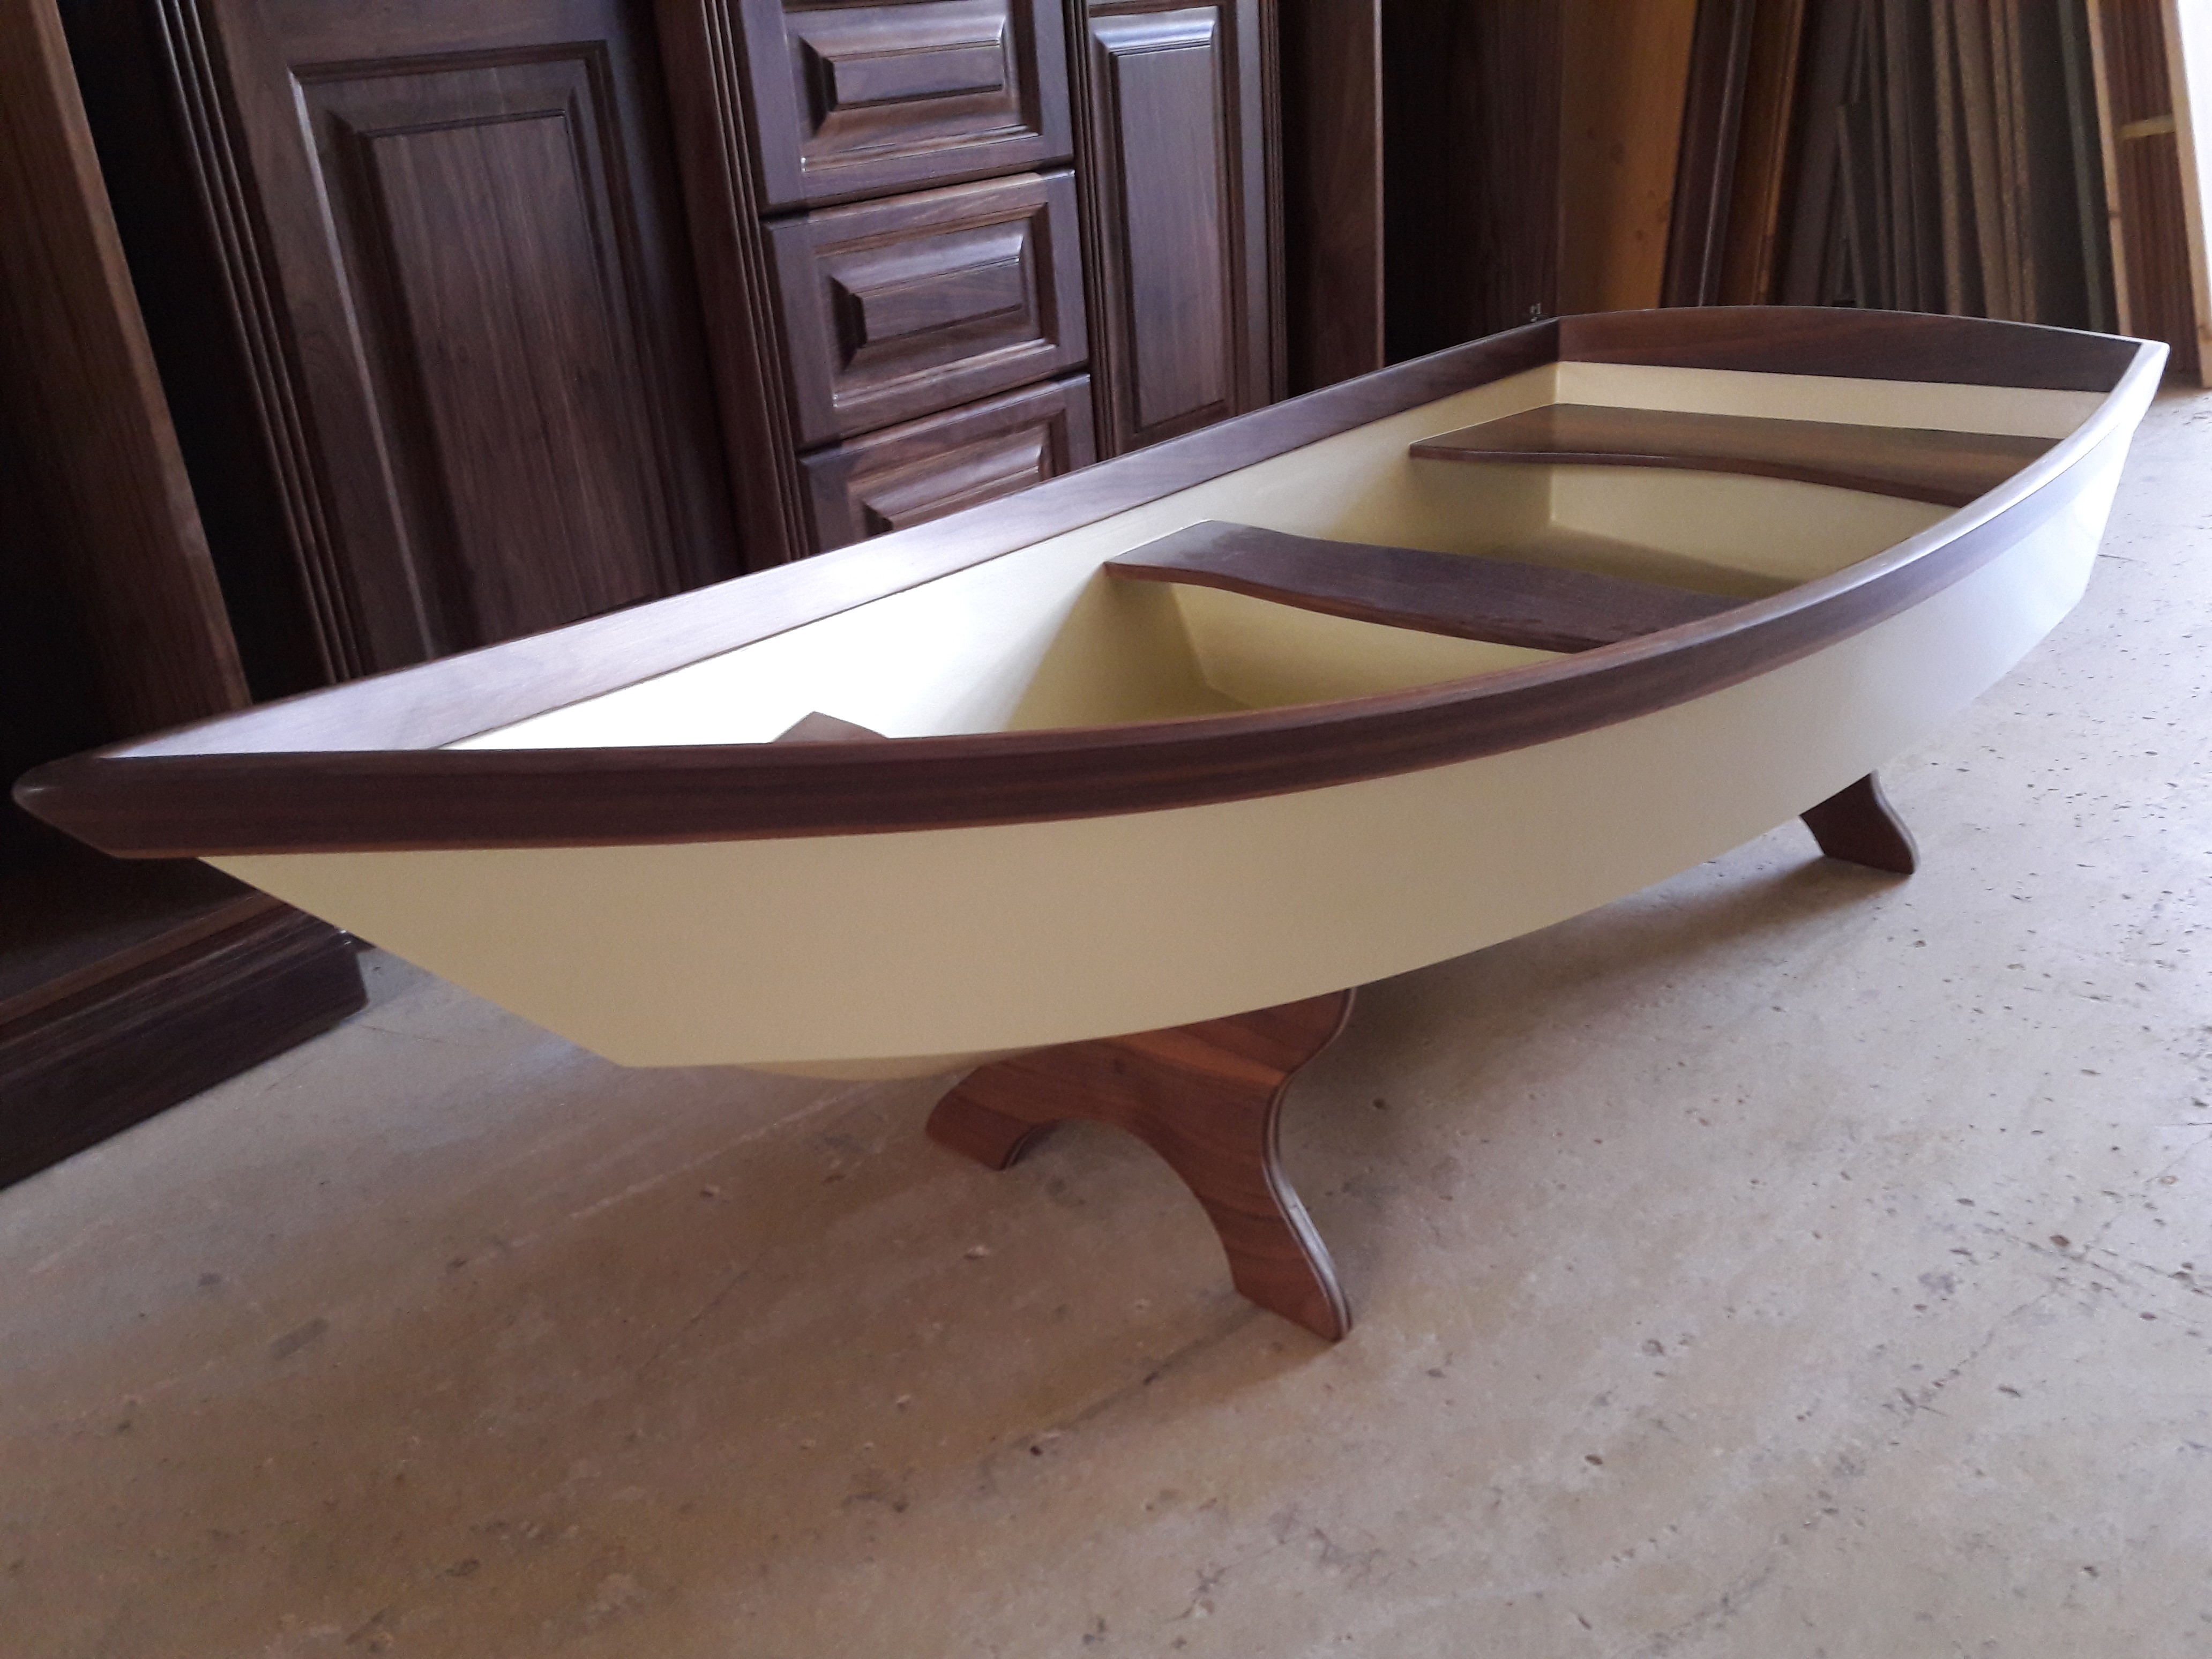
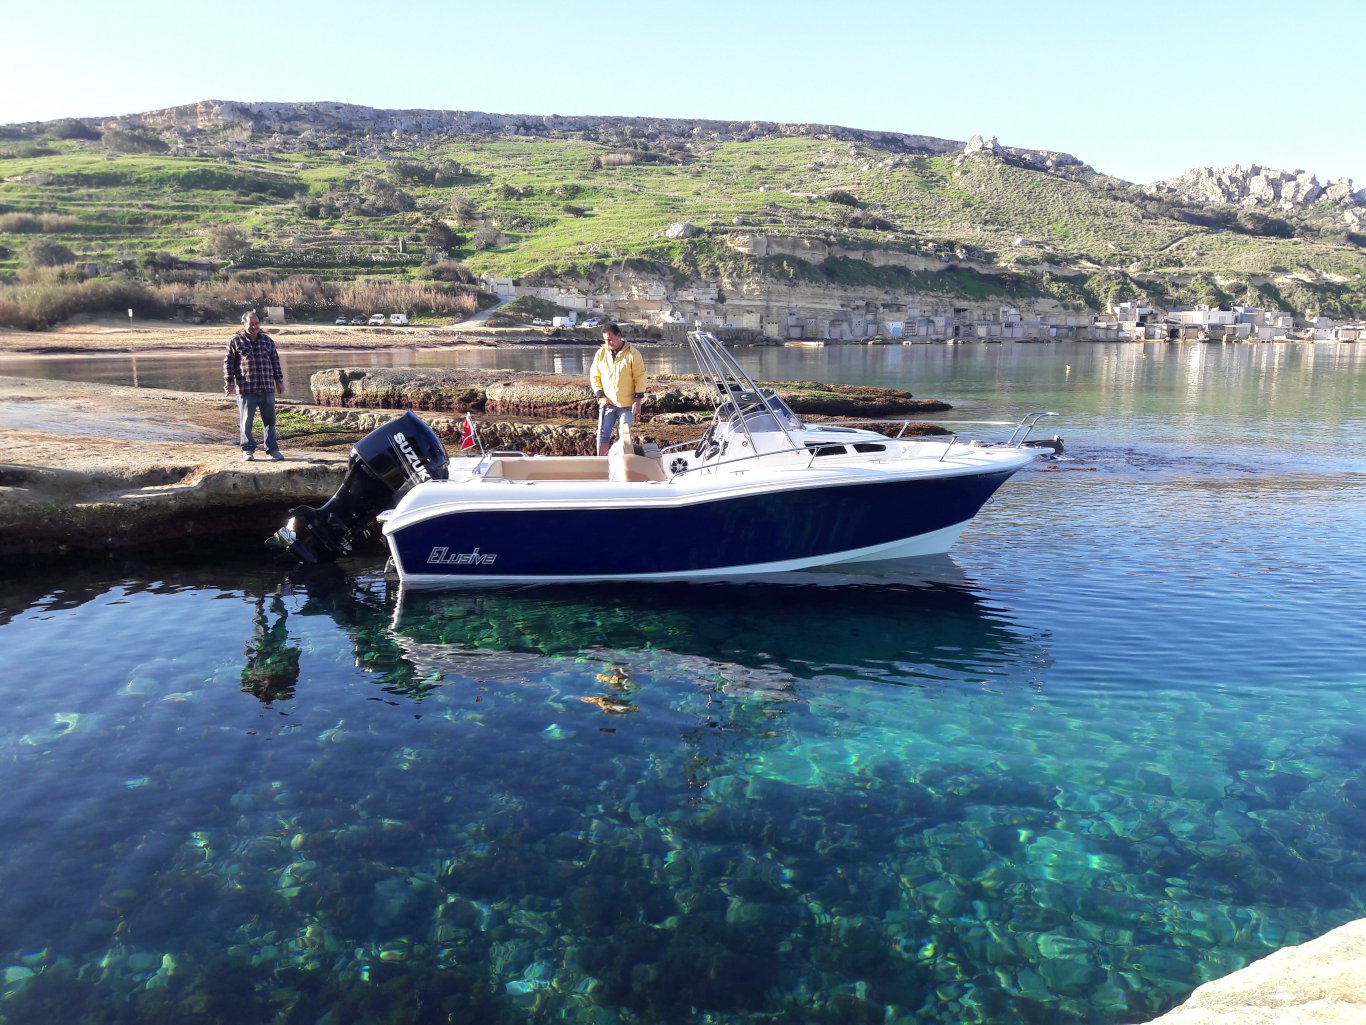
Thanks smccormick, The " dingy " is just 4.5 ft . There will be a glass top resting on all 3 seats and is going to be used as a coffee table ! At this time being I have no intention to keep the oc on a mooring , she will be trailered back home . My location is 5 minutes away from the slipway
-
Been working on something slightly different these last couple of weeks !! Guess what ??


-
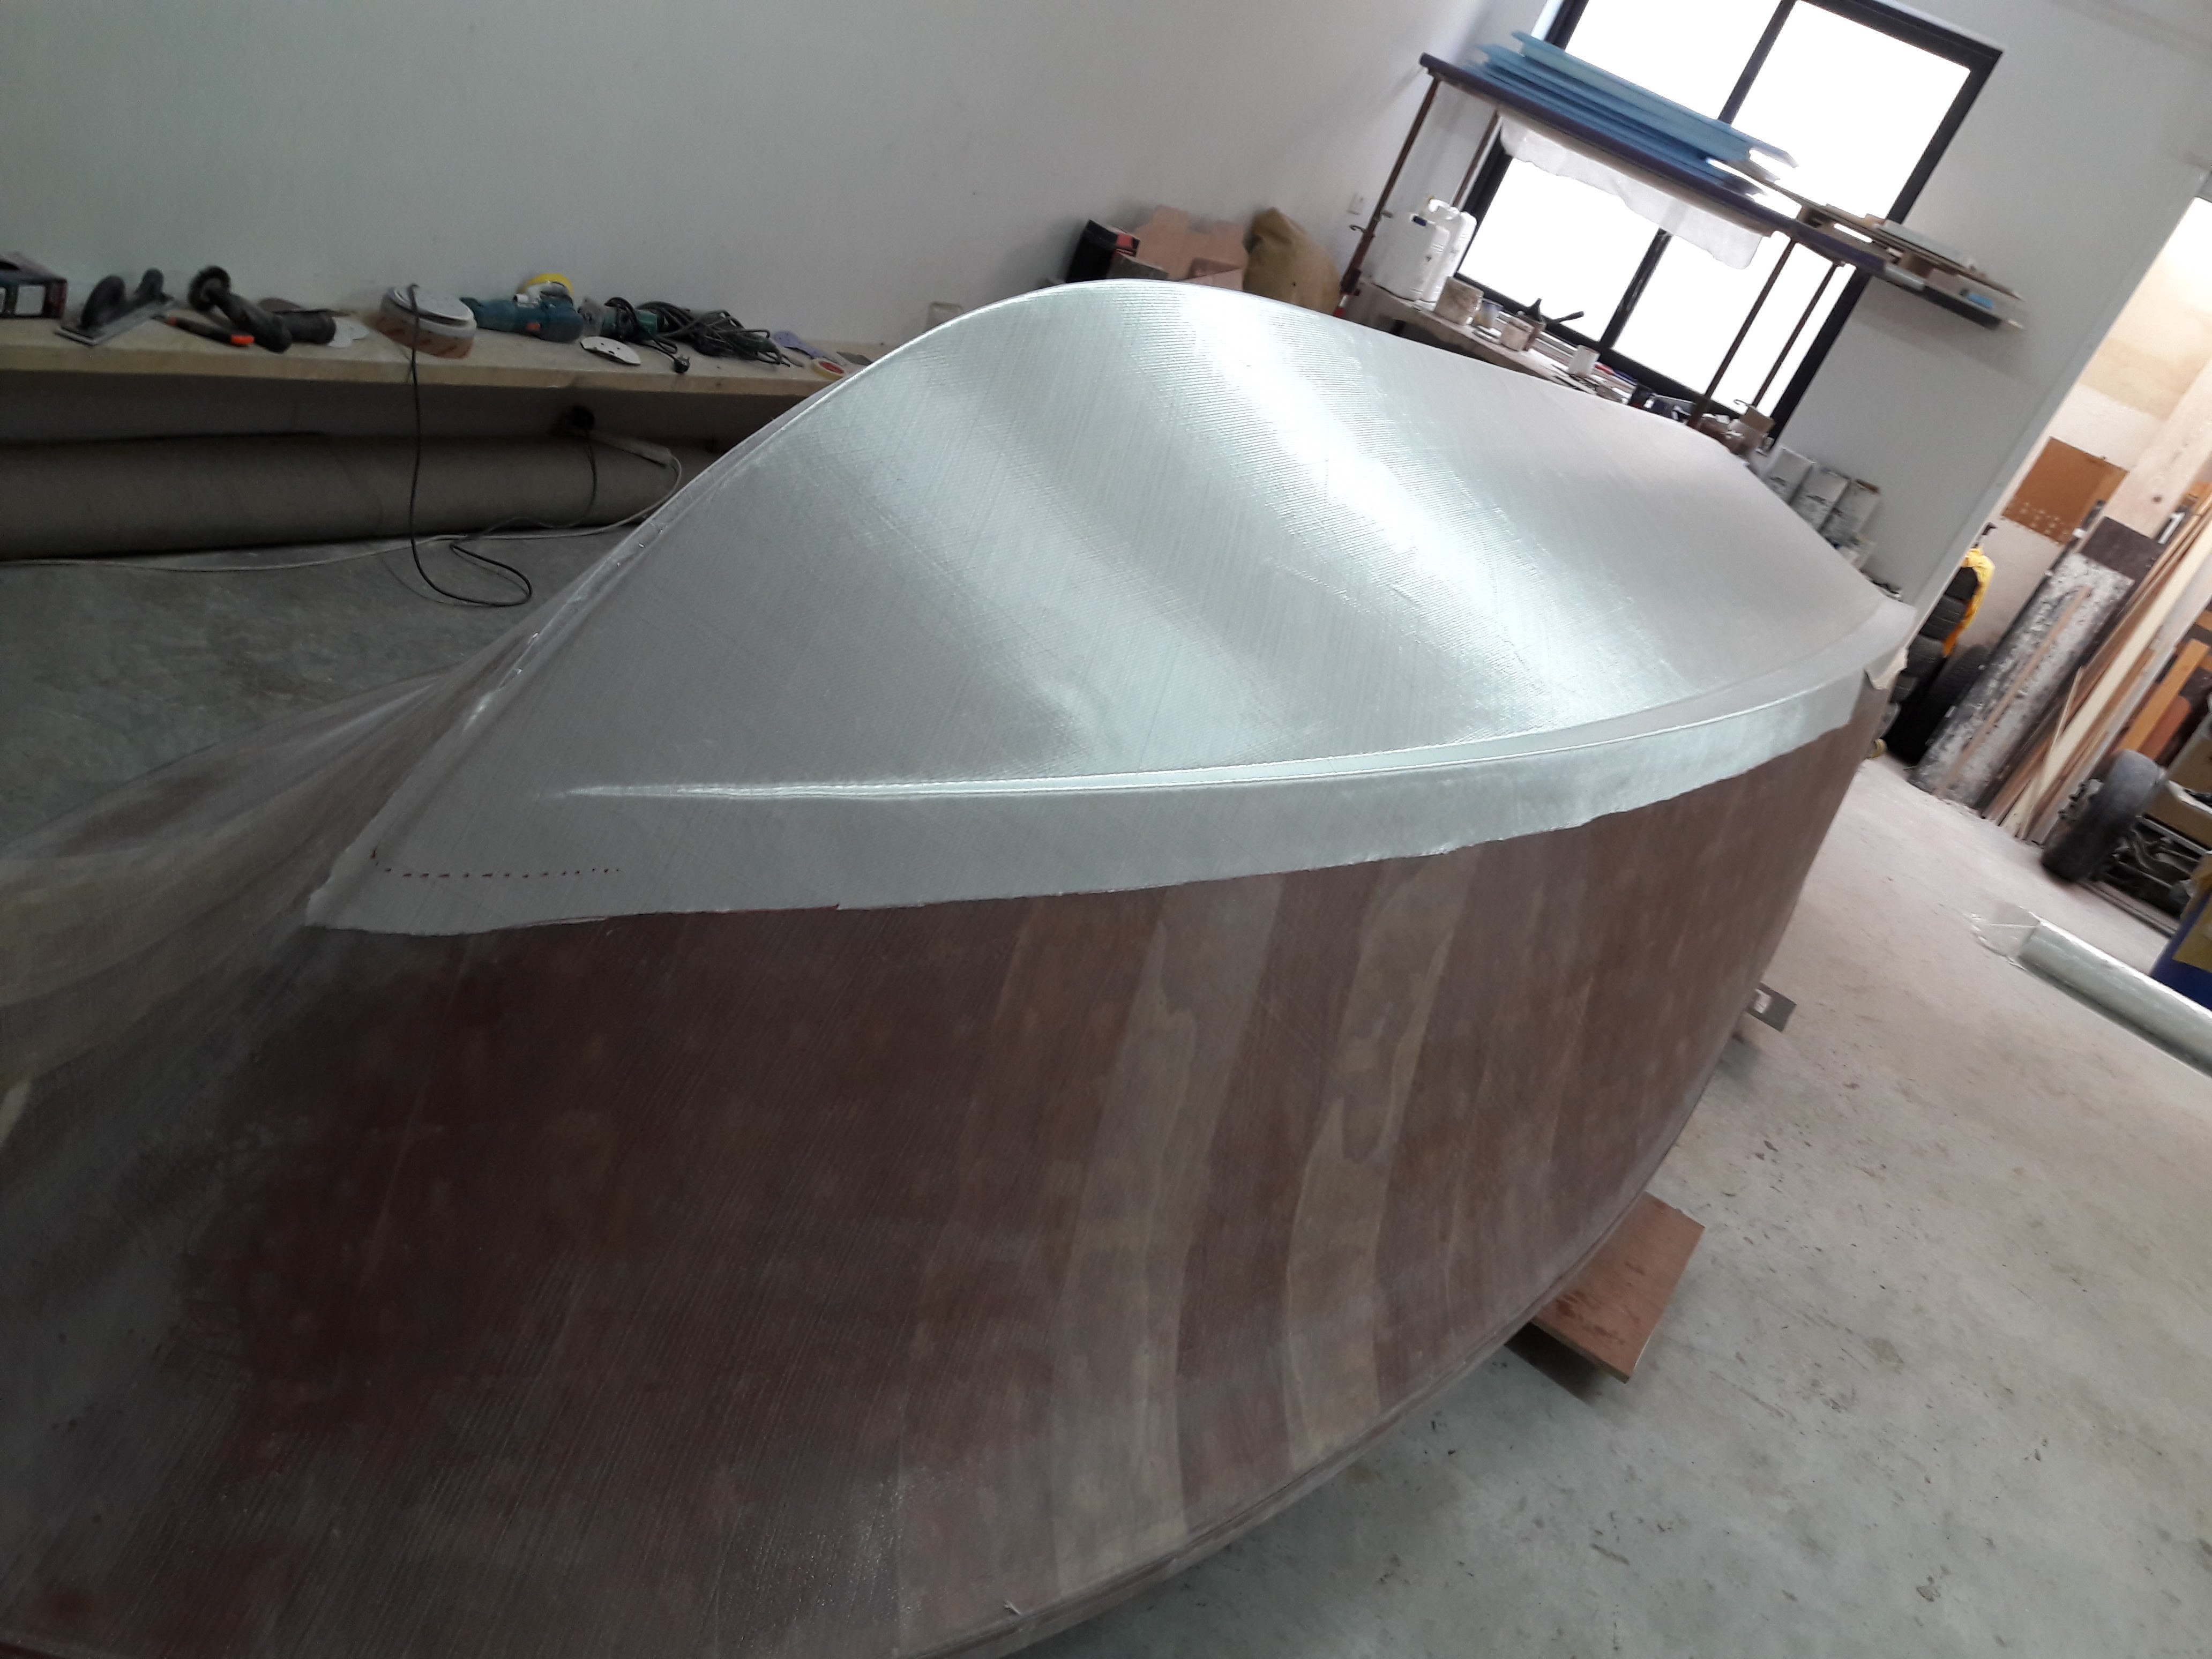
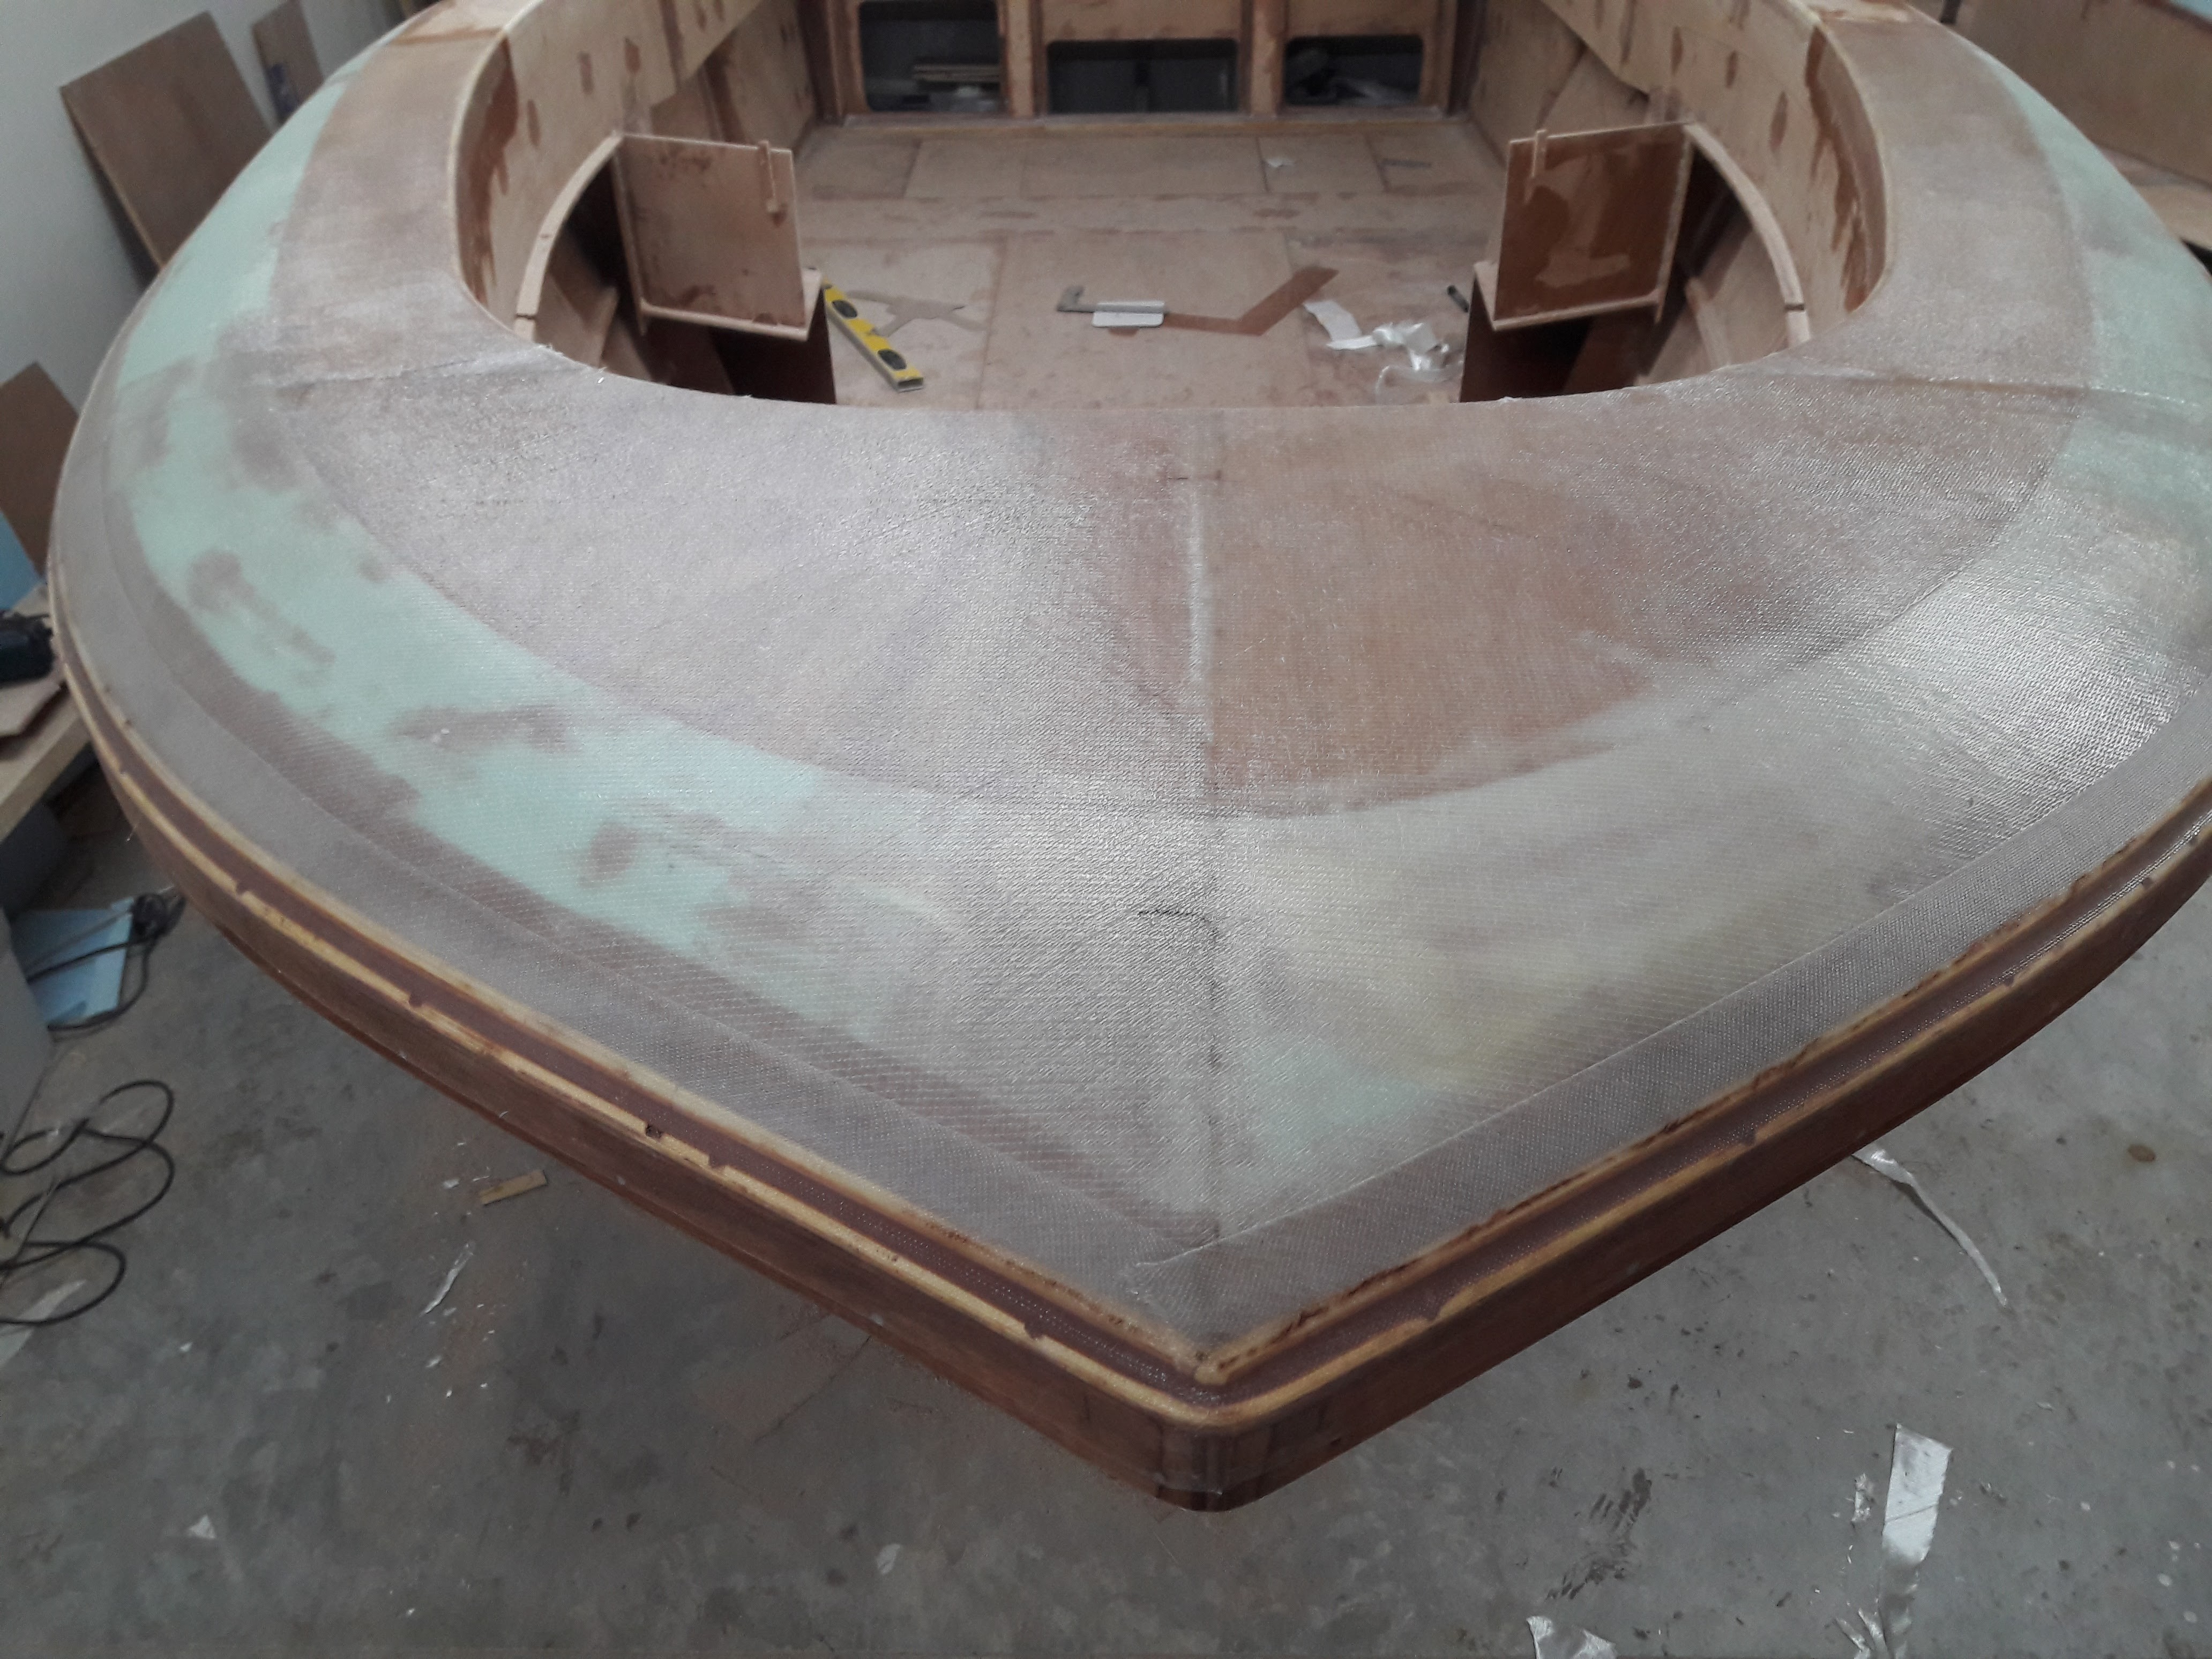
some more updates ! preparing fiber cloth for glassing


-
Thanks Lenm. Just roll it over on some car tyres and foam with the help of 16 hands ( 8 people )
-
Great build , very nice , clean and practical !! I like those small details that makes that project stands out !! Think you too should build boats for living
-
Well said PAR !! and Trev if this was my full time job I'll definitely go broke Thanks again !
-
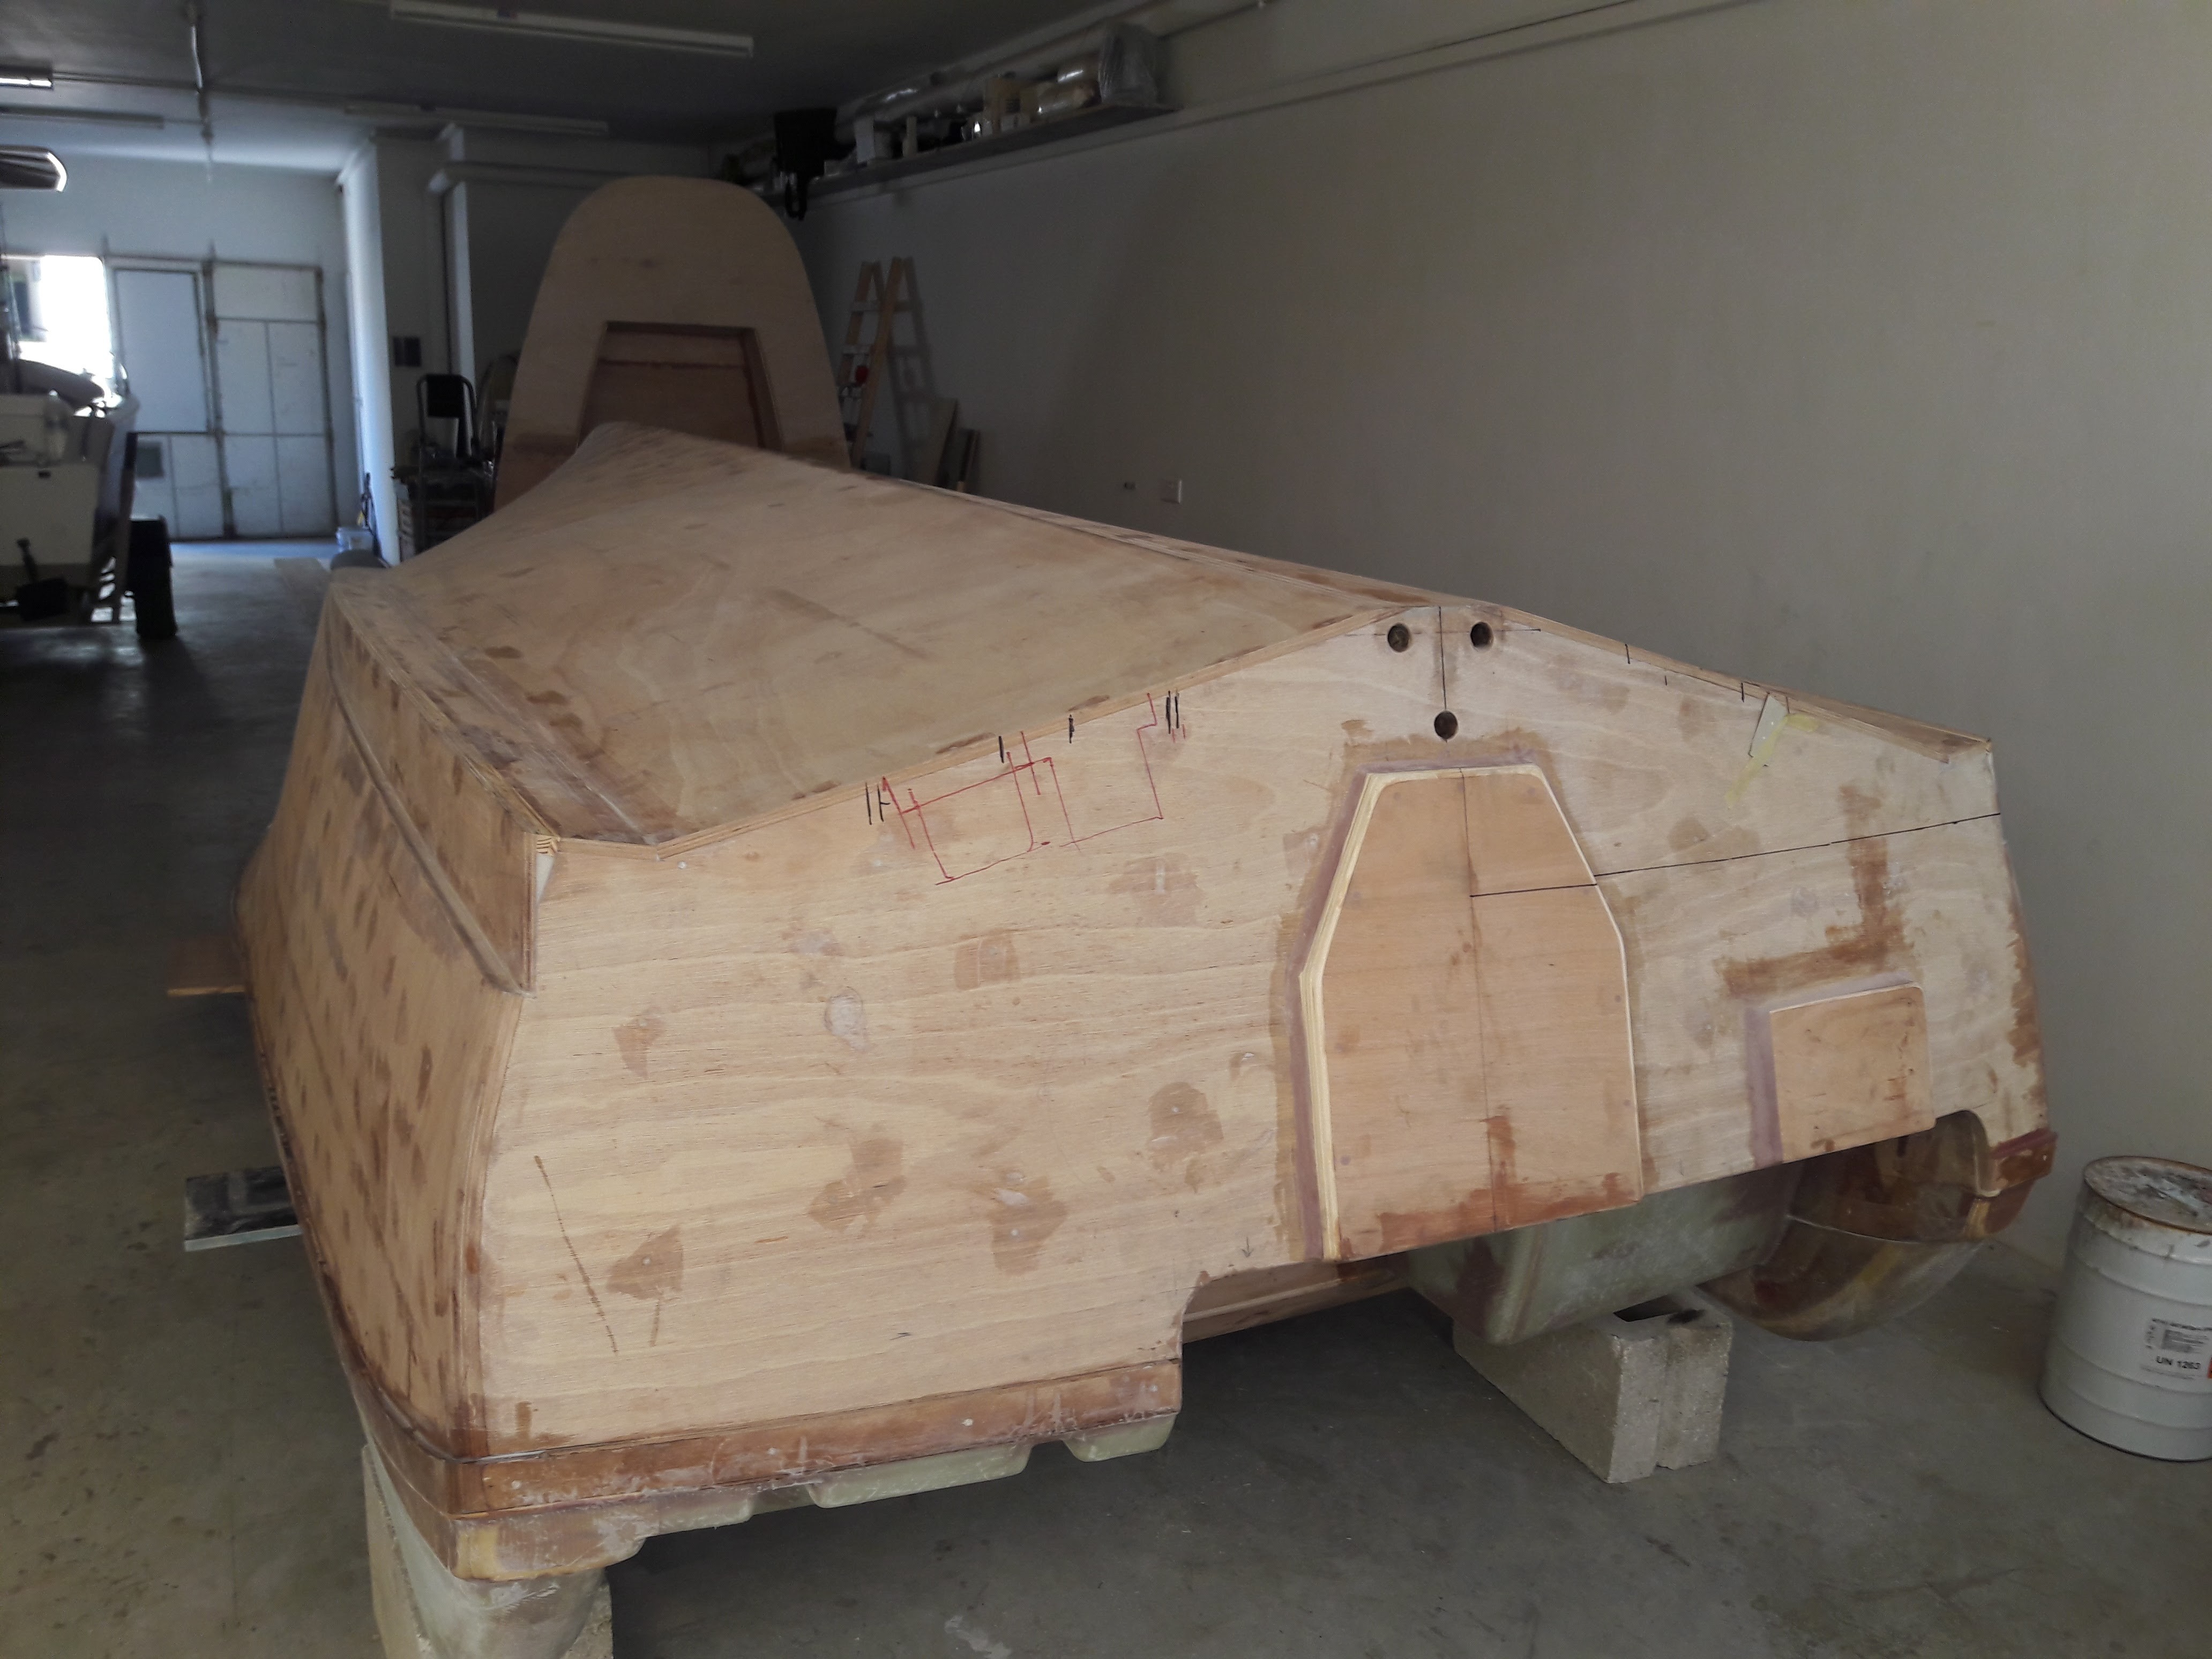
Boat upside down again ! Preparing for glassing , forming the lifting strakes and paint


-
Great nice work !! BTW the new Suzuki df200ap is also the same motor as 150 and 175 and almost same weight I personally love the white ones with the new decal for my build
-
Some little photo update !


-
Cabin out of the boat , preparing to re flip the hull . Also stern bench (3x) arms cut out using waterjet machine from 6x100mm 316 stainless flat bar


-
ATTENTION TO DETAIL . I love that !!
-
today's work !


-
Thanks anyway Ken Try and try until you succeed ( with lots of pins and cardboard !!!!!!! thanks to PAR )
-
You're more than welcome !!
-
Almost there 20170413_134350.mp4 20170413_134438.mp4
-
That's so nice Ken x is about 18" and y 3" . I prefer a seating height of 17-18" if possible
-
Hi lenm, walkway is 12.5 inches wide AT THAT LEVEL and that level is about 20" higher than the original sole (floor)
-
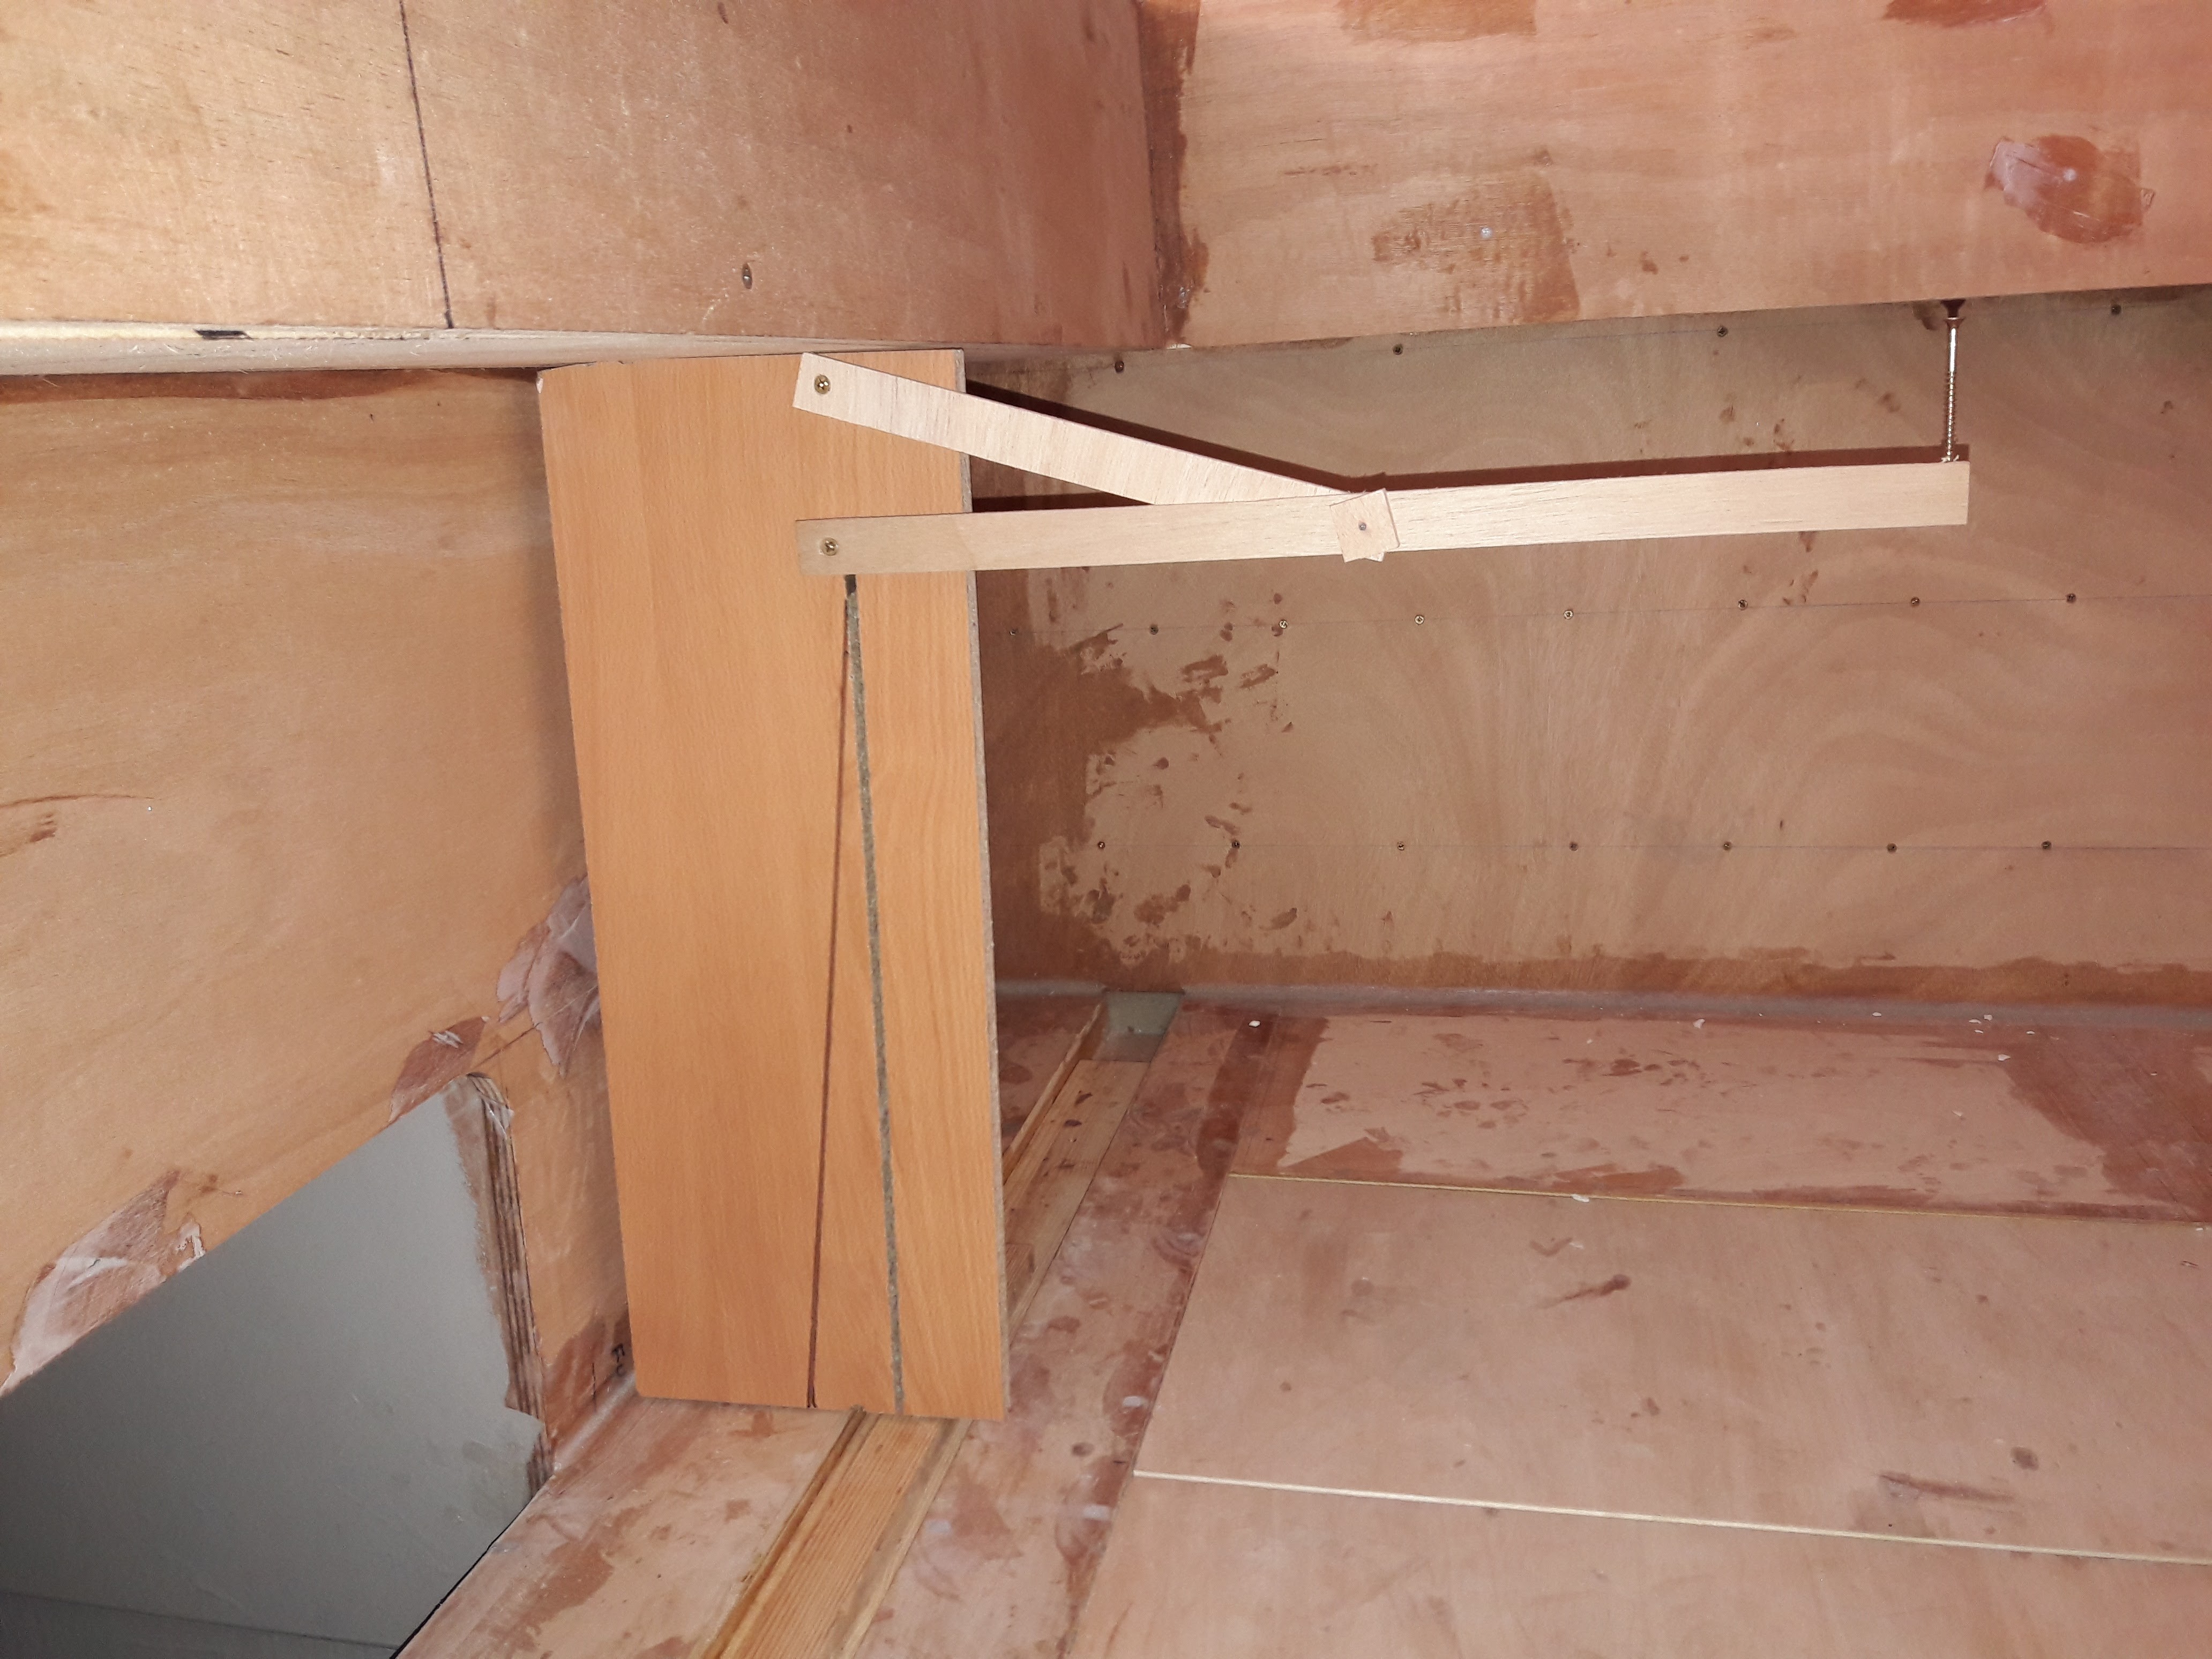
Meester I realy appreciate your input . As you sad it must have to be build very strong to support all that weight leverage , that's why I'm not so satisfied with this geometry ! I used the system you mentioned ( or very similar ) on my other boat but I don't like the fact that I have to move 3 parts to open or close the seat ! BTW, at stern there's gonna be 3 x 2' seats instead 1 of 6' , therefore there will be a pair of " hinges " per person ( or so ) I saw (google) a very similar system used in " Whaler boats " that uses pivots instead of sliding mechanism . I think it's easier and stronger to built but the problem is to have the exact measurements of this mechanism !! Tried to figure it out but no success

-
https://goo.gl/photos/QmqXFxG1MEqniQLr7
-
Is there anyone good enough in geometry out there ?? I am trying to figure out a stern folding bench that when closed down the upholstery will be facing backwards ( inside its compartment ) . I would like to have a seating height of 18" and 16" flat ( seat ) . The compartment where this closed seat will fit in is just 20" in height by 7.5" in depth . I am close to the seating height and width measurements but not yet satisfied !! The screw at the end point represents the cushion (foam) thickness


-
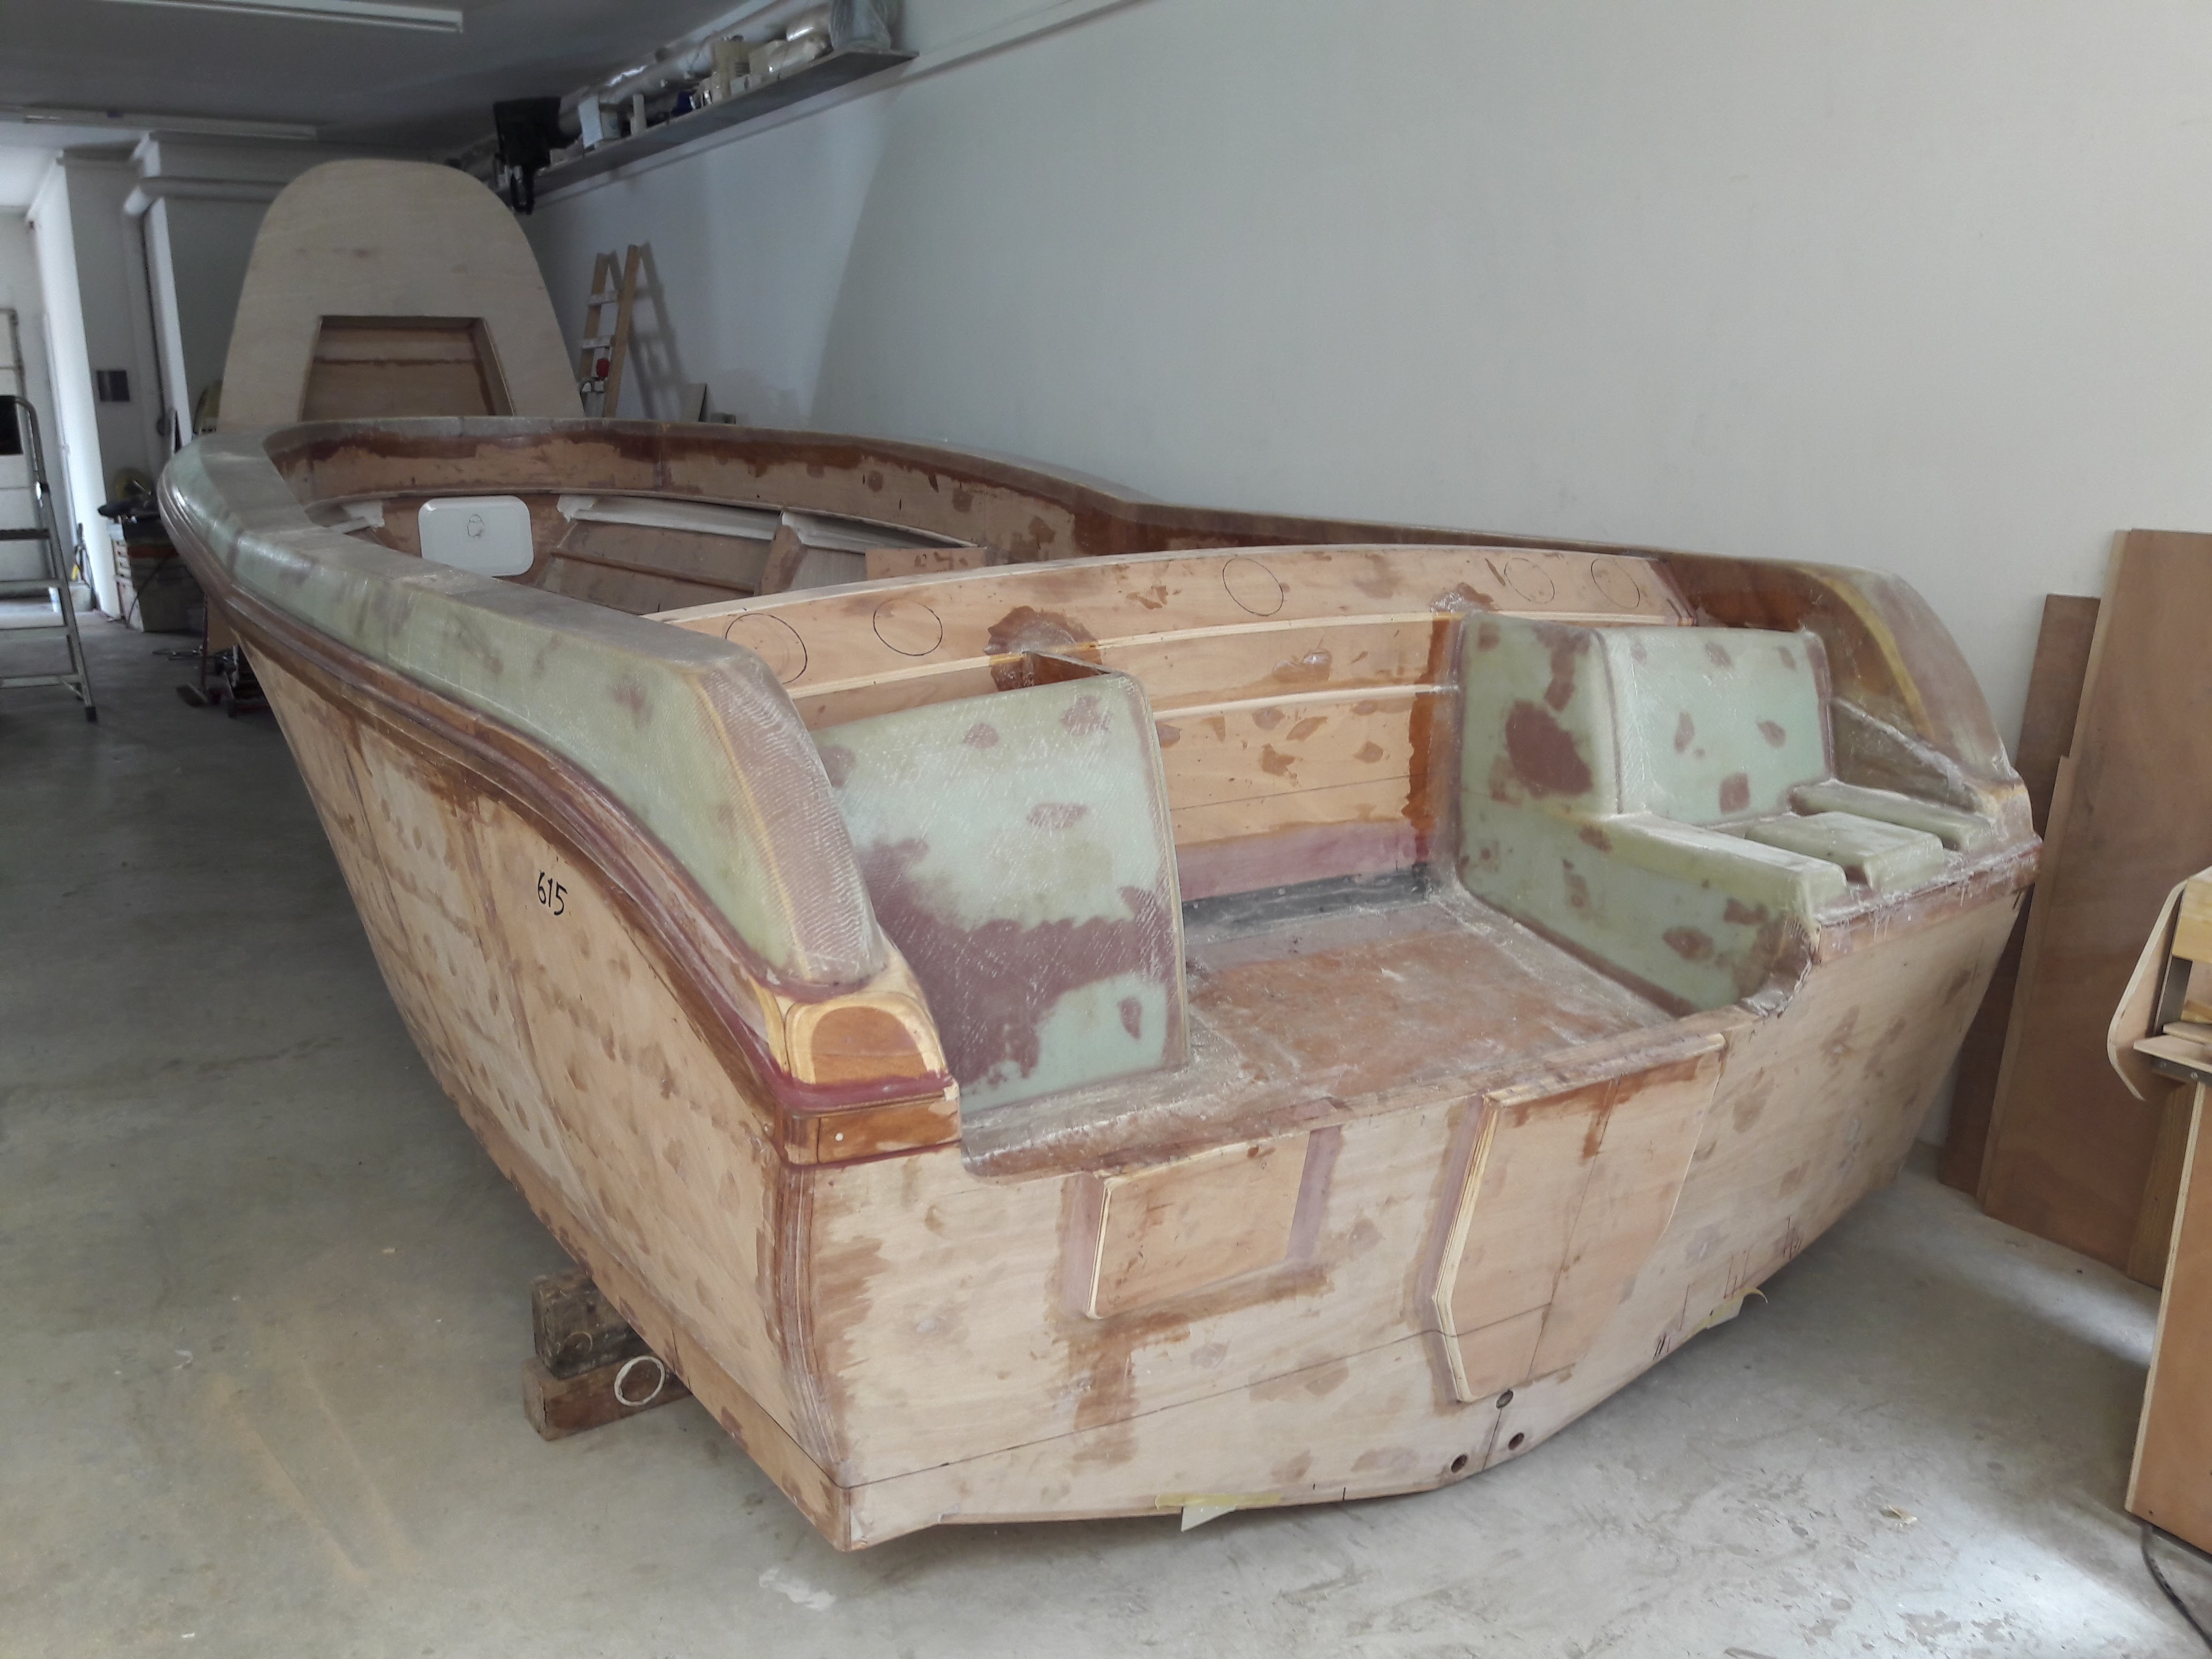
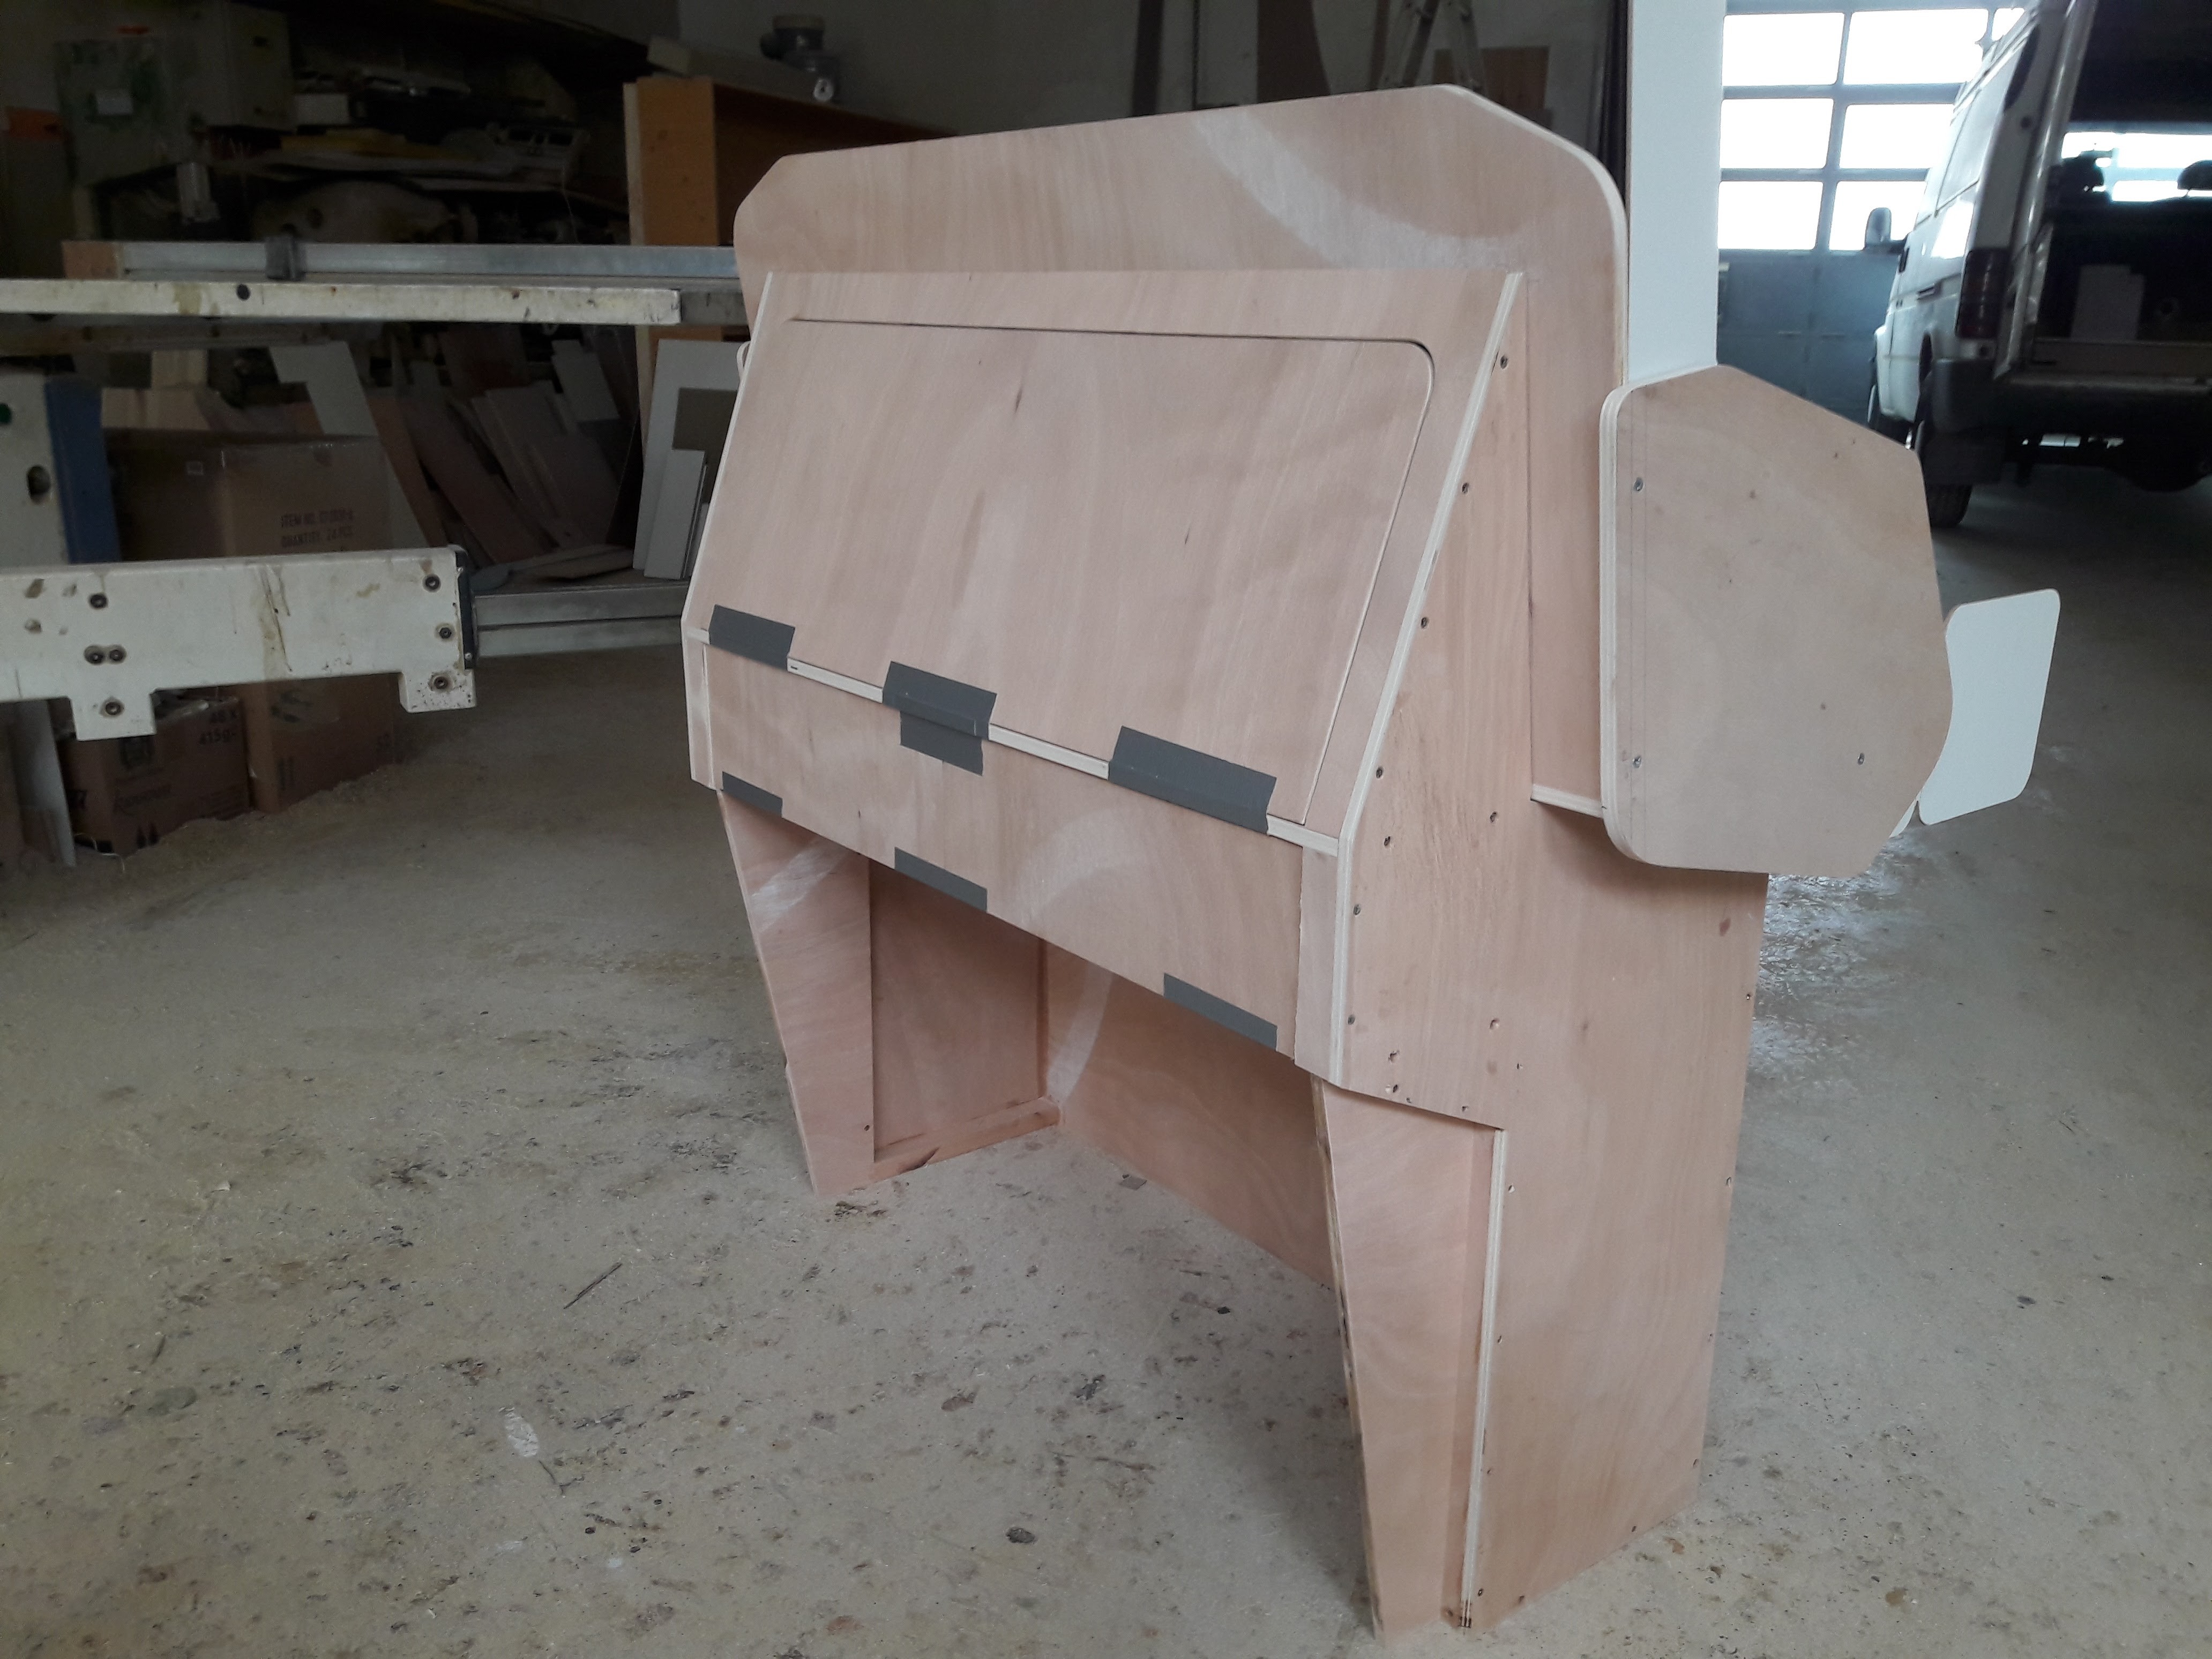
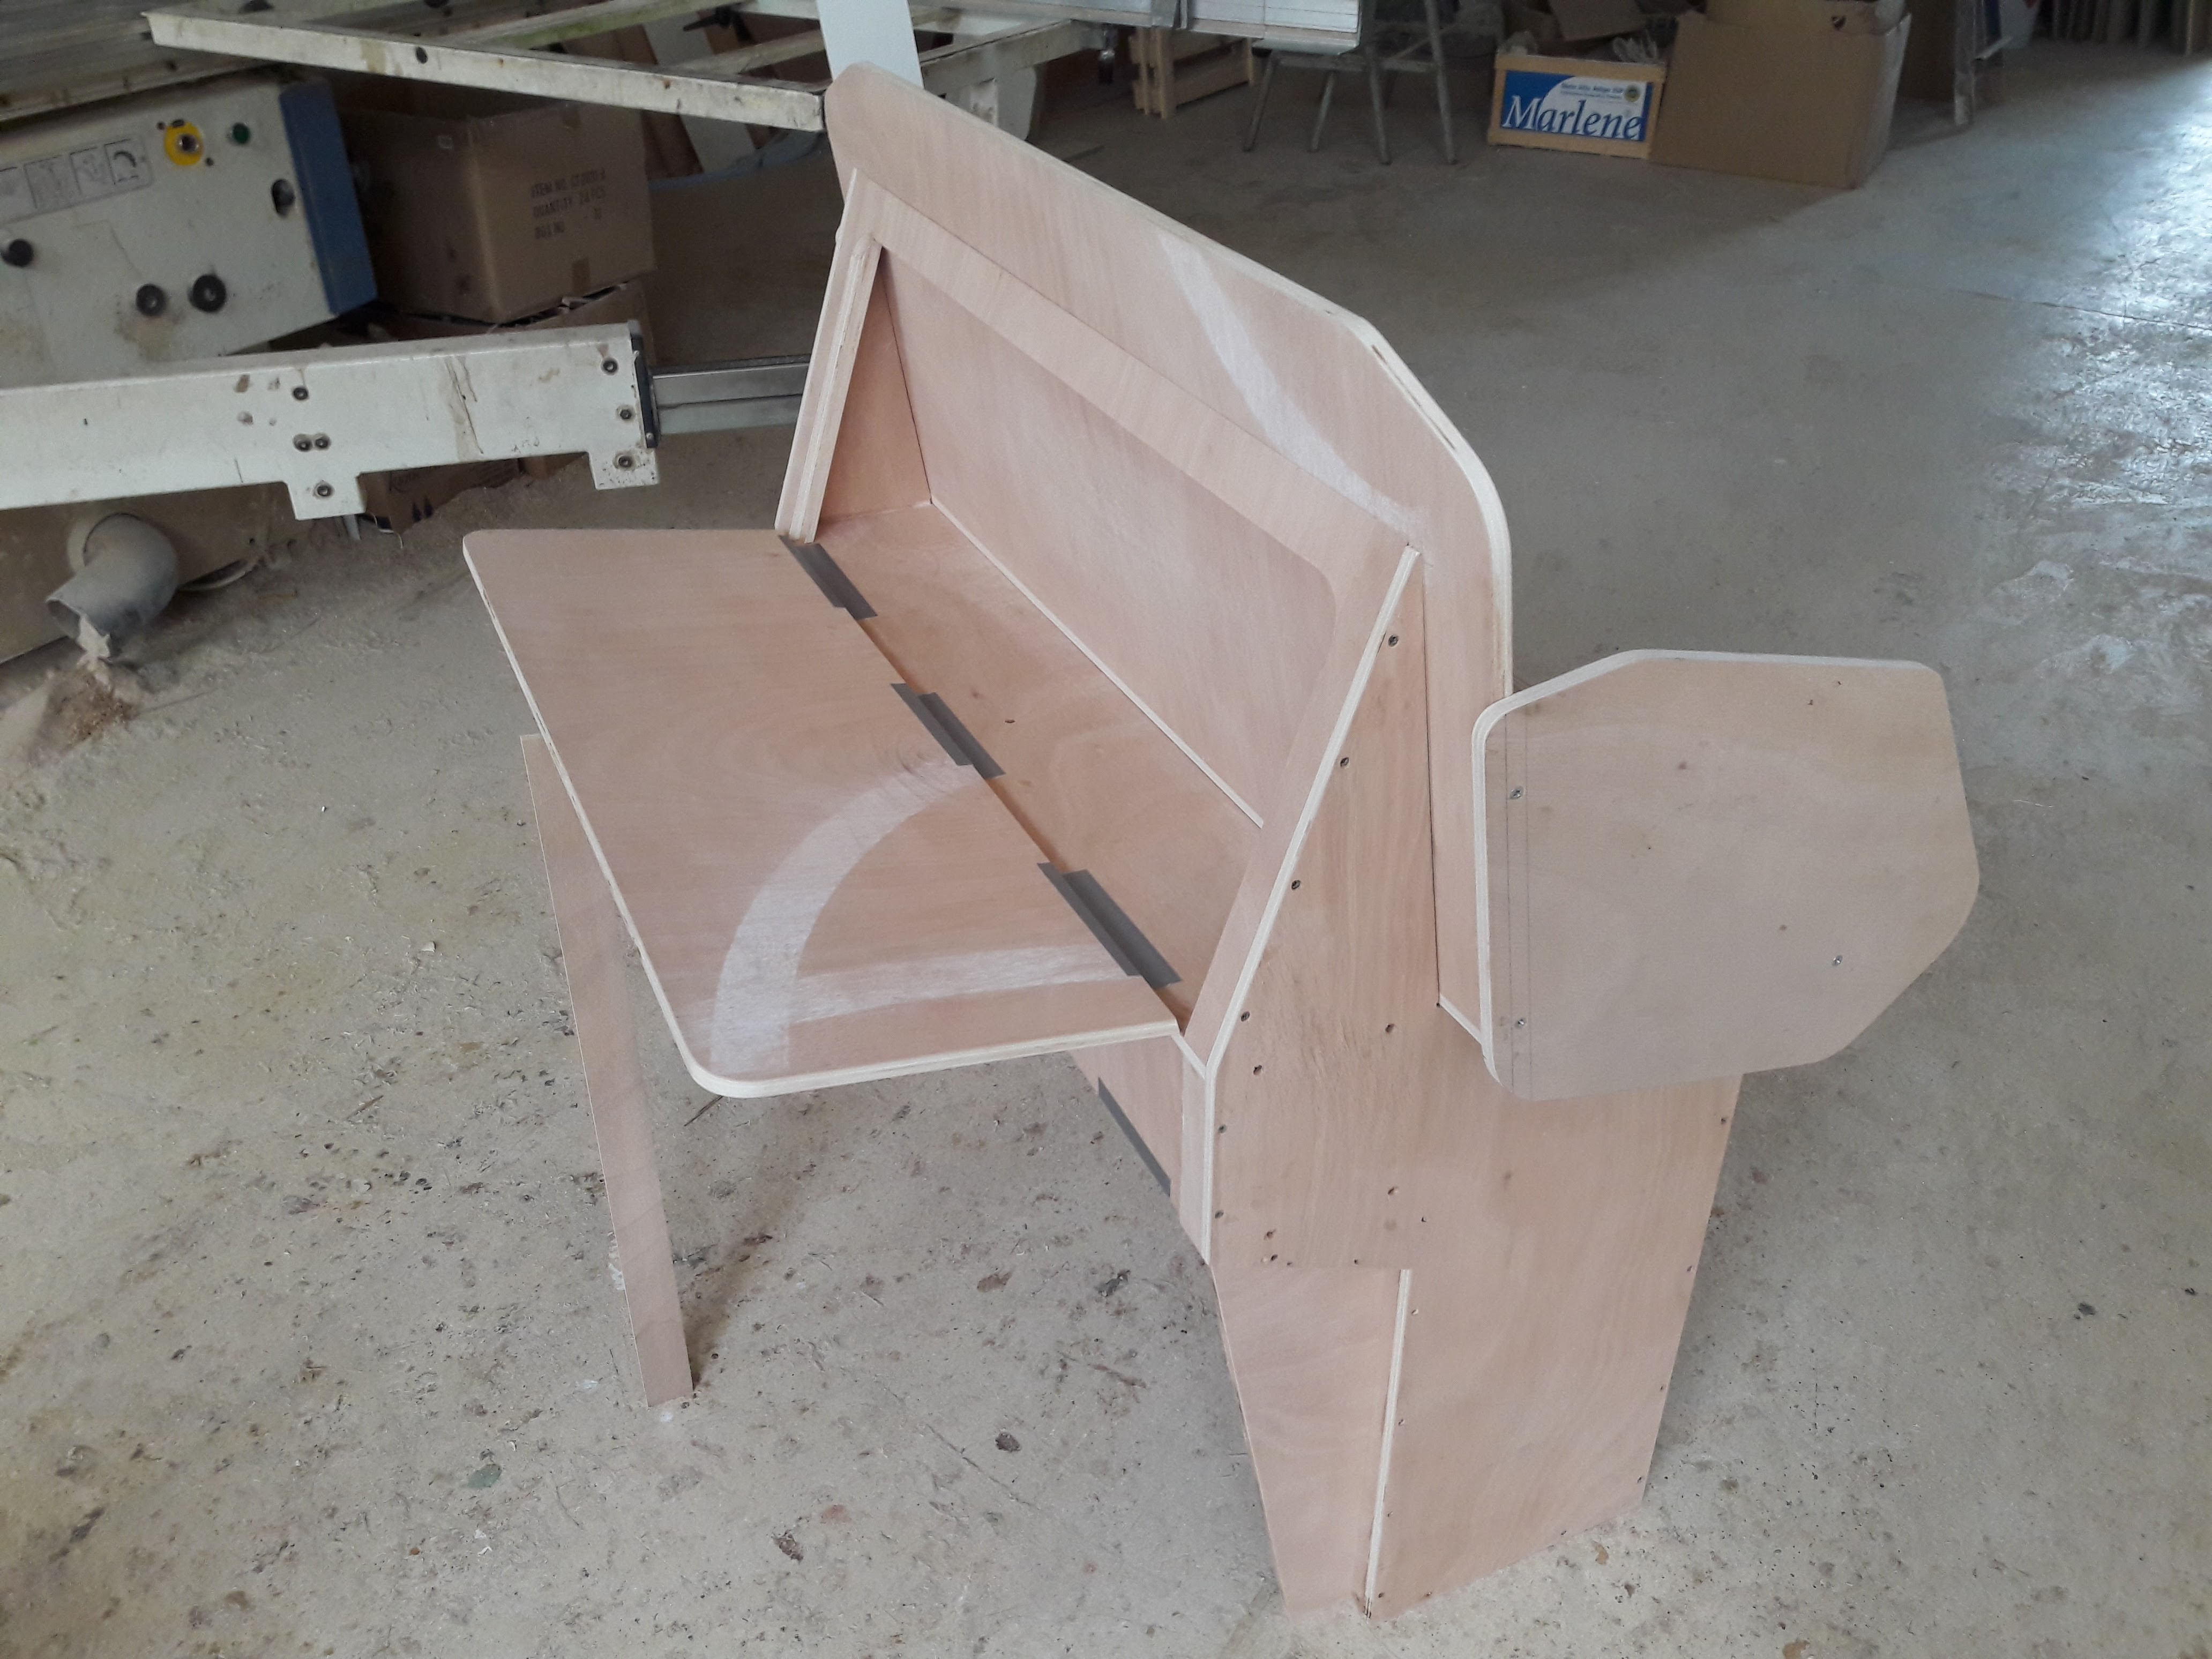
The storage seat ! That can be used as a leaning post , with folding chopping board ( or table top ) , 2 drawers and space for cooler


-
Yes lenm , the cardboards are my CAD !


-
cabin and console glued


-
It's so frustrating when that happens ! The best way I found was to twist them in stages and leave them on tension overnight , then continue twisting the next day . This was done on the 3 of them on my built . I know, this will take alto of days . I left them dry fit for an other week before gluing them together . An other option is to laminate 4 of 5/8 " instead of 3