Lotus
-
Posts
266 -
Joined
-
Last visited
-
Days Won
14
Content Type
Profiles
Forums
Events
Gallery
Everything posted by Lotus
-
Some little progress !

-
And she's in mini skirt ?

-
A A plastic or pvc angle will work just the same , or even better because it is easier to trim . I removed the strakes from the mold and tacked them to the hull at about 24hr later. At that time the epoxy fill is still very flexible to bent , and at front there is some bent to do. So they cured and hardened following the bent of the boat . After another 24 hr. I removed the screws , glued them with thickened epoxey and re screwed the screws in there original holes . This was a very straightforward job ! Hope this will help ?
-
Thanks smccormick, was too busy with other projects , and the weather was not favorable too !
-
Riggs, I used a very simple method to build the lifting strakes. It is detailed in my OC20 tread at pg.6 BTW nice work on your OC20b
-
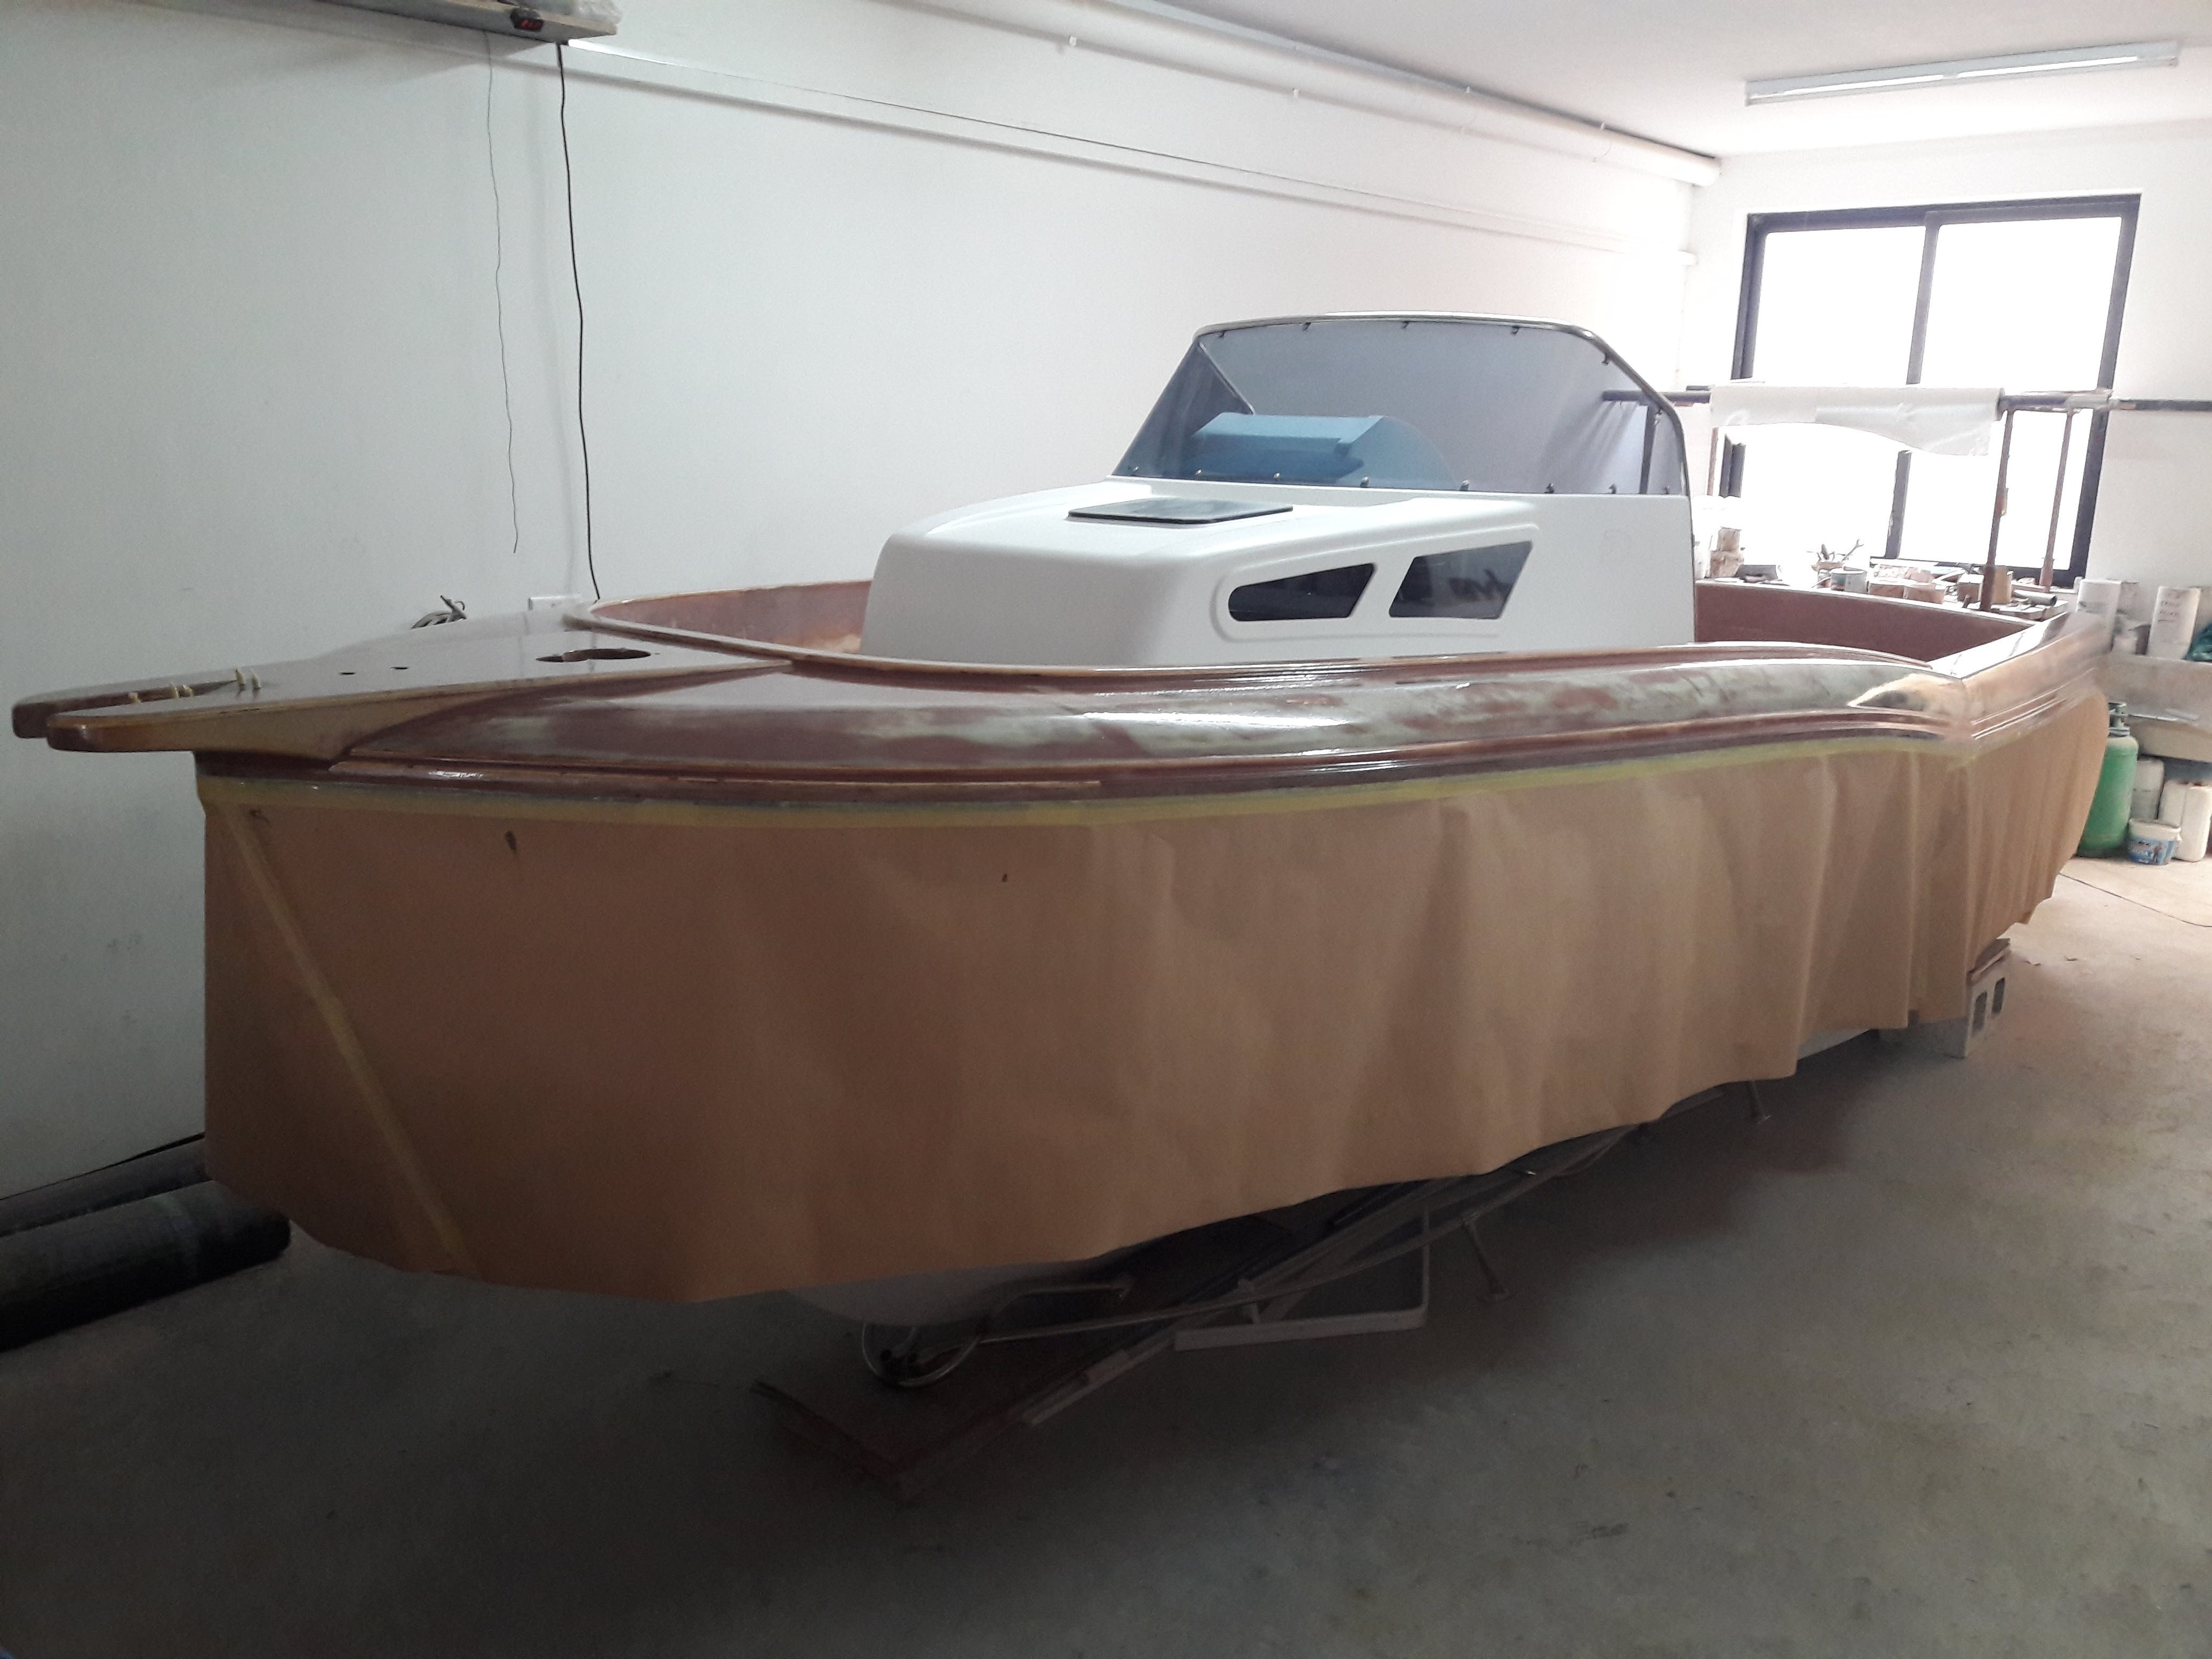
Time for some filling and sanding , after a 5 month break !!

-
Very nice setup ! You're gona love those 60 horses !!
-
Woww !! Good luck Riggs ! You're following my steps
-
Fast nice work !! With the weight of that 60 hp I will highly recommend installing a set of smart tabs On my marissa (with suzuki 60 )I put the console 1.5 foot forward ( that should have helped ) and still needed those tabs . The smart tabs made a huge difference and only than I can say that the boat is perfectly balanced

-
Thanks Iasal for your thoughts, all noted . Will tackle this detail when the console is fully equipped with steering and instruments because this will have a totally different look than. Time for some pipe work . Bow railing almost ready, next will be some hand grip railing at stern .


-
Looks like the sliding door is too plain ! Any ideas ? Still need to do some trimmings around the acrylic door to even the gap


-
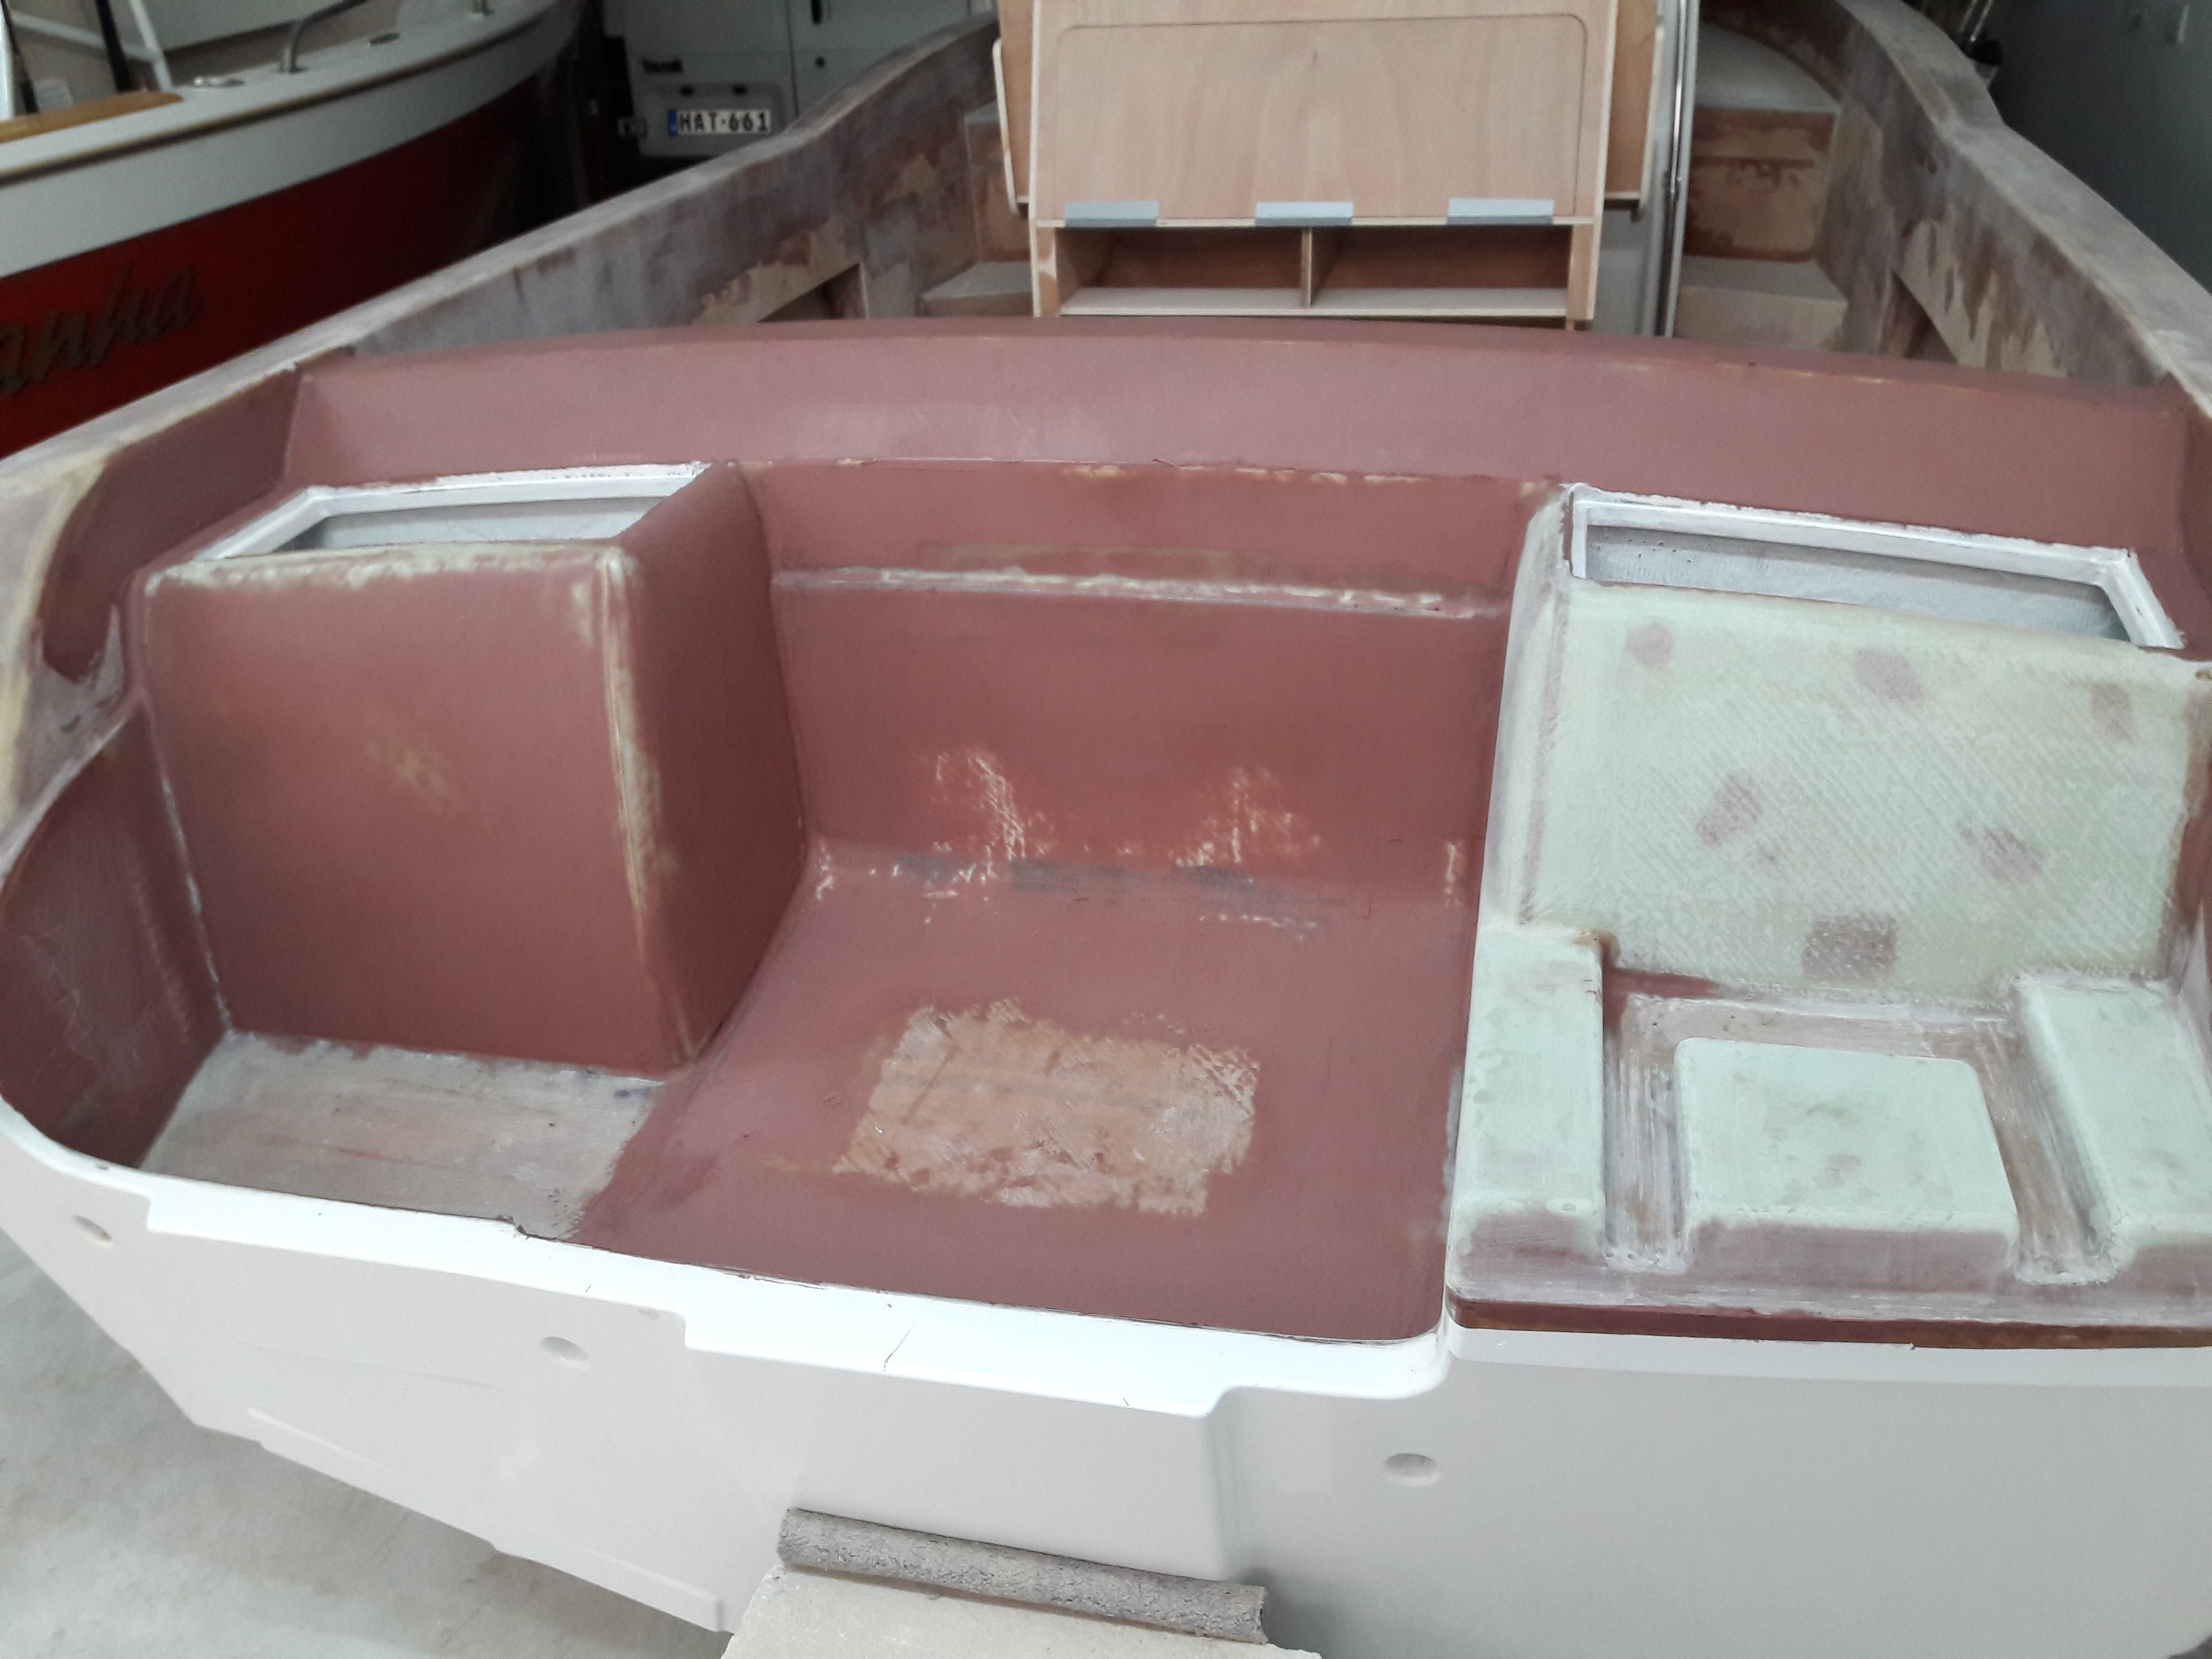
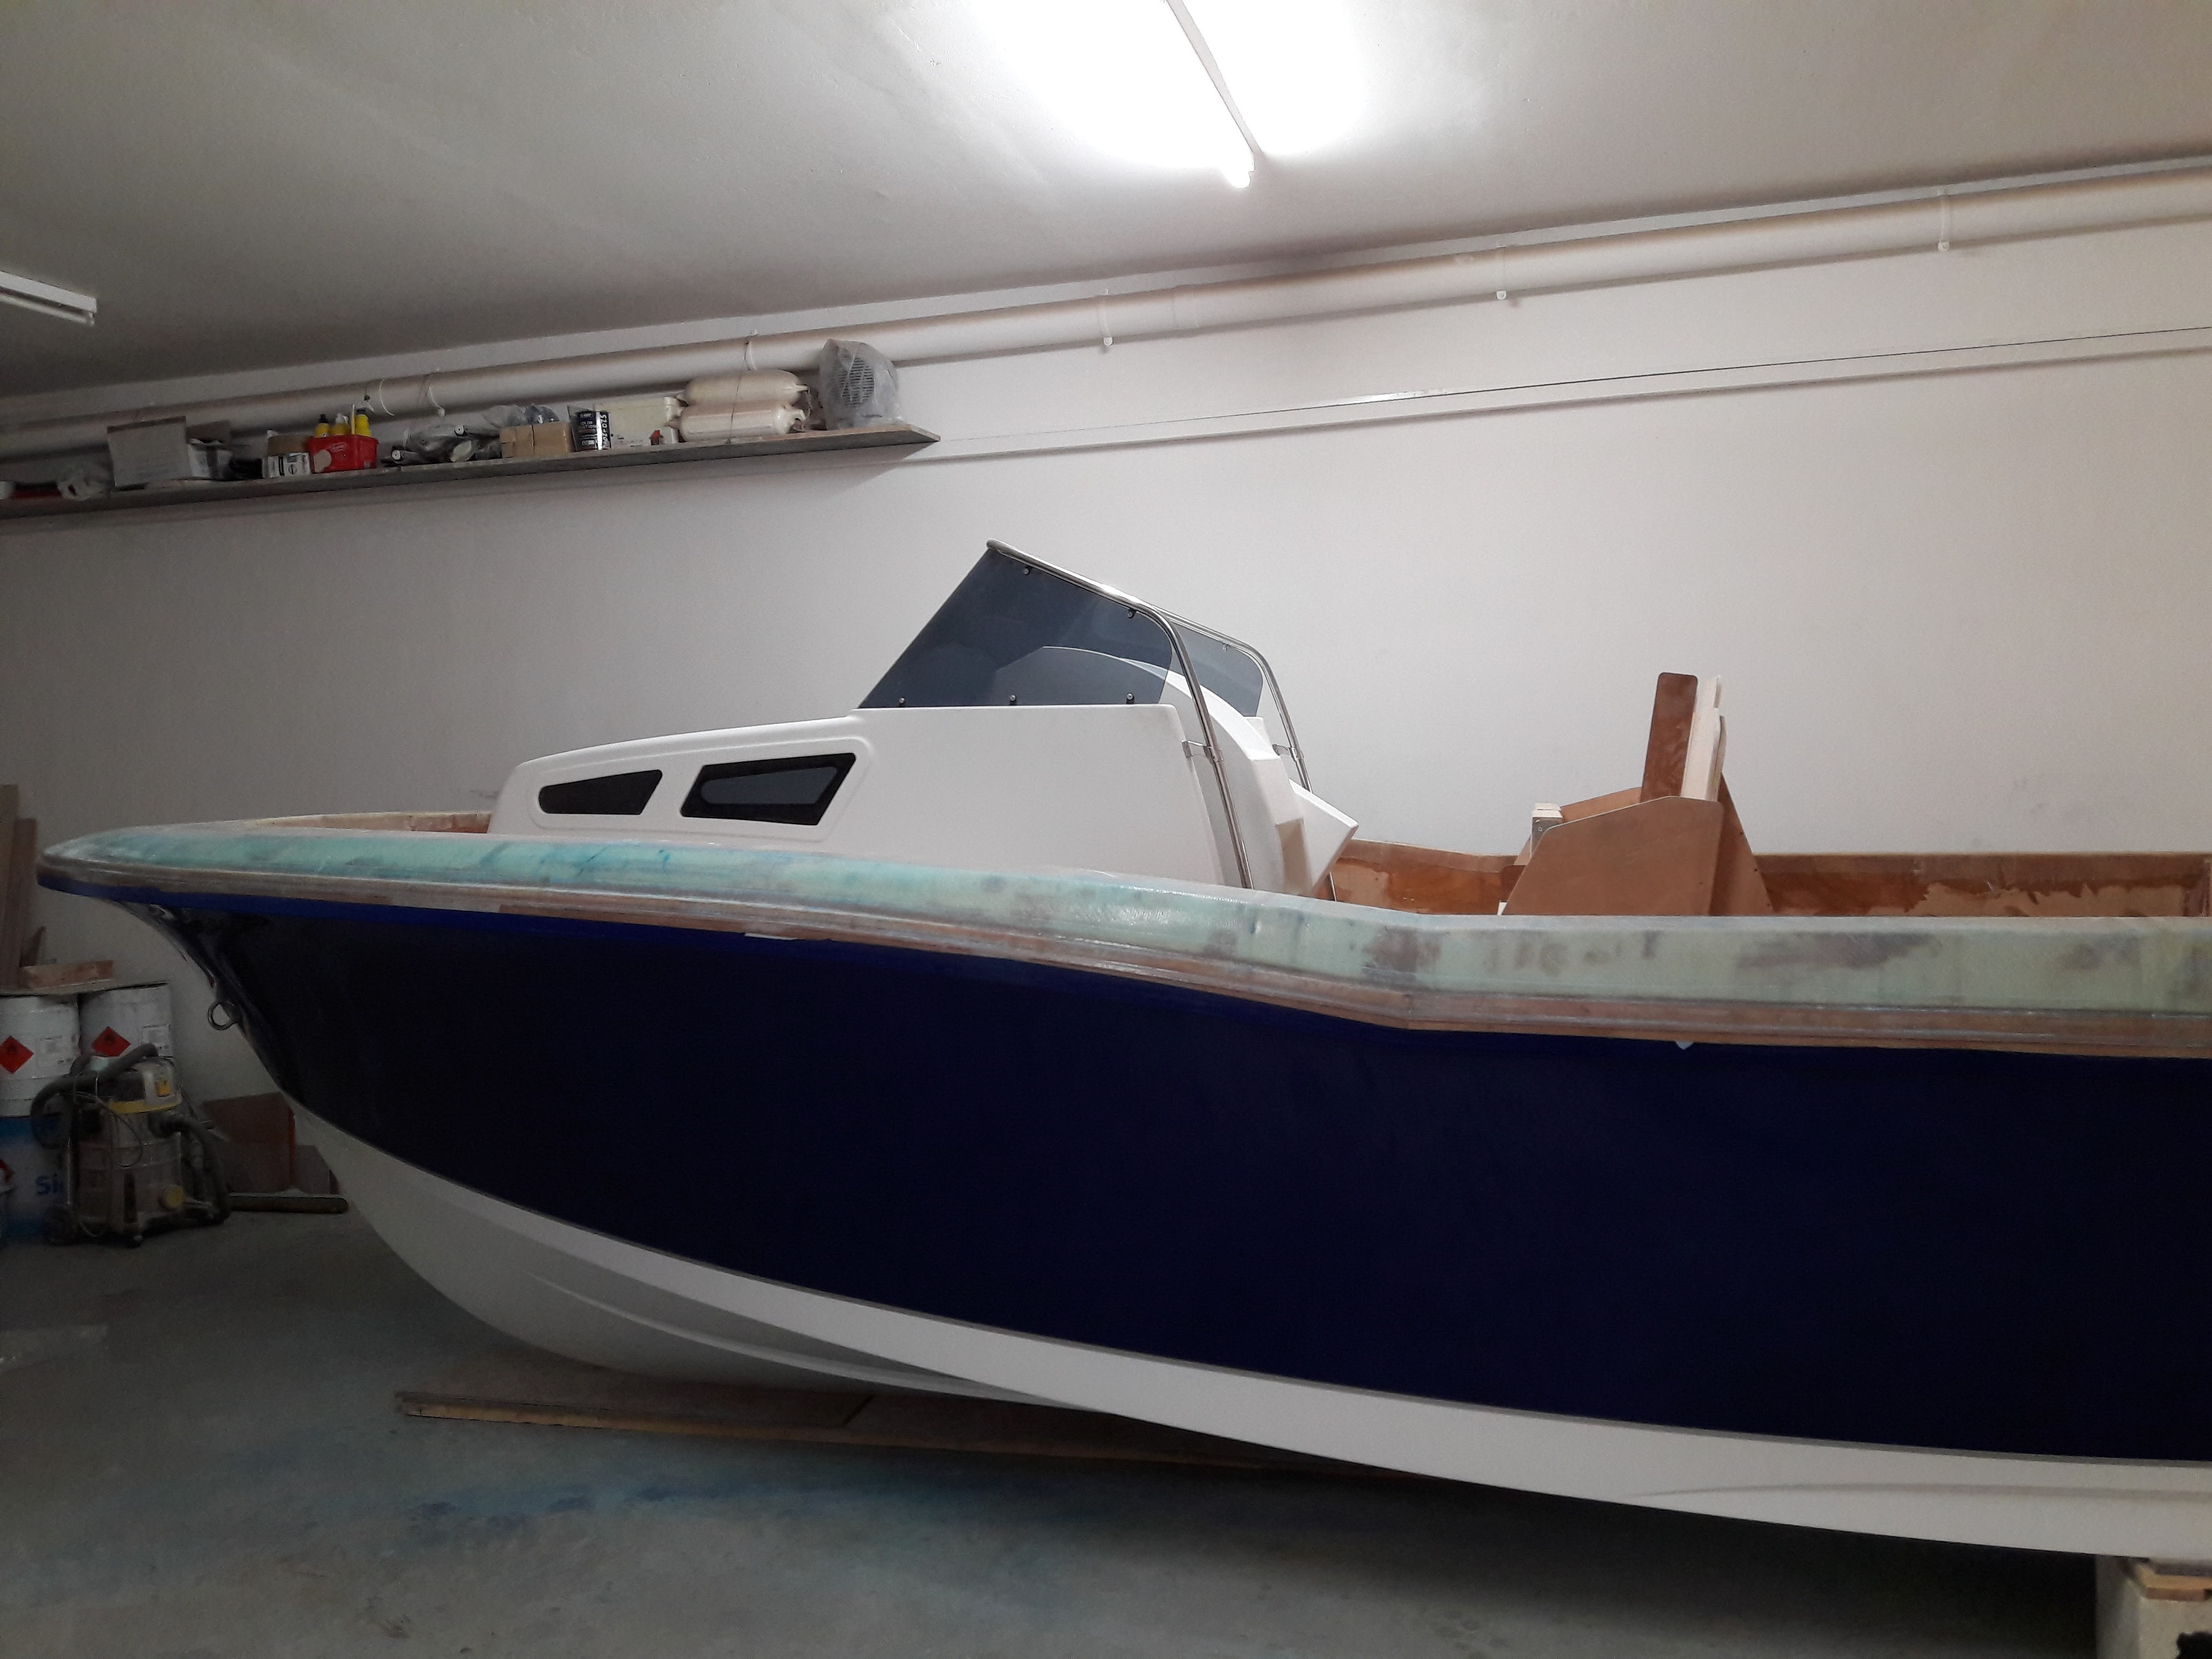
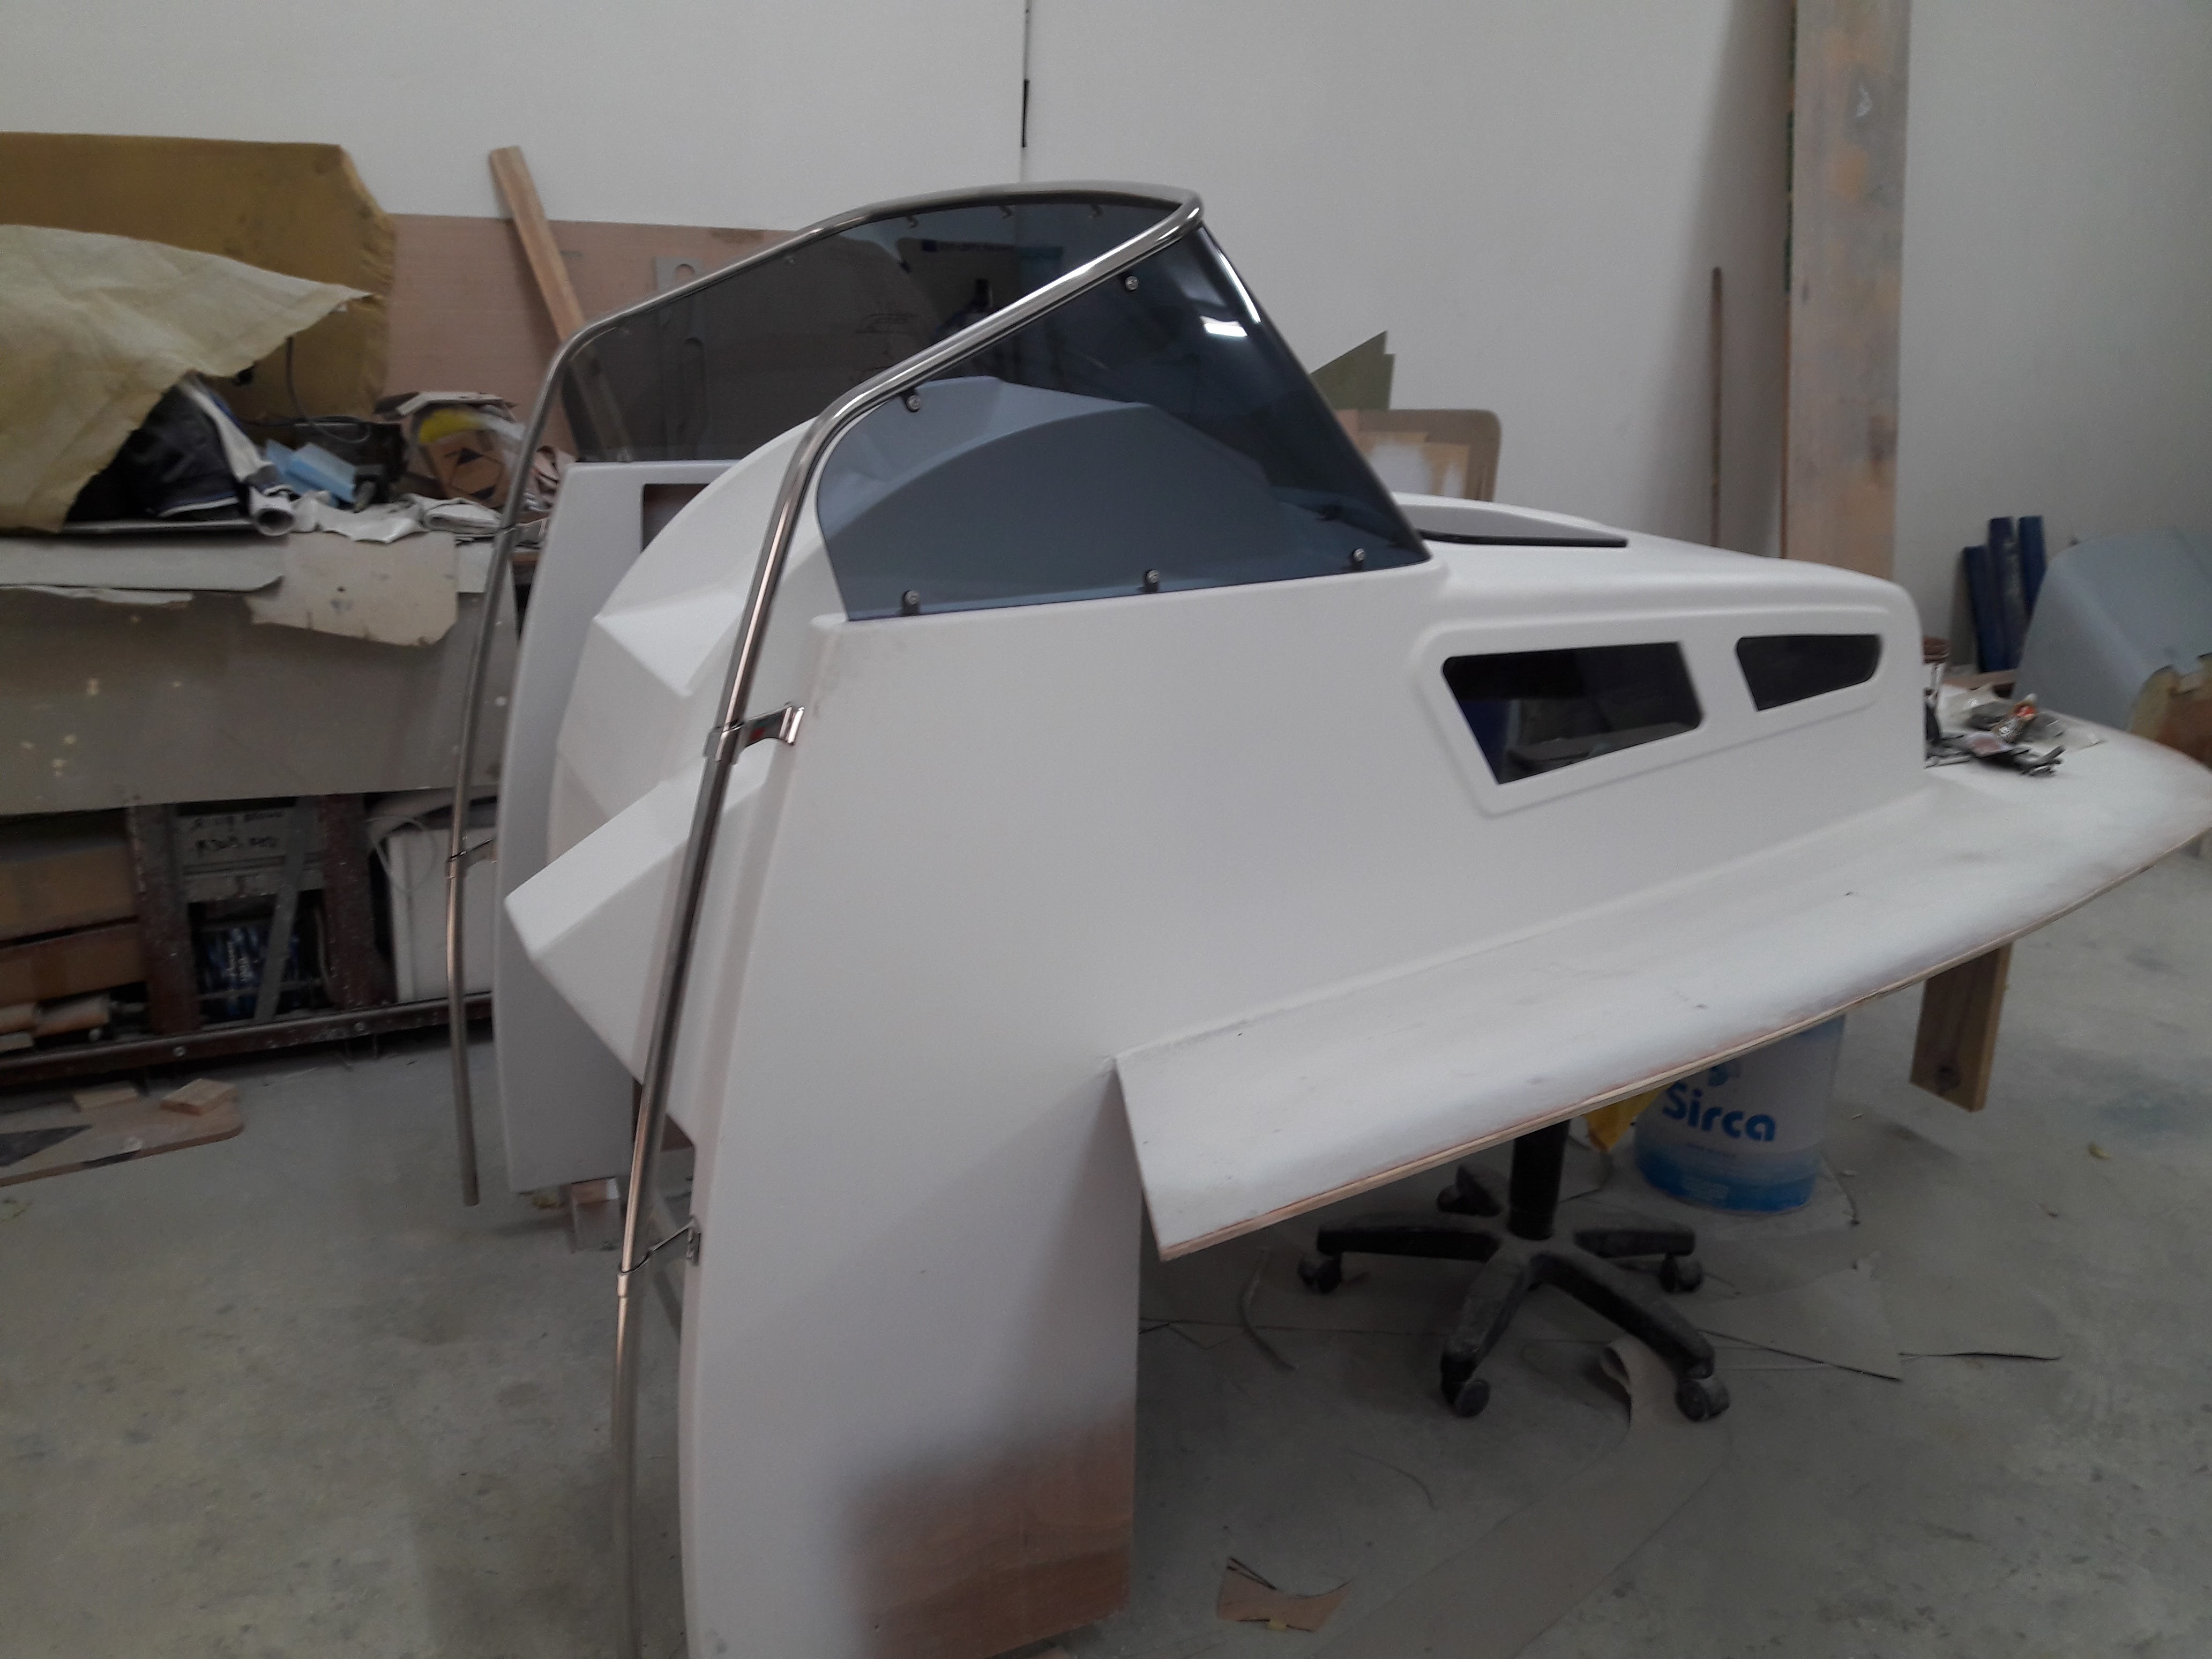
Helm platform ready, and cabin glued in place . Raised by 3 1/2 inches. Don't know what's next


-
Adding buoyancy under the platform is a much better option but more complicated as you may have to relocate the trim tabs and other ports . Or maybe change the angle of the bottom of that flotation tank and become almost parallel to the bottom. This will eliminate the need of raising up the motors. On the other hand, I dont know what type of anchorage system you use over there , but if you change the anchor rope to chain , that will add some ( usable ) weight at the bow .
.JPG.f9bfcd84319aa2581631955ddda31126.JPG)
-
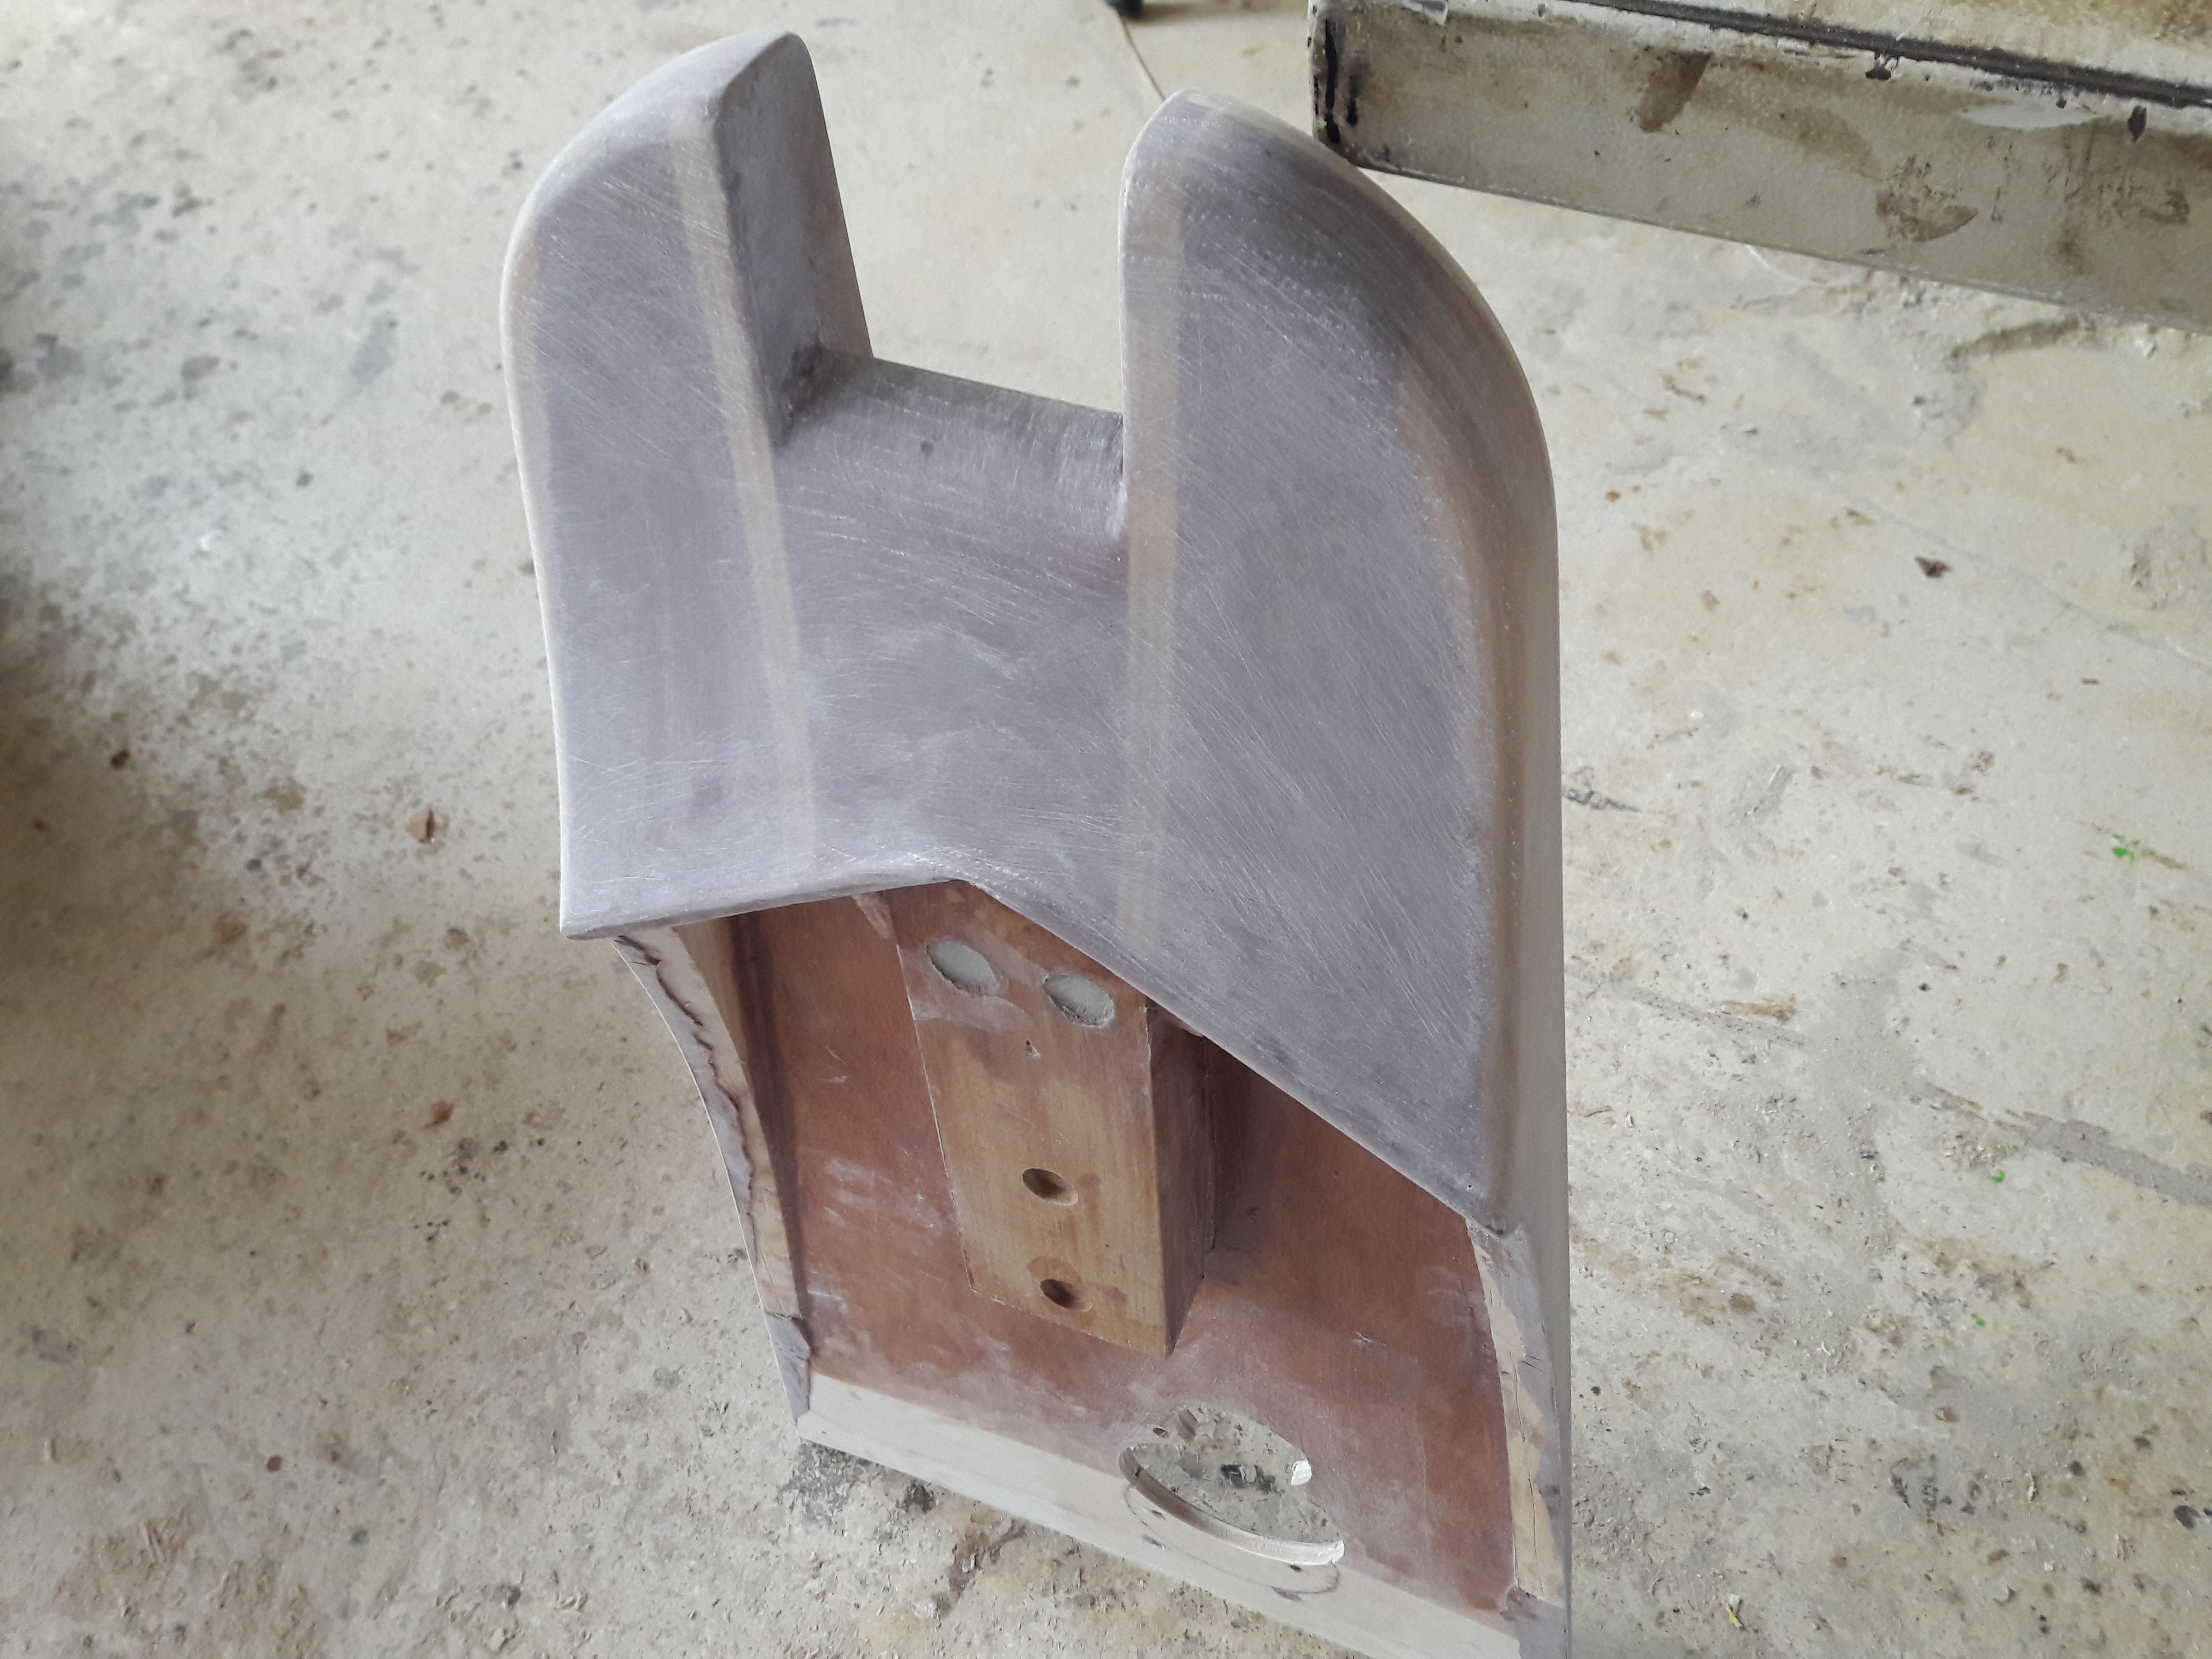
Extension almost done !


-
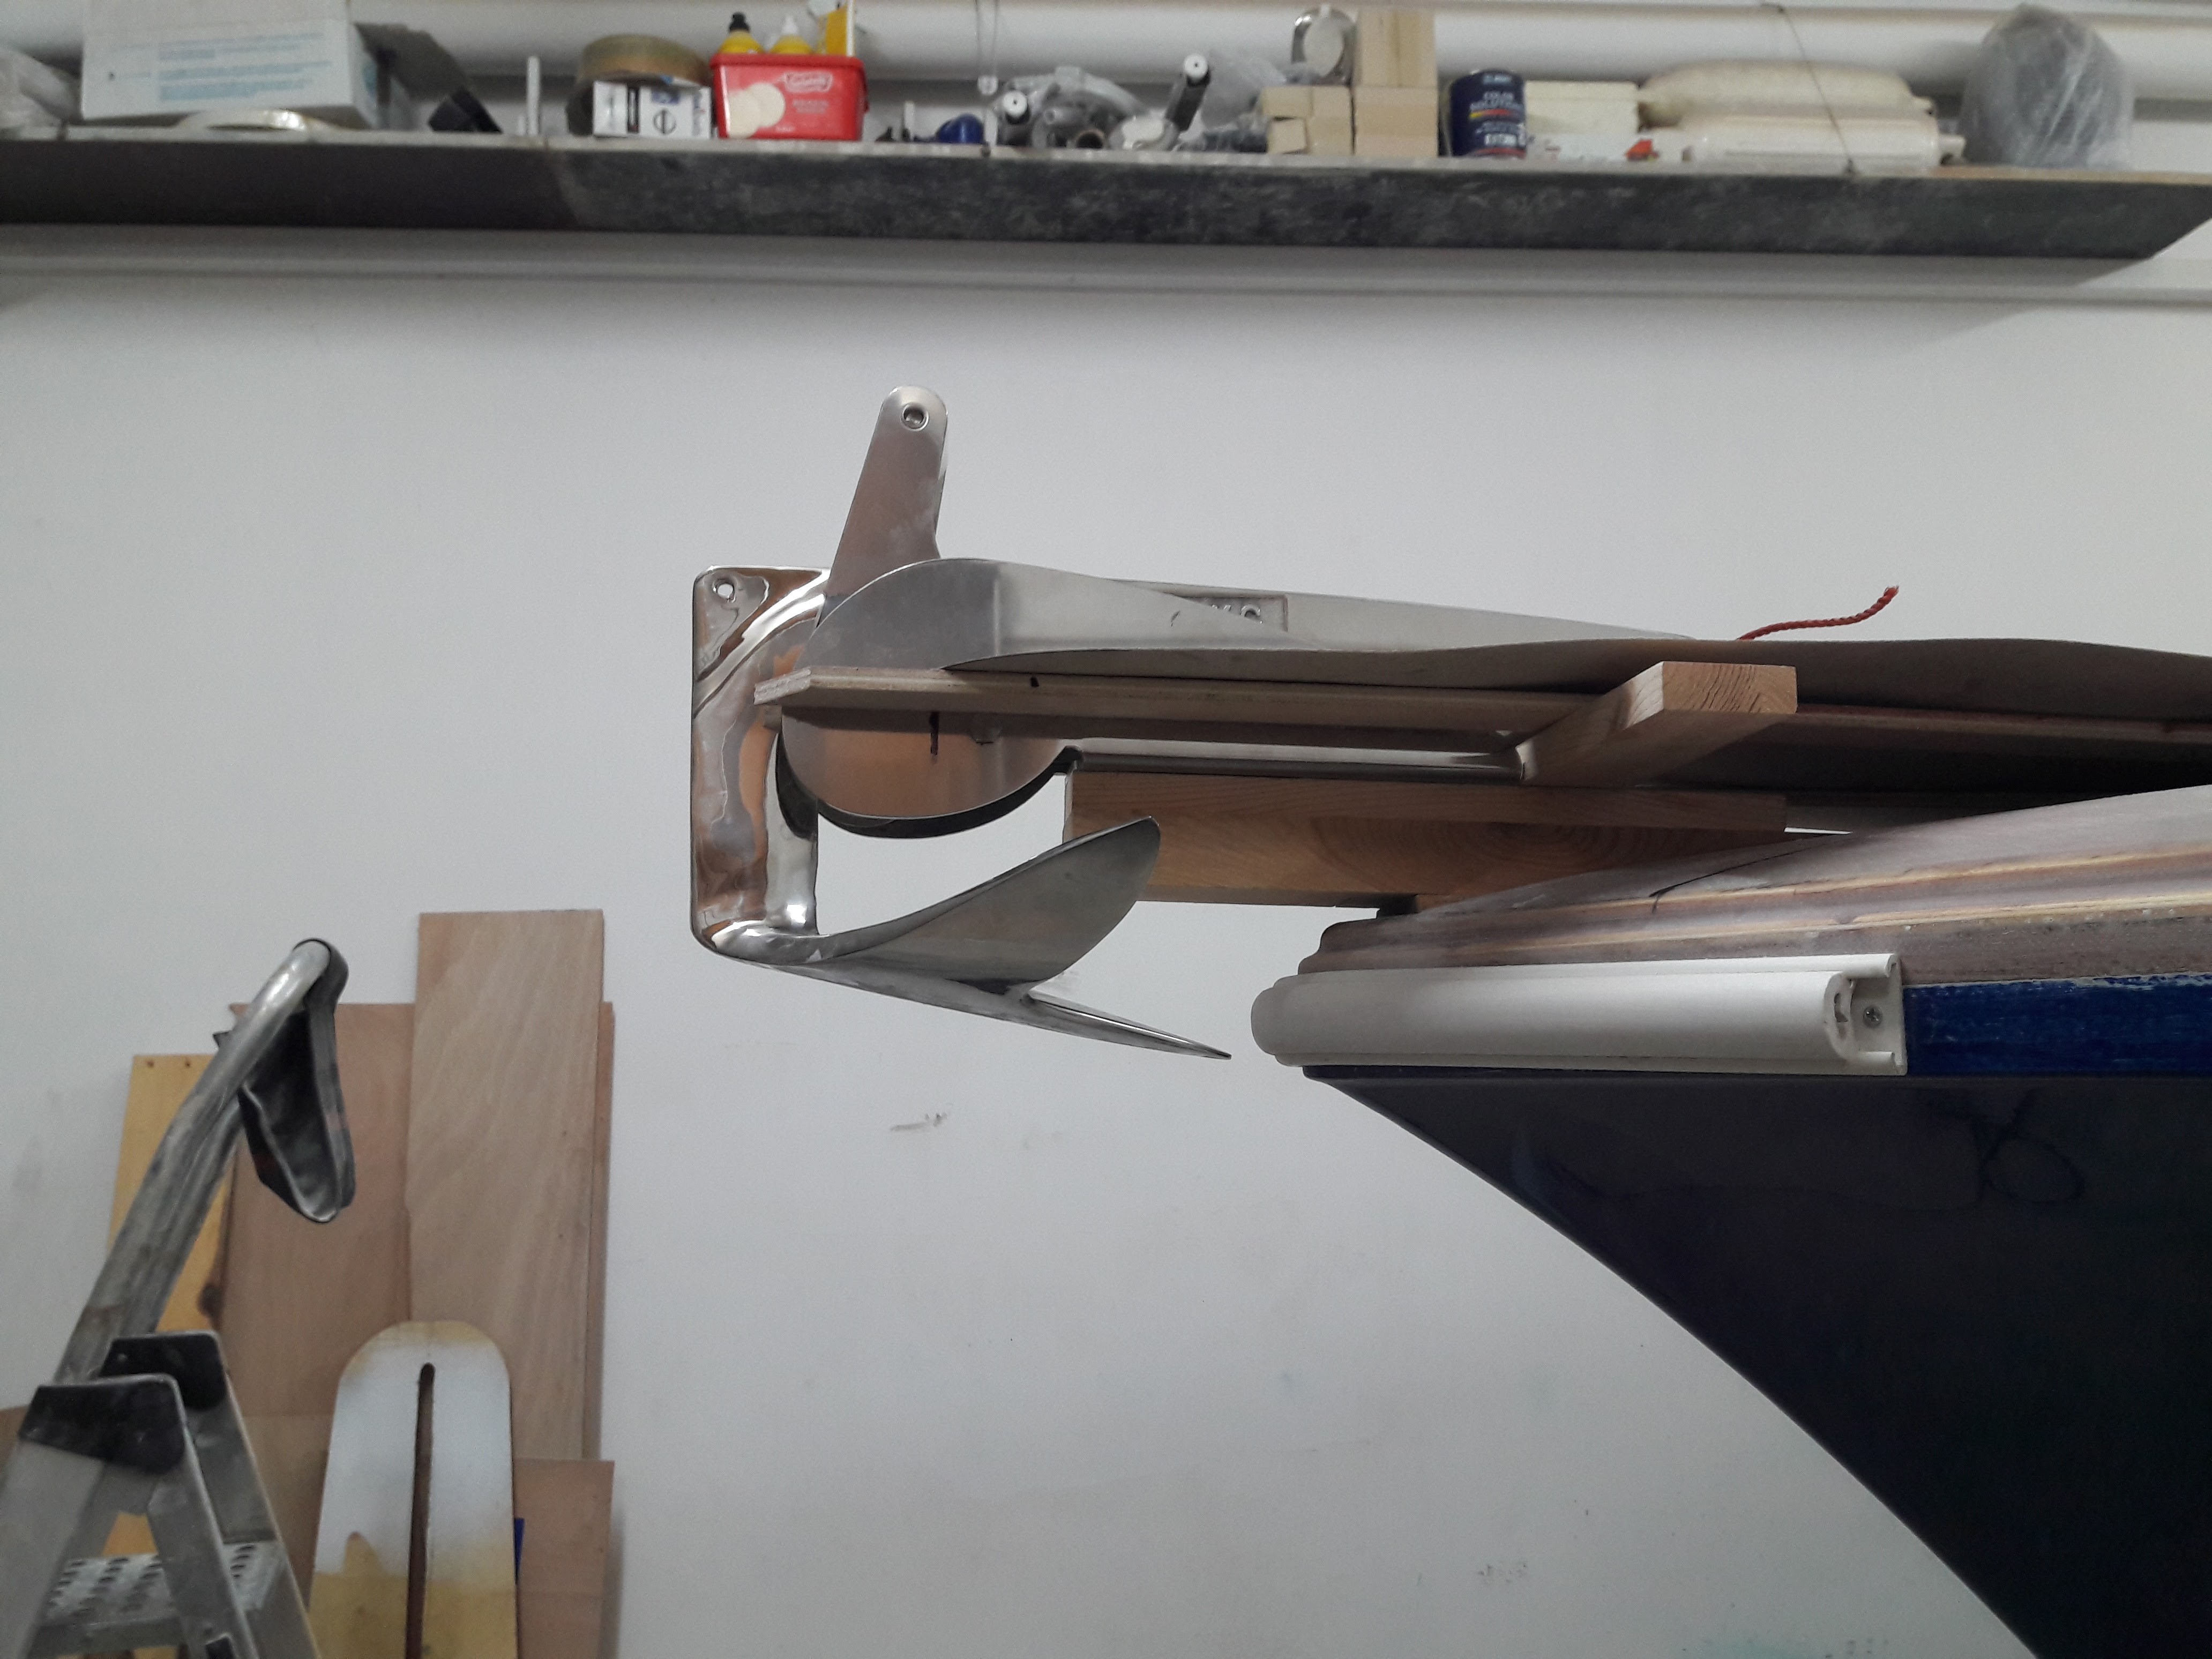
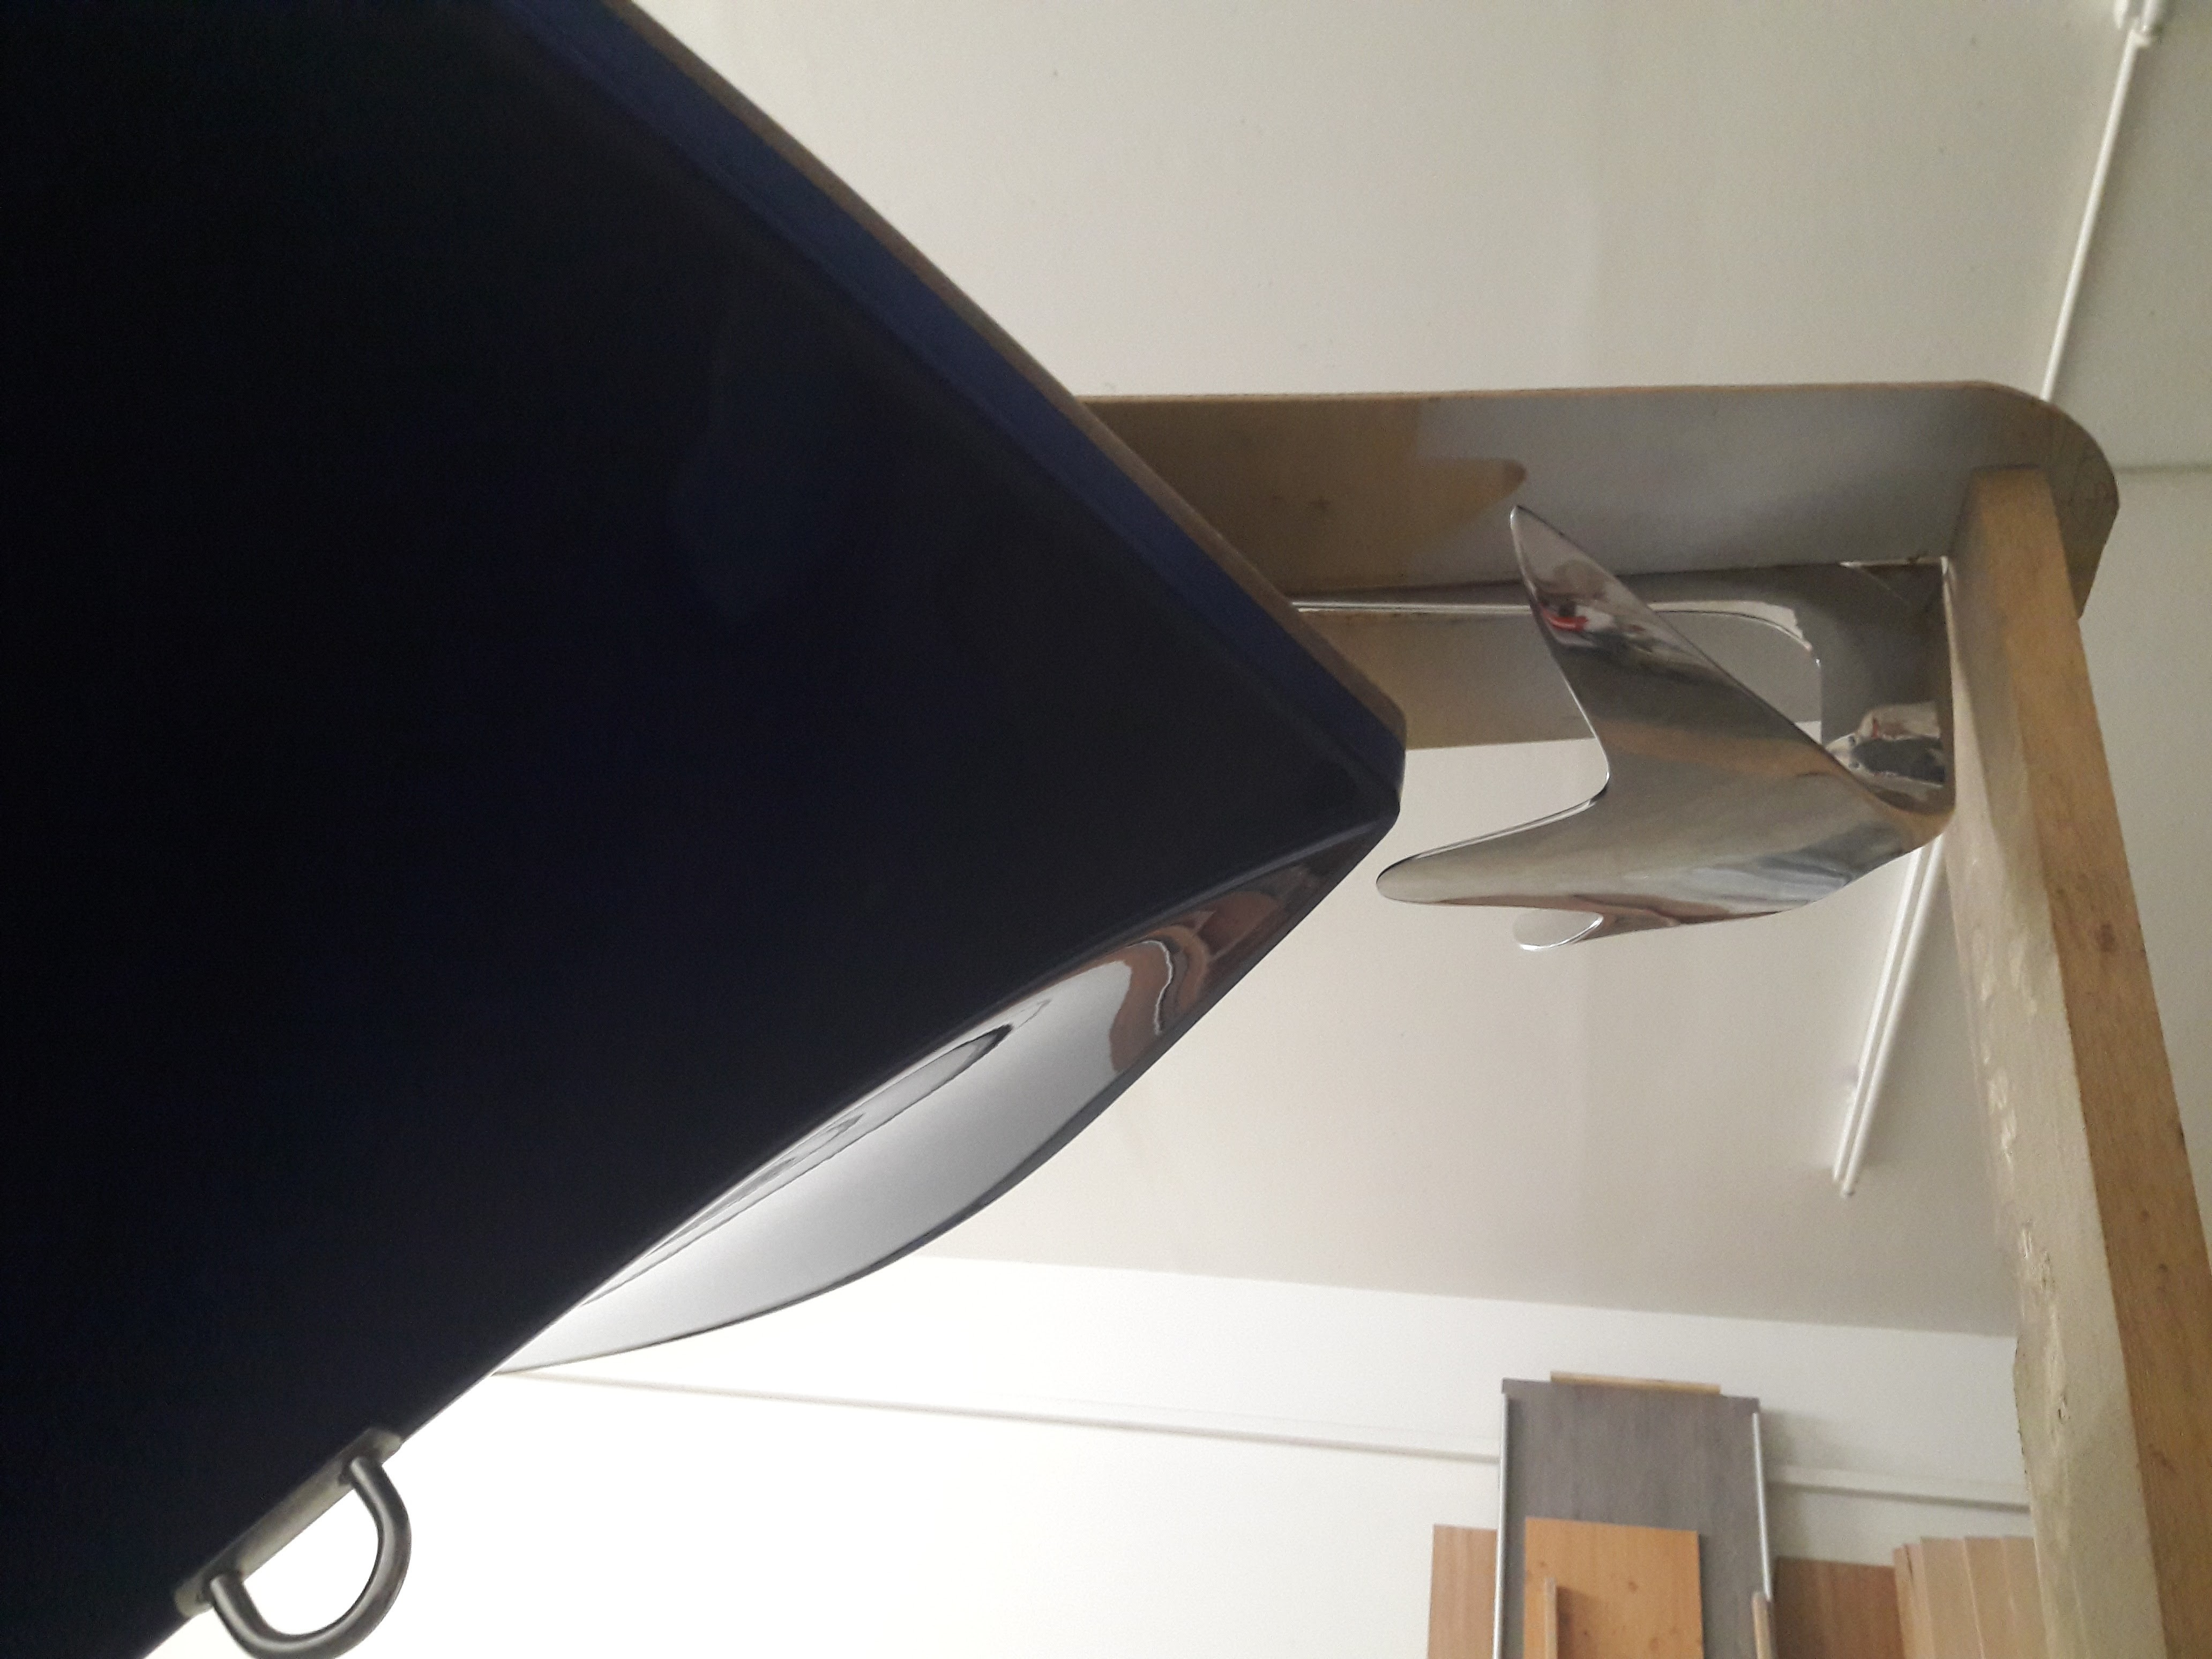
I am going to modify the roller stopper ( the small nylon upper roller )to solve that problem and also the anchor roller base will be fitted slightly facing downwards so that the anchor will sit more horizontally . Also if that small nylon roller ( stopper) be replaced with a solid nylon v block , this will hold the anchor from shaking from side to side


-
I can do that just on the 2 outer bolts which are located on the extension but the other 3 inner wholes are on the bow that is already sprayed and polished


-
Any idea of how to clamp an anchor roller where right trough bolts cannot be used ? I was thinking of drilling a hole , put a stainless steel stud in and fill the surrounding with epoxy . Is that enough ? I can put 5 studs in the anchor roller I'm using.


-
Yes you'r right . I am dropping the idea of a pulpit . Think a short extension will do it all. The extension also insures that the anchor will not hit the boat when retrieved. The sheer frame is almost done and gave the boat a different look


-
Thanks guys for your help . It really makes a difference ! I kept lifting the cabin inch by inch up to 6 inches . It looked best at 4 " . As par sad the point on witch you look at it from makes a huge difference . But before I glue in the cabin I have to decide about an other thing because this may change again the look of the cabin ! I was thinking of putting an anchor pulpit . This will be plywood constructed that bland in to the deck , probably adding some sort of frame around the inside of the sheet ( may be 3/4 height by 2" width and edges rounded on both sides. ) This frame is marked in black marker in one of the photos. Any positive or negative ideas about this setup ??


-
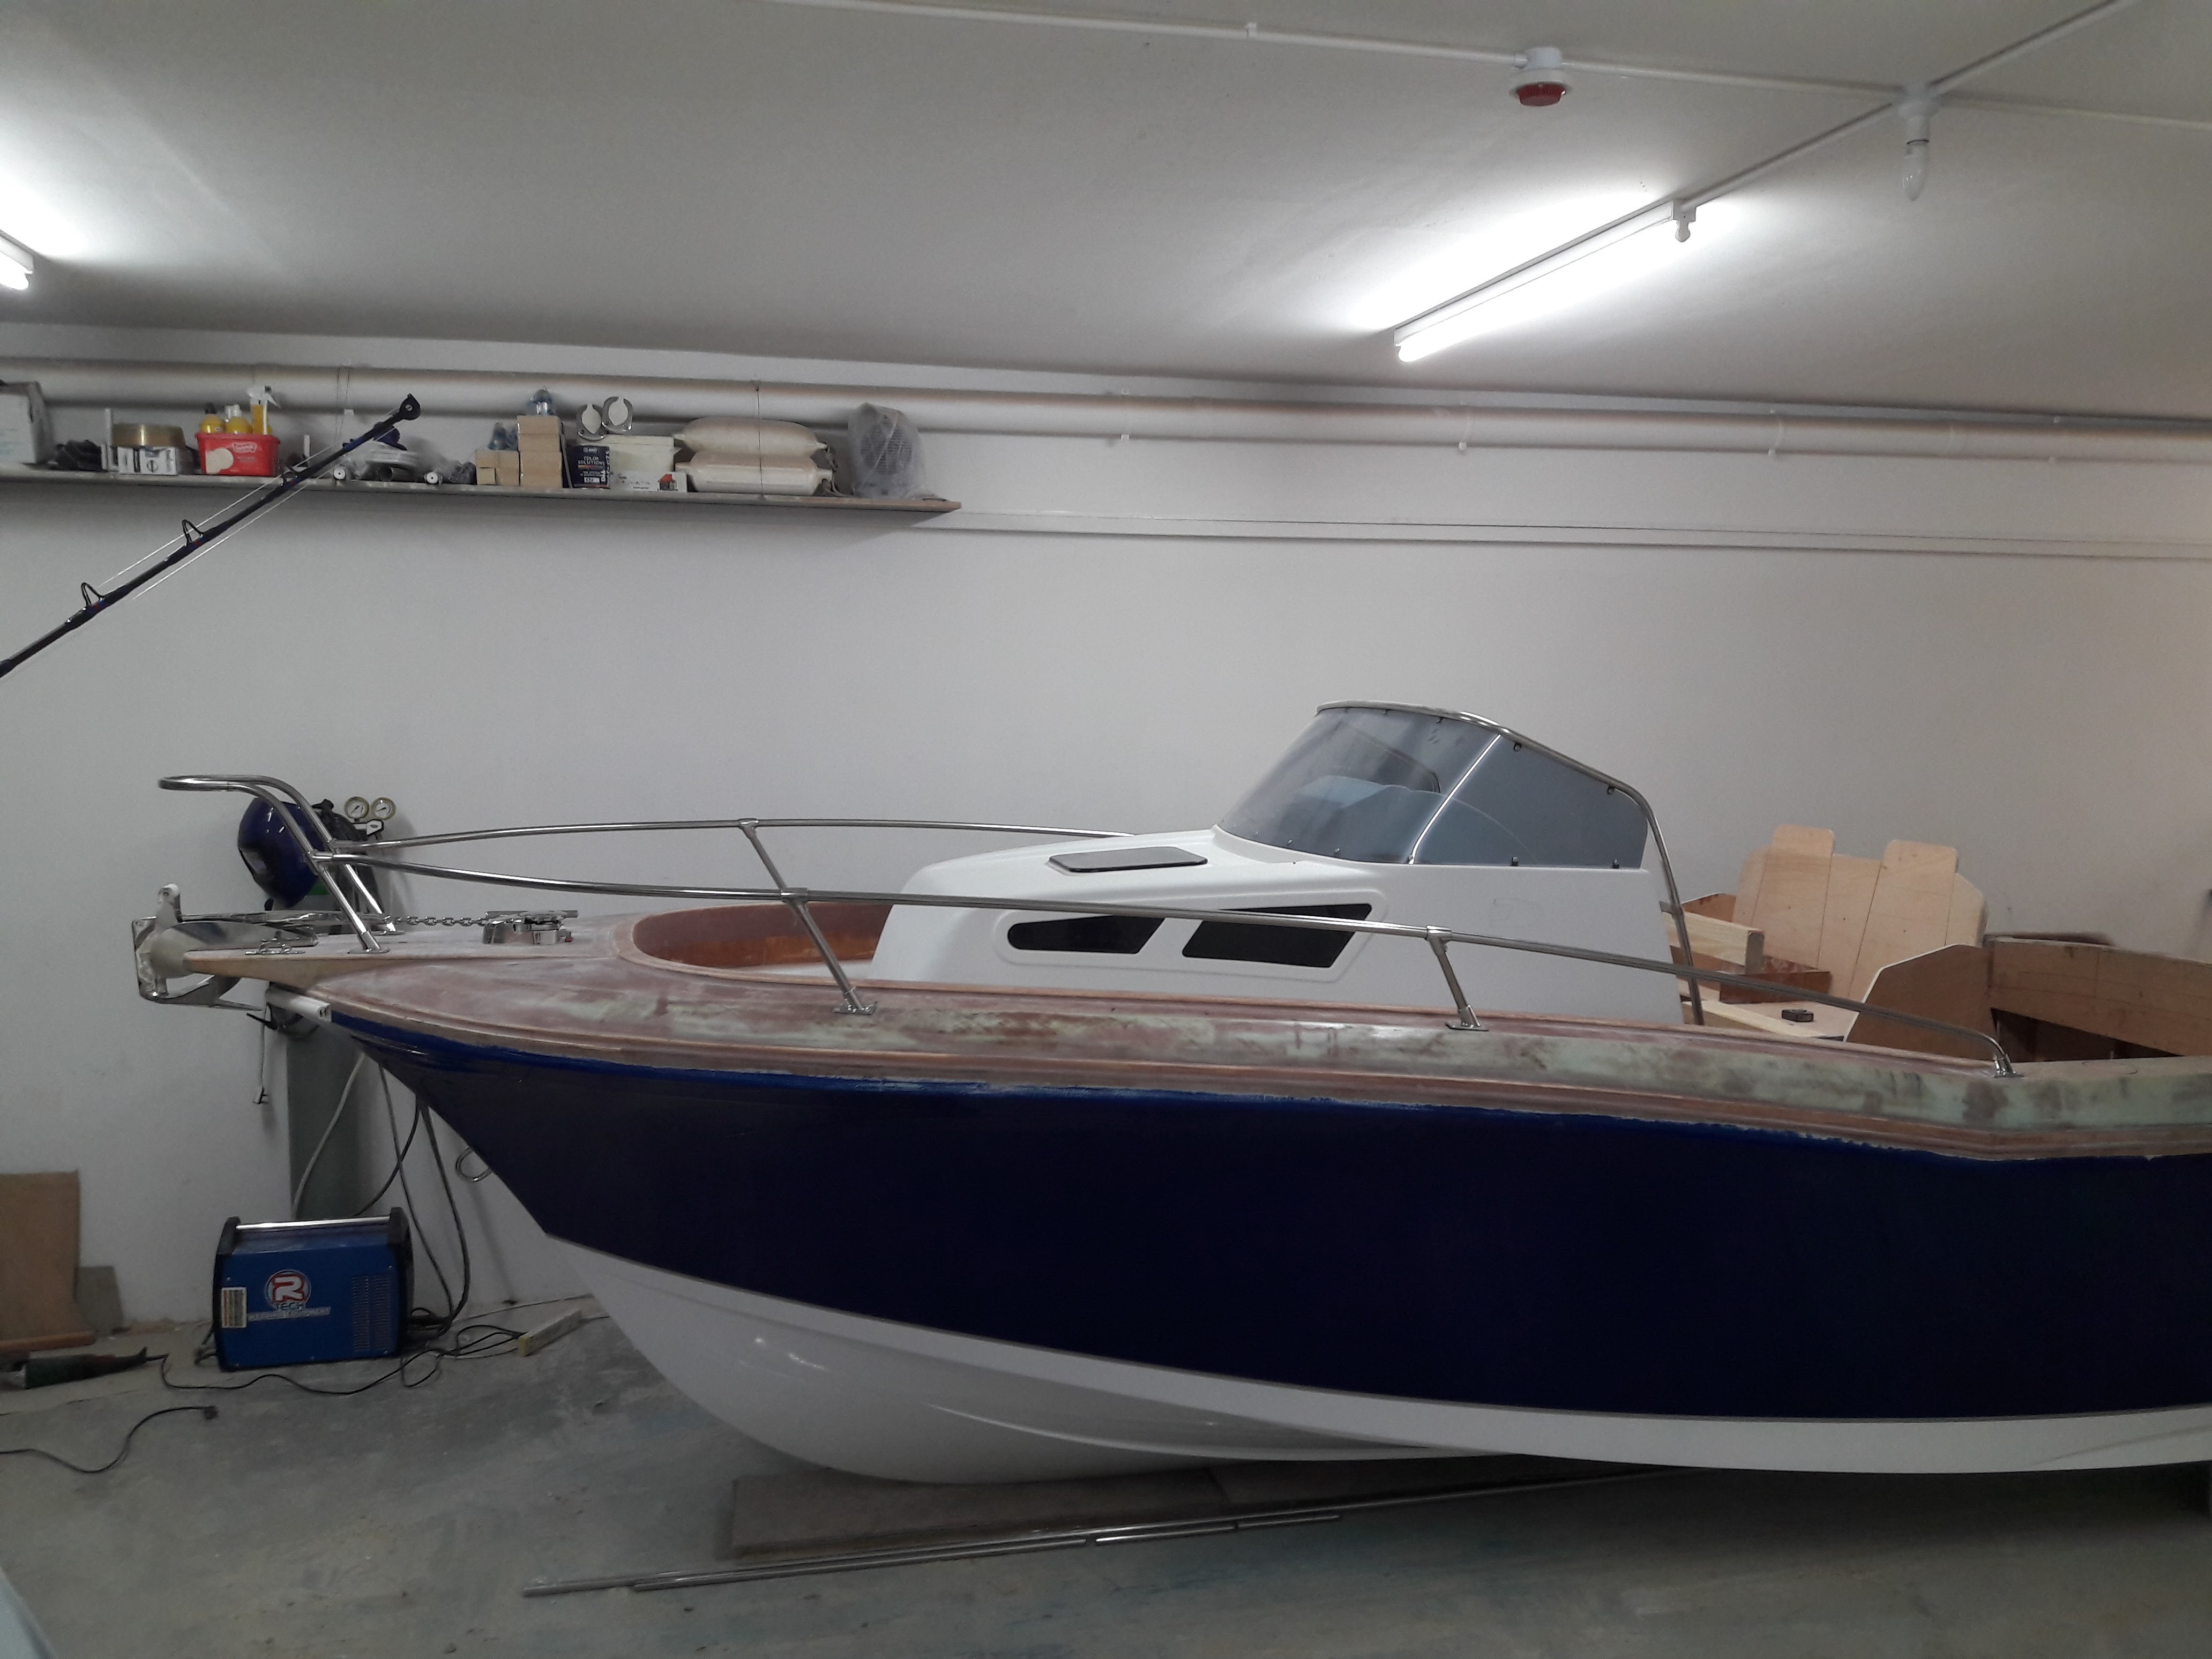
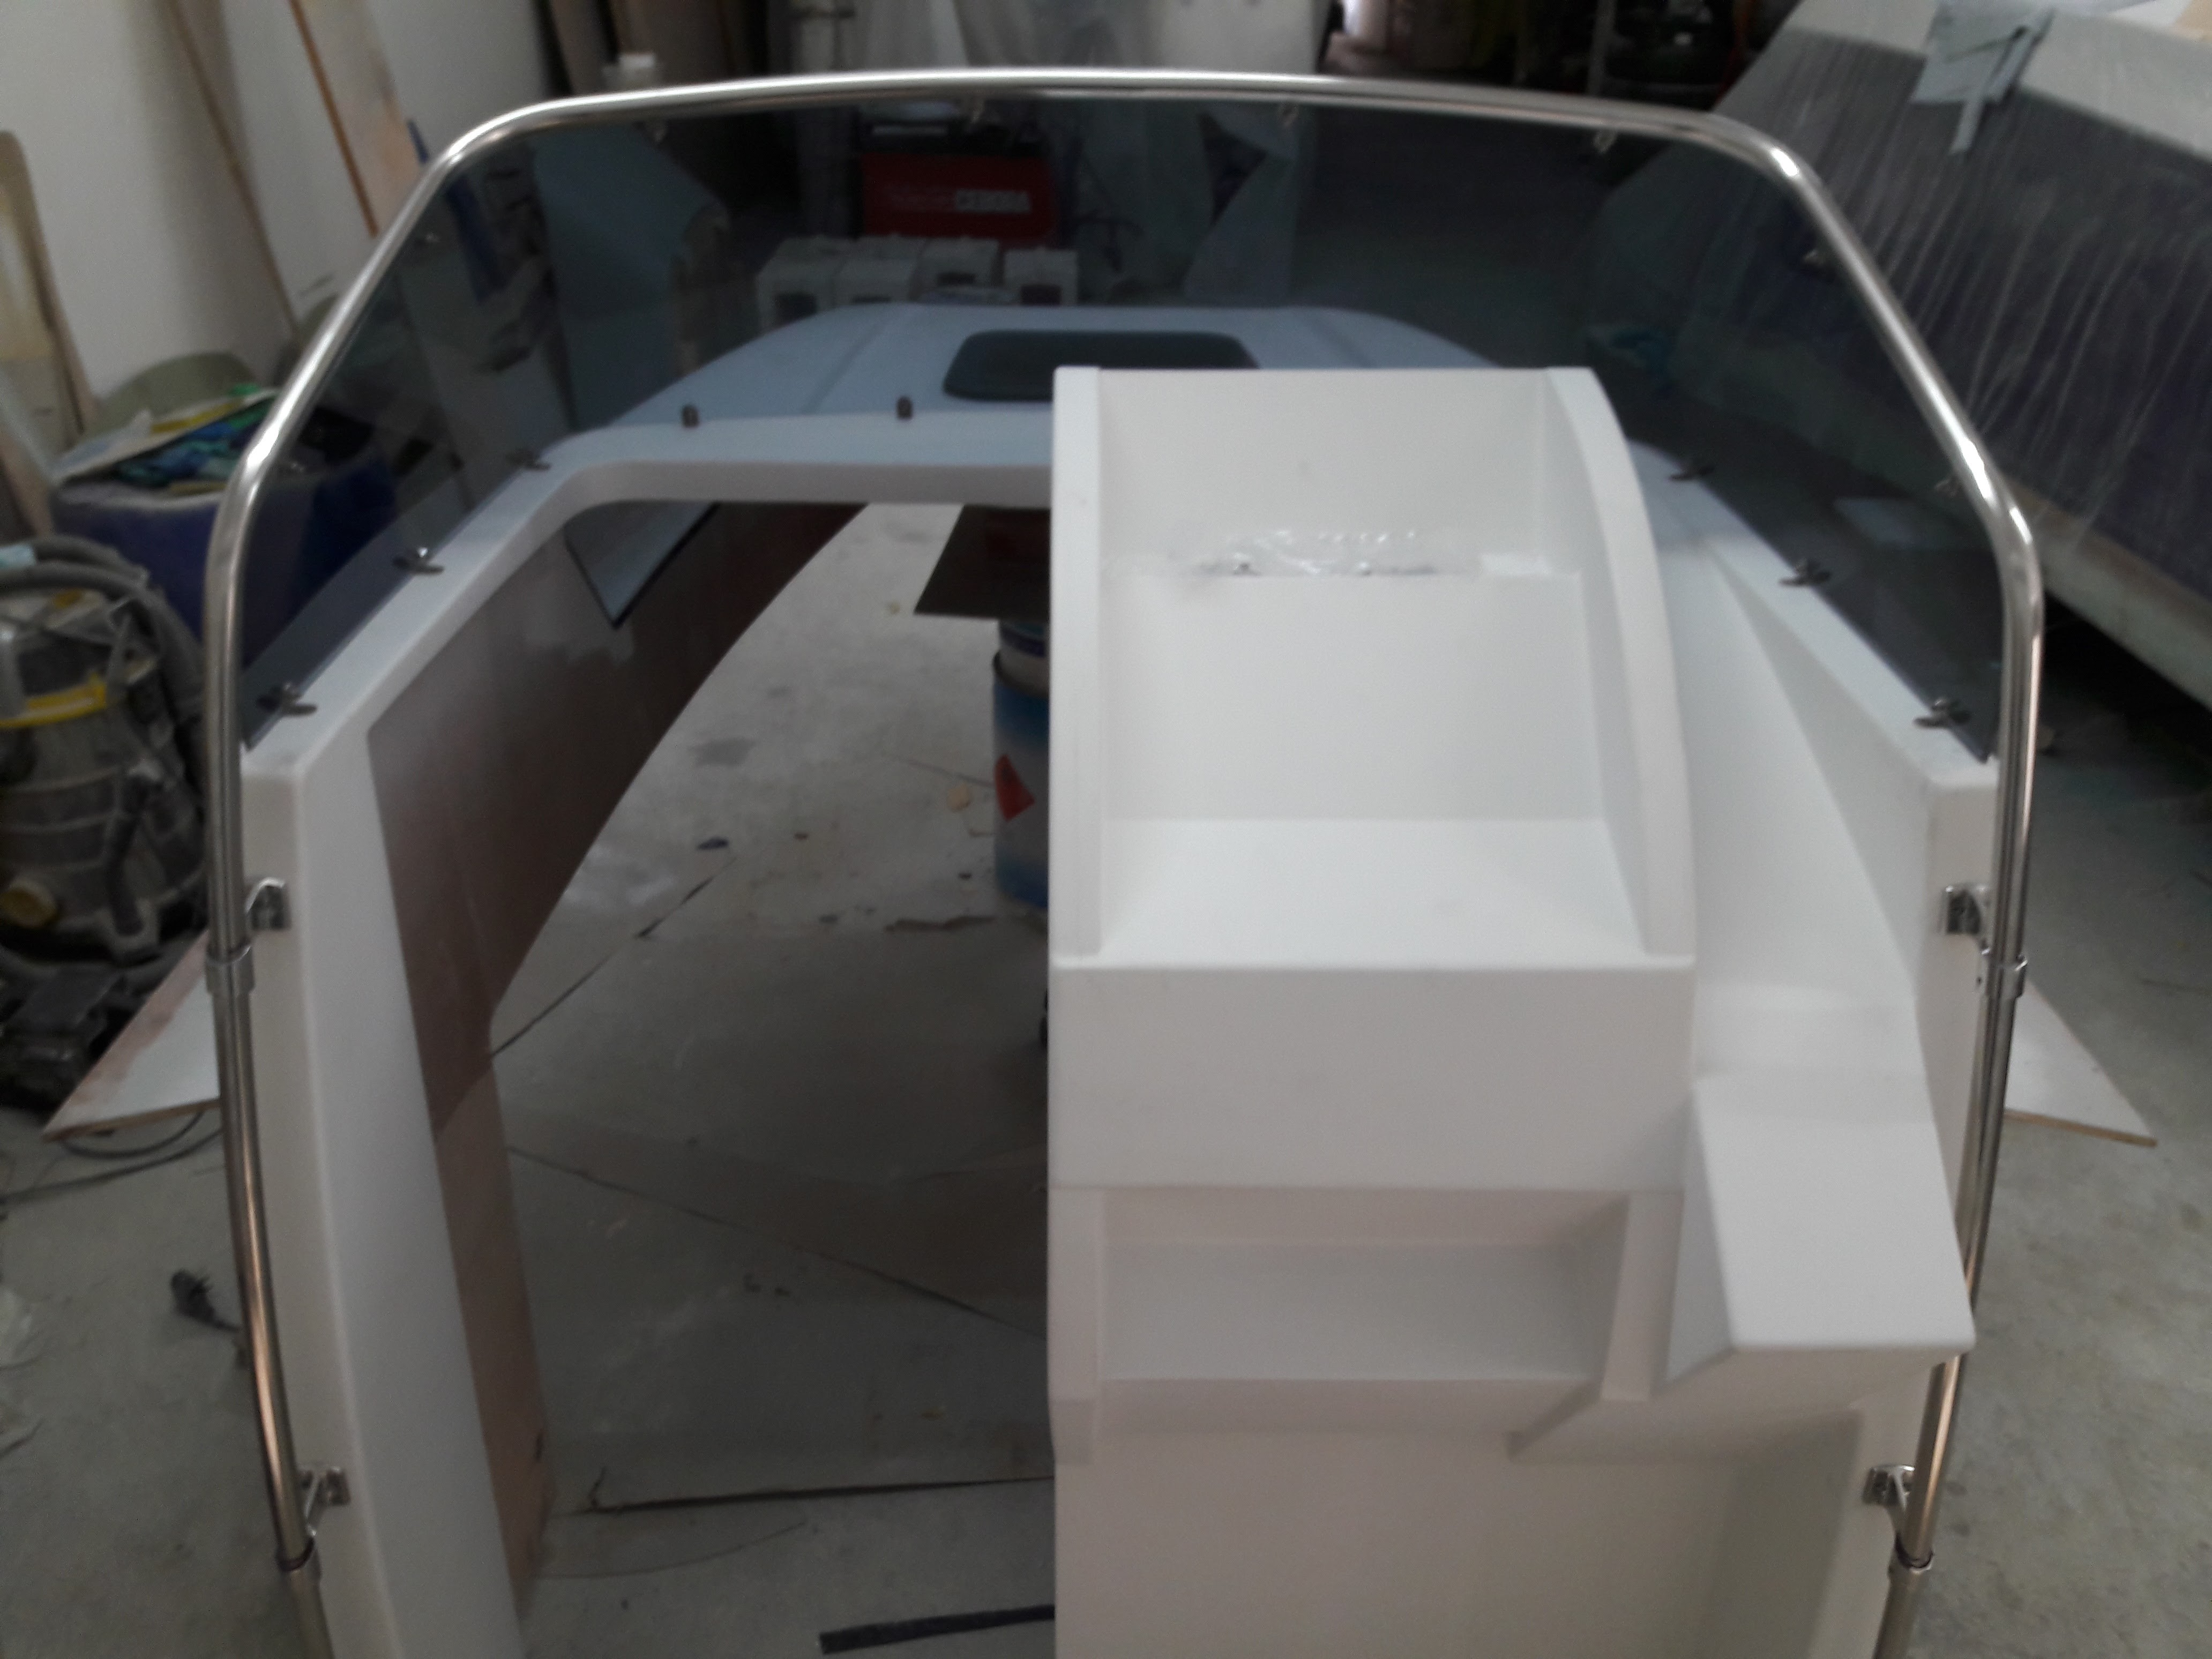
Gona have to do some alterations ! Now that the windshield, railing and side windows are cut and fitter , I am not so happy with how the cabin looks in place . Looks like the cabin is sitting too low inside the hull . I am thinking of raising the whole cabin up by 3 inches . Than also there must be some kind of a platform between the helm and the helm seat ( even under the seat ) to keep the same eye level to the windshield . These photos shows the cabin in its original place and raised by 3" (spacers) Any thoughts are more than welcome !


-
Thanks capriosca ! And the flip is over , with the help of 20 hands and 3 layers of foam and carpets Lets start allover again with sanding filling sending filling eccccc


-
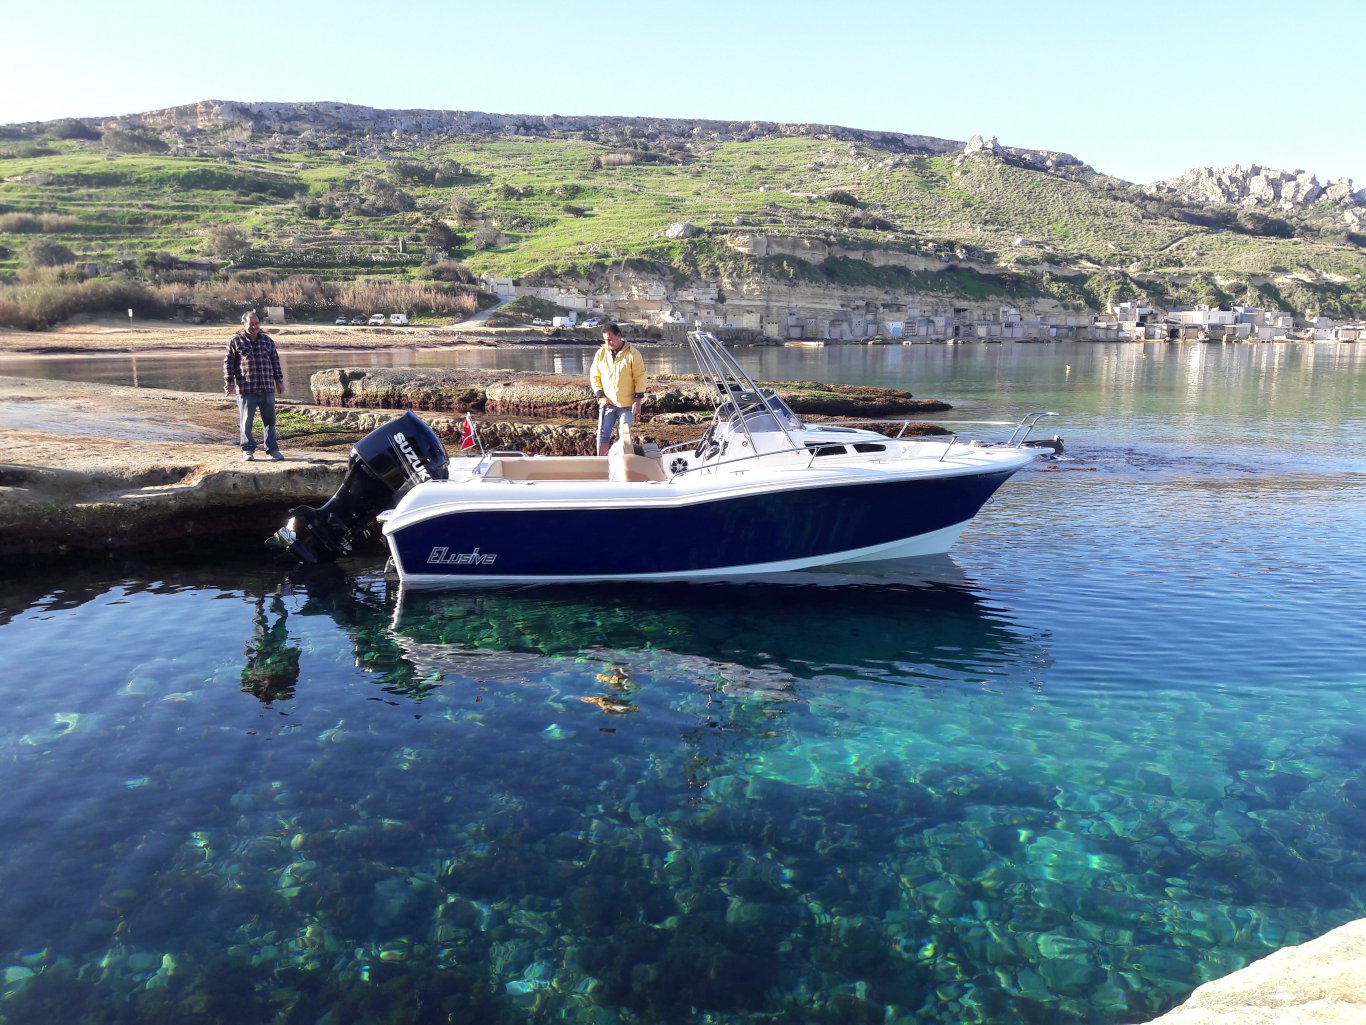
Still up side down but think this should be her name ELUSIVE ( meaning :- difficult to find, catch, or achieve ) Hope to flip next week


-
Yes par the 1/4 is the best choice . And its done


-
Thanks for your help Par this time its perfect .Now I'm 100 % happy I used a new 1/4 sheet ,clamped it to the mold and heated just the round corners , trimmed the extra material from the bottom side and it sits perfectly in her place . All left to do is just trim the upper side .


-
Thanks for your help par ! I am asking because I'm not 100% happy with this windshield, there are still minor wrinkles . I will either heat it ones more or start allover again with a new sheet. Par what sheet thickness do you prefer for this size of shield ? ( when flat it measured 6.5' x 2.5' )