lewisboats
-
Posts
341 -
Joined
-
Last visited
-
Days Won
1
Content Type
Profiles
Forums
Events
Everything posted by lewisboats
-
One mistake I will acknowledge...I put the holes for the ties too far from the edge. You may notice the slight irregularities in the fillets about every 8-10"...and it even shows up in the glass a bit too. I was worried about tearing out the 3mm but with the ties only 3/32" wide...they are too soft and fragile to damage the wood. I could have gone in only 1/8" from the edge and been fine. Live and learn...it is the first time I have used such small ties to stitch a boat together.
-
Firm enough and tacky so time to lay in the glass strips: Being careful to set the middle into the fillet...gradually put them along the length. You might get a few fliers...just set them aside. I notched the cloth around the bottom of the butt block but notice I left enough room to fillet properly...and enough on top for the Inwales. http://www.angelfire.com/ego/lewisboatworks/Stuff/Designs/Tadpole/Settape1.JPG[/img] Overlap in the corners helps with the strength and tying things together. http://www.angelfire.com/ego/lewisboatworks/Stuff/Designs/Tadpole/Settape2.JPG[/img] Once the cloth is down...start wetting it out until it is clear. Don't skimp on the epoxy here...make sure there are no white spots. The trick is to have enough epoxy on the brush ( I use cheap chip brushes) to flow the epoxy without it dragging the cloth or pulling threads. This means you have to load the brush enough and often to keep it from getting sticky enough to distort the cloth or pull threads. Daub the epoxy into the cloth and gently mush it around...working it to the edge of the cloth and beyond a bit. http://www.angelfire.com/ego/lewisboatworks/Stuff/Designs/Tadpole/Epoxy1.JPG[/img] http://www.angelfire.com/ego/lewisboatworks/Stuff/Designs/Tadpole/Epoxy2.JPG[/img] http://www.angelfire.com/ego/lewisboatworks/Stuff/Designs/Tadpole/Epoxy3.JPG[/img] So I am done for today...I'll do the other side tomorrow when things have set.
-
For those who are new to building with stitch and glue...you stitch the panels together with wire or wire ties, lay in a fillet of thickened epoxy and then layer strips of glass cloth on top to spread the load trying to separate the panels over a larger area. The glass strips can be prefabricated tape or you can make your own. Why you would want to make your own is a matter of interest though. With prefabricated tapes the edges are kind of sewn or selvaged to keep them from fraying. This is OK but it leaves a ridge that you might wish to grind off along both edges and then you have to re-coat to cover the exposed glass edges...it is a pain in the glass sometimes. It is often difficult to get the tape to lay properly because the edges prevent the cloth from distorting and it buckles...requiring darts and possibly more grinding. You can make your own strips from glass cloth but how to cut it without it going all to pieces and fraying on you and how to cut it straight. Well there is an easy way to do it. You will end up with strips that are the length of the width of your bulk cloth and at a width you decide. How do you cut it straight though? The trick is to pull a thread from the edge of your cloth. Decide on the width of the strip you want to make and measure it along the long edge of your cloth. Firmly grasp the thread nearest your measurement and have someone hold the other side of the cloth and slowly withdraw the thread. It will leave a clear line in the cloth that you can carefully cut with a pair of scissors. You should do a sacrificial pull to get an even edge then start making your strips. Lay the cloth on a surface free from things that might make it catch and fray...like the kitchen floor or a smooth table top. Cut your strips and drape them out of the way...handle them as little as possible and make sure your hands or gloves aren't sticky with epoxy as this will surely start pulling threads out and make a mess. When laying the cloth strips over the fillets...butting them together or very slight overlap will suffice. There is sufficient strength added that you don't need to overlap more than a thread or so.
-
Finally started with the goop. Filleted one side this morning (I DID manage to get the transom panel cut out and wired in between the last update and this one). I'll let it firm up and tack then lay in the glass. This is a bit different than my usual method of doing it all at once but I want the fillets to be a bit nicer than they usually are. I find that when I put the glass on top and wet it out they tend to get a little lumpy and ugly. I want to try it this way to see if I can get them neater.
-
Galvanized stapes and other stuff these days tends to be electroplated rather than hot dipped. The thickness is in order of molecules rather than measurable amounts. Hot dipped galvanizing has staying power in a salt environment but the electroplated stuff just doesn't.
-
Opinions please...the side panels at the transom have a slight bit of curl inwards from the chine to the shear...what do you think of making the transom edge curve inwards and make it almost vertical as it meets the shear? As bendy as this ply is...it could be done. A bonus would be a probable stiffening of the side panels in the aft end of the boat. Kinda like this.
-
Ramping up progress here...went 3D today. Got home...checked forums and email then got to work. Ground off the bad butt block (and got the right one), then laid out the bottom and cut it out. Just finished stitching things together loosely to see how it all fit together...Perfect! Only shed a little blood and got a couple of splinters...small price for a good day. Oh...and the hull weighs 11 lbs as of now. http://www.angelfire.com/ego/lewisboatworks/Stuff/Designs/Tadpole/Tadpole3.JPG[/img] http://www.angelfire.com/ego/lewisboatworks/Stuff/Designs/Tadpole/Tadpole4.JPG[/img] http://www.angelfire.com/ego/lewisboatworks/Stuff/Designs/Tadpole/Tadpole5.JPG[/img]
-
Charlie Brown Syndrome:..... This build definitely has the syndrome...or more likely I do. So far I have made two major screw ups and I only have the side panels cut out and butted together. Being as the boat is 5.5 ft long and my panels are only 5x5 I needed to do the side panels in 2 pieces each. Not a problem says I. I copied all my offsets out properly, laid out the larger piece of one side and cut it out, traced it and cut the other side out...I even flipped it to get the mirror properly...no real need as the plywood is BB but anyways. I go and start laying out the little add on...which was supposed to go near the transom...and lo and behold...it is at the bow. Awww....Lemons! So I consider Lemonade...I need the front to be a bit stiffer anyhow so the most severe bend in the side panel is about 2.5 ft aft of the bow...This will help a bit with the stiffness. So I glue my butt block (a 1.5" strip of the same 3mm ply) on one panel one day and on the other panel the next. I swear I mirrored them before gluing...but when I got up...guess what. I made 2 port sides or I have a block on the outside of starboard side. The rest of the day/night went quite the same way. So after getting home from job one and before I go to the next I buffed off the seeped epoxy and glued another butt on the opposite side of one of the panels. Tomorrow I'll grind down the other butt (lord let me get THIS right...Please!) and drive on to the next major F-up. Time to lay out the bottom. I have never had so much problems per foot of boat length in over 10 years of puttering around with boat building! Here is a pic of the side panels...the one on the bottom curing after receiving it's second block. Yes it is in my living room...It's good to be the King!
-
Yeah...It's the last foot of the hull by the transom. I am rather tempted to just use butt blocks...partially to add stiffness with the extra thickness. That 3 mm is pretty floppy...I can almost curl it into a tube. Most of my builds must be seen at least 20 ft off shore to really appreciate...any closer and things don't look so good :puke_right::puke_left: :shock:
-
Minor delay to the start but we're off! Lay out of the panels started today after a couple days of working late and the replacement of a vanished batten. Menards has/had Irwin QuickClamps on sale for $2 ea so I bought 20 of them. They don't clamp very tight but they don't mar things easily either. You can never have too many clamps/cramps. One thing that really sucks...I have to scarf or butt about a foot to each side piece...they are just shy of 6 ft and the 3 mm I have is only 5 ft long. Such is my life...the niggly little impediments never let up
-
Starting on this tomorrow...5.5 ft long, 250+ lbs dispacement and 22lbs or so for the bare hull. Just something to keep me busy until I can get back to working on my Sailing Scow when the weather warms up. I can still get this up the stairs and out of the basement and I am antsy to build SOMETHING...I feel useless if I don't have curing epoxy somewhere. I have 5 sheets of 5' x 5' 3mm and an 8 x 4' sheet of 5 mm laying around so I might as well use them for something. This should take up 1 sheet of 3mm and the whole sheet of 5mm but I might sub some thicker stuff and save the scraps of the 5mm for something else. I call it Tadpole
-
Illinois * Arlington Heights - Owl Hardwood Lumber, 1514 E Algonquin Rd, 60005, 312/439 5580 - L * Carterville - Chamberlain Marine, 115 Olive St, 62918, 618/985 6119 - L * Chicago - Charles Horn Lumber, 2440 S Damen Ave, 60608 312/847 7397 - L (Sitka sp) * Countryside - Plywood & Door, 6335 W Joliet Rd, 60525, 708/354 2155 - PW (Okoume) * Glenview - Wood World, 1719 Chestnut Ave, 60025 708/729 9663 - PW, L * Highland - Wicks Aircraft Supply (in the St. Louis metro area). - Mar PW, L (Sitka sp) * Paris - TA Foley Lumber Co, 1800 S Jefferson, 61944, 217/462 6180 - L * Sycamore - Hardwood Connection, 1810 W. State Street, 60178, 815-895-8733 - L From Glen-L web site...I do not know how recent or good the links and addresses are. L is Lumber, PW Plywood
-
It is about 6-7 hours for me...this will be my 4th? 5th? consecutive year.
-
It is at least 5 times better than what I work with. Should do you quite well. Just make sure you set it up [squared] properly and you should see good service out of it. Have fun!
-
Merry Christmas (Hanuka, Kwanzaa and anything else anyone wants to come up with) to all!
-
The ex owners played a joke and stuck some wind chimes in one of the vents
-
It's the Misery (Missouri) for me, although at one point in time it was the St. Lawrence, then the Sacramento, The Arkansas and then the Potomac...and of course... Rapid Creek
-
Ja...me too . No pics but about the same...40-55 mph winds , plenty of drifting, colder than...pick a euphemism. Got to go drift bustin' and doughnuttin' in the pickup though and looks like it will stick around for Xmas...just so long as it disappears by mid Jan (yeah...right!).
-
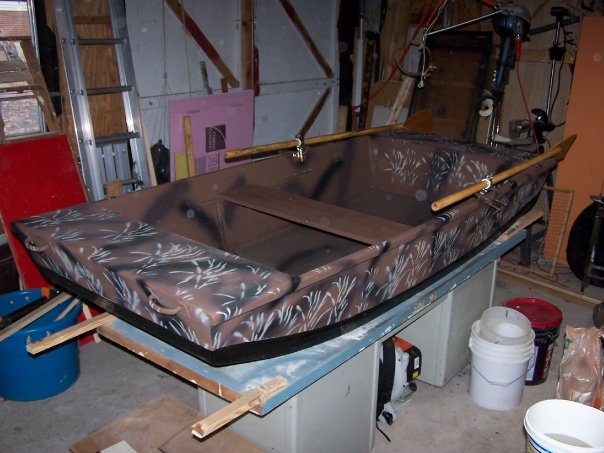
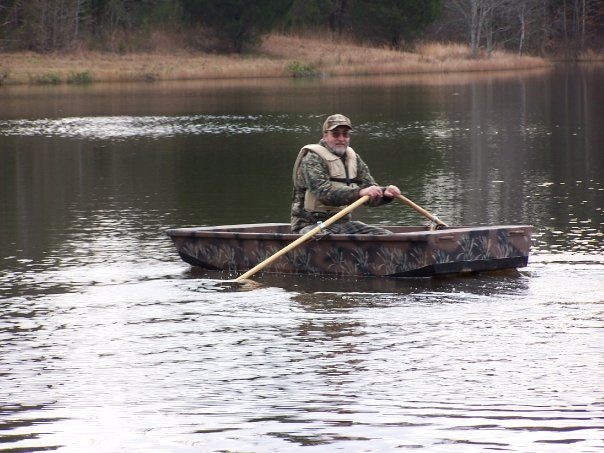
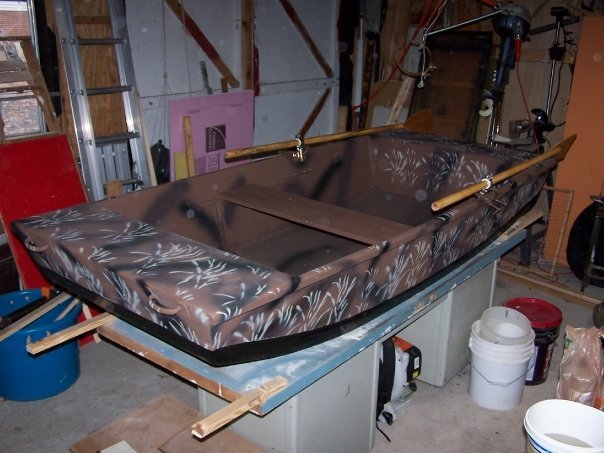
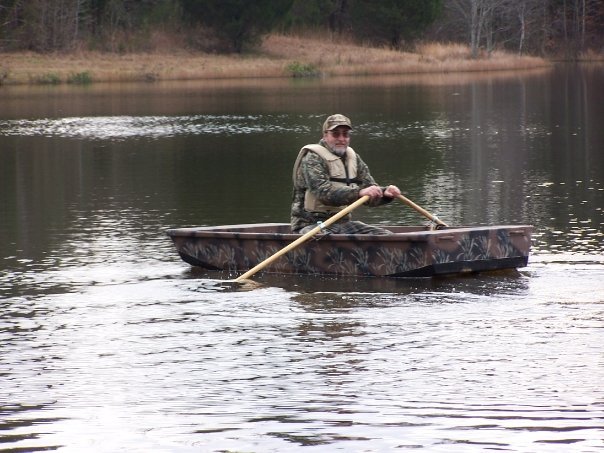
Got an email the other week 'bout a new LilJon that was built. It came out really well I think...they seem happy. Here is a link to over 200 pictures of the build, more on the water and the wheels adaptation he just added a couple of days ago: http://www.facebook.com/album.php?aid=2952&id=100000197607854&l=cecfed6679
-
There is a pretty good movie out there too...nice little boats in it. It was produced in '74. I have an .avi of it and it runs about 750 megs. I don't know if you can find it on dvd but it should be out there...perhaps used.
-
Try Progressive epoxy at epoxyproducts.com ...they are the cheapest I have found and the epoxy is just as good. They're basic no blush 2:1 ratio epoxy is $83 for 1.5 gallons. The site is a bit of a pain to navigate though but you get there eventually. Here is a summary page: http://www.epoxyproducts.com/summarymar.html Steve
-

Introduction of New Guy with Vacationer in Denver (pics)
lewisboats replied to bob z's topic in Main Forum
A faint whispery voice comes from everywhere and nowhere..."ask about the hole in the transom.......ask about the hole in the transom....." :crazyeyes: -
Around 60 years old too...I would love to have been able to give it a try :-(
-
Shouldn't be a problem...got no pants on see's I! Ya might want to check the bilge tho!
-
'58 Thompson 16 lapstrake... It's MINE...(for $200)
lewisboats replied to lewisboats's topic in Main Forum
I'm sorry about the windshield...You want it? The originals had a beautiful mahogany framed squared off windshield with side wings...so that I what I will be putting back on... eventually. Besides, the plastic is cracked for the full height and would need to be replaced anyways. You can see where they bolted a couple of pieces of metal to keep it together...one up at the top of the frame and one just above the deck.