Leaderboard


Popular Content
Showing content with the highest reputation on 04/26/2021 in all areas
-
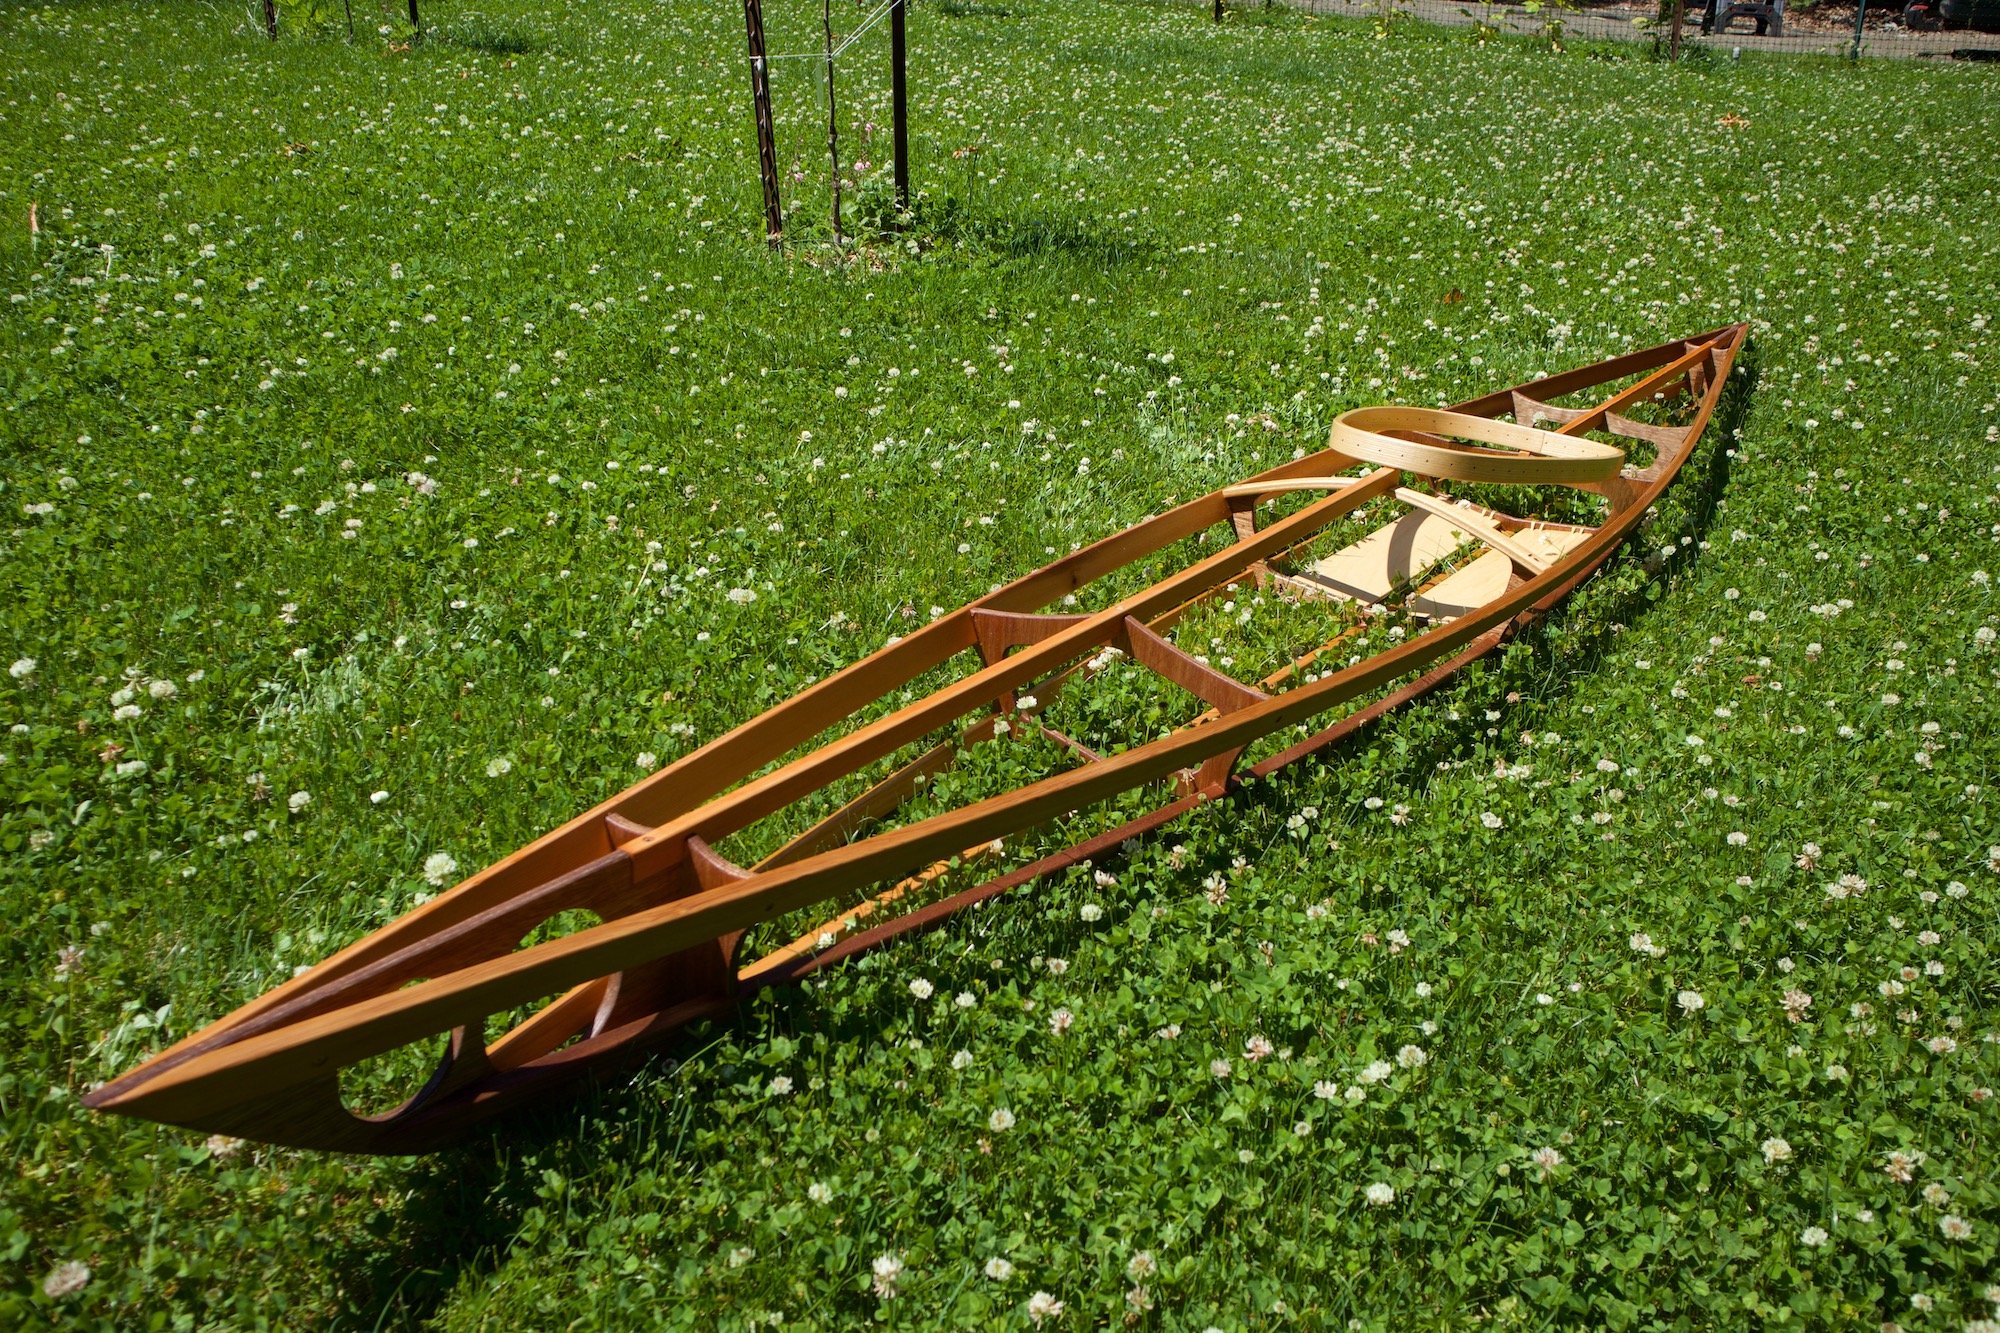
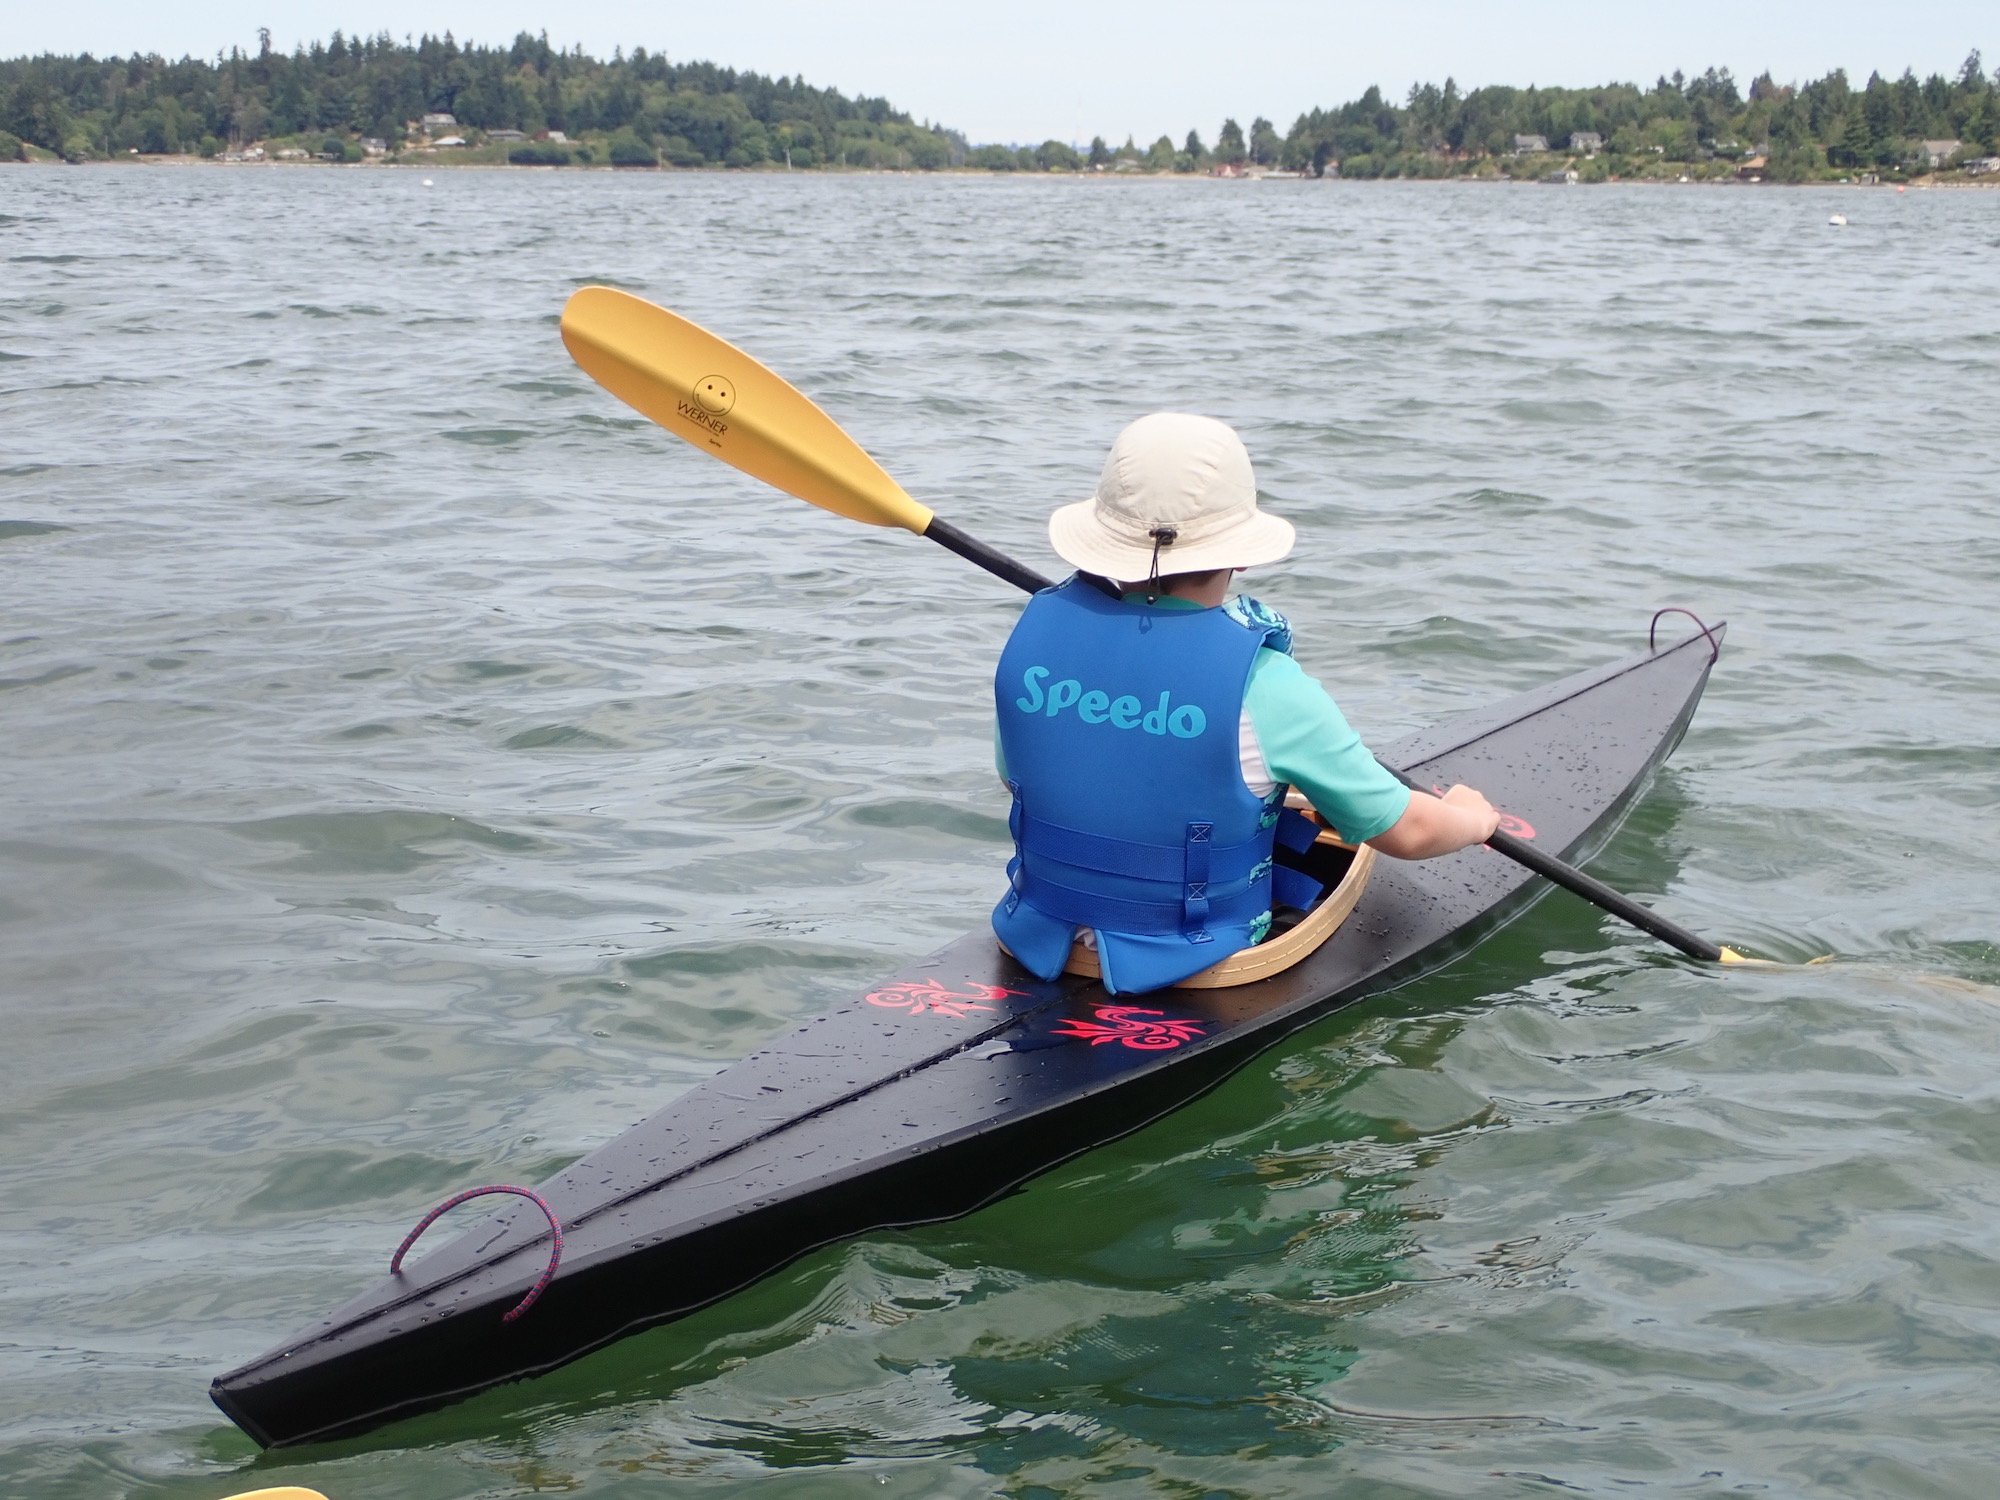
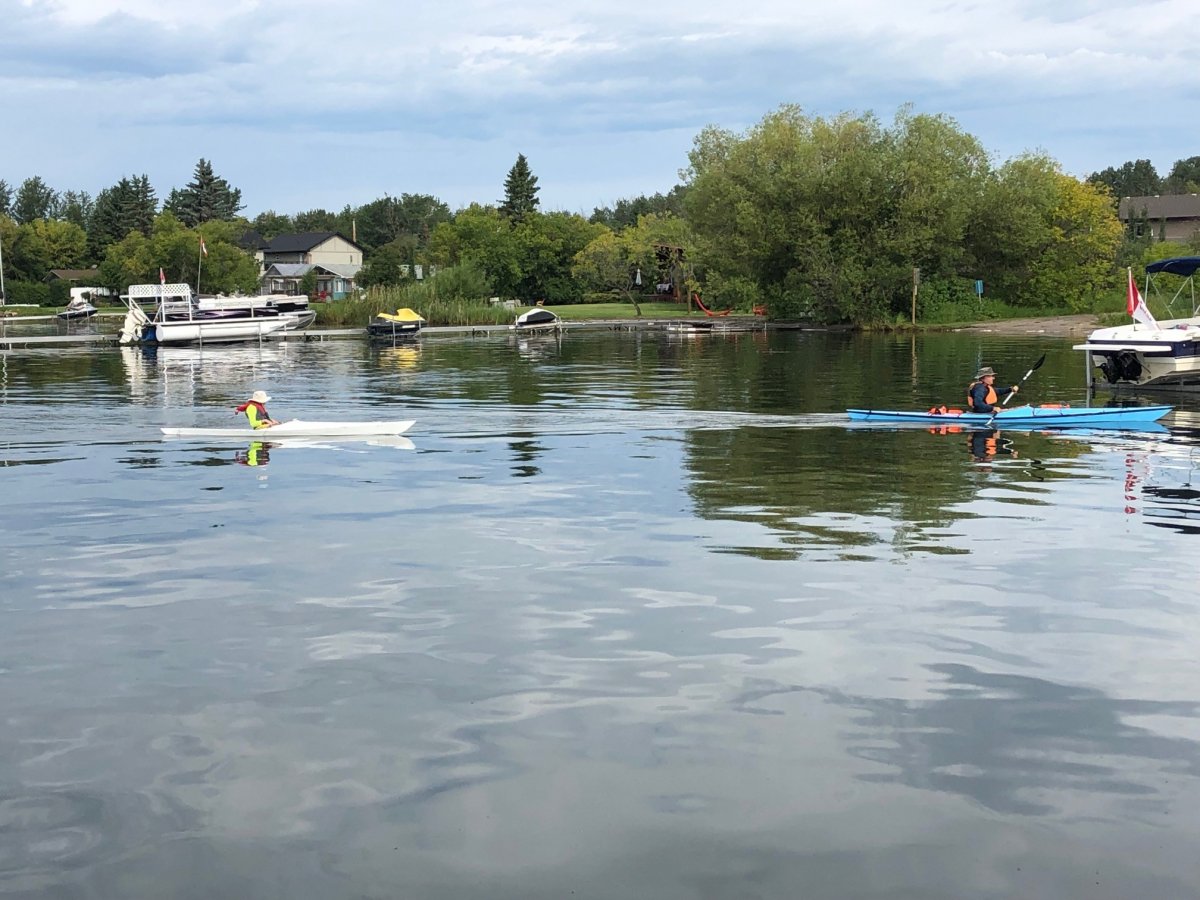
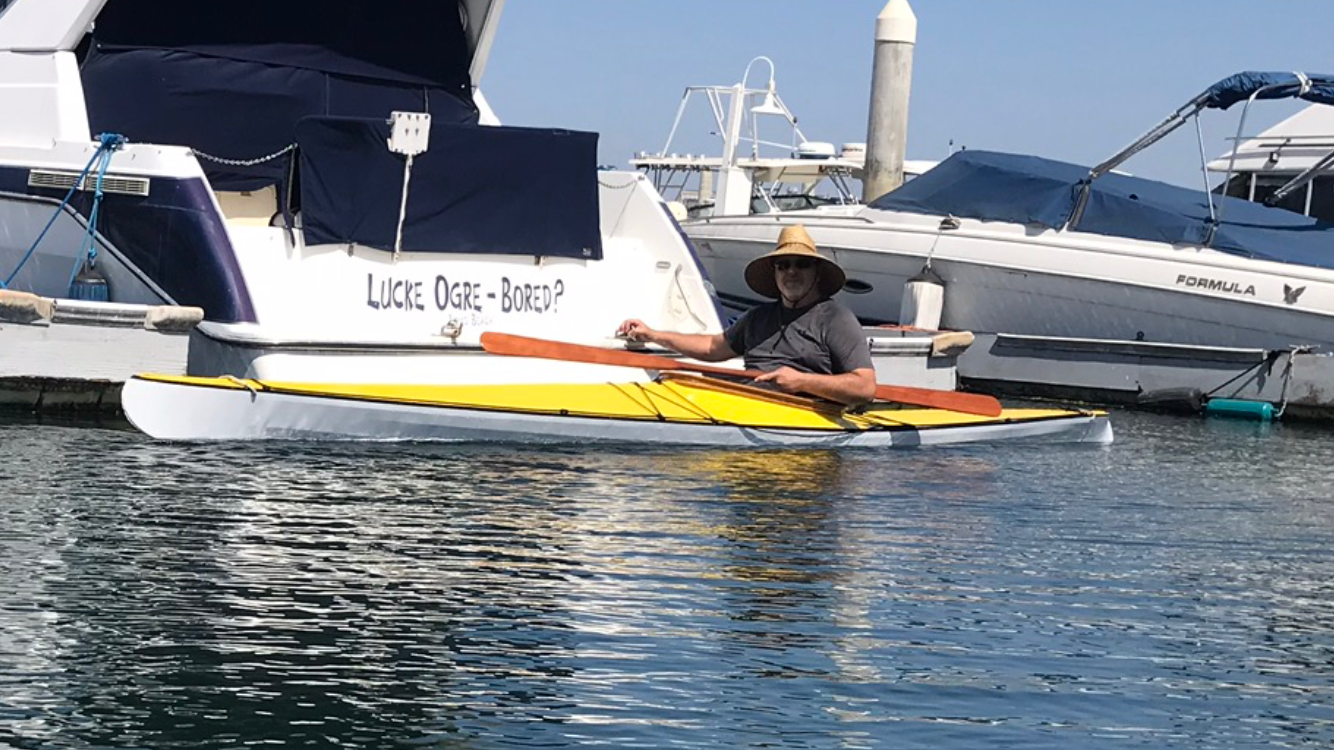
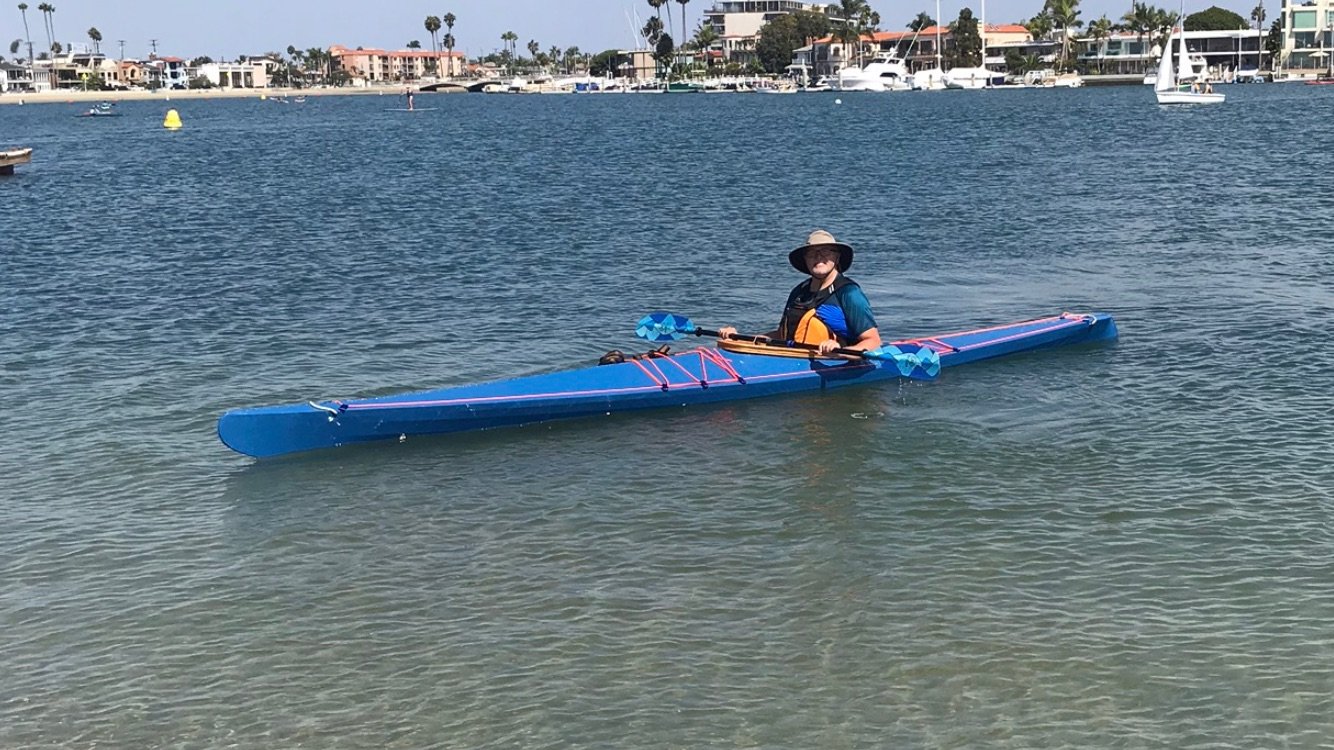
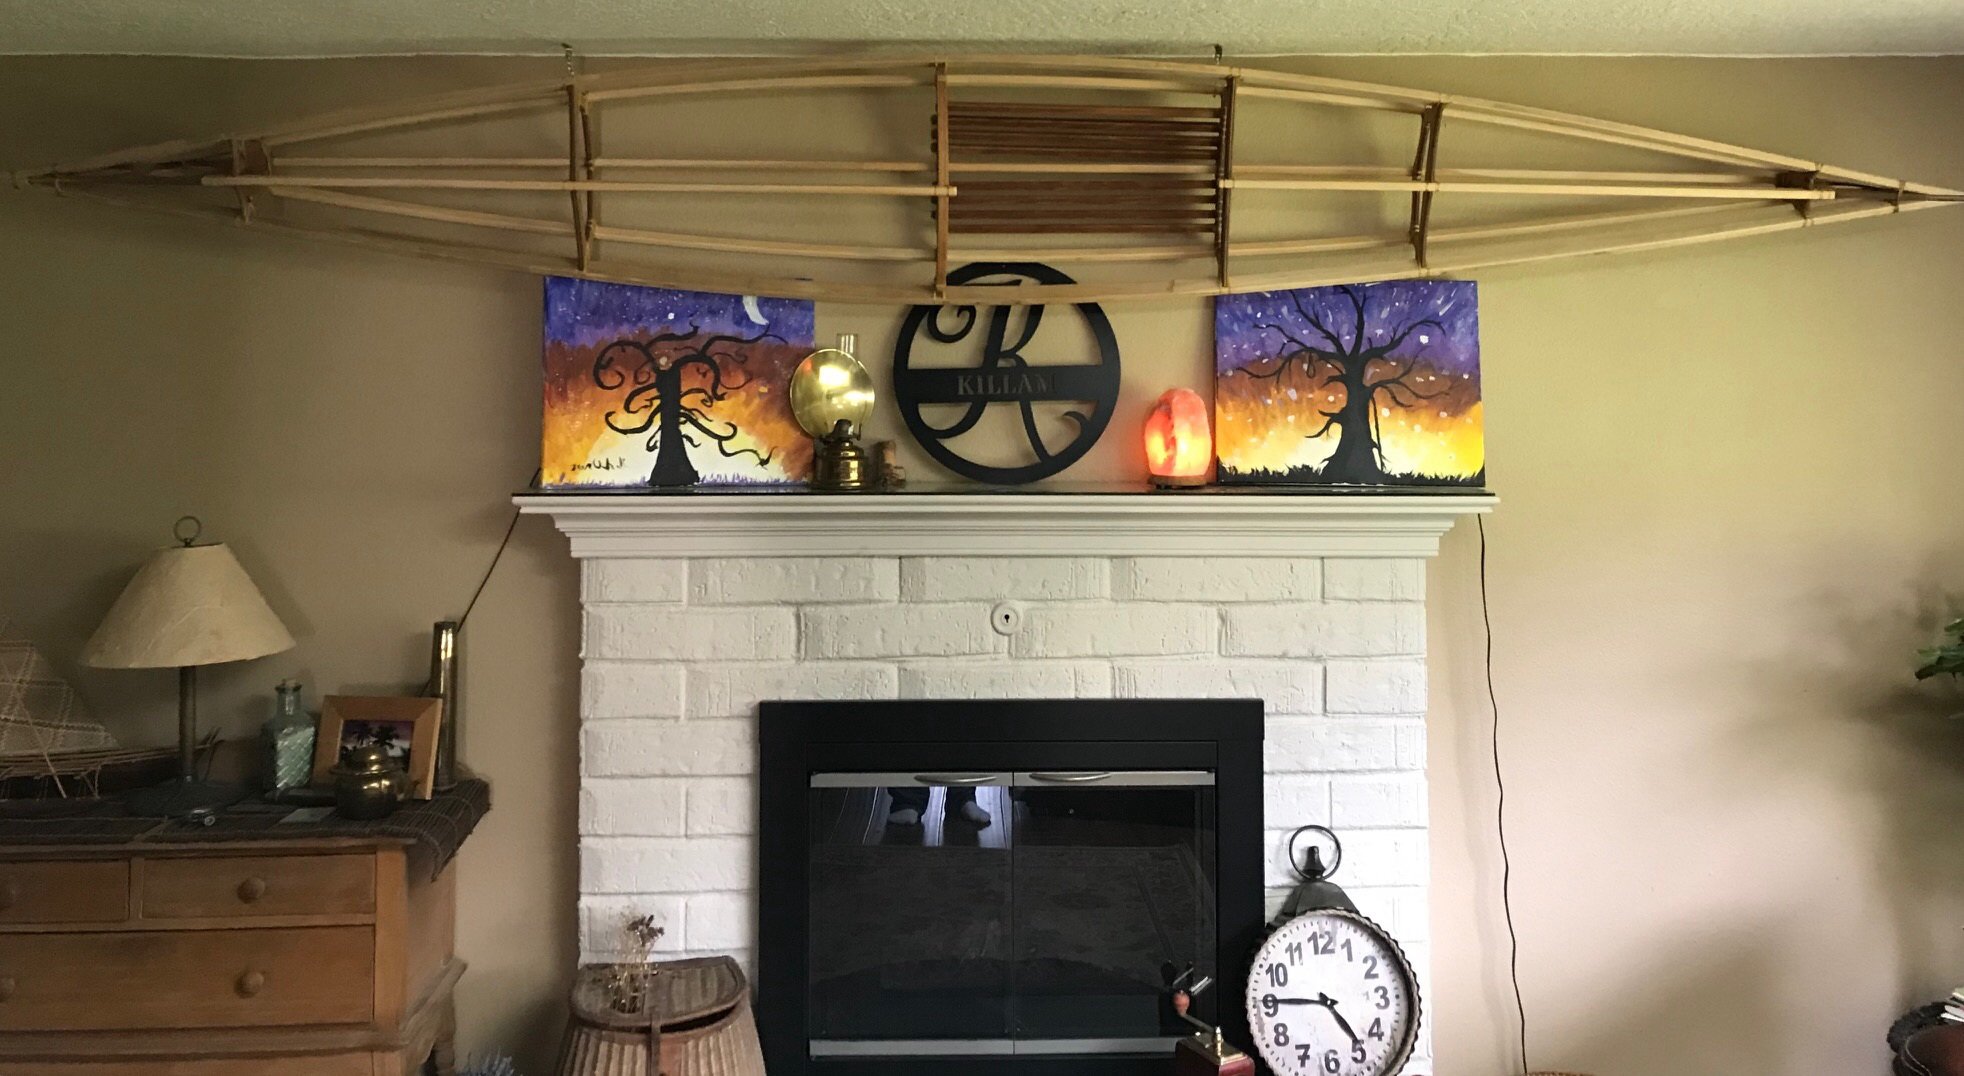
My son outgrew his Kidyak, so we built him a Tadpole. We finished it a week or two back, but didn't have a chance to launch until today. It was a little windy and choppy, but everybody stayed right-side-up! Frames are 12mm Hydrotek, stringers are WRC and coaming is ash. (I have a cedar dealer down the road, and found enough free scrap in their bin a few weeks back for two Tadpoles and most of a Ravenswood without any scarfs!) It came in at about 16 lbs ready to launch, finished in 8oz polyester.


 1 point
 -
Bursts? I wanna video of a burst! ?1 point
-
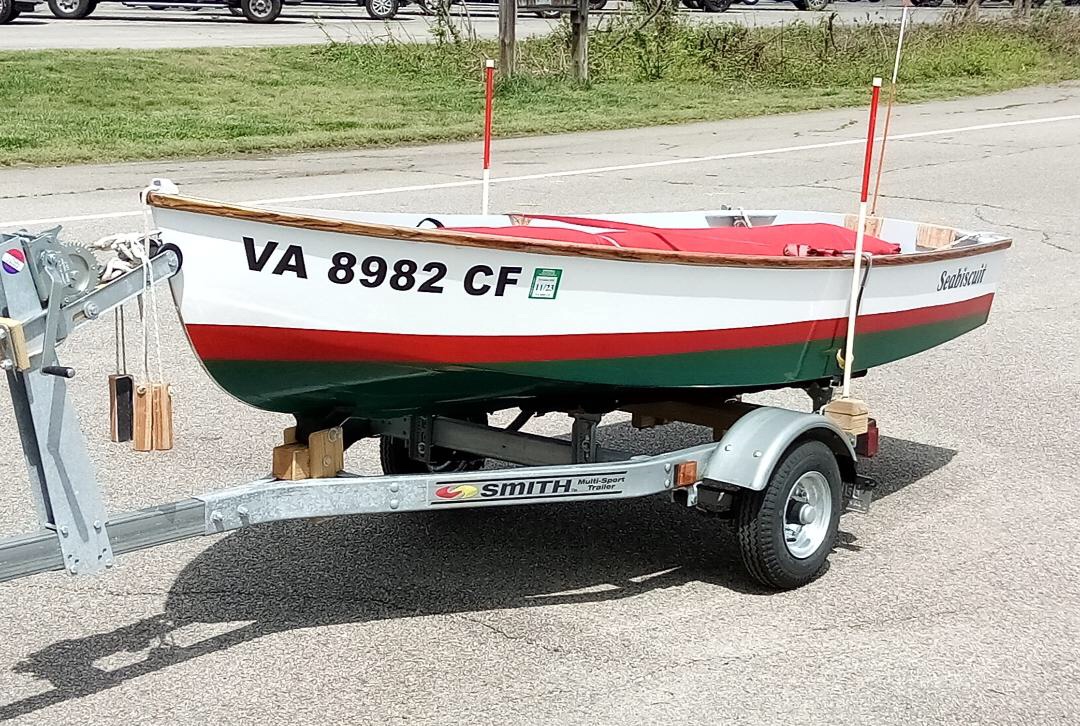
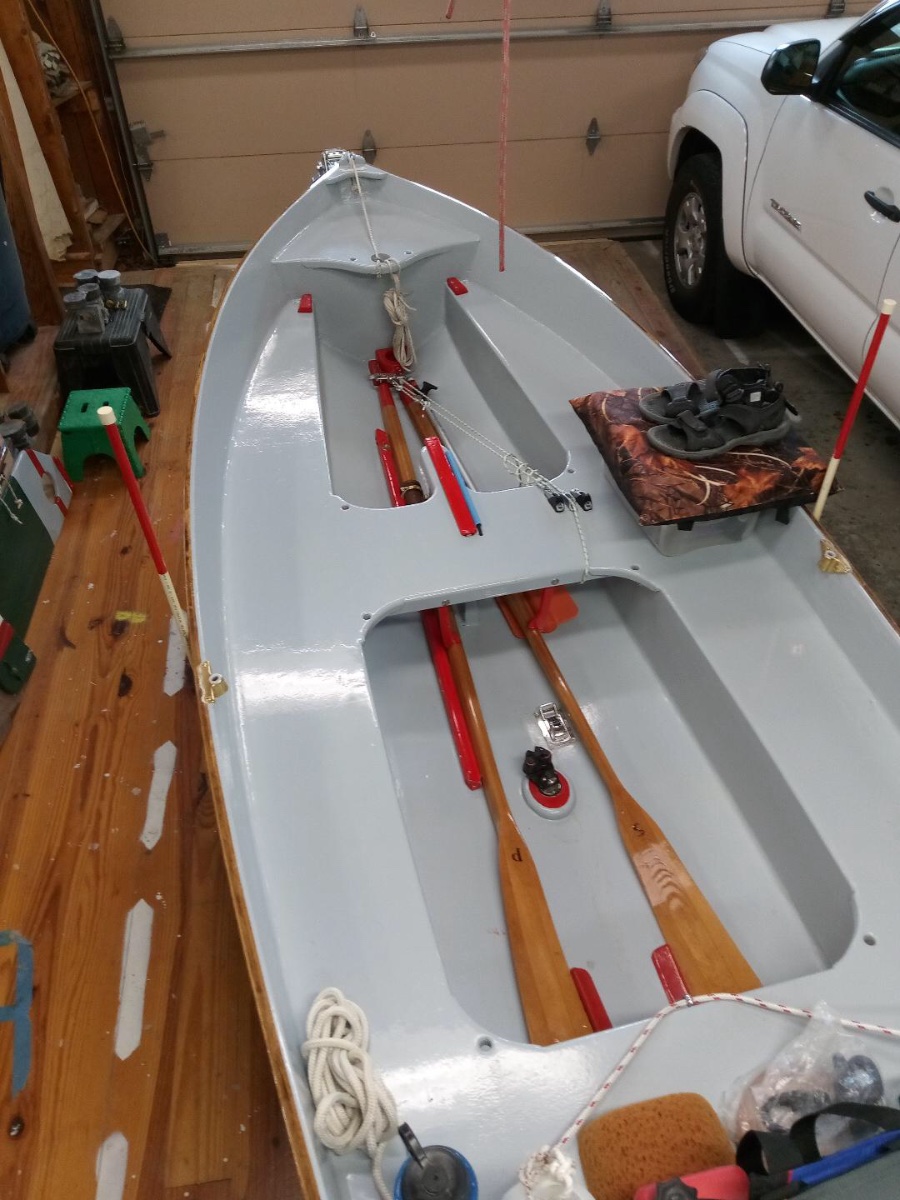
The building of Seabiscuit is now complete. Here she is in her best red, white, green and gray livery: The mast, boom, sail, and rigging lines are in the red Sunbrella cover. Seabiscuit has registered to enter the Triton 3 (mile) race on May 22 at the Big Little Boat Festival being hosted by Chesapeake Light Craft. https://www.clcboats.com/boatbuilding_classes/700.html There are three other races: A 1 mile for beginners, an 8 mile, and a 20 mile. We will do our best and report on our performance. Wish us luck!


 1 point
 -
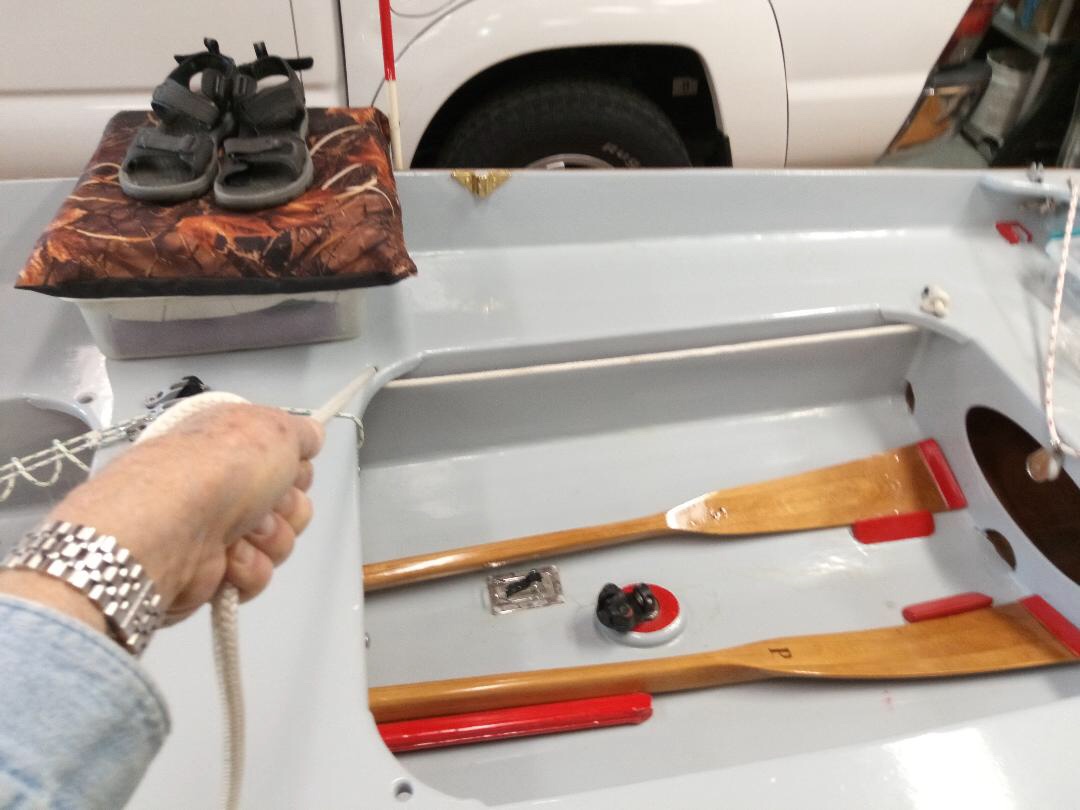
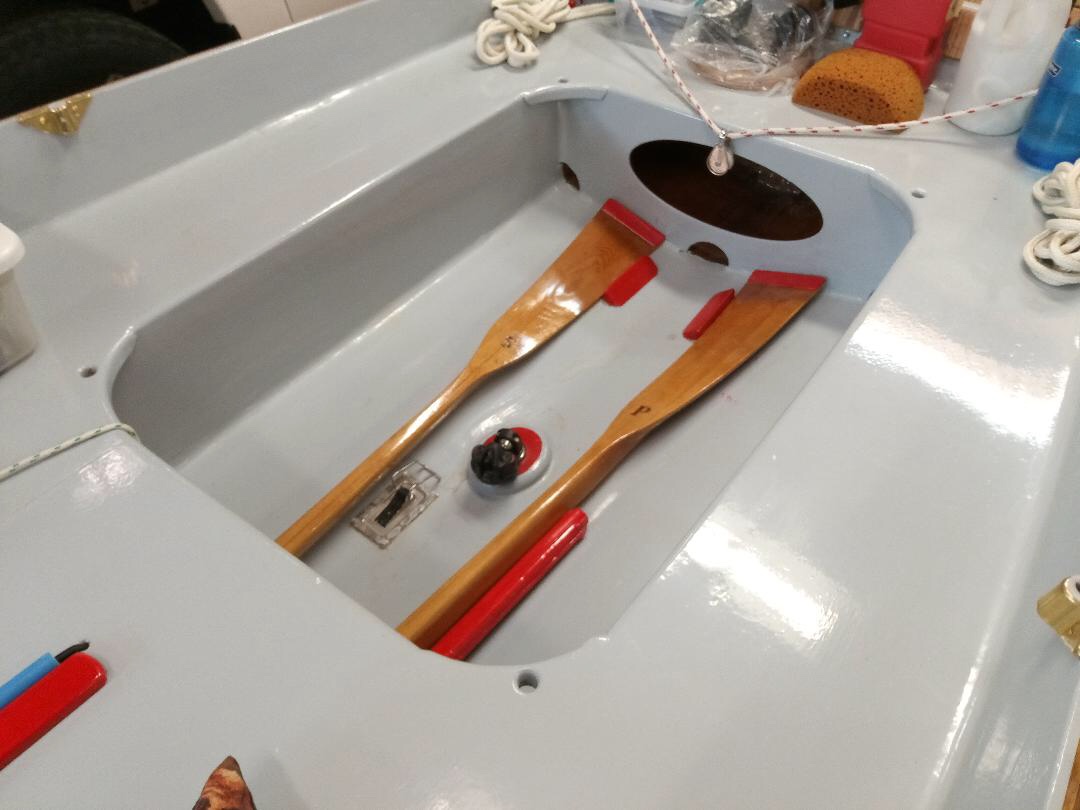
Here are some of Seabiscuit’s features. A bow line chock cut from a scrap of 3/4” marine ply. Once I arrived at the launch ramp only to discover I didn’t bring a painter. Now it’s always present — don’t need to remember to bring it [along]. Aft cockpit showing oars held in stowed position snug up against their chocks. Here one of the docking lines is used for a left-hand purchase for hiking. Note that the [same] line can also be used for foot-purchase [in hiking]. Forward cockpit looking aft. The paddle doubles as a boat hook. It can be extended to almost 9’. The red stick along side the oar is a folding “X” crutch that is deployed to keep the boom above head-level while rowing. Plug for CB housing while not sailing. CB plug deployed. When rowing the skipper will sit on the cushion and won’t be bothered by the lumpy seat top. View forward. Throw cushion, scoop bailer in which the small anchor is stowed. Also waterproof sandals in case the skipper is dumped into shallow water. In another posting Seabiscuit will be shown in her final “livery.”


 1 point
 -
My Ravenswood has been completed. My daughter finished hers, needs the final painting to look like an Orca and lines attached. No leaks!
 1 point
 -
Been remiss waiting for the snow to melt. Tadpole shot with the happy lasher added in to give a sense of scale. Yes the 11 year old glued the scarfs, sanded, sawed, and lashed. All under supervision of course.

 1 point
 -
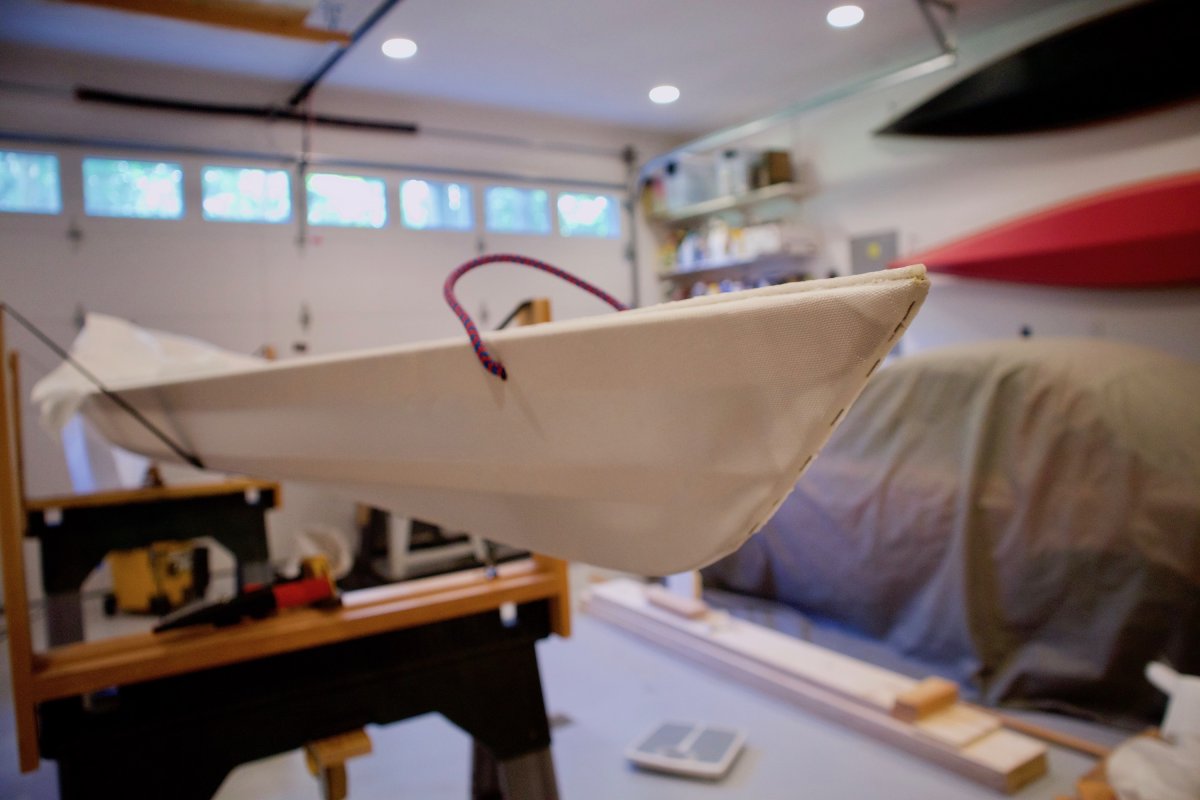
I just saw this follow-up now. Sorry to be slow. I've attached a couple of pictures showing what the seam looked like before painting and covering with the strip. At the ends of the boat, I cut the fabric and pulled flaps over the bow and stern pieces and stapled them. (I used monel staples 'cause I had a bunch on hand.) There's a double-corded seam along the top of the boat, and at the ends I used a hot knife to slice the cords off vertically. My HDPE piece sticks up far enough to cover the end of the double-corded seam so everything looks tidy. I hit the end of the HDPE with a heat gun to get the sharp kink required to cover the end of the seam. I bedded the strip in lexel when it got applied, so it helped keep everything watertight as well. I've used this approach on two boats now and it's holding up well.


 1 point
 -
You're right -- I did one coat of thinned tung oil after that first picture. That was probably overkill for a kid's boat, especially since the stringers were all cedar, but it made me feel better. Also, the plywood I used for the frames is high quality (lots of plies, no voids) but not particularly rot resistant.1 point
-
Great fun launching our Tadpole today. This little kayak should be a joy to the family for years to come. Thank’s for the plans Jeff.
 1 point
 -
I used a laminated beam on the tadpole I built earlier this summer, to make it easier for my son to get in/out of the boat. I redrew the frame at the front of the cockpit so that the top of the frame was replaced by a laminated piece that kept the deck stringer in the same position, but gave better clearance -- especially at the sides of the opening. (I also lowered the bottom of the opening a bit since I didn't run the floors under the frame. I'd intended to use brackets there, but ended up lashing to the side of the frame in the end. I'm not sure I'd take that route again.) Brad


 1 point
 -
I finished up a Tadpole that I’ve been building for my great nieces and nephews. It was such a fun project. It came together much faster than the Long Shots. I can’t wait to paddle with the kids. Thanks for the plans Jeff.

 1 point
 -
Here are some photos of my Long Beach Long Shot family. I am now working on a Tadpole for the kids. I love these skin-on-frame kayaks.


 1 point
 -
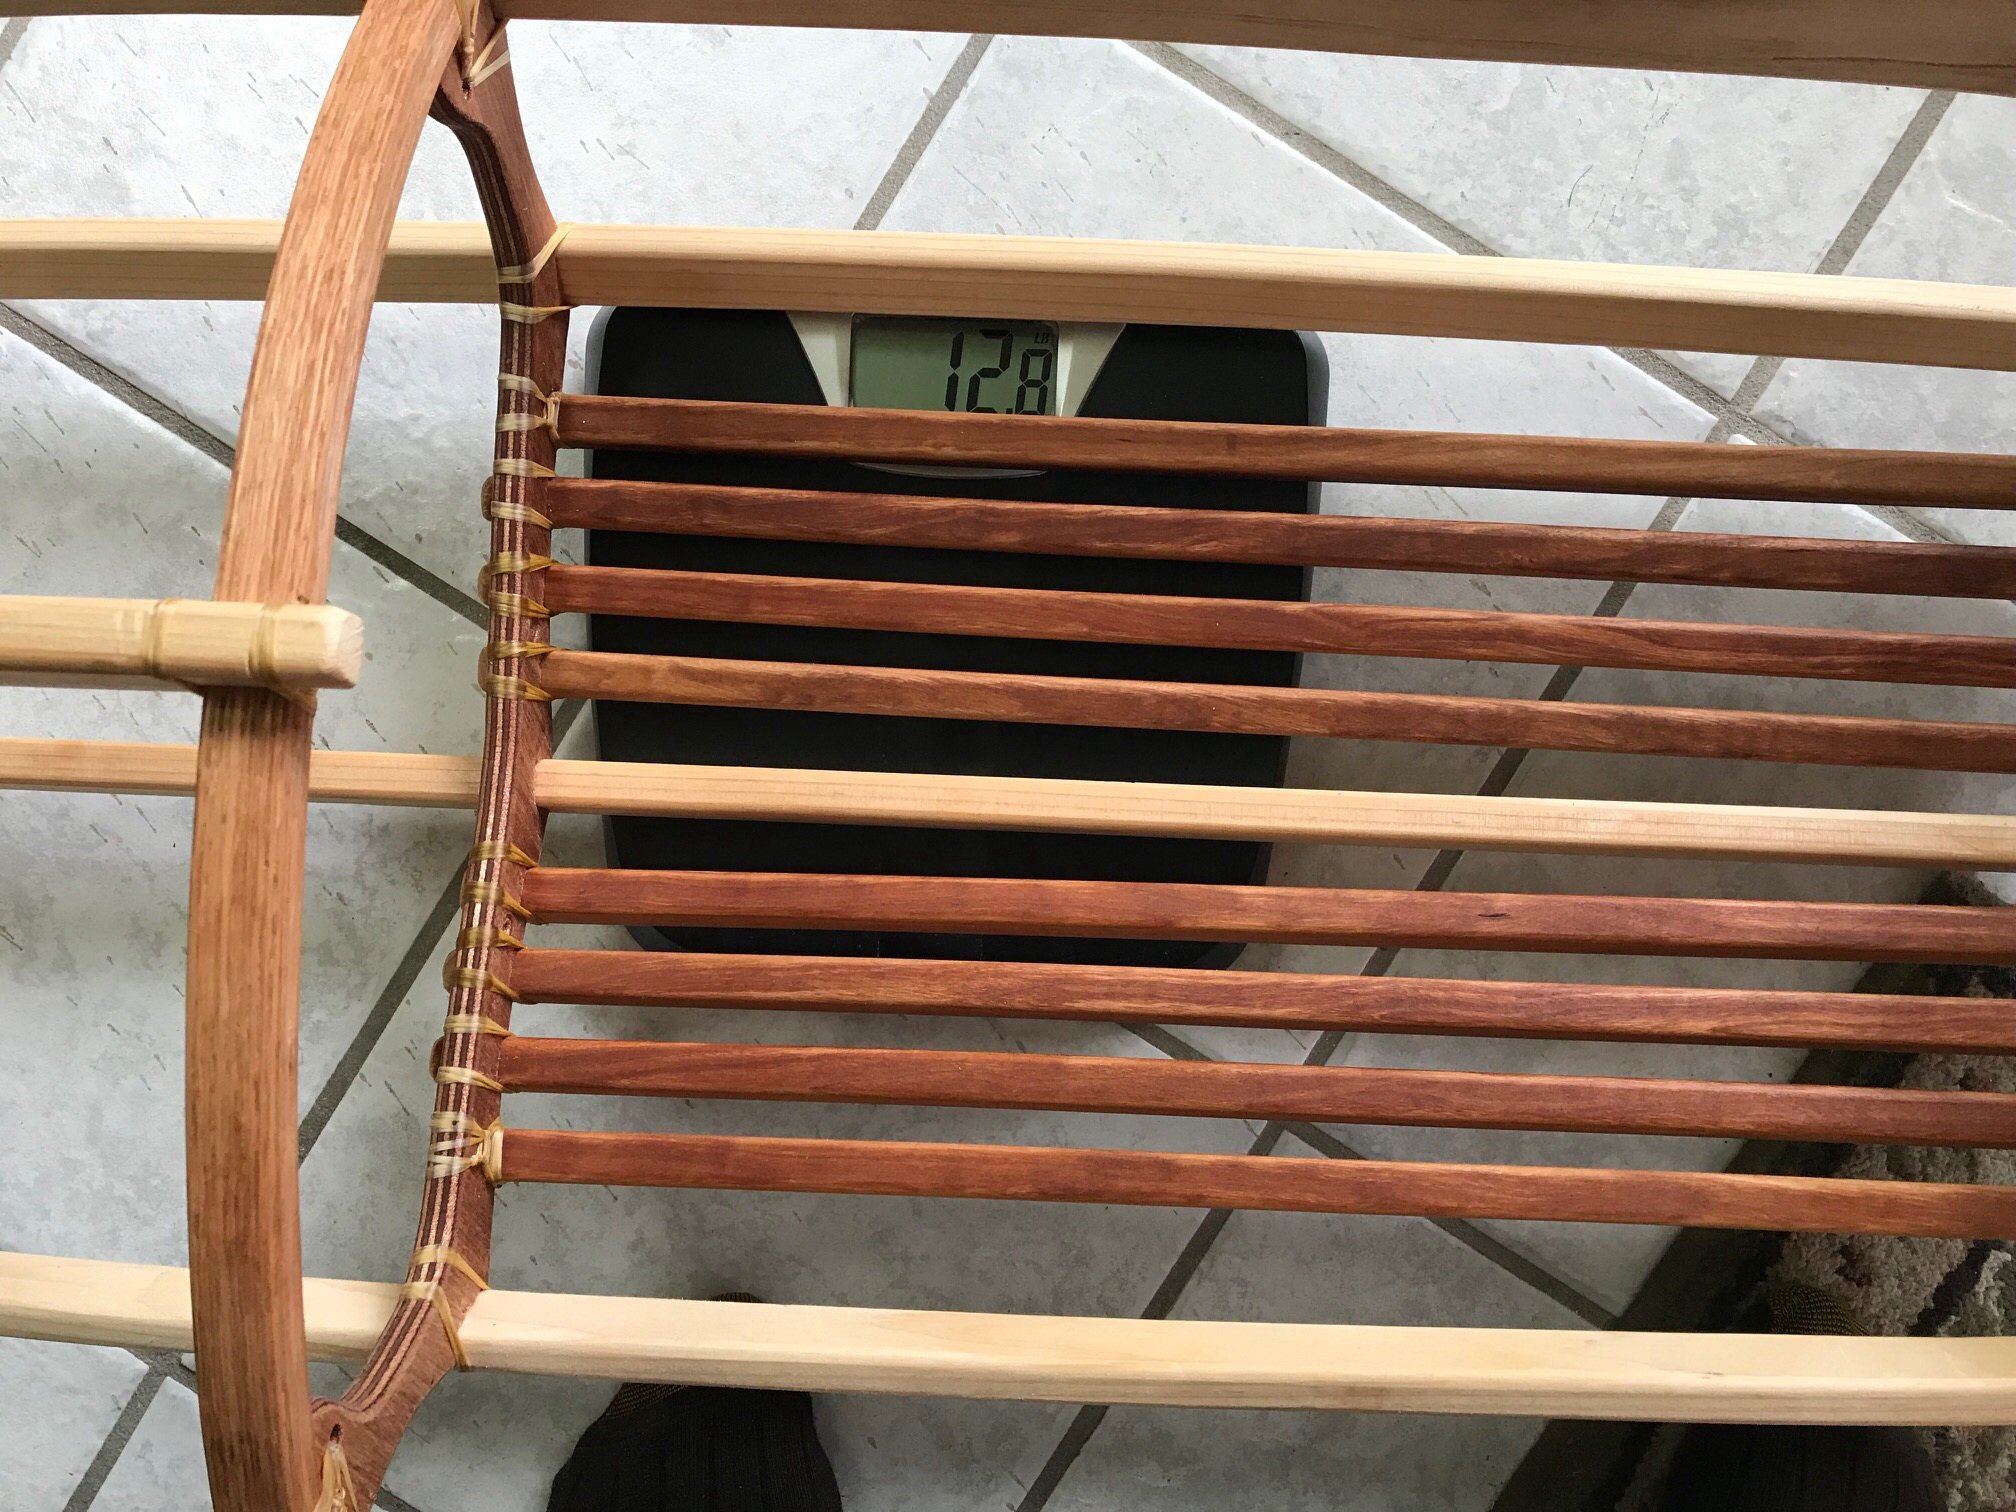
I love my shortshot I built in 2017. Needed an excuse to build another boat. My 11 year old son (68 lbs) paddled my shortshot around a bit and decided he wanted a boat of his own. So how could I say no? Placed the order, received the plans and dove right in. Made a a couple changes to the design (sorry Jeff). I added a laminated beam at the front of the cockpit and used cherry slats for the floor instead of a plywood floor. I was going for a similar look to my shortshot. It will look just like dad's boat, but made in "kid size". I call the last photo a FROW PHOTO. Ha!


 1 point
 -
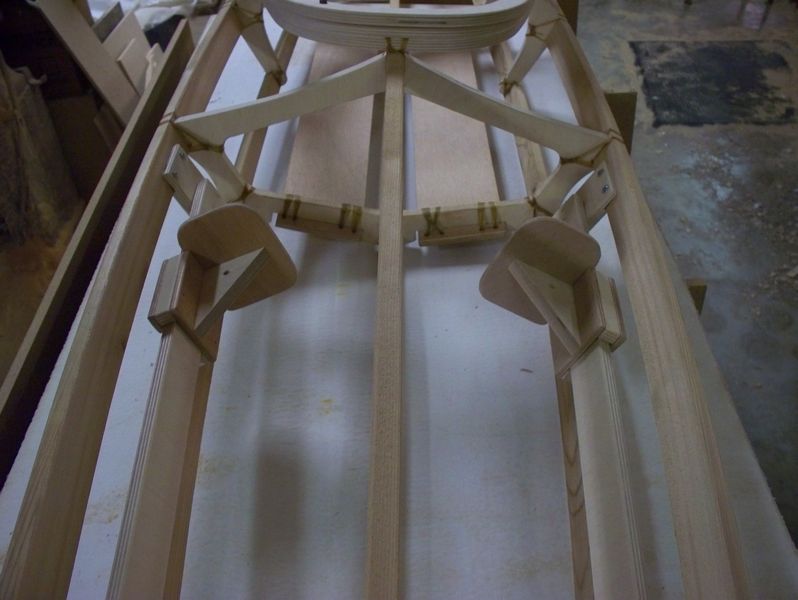
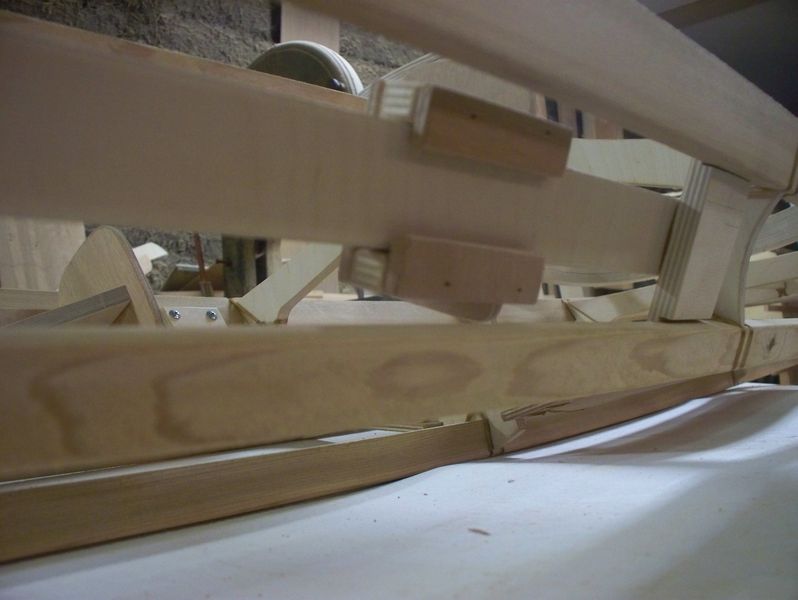
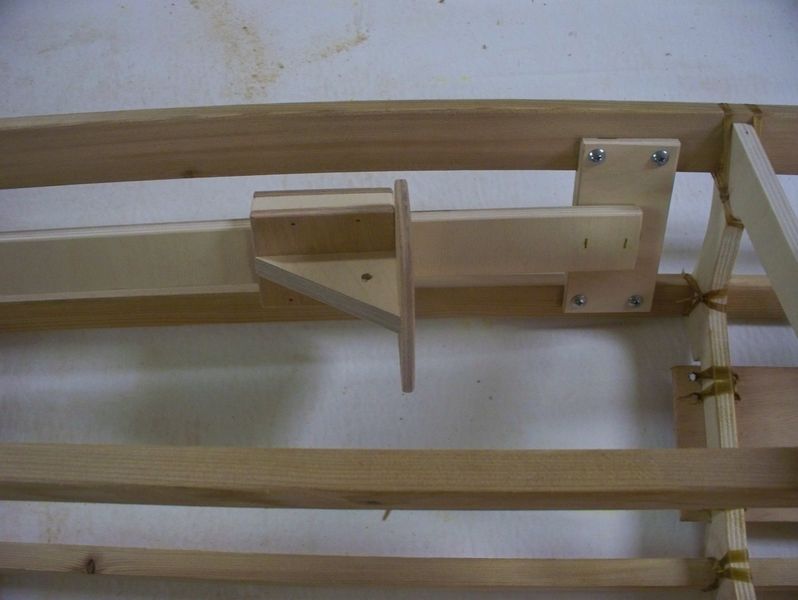
The rails that they slide on are 1 1/2'' wide 1/2'' plywood the footrests are made from 1/4'', 3/8'', 1/2'', what scrap I have on hand... I use this style in other boats....


 1 point
 -
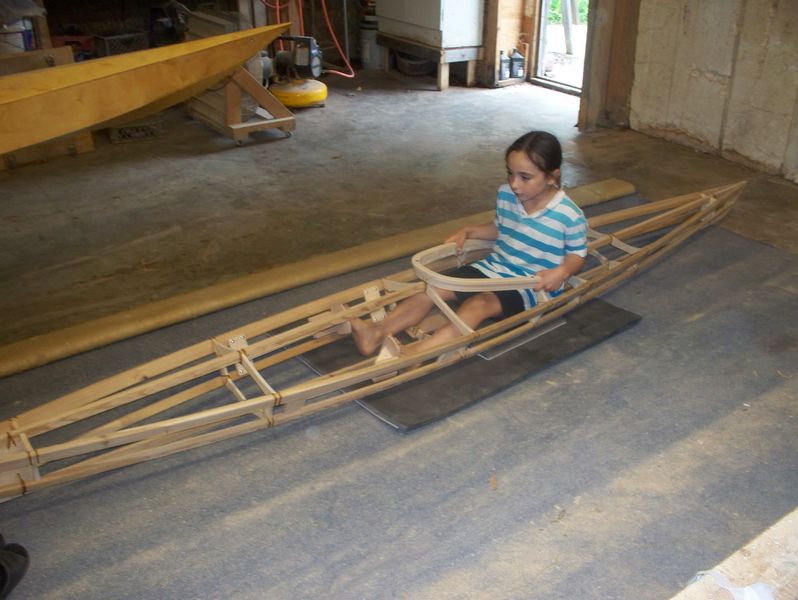
A good fit for this young man........Ready for the oil treatment...

 1 point
 -
1 point
-
Extra bracing for the center stringers while trimming the chine stringers at the stern and bow... Mark the chine stringer to cut off the excess... I use a jig to support my had saw to make the cuts...Align the surface to the centerline and to where the jig is just making contact on the backside of the stringer... Clamp a support block to the bottom...And a pc. of 1/4'' ply to the top which is the support for the hand saw...


 1 point