Jbkillam
-
Posts
10 -
Joined
-
Last visited
-
Days Won
2
Recent Profile Visitors
1,415 profile views


Jbkillam's Achievements
")


-
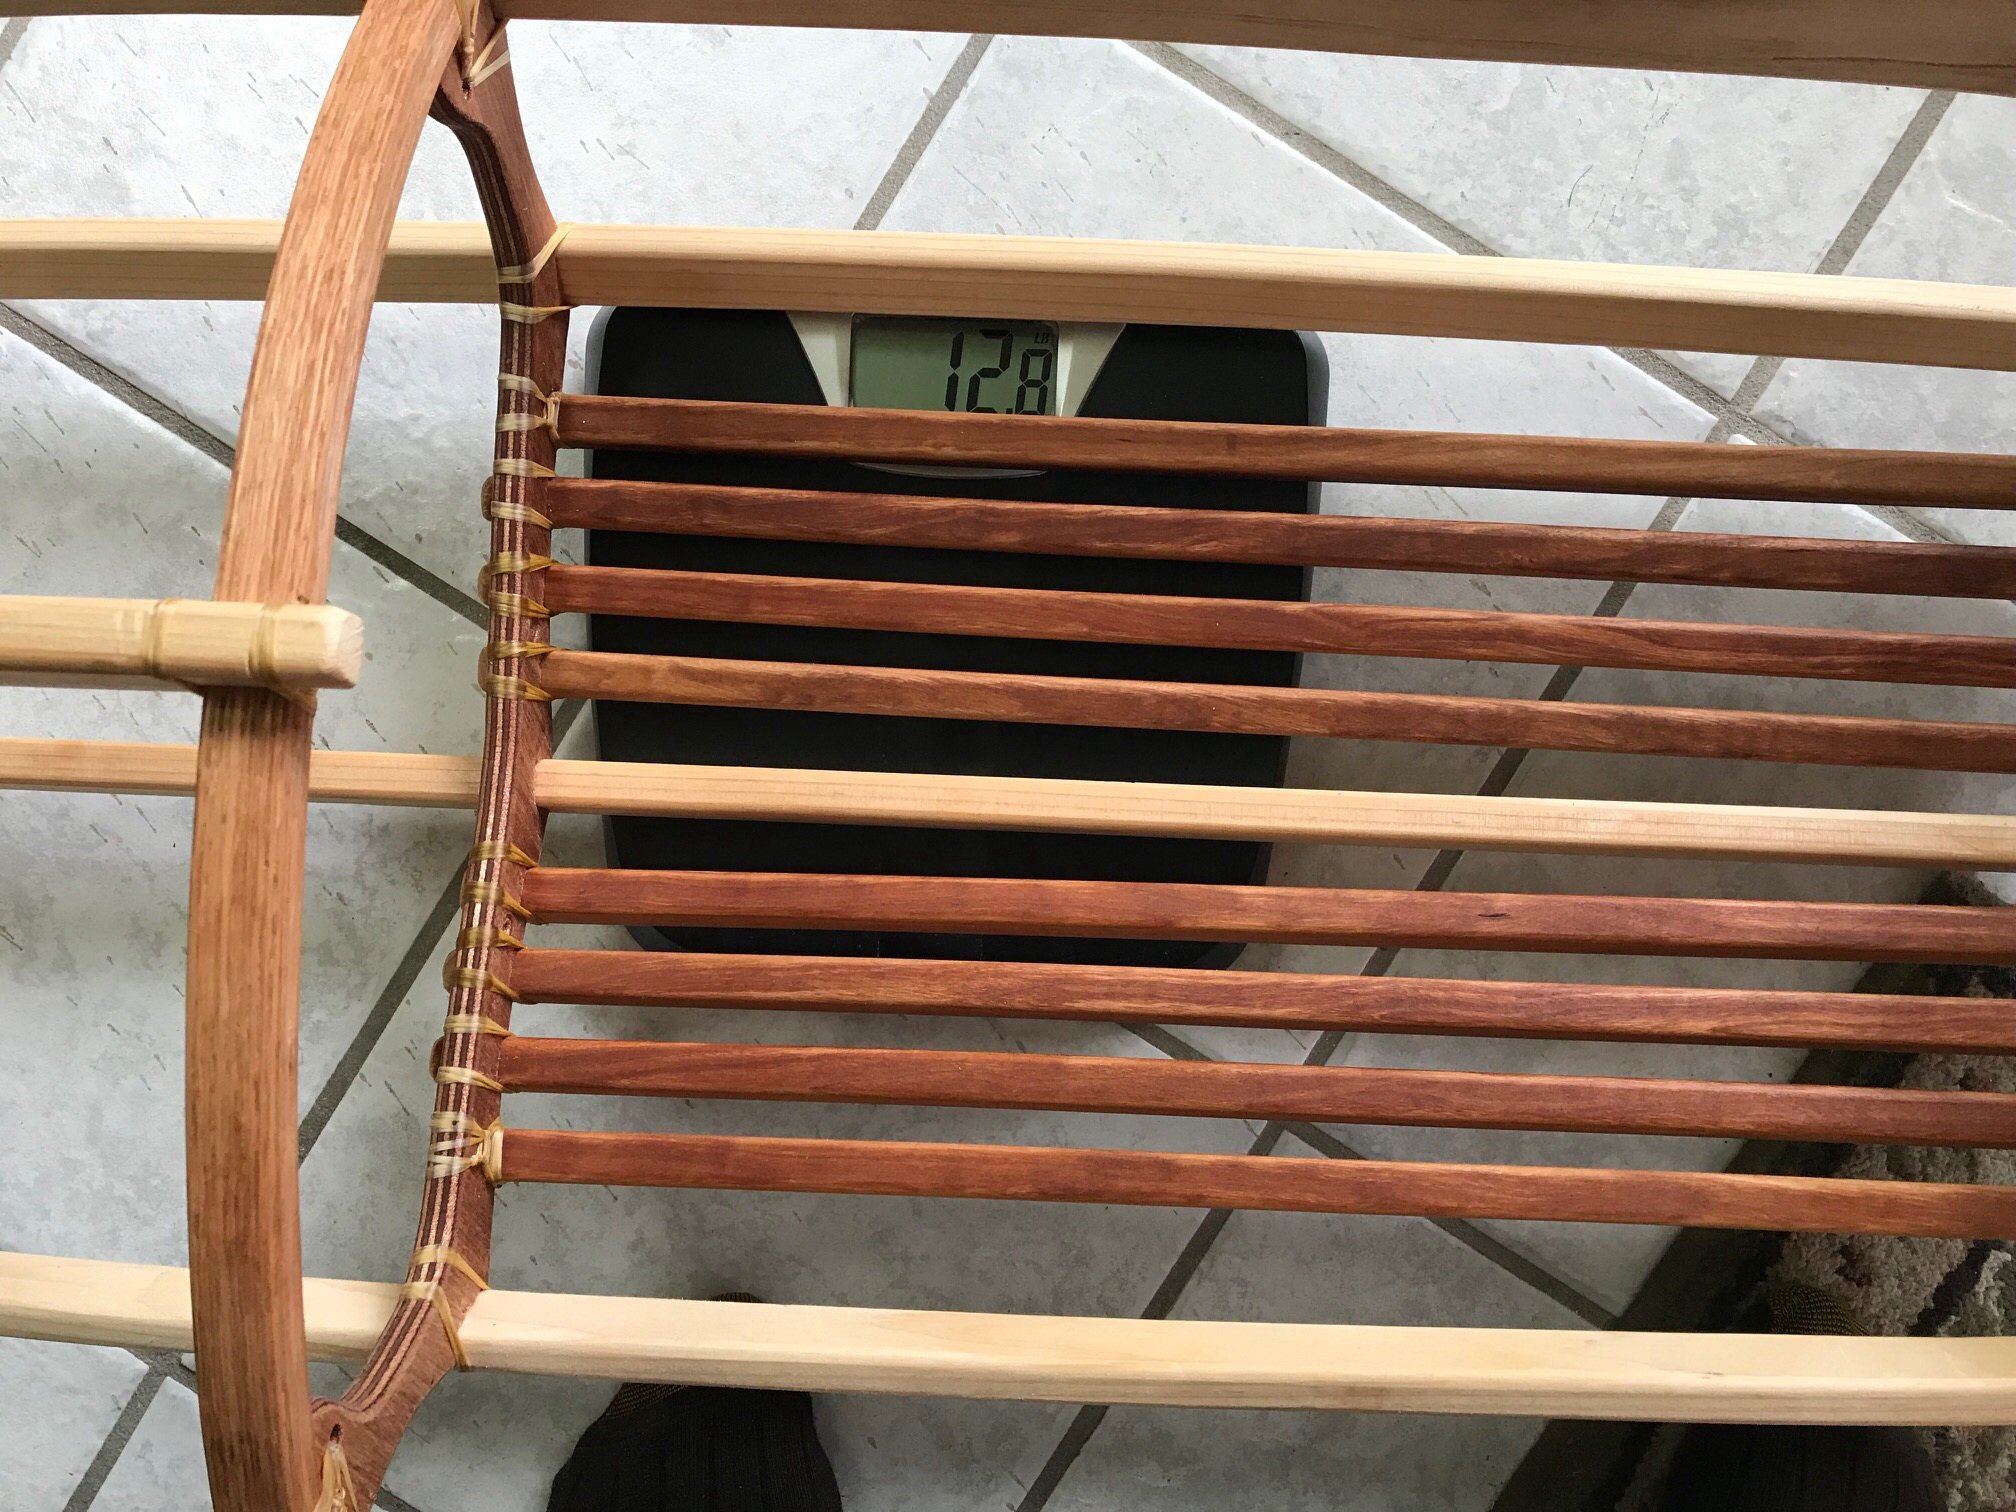
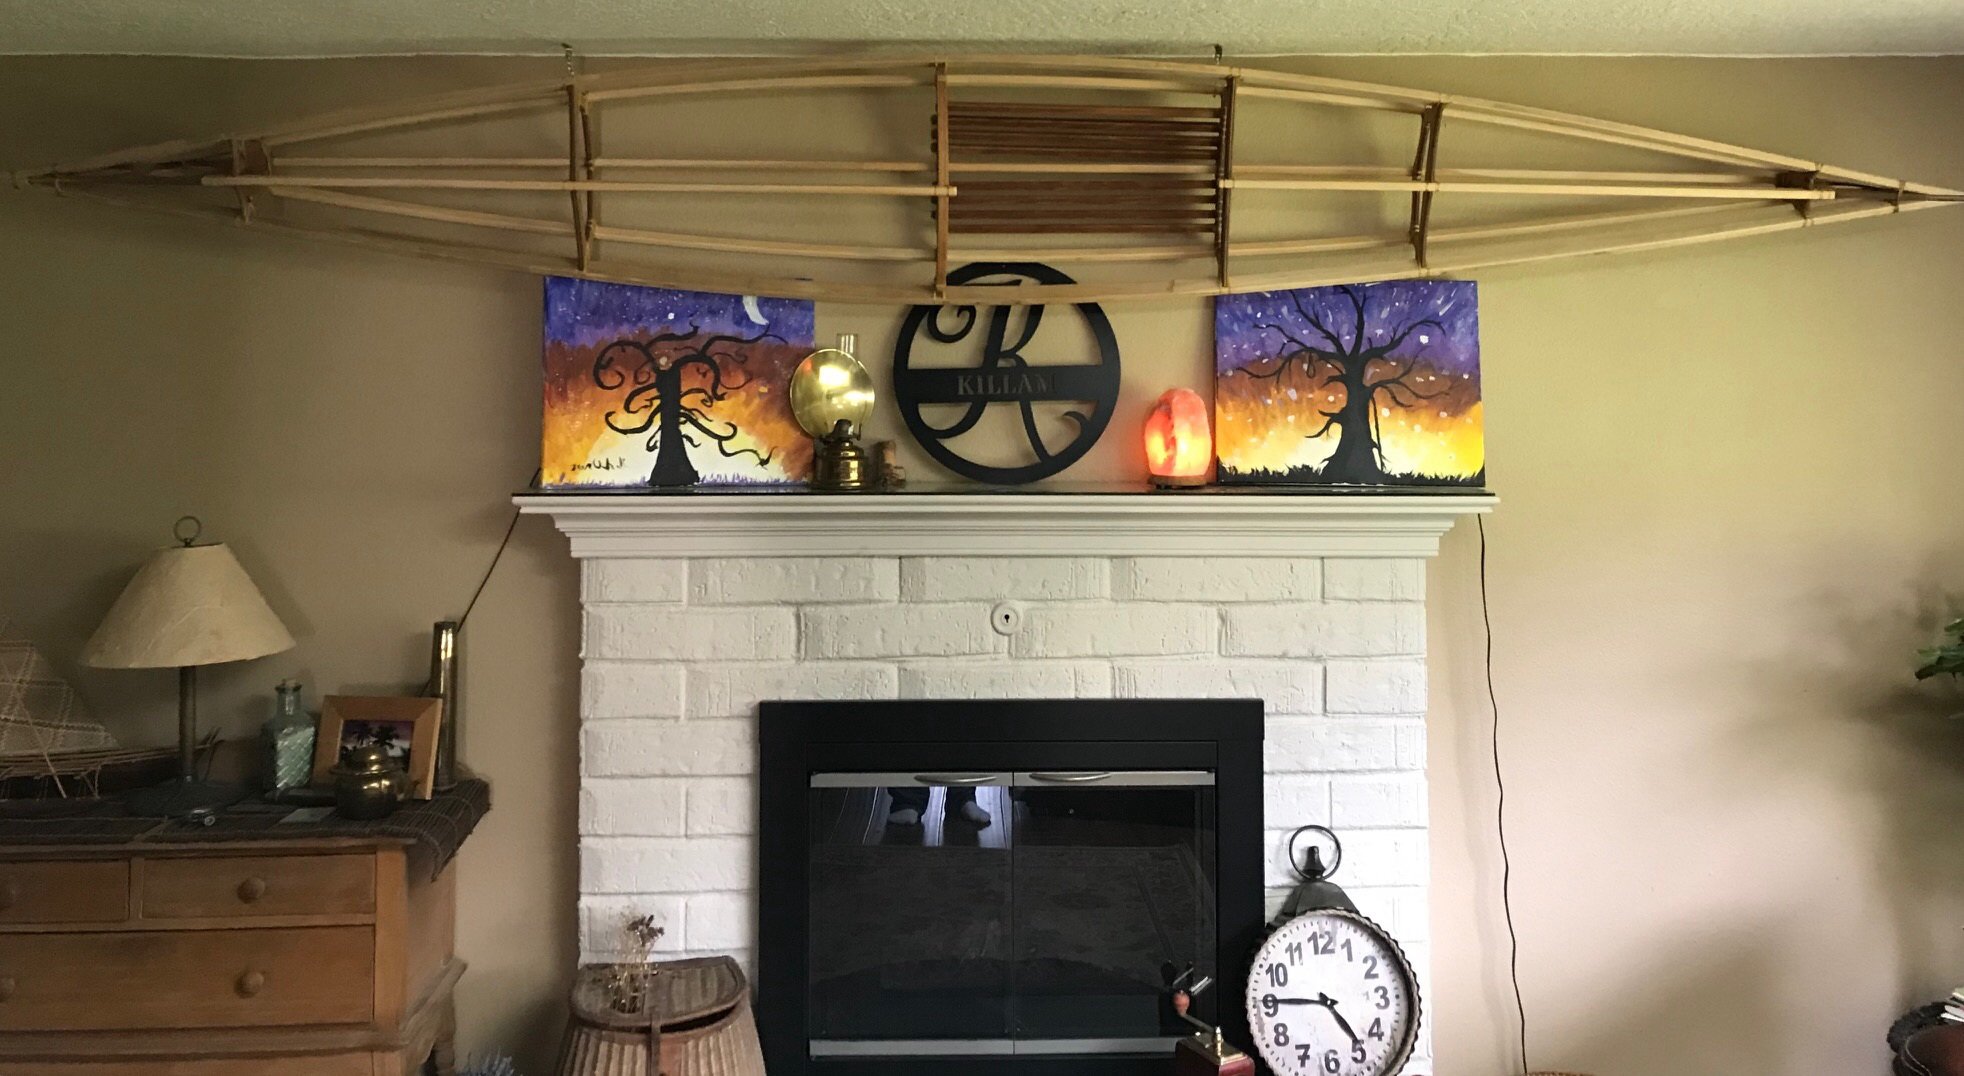
I love my shortshot I built in 2017. Needed an excuse to build another boat. My 11 year old son (68 lbs) paddled my shortshot around a bit and decided he wanted a boat of his own. So how could I say no? Placed the order, received the plans and dove right in. Made a a couple changes to the design (sorry Jeff). I added a laminated beam at the front of the cockpit and used cherry slats for the floor instead of a plywood floor. I was going for a similar look to my shortshot. It will look just like dad's boat, but made in "kid size". I call the last photo a FROW PHOTO. Ha!


-
The day finally came. My boat is in the water. She paddles effortlessly, tracks well and is stable. Weight of the boat comes in about 35 lbs. oh yeah, I bought the seat made by Red Fish Kayaks and it is a very comfortable seat. It is absolutely worth every penny. My next boat will have one as well.


-
Thanks Jeff, I think the rigidity of the welting cord helped keep things straight. I'll bet one could probably find it at a fabric store. Also, there is a hot knife sold by Sailrite that looks to be from the the same manufacturer but comes with a cutting foot for $139. http://www.sailrite.com/Sailrite-Edge-Hotknife-Package-110-Volt Oh yeah, I can't help myself from thumping the skin every time I go into the garage for something!
-
not sure if all this info belongs in the FROG section, But its the best I can do. I wanted to mention that I found trimming the fabric with a hot knife to be worth every penny. Not to mention it makes a very satisfying sound when cutting. The cutter used in the videos are the german manufactured hot knife that runs $200 plus! I found this one from Carolina knife Co. for $99 Bucks (plus $20 shipping)! hot_cut_knife It appears to be of good quality and sturdy. it doesn't have the led light to illuminate your work, but I didn't think it really needed one.
-
couple more photos


-
ok, on to the fun part. skinning the boat. i found this to be very rewarding and surprisingly relaxing! I'm using 840 extra tuff nylon from the skin boat store. I watched Jeff's video on fabric selection and sewing methods (method depends upon the type of fabric one uses). once again, I used nylon. I elected to use the welting cord method. I could not have done it without all the information and contributions published on the web (thanks to all for taking the time to do so). here are the links to the videos demonstrating the method I decided to use. the first one is from Cape Falcon Kayaks: How to sew a new 'skin' on a skin-on-frame kayak - YouTube I used this technique to make the pockets for the bow and stern. However I only sewed up the bow 2.5" short instead of the 4" he recommends (Im glad I did. stretching the 2.5" was hard enough). the other video that guides you through the process is from the Skin Boat School. Skin on Frame Kayak Building: Sewing with Welting Cord Corey cinches up the stitches by hand. I used a dowel after cutting my finger when the sinew slipped through my finger under tension (ouch). I used the nylon artificial sinew and the welting cord sold by Corey. The welting cord he sells is 1/8" rigid plastic. its rigidity makes it easier to maintain a straight stitches (It is totally worth the 25 cents per foot price) Ha! I think it is upholstery piping. it works great what ever it is. Just get some, you won't regret it!

-
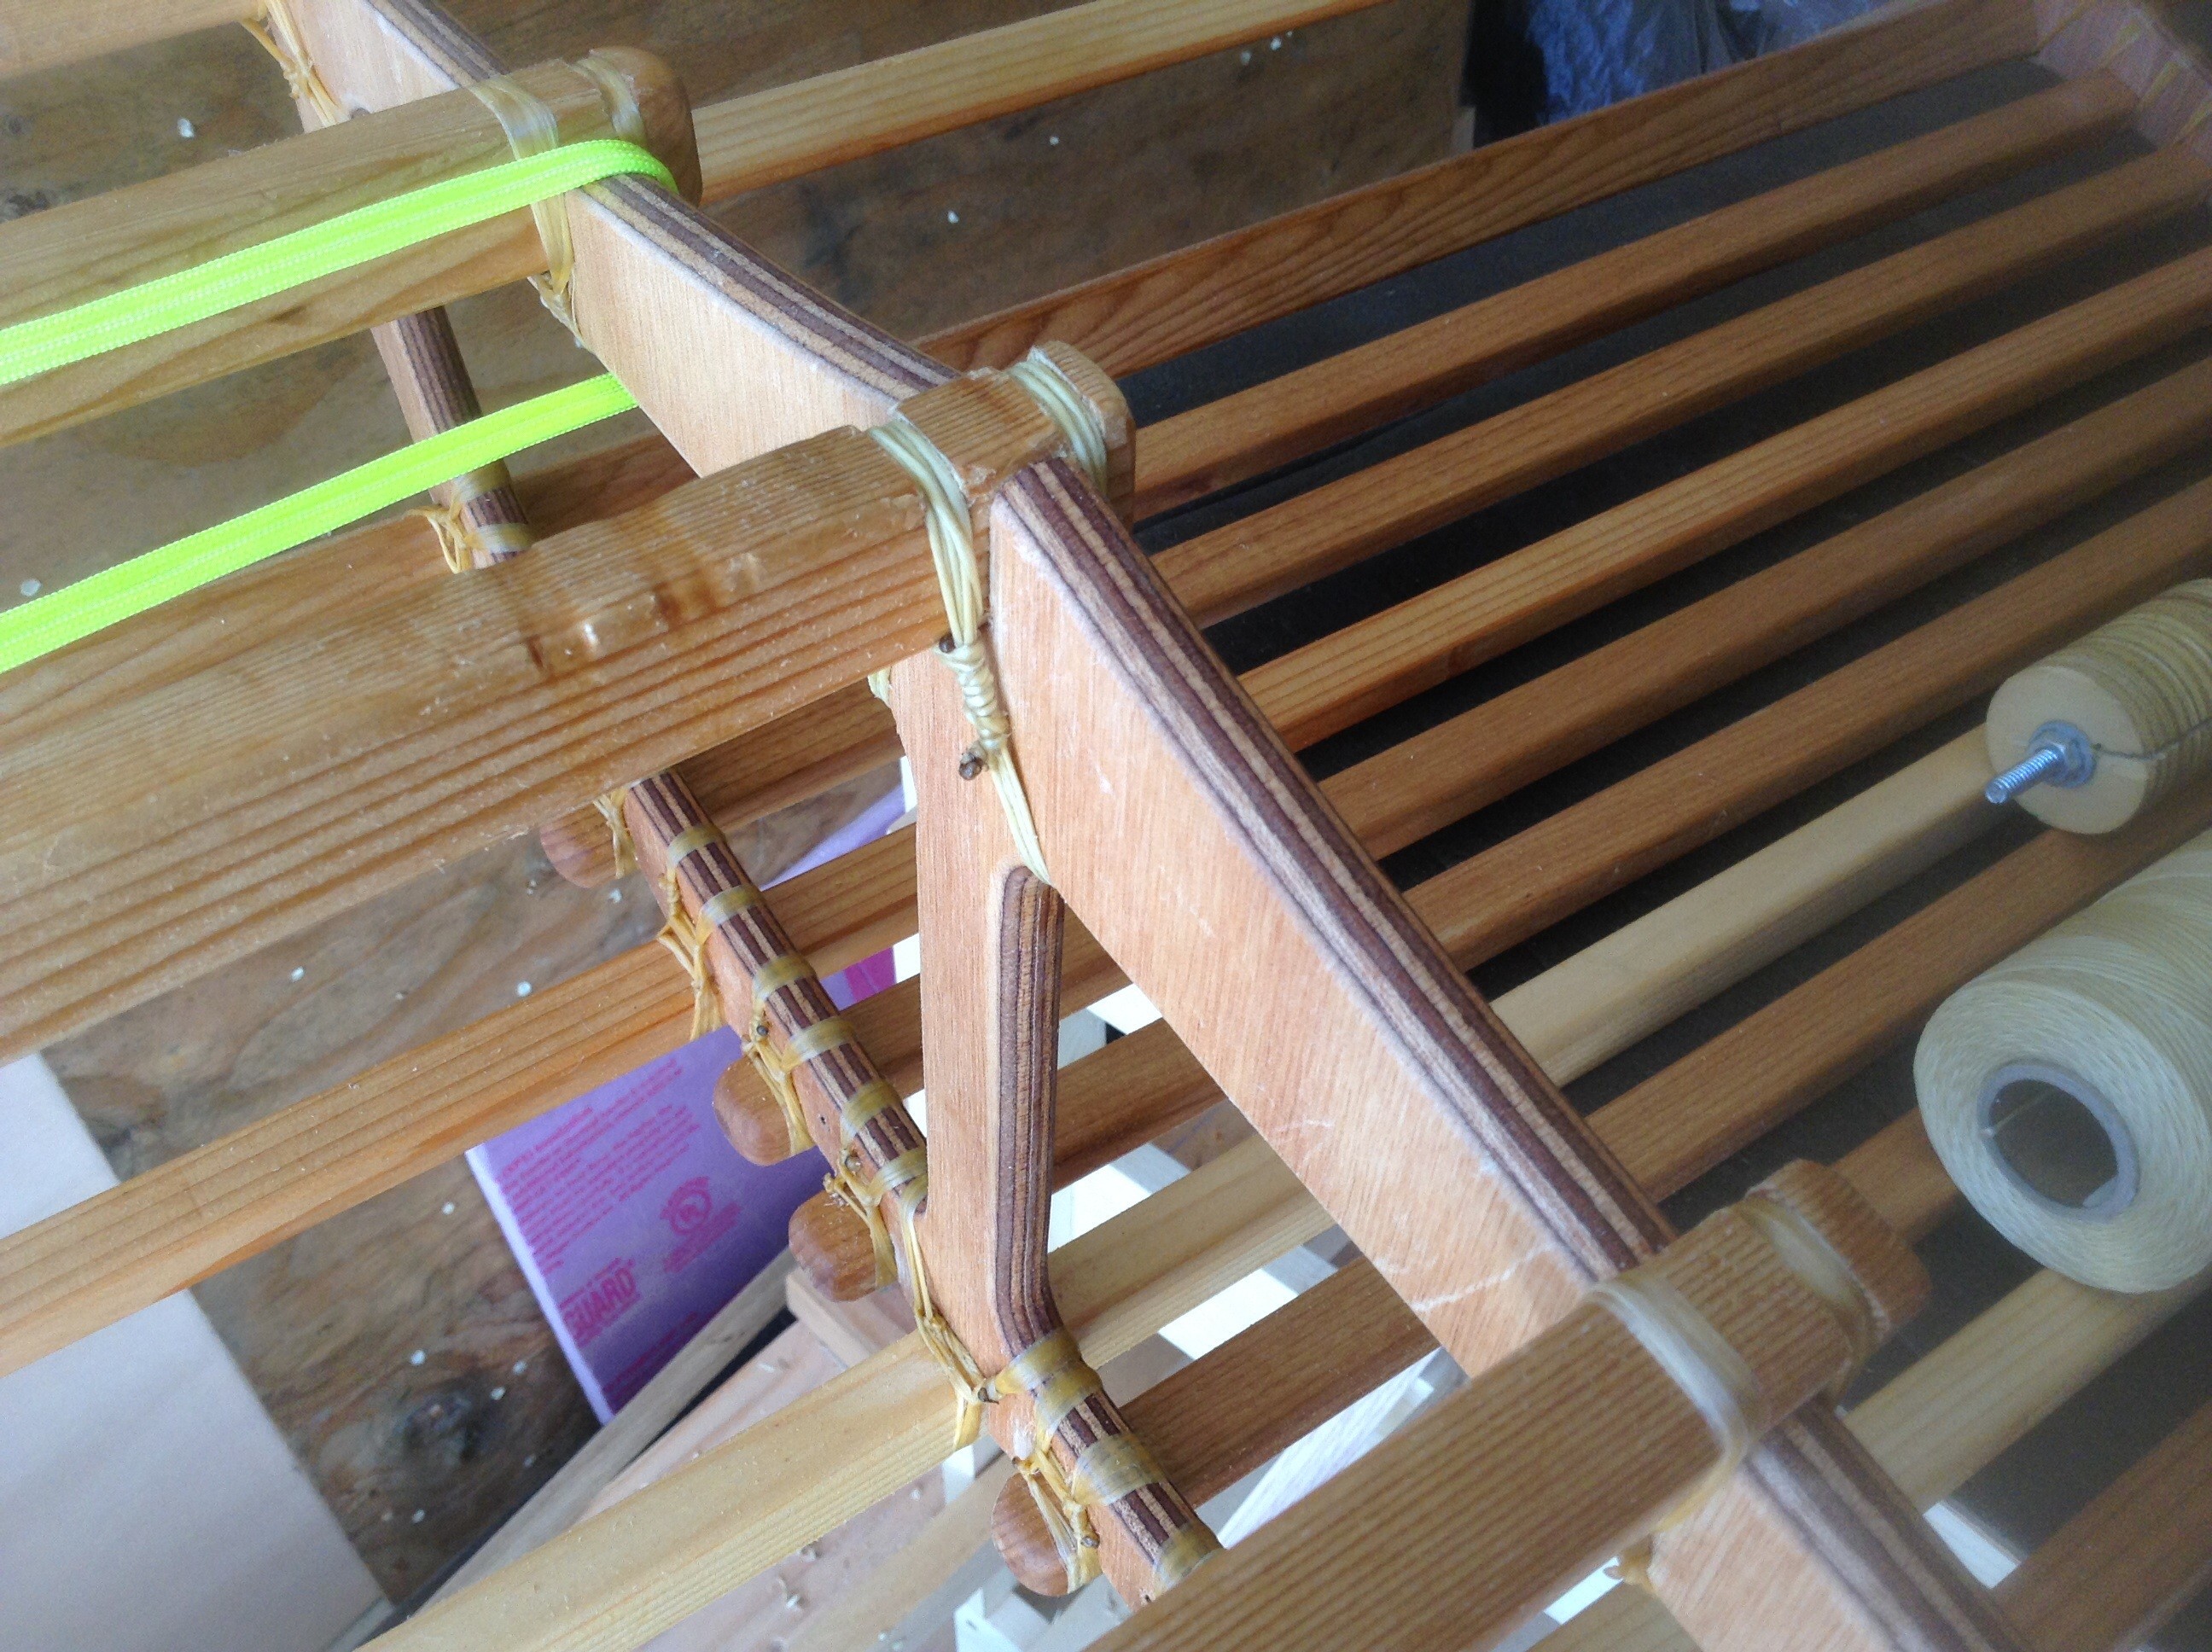
Ok, I ditched the gusset idea and returned to its original configuration. The deck beam won't protrude too far past the coaming to poke me in the back. I'll have a back band anyway.

-
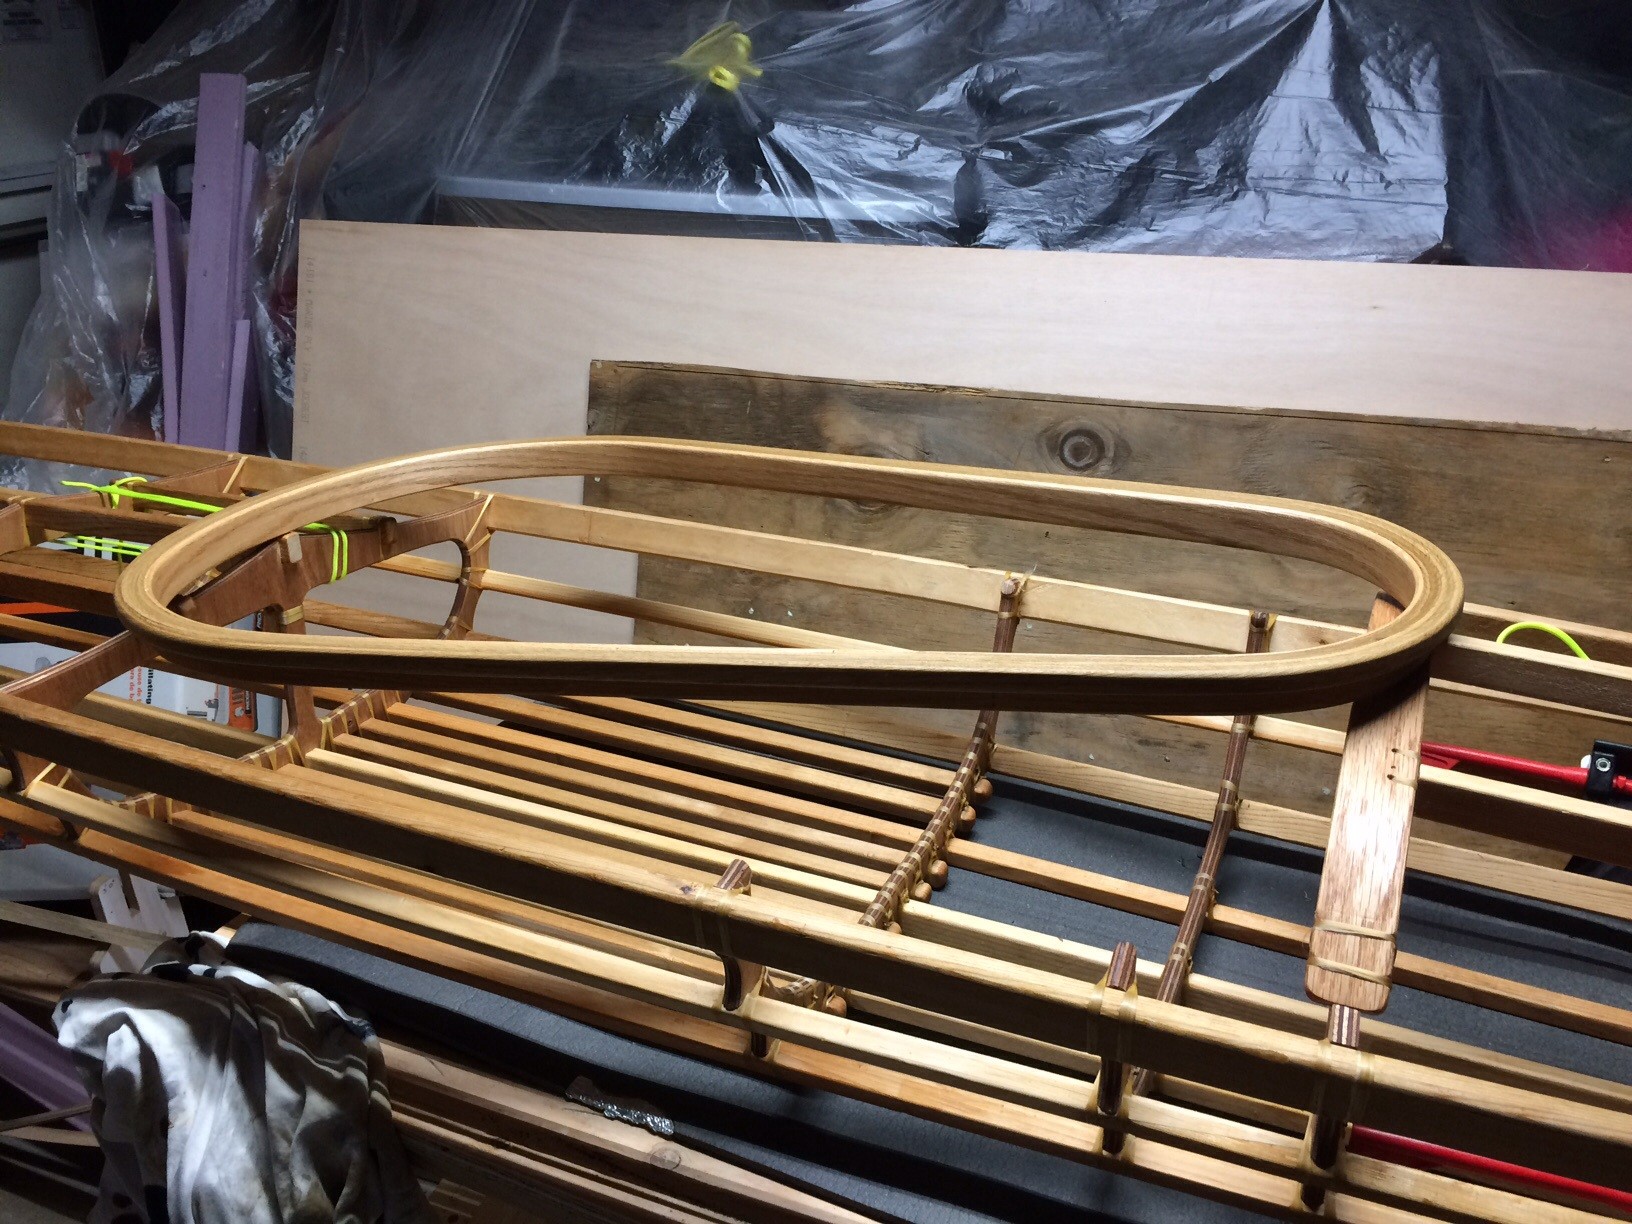
Here are a couple more pictures. I used Gorilla glue to laminate the coaming. Will coat coaming with spar varnish. The only modification is how the top rear center deck stringer is lashed to the frame. The idea is so I can cut the stringer flush to the front of the frame for a "cleaner" look (haven't done it yet. Not sure it's a good idea). the coaming length is 34" but the aft diameter is 17" and the fwd diameter is 9" with straight lines connecting the two circles. FWIW, I used a steam bent 1/8" strips to create half the coaming then switched to the heat gun method as shown in Jeff's video (his method takes much less effort at is much less stressful than steam bending!). Also, I used poplar for the seat slats thinking they would better take the load than cedar (the cedar probably would've been fine). I'll be covering using "840 xtra tuff nylon" and two part urethane mix from Corey Freedmans skin boat store (will keep you all posted)


-
FINALLY, it's my turn to post a FROG photo. Many thanks to everyone that posted photos. the pics were very helpful during throughout my build. FWIW: okume 12mm ply, cedar 4"x4"x10' ripped into stringers (scarfed using Titebond 3), "Tandy" brand polyester flat artificial sinew, laminated oak coaming (1.25" tall with .5"x.5" lip), 28 lbs with coaming and foot braces.


-
Quick question. Are the coaming dimensions of the Curlew (34"x18" taken from Jeff's book "Fuselage Frame Boats") the same as the Short Shot? I'm expecting a set of plans for the short shot from Santa Clause, but would like to get a head-start/practice on a laminated coaming.