Justin C
-
Posts
126 -
Joined
-
Last visited
-
Days Won
5
Content Type
Profiles
Forums
Events
Gallery
Everything posted by Justin C
-
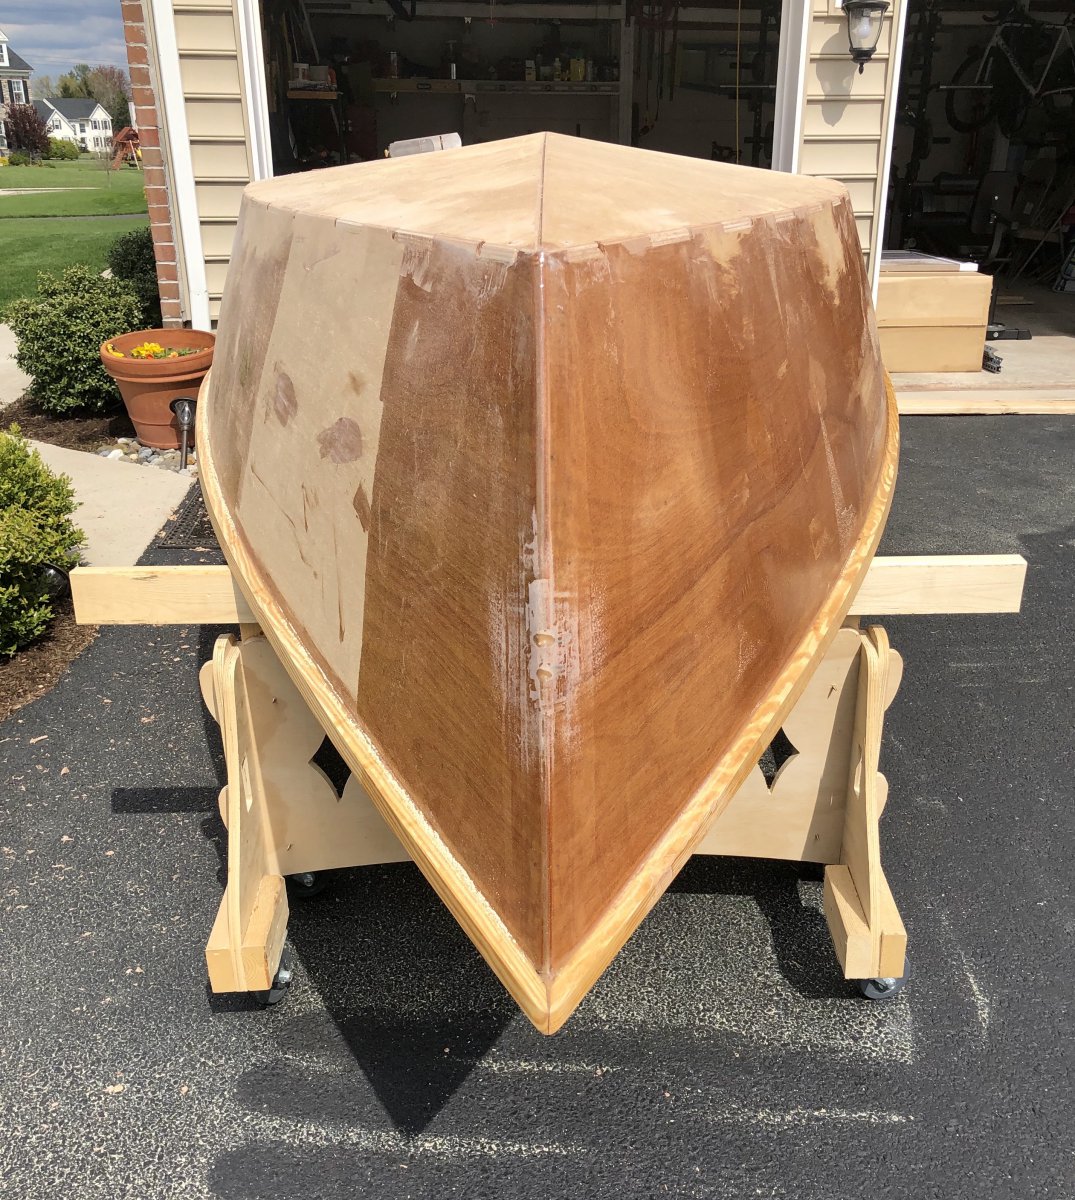
I got the boat flipped over for work on the bottom, chines and hull sides. I modified the cradle with some 2x stock to give it a better platform. I used a block and a hand plane to remove the excess material where the gears meet. I also made a few longitudinal passes on the keel and chines. When I epoxied the interior pieces, I squeezed out the excess epoxy on the rollers on the hull sides. This probably wasn’t the best idea as there were a lot of hardened drips I had to sand off today. Anyway, I’m going to focus on prepping the chines and keel then I’ll get the glass cloth laid out.


-
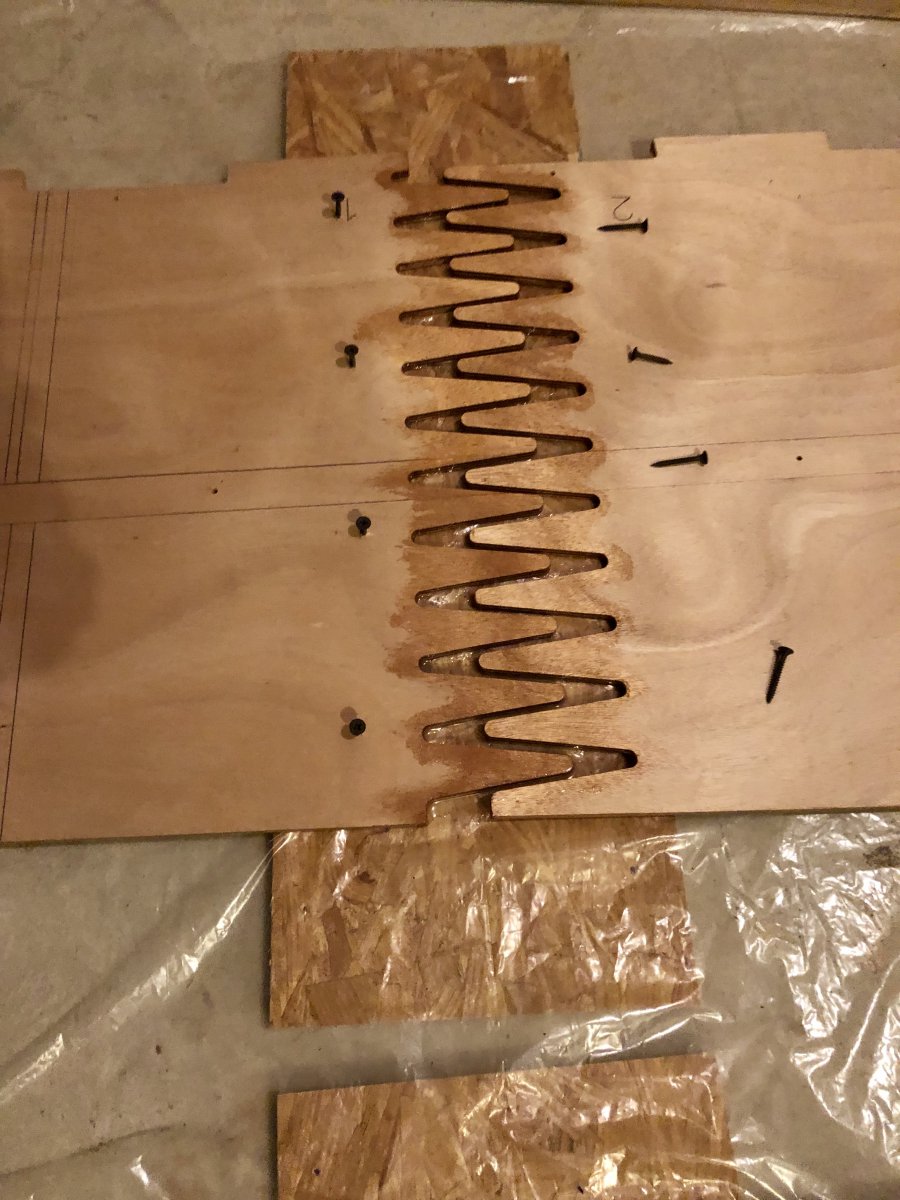
As Alan mentioned, it’s the best way to hold everything in place. Even though the finger joints are tight, it can be a bit difficult to make sure they are lined up perfectly as there can be movement. I also drew thick pencil lines across the joints once I had then aligned and dry fitted perfectly. Once the epoxy went on, I could still see most of them. I also used screws to align all the interior bulkheads - I screwed partially into the hull in front of and behind the bulkheads to secure them vertically as of allow for some tack welding.
-
@Alan Stewart Sorry if I’m over thinking this, but glass tape over the outside chine first, then covered in glass cloth? I get the overlapping on the keel section as I did on the inside with the tape. Also, I received the extended hatch cover in good order - thank you. Can you recommend a piano hinge? I’d there a method to affixing this that is different than normal? What would be a good mechanism to keep the hatch closed - simple pop up swivel closure?
-


-
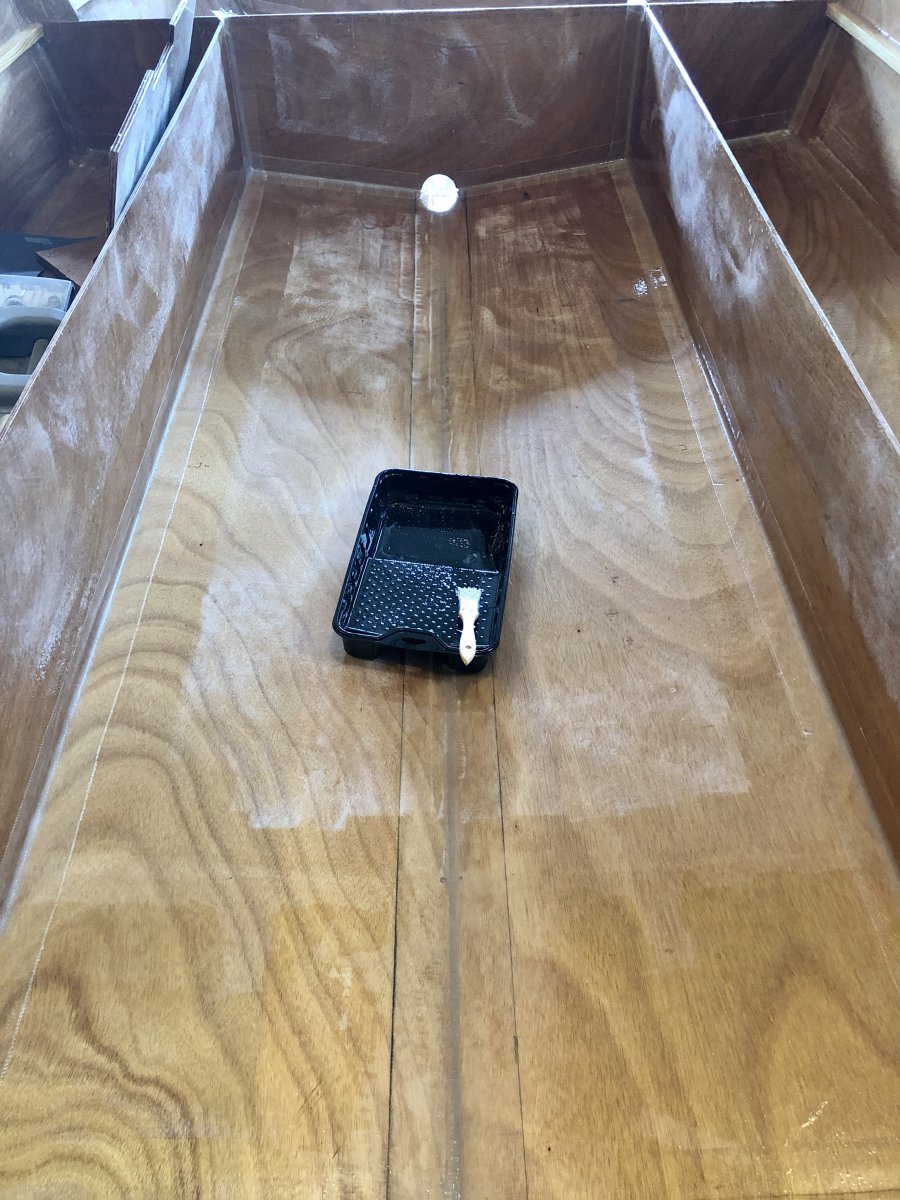
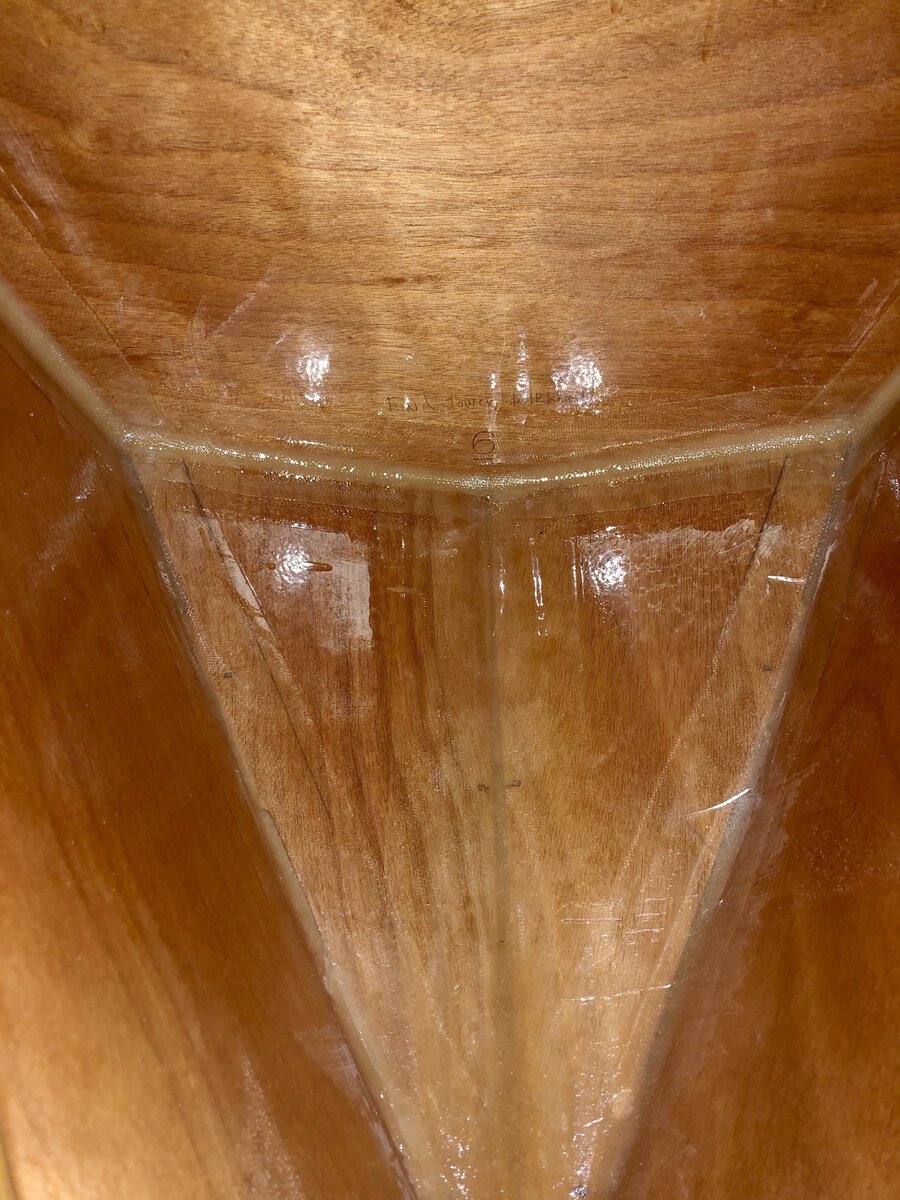
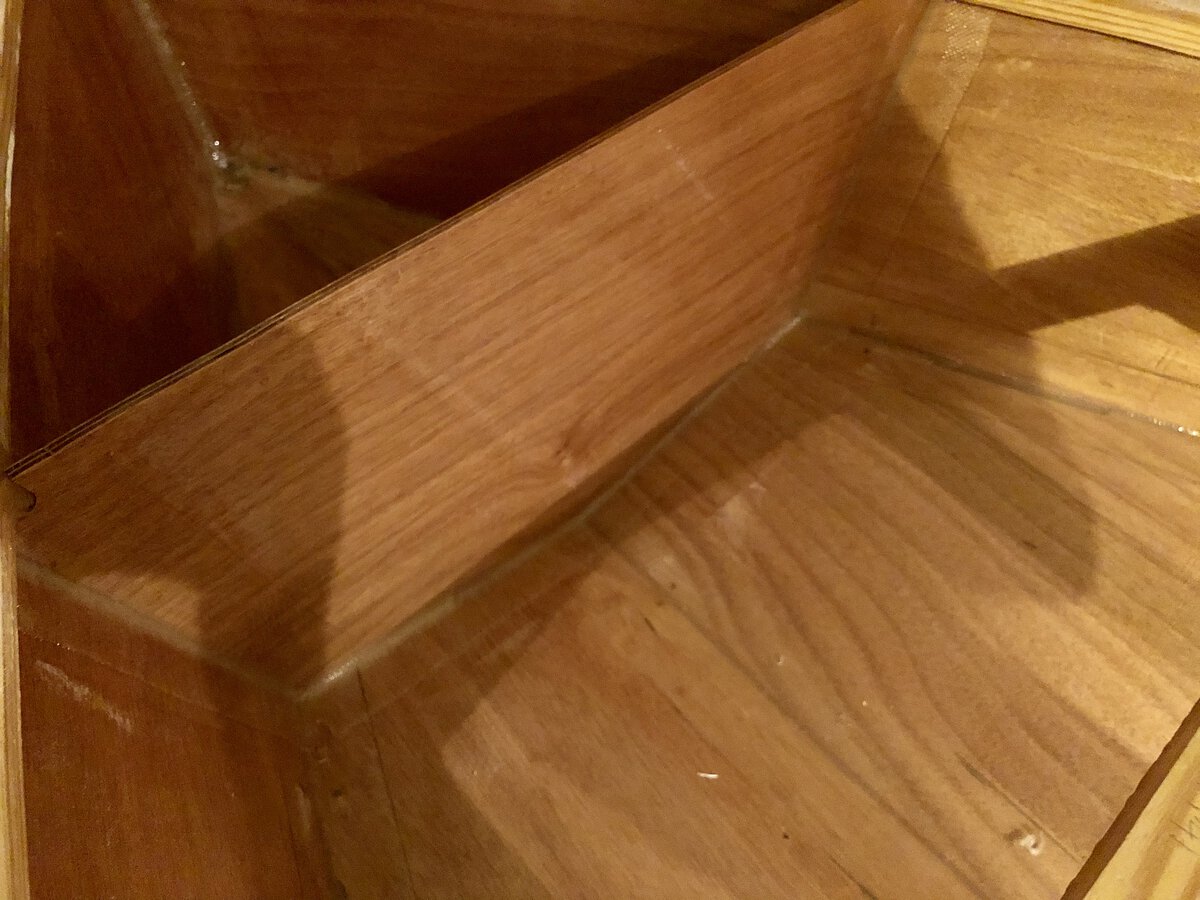
I hope everyone is enjoying their free time amid this craziness. I am able to work from home and thus far, I had not had any issues. The weather up here has been getting warmer and I decided to use today to finish off all the interior joints with fiberglass tape. I used the flotation bay to be my wetting our area. I decided to use a small foam roller to both wet out the glass and the joints. It worked much faster then using a chip brush. I also need to glass the hull. I don’t recall but I think I have to tape the chines before the hull is glassed. I am also wondering if I need to add another length (or two) to the interior sides where it meets the hull. I have one, shown below:


-
I can't help with your questions. I just wanted to say thanks for the updates and it's coming along very nicely!
-
What is a good recommendation for a general purpose surface cleaner to use on sanded epoxy wood? Ideally something I can buy locally at a hardware or box store. I’m thinking I should have the surface prepared properly before primer and paint.
-
As you previously mentioned @Chick Ludwig, I will use board insulation for the larger compartments. I may box them out and use the remainder of the pour foam to fill them in. Next up is to either test paint and primer on some interior spaces if I get the garage warm. I also have to scribe the forward casting platform to fit snuggly. @Alan Stewart helped me out with how this will work. I’ll give it a shot soon.
-
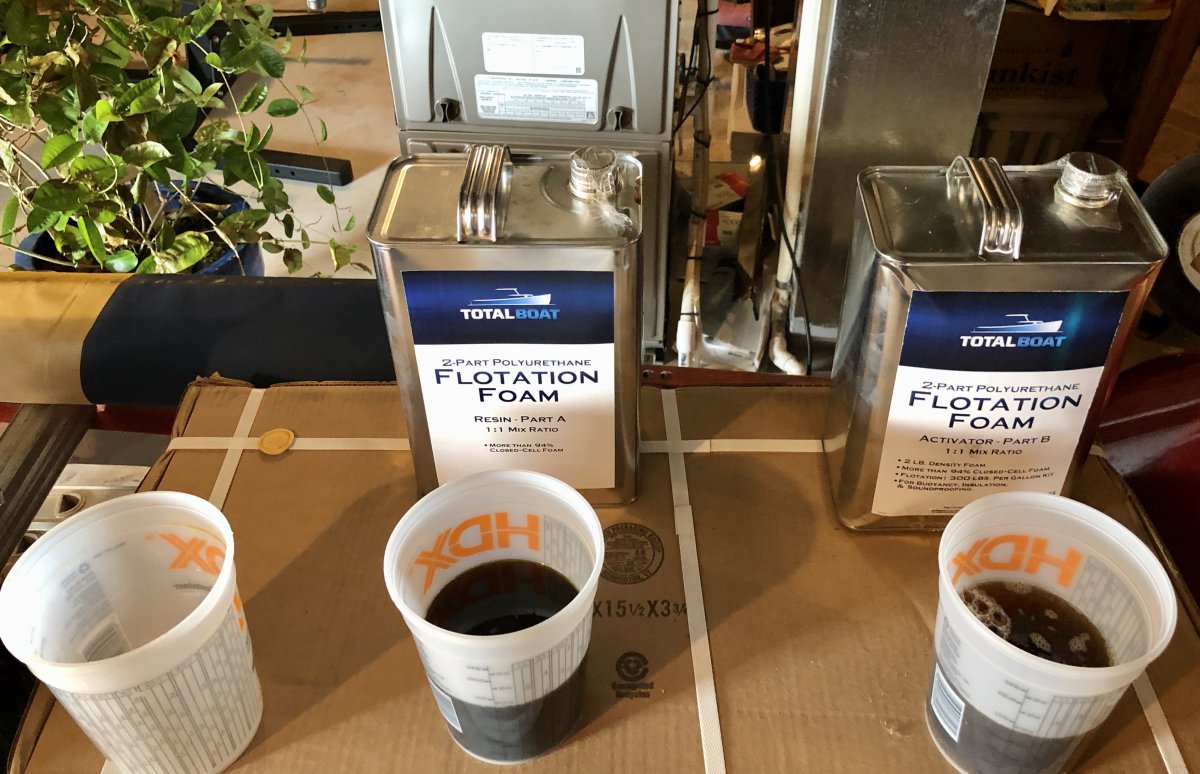
Here is the completed foam mold in the forward lower compartment: The mix was a 1:1 ratio. Instructions said to work fast. It took about :45 to 1:00 for it to fully thicken, then rise. 16fl oz of each part filled 90% of the form. I then mixed up 2oz of each and filled in some low spots. 20min later, I broke apart the mold and used a saw to flatten the top.


-
My 15’ has this general profile. It would be very similar. But, it’s not been a difficult build as of yet.
-
This exactly! I’m looking to keep things clean. Figured since I have foam, I would form it outside and drop it in. I’ll use board foam in the aft compartments.
-
@Chick Ludwig can you explain more re: not lining where the pour foam is going to go? I’ve lined the interior of the cardboard mold so that I can pry it off easier once the foam has cured. I’ll then drop this plug into the forward lower compartment. What is the method to eliminate moisture from seal compartments? Or, do you?
-
I mocked up a cardboard mold for the forward lower compartment. I’m going to cover the interior in plastic (bags, tape, whatever) and then fill with expansion foam. While I did say I would mock up a center console, I’m not there yet. Soon.


-
@Thrillsbe Both points noted. I think the boat will be trailer stored most of the year. It will not be kept in water or under continuous UV exposure. I have easy access to A/A birch and maple ply. I would not use fir.
-
@Alan Stewart I have a half sheet of 1/4 maple ply and it’s pretty darn smooth, no knots, etc. I was thinking using something like that and once coated with epoxy, primer and paint, no one would be able to tell. As for tinkering, I have a limit? I’ll do a mock up in cardboard and share pictures in a few weeks. I’ll then decide how I want to proceed. Thanks and Happy New Year to the B and B community!
-
@Chick Ludwig 800sqft garage - a 20lb tank of LP will keep it warm enough (above 70F) for 24hrs. The garage has three insulated doors so even when it’s 30F, it heats up quick and holds it pretty well. The tank refill is $15 - not horrible.
-
Depends on what your motive is? Just kidding! Interestingly, the boat you are building was one of the boats that drew me to boat building. I decided on this also as a bit of a test run, however, I simply do not have space for anything larger than what can fit into a standard garage. You will still have the satisfaction of building a boat and the knowledge will not be lost. God know about the maintenance requirement of these things!
-
Due to the server issues I had connecting here the last week or so, I'm late in saying Merry Christmas to you all that celebrated. I had a fun and educating experience getting the boat to the point it's now at this past year. I'm going to be opportunistic with boat work during the colder months ahead and the updates will be less frequent. I may have previously mentioned that I plan on building a small center console for basic electronics and a wheel. I had placed an order for two sheets of 1/4" Okume ply back in August, but cancelled the order two weeks ago as the lumber yard was not able to get me a ship date. @Alan Stewart Do you have any thoughts on where I can get marine ply? Are there other wood species a good substitute? I do have some sketched up plans for a console if you have any interest in getting them in CAD?
-
@lenm Amazing work! It looks just like my Jessy 15' except yours is larger, more complex, prettier and it has a person building it who knows what they are doing. ??
-
Ken, I'm a little late to the party, but CONGRATULATIONS! Amazing build and helluva achievement!
-
I realized I spent entirely too much time finishing compartments that when completed, will never see the light of day. However, it wasn't a complete waste as it allowed me to move a bit further up the learning curve of boat building. Well, heating the garage was a success as the epoxy and glass pieces were set up real hard this morning. I scraped the edges of the glass and will do a light sand. I have a few more interior joints to do, namely the center bulkhead. I expect to get this finished up this weekend. I may have mentioned a while back that I ordered two sheets of 1/4" okume. I am going to also use the colder months to fabricate myself a small center console. I have a rough design in place and will mock up with cardboard over the coming weeks/months. Stay tuned...
-
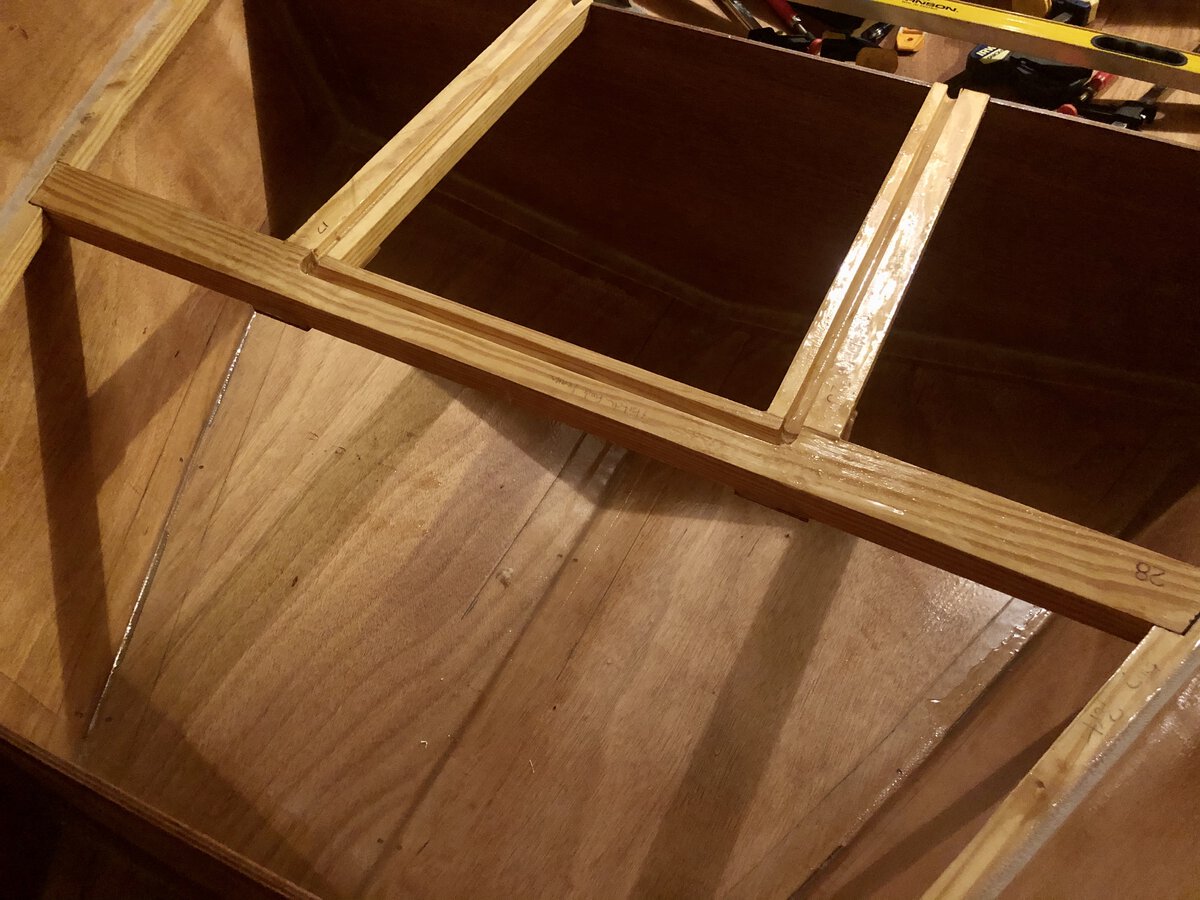
Small update - With the temps lower and not having a lot of free time on the weekends, I spent the last few weeks coating the smaller pieces with epoxy in my basement. I’ve been using a 3” foam roller to knock out the work. I set up a propane heater in the garage this weekend. Temps outside are in the 40s and it’s 80 in the garage! I glassed the forward bulkhead compartment and bulkhead 2. Both of these also sit underneath the casting platform. I used the small bit of epoxy leftover from glassing to coat the top of the hardwood transverse member.


-
Chick, thanks. As you’re well aware, it’s easy making it look like this. I still have quite a bit to do before I get to the finish work.
-
Just to bulkhead 2. I have it overhanging by 1/2”. Thanks. I’m still learning the fine line of making it look good and getting the job done.
-
Thanks Alan. The temps got into the low 30s over night this past weekend but would warm to the 60s during the day. I did coat a few pieces but the set up time was nearly 12hrs. I brought some smaller pieces and epoxy inside and did some coating. I also cut out a small section of each side stringer to accept the transverse hardwood piece. I could not get that piece in between the side stringers any other way. I’ll update with a picture when I can. The hull looks fair and I did bend a batten to check for flat spots and bulges. I am going to continue to glass all interior joints. I have interior primer and paint chosen but have not purchased. I also need to get board foam for the forward and two aft seat compartments. I’m also considering flipping the boat to trim the gears and lay out the glass fabric.