Justin C
-
Posts
126 -
Joined
-
Last visited
-
Days Won
5
Content Type
Profiles
Forums
Events
Everything posted by Justin C
-
Alan, thanks for the reminder about that resource. It got me thinking - to me, it's somewhat funny. I was reading through that book well prior to purchasing the kit simply to give myself 'some' education about boat-building. It's a wonderful resource but I can't say I learned a lot as I had nothing to practice on. I had never used thickened epoxy and could not yet perform a fillet. I was doing what expectant parents who purchase books on how to raise children do. You can only absorb so much through a book and really need the actual experience to learn. Also, I think the fact that those who are the types that would read through a book like that are the one's who will become good parents...err boat builders. I guess what I'm trying to say is that this boat feels (and acts) like a baby to me.
-
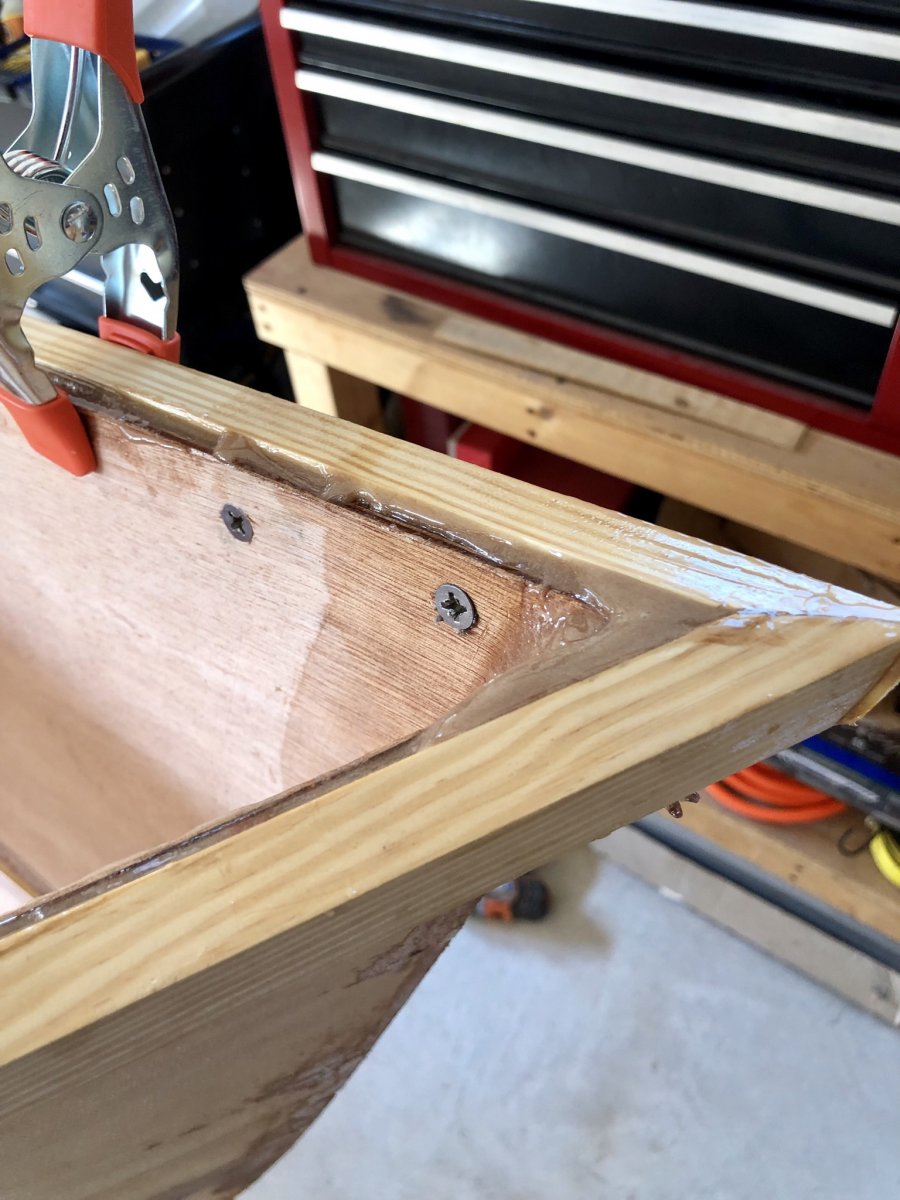
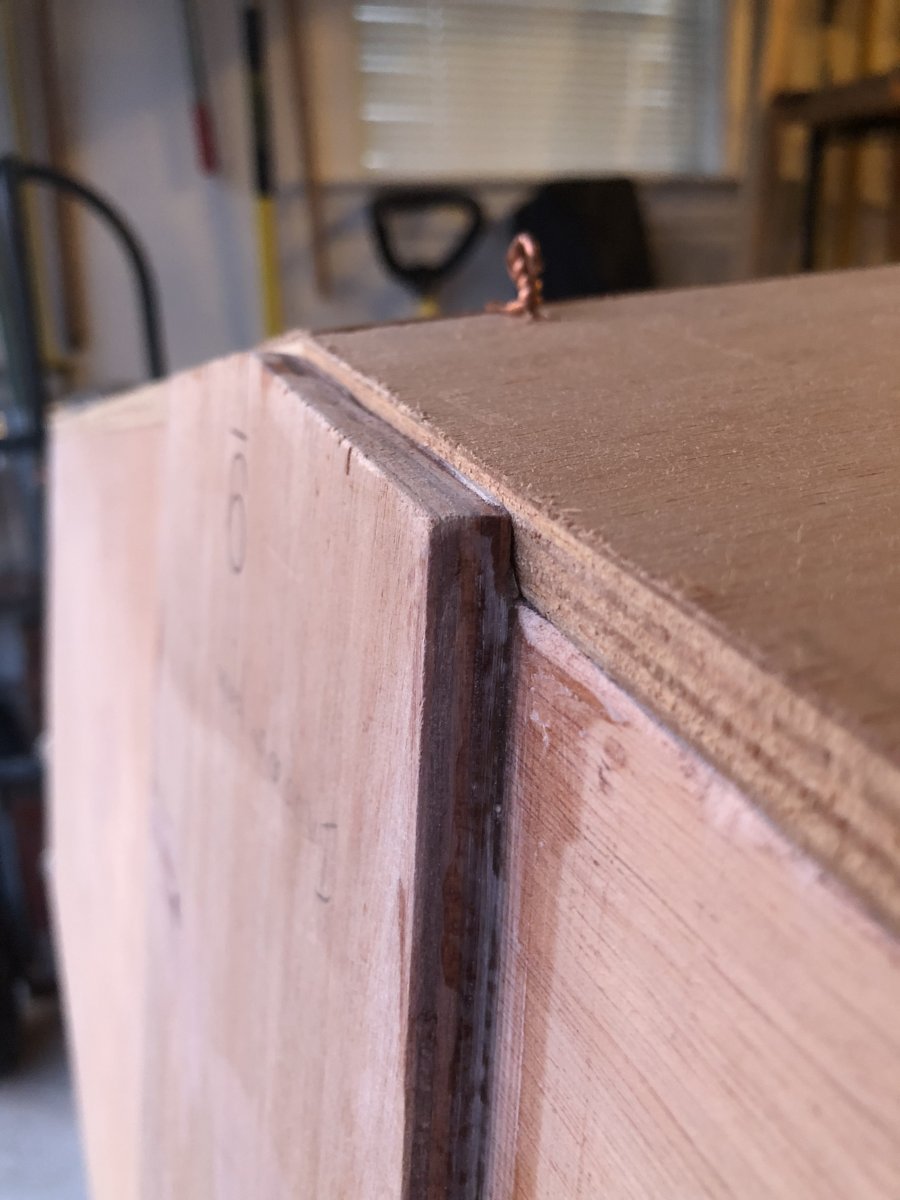
I mentioned above that I measured and drilled out the holes for the bow eye. When installing the gunwales, I had the aft clamped in first and when I clamped in the bow, I broke the epoxy joint slight the the top of the stem (picture above). I have since filled in the bow eye holes with another layer of thickened epoxy. This got me thinking that I inadvertently did something good - I drilled the holes larger in the wood, then filled back in with epoxy and am now going to drill the proper size for the bow eye bolts. This way, no water will ever get to the wood through the stem/bow. I'm going to do the same thing when I install the boat plug.
-
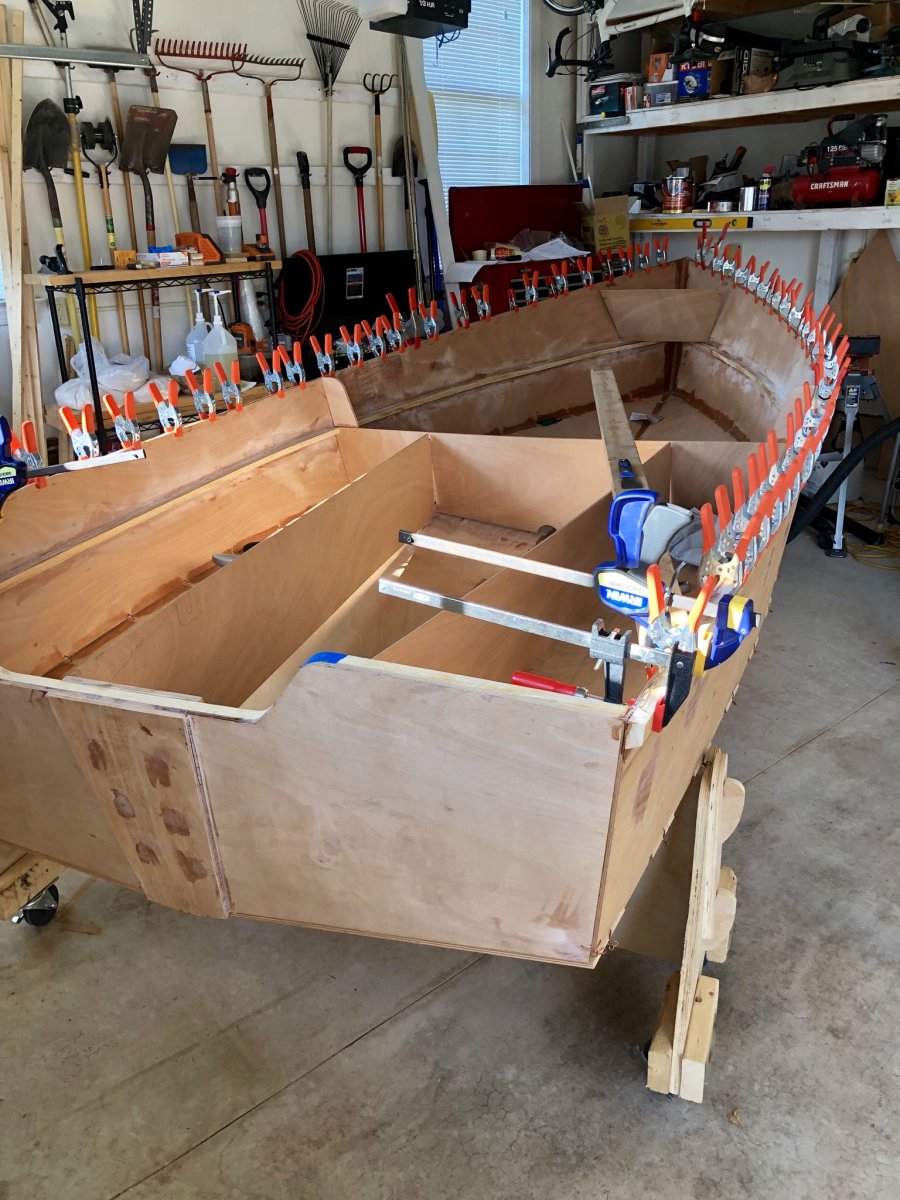
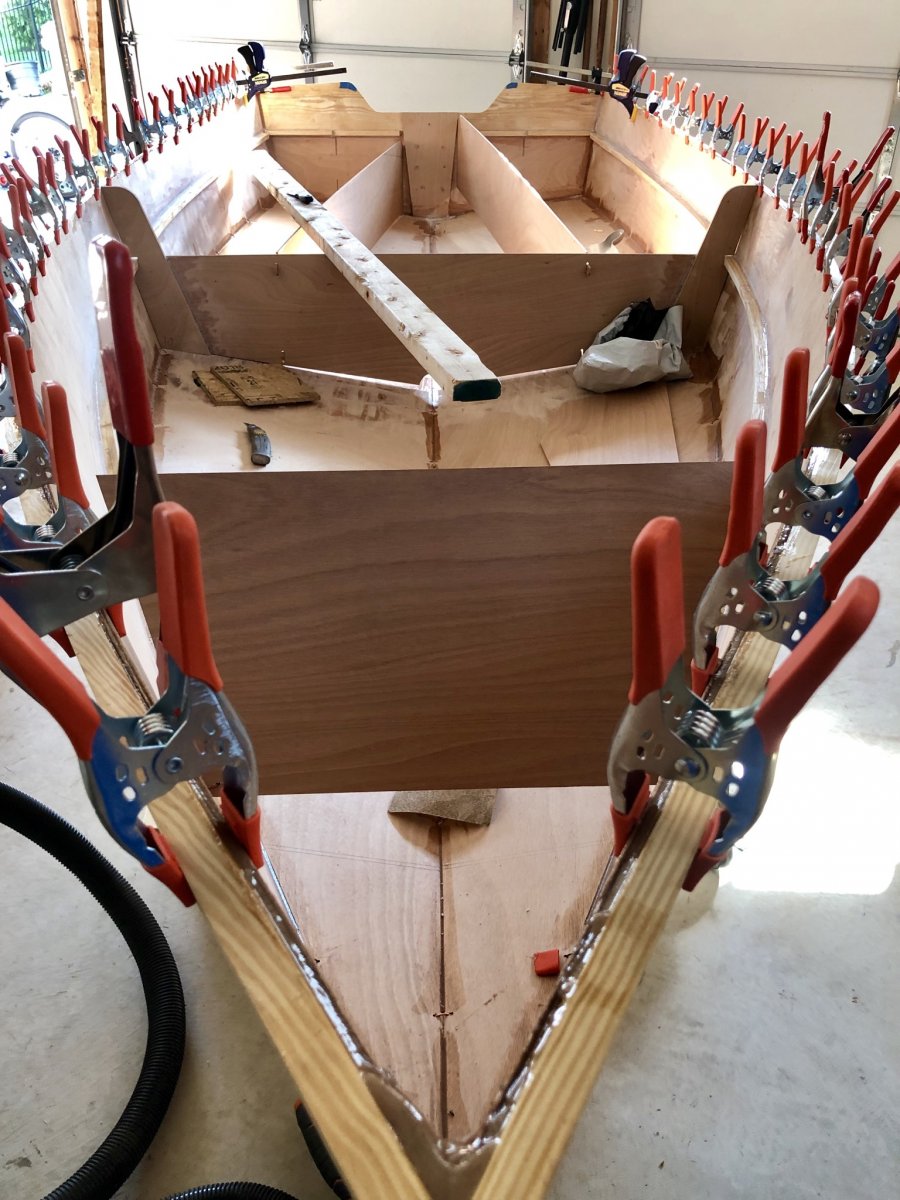
Gunwales glued and screwed in. I had them clamped in place for a little over a week. I drilled pilot holes at the bow to accept the stainless screws. I sunk the screws just so the point was through the hull side that could act to catch the epoxied (slippery) gunwale. I removed them and applied neat, then thickened epoxy to both the inside of the gunwales and the outside of the hull. Started to install at the bow and used the screws to position the gunwales. A whole lot of clamping later... oh, bought 48 3” clamps from amazon for about $60. Much higher quality than I anticipated.


-
Alan, I thought of wrapping the glass interior of the stem right over to the outside - I think this is what I will do. It was just the stress of having the wood clamped in aft to mid-ship, then me forcing it in with clamps up to the stem. You can see the small crack just to the left at the tip of the bow. It goes down 4 inches or so. Should be set up nice by the time I get home later.

-
These videos are very helpful and I'm very thankful that the age of YouTube and my interest in boatbuilding overlap.
-
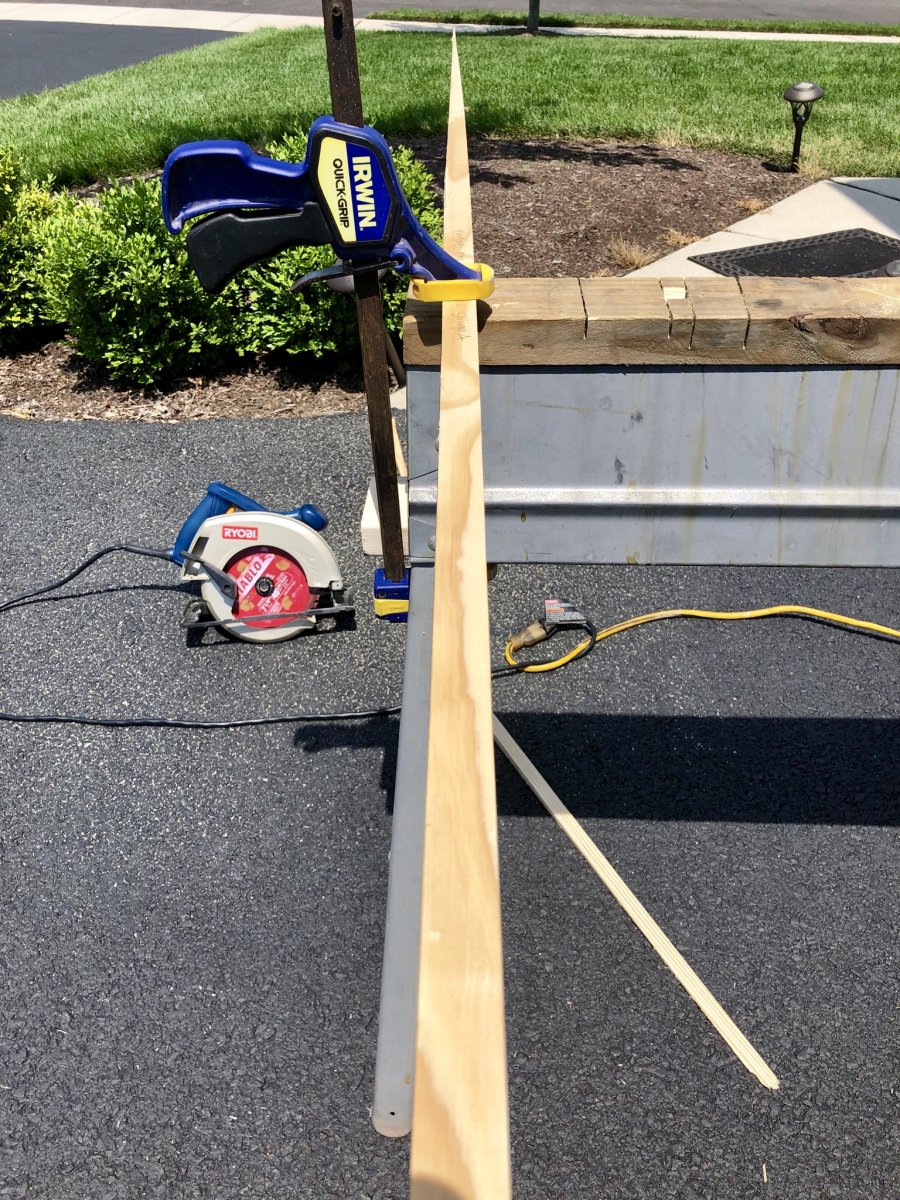
I decided to increase the length of the gunwales and I cut down some pine stock I had to match the dimensions of the gunwales supplied with the kit. I scarfed on about 4inches aft to each side as this area does not have the bending stress as does the bow. I decided to form a point at the bow with the gunwales as this just looks better. I'm going to plane the tops and the inside 16inches (that face to the hull) so the gunwales are 'less" near the front. I took off about 4feet of clamps I had holding it to the hull sides from forward to aft to allow the gunwales to flex open as I wanted to use a belt sander to remove just a bit of the interior material. As I was bending the gunwales back on, the clamp stress popped the upper most fillet on the inside of the stem. I chipped out the thickened epoxy with a chisel down to where it separated, sanded it up, put a copper tie back in and reapplied a thickened bead to the interior stem. At the same time I was cutting the small gunwale sections, I cut a small piece of stock to fit as a back plate for the bow eye. This fit nicely inside the stem and I just need to drill through the outside holes that will act as my guides. However, I just realized during writing this that I never cleaned out the holes when I applied the second fillet to the inside of the stem and those holes are now closed with hardened epoxy. About the fillet popping, I should have know there would be too much stress there. They will go on bow first. I have the holes drilled and stainless screws ready to go. This week's goal is to get them on there so that I can place a temporary support over the centerboard for it's removal for glassing the interior keel and up the stem.
-
"Also, regarding the gunwales. You are correct we typically install them just up to the tip of the bow of the plywood panels and then round them off so the stem is smooth all the way up." Just to be clear, I'm going to slide the gunwales up to a point at the bow, which will leave an approx. 2" gap at the stern. The gunwales will be installed 1/4" proud of the plywood sides near the bow, then planed down to match the height of the sides. The diagram is very helpful. Thanks and I think this bit of detail will be useful moving forward. Generally, I'm in favor of diagrams with less words/instructions. There is a risk in being too wordy. I'm going to get the gunwales glued in this weekend and start to glass the interior. BTW, the copper wire ties pulled out of the bow area. Some force was needed, but I was able to get them out.
-
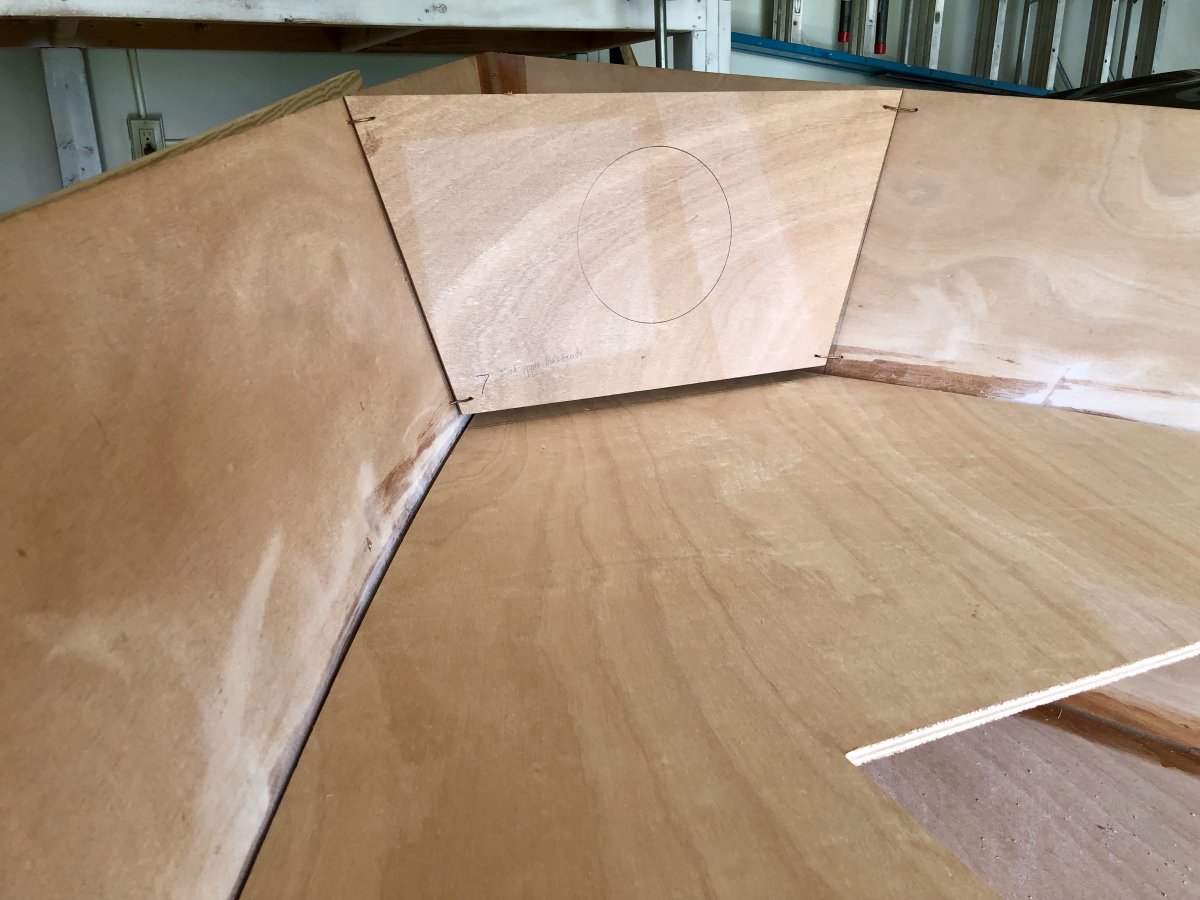
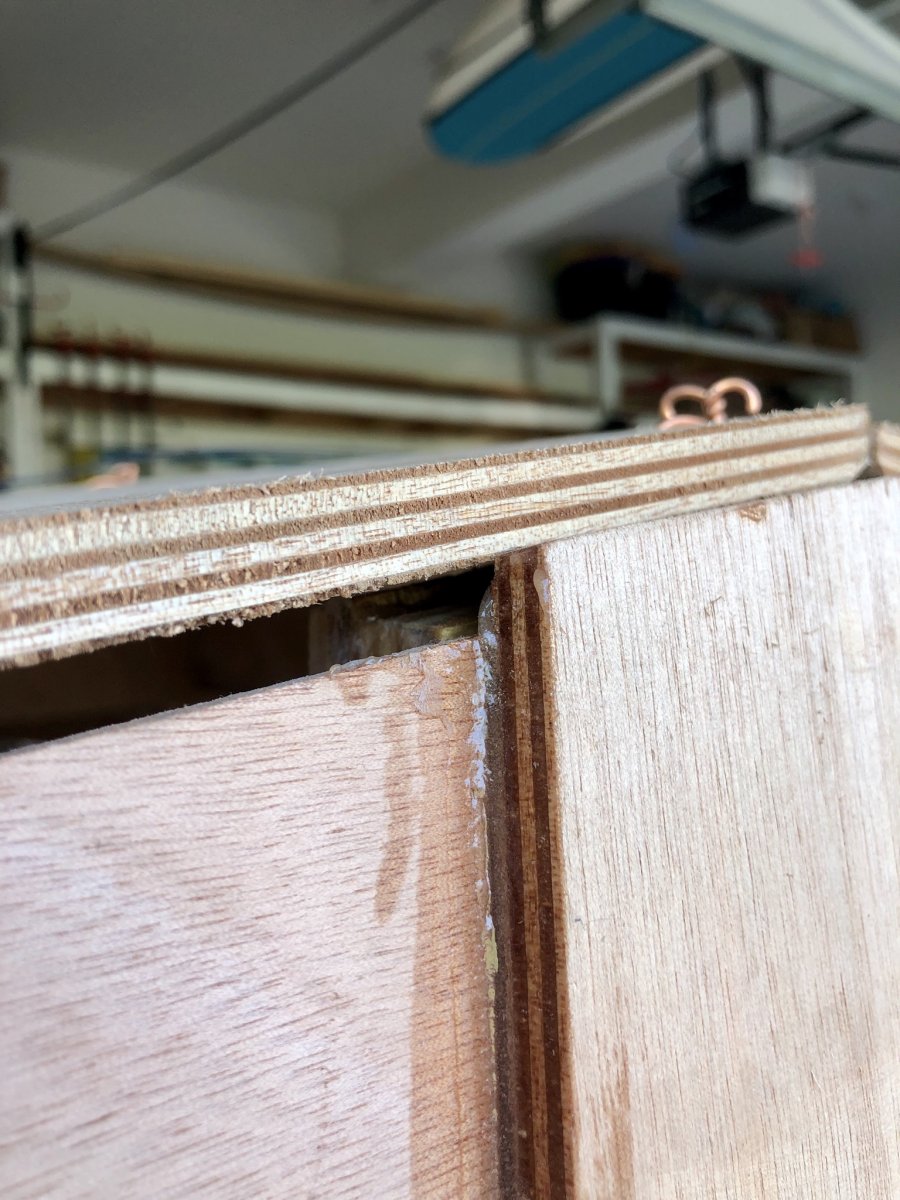
I need some advice. The forward upper bulkhead has a 1/2” gap from the casting platform. Is this acceptable? If not, I can: A.) Simply lower it 1/4” and split the difference when the foredeck is placed on top. Lowering it will push the bow sides out a bit. B.) Raise the casting platform a bit to narrow the gap. It’s temporarily supported by the side stringers. C.) Do nothing and just fill the gap with a larger fillet of thickened epoxy. I need this addressed prior to gluing up the gunwales as they will both tighten up the upper part of the hull. Casting platform up snuggly to the inside stem. (I also drilled holes for the bow eye that will be reinforced)


-
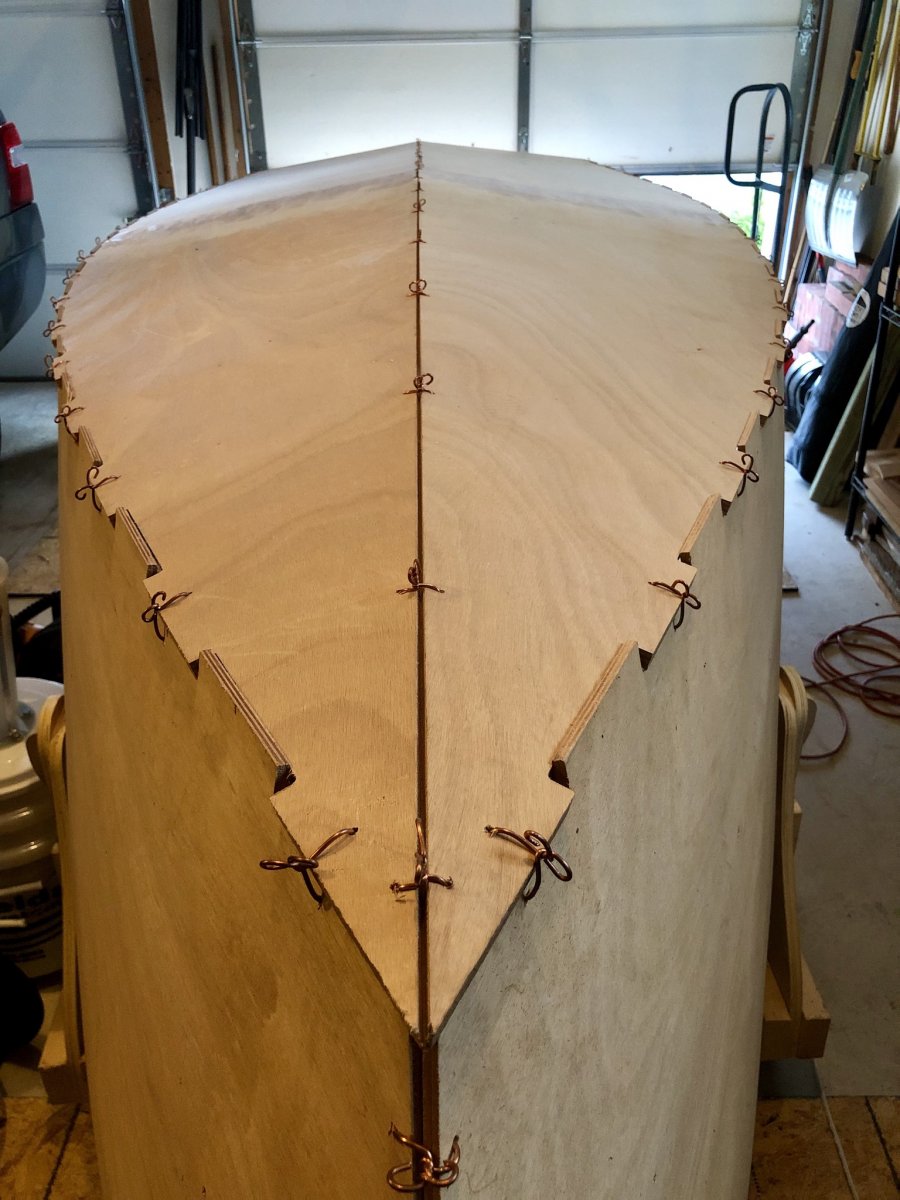
I have the boat flipped. This past weekend, I glued up the gunwales and have them clamped on. I know I should start to install them at the bow, but do they extend all the way back to the transom? From pictures, it looks like they do not form a point at the bow. Rather, they come to form a 'flat front'. I have also been tack-welding with epoxy along the outboard gears and up the stem. I wired the boat with copper and with the acute angle formed at the stem, I'm going to leave a little of the wire in there. The wire ties elsewhere will be removed. Once I have the gunwales glued up, I'm going to install a temporary 1x to keep the hull shape and remove the centerboard for glassing the bottom panels together. I believe the plans call for an overlap of the glass tape and will confirm before doing it.

-
Here is a better picture of the gears: The gap moves from forward to aft around midship, just forward of the centerboard. It’s pretty consistent on both sides. The bow/keel is centered and the bottom sits evenly along the back/bottom of the transom. Good enough to live with? Next up is to flip and straighten the hull. I’ll then tighten up the wires running along the chines. Gunwales temporarily screwed/clamped in? Install the longitudinal bulkheads and start glassing? Should the centerboard be removed for glassing the two bottom panels together? Thanks for all the help!


-
I’m not sure if the outboard pad also needs to be trimmed. This will allow the 1/4 gap in the gears to move aft and will fix the bow keel issue. The transom should be flat to convex - if the bottom panels are moved aft, it’ll either draw the transom inward or I’ll have to trim the aft bottom panels. Or, just plane/trim the bow section. Your thoughts? I placed an additional wire tie forward in the bottom panels to help draw this area together.
-
Some additional reference photos: Does the innermost transom pad need to be trimmed?


-
Well, I got her looking 3D. The gears are all meshed in nicely. The aft-most section of the bottom panels sit proud of the transom bottom because of epoxy squeeze out I did not clean up. Does the outboard transom panel sit in front of the keel? See above. Below is a shot of the bow keel. I may see if gravity of flipping it over and/or wiring with the hull sides pulls this area inward. Here she is in 3D form:


-
Alan, the port side of the center frame is flush with the hull sides and the starboard side is proud an 1/8th+. I think this is due to a slight variation where I attached the side stringer. Should I trim the cutout of the centerboard to allow it to sit slightly proud or leave as is? I think I understand what you are saying about fishtail. I actually have the bottom panels installed in the gears but un-wired. Does the outboard panel on the transom fit over the aft-most section where the keel meets it? I'll have to get a picture to show you. I have some squeeze out there I didn't clean up and it prevents the bottom panels from sitting properly. In the plans, it mentions possibly needing to bevel the bottom transom to fit the bottom. It would seem this is just the interior transom pieces.
-
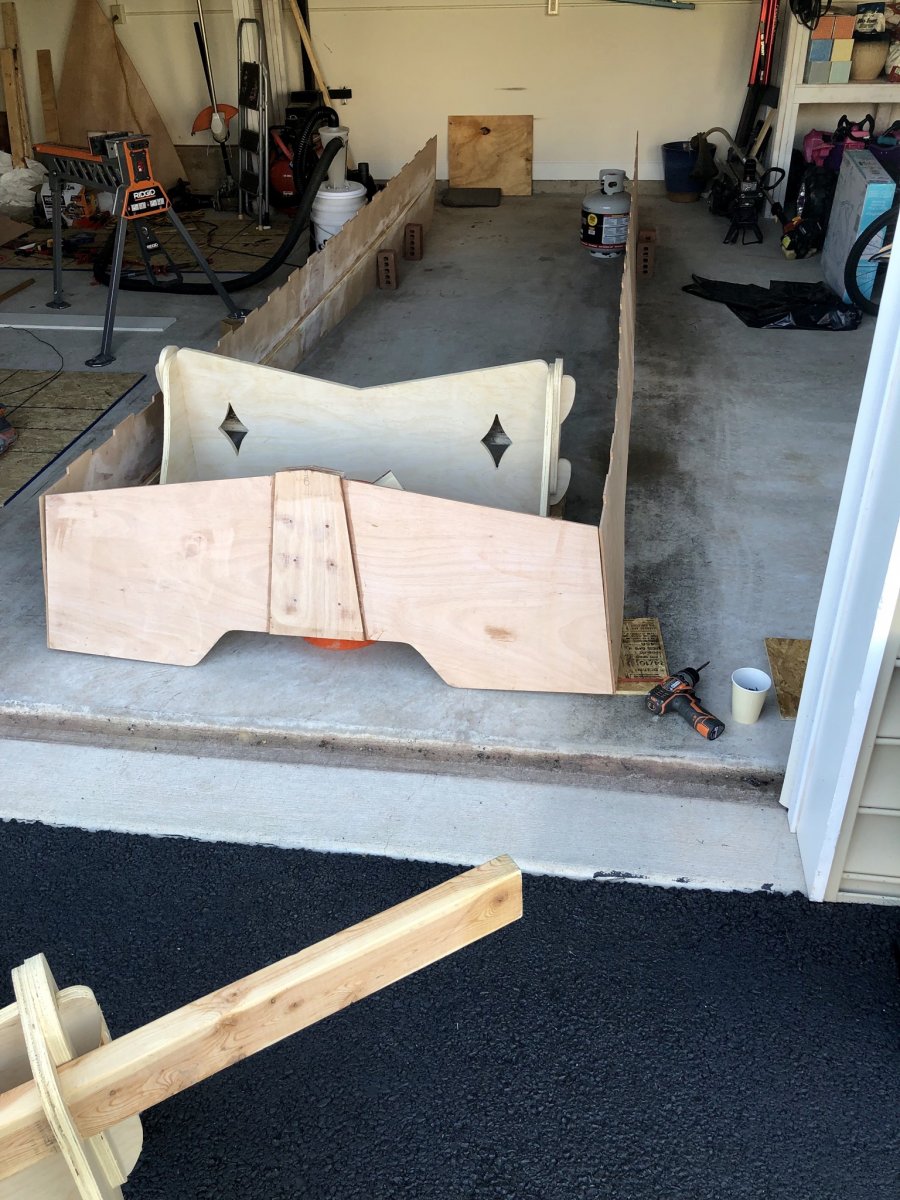
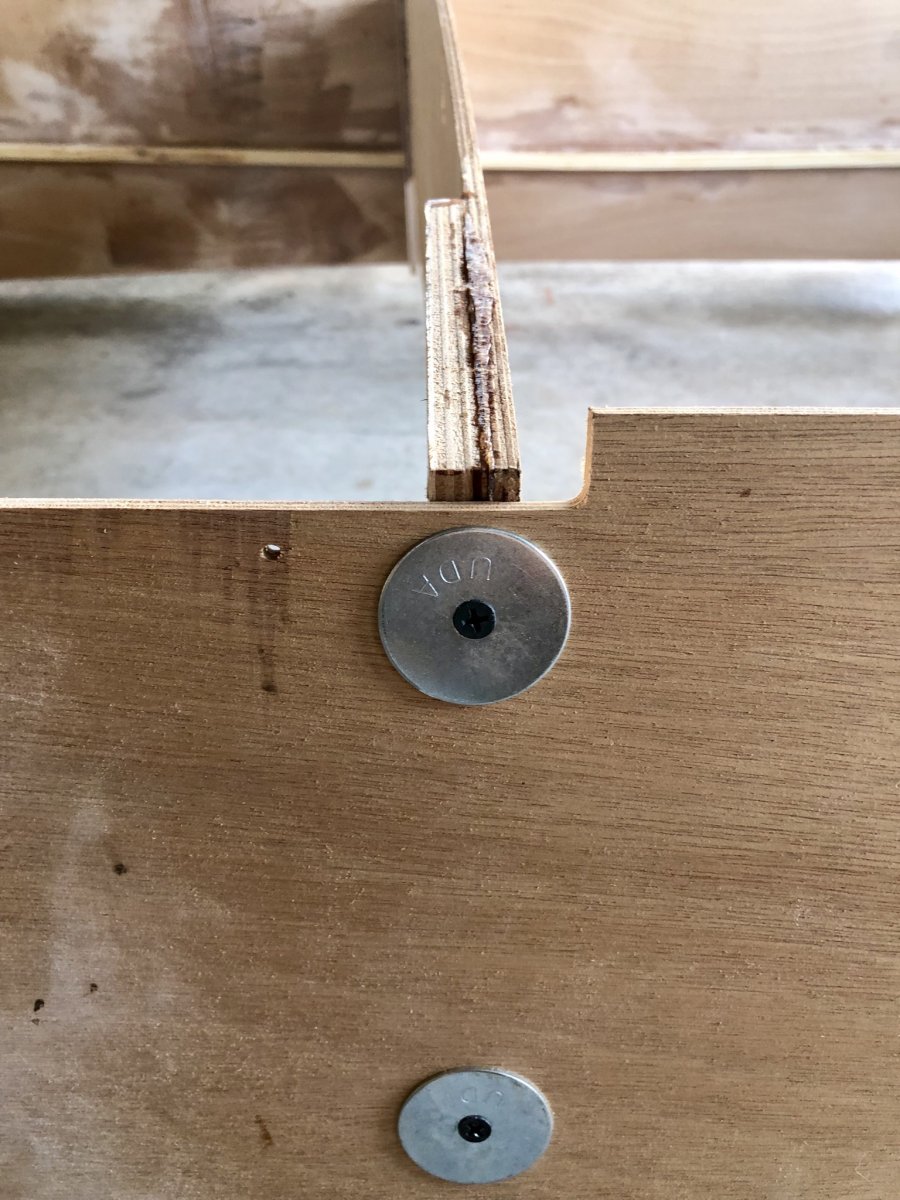
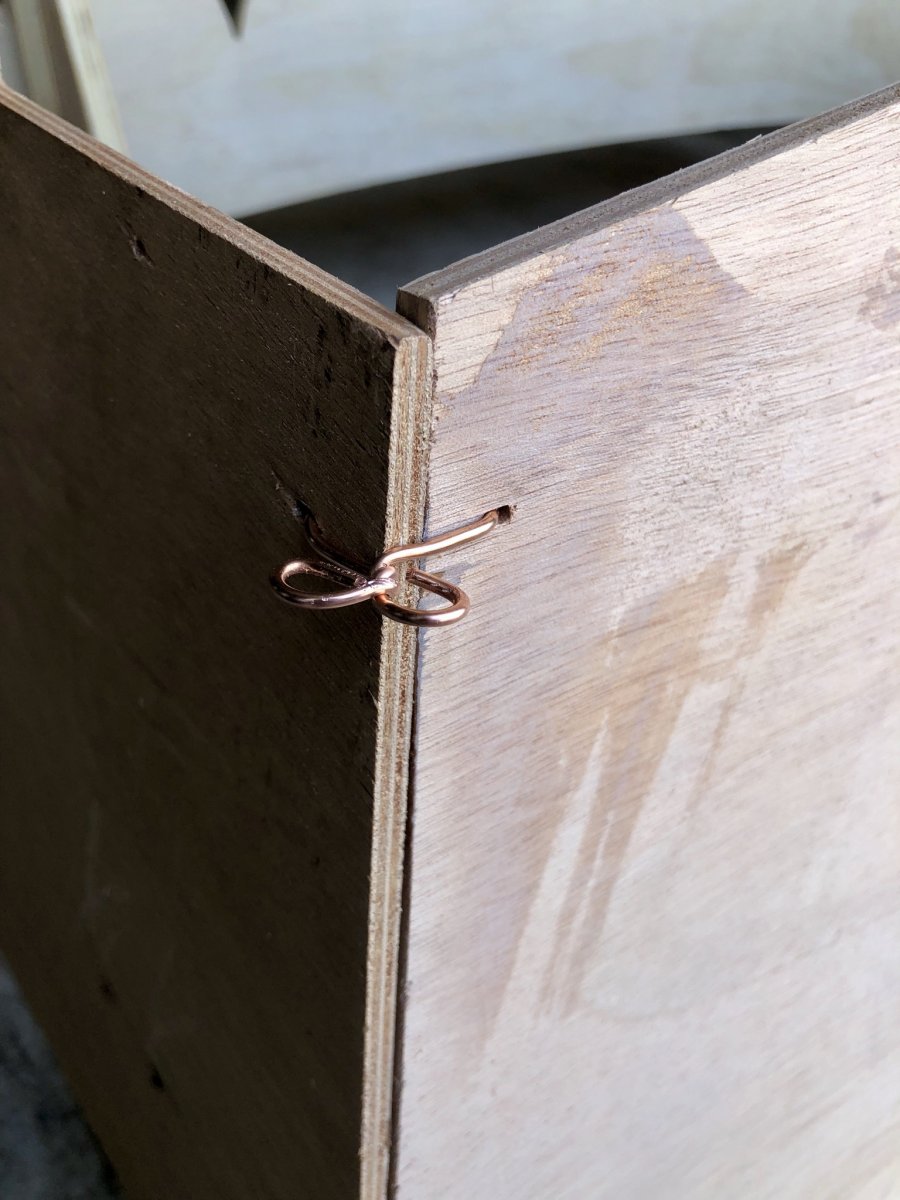
I still had more in me, so why not start assembly of the side and hull sections? I mainly decided to do this so I could get the garage area cleaned up and get the pieces laying around into their permanent places. First was attaching the hull sides to the transom. I initially forgot fender washers for the two screws in each side. The transom stiffener needed a small trimming on the edge as it pushed the aft hull side slightly proud of the transom edge. I eased this off by backing out a screw and using a handsaw to trim off a blade width. Center frame assembly was next. I dry fitted and then needed a jigsaw to trim a few mms around the cutout for fitting over the side stringers. Interestingly, the starboard center frame sits proud of the bottom hull side. What to do - Leave it as is or trim it off a bit? I have plenty of extra 12g copper wire here from other projects and stripped a few feet up for wiring. The bow came together nicely but boy, the center frame needs it’s longitudinals for stiffening. Finally, bottom panels were laid on top of each other with the interior sides facing each other. I then drilled out the pilot holes for the wiring and eased the longitudinal edge with the belt sander. Copper wire ties were added and loosely twisted. Next up is getting the bottom panels attached to the sides. This is the aft starboard corner, two fender washer screws below the picture and this wire tie was added to the top (bottom as it's upside down).


-
Once the transom was fully laminated, I removed the clamps and screws (holes later filled with thickened epoxy) and sanded it all down. I think I’m doing a decent job getting the epoxy to the right consistency but I could be a little more diligent on the clean up. It’s amazing how many little drips and drops I find hardened and wish I would have spent the time to clean before it hardened. I also tried my hand at applying fillets to the transom and side stringers. On this application, I did spend the time to clean up and it certainly made sanding much easier. I used drywall screws and fender washers to attach the side stringers over neat, then thickened-to-mayonnaise-consistency epoxy. Im using 80 grit on the orbital and belt sander and 60 grit by hand to smooth out the fillets. Things are coming along nicely.

-
I’ve been making some progress: - tapered and glued up the side stringers. - laid out the transom and worked in small epoxy batches glueing up pieces individually over the last week. Going to assemble the center frame and affix the side stringers to the hull sides.


-
I have been laminating (thanks Alan) the transom parts together a piece or two at a time the last few nights. I have read about working with epoxy in hot weather but man did I have to work quick on some of the smaller pieces. I had a few ounces in a cup in upper 90s heat that started to get thick within 10minutes. Luckily, we had a cooler night last night and I had quite a bit more working time. I also assembled the center frame. Thinking a bit ahead, I'm going to temporarily screw together the side panels to the transom and center frame. Then wire the bow together? I assume I then dryfit and wire in the bottom panels then flip it over and start with some epoxy welds on the seams? I assume I have to spend a good deal of time leveling the boat before epoxy welds on the interior joints? I'll get some pictures of recent work up soon.
-
Side stringers are tapered and I may try and get them fitted tomorrow. I’m thinking the next thing I should do is get the transom assembled. Is the general process to just epoxy everything together in a big sandwich? If so, wet out each piece in un-thickened epoxy first, then add thickened for squeeze out? Should I also attach the center frame doublers to the hull sides?
-
Chick, Alan identified your build thread as a good one (among others) for me to read up on. Thanks for your contributions to my learning.
-
1. Solo quite often. But I’m sure I’d have the kids latched onto me when I said I’m going out on the water... Battery low on centerline in the console possibly. Fuel aft midship probably seems best. 2. I do fish, however, with a boat this size I’m not sure mobility would be a top priority. The console would not stretch from gunwale to gunwale, so I could step forward (or the kids could).
-
The side station is certainly a simpler option. Though, being 6’2”, I have concerns about fitting there. I guess I could angle myself inwards while seated. Thanks for the idea.
-
Does it make sense to fabricate a control console to go midship? Possibly, some of it can rest on the center bulkhead and the forward floor and I would stand just behind the midship seating shown above? Your thoughts?
-
Good advice, Alan - thank you. I have a grinder with some brass and steel abrasive disks that may be able to do the job. The power planer certainly did and took off large slices that didn't turn into dust and cleanup was easy. I like the CAD of the boat you included - thanks and it certainly helps me with visuals. I'll take any other you'd be willing to provide. It's nearly 100deg with high humidity today and will be for the remainder of the weekend. I'll do what I can and try and make some additional progress.
-
I made the decision to just make sure the teeth were all meshed and no angles were formed. I dryfit prior and made some pencil marks across the teeth that would also ensure alignment. Checked fit after and all good. Thanks Walt. BTW, your build thread was immensely helpful as I've been reading and re-reading it the past few month. Thanks for taking the time to contribute as much as you did.