Justin C
-
Posts
126 -
Joined
-
Last visited
-
Days Won
5
Content Type
Profiles
Forums
Events
Gallery
Everything posted by Justin C
-
So, a couple of coats of 545 and this is how she looks today. Up next is to make her look fair…


-
Not peanut butter thick, but more than neat.
-
@lenmsorry it took so long to answer- finger joints on the bottoms and hull sides. In fact, these were my first go at using thickened epoxy.
-
It’s been a while for me - other priorities took a lot of my time the past year. I did flip the boat two months ago and put two thickened coats on it. Today was the final coat before primer - hopefully tomorrow.


-
@lenm Congratulations! She's an amazing looking boat. This is really the boat I want to build (but need space). Thanks for sharing the journey with us. Did you ever finish the model you built to match the finished boat?
-
Rear starboard quarter looking forward: Forward port quarter looking rear:


-
Sorry @lenm just saw this now. No, I’m painting it all. Fingers joints.
-
So, seat tops finally installed: I sanded the edges top and bottom to provide a roughed surface for the glue to bond to. I have two temporary screws in each seat top to allow for proper placement with the glue. I used the spreader bars to get them in position and gravity (and a few bricks) for proper squeeze out. Forward cockpit beam all glued and clamped:


-
Wire run installed and glued in with West System G flex epoxy with a bit of thickener. I have additional foam on its way. That compartment will be filled then the seat tops installed. After that, my plan is to flip the boat and finish the hull - primed, filled and top coated. Stay tuned.

-
Thanks for the encouragement!
-
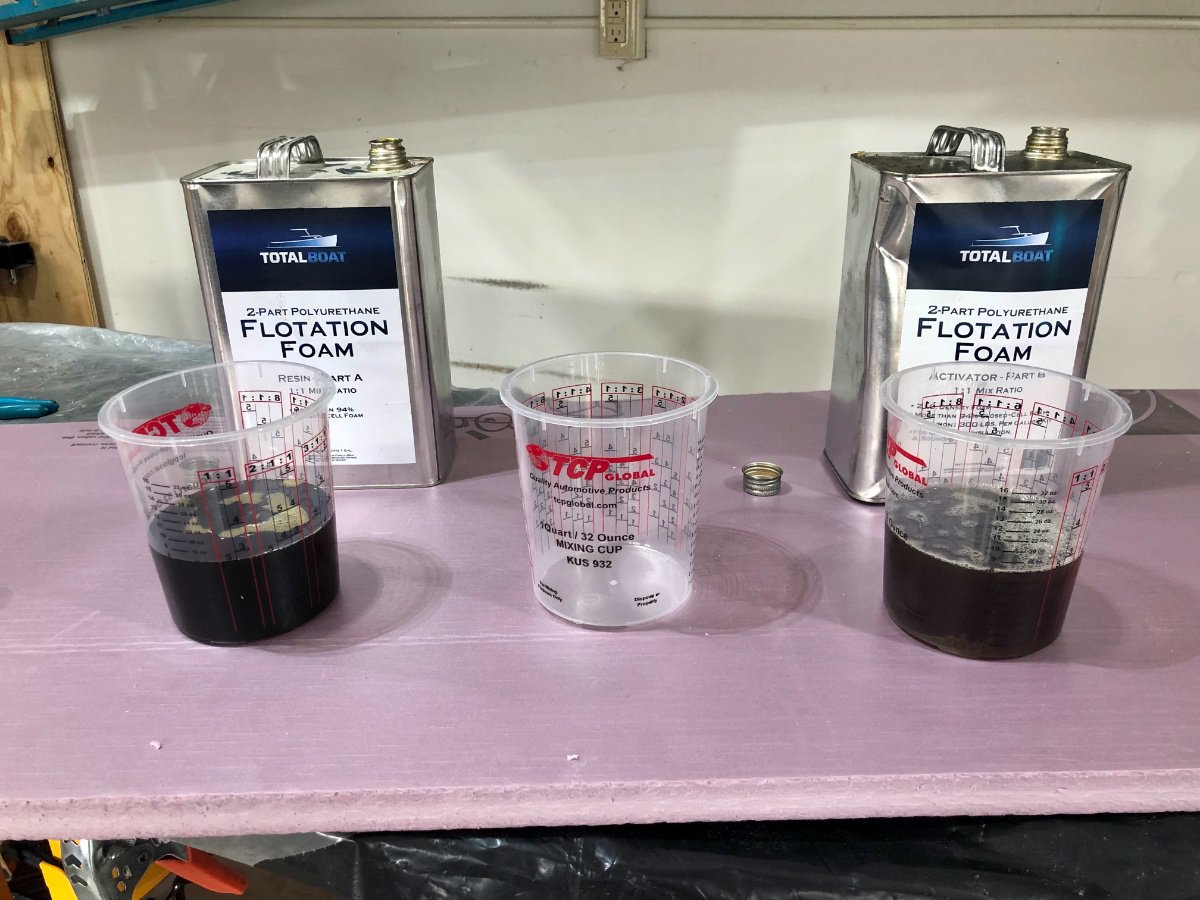
Port side filled with flotation foam and 11lbs of ballast. I have a wire run going through the starboard side that weights 11lbs and it was done for balance. I wasn’t interested in finding out whether 11lbs mattered after the fact.


-
Almost ready to fill these compartments with flotation foam. Elbows glued and the inside joint filled with G Flex epoxy.


-
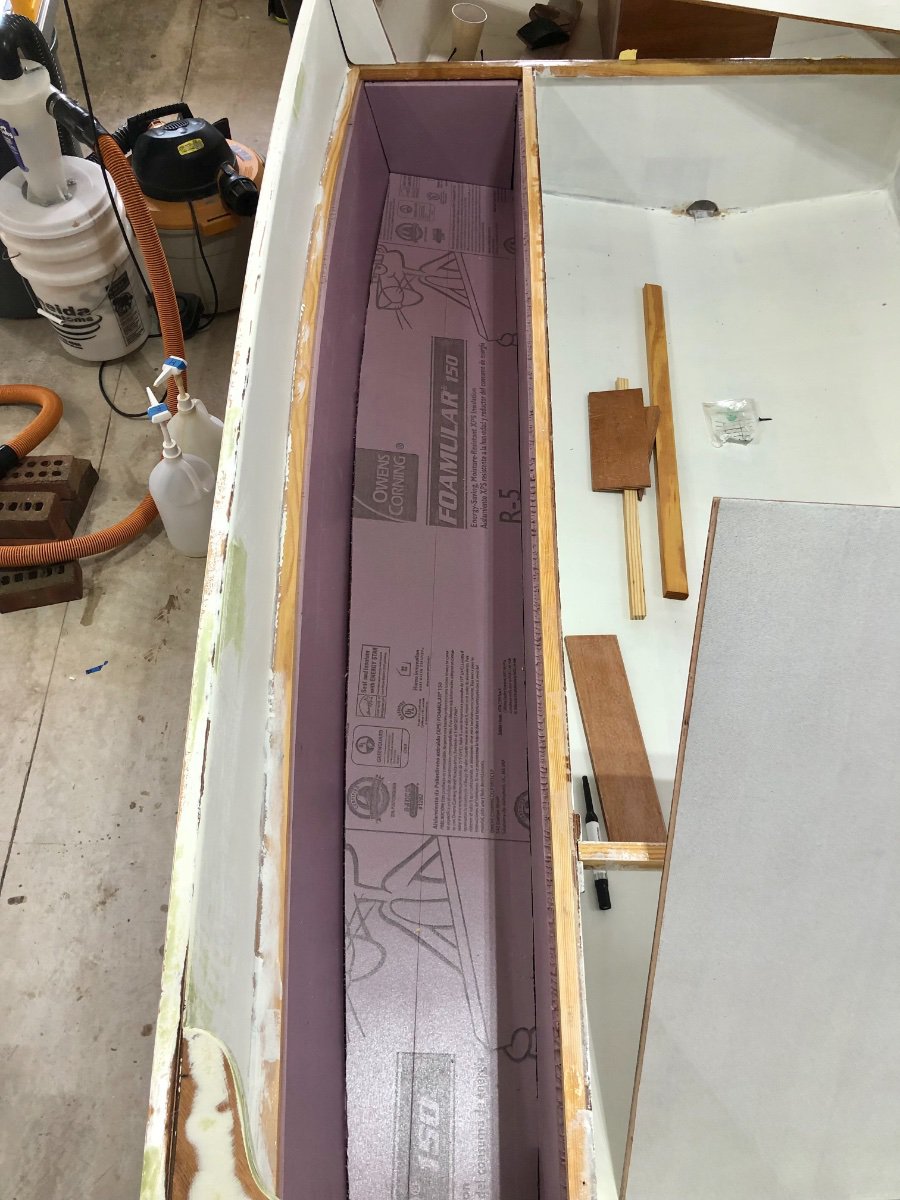
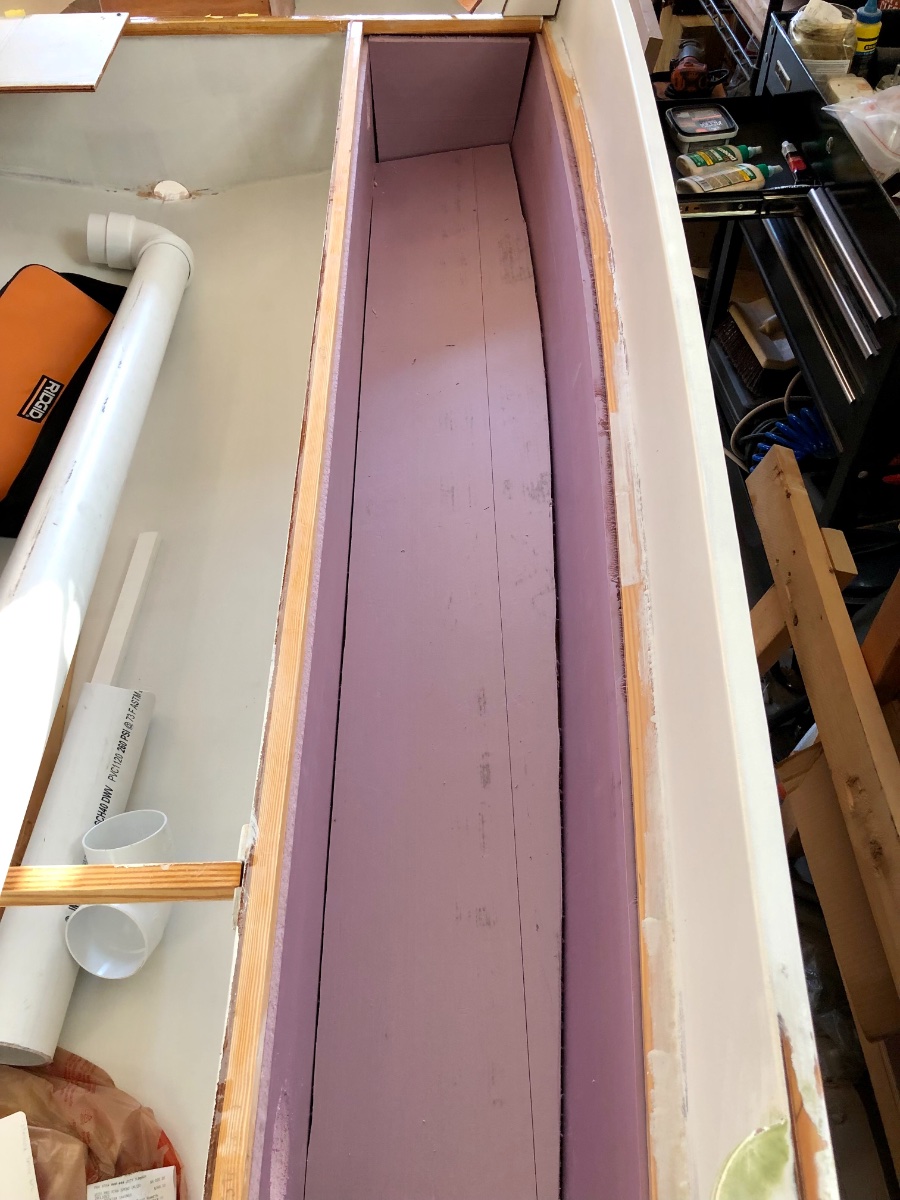
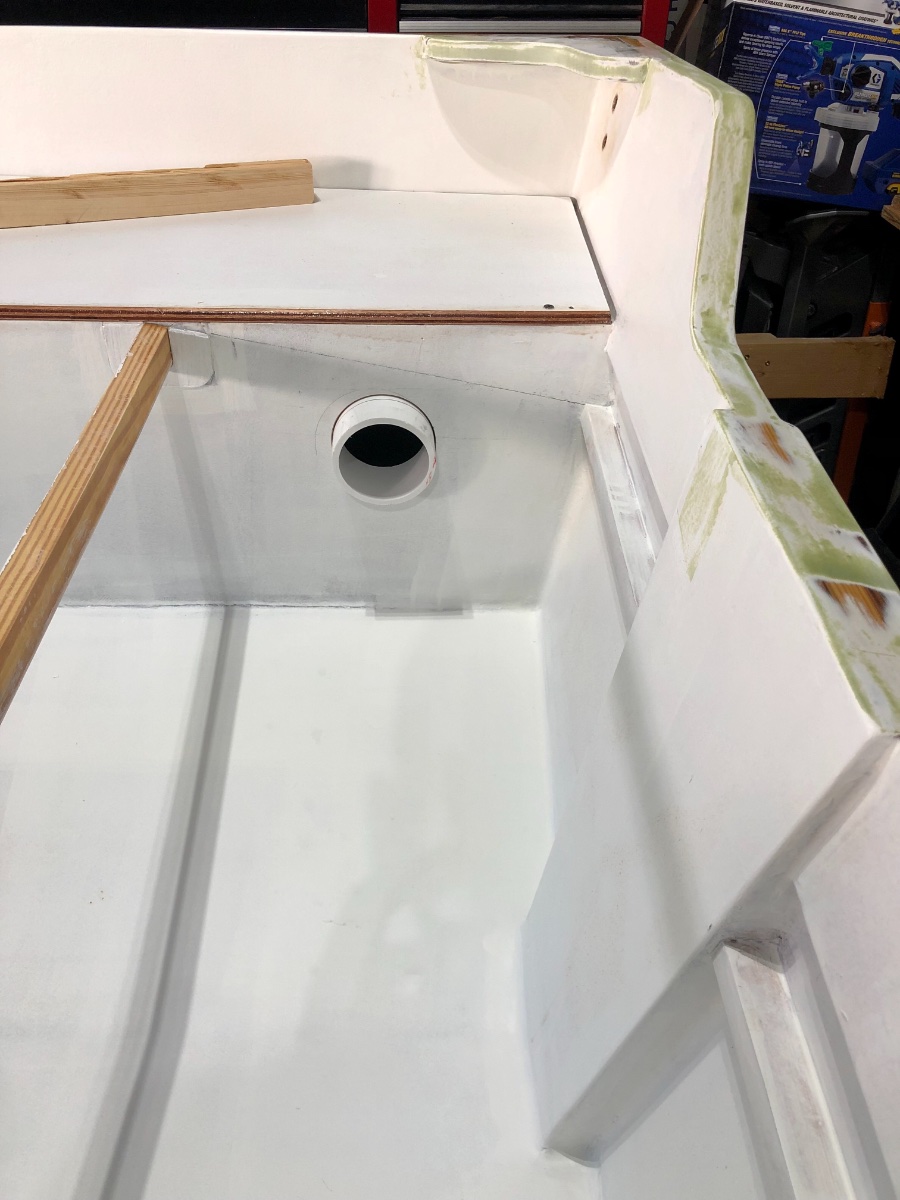
3” hole for a pvc wire run. Lightweight board insulation under the starboard seating. The pvc pipe will serve as a wire run from the outboard to the center console. I’ll use these as templates for the port side then install them. I may use big gap filler foam to form the box then mix up some flotation foam to fill the rest of the compartment.


-
Profile with center console: Overview: Console needs to be finished, glassed and maybe primed before it’s installed for good.


-
Center console front panel stitched and glued:


-
Laminating a backing block to the starboard and port interior of the center console. I left equal distance around the sides to allow for the corner fillets to be put in when installing the for and aft pieces to the center console. Happy Memorial Day!


-
This is a backing plate for the front of the center console that will hold the steering and other hardware. This small strip (as well as the backing plate) will be planed flush at the top to accept the top plate. The top plate will likely have a small handrail and compass. Temps are in the upper 50s so I have hours of working time with the epoxy.


-
Yes, in both time and efficiency. I now realized I spent too much time smoothing out flotation compartments. So, while the forward compartment will not be ‘perfect’, it will be done and not take unnecessary time. I think it did make up some time applying multiple coats of epoxy to pieces before assembling them. You can cover a lot fast with a roller vs a chip brush.
-
The drain channel is dry fit for now. I’m going to finish off this compartment before fitting the channels to make work a bit easier.

-
I laminated some thicker wood stock to the cross member in anticipation of installing rocket launchers there in the future. I didn’t do any work over the winter season so now that the weather will be warm for the next 6months, I’ll make a push to get this project finished.

-
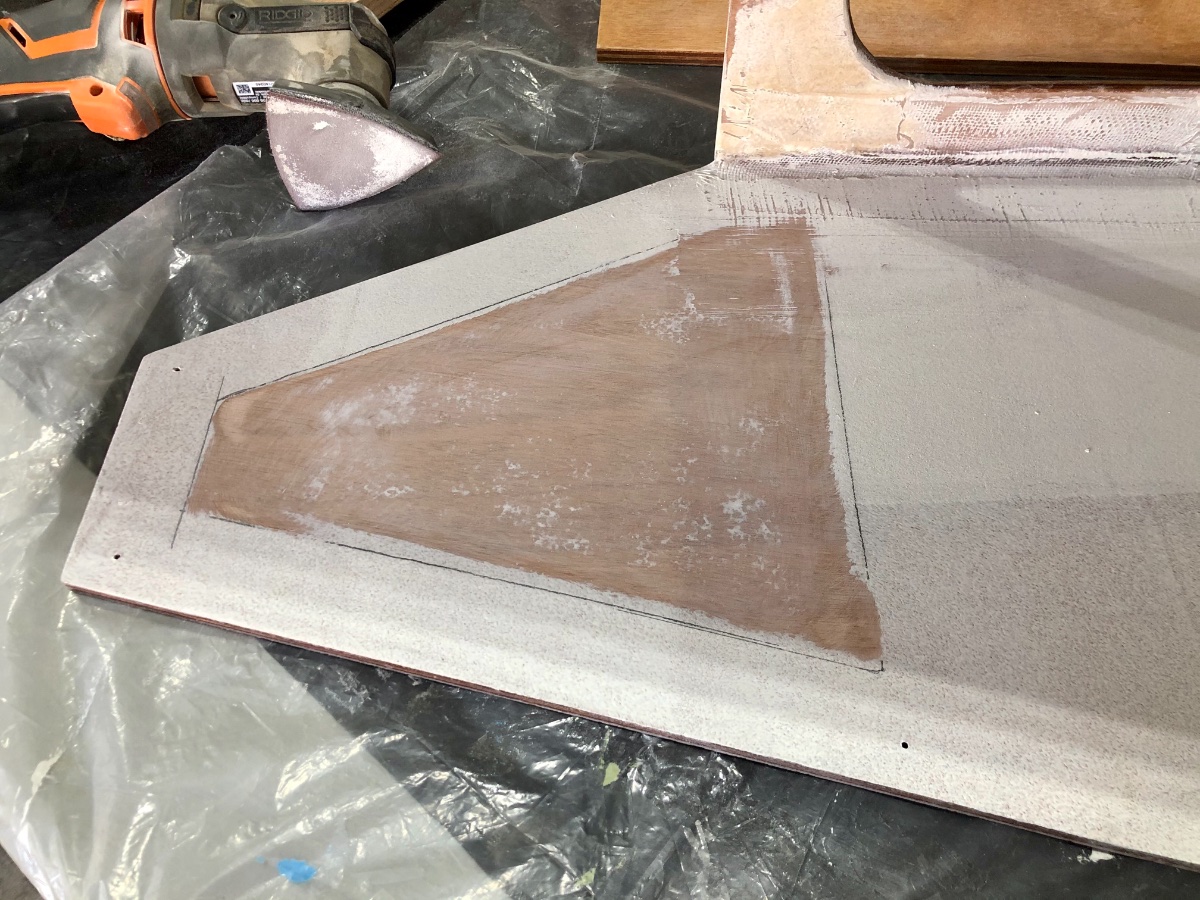
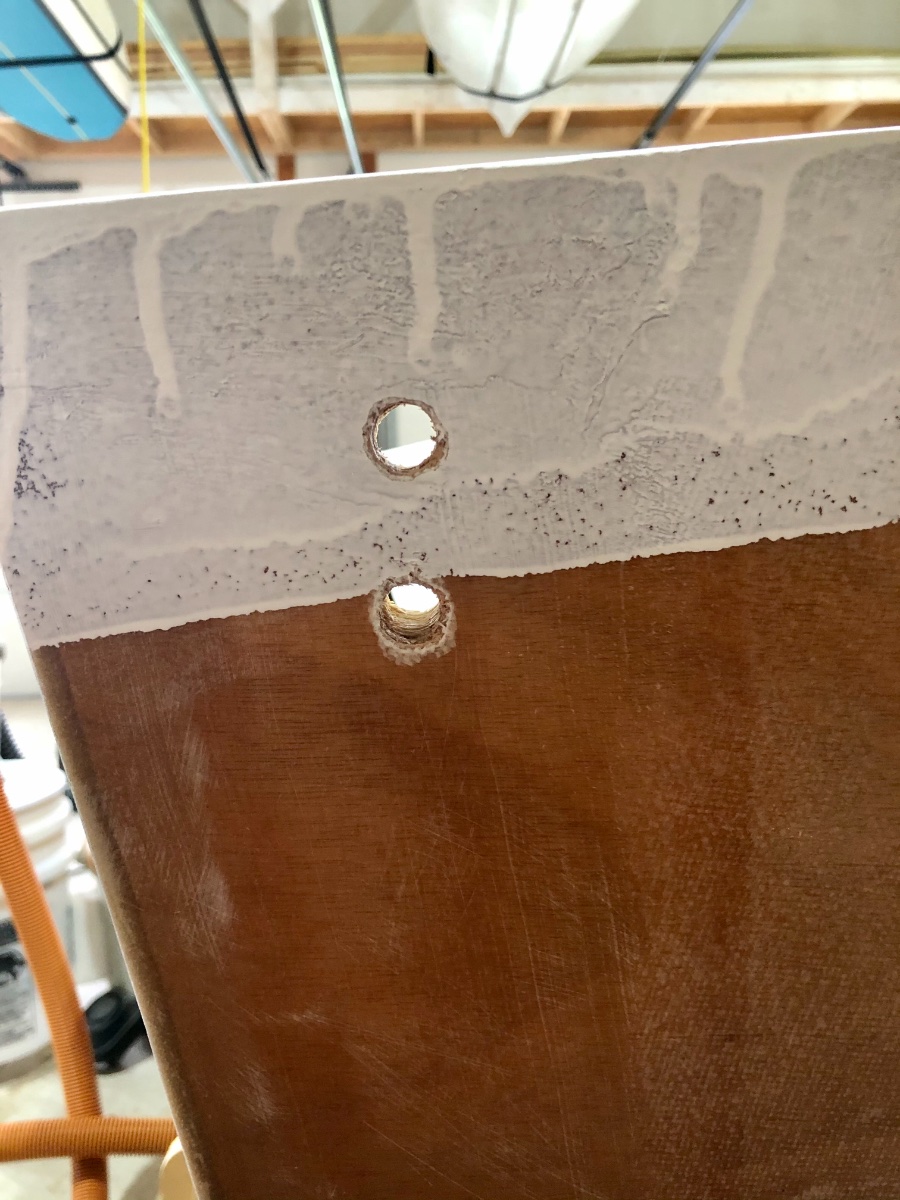
I decided to install stern eyes to port and starboard. I marked the location on one side with a cardboard template and drilled holes larger then the eye shanks. I then flipped the template to the other side. I then eased the edges of the holes and got it covered with epoxy.


-
Does anyone have experience spraying epoxy primer or epoxy paint? I have access to a Graco battery powered airless sprayer and would like to give it a try. One issue I am trying to get answered from Graco is the use of flammable solvents in the sprayer. Any help is appreciated.
-
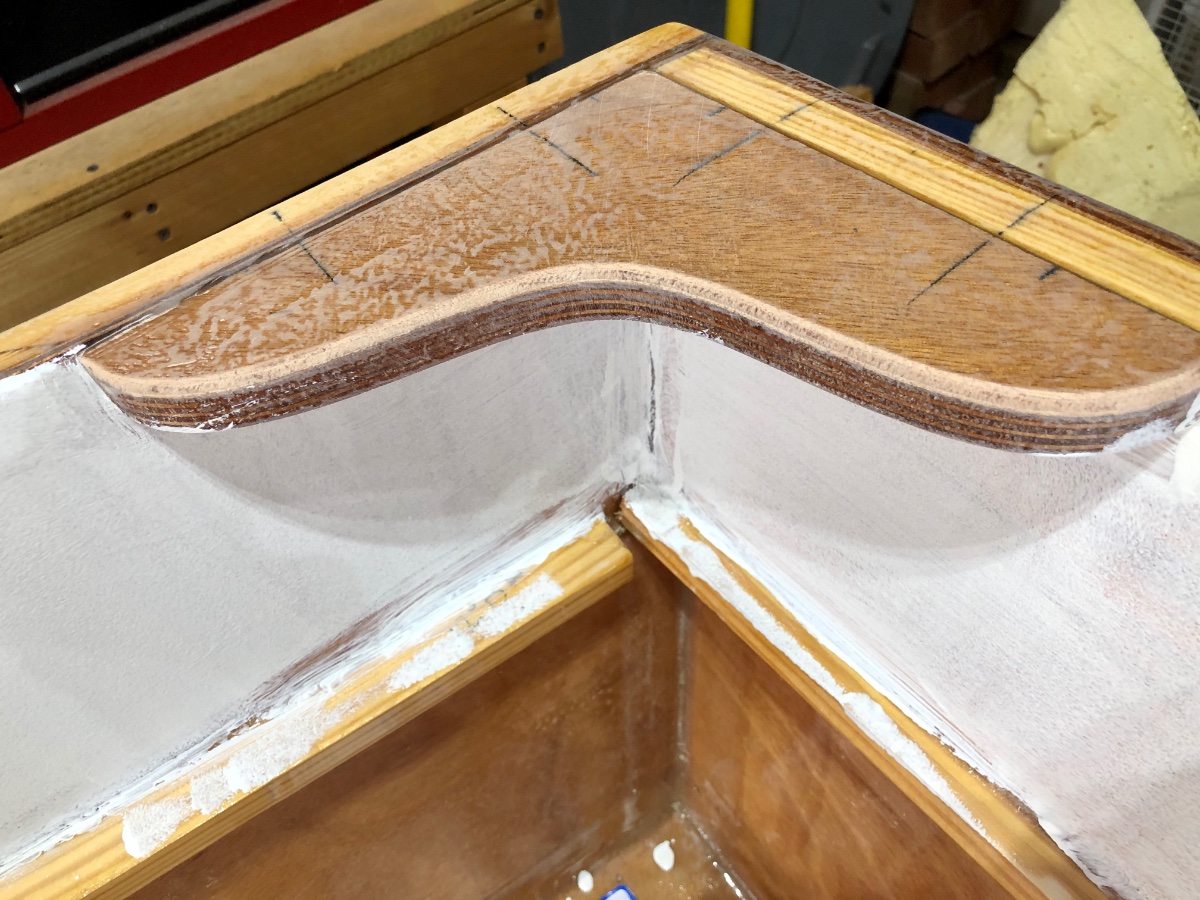
Corner knees beveled, screwed and epoxied in place. One of two stern eyes. Aft braces to provide support to the rear of the aft seat. This is where I need to make a wire run going from aft forward.


-
I have been priming the interior over the past few weeks. I have also installed the aft corner knees and built stern brackets to support the aft well/seat. I’ll provide pictures shortly. I am also going to install two stern eyes that I can use for tie-downs. What I need help is on wire runs. I am building a center console with steering, throttle and other electric. I need to run wire from aft to center, which will mainly go through the starboard flotation compartment. I would like to run some type of plastic pipe but need help with the fittings. Can anyone provide advice/links on a good product/method? I am also going to run forward navigation lights and would like to get the wires into a small run. My only option seems to be under the side stringer.
-
One coat of primer on: