Justin C
-
Posts
126 -
Joined
-
Last visited
-
Days Won
5
Content Type
Profiles
Forums
Events
Everything posted by Justin C
-
@HirilondeI also have the high build primer to go on at a later time. Nice to hear you think highly of it!
-
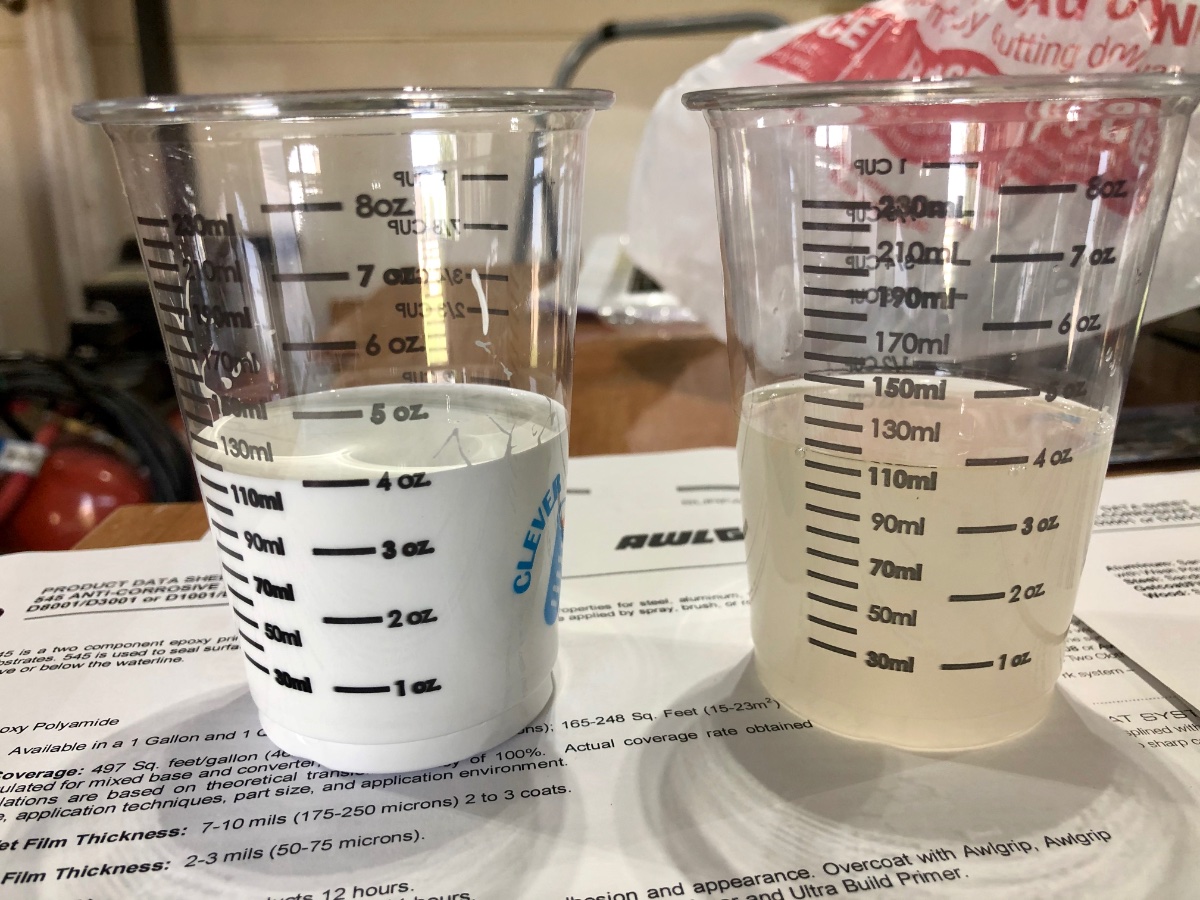
I’ve had 2 part Awl Grip 545 epoxy primer around here since I ordered it in January and have been hesitant to use it. Well, after reading the instructions a few times and getting the prep work done, I decided to give it a go. I decided to prime the forward storage compartment and the forward flotation compartment. I know, the later will be sealed with foam but I just wanted to use these two areas as a testing pallet. Since the base was sitting since January, I used a paddle mixer as all the solids settled. This would have been very difficult hand mixing. I also bought large 150ml drawing syringes to meter out the paint and keep clean. I mixed 4oz of base and 4oz of converter and let them induce according to the instructions for 15minutes. At this time, I added a bit under an ounce of T0031 brushing reducer, mixed and added to a small paint tray. I them used a small foam roller to apply. *The most important step* Use a good vapor respirator with new cartridges and paint in a well ventilated space. While I’m quite lax using a mask in general (I will usually have one on while sanding), there is no way you should use this paint without one. I use the 3M 7500 series with the 6001 vapor pads and didn’t smell a thing while wearing it.


-
@lenm the teak floor and covering boards look great. Hope you plan on keeping them this honey color for years to come.
-
@Peter HK and @Designer thanks for your link and input. Much appreciated.
-
I'm preparing to start the mechanical work: engine, relays, fuel lines, etc. I am going to run this through the foam compartments to the port & starboard. I am thinking of using PVC, however, does anyone have experience affixing this to the wood. I will have an opening aft (near the engine mount) and up front (under/near the center console) and I don't believe the epoxy will bond with plastic. What is a good solution?
-
Repair of fractured hull panel
Justin C replied to Mark Rendelman hull 24's topic in B & B Yachts Forum
@Mark Rendelman do you mind providing an inventory of your vacuum bagging set up? -
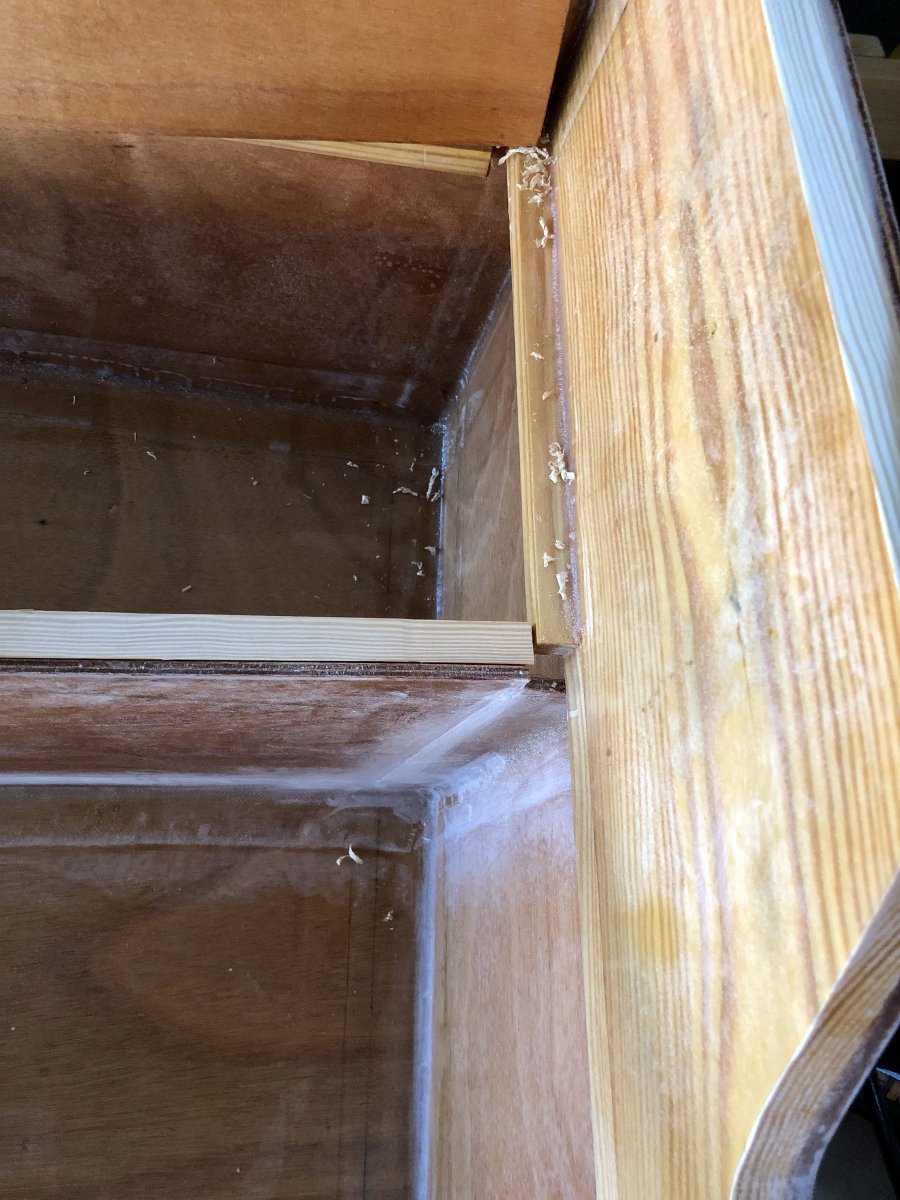
Moving ahead - time to start adding the hardwood stiffeners. This one goes along the top of the longitudinal bulkhead and where it meets the inside transom, there is a small gap. I can cut out the piece in the transom and make this extend to it. I have room up front for this after the center bulkhead stiffener is installed. For the seat tops, is it best to position them flush with the center frame bulkhead as shown below?


-
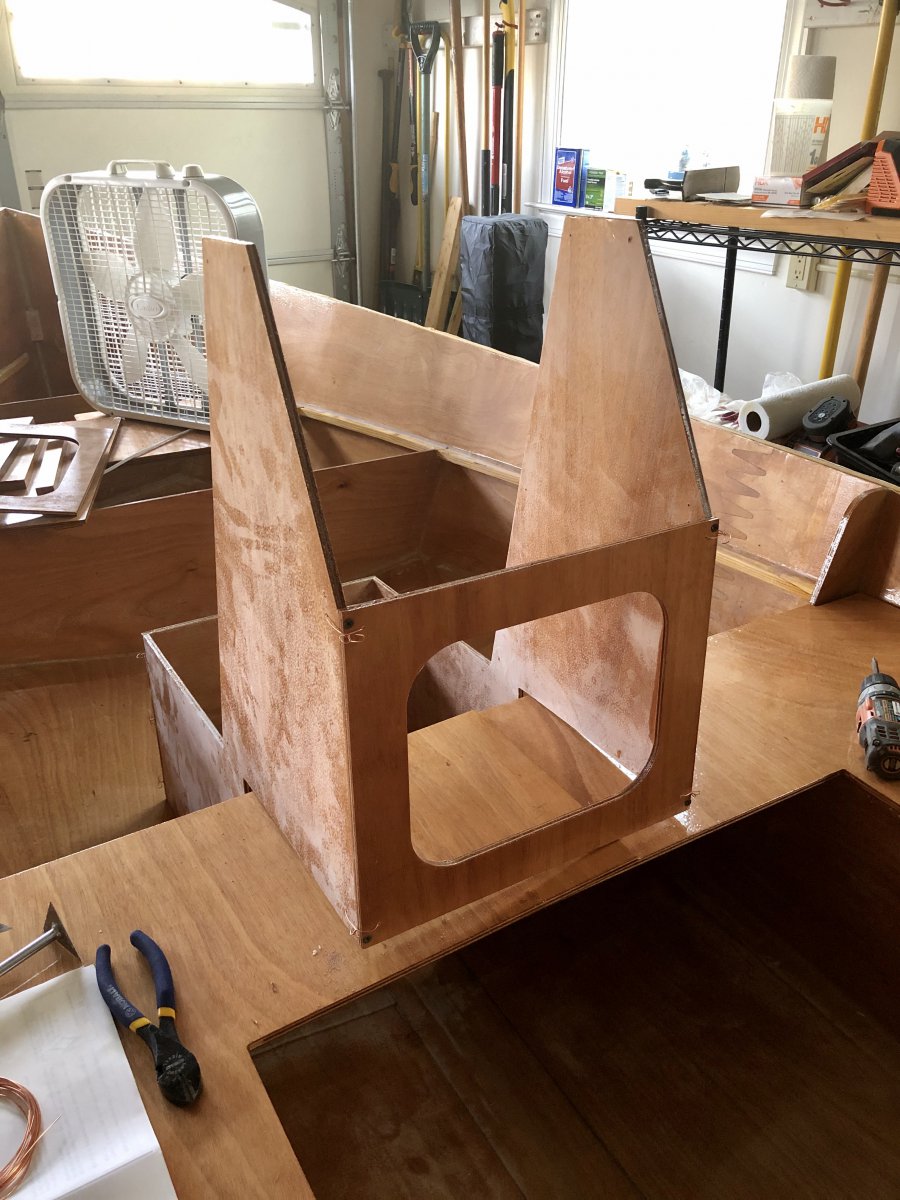
I scribed some leftover okume ply to the front and sides of the center console front seat. I centered the console laterally and marked pencil lines on the centerboard frame and cockpit sole. I then cut some pieces of cardboard and hot glued them to the console seat. Extra ply was used to fill in the gaps. I used neat epoxy on the raw wood then thick epoxy to butt joint the pieces onto the bottom of the console seat. The end result: The little gap at the corner(s) is due to me cutting the front part so the corners overlap alternated. When I did, the angle changed slightly and I didn’t want to cut another side piece. Thickened epoxy will fill it in.


-


-
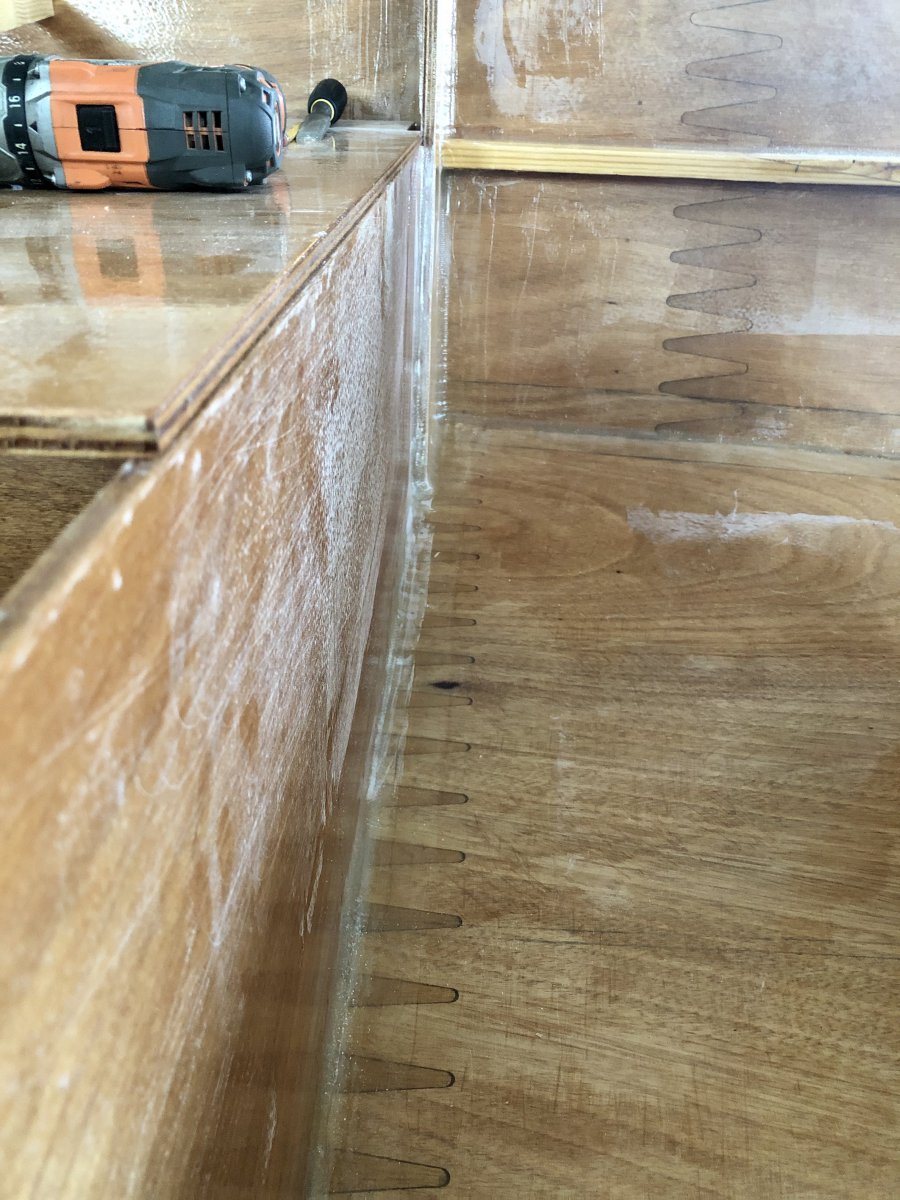
Between using screws to temporarily hold the side stringers, bottom strakes and keel, the screws don’t seem to be locked in if removed within 14hrs. The epoxy is very hard by then and no further compression by the screws would apply. On a side note, I had family over this past weekend for my kid’s birthday’s party. I needed some help flipping the boat right side up to continue working on the interior. I have a small center console partly stitched together.
-
I'm hoping to not have to do that work. I'll be careful where I take it as I'm sure the thought of the work to replace it will be enough to dissuade my curiosity.
-
@lenm this looks great and you can't beat the custom rod rack! While I've never used cork for flooring, I'm partial to teak. It just looks so damn good. I've been considering something like this for my small floor - https://www.flexiteek.com/flexiteek-2g/
-
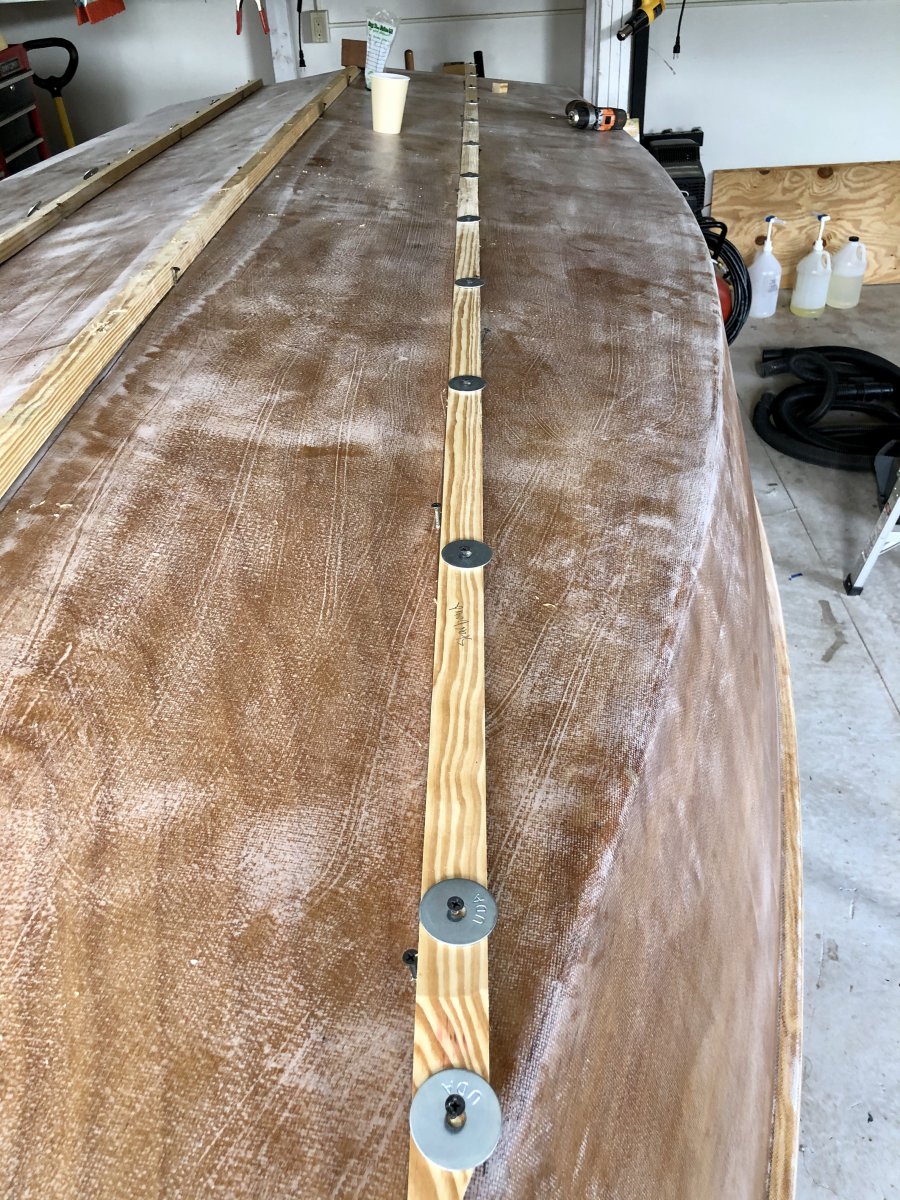
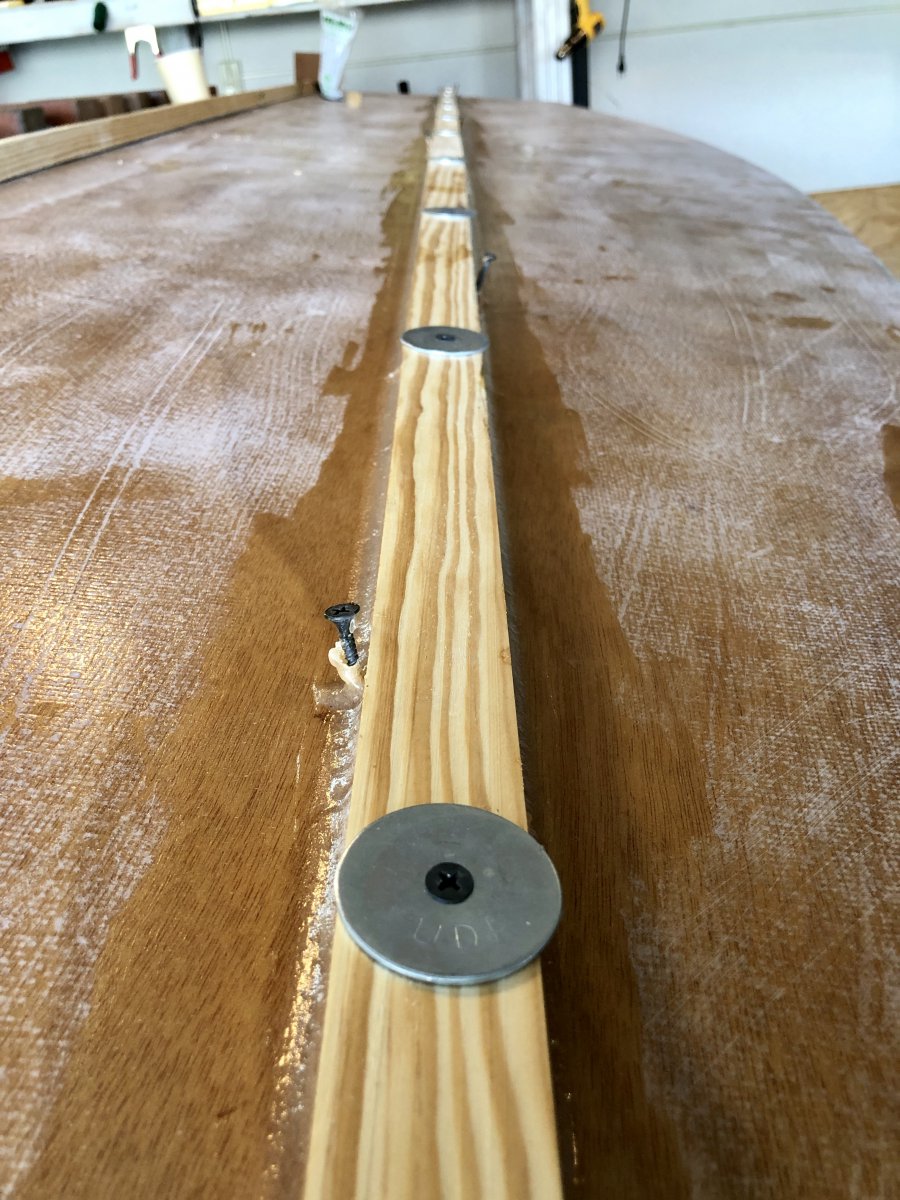
@Hirilonde and @Chick Ludwig - thank for your input. I realized I was overthinking this but nonetheless was on the right track. I had already installed side stringers and thus have done this before. I decided to install with screws and large washers. I predrilled the holes about every foot and used 1 1/4” screws on the bottom strakes. I have not yet installed the keel (too hot yesterday and barely got the strakes installed). However, the keel is pre-drilled and ready for 1 1/2” screws/washers. The forward end of the strakes are cut to the profile of the hull then mitred at 80deg. The pieces are uncoated at this point. As you have said, I suppose glassing them will not add much abrasion value. So, a few coats for epoxy and that’ll be that.


-
Keel and stringer locations are marked out in pencil. Should I coat the stringers and keel with epoxy now? Should I do it after they are attached? What’s the best/easiest method to glass around the corners of these pieces? Possibly add fillets to the edges thus rounding them and avoiding corners altogether?

-
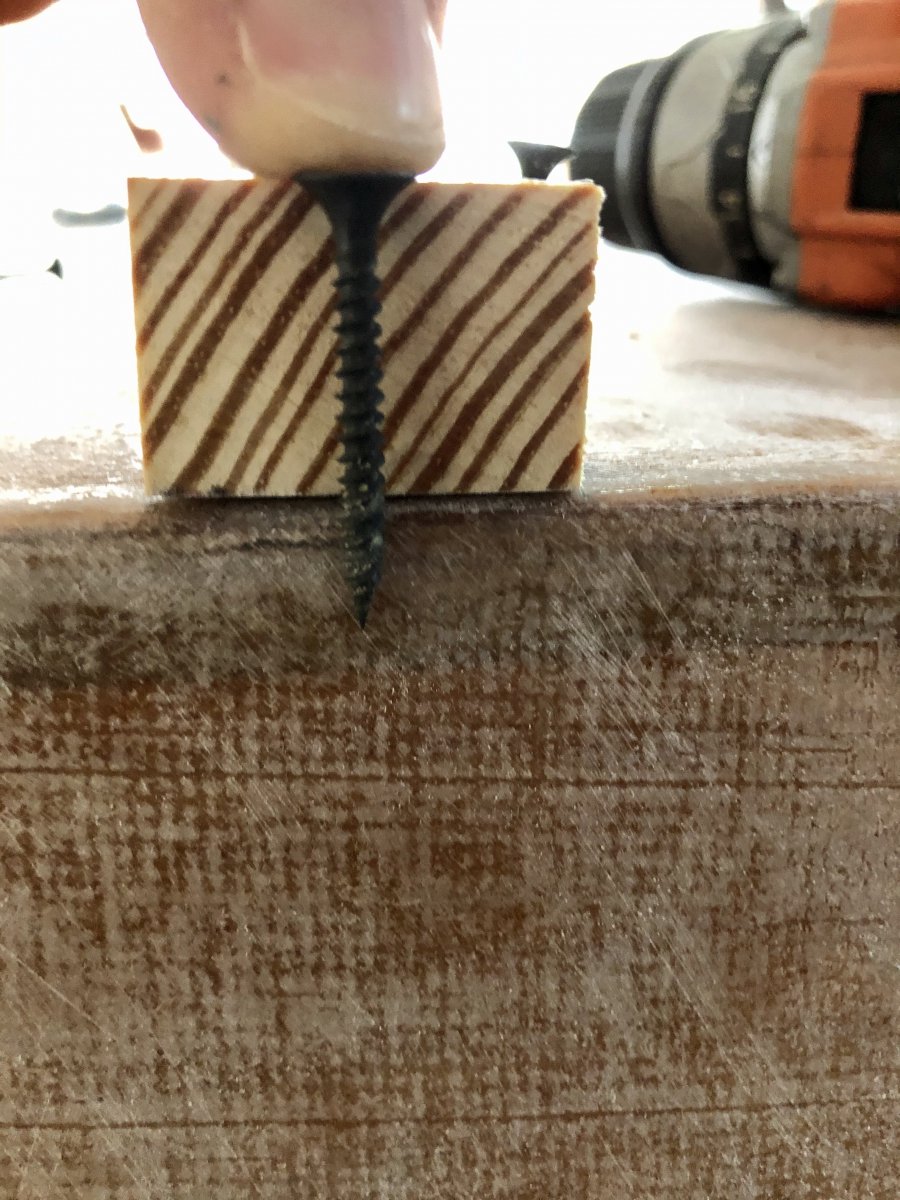
I’m ready to install the keel and stringers. In thinking how to properly affix straight pieces of wood to a rounded hull, what is the best method to accomplish this? I have considered using screws through the keel/stringers just enough to grab into the hull. I have also considered weight - plain old bricks. Possibly a combo is best?
-
I forgot to mention that. I did use a plastic bondo spreader when I was filling the weave with slightly thickened epoxy - it worked well. The roller did not lift the fabric at all. I poured it down the side of a centerline and let it soak in. Once it was clear, I spread the rest around and it rolled easy. It actually went much quicker than I anticipated.
-
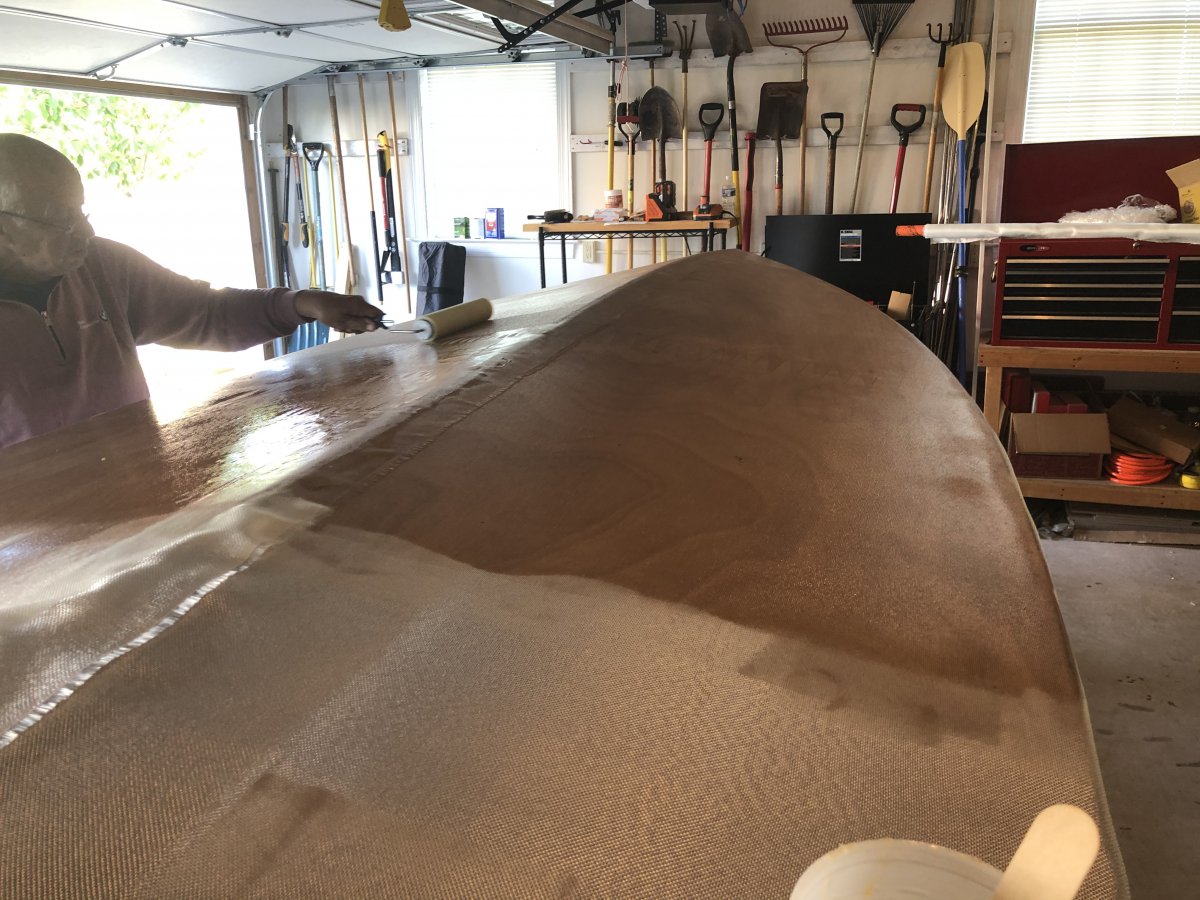
I had my father over last weekend to help with glassing the hull. I laid the cloth out the night before and I played the part of a tailor and trimmed it to fit like a suit. I mixed the epoxy by pouring it in measuring cups and mixing thoroughly. We just poured it along the keel and let it run down one side of the hull bottom. We wet it out with foam rollers. We then did the same for the hull sides and up the sides of the rub rails. (Despite trying my best to work the bubbles out of this area, I’ll have to sand out and re-glass) We then rolled the boat out of the garage and let it bake under the midday sun for a few hours. Just after the epoxy set up, we rolled on a coat of slightly thickened epoxy to fill the weave. I have three areas about the size of a quarter that did not take the epoxy. It’s still gummy and I was able to soak up the liquid and dry the weave. Not sure why or how this happened as this is the first time I’ve experienced this. Overall, it was a fairly easy day.


-
Chines are faired as best I could and another coat applied. Glassing the hull is up next.

-
I appreciate the detailed description though I may not use this exact set up. This will be valuable for future builders referencing your post!
-
@Nick C thanks for sharing pics of your set up. Prior to seeing this, I was considering wrapping the jugs in a heated blanket and just setting it on low overnight. In fact, I brought the jugs in and placed them in front of the lit fireplace last night. Looks like a lot less floating in the resin this morning. What forced air heater did you use? I have a small space heater that I would consider using as well.
-
I brought them back indoors where it’s just above 65. We are expecting a freeze warning tonight and wind chills in the 30s tomorrow. It’s May 9th?. I may just need to snuggle the resin up with me at night all nice and warm?.
-
Any advice on how to get the resin pump to pump again? I went to apply another coat of epoxy and the resin pump is not filling up and it pushes out air. I disassembled the entire pump and cleaned some hardened pieces out of it. Even got the part with the plastic ball out. Put it all back together and nothing. Being so messy, I’d rather not take apart the hardener pump to compare them. Again, any advice on this?
-
I have the hull and sides coated with epoxy. I sanded them with 150 grit using an orbital. The glass cloth is up next once it gets out of the 50s here for a few days.
-
I actually glued sandpaper to a scrap piece of azek I had laying around. I didn’t take a picture of that though. Since it’s thinner, it’s harder to hold. I’ll have to fabricate handles for it - something like a plane handle where I can push/pull.
-
2 days of boat work in a row! I rounded the chines to what I think is a nice radius. I also slightly flattened the keel line. I then cut some 60 grit sandpaper and spray glued it to a piece of scrap 2x4 - my version of a longboard.