Mark Rendelman hull 24
-
Posts
191 -
Joined
-
Last visited
-
Days Won
12
Content Type
Profiles
Forums
Events
Everything posted by Mark Rendelman hull 24
-

Build of hull#24
Mark Rendelman hull 24 replied to Mark Rendelman hull 24's topic in B & B Yachts Forum
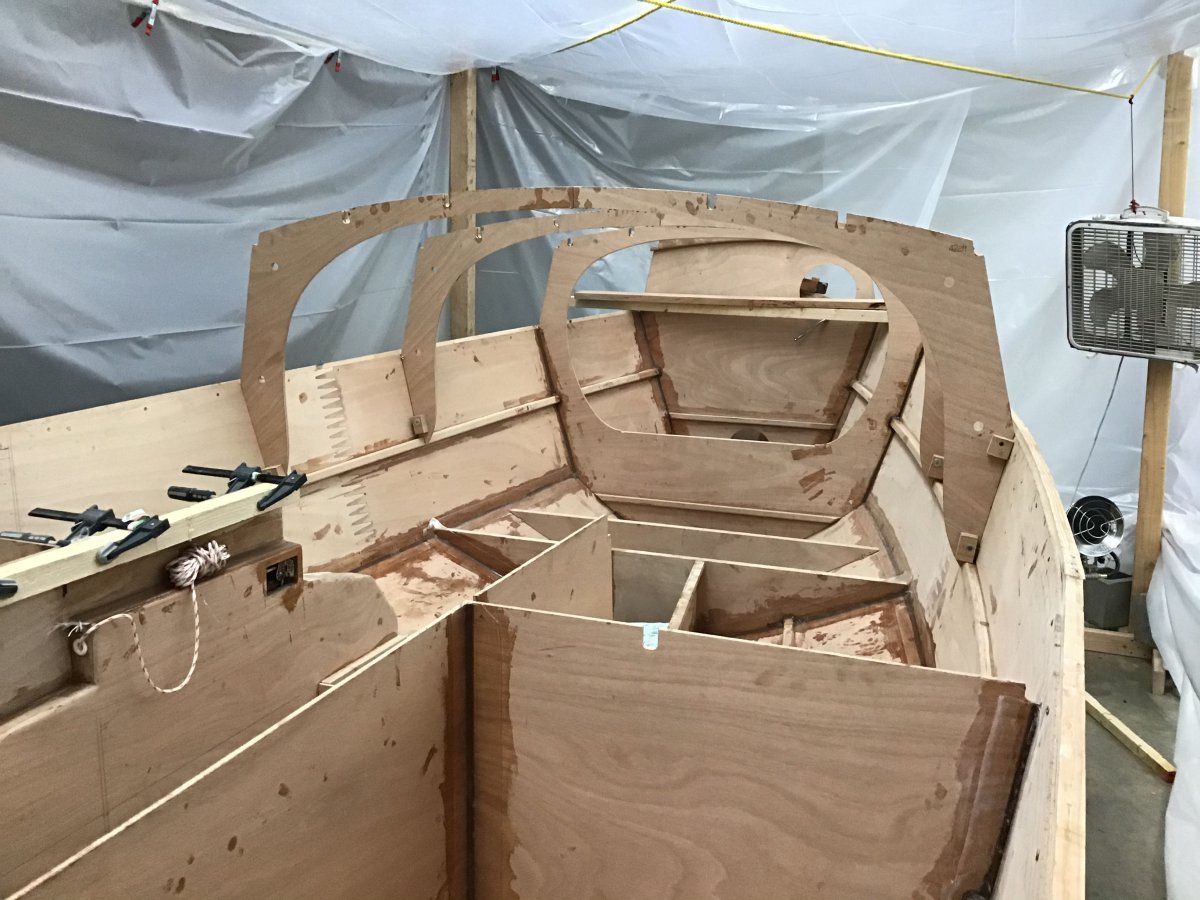
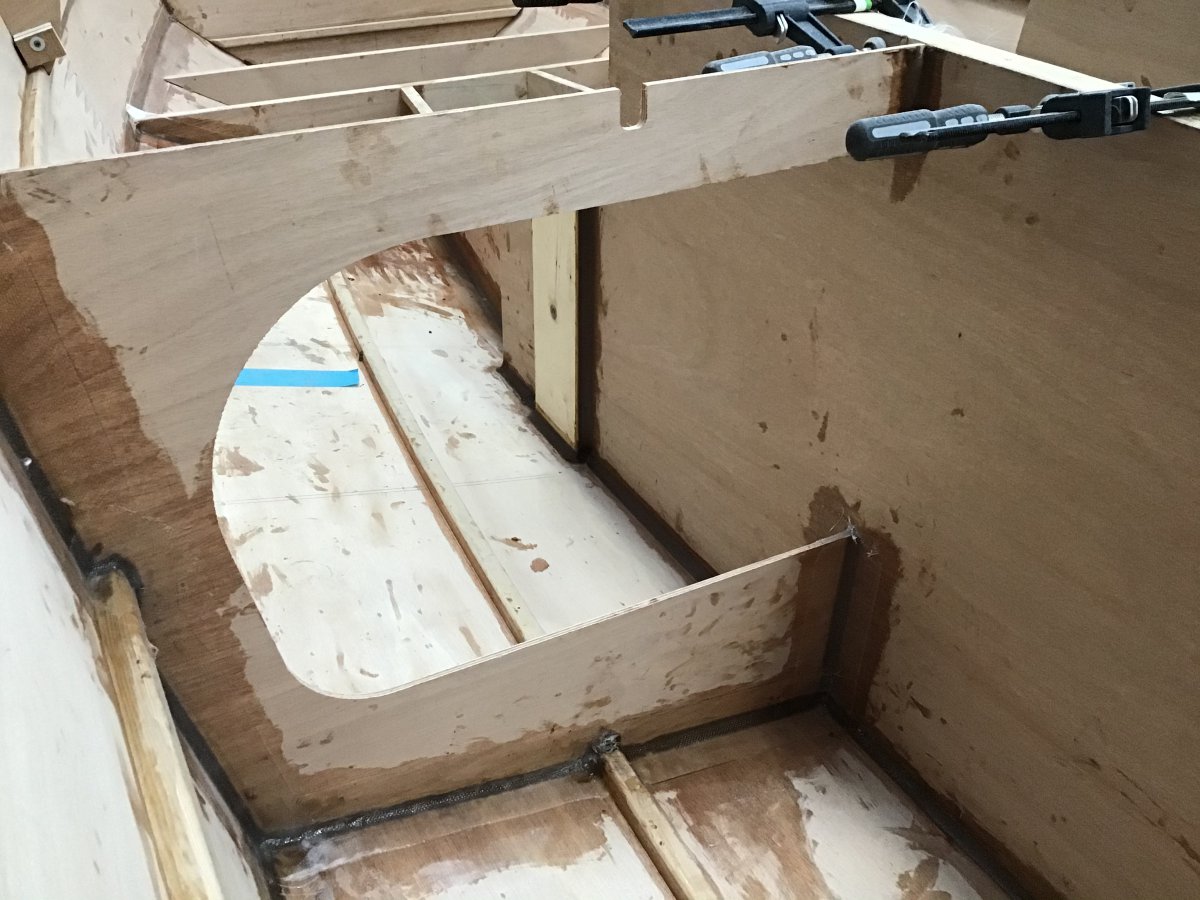
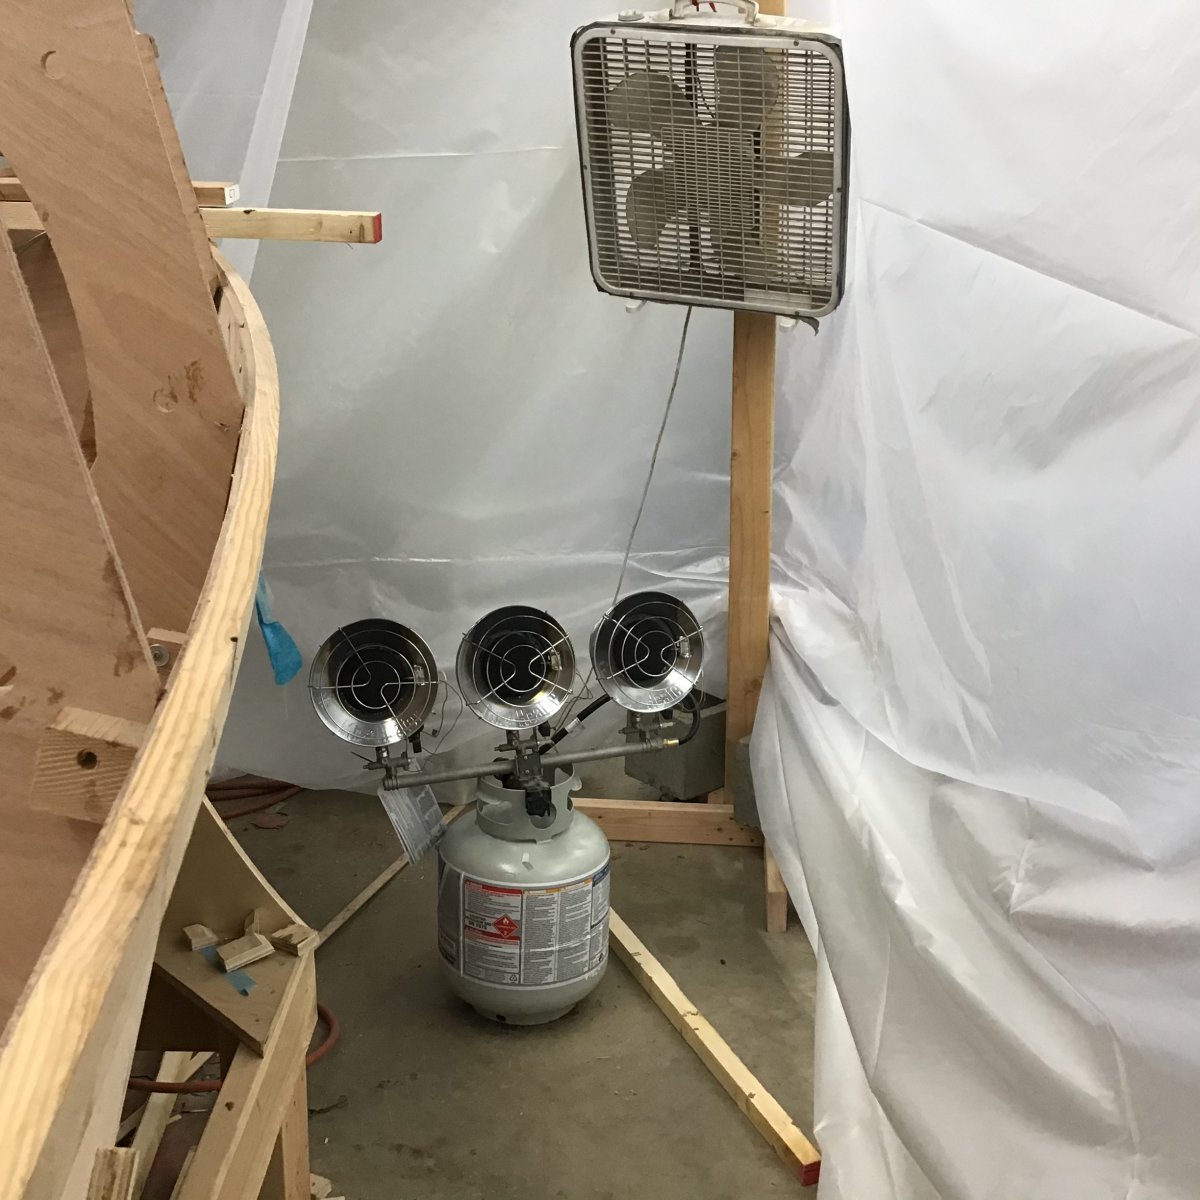
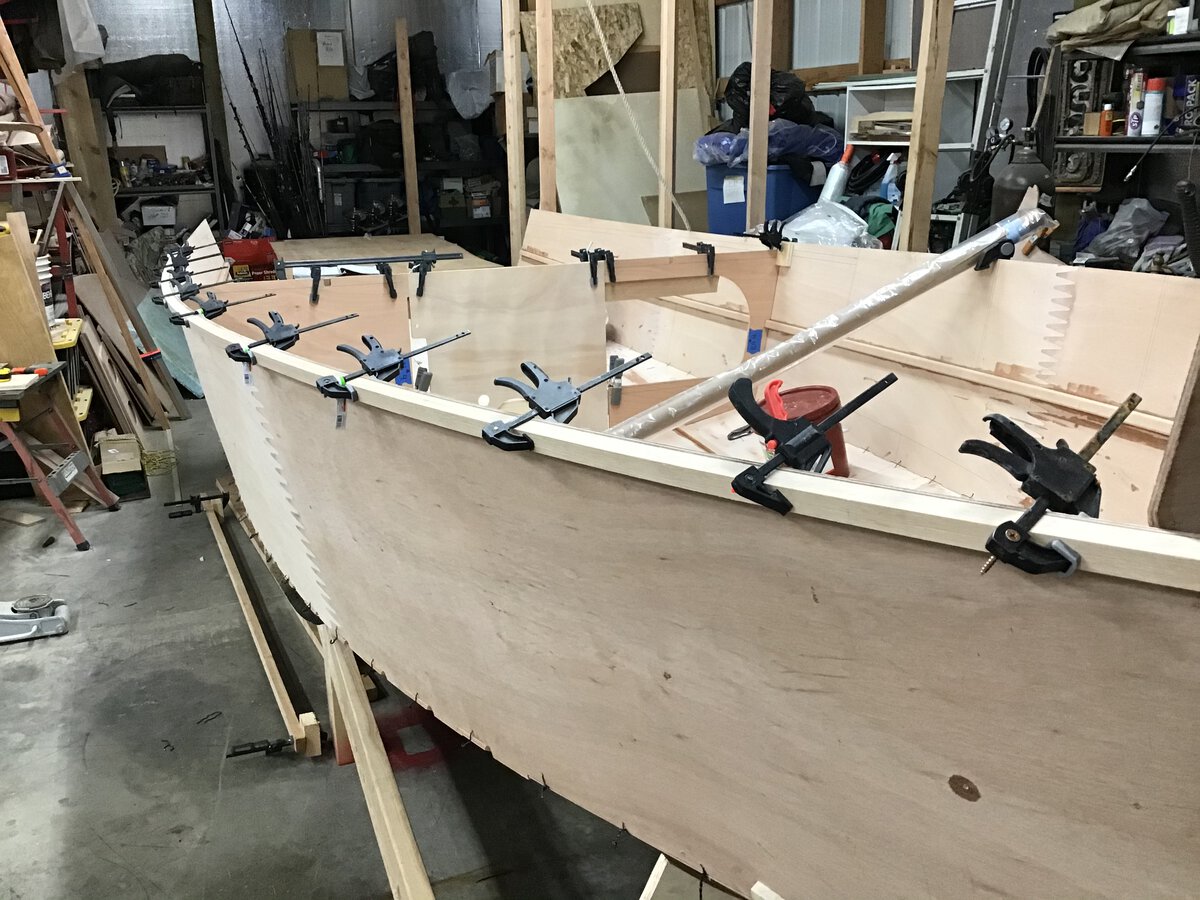
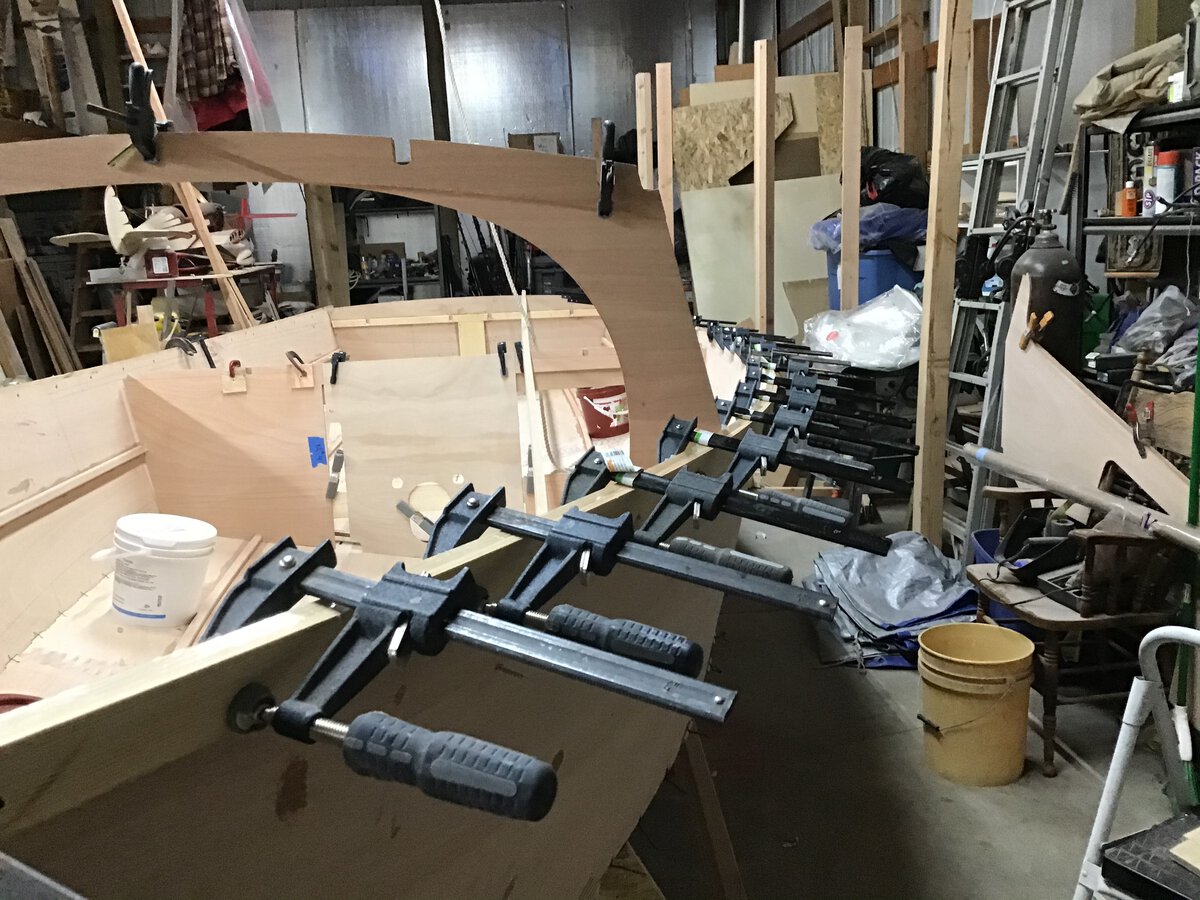
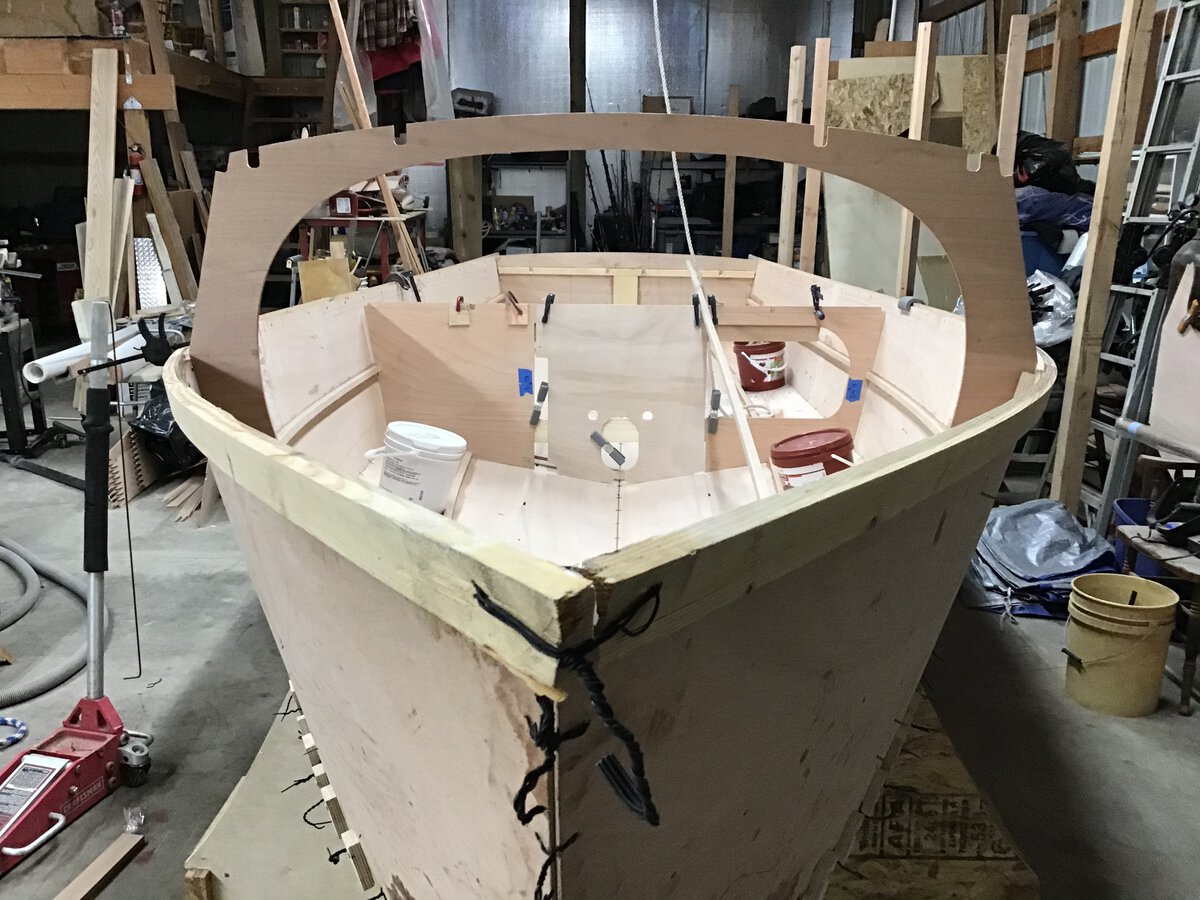
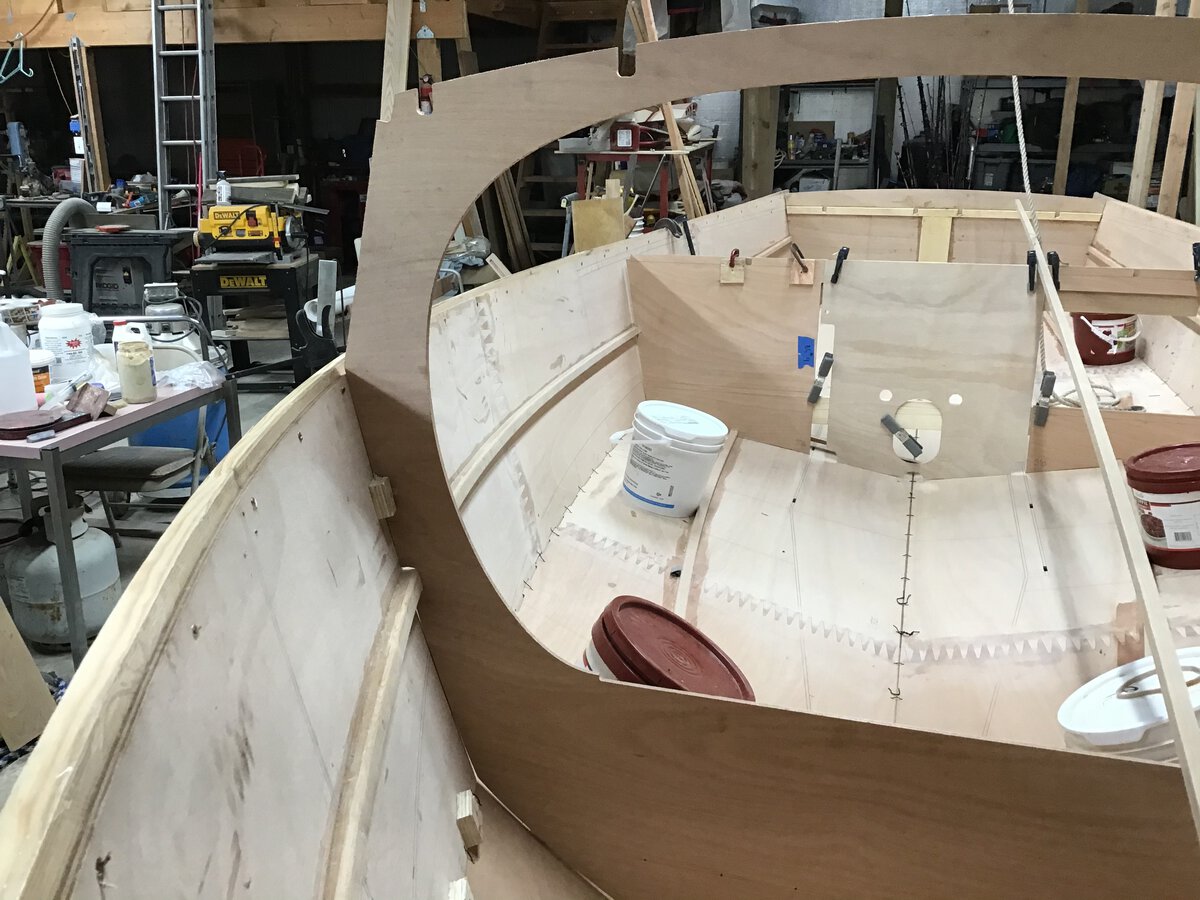
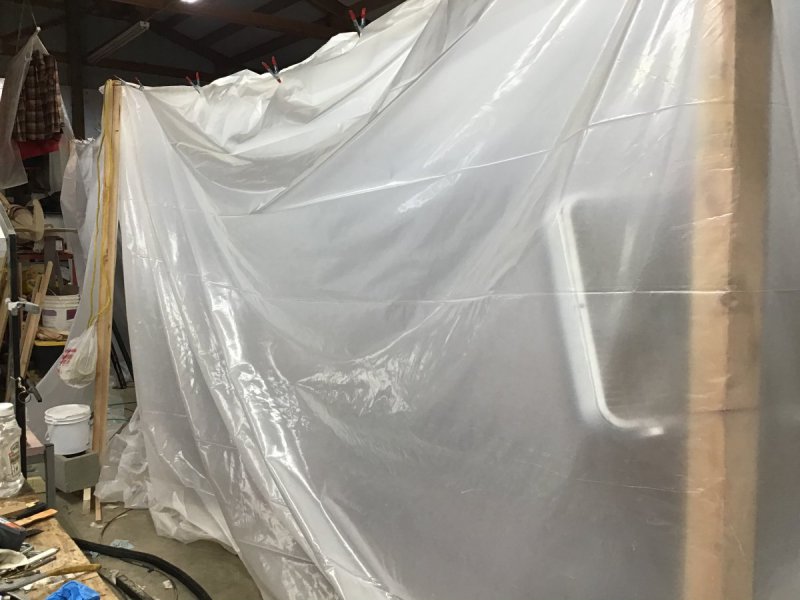
CS20mk3 hull #24 build Well Christmas and new year have come and gone I hope all is well with everyone, I have been busy out in the boat house, to solve the cold problem with building in the shop I built a make shift tent out of plastic sheet and use a MR heater to warm it. Its not hard to keep it at 64 or so. But I have a 220,000 btu heater being delivered at the end of the week this should heat the whole shop along with the wood stove. I have installed the cockpit sides and some of the major bulkheads so I can walk in the boat but even with that it still a little spooky feeling the hull flex under your feet. Once I have the cockpit sides glassed in I hope it will stiffen it up, after that I will be moving to the bow and working on completing those compartments and getting them sealed and painted the chain locker and the storage locker will get painted. Well I guess that’s all I have now and will post again when I have made some major progress.


-
Hey steve
nice to know someone else is building slowly with the cold weather here and honey do’s it’s hard to get much done.


-
HAPPY NEW YEAR well it’s a new year and a the beginning of a new decade best wishes to everyone and hope all of your dreams come true and your projects get completed as you want them to turn out .Good health to all and your loved ones. KEEP ON BUILDING , CALM SEAS, AND FAIR WINDS from my family to yours HAPPY NEW YEAR Mark Rendelman Hull #24
-
Biaxial cloth tape
Mark Rendelman hull 24 replied to Mark Rendelman hull 24's topic in B & B Yachts Forum
Hi, thank you for the reply mark -
Build of hull #24 when you lay down the biaxial tape on cs 20 mk3 keel fillet I assume that the mat side goes down on the fillet. Please let me know if that is the proper application, I have never used this type of material before with a course weave on one side and os mat on the other, so just let me know mark
-
Build of hull#24
Mark Rendelman hull 24 replied to Mark Rendelman hull 24's topic in B & B Yachts Forum
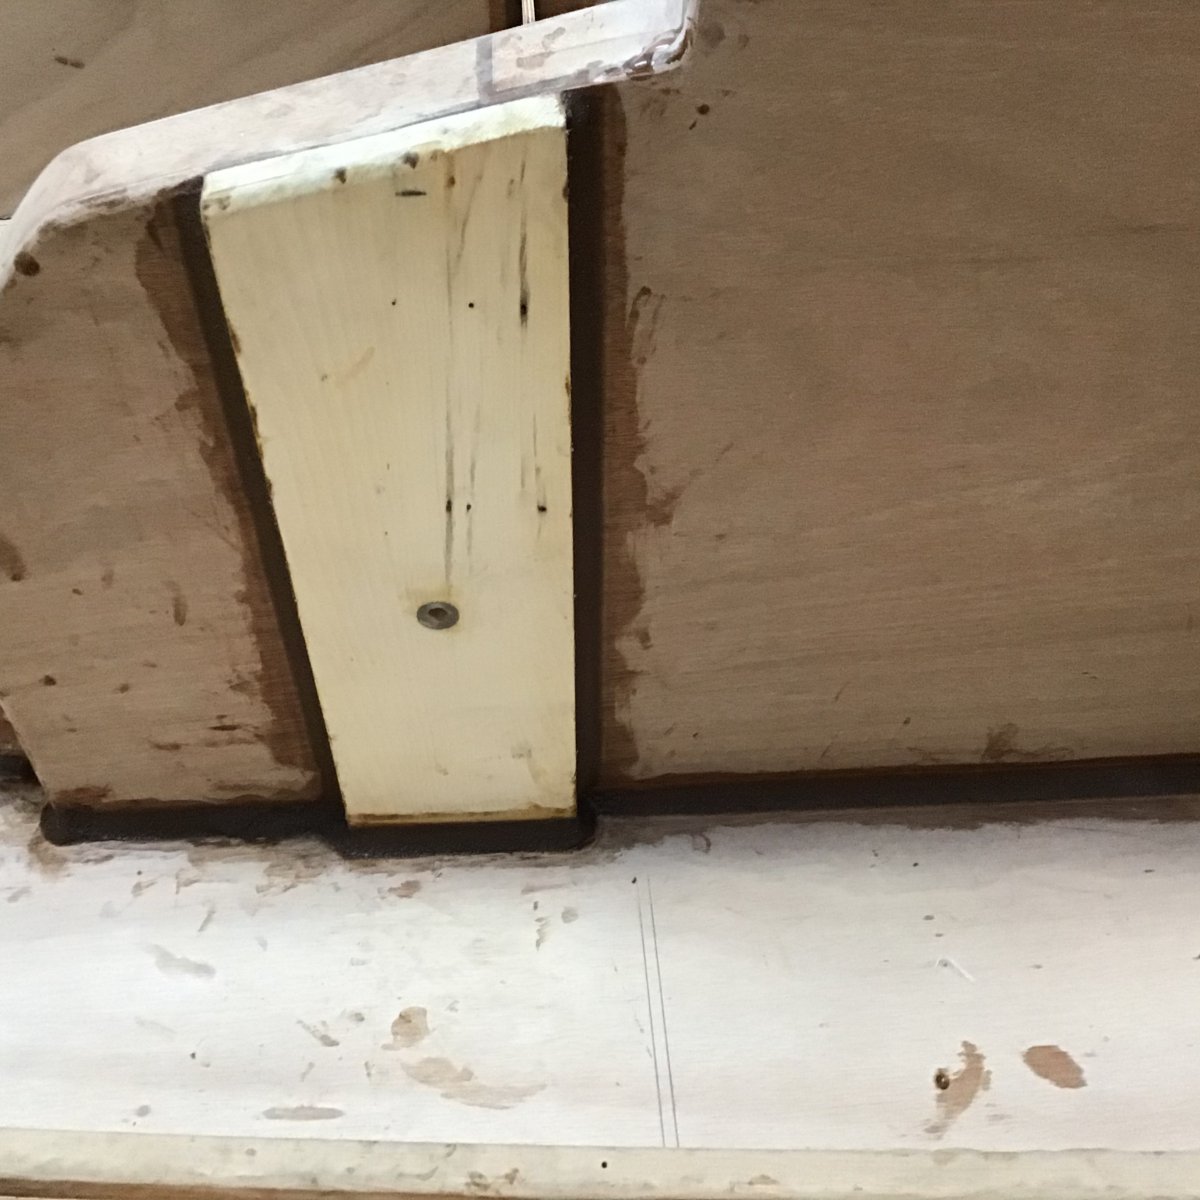
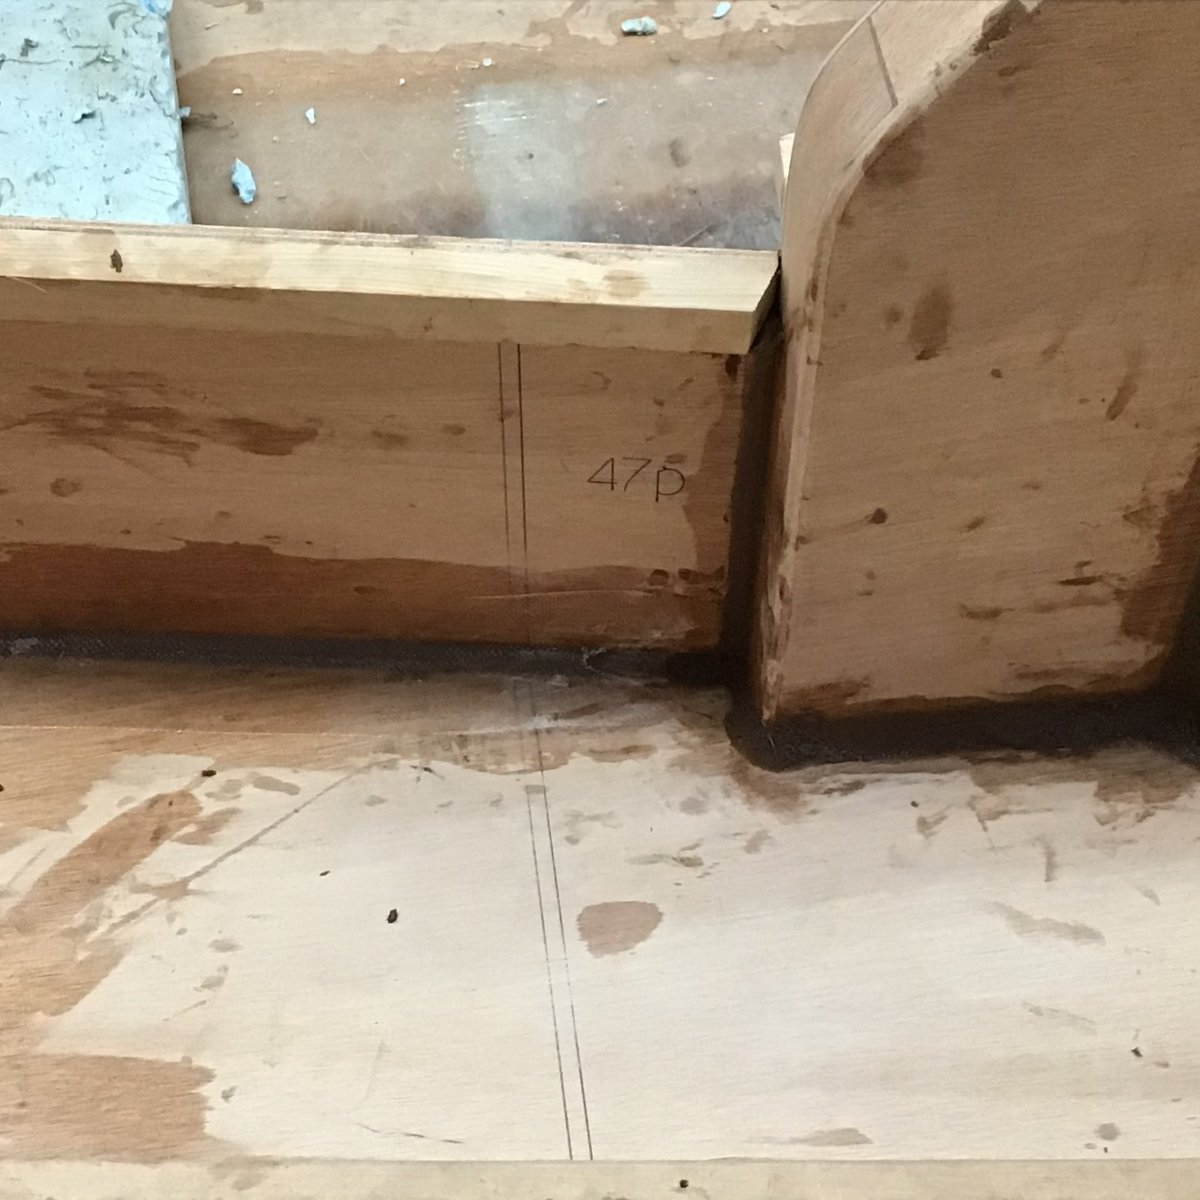
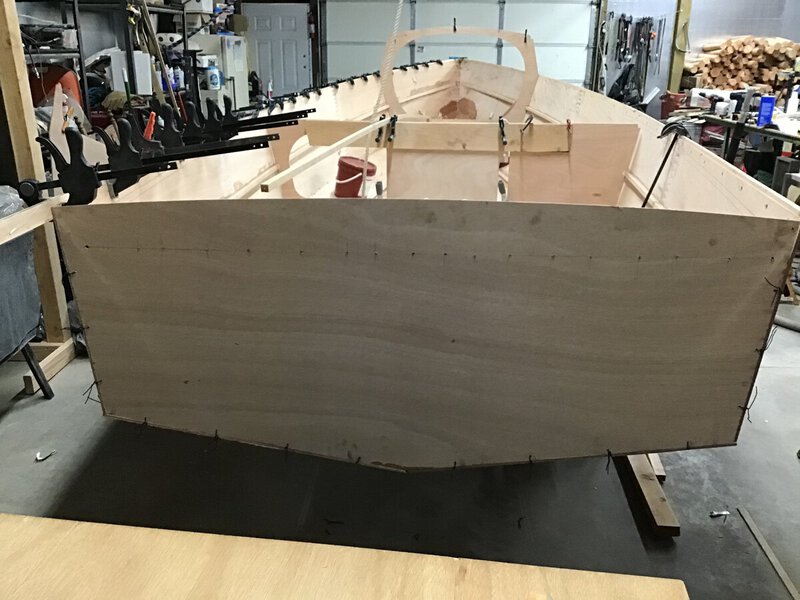
Since my last post I have made some progress I have glassed the center board trunk, wired the hull tight fit bh 1&2, also installed hanging knees, along with bh 3.at that point I removed bh 1&2 so I could apply the fillet in the bow then glassing according to the build sheet. After the bow glass job cures I will refit bh 1 and spot glue it in place, The next thing will be to remove the transom so I can place the scaffolding in the boat so I get to keel and start the fillet process iam sure this will take several days to complete. I don’t know why you can’t just cut a filler piece on the constant angle and glue it in I do plan to build floor slats to fit the cockpit floor anyway any feed back will be helpfully appreciated. mark




-
Well today was a milestone for any of us stitch and glue boat builders I was able to go 3D this took some work but with the help of a neighbor and my wife and the winch of my side x side we did it. My wife’s first words were it looks like a boat, everything went well and the panels lined up evenly but I do have issues with the #1 bulkhead that will be addressed when I come back from California to visit my grandson.


-
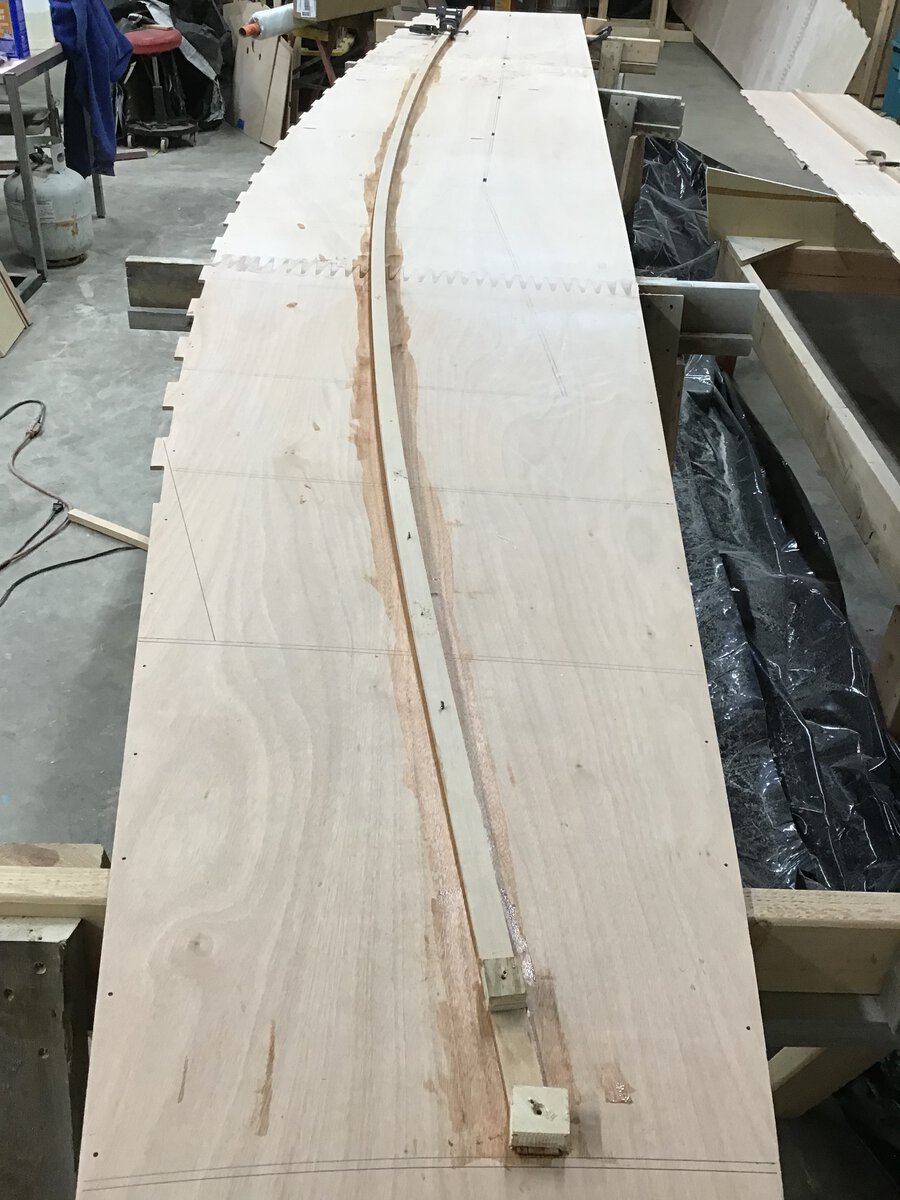
Well things have moved along nicely I glued the stringers on all 4 hull panels using a tent with a space heater over night worked out nicely, after removing the blocks and rounding the corners I am ready to glue the side and bottom panels, after dry fitting a pair of panels together I did have some problems with the joint at the bow. No matter how much I tried to bring them together they would not tighten together. looking past the stitch seam the area just behind was butting tight and not allowing the stitch seam to come together so I removed a little material with a block plane to bring it together after trying this process several times I got it as close as the rest of the panels allowed because at this point the first square cut stitch was hitting hard against its matching notch. After blocking the stitch seam down with the glass tape and epoxy I moved my attention to the 95 11/16 “ dimension at the back of the boat, now that I have done it I found that the stitch seam at the bow really does set the distance at the back of the boat.with just a little pressure I was able to bring the 95 11/16”%to 95 3/4” and that’s all I’ll say about that. Tented the work area and left a heat lamp on to keep it warm. During the previous days I did work the transom center doubler and bulkhead #1 doublers in anticipation of going 3D in a couple of days.


-
About the B & B Yachts Forum
Mark Rendelman hull 24 replied to Frank Hagan's topic in B & B Yachts Forum
Yes thank you but that’s not what I needed help with I need to know how to post and not to open a new topic but list under another post like the others I see that have multiple pages under one post -
About the B & B Yachts Forum
Mark Rendelman hull 24 replied to Frank Hagan's topic in B & B Yachts Forum
Hay frank I need help with the forum could you call me 5092587238 -
CS20MK3 Hull#24. Wood glue
Mark Rendelman hull 24 replied to Mark Rendelman hull 24's topic in B & B Yachts Forum
Mark yes I understand that I will need to use epoxy for the glassing and fillets and I am going to tent the boat once it is in the cradle the tent will be made of 6mil clear plastic 10 ‘ wide by 24’ long 8’ high. I am working in a 40’x48’ shop with 14’ wallsI do have a large wood burning stove in the shop and can get up to 68 while iam out their working it the evening time when iam not out their to keep the stove hot and it cools down to 40 this stops the cure of the epoxy to snails pace but to glue the stringers I thought that I could use the plastic resin glue it will cure much faster in the cold -
Well it been a few days since my last post and I have glued the hull panels together and I have attached the stringers for dry fit, I know that most of you use thickened epoxy to glue your boats, but due to temperature I would like to use plastic resin wood glue because it will cure at colder temperatures. My question is is this glue strong enough for boats I have used it for years to build furniture with no problems. I believe that this is what was used before the invent of epoxy. mark
-
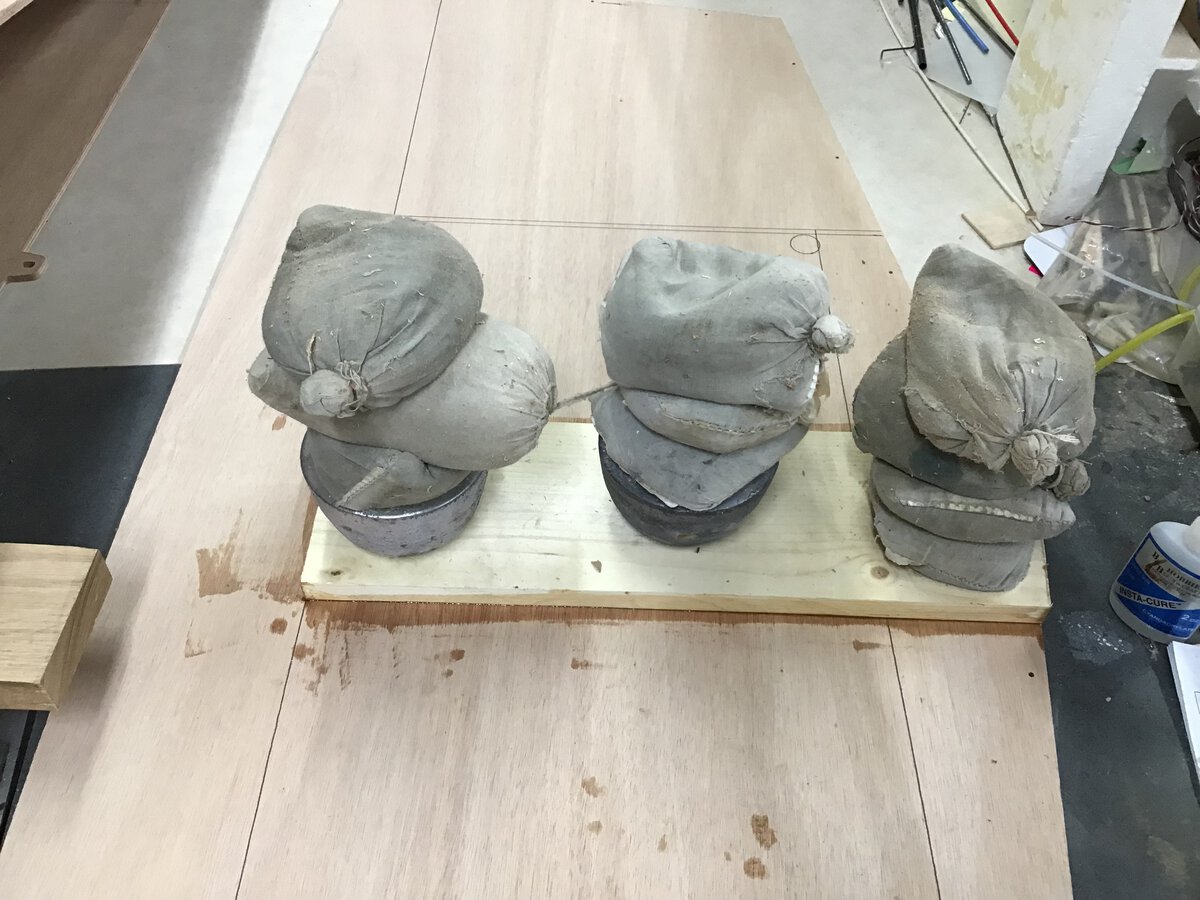
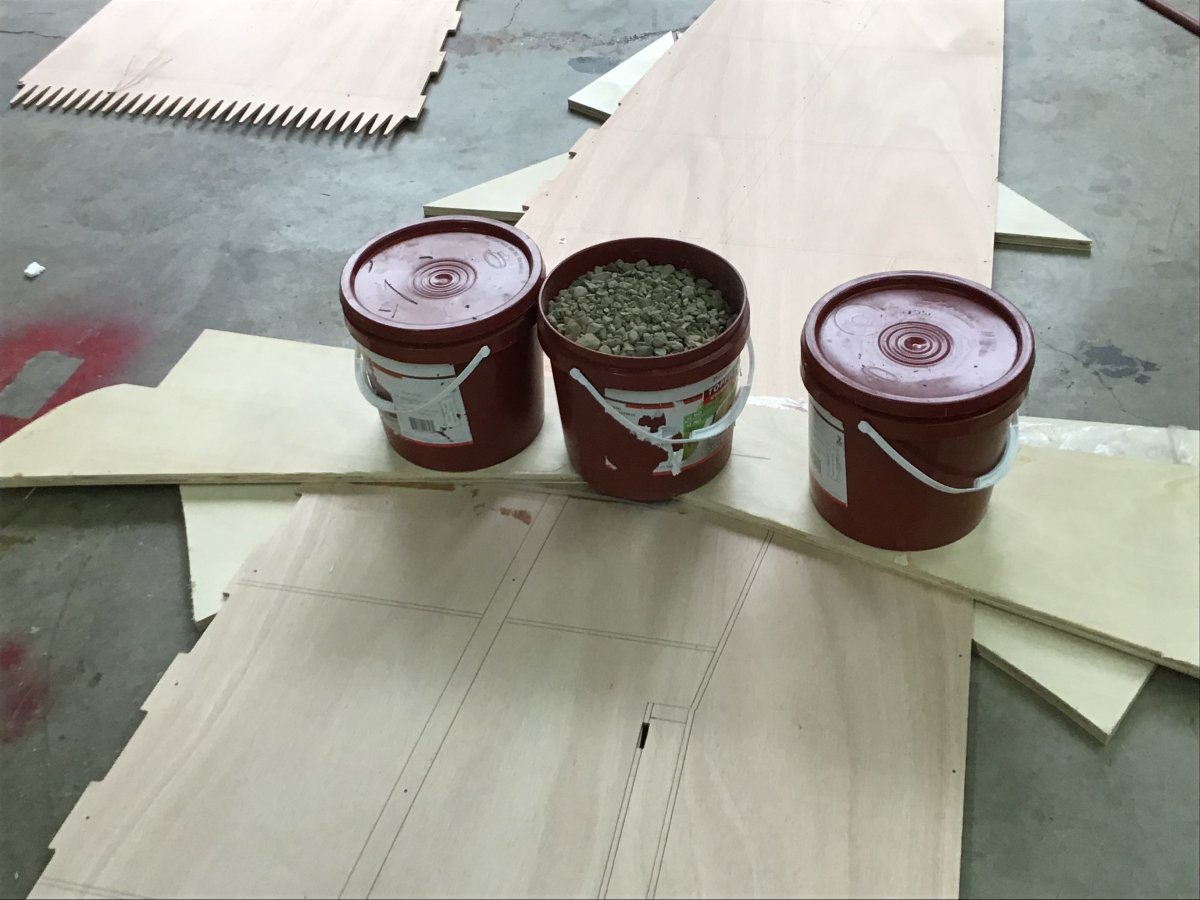
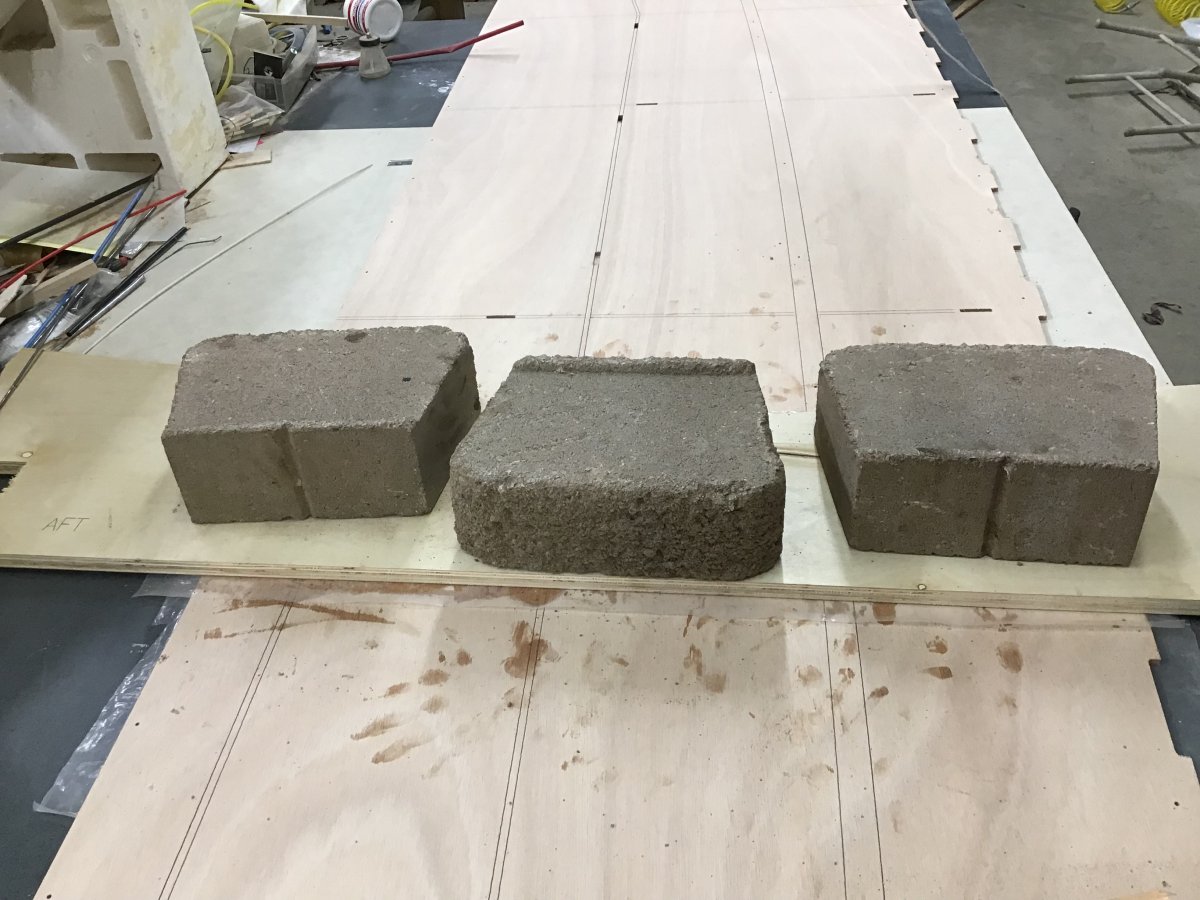
Yes I hope to connect with the boat owner so if you are reading this write me also yes 5gallons is a lot of mess but gravel is abundant on my property so use what you have right
-
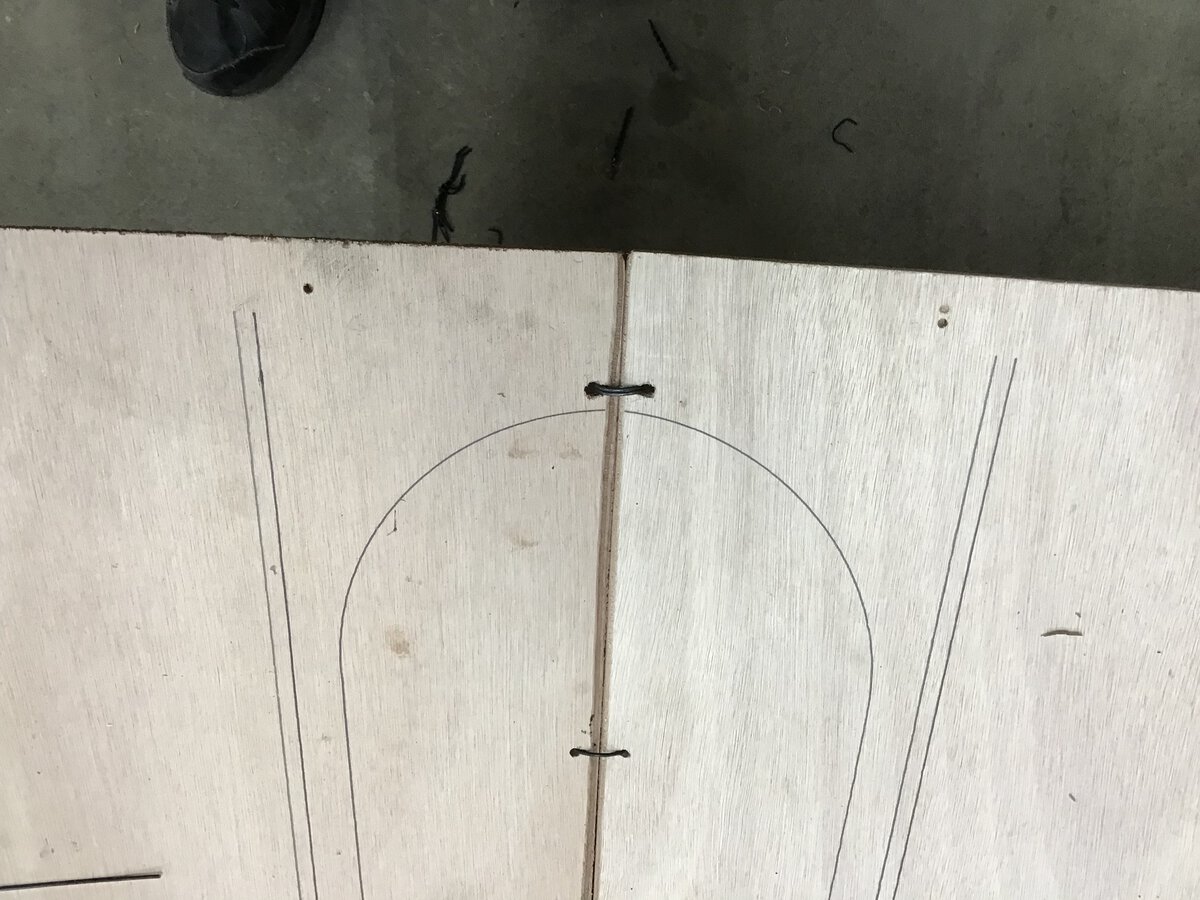
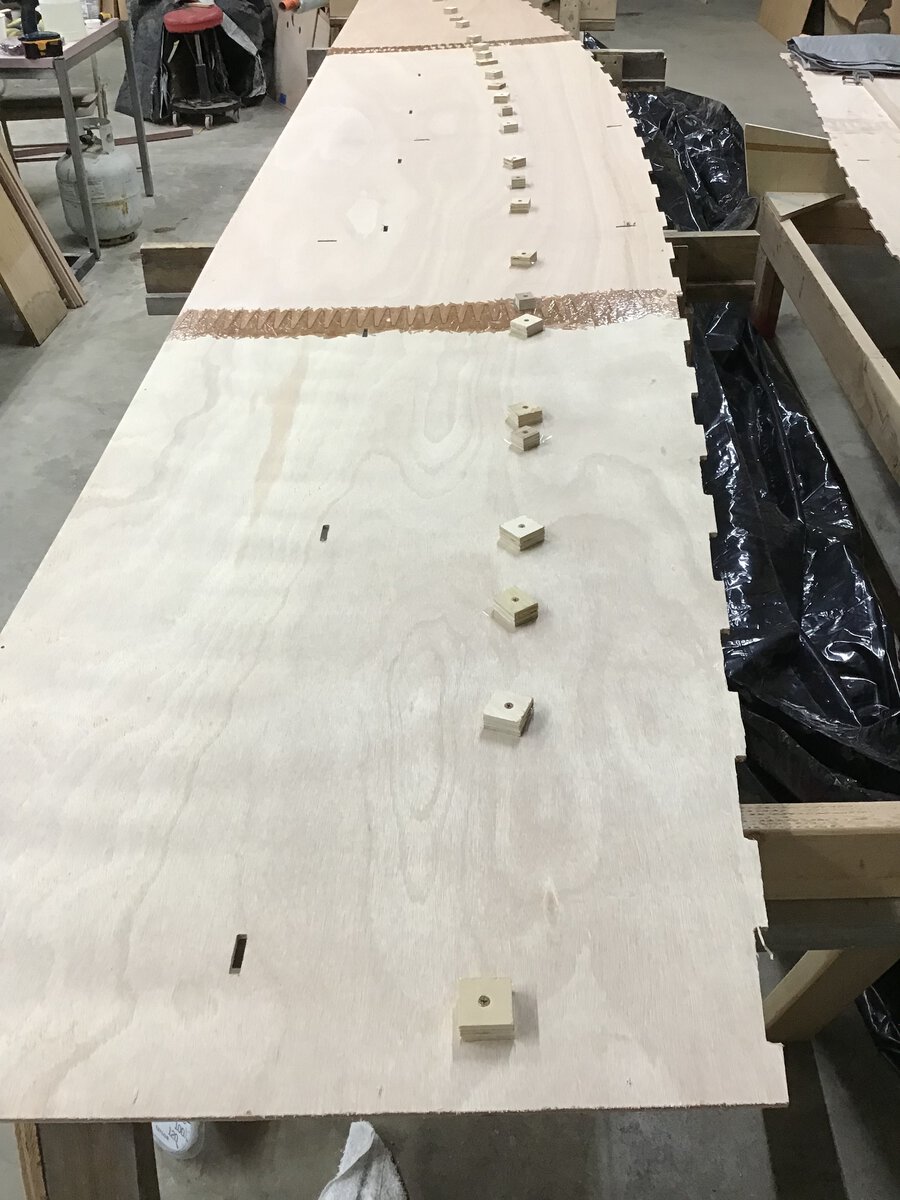
Today is the first full day of building my CS20MK3 after waiting what seemed like months to get the kit I did an inventory of the parts yesterday and started to glue the hull panels together, this will take me several days to complete


-
Time to build
Mark Rendelman hull 24 replied to Mark Rendelman hull 24's topic in B & B Yachts Forum
Oh sorry I am building a core sound 20 mk3 -
Mark cs20mk3 #24 well to make a pun my ship has come in, today my kit was delivered and I couldn’t wait to open it up. Started to take inventory of all I ordered, boy that’s a lot of wood & I have only just begun, there are wood parts all over but after I run the inventory I will group the parts by assembly, which will help. Day 1 of the build.

-
Preparing for Hurricane Dorian
Mark Rendelman hull 24 replied to Alan Stewart's topic in B & B Yachts Forum
Glad to hear that everyone is ok and that your homes and shop survived the big one of 2019 hope everything returns to normal as soon as possible -
Molding center board tip HELP
Mark Rendelman hull 24 replied to Mark Rendelman hull 24's topic in B & B Yachts Forum
Thanks for the information I will be poring the lead from the bottom and I went ahead and baked the mold at 350 degrees for an hour stunk up the house with the smell of hot ply-wood oh well that’s boat building -
I made my greensand mold today but I can’t find out how long to bake the mold or at what temperature any one who has any information on this process please reply to this post I need the help I don’t want hot lead blowing out at me


-
Spent the morning cutting up the 3/4x3/4 stock that I will use for the build also cut the 1x3/4 stringers then set to task on how I would cut the scarf joints. Went back to the house and watched a few videos just to get an idea, back to the shop got out my table leg taper jig and a few clamps and made my setup the clamps hold the parts safely and it only takes about 90 seconds to clamp and run a part thru the saw perfect joints every time.for me this method was the most accurate and fastest way about it.still had time left at the end of the day to glue material for the port light trim rings to see how I was going to make them.


-
CS20mk lll center board
Mark Rendelman hull 24 replied to Mark Rendelman hull 24's topic in B & B Yachts Forum
No handle on the 20 mklll oops lever -
Well I just finished the center board and iam not really happy how it turned out, the problem is that the contour on one side is real close to the drawing profile, BUT the other side is a little flat through the center, since I will be finishing it bright, faring compound is out of the question I could build it up with glass when I glass the whole center board.My question is what will happen ito the performance of the boat if I just leave it alone , iam just going to sail for pleasure. This is an edit to the original post when I said it’s flat on one side it’s also undersized to the cross section.
-
Since this area takes such abuse I would cut back the affected area do a good scarf joint and replace with a piece of white oak or maple these woods are water resistant due to the tight fiber cells they will stand up longer than any of the pine tree varieties.
-
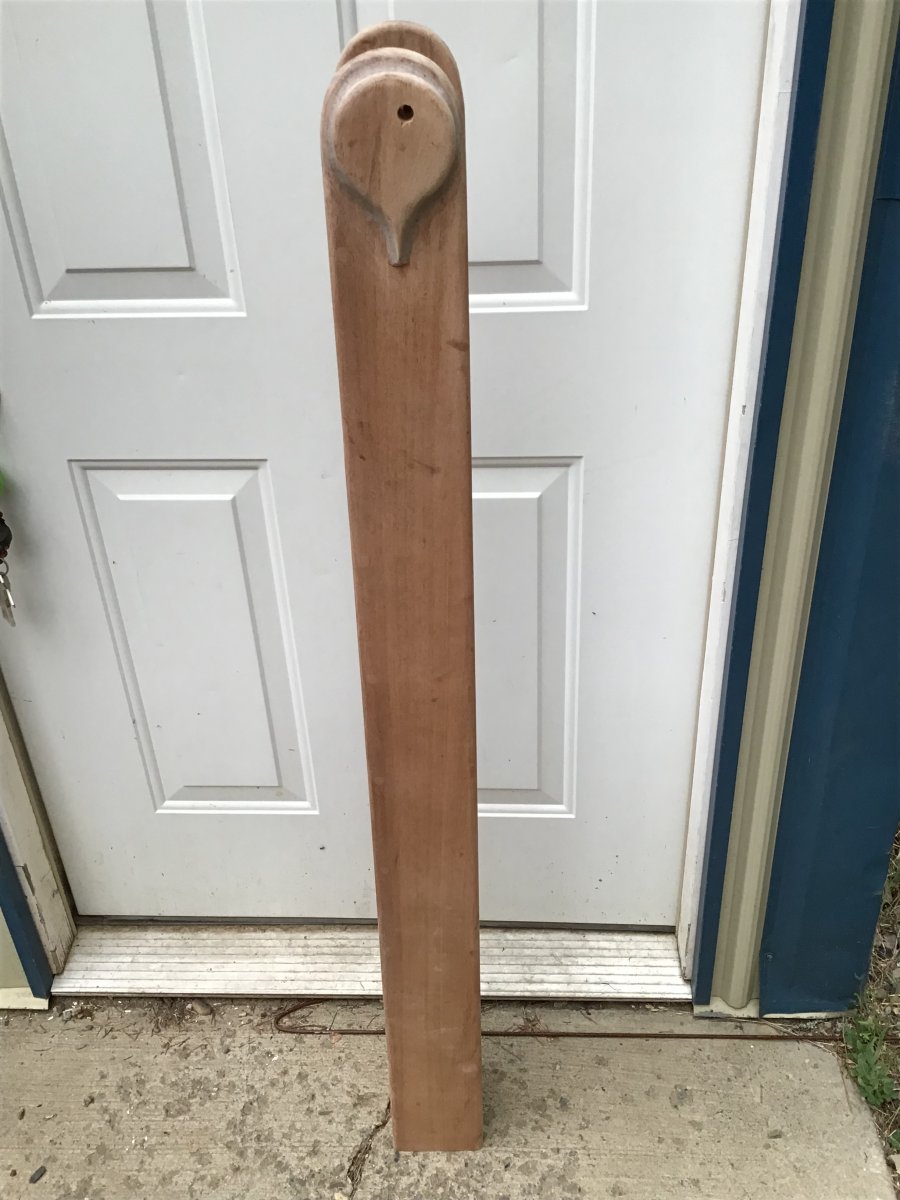
Well it’s been a few days now and I have been working on the tabernacles, and the center board contour, the tabernacles are done as far as possible until the installation. the rudder is ready for glassing, after talking to Alan Stewart I was told that they will shoot for August 20 to ship the kit. Till then I will continue to make parts that I will need to use.


-
- 1
-

-
Rudder/center board contour
Mark Rendelman hull 24 replied to Mark Rendelman hull 24's topic in B & B Yachts Forum
Thanks for the input since I have a good table saw I think I’ll go with Amos’s idea. I did just finish the rudder which I did with a small block plane, belt sander and orbital sander, not hard but time consuming.