Todd Stein
-
Posts
86 -
Joined
-
Last visited
-
Days Won
2
Content Type
Profiles
Forums
Events
Everything posted by Todd Stein
-
On Catalpa, our CSMk3 I use a Mantus anchor mounted on an anchor roller bracket located in front of the anchor locker in the bow. In the past to deploy anchor I stand up through the forward hatch to release anchor and ground tackle before securing on forward bow cleat and chock. Since I frequently sail singlehanded I wanted to find a way to quickly and safely anchor and see if it can been done effectively from the cockpit. To do this I’m installing a stainless eyebolt in the bow which will act as a bullnose for the anchor rode. That way I can lower the anchor safely from the cockpit and then have it lead forward through “bullnose” then lead back to a horned cleat on cabin top next to companionway. I’ve also removed the 2 fathoms of chain from the ground tackle so the anchor recovery will be less muddy and not worry about dragging chain over the deck. Im hoping the anchor will set quickly despite no chain. Does anybody have experience successfully anchoring from the cockpit? I’d like to hear your opinion’s and feedback. What are the ways you prefer to anchor?
-
Steve, wonderfully innovative idea and execution of design! This is a project I was thinking about over the winter and here you come up with a fantastic solution. Thanks for sharing the details.
-

Traveling & Sailing from St Michaels MASCF to B&B Messabout
Todd Stein replied to Steve W's topic in B & B Yachts Forum
Hi Steve; Ditto on Amos’ comments, 2 thumbs up. I have also sailed out from Harbortown boat ramp on the Pungoteauge Creek and it was quite nice and laid back, very little boat traffic and a quality ramp. If you’re looking for a location south of Norfolk and much closer to Vandemere there’s a small park on the Pasquotank River called One Mill Park. It’s south of Elizabeth City sorta in the boonies however it’s a lot closer. Before going there Id check to see if it’s OK to leave vehicle/trailer there for multiple days. I haven’t been there but it looks pretty suitable as long as there’s not a big Southern breeze. Look forward to seeing you at the Messabout. Todd -
Spindrift 10 Build (by a 9th Grade Girl)
Todd Stein replied to PadrePoint's topic in B & B Yachts Forum
I admire the beautiful boat you build and you will have wonderful adventures lie ahead. I noticed particularly the significance of your sail number and wish to share with you one interpretation meaning of number 1385. It is believed 1385 carries a message from the angels telling you that the current life transitions that are occurring in your life are the right ones. You should not let any fears and doubts deter you from doing what you have to do. The angel number tells you to trust your inner wisdom as well as the guidance from the angels. You will conquer the obstacles in life’s path. Sail forward, upwards and onwards and welcome what wonderful mysteries lie ahead! -
Congratulations, what a beautiful dream boat! You’ve done a remarkable job and I think ? Captain Matthew Flinders himself would be proud of your accomplishment.
-
Belay previous post, I’ll purchase all five!
-
I’d like to purchase the two lashing please. Do you accept PayPal or prefer check?
-
Core Sound 20 Mk3 #23 - Williamsburg, VA
Todd Stein replied to Todd Stein's topic in B & B Yachts Forum
Open statement to all those fellow builders, friends and new acquaintances which attended this year's Messabout. I want to thank everyone especially our gracious hosts for coming out to celebrate a remarkable line of designs and share in the fellowship of these beautiful boats. Each year I learn volumes from the collective and enjoy such supportive commraderie. What a special experience. Thank you for coming out far and wide which further indicates to me the appeal of these boats. I hope to see you all on the water in the future. Fair winds and following seas. -
Jumping Jehoshaphat! That’s a beautiful looking boat, can’t wait to see it in person!
-
Core Sound 20 Mk3 #23 - Williamsburg, VA
Todd Stein replied to Todd Stein's topic in B & B Yachts Forum
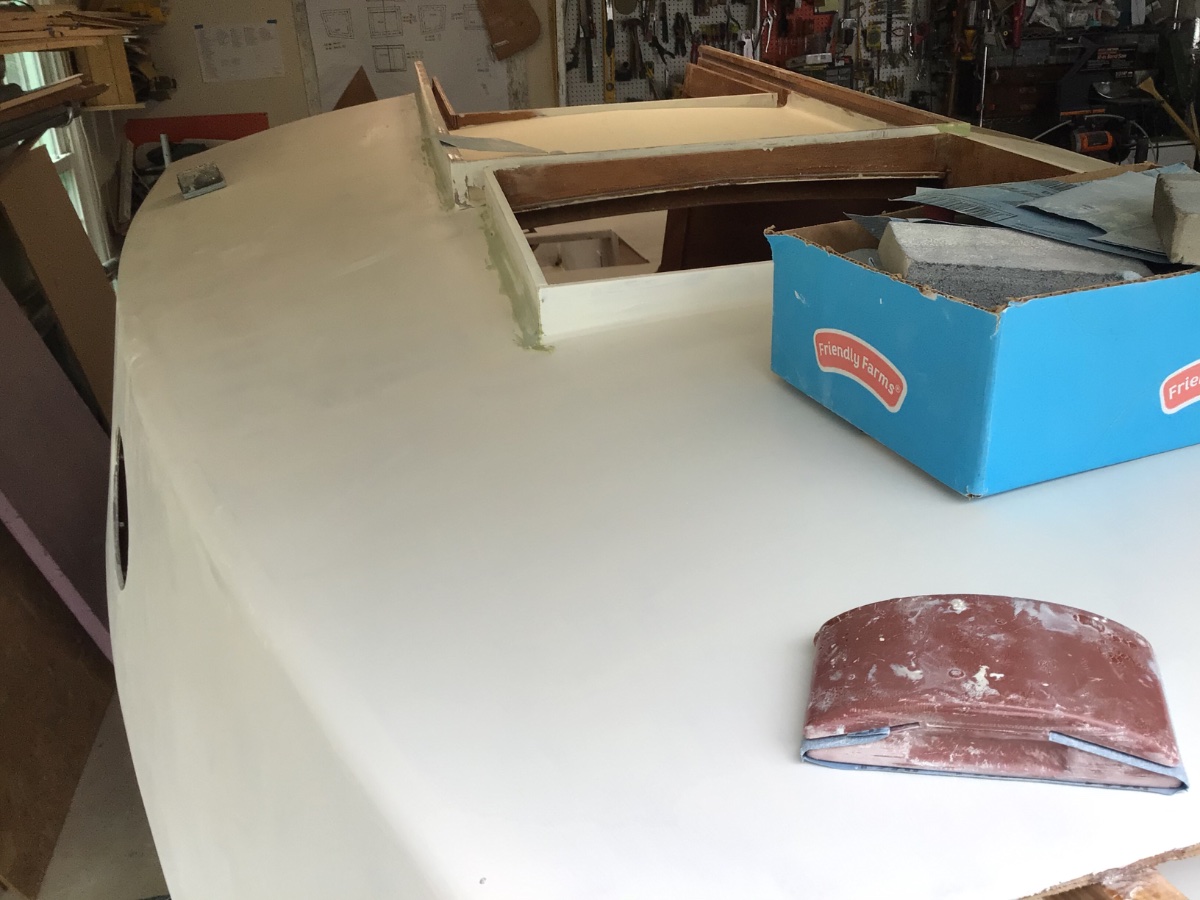
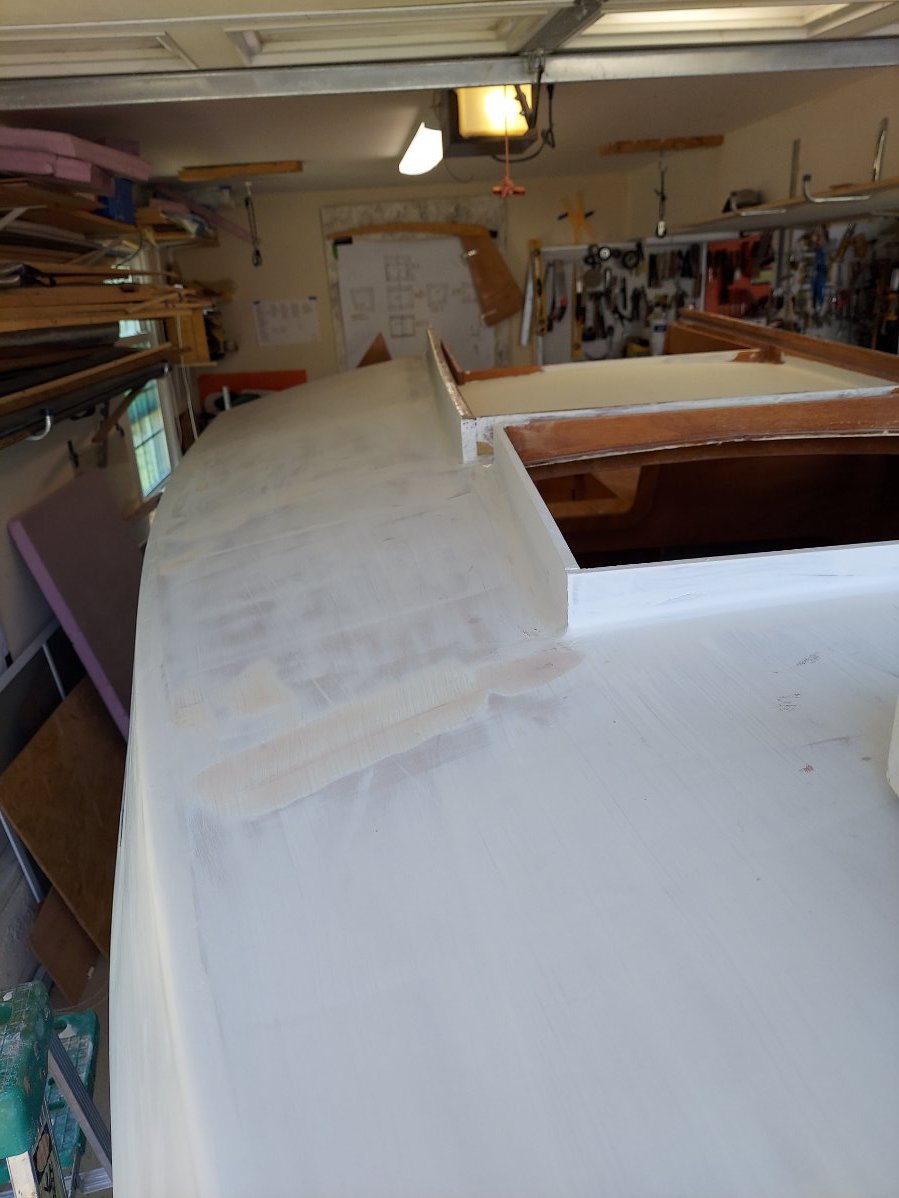
More pics waiting for paint to dry.


-
Core Sound 20 Mk3 #23 - Williamsburg, VA
Todd Stein replied to Todd Stein's topic in B & B Yachts Forum
I've been making slow and steady progress with the boat. Flipping the boat back over was significant mental milestone and helped motivate me to the next goal. I've completed fairing and priming most of the hull and topsides and plan to paint this week. There's beginning to be a lot of pollen so open garage doors is become limited. There's still a large number of smaller items to complete but I feel the I'm getting closer to test in water. The cabin hasn't been painted and I'm disappointed how overhead turned out so I'll probably leave it be until later.

-
I located a Hobie Miracle asymmetrical with a 12’ luff, 17’leech and 10.5’ foot for $ 175. It looks in great condition however It looks like a pretty flat cut. todd
-
I’m looking to purchase a asymmetrical kite for a CS20mk3 and looking for dimensions and or recommendations on cut, i.e. code 0 or deeper? r/ Todd
-
Congratulations, beautiful baby boy!
-
Request for Advice, Coastal Camp Cruising
Todd Stein replied to Don Silsbe's topic in B & B Yachts Forum
With Ali-G’s heavy cockney accent, “Yo that B Respect!” -
Request for Advice, Coastal Camp Cruising
Todd Stein replied to Don Silsbe's topic in B & B Yachts Forum
You have such a beautiful boat, I imagine she sails as well as she looks. -
Core Sound 20 Mk3 #23 - Williamsburg, VA
Todd Stein replied to Todd Stein's topic in B & B Yachts Forum
I couldn’t agree more especially being vetted by the indomitable Roger Barnes. And it sure beats shelling out the Benjamin’s for an auto pilot. -
Core Sound 20 Mk3 #23 - Williamsburg, VA
Todd Stein replied to Todd Stein's topic in B & B Yachts Forum

-
Core Sound 20 Mk3 #23 - Williamsburg, VA
Todd Stein replied to Todd Stein's topic in B & B Yachts Forum
Mark et all: thank you one and all for the many excellent suggestions. I will first attempt to tie the mast to a tree outback with a series of hitches the get my neighbor who’s a power lifter and myself to pull on the sleeve. If unsuccessful I’ll switch to oil filter wrench and if that fails make a longitudinal cut to open her up enough. I’ll keep you posted with pictures this weekend. Todd out. -
Core Sound 20 Mk3 #23 - Williamsburg, VA
Todd Stein replied to Todd Stein's topic in B & B Yachts Forum
Help, Please! The boat is coming together nicely and I’ve begun working on the bowsprit assembly using a high carbon content sailboard mast. I watched the B&B video which shows Alan making a mast sleeve and followed the steps closely. However after epoxy kicked off I couldn’t release the epoxy sleeve. I’ve tried pulling out the longitudinal strips with negres(negative results), heating the sleeve with tea kettle water, spraying multi-purpose lubricant between mast and sleeve, banging down alternating on mast base and mast tip with little results. Since mast is slightly tapered I was able to move the epoxy sleeve 5-6 inches towards tapered end. I tried heating sleeve with heat gun and then grab hold of sleeve and repeatedly slam mast tip, all with negres. Can somebody please suggest another technique before I have to cut the durn off and start again?


-
Spindrift 10 Build (by a 9th Grade Girl)
Todd Stein replied to PadrePoint's topic in B & B Yachts Forum
Howdy Young Gun and welcome to the rodeo. You selected a wonderful design and will hopefully bring you a huge sense of accomplishment not to mention the joy of sailing and adventure. -
Request for Advice, Coastal Camp Cruising
Todd Stein replied to Don Silsbe's topic in B & B Yachts Forum
Happy New Year Don, it seems you’ve done your due diligence thinking through the tent selection and I now better understand the challenges. Choosing a side entry is a good choice with the tents you’ve selected and I’d like to offer up another two suggestions. First, Since we’re working with such limited space, foremost in my mind would be selecting a tent which is easy to set up and even free standing. Second concern, and again this is my preference, is maximum ventilation. like the idea of lots of mesh but that can be a double edge sword. I’ve experienced my fair share of early morning “Chinese Firedrills” scrambling to set up the rain fly. That has a large suck factor proportionate to preceding comfort level. Value in a significant other and things can go from bad to worse. Sleep in the buff gains you more points and opportunities to make new friends! -
Request for Advice, Coastal Camp Cruising
Todd Stein replied to Don Silsbe's topic in B & B Yachts Forum
Sorry thumb slip. I’ve done a good bit of backpacking and camping using tents and hammocks. I don’t have experience using tents on boats yet but I’m inclined to try something different, especially if the cabin gets too hot to sleep in. One concern I thought about is having a side entry for ingress/egress. It could possibly be problematic having limited deck space and beam width. Maybe an tent opening facing the bow or stern would be easier entry. Any rate sounds like a fun option to explore. Stay safe and have a joyous New Year! todd -
Request for Advice, Coastal Camp Cruising
Todd Stein replied to Don Silsbe's topic in B & B Yachts Forum
Hi Don; ive do -
Core Sound 20 Mk3 #23 - Williamsburg, VA
Todd Stein replied to Todd Stein's topic in B & B Yachts Forum
Valid point I’m having to look at carefully, best to be sure tiller doesn’t bend down. Maybe a thin veneer strip of starboard ? I appreciate the feedback of sealing the bailers. I’m leaning toward using polysulfide (small tube). It’s always frustrating having the darn stuff dry hard in the 10 oz cartridges. I had to chisel out a lot more wood to get the bailers flush. A mistake a made was having the bailer cutouts to close to centerline causing the bailer flange to impinge on the keel strip, ugh. Work around was to set the bailer a little bit deeper. Another huge lesson I learned while pre-screwing the keel strip was to use the ever present dry wall screws which I used throughout the build. Forgetting the hardness of mahogany, I had 3 of the dozen or so screws shear off causing frustrating time digging and pounding out the embedded screw. That provided enough reflection to replace all with beeswax dipped s/s screws. Ah the lessons I learn along the way. Kinda wish I could take a sabbatical to a wooden boat building school!