cdunc
-
Posts
112 -
Joined
-
Last visited
-
Days Won
2
Content Type
Profiles
Forums
Events
Everything posted by cdunc
-
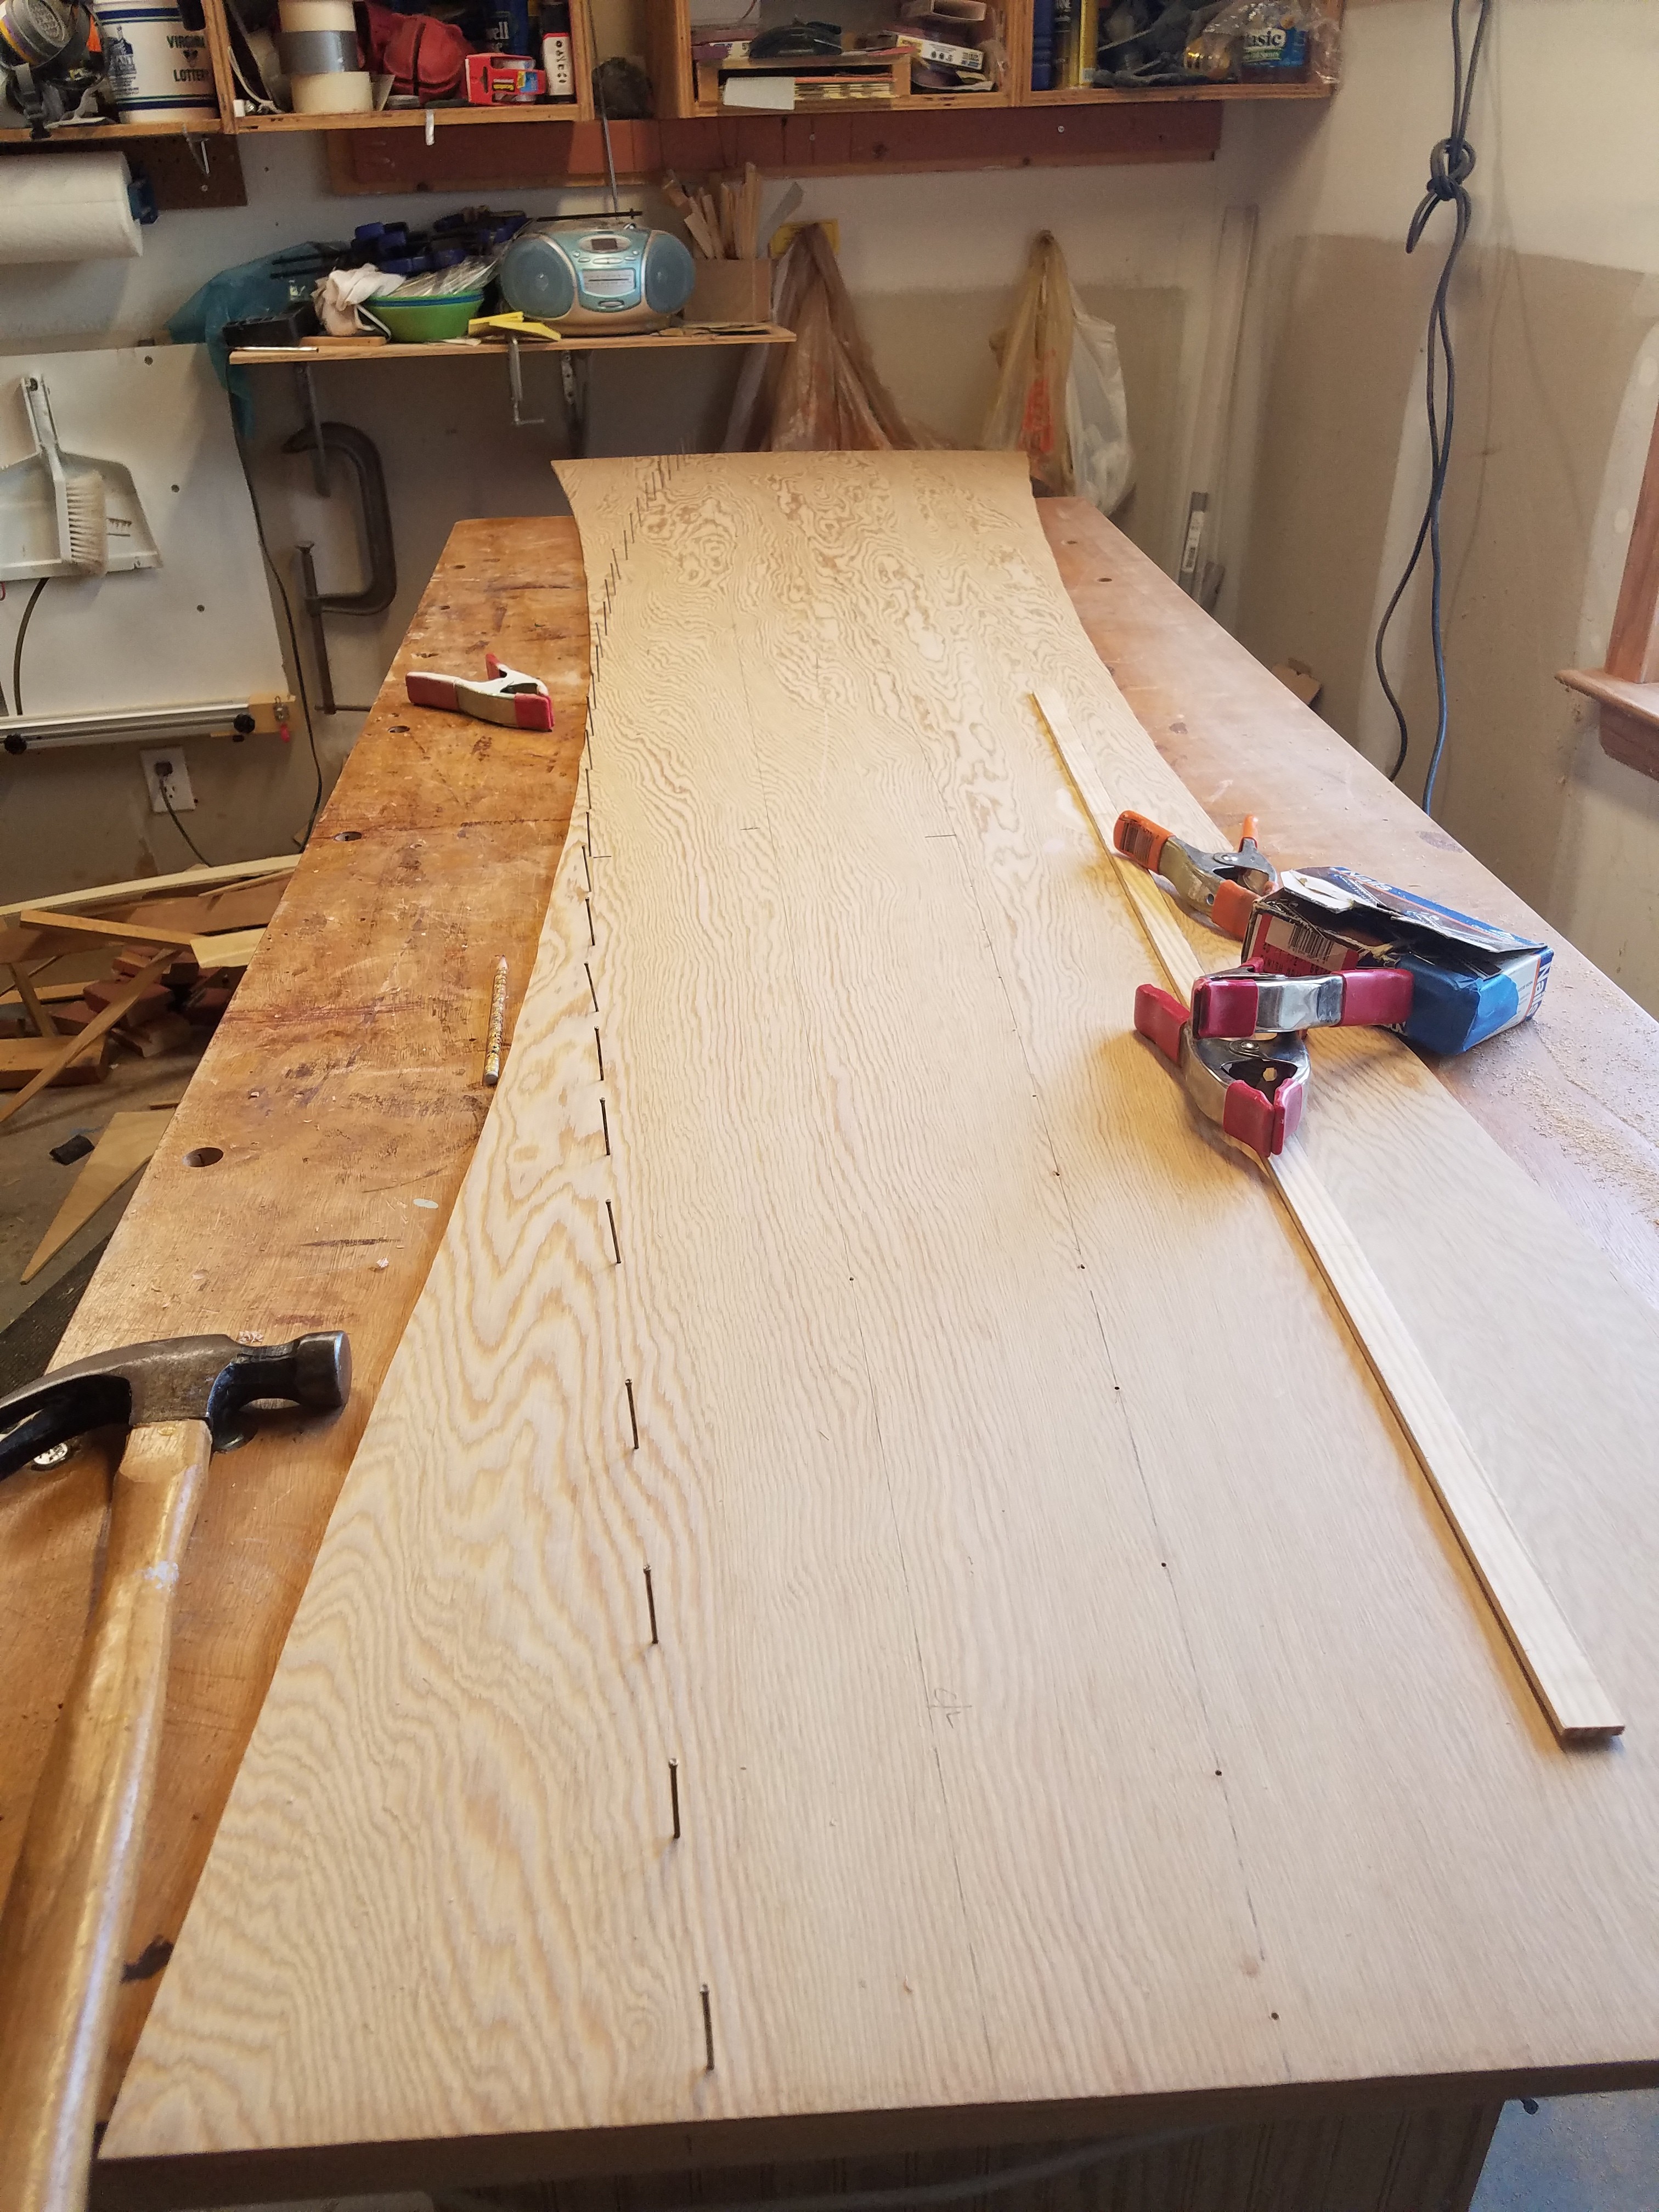
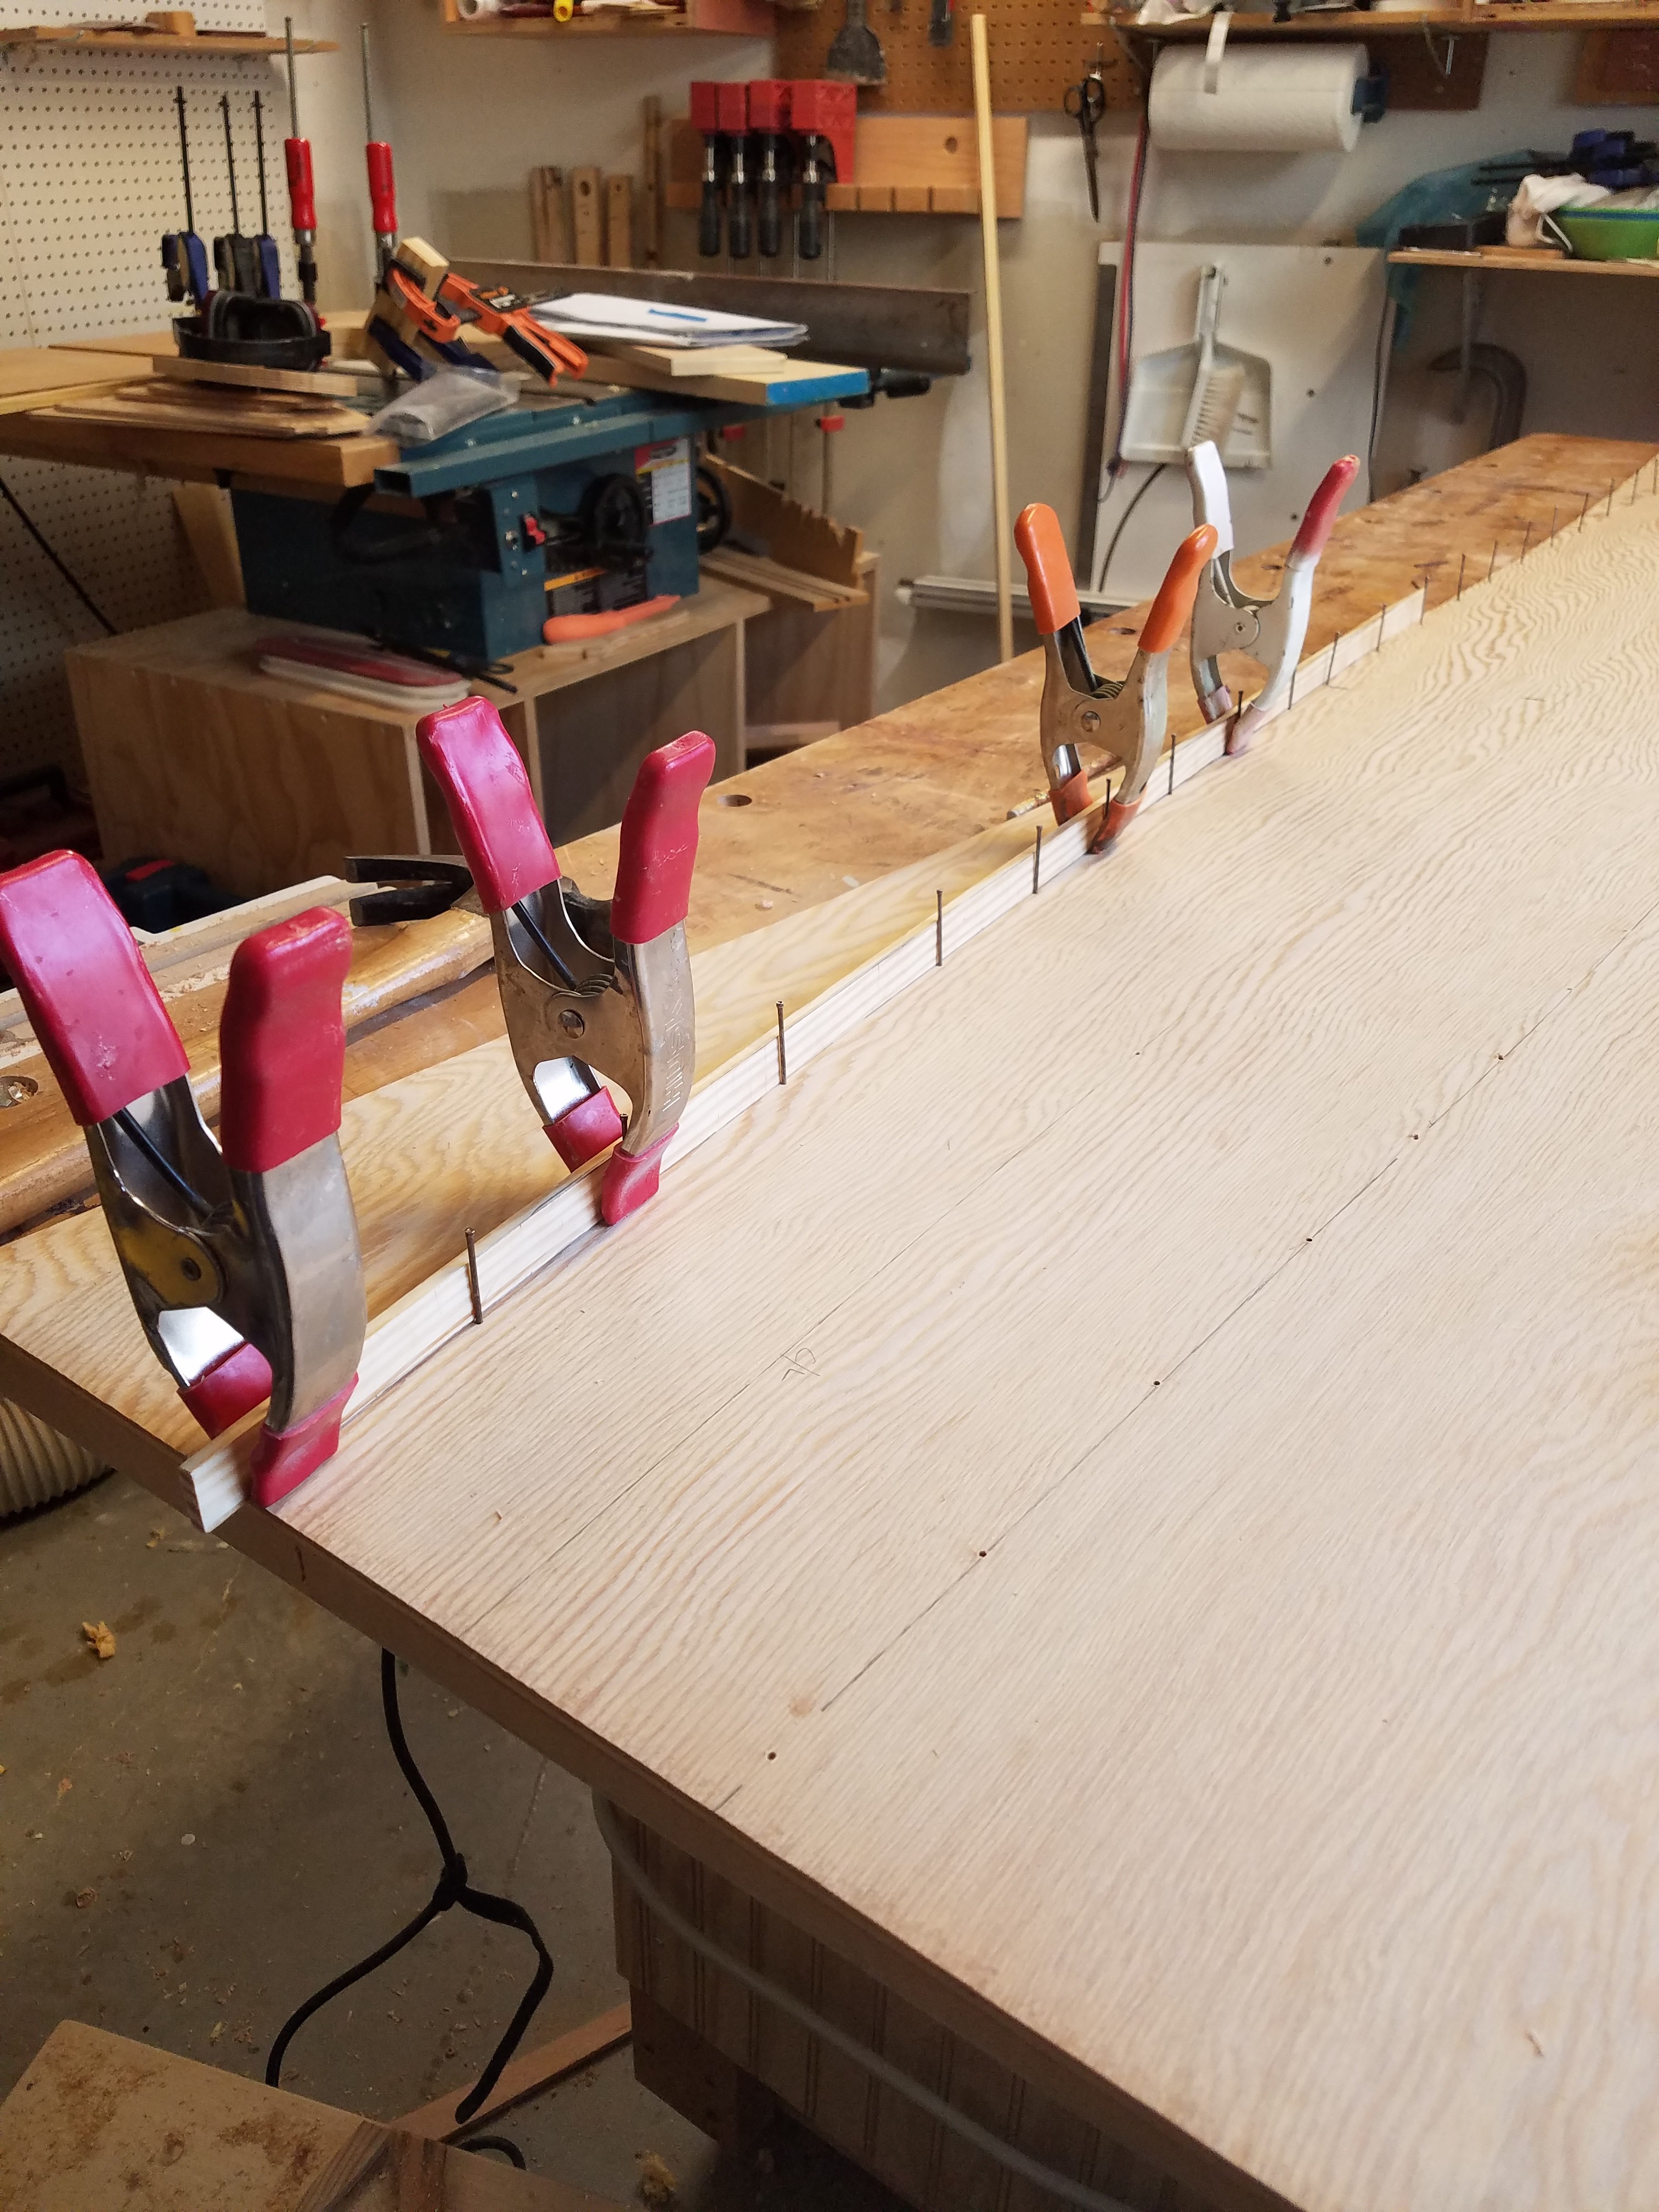
The plans come with full size patterns that I transferred to panel with a nail and hammer. Then used nails and fairing stick to fill in the lines between nails. This panel is for the bottom of the main hull.


-
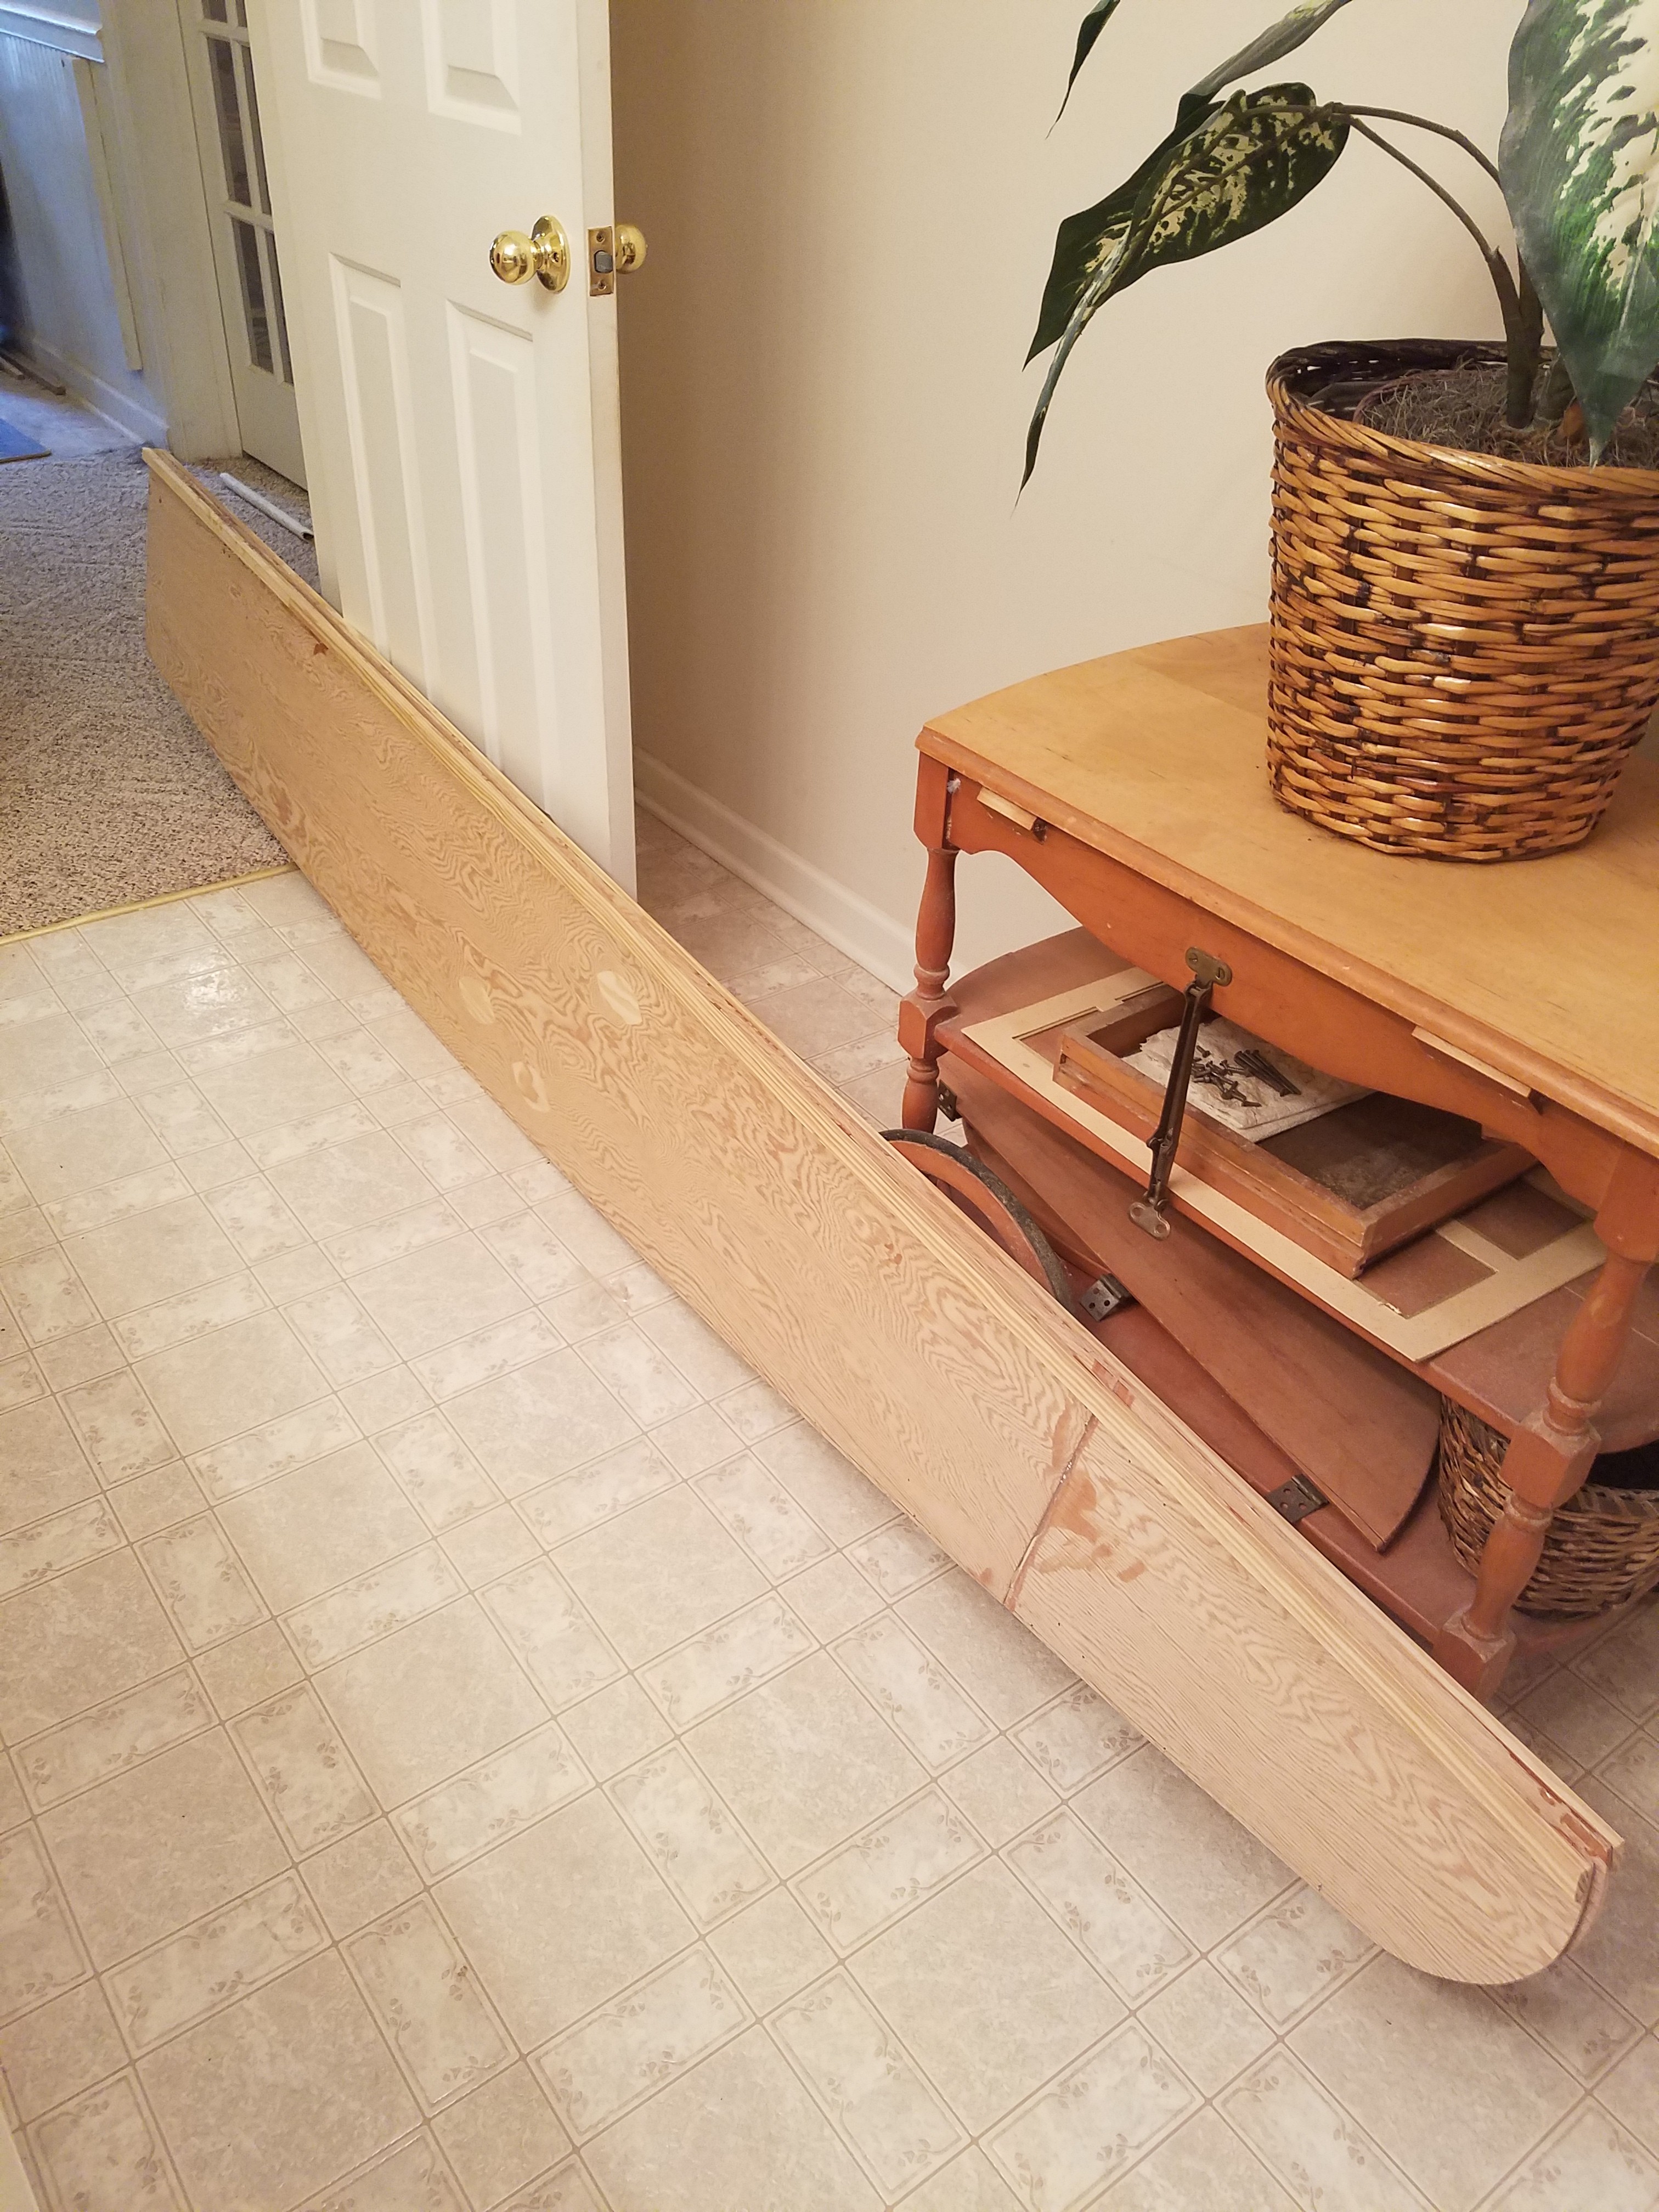
Bulkheads for amas. The larger one still needs a hole. B Here the ama sides have the stringers glued in place. This is the bottom panel for the ama. This was my first time scarfing plywood together. In previous boat I just used butt joints.


-
After fighting the boat building bug for 8 years I finally succumb to the illness. My previous build was a Spindrift 12. I have chosen to build a Seaclipper 10 which is a design by John Marples. http://www.searunner.com/index.php/seaclipper-10 I have started on the centerboard, rudder and cutting the sides for the amas (outrigger things). I will post some pictures as things develop.

-
Graham, I watched the video of the Spindrift. Does that boat have a topping lift/uphaul? Thanks, Craig
-
Congrats.
-
That thing is huge! Looks great. Congrats
-
Congrats. Looks like you had a nice calm day for sea trials.
-

Looking for pic's & video on SPINDRIFT'S 10,11,12
cdunc replied to g-man's topic in B & B Yachts Forum
I just completed my S12 in November. Here is the link to launch day pictures: http://www.messing-about.com/forums/index.php?topic=7084.msg62552#msg62552 and this link is for most of the posts I made during the build process: http://www.messing-about.com/forums/index.php?topic=6279.0 Both threads have lots of pictures. -
IIRC, you only drill the holes in one piece and drill the holes in the second piece once you have unfolded it. Craig
-
I called the insurance company about insuring my recently completed Spindrift 12. She informed me that I need to get a Marine Survey before I can get the insurance. What does a marine survey usually cost? What value would I insure it for. With the cost of all the wood, paint, glue, lumber, sails, etc. I was thinking $3k would be plenty. Thanks in advance for any advice, Craig S12 #723
-
All the brightwork is system three clear gloss. I did nothing to cover the plywood edge near the rails. I kinda like the way it looks. Thanks for the compliments. She looks a little rougher up close but hey it's a dinghy not a grand piano.
-
Thanks again to everyone. Diddle, I copped out and bought some 7 foot oars instead of building them. Jim, 6 sheets of 1/4 plywood and various pieces of southern yellow pine. Most of the SYP was used for gunwhales, boom, seat stringers and centerboard. I did not keep good track of how many 1x6 boards I bought. As for the people that gave me a funny look when I originally told them I was building a boat, they all realized I wasn't crazy and then became supportive and interested in my progress as the build went along. I did have a couple of casualties on the boat after the first sail. Both of which were not a big surprise. The keel definitely needs a metal strip since it got scratched quite a bit. The other problem was the SYP centerboard. I read a post a while back that you need to use thickened epoxy when gluing the laminations for the CB. When I read that I had already glued up my board. Well one of the joints cracked on launch day and I noticed the next morning. Again I was not surprised. I have already fixed the CB but I have a feeling that won't be the last joint that fails. So I am already planning to build a new one with the proper amount of thickened epoxy. Craig
-
Some more pictures.



-
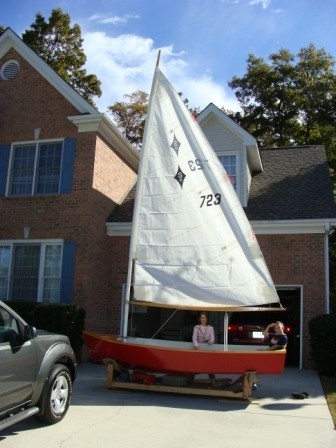
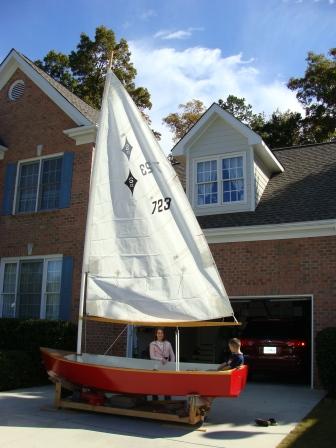
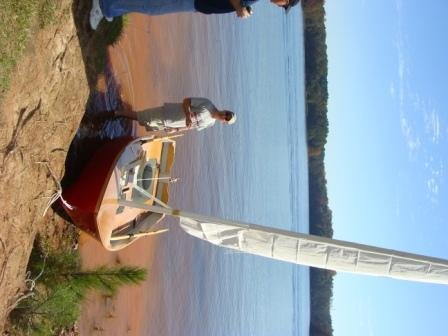
After more than a year of construction my S12 finally got wet. It was a beautiful day to be on the lake. Light winds which was good for the maiden voyage. My thanks to this forum for the help and encouragement and especially Graham for the great customer service.





-
Congrats. Looks like a boat!
-
I don't know if it would work on a Lapwing but I know Graham suggests working from the bow to the stern when installing the gunwhales on the Spindrift. With the bow attached you have a very long lever helping you to make that sharp bend at the bow. Would that be possible on the lapwing? Craig
-
You do not have to bevel the edges of the boards before stitching them. People have used both. Personal preference for some. Some people like wire better as you can torque it easier/better. Wires are typically removed. I believe the folks who use the cable wire ties leave them in. When removing wire ties some people use heat and others use electricity to zap them out. See this thread: http://www.messing-about.com/forums/index.php?topic=5304.0
-
Thanks everyone. There are some warts here and there but overall I am very happy with how it turned out. I am excited about the launch. Just need to work out the towing situation. I was just at Bass Pro Shops to look at a trailer. They have two models one designed for a 10-12 ft boat and the other for a 12-14 ft boat. About a $50 difference in price. Any reason to get the larger trailer over the smaller? I must admit I have no experience with towing a boat. Would it be easier to maneuver the longer trailer? Craig
-
I posted some information when I cut the hole for my bailer. http://www.messing-about.com/forums/index.php?topic=6279.msg61457#msg61457 In the pictures you can see the bailer in the closed position. It locks in that position. I suppose someone could whack it with their foot and somehow open it inadvertently. Assuming you install enough goop(caulk) and the bailer is closed then you should not have any leaks. Once open it should work as advertised. The one I have is a mini. It is not spring loaded. You open or close it manually. I do remember a post by someone where the location of the bailer was aft of the center board and the flow around the board may have caused it to not work as well. I located mine parallel to the center board and on opposite side of keel so that flow around CB should not bother it. I tell you all of this with the caveat that my boat has still not been launched so all the above is theoretical. Craig
-
Thanks John.
-
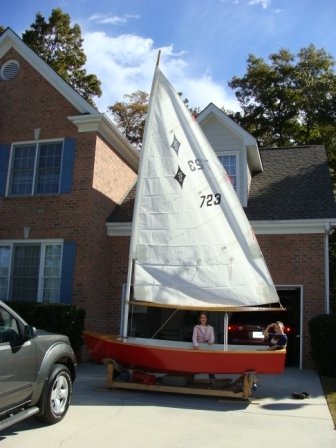
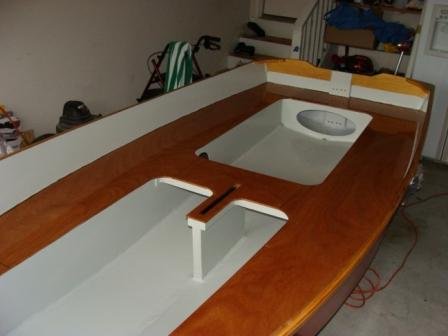
Rigging is almost complete. Painting is done. I have a few more small items to have it ready for launch. I will be at the B&B next weekend so the launch will have to wait until the following weekend. This project has been so fun I am kind of sad it is over. But it will be tough to wipe the grin off my face when it gets launched. Craig

-
Ken, It is not dirty or beat-up, it's rustic. :grin: Hope to see you there. Craig
-
Congrats. I am winding down on my S12 build and I have enjoyed the process immensely. If I can help with anything let me know. Graham is more than happy to give advice and guidance over the phone or email. Which is one of the nice things about building a B&B design. Craig
-
I started with an Anant block blane and a water stone for sharpening. Worked very well for a first plane. My wife recently bought me a Veritas block plane and wow it is great. Worked right out of the box planing end grain. Craig
-
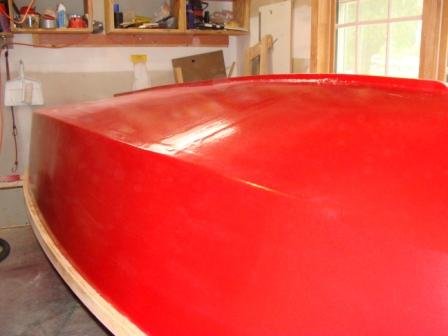
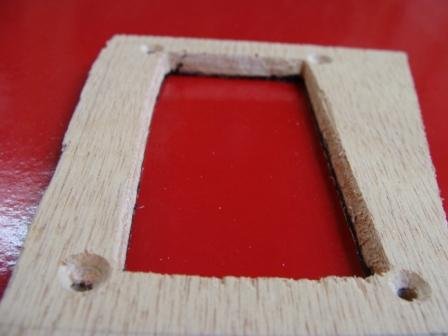
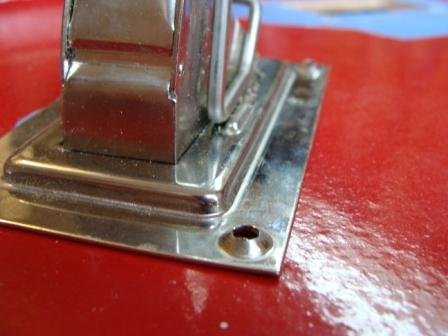
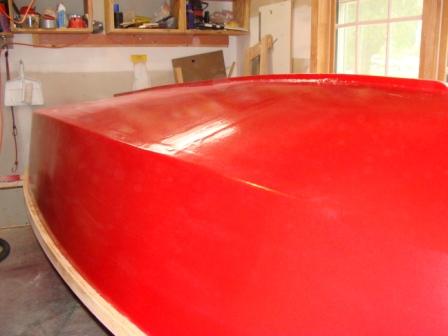
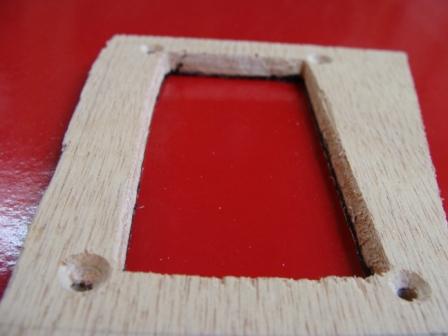
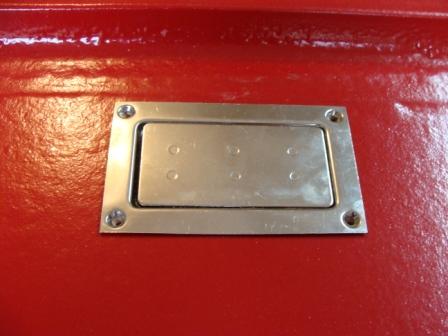
New pictures showing the paint and bailer install. I cheated a little and used a scrap piece as a prototype to see what I was going to need to do to make it fit. Nice thing was I was able to use the prototype as a template for the actual hole. I had to bevel the sides a bit to make it fit and used the countersink bit to create recesses where the screw hole flares would fit. Once the screws are installed and some bedding compound is in place it will be a nice snug fit. I thought of recessing it like Greg did in his recent post but I did not want to mess with that. The flange is not very thick. I really had to pause for a moment before making the the first hole in the bottom of my nicely painted boat. I couldn't help thinking "Why am I putting a hole in the boat to get out water? Wouldn't that be counter-productive?" but in the end I will trust that it will work as advertised. Craig