greendane
-
Posts
84 -
Joined
-
Last visited
-
Days Won
7
Content Type
Profiles
Forums
Events
Gallery
Everything posted by greendane
-
Thanks Alan. I tried pinging Ken awhile ago with no luck. SOOOOO glad this is here.
-
Hi @PAR--what are your thoughts on the extension not being galvanized though the rest of the trailer is? Just paint it and maintain it well? (It wouldn't be a big deal to do so I suppose?)
-
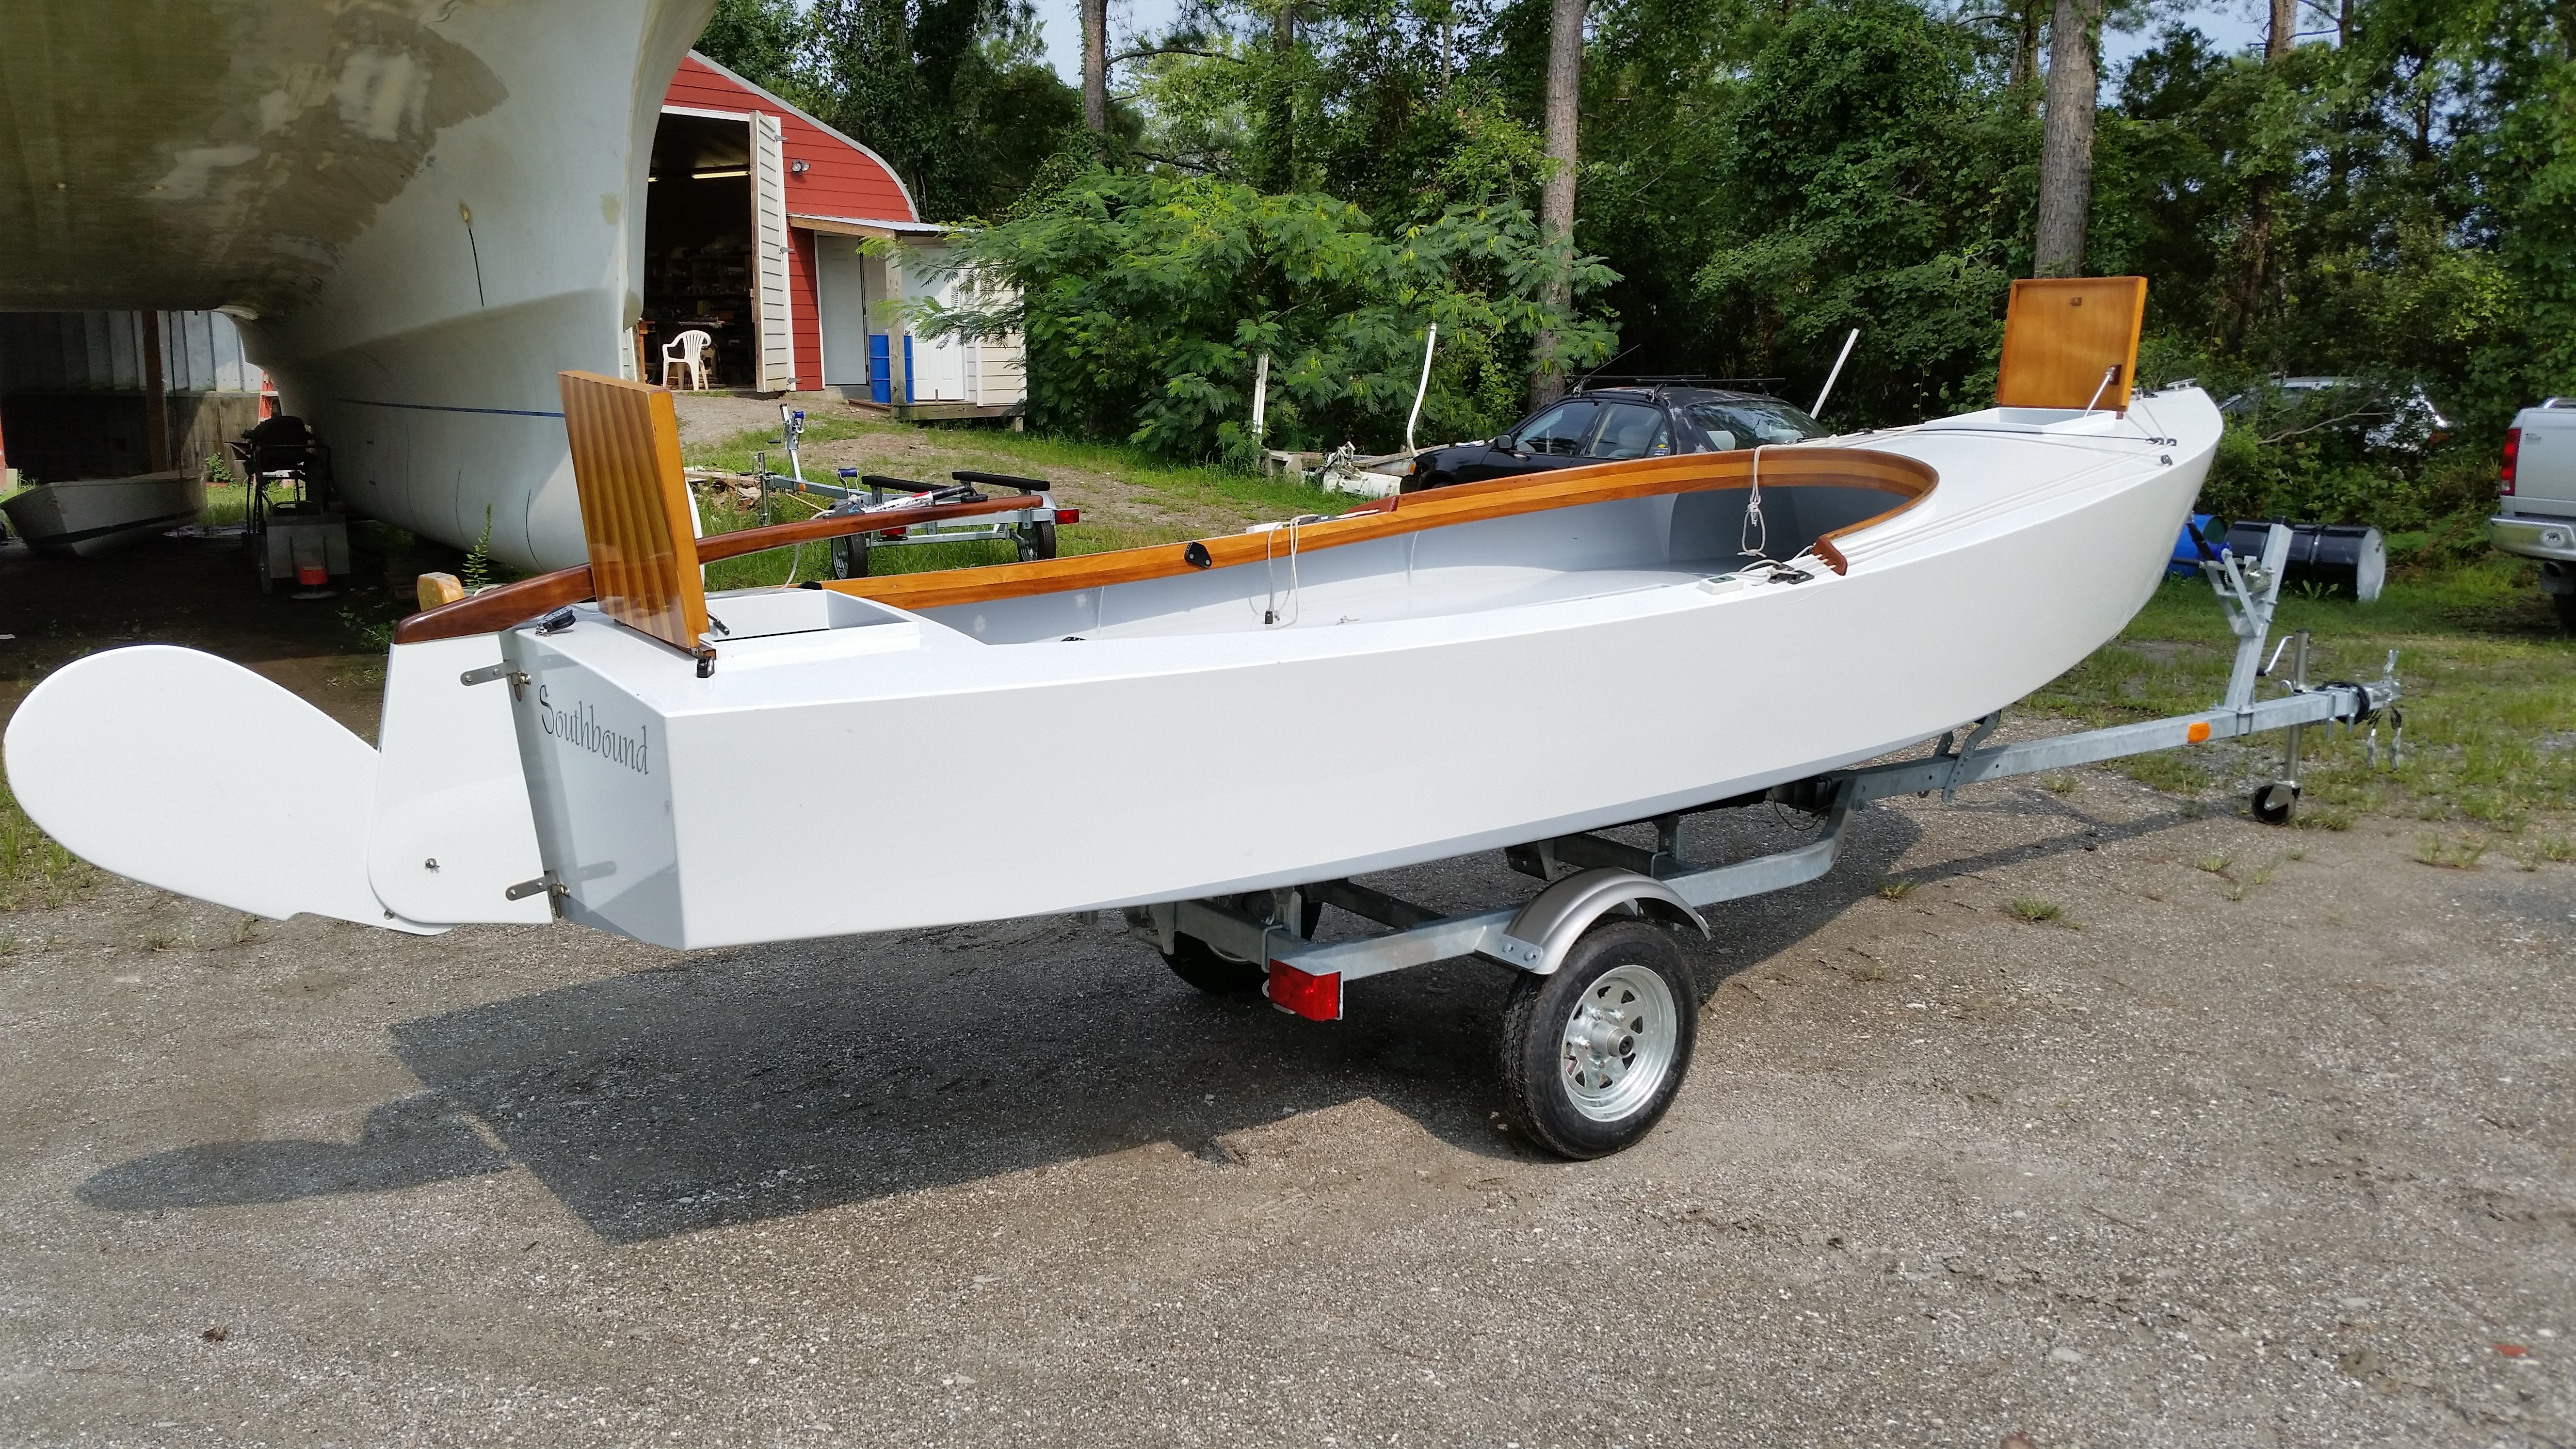
Hey Chick--what are you using for an extender? I hunted but with no luck. Perhaps I just don't know the search terms. The trailer I have is a little over 19 feet length over all. Below is a pic of Alan's boat at B&B. In Washington State we can't have that much overhang. If I stay to 3 feet of overhang to the transom (I usually take the rudder off for transport), then I need 14 feet to the winch stand and I 'd like to have 18-24 inches beyond that so about 16 feet overall seems like a good minimum for me. Seems like most of the PWC trailers are 12 or so?

-
Boatbux! Is that like bitcoin only more valuable? ? I have to contend with saltwater so galvanized or aluminum for me.
-
@Walt S. - yes, there are several here in the Pacific NW too. Galvanized is prized like gold though. Easy enough to find new ones for about $1000. For example here: http://www.kingtrailers.com/trailers_c158082.html are manufactured about 25 minutes from here. And CL has new ones every day (https://seattle.craigslist.org/search/sss?query=boat trailer&sort=rel) but I'm holding out for a deal. With my existing (it's one of these (http://www.northerntool.com/shop/tools/product_200612544_200612544) with a longer tongue, and bunks and rollers added), even if I just clean it up and paint it to get through another year, I still need to replace all the rollers (4 of them) and the deck that the rollers are on (it's plywood). So I'll probably be about $200-$300 into it plus the time of scrubbing the rust off, etc. Many of the trailers I see will need some form of modification (a couple of rollers added or bunks). I'm hoping to limit my total investment to $500 mostly because I still have to buy new masts and, well, "Bet On Another Thousand" = B.O.A.T. becomes more and more true all the time! :-)


-
Yellow it will be. Now I am trying to hunt down a deal on a galvanized trailer...almost found one on Craigslist today for a mere $260 (though it came with a CLark boat!). But it isn't long enough. Washington State RCW only allows overhang of four feet max and this one didn't have quite enough length on the tongue. https://seattle.craigslist.org/see/bpo/6116905587.html I looked into possibly extending it, but it wouldn't take long to get closer to price of new (or others I've seen in the $600-700 range).
-
@Paul356 - yes, I thought about that yesterday. I should have had the primer tinted. Gray probably would have been the better choice. Even with yellow (which I will most likely use) the white will show but gray not as much I think. And for any color, gray would just be less noticeable except if I went with white of course.
-
Getting there. Was planning to go with the yellow again but am waffling. Other than personal preferences, are there more objective considerations for color choice? Obviously dark colors would tend to absorb heat. But others?

-
So the final coat of epoxy is on. the bulk of the gray area is the first layer of glass cloth and filling the dips forward of the seams. You can pick out the triangle of Xynole inside of this gray patch. Now to wait for cure, scratch a bit and prime. One step at a time...

-

-
Soooo...chalk this one up to right tool for the job. I've been trying to keep the buying of tools to a minimum (though there is something inside that always wants more tools). I finally bought a random orbital sander. "What!?" you might say. "Why haven't you owned one from their invention?" I don't have a good answer. I bought the cheap $40 Ryobi. That thing has done a great job of knocking down the paint to the primer layer and I expanded the section on the bow where I'll be putting epoxy and I was able to sand down without hitting the weave of the glass, unlike with my previous methods. What would have taken me the better part of 8 hours I knocked out in 2. It's not perfect--I wasn't going for that. I wanted to get down to a good layer that didn't flake and still provided good tooth for the primer. This did that well and I felt like I had control of the machine. One "tool" that I should buy but managed to improvise is a good scraper. I'm not afraid to sharpen my block plane, so I took the blade out of it and began scraping paint off it it helped a lot. I used it both at a low angle and also almost perpendicular. The weaker layers flaked off easily and with the perpendicular approach, I was able to level out the thick layers (and eliminate some of the brush strokes. I know I'm going to find a million imperfections when I get the primer down, but I already feel better about the whole endeavor. Here's a question however. Any tips for masking? I still have to put a couple coats of epoxy down but want to mask the painted sections.
-
Thanks @JPower210 . I'll definitely watch but the epoxy I have hasn't blushed at all in many coats. I have washed it a couple of times but I've been surprised how no blush has showed. Here is the stuff I used. http://www.duckworksbbs.com/supplies/epoxy/marinepoxy/index.htm My main concern is getting these last coats on without sagging or runs. PAR recommended some silica for the vertical stuff. I'm thinking I'll maybe use a spreader instead of a roller and go thin but maybe three coats. Thoughts?
-
Okay--last (4th!) layer of filler is curing. I'll smooth it out next. Looking for confirmation/guidance on next steps order/timing: 1) I assume I don't have to wait to apply some epoxy over these faired areas (the datasheet doesn't say) 2) I plan on two coats of epoxy to seal it, seems like I read that somewhere 3) Wait three days for epoxy to cure before prepping for primer 4) Do the primer work, paint it on, sanding, repeat 5) Wait a week for the primer to set before top coat 6) Start on the top coat. 7) Given this is latex, how long should I wait for good cure on the paint before putting on the trailer and sailing? Thanks in advance!
-
@Thrillsbe I've been taking latex off mine in spots and it is terrible. I don't know how other paint types compare, but it's laborious. Thus I'm only doing the parts I was going to fix, will scratch it up good and put down primer and some more coats of the same stuff.
-
Hi Will--I have a yellow CS17. It was built in Hawaii and from what I hear that is a common color over there. I am repainting right now but I am leaving it yellow. It's got a black stripe and lettering that I might change. Maybe red. Maybe green. At first I wasn't sure about the yellow but I like it now for a couple of reasons: 1) It is easy to see. 2) I don't know if it's the color, that it's wood, or what, but I meet a lot of people who want to come see it at the launch, which is kind of fun. Mine is white inside and the glare can definitely be a thing (my kids say so any way). But I keep a pair of sunglasses for all aboard and this solves it. The glare on from the white is no worse than the glare from the water on those bright days. But I like white because it is easy to see sand, dirt, etc and keep clean. Others on here have far more experience than I do though.
-
Hey Paul--where did you get your trailer?
-
Sigh I feel relief. I epoxied the keel down and managed some very small radius fillets from the ooze to ensure complete coverage. With that, I officially feel like I have turned the corner on what I set out to do: replace the keel. First thing in the morning I'll remove the screws. I just have the skeg section to put down after that, then on to filling and fairing. Feels good. Thanks to all for the assistance and input to get me this far.
-
That's pretty. I see the no-skid on the deck too. That's nice. Was that one cloth or did you mask with non-skid in the goo? I'm not concerned about aesthetics on this part. On the keel, I want to accomplish 2 things: First, make the strip the same width as the keel. As Paul pointed out, this protects that front edge that was especially getting mashed previously by the trailer. Second, I'd like it to be thick enough so that the weight of the boat on keel where the trailer roller meets it gets better disbursed than previously. The rub strip I removed was aluminum 1/8" X 3/4" and flexed enough that the keel got a little squashed. This might have been from it simply sitting too long on it without proper maintenance. I am also considering tweaking the trailer config a bit so that the weight is on the keel less and on the bunk rails more. The bunk rails are ramped higher in the front than the back and if I increase this just a hair more, when I pull in that last 12 inches on the winch, the weight should come off the rollers a little. so mostly my concern is #1: width flush to the keel. From what I read earlier here and elsewhere, the trick with aluminum in this application is the corrosion with non-aluminum fasteners (SS for example) It had SS before. Can I just do that again? If so, I'm not committed to SS. There might have been some corrosion on the old one but it didn't seem that bad. And the aluminum is pretty cheap. I could replace this periodically without breaking the bank. The plan is to only go as far as the front of the keel, which stops about 3' short of the bow eye. For the gap (because the radius is tighter) I'm looking for a 3' SS 3/4 hollow back half oval. This part may be prettier and am trying to find a local source since shipping is about as much as the part for most of the places I've looked.
-
@PaulSmith The keel on this is 1.25" wide. Looking at online metals for the SS 316 flat and wondering if I should use 1/8" or 1/4" X 1.25". (https://www.onlinemetals.com/merchant.cfm?pid=651&step=4&showunits=inches&id=27&top_cat=0 vs https://www.onlinemetals.com/merchant.cfm?pid=661&step=4&showunits=inches&id=27&top_cat=0) Here is my concern: 1.25 is pretty wide but is it thick enough for that width so that I don't risk it bending side to side? 1/4" is pretty beefy though and maybe overkill?
-
Bedding of the strips is over paint, yes?
-
Ah Randy. I think you are right. As it is, they are already (at 8, 10, 12, and 14) going 5 different directions. Most of the time I am lucky to get one to go with me. They got good and wet one day when we came back on the west side of Camano and the chop picked up with some wind. I was only using the motor at this point and the spray was pretty cold. I had a blue poly tarp that I gave them and they huddled under it with the Mrs. but that almost made it worse because they all were up in the bow which made it worse. I was staying pretty dry back at the tiller. But unless I have a cooler of snacks and the dolphins or seals (or whales) are out, they get bored pretty fast.
-
Thanks for the simple explanation PAR. The three categories is helpful. So I'm covered for the fairing with the Quick Fair I have. All I have left to do on this project is install the keel. I'll get some silica for that. I got the stock ripped down tonight and think it will go on just fine. I'll shape the front tomorrow, seal it with some goo and my thickener is supposed to arrive Saturday. Maybe by the end of the weekend I'll have most of the pieces together and can set about fairing next week. Thanks for your help. I don't take for granted that anyone is sharing experience for free here. And observing my wife, who is an artist working in paints and canvas has taught me one thing you've echoed here: there is a science to this, but also an art and the nuances are important. I remember opening a box of 128 crayola crayons as a kid and being blown away with the possibilities after having been confined to the 8 packs in the beginning. Thanks for your graciousness with my 8-pack questions as I am still pretty wide-eyed about the 128 options with epoxy and boats.
-
That pic is why I think I want to swap my CS17 for a CS20. I have 4 kids. We all fit in the 17, but my oh my a few more feet would be nice.
-
I have wood flour but understand that to be limited in application. If I were to get one filler for general use (fastening the keel, filling for fairing as mentioned above) what would you recommend? I just need a little of whatever it is to get through this project so not looking to have a full arsenal on hand for future builds or extensive repairs at this point. I know there are opinions galore on the best recipe--I'm not looking to start a debate or read more on the dozens of options and applications. Honestly, I'm a bit confused about it all simply because there is so much info. I just want adequate so I can get it ordered and get to work. I'm fine if a need two or three options. Besides the wood flour, I have a System Three quick fair kit. Just not sure how much I'll use, and would like to have some kind of filler on hand for adhesion, fillets, and fairing I guess. I'm down to about 1/3 gallon of resin at this point. I think it will get me through but we'll see. B.O.A.T. = Bet on another thousand. I'm trying to make this as untrue as I can... Thanks in advance.
-
Thanks PAR. The better half would have had me done with this already. Onward and upward...