Pete McCrary
-
Posts
692 -
Joined
-
Last visited
-
Days Won
40
Content Type
Profiles
Forums
Events
Everything posted by Pete McCrary
-

Summer Breeze - Core Sound 17, Mk-3
Pete McCrary replied to Chick Ludwig's topic in B & B Yachts Forum
Question to Chick and others: Is there a way to "save" a partially completed posting? -
Jay,... QUESTION: Is the motor always (while in transit) resting UPRIGHT on its tiller as recommended by Suziki? If not, that might be the problem. I recall that you had a neat kind of padded "blanket" that you wrapped the motor in. I thought it pretty neat and simpler than my motor chocks. But maybe it doesn't always keep the motor strictly upright. Recall my posting at: http://messing-about.com/forums/topic/9736-suzuki-25-hp-transport-bed/ Maybe something like that would help.
-
Core Sound 20 Mk 3 -- #4 "Chessie" . .
Pete McCrary replied to Pete McCrary's topic in B & B Yachts Forum
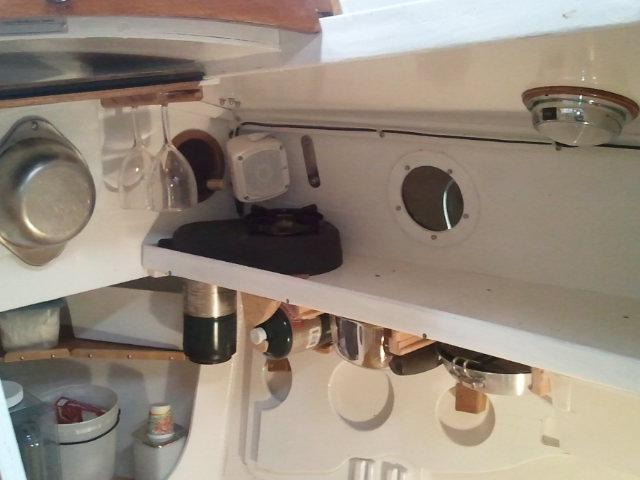
Drew,... I think because it's useful in-cabin stowage. In the Cs20.3 the bunks are 7' 6.5" long and my legs won't even reach Blk#4. I considered the space aft of the bunks to be very hard to access -- so I fabricated drawers in which I could keep galley equipment and other stuff. See my posting at: http://messing-about.com/forums/topic/9727-battery-base-pull-out-galley/ Also, if I can't stow the drop boards up under the deck between the fwd hinged hatch and the aft sliding hatch, I'll have shelving up under the cockpit deck between Blk#4 and Blk#5, port and starboard. Each shelf will be a distance under the deck such that two drop boards could be stacked. The other shelf will be useful for things that are kinda flat -- like charts, log books, etc. -
I glassed the hull bottom under the ballast tank. And then before inserting the module I applied two coats of epoxy to the entire interior of the hull. That then required that I sand every where the hull was to touch the module. Graham remarked that having the hull already coated with epoxy assured that when filleting the module in place all hull surfaces would be sealed -- otherwise, where the module meets the hull surface may block out epoxy from throughly wetting every spot on the hull. Another way to make sure the meeting edges of the module are well wetted is to put a bevel on the meeting edges so that he module's edges are "pointed" and the epoxy has an easier access to the end grain when doing the filleting.
-
Core Sound 20 Mk 3 -- #4 "Chessie" . .
Pete McCrary replied to Pete McCrary's topic in B & B Yachts Forum
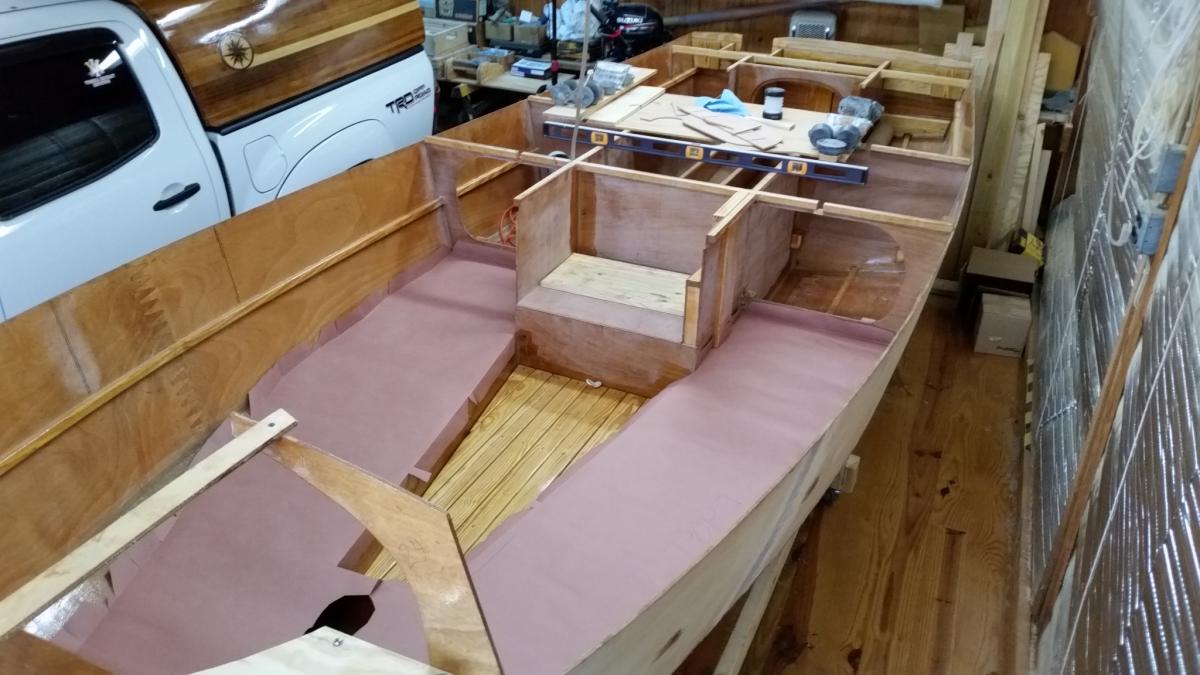
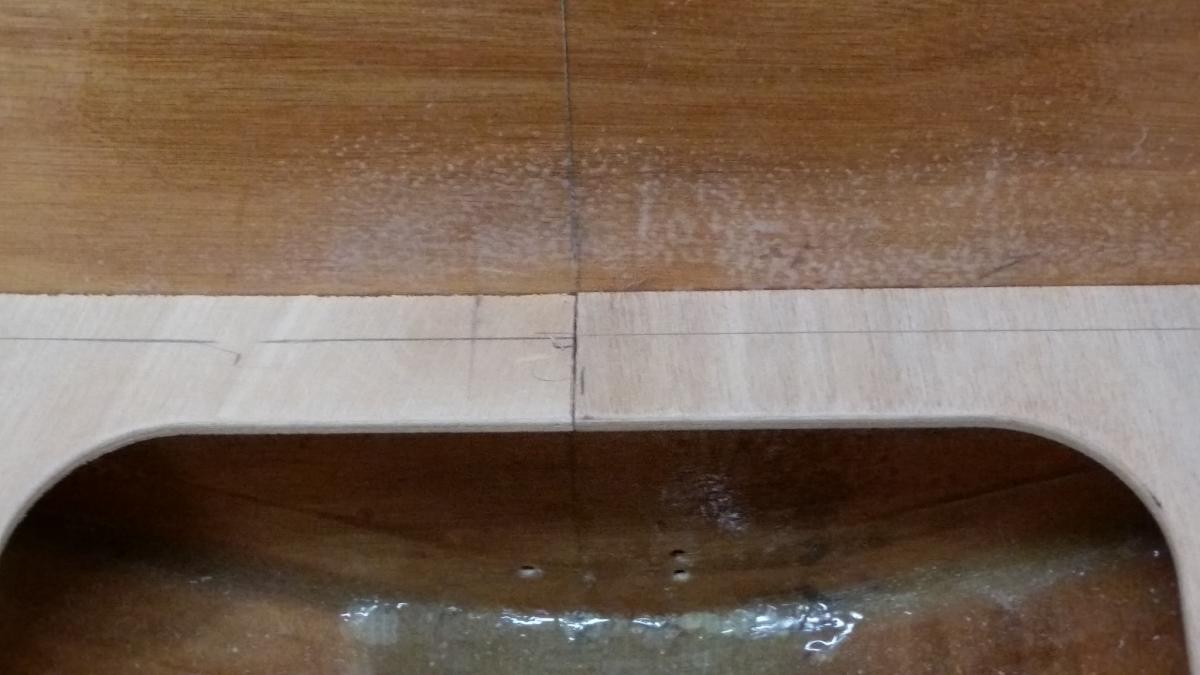
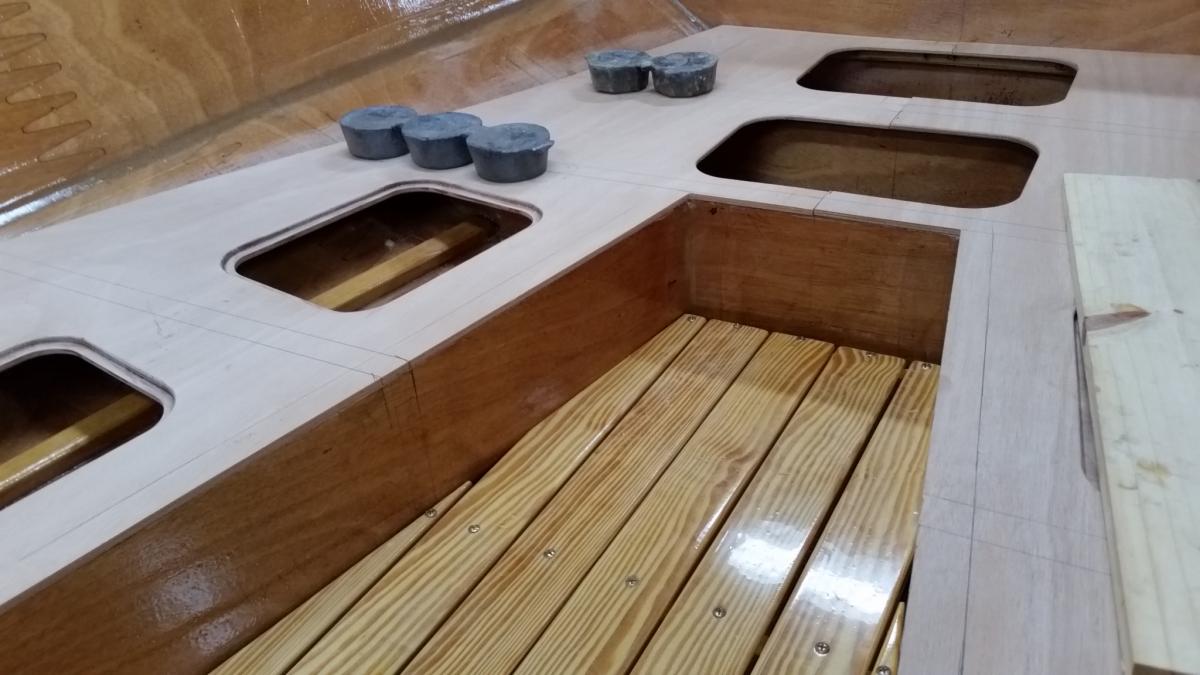
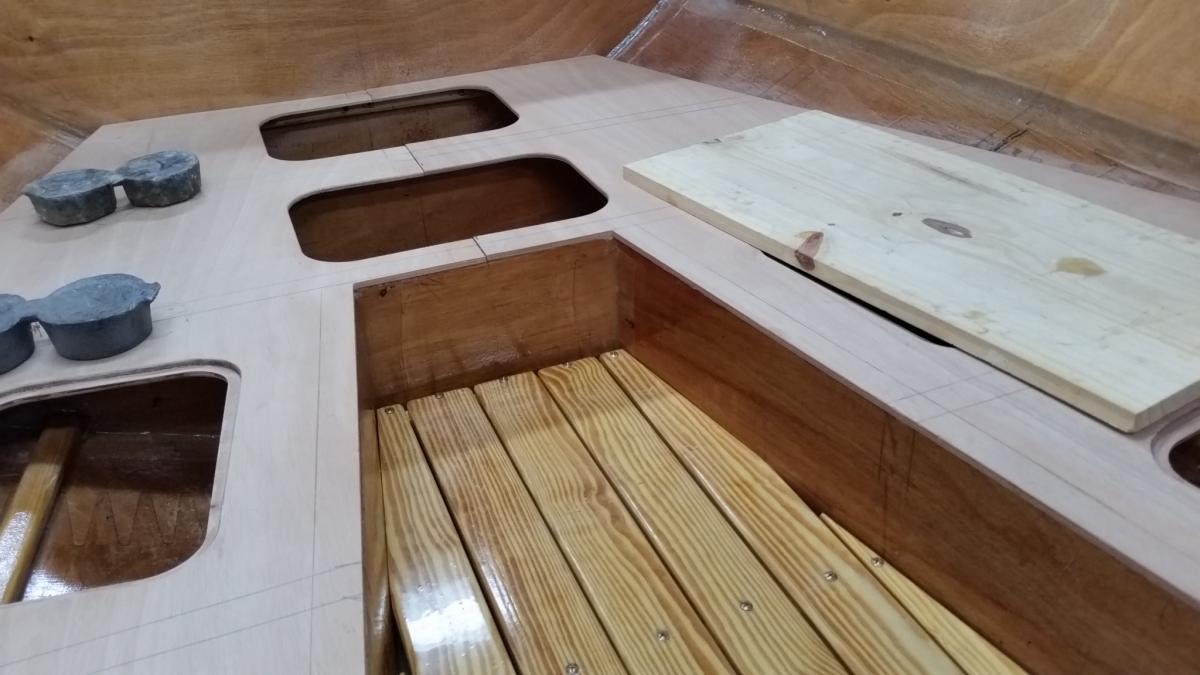
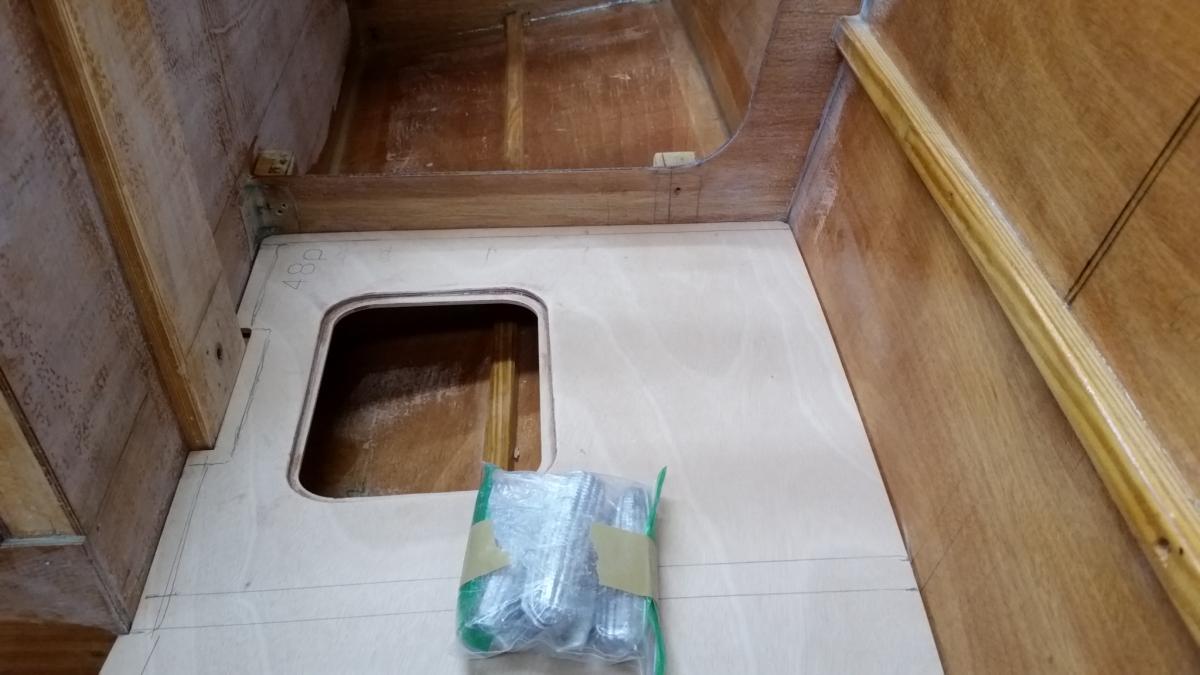
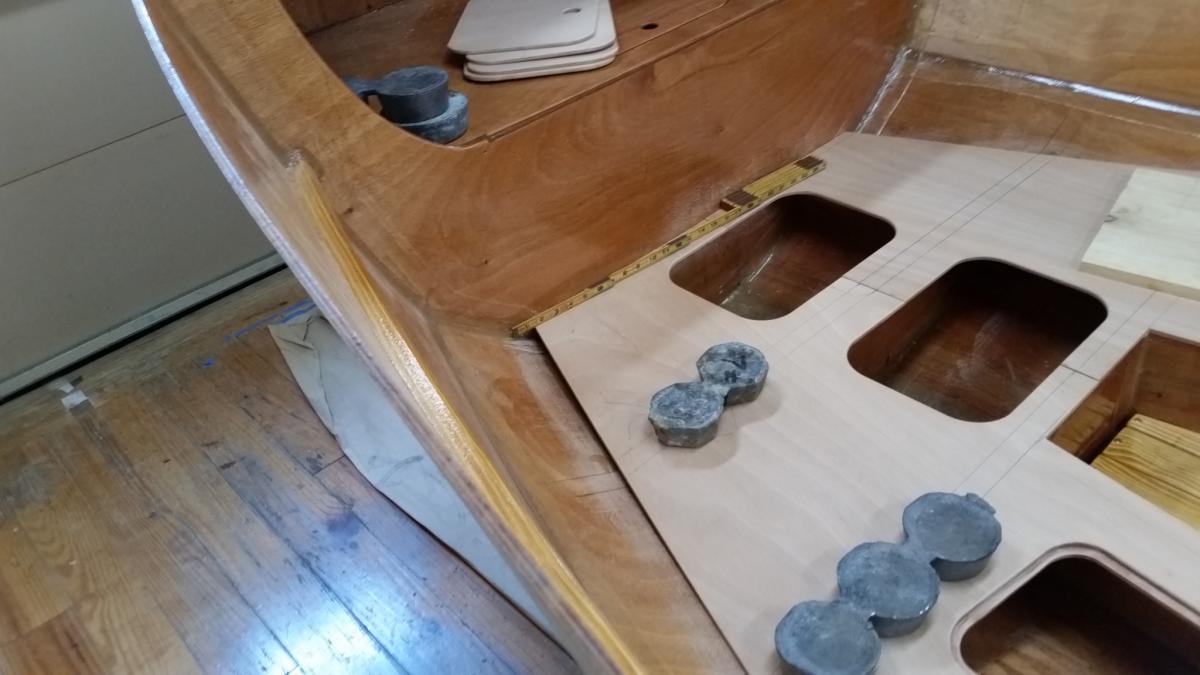
Well, Don ... Fairly well, considering that the effort and traveling involved in selling my CLC PocketShip "Tattoo" lost me about two weeks. Plus some very cold weather. But now things are looking up! The Bunk Tops have been dry-fitted and adjustments made to fill-in a too-narrow fwd end. With that done, I traced their outline on "contractor's" paper and made cut-outs for each side. They'll be laid on the bunk tops (after [the tops] are glued to the support frames) for protection from foot scuffing by the builder. The photo shows the paper cutouts in place. The next photo shows the first epoxy coat on a Bunk Top bottom-side spread on at 10:30 this am. I'll do the second coat after the "thin film" sets -- hopefully after supper tonight. Presently, the outside temp is about 37 degrees -- and I manage to get the inside temp up to 64. If I can do the second coat this evening, then I'll do the other bunk top tomorrow. After that, I'll start gluing them down onto their frames. I'm not setting a deadline, but I'm predicting a rate of progress that may have me on the water by September. But lots of things could get in the way of that.

-
Graham, They were flimsy and exposed to damage if dropped. Once one fell off the boat onto the driveway. Big chip! Also, Lexan gets quite hot when exposed to sunlight -- so much so that it expanded to the point that (until cooled) they wouldn't fit in the stowage shelf. For my "Chessie" I'd frame the Lexan as you have. QUESTION: If the thickness were kept to a minimum, do you think both boards could be stacked under the cabin roof just forward of the aft hatch, like it was done on "Tattoo"? Would it significantly reduce the cabin head-room?
-
Here are two photos that just barely show the setup for drop board stowage on "Tattoo." I thought I had better pixs, but these were the only ones that I could find. At the top-left of the first photo you can see the stowed boards. The top board goes in first with its drip edge and latch-hasp on the lower side -- leaving a flat surface (on the upper side) for the lower board to slide onto. You can see the starboard-side batten attached to the underside of the carlin that supports the roof. You can also see the small (about 1.4") lip of the batten that provides the small shelf on which support the boards. In the second photo the stowed boards can just barely seen. However, the photo shows that the boards can be easily reached (for stowage or retrieval) from the cockpit without going into the cabin. Occasionally I see commentary that for safety reasons, drop boards should always be in place (with hatch closed) while underway, at least in rough weather. QUESTION: Wouldn't that be important mainly in the case where the "knock-down" waterline is above or near the lower side of a horizontal hatch? When Graham did his self-righting demonstration, would it have made any difference if the hatch and boards were in place or not? Of course, if there's a 180 degree roll, all must be closed up tight. But that is very unlikely for these boats with the masts providing so much righting moment.


-
Very nice, Graham. On the CLC Pocketship similar boards were made of simply Lexan cut to fit with a wooden drip edge bedded on the bottom of the top board. My solution for stowage was to glue 1/4" battens under the forward end of the "carlins" that supported the roof around the companionway's outboard edges. The battens provided a "lip" or narrow shelf upon which the outboard edges of the boards could be supported. The head-room was reduced only by the 1/4" thickness of the battens. The separation of the Carlins was identical to the companionway opening -- so the fit was perfect. On my "Tattoo" the width of the carlins was about 1.5", which was plenty for the stacked 1/4" boards (1/2" total width). That even left space (above the boards) to place a map, magazine, notebook, etc. They could be easily stowed or retrieved from the cockpit. Maybe the same arrangement could work on a CS Mk3 under the roof between the two hatches. Later, on another post, I'll show the setup on "Tattoo."
-
Core Sound 20 Mk 3 -- #4 "Chessie" . .
Pete McCrary replied to Pete McCrary's topic in B & B Yachts Forum
Fellow builders -- please be patient with my lament -- but l just need to "let it out." The day after my 82 (Saturday 1/30) I had to take a building break to sell my CLC PocketShip "Tattoo" in order to raise $$ to finish (and make room for) "Chessie." An exhausting week! Left Manassas, Virginia, at 4am Sunday for 650 mile drive to Guntersville, Alabama. Found that the trailer's electric cable was severed -- repairs made on Monday. Tuesday -- prepared Tattoo for marine surveyor and demo sail. Wednesday met buyer at Huntsville airport, demoed (for buyer and surveyor) Tattoo's systems, launching, sailing, recovery, and made her road-ready for trip to Virginia (she was taken to Alabama by my sister from the October mess-about). Left Guntersville at 4am Thursday trailing Tattoo for Manassas, Virginia (the buyer shared the driving duties -- a big help). Overnight in my own bed, and then on Friday trailed Tattoo to buyer's home in Alexandria to conclude the transaction. Checked in to an Alexanfria hotel (compliments of #2 son) Friday night attending concert conducted by #2 son. Finally home on Saturday morning concluding the most arderous week of my 15 year retirement. Managed to be up for 7:30 am Mass Sunday, then DID NOTHING until Super Bowel time. Within a few days I finally got back to the fun "work" of building Cs20.3 "Chessie." With the bunk tops laid on (but not glued down) the hull is starting to look like a cabin that I can be comfortable in. They reall fit nicely with very little trimming. Maybe, fairly soon -- the sheer strakes. Hope to be ready for rollover with warmer weather in March or early April. We'll see ....


-
Core Sound 20 Mk 3 -- #4 "Chessie" . .
Pete McCrary replied to Pete McCrary's topic in B & B Yachts Forum
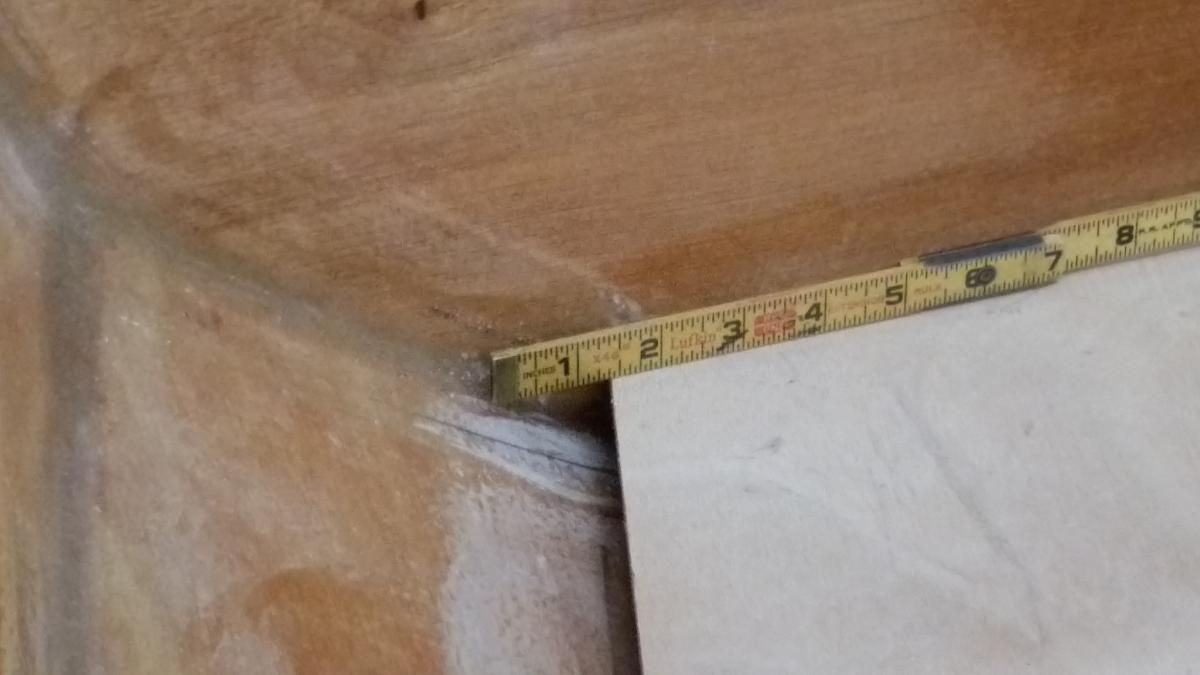
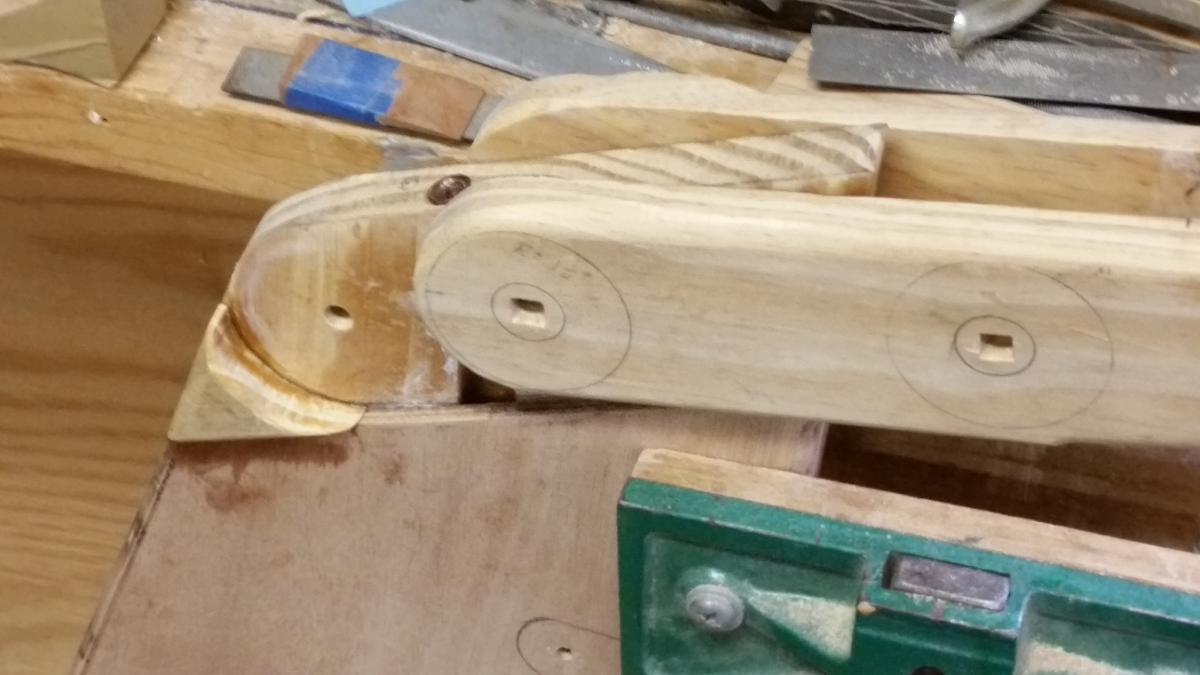
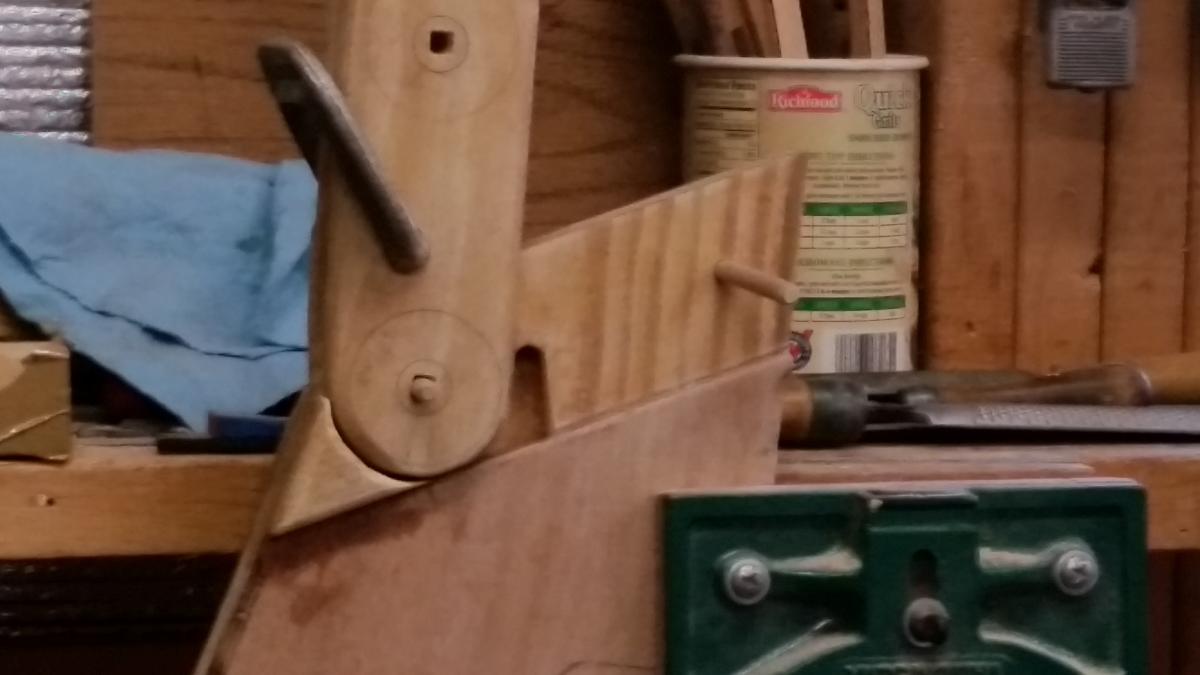
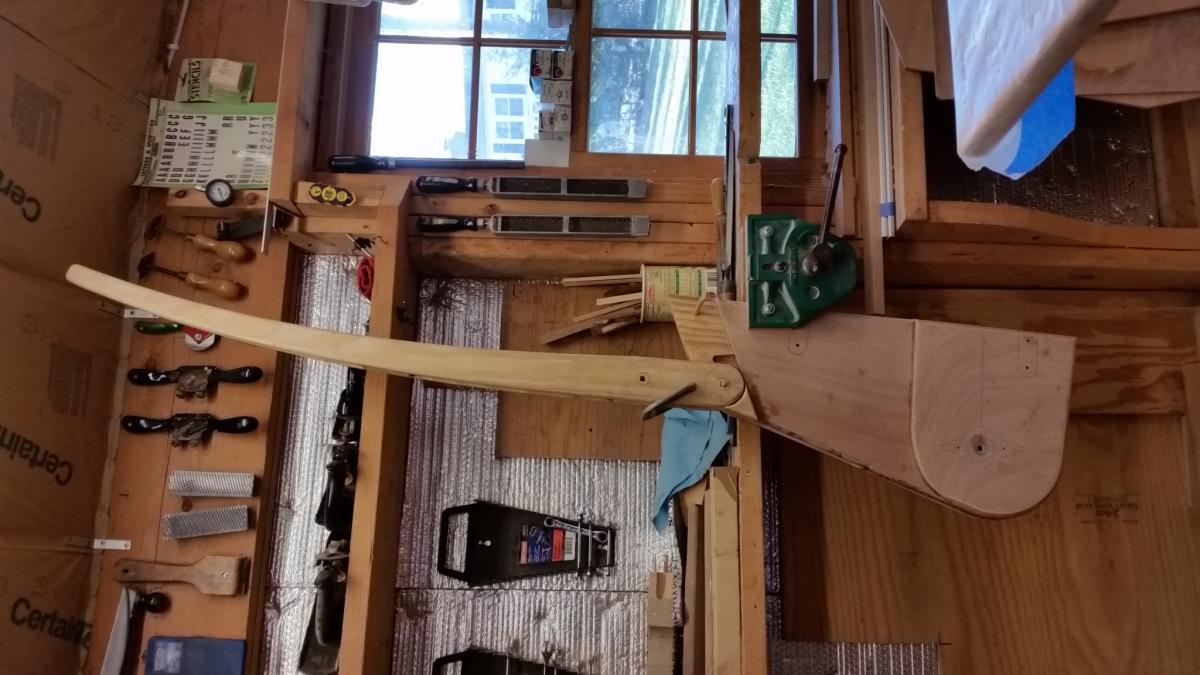
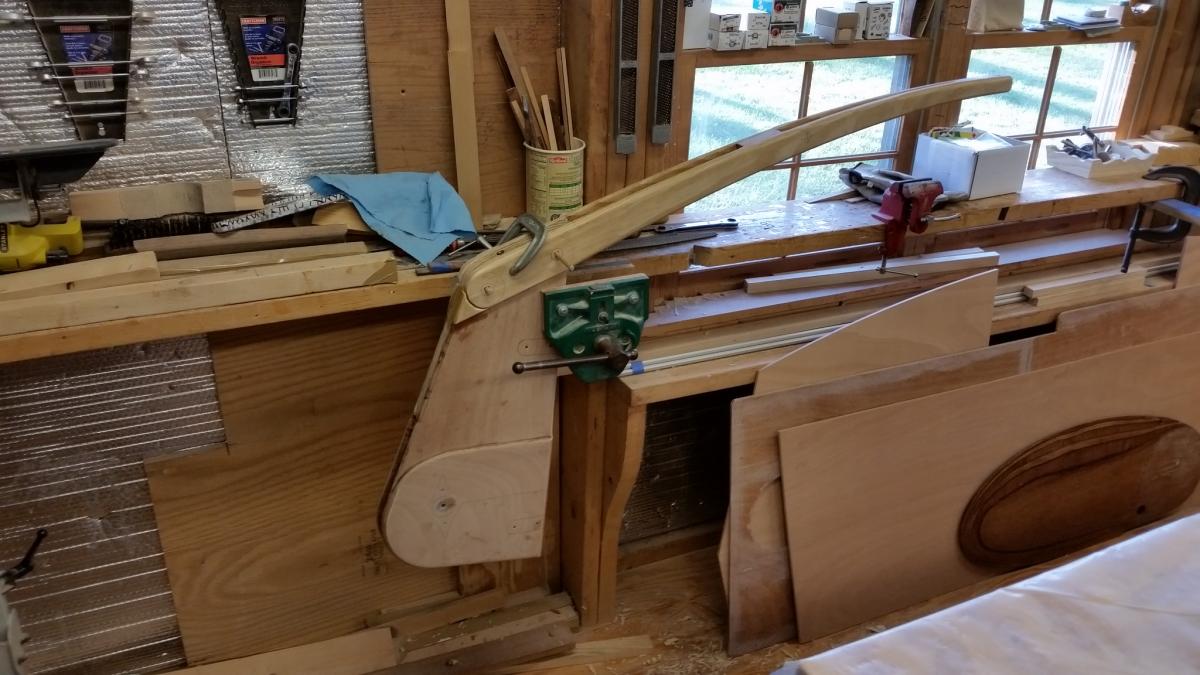
A "tiltable" Tiller,... I thought that having a "tiltable" tiller could be useful. Not so much while under way, but at anchor or when docked. Just remove the foreword bolt and lift [the tiller] up and out-of-the-way. Or, in the raised position it could be used as a crutch for the mizzen sprit boom. But I haven't checked the dimensions -- it might need an extension. In any case, if used as a crutch, it would need a slip-on "something or other" for the sprit boom. With a compass (centered on a 5/16 to dowel in the aft bolt-hole) I marked a circle with radius just-so the tiller could be rotated up without binding. Then, with a spacer (simulating the rudder frame), with the bandsaw I cut both ends of the two tiller pieces simultaneously, carefully preserving the cut-offs. The saw curf was just the right width to ensure a non-binding rotation. Then, rounding over with a 1/8" bit, the little flaws are well hidden. The cut-offs are permanently glued to the rudder frame. . Details of the aft tiller pivot. . Forward bolt removed, tiller in maximum up position. . Forward bolt in place, tiller in sailing position. I suppose the forward bolt could be left out so that the tiller could be raised for comfort or other convenience while under way. In that case the forward bolt would be moved to a position just ahead of the rudder post. And whether I want the tiller to tilt while underway -- I'll have holes there anyway just as a place to stow the bolt when tiller is raised as a boom crutch. Critical comments welcome. PS -- Does anyone know how to have a pix rotated 90 degrees when posting?


-
Core Sound 20 Mk 3 -- #4 "Chessie" . .
Pete McCrary replied to Pete McCrary's topic in B & B Yachts Forum
Drew,... I don't plan any type of breather pipe -- probably just leave the hatch open. However, I've thought about some kind of system that would allow opening / closing the Anderson Bailers without opening the hatch and reaching down into the bottom of the boat. In that case some method of air relief would have to be incorporated. I'll think more of it when I actually have a bailer that I can play with. OTHER IDEAS WELCOME! -
Core Sound 20 Mk 3 -- #4 "Chessie" . .
Pete McCrary replied to Pete McCrary's topic in B & B Yachts Forum
With a pair of "Anderson Bailers," which are placed in the bottom of the tank. They evacuate water based on the Ventouri effect. One faces its opening forward (for filling) and the other aft (for emptying). For emptying, the boat needs forward motion of about 3 knots. The Bailers are activated by hand thru a hatch in the top of the ballast tank. -
Summer Breeze - Core Sound 17, Mk-3
Pete McCrary replied to Chick Ludwig's topic in B & B Yachts Forum
Chick,... The interior of these CS hulls are constructed like "honeycombs" and are very stiff in every quadrant. You certainly wouldn't have any problems if you managed one or two rollers just under (or close) to one of the bulkheads. Remember that there are four longitudinal "stiffeners" running from Blk#4 to Blk#6 and two of them extend all the way to the transom (Blk## refer to CS20.3 design). And forward of Blk#4 the bunk supports add more stiffness. And there are also two stringers that run from stem to stern (on the bottom plank). Usually, side bunks don't carry much load -- they're mostly there to keep the boat upright on the trailer. For my PocketShip I was more concerned about the stress caused by the side bunks. Typically, trailers are delivered with 2 x 6es covered by "bunk carpet." They flex some, but still quite stiff. I threw mine off and designed flexable ones that had the shock absorbing qualities of ordinary "leaf-springs." They absorb the shock energy and dampen the rebound by the friction between the leaves. My bunks are made of pressure-treated 1 x 4s. Each bunk is made up of 2 planks held together with short Carriage Bolts. The bolt heads are slightly counter sunk on the top so as to have a top surface without protrusions. The center bolt was made tight. The bolts holes at the ends (of the top planks) were just right for the carriage bolts, but the end bolt holes (for the lower planks) were slightly elongated (longitudinally) to allow some movement between the boards. The undersides of the bolts were fastened by oversize washers and a pair of nuts (locked tightly), but not so tight as to prevent flexing between the pair of planks. The arrangement is nearly as strong as a 2 x 4 plank, but much more flexable and naturally damped. Of course the top plank is also covered with bunk carpet. "Chessie's" trailer will have these kinds of side bunks. -
Core Sound 20 Mk 3 -- #4 "Chessie" . .
Pete McCrary replied to Pete McCrary's topic in B & B Yachts Forum
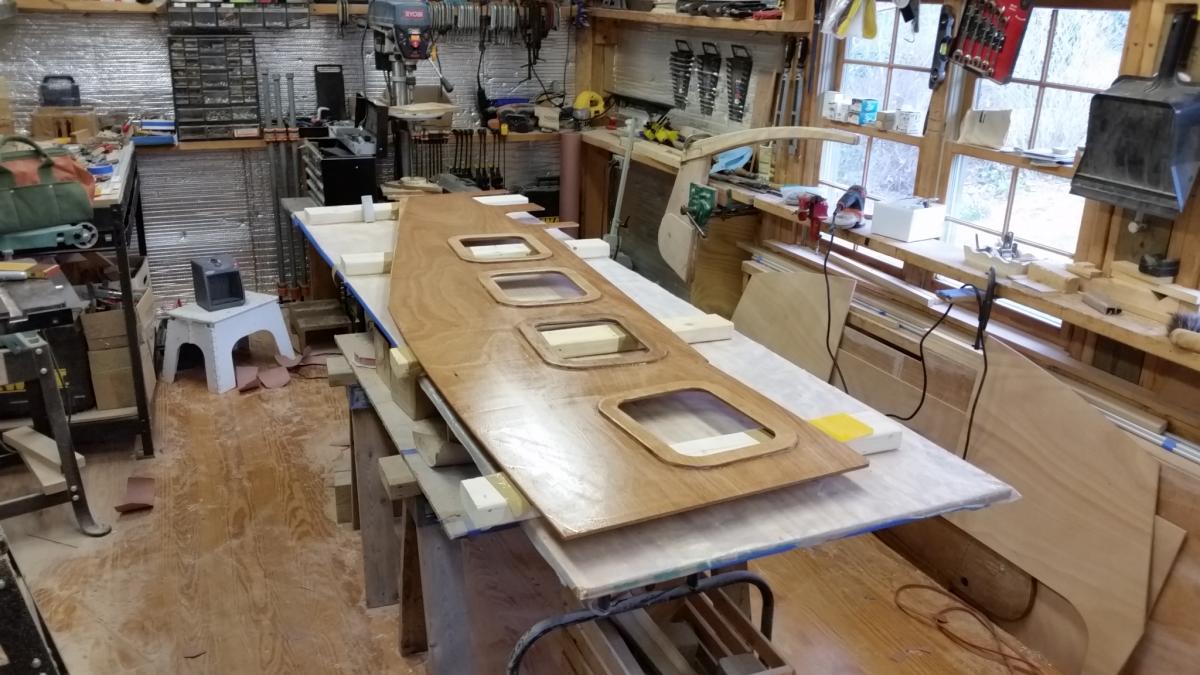
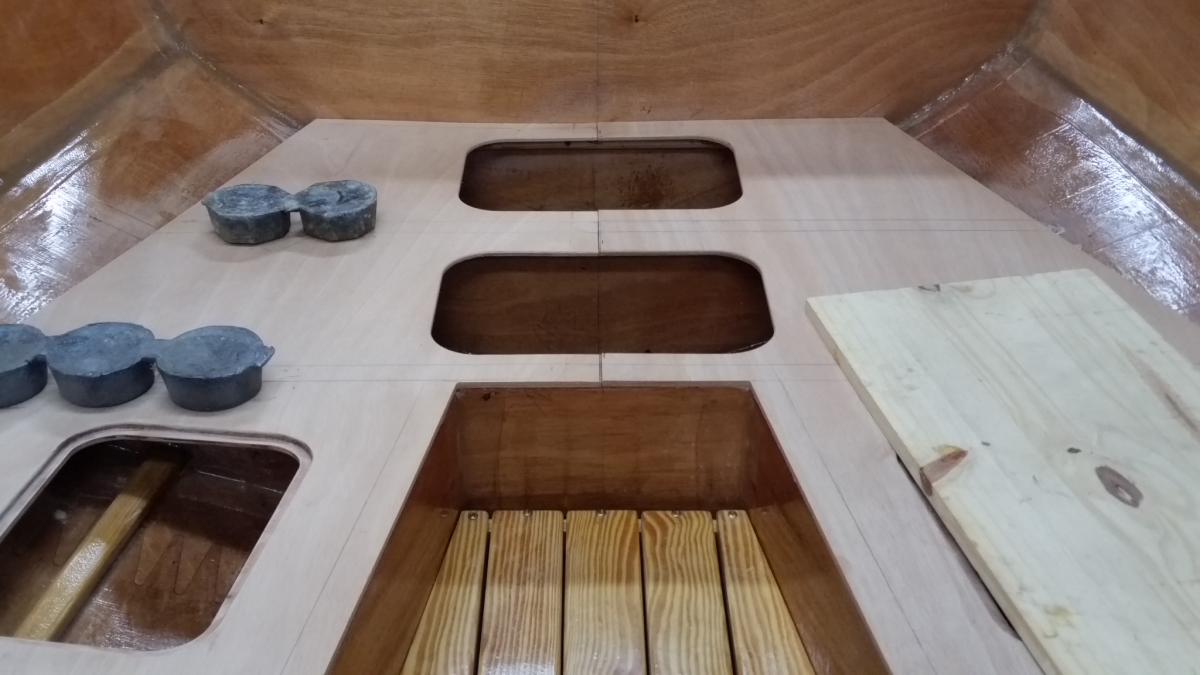
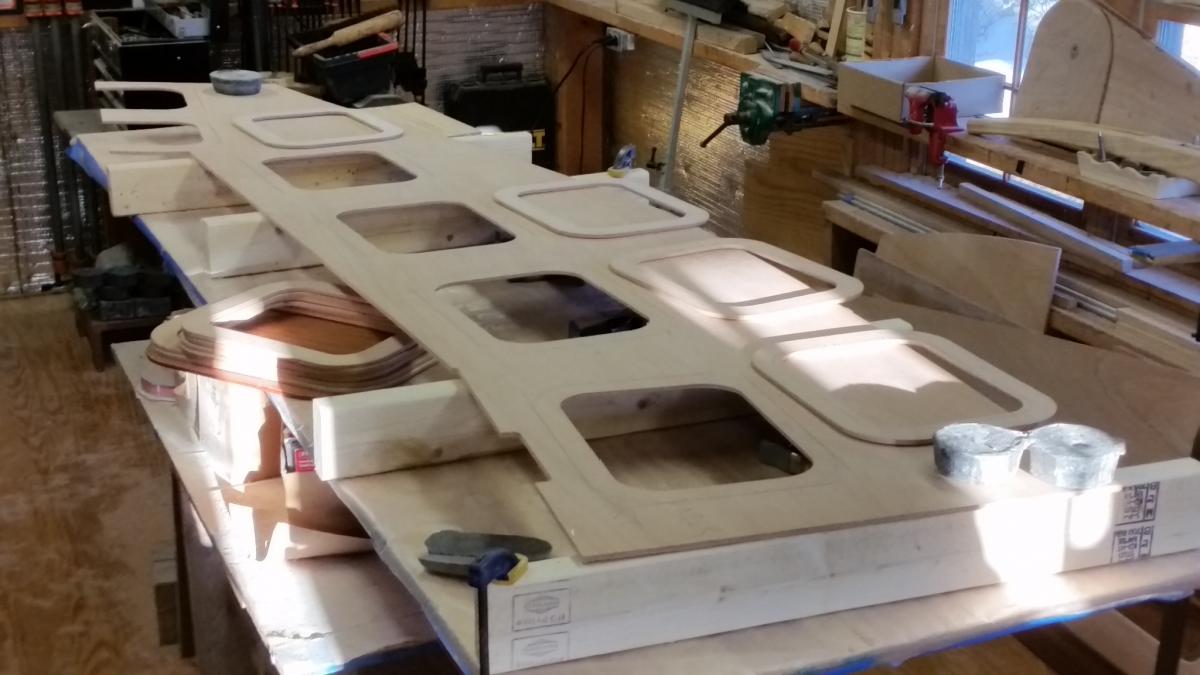
Fellow builders,... Finally ran out of small jobs -- and now I get to see big things happen. Today I prepped the bunk tops and their hatches and hatch frames & covers. The little hand held router put a 1/8" roundover on more than 1,000 inch-edges. My hand began to "cramp" up. Getting things lined up. Setting up for the glue session. Glue, clamps, weights followed by "cleanup" of the "squeeze-out." The port-side bunk top had its hatch frames glued on. To keep shop temps up to about 60 degrees, I'll have about 4 kilowatts of electric heat going overnight. Then on Sunday I'm driving to Guntersville, Alabama, hoping to sell my PocketShip, "Tattoo." An interested buyer from Alexandria is having a marine surveyor look her over. If there's a sale, we'll both trail "Tattoo" back to Virginia. I'll probably bring her back even if there no sale because I have another interested buyer from Alexandria. I'll be back working on "Chessie" before Super Bowl Sunday.


-
Core Sound 20 Mk 3 -- #4 "Chessie" . .
Pete McCrary replied to Pete McCrary's topic in B & B Yachts Forum
Thanks Chick, for the encouraging words on sliding hatches. Let's keep thinking about it. More progress on Chessie. Seems like I keep finding little things to do ... Just to keep from getting into the big stuff. My latest "little thing" is a faux mast just about 3" tall! It should keep driving rain (at 70 mph) from entering the foot-bolt hole in Blk#1. My last little job was a plug (2 & 3/4" diameter) to jam into the foot of the mast (when lowered) to keep rain water out -- but more importantly,.. birds and othe critters from nesting in the mast while parked on my driveway. The bottom of the faux mast is trimmed with about a 5 degree slope so that dripping water will be lead away (forward) from the tabernacle. Tomorrow, I promise, I'll start on the bunk tops. But don't hold me to it.


-
Core Sound 20 Mk 3 -- #4 "Chessie" . .
Pete McCrary replied to Pete McCrary's topic in B & B Yachts Forum
Steve, I really like the concept! I'll think on it, make some sketches, etc. Can't do it now, but I will within the next few days. Maybe an idea will come to me during the homily (the PA system and my hearing aid don't like each other). I'm already thinking: What if you could configure the forward slider so that its forward edge could be "lifted slightly up" (just enough) so it could be moved "up-and-over" the hatch's fwd coaming. That slider would have a lip (a downward coaming?) that would keep the slider in place until slightly lifted and moved aft. The center cover could still be used for solar cells. To visualize this better I need to do some design sketches. -
Core Sound 20 Mk 3 -- #4 "Chessie" . .
Pete McCrary replied to Pete McCrary's topic in B & B Yachts Forum
Hi Jay,... If you were doing it all over again (and sailing solo), how would you configure your hatches and the bolt at the foot of the mast? -
Core Sound 20 Mk 3 -- #4 "Chessie" . .
Pete McCrary replied to Pete McCrary's topic in B & B Yachts Forum
Chick,... When you say "no need of 'gadgets' to hold the mast while installing the nut." You must be placing the nut on the end of a bolt that is poking its threaded end out of the forward side of the mast while holding the mast upright with your other hand. That's why you have no need of a "gadget." Have I got that right? You can do it all while standing in the forward hatch and leaning over the cabin roof and Blk#1. Otherwise, something (or somebody) would have to hold the mast while you (or somebody) threads the nut on the bolt in the cabin on the aft side of Blk#1. I have to do it all solo. There's no "somebody" when I'm raising the mast. So, I'm pretty sure I need a "gadget" if the threaded end of the bolt pokes thru Blk#1 inside the cabin. -
Core Sound 20 Mk 3 -- #4 "Chessie" . .
Pete McCrary replied to Pete McCrary's topic in B & B Yachts Forum
Arn't small-boat compromises endless? I'm quite happy with the mast bolt fixed in the foot [nut end] facing aft. To hold the mast upright while I go below to secure the bolt, I'll start with a pendant from port to starboard across the foot-bolt and belayed to a cleat on the starboard side [of the tabernacle]. On the port side I don't think I even need a pad eye -- instead I'll just have a hole (in the side of the tabernacle) and a "stop knot" securing that end of the pendant. I'm not concerned with raising the mast while on the water. A sailing friend was injured (and mast badly damaged) doing that task when he was caught unawares by a wake that shouldn't have been there. My mast raising / lowering will be in my driveway or on the ramp's parking lot (or a very calm canal). I'll probably have some kind of crutch (the handle of an oar?) that I can brace up against a partially raised mast (from the cockpit or cabin roof) while I then access the foredeck by ladder on the ground (or by climbing over the deck) in order to raise the mast fully upright. At that point I'll belay the "foot pendant" to secure the foot -- and then back around to the cabin to put the nut on the bolt poking thru Blk#1. A bit of a "dipsidoodle," but it would only take a couple of minutes. I've pretty much given up on the idea of a trench companionway. I like Graham's two-hatch approach -- especially with the space between the hatches being available for solar cells. I like Graham's forward hatch hinged along the aft edge. I also like Jay's, which (I think) each hatch slides over the in-between space -- meaning both can't be opened simutaneously. That wouldn't be a big problem [for me]. But, I think for "Chessie," I'll have the forward hatch slide under a small hood. But nothing is yet fixed design wise. Suggestions are welcome. -
Core Sound 20 Mk 3 -- #4 "Chessie" . .
Pete McCrary replied to Pete McCrary's topic in B & B Yachts Forum
Thanks Drew, Ken & Chick,... Probably that's what I'll do also -- it seems like such a simple and sensible solution. However I've already made the hole thru Blk#1 (& the tabernacle) oblong -- but at this point it would be easy to fix that. And, I'd have to make oblong the hole on the aft side of the mast and redesign the compression block. Considering all that, I'll also think about Drew's suggestion of a pin in front of the mast thru the tabernacle cheeks (extended). I just tried a design sketch of that concept and that made me think of an even easier solution: How 'bout on the port side of the tabernacle just above the mast's foot, make fast (to a small pad-eye?) a small line (say 3/16 th) and a small cleet on the starboard side (I'm right-handed). Then, with the mast in position, just bring that line TIGHTLY across the mast foot (just above the bolt head) and belay it to the cleet. It could be left in place -- or, if occasion called for later use of the cleat, it could easily be undone. Perhaps even an anchor or docking cleat could serve that purpose -- depending on their location. Which reminds me, has anyone seen from B & B a deck plan for all the deck hardware? Or, has that been the builders' responsibility? Interesting how multiple ideas can influence problem and design solutions -
Core Sound 20 Mk 3 -- #4 "Chessie" . .
Pete McCrary replied to Pete McCrary's topic in B & B Yachts Forum
Not much progress here. Spent the day pushing a snow blower thru drifts of damp snow. Had to do it twice! Spent yesterday thawing out ice in the snow blower's fuel system and then purging the water. I hate ethenal! Tomorrow may be a better day. Drew, do you have this kind of weather in July? Here is a photo taken this afternoon of my garage and boatbuilding shop. In the foreground is the "table for two" where the Misses and I have our evening meals. I've been thinking of raising / lowering the mainmast "solo." The problem I see is some way to hold the mast in the up position while going below to make fast the bolt (at the mast's foot) on the aft side of Blk#1. Is there a standard simple way to take care of this problem? Maybe some kind of gate clamping the mast foot to the tabernacle? Maybe a "pin" put thru the tabernacle AND the mast (an inch or so above its foot)? Or a wooden brace (of just the right length) that could be jammed between the foot and under the foredeck near the stem?
-
We say "port or starboard" to avoid ambiguity which can exist when we face forward or aft. Like when the helmsman gives a [directional] command to crew facing him. But, believe me, it's still easy to be confused when you approach a boat in the shop that is up-side-down!
-
Core Sound 20 Mk 3 -- #4 "Chessie" . .
Pete McCrary replied to Pete McCrary's topic in B & B Yachts Forum
Chick,... My rudder cheeks turned out not to be very parallel. Just like a convenient adjustment. Jay,... I'm thinking of not gluing down the cockpit deck and footwell sole until after the turnover and finishing the bottom. I will FIX them with a few temporary drywall screws. Wouldn't it make installing the bailers easier? What's your opinion. -
Steve,... I see you've received lots of suggestions. Maybe my comments could be helpful for builders who haven't started the process. So here goes: 1. Corners are defined as the intersection of two planes. A tri-corner is the point where three planes meet. Stay away from them. 2. Do the outside corners first. They're easier because they all can be done while standing outside the boat. Don't [yet] do the corners with the hull side panels. And before you insert the module you should have done the filleting and glassing for the module corners that do not rest on the hull bottom. 3. Lay out a schedule of each corner and divide them into groups. I labeled three groups RED, GREEN & BLUE. Each group would be done on separate days. For two reasons: 1st, there will be some gaps between the module and the hull and you don't want your fillet on one side to push out the fillet [just applied] on the other side. But just as important, you want a place to put your feet when doing the work so that you can sit on top of the tank structure and more easily reach the bottom. Here's the layout that I used: 4. Measure, cut, and label each 3" glass tape in advance. In my case there were 45 of them. Cut a knotch for each stringer that has to be crossed. I measured so that the ends wouldn't get too close the next corner or the drain / air holes. Plan the sequence of application and sort the glass tapes accordingly. 5. Plan to do the filleting of each corner of a GROUP in the morning or late afternoon. And then the glassing later after a partial cure of the fillets (afternoon after a morning filleting OR next morning after an afternoon filleting). My first GROUP was R which had 19 corners. I didn't start until about 9:30 am and the fillets didn't firm up [enough] until after supper. Then the glassing made it a very long day. I found it much better to apply the fillets in the afternoon and the glassing the next morning. That gave me the rest of the day to do other fun stuff and be rested up for the next GROUP. 6. For the glassing definitely get some help. Even if only to hand you the wetted glass strips. I pre wetted a bunch of strips, then got into the boat where I could apply neat epoxy on the corners -- and then had my helper hand me each strip as I applied them to the corners. If your helper can do the wetting as well as just handing them up, it will reduce the number of times that you have to climb in and out of the boat. 7. After it's all done and before a complete cure -- take a scraper to the edges of the glassing and any other epoxy "high spots." Then a day or to later, sand the fully cured epoxy and apply the final coat of neat epoxy to all tank surfaces using plenty on the drain holes and air passages. 8. It is a major ORDEAL! Lots of bending and contortions with both hands needed down low in narrow spaces with poor visibility. I needed massage therapy when finally finished. If any of you more experiences builders note any missteps with this -- please make critical comments. No offense will be taken.


-
Core Sound 20 Mk 3 -- #4 "Chessie" . .
Pete McCrary replied to Pete McCrary's topic in B & B Yachts Forum
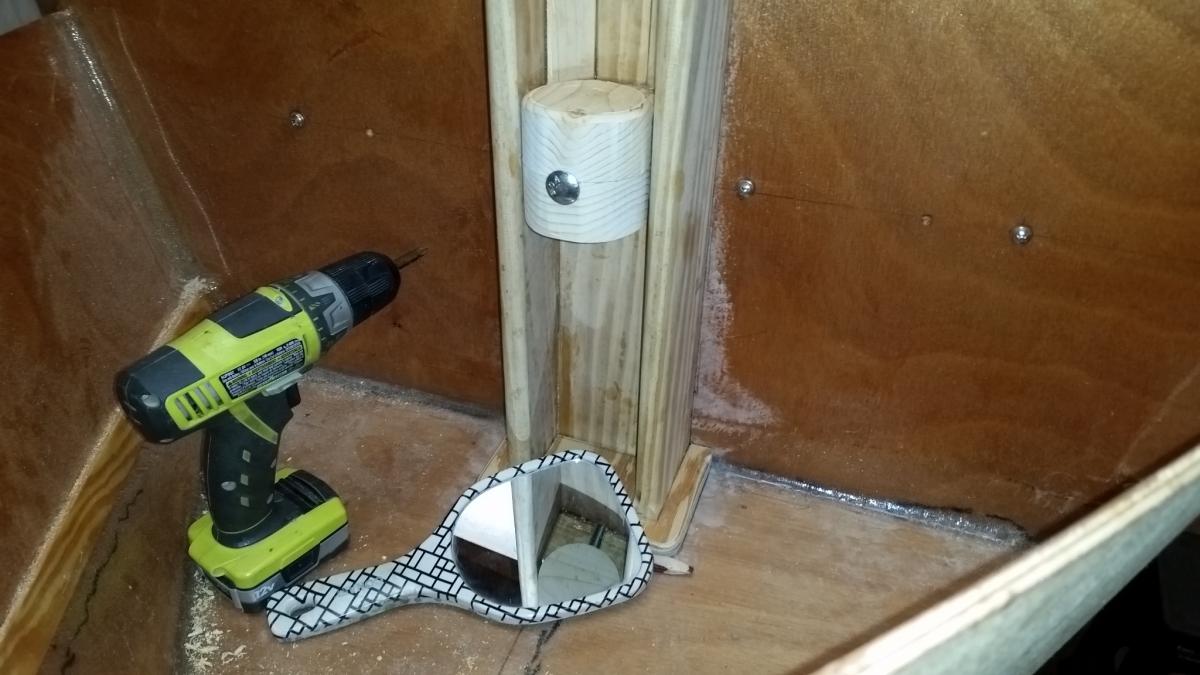
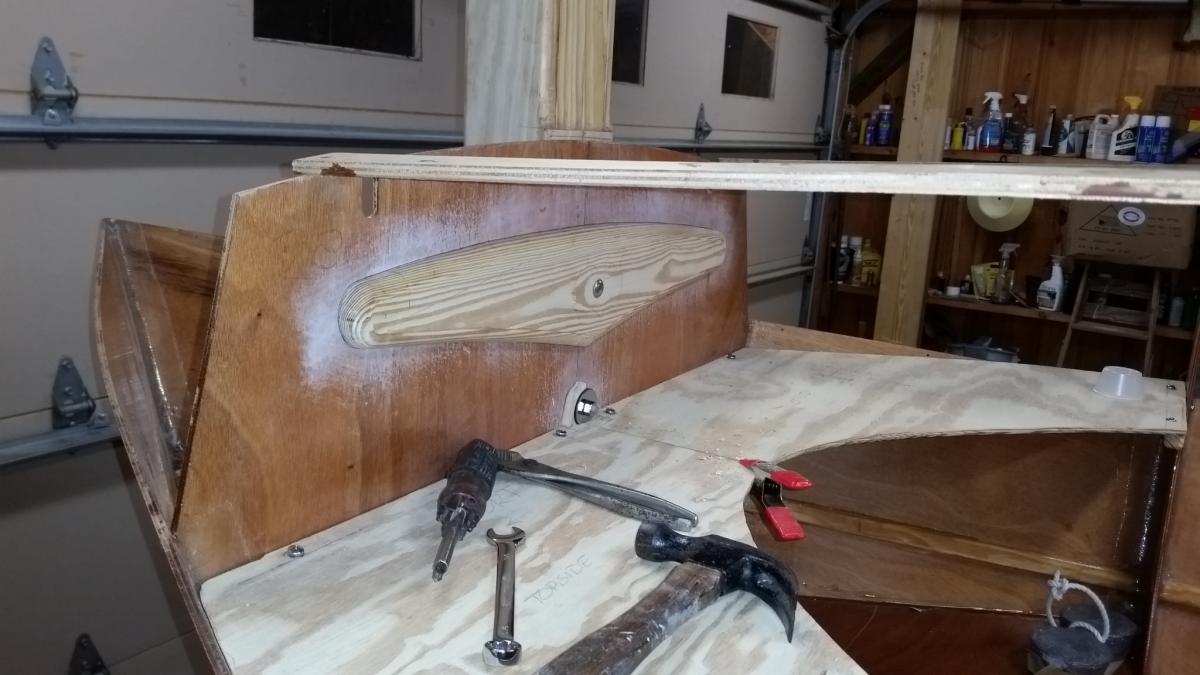
More little jobs. Sometimes I think I'm unconsciously delaying the big jobs out of trepidation. But the little ones add some charm or convenience. On my PocketShip "Tattoo," I had unhappy experiences with two failures of its tabernacle. I know that the Core Sound structure is very different and much safer -- but I still have a small worry. For the 2 degree wedge I used a spare piece of White Pine instead of a harder wood. It was easier to make that wide rip on the softer pine. Only after glueing on the wedge did I remember that it was a cheap pine cleat that failed on PocketShip -- and not the glue joint. So, I wanted belt and "suspenders" holding "Chessie's" tabernacle to Blk#1. That's now done with a 5/16" SS carriage bolt thru a 3/4" Yellow Pine doubler. From the cabin it looks some kind of decorative molding. It weighs just a little over one pound. Next I wanted a "one-handed" way to tighten or loosen the rudder pivot without a permanent epoxy solution. So, I trimmed the bolt's hex-head down to a rectangle and was going to make a wooden washer-wrench to hold the bolt fast when tightening the nut on the other side. I was going to go with just a plain circular washer. But then why not something like B & B's logo. Here's the result. Now, I promise! Next will be prepping the bunks, their hatches & hatch rings, and the bunk supports.