Miyot
-
Posts
339 -
Joined
-
Last visited
-
Days Won
16
Content Type
Profiles
Forums
Events
Everything posted by Miyot
-
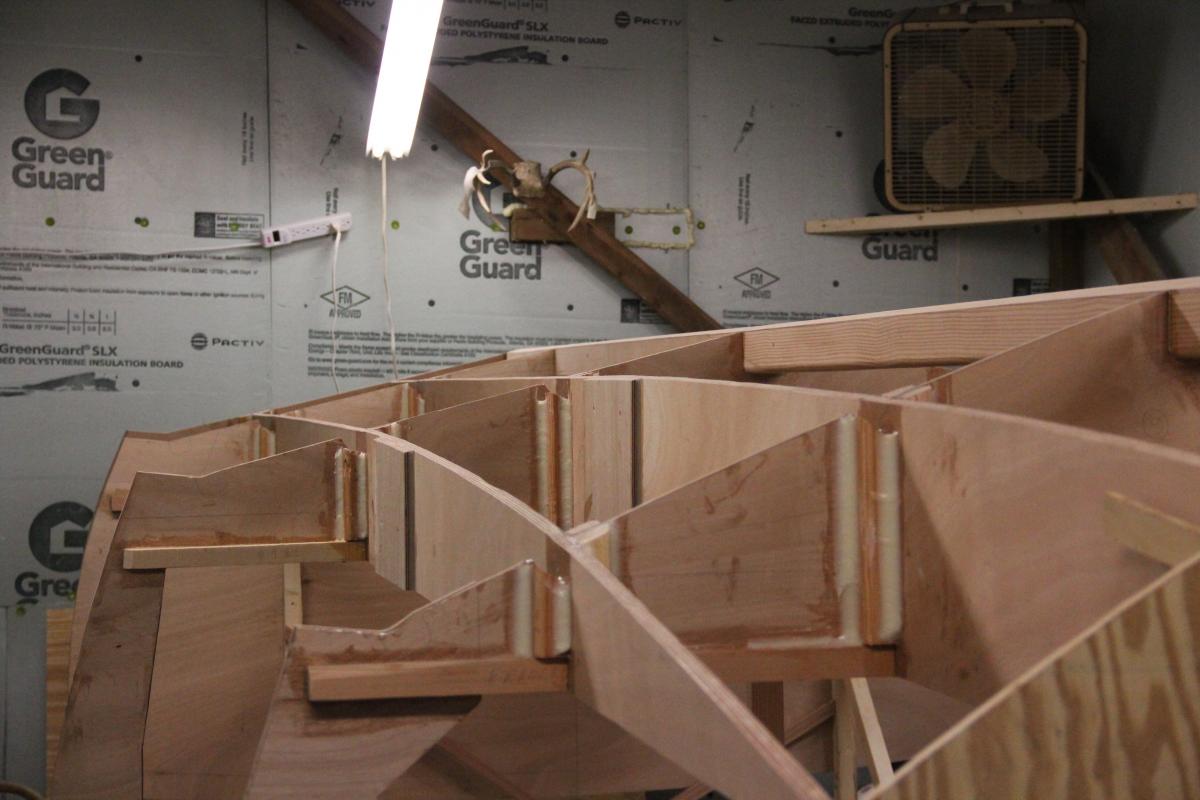
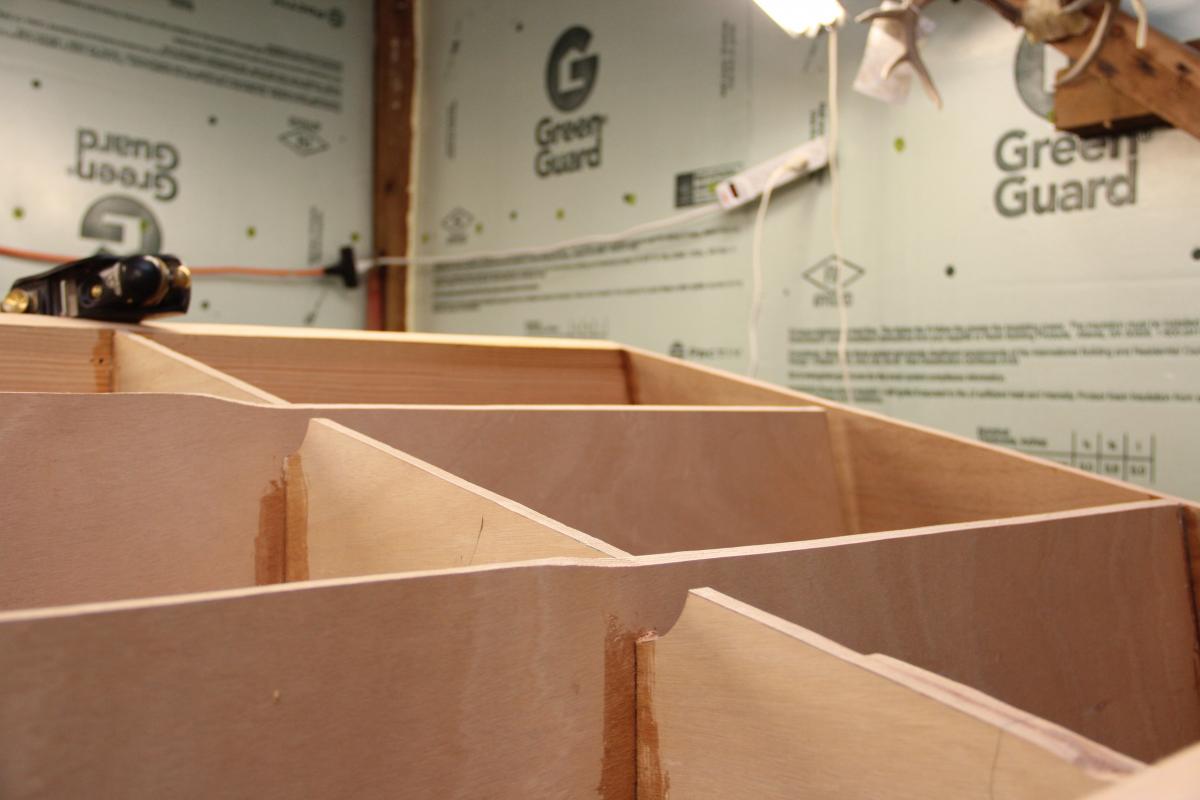
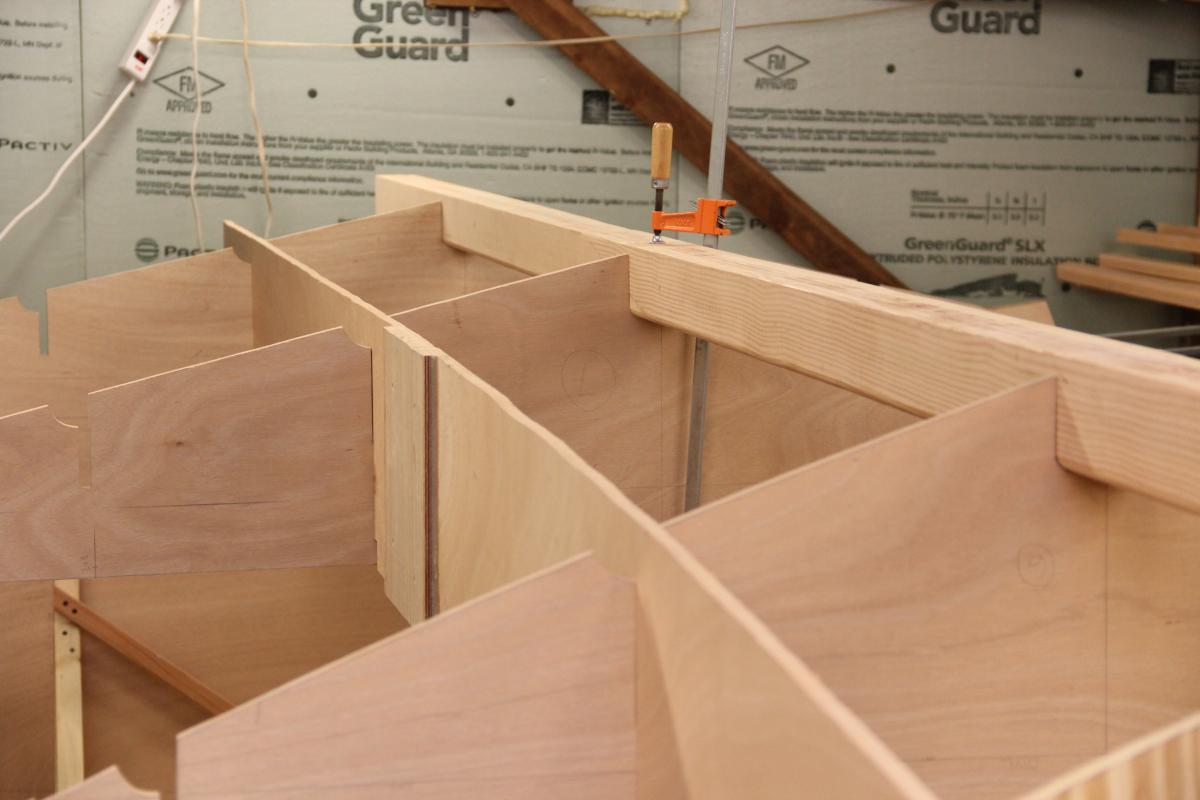
Added some doublers where the frames fasten to the keel. I wanted limbers along here and I thought the additional strength would help. I saw NZ Lance had added doublers here and I liked the idea. Also a pic of the Transom. I will add the additional plys to the inside of the Transom now rather than after turnover. If anyone wondered about the gap on the inboard stringer (on one of the previous photos) at the Transom, the 3 additional plys will fill it and the stringer will fit into a notch on the final ply. I will also make a small frame around the perimeter of the inside of the Transom that the side stringers and Chine batten will notch into. Here are some pics. The Limbers look a little high, but a fillet will run on both sides of the keel on the bottom and with the glass, should come out about right. I will install a bilge pump aft at the Transom.


-
hightechmarine, looking forward to seeing your build. Keep us posted and enjoy your build.
-
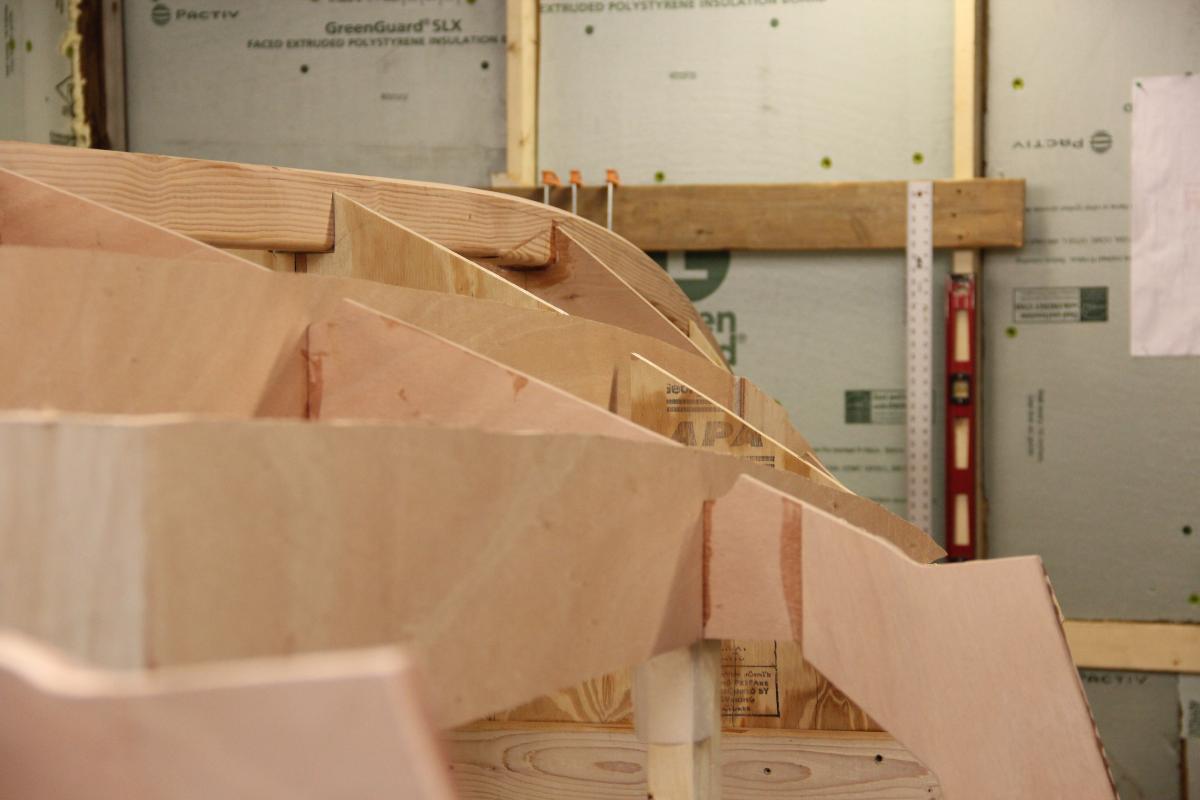
Still some humps and dips, but the bottom is getting close to fair. I have finished installing the vertical stiffeners in the bottom and have the longitudinal s left to do. After they are done I will install the chine batten and then finish fairing the bottom. Here are some pics of progress.


-
Began fairing, among some other things. Kind of intimidating, I didn't know where to begin. So I started at the transom and will move forward. I'm finding a few small problems with my setup, but nothing to far out of whack. Now this is really fun and I can hardly pull myself away from it. I'm finally building the boat.


-
Installed Transom and doing some glue up.


-
All stations on except for transom. Now some adjustments and a bunch of protective tape so I don't glue things that shouldn't be. I have to stiffen up some of the stations with some timber. Lots of work. Getting the transom just right may be a little tricky. Moving on.


-
Set up underway. Now I'm worried. Things are really going well. I couldn't be more pleased. The marks on the keel and stem are lining up just right with the frames as lined off on the jig. Square and plumb. I should complete setup in the next few days and start bending battens around and cutting notches. I'm really enjoying this build. Here are some pics.


-
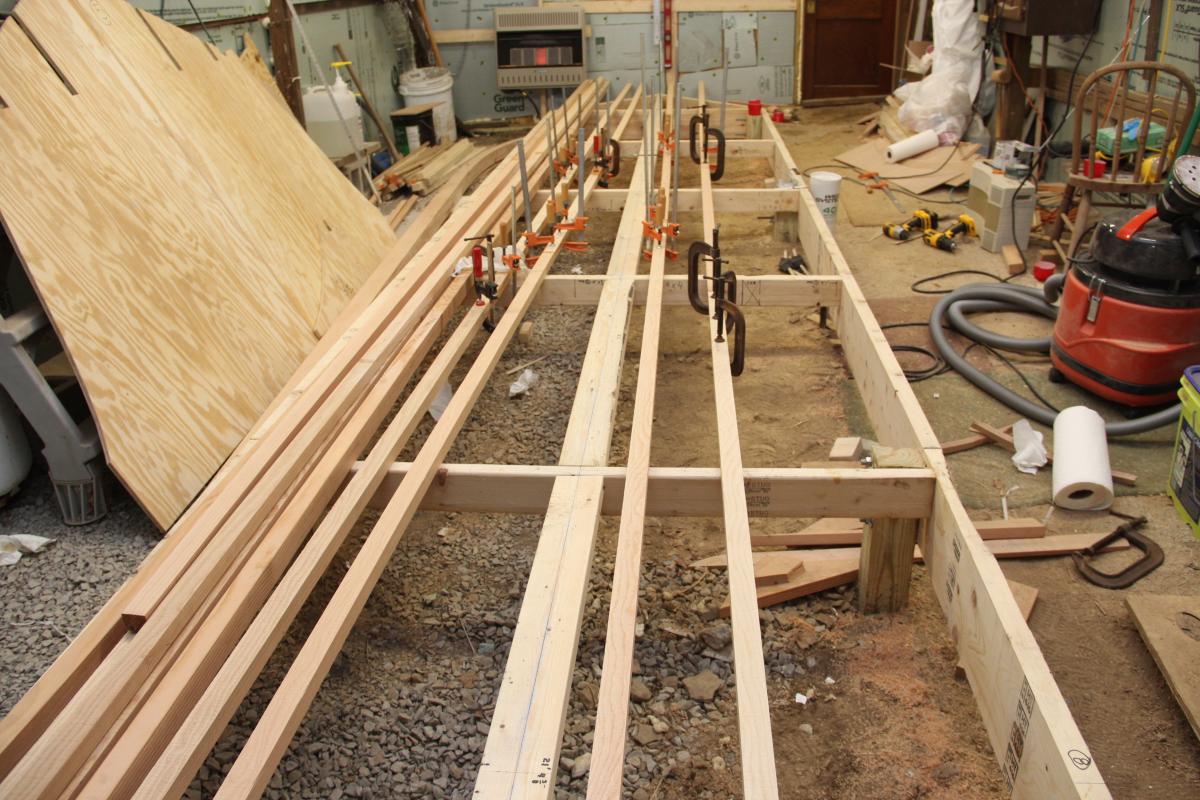
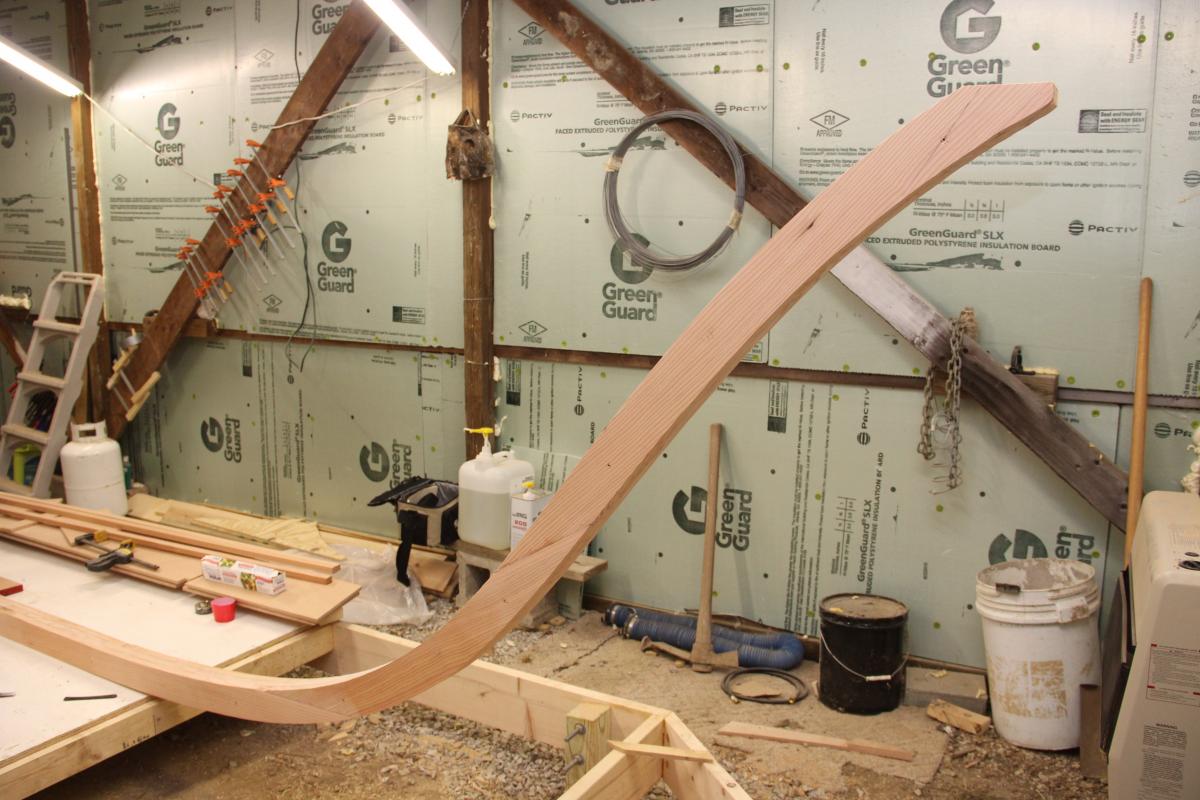
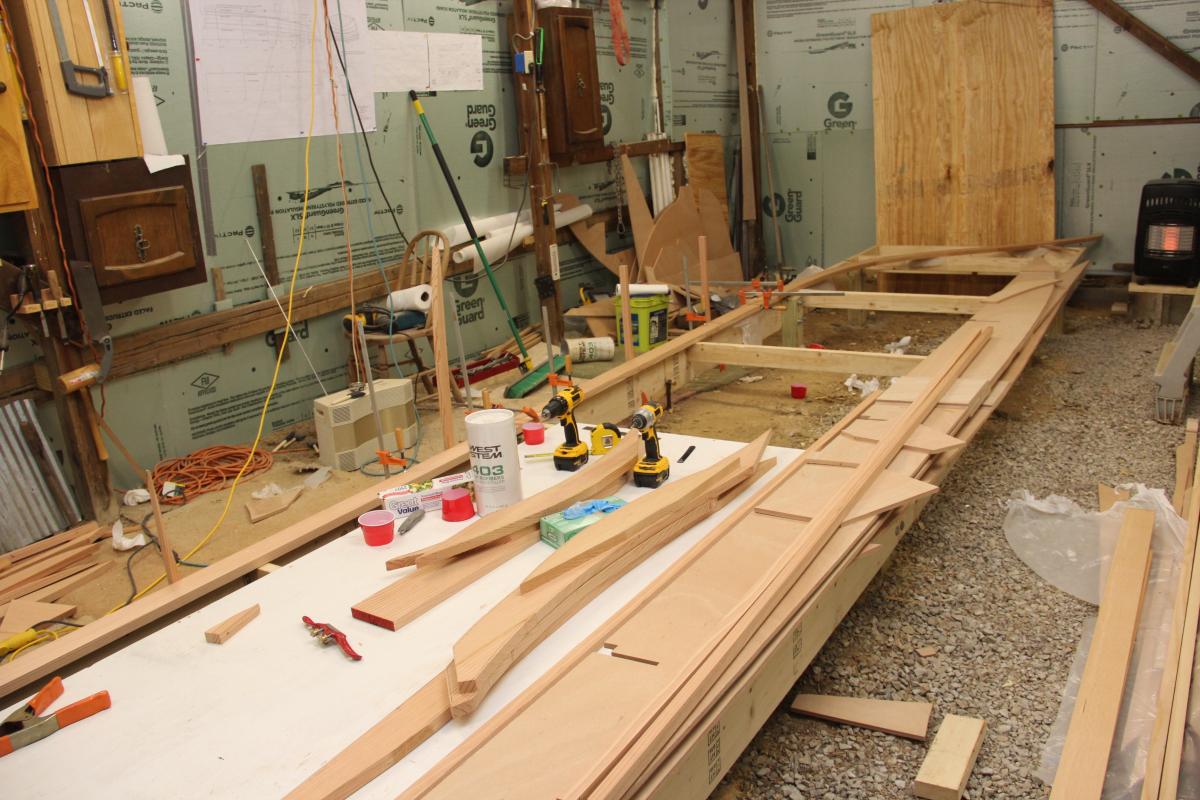
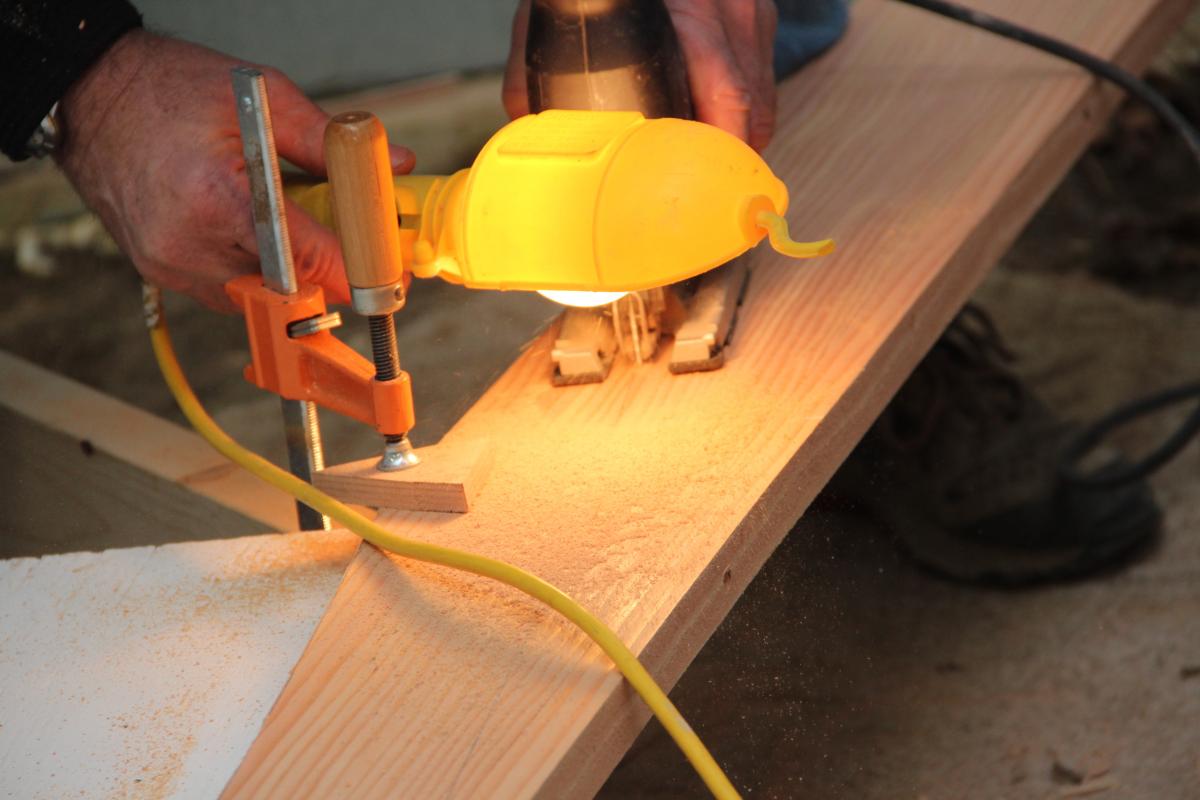
Makes sense Tehani. I looked up case hardened wood and it said something along the lines I think Howard had mentioned. The outside had become drier than the inside and forms a sort of shell. The article also said you should plane both sides of a case hardened board or it is liable to cup and or twist. Scarfed up my side stringers, chine and intermediate sheer. Ten 27ft boards. I made them a little long, just in case. You need some room to work with these. Now to plane them to final dimension and round the inside corners. Were in for some weather here and I have to set the planer in the door and work outside because of their length. Supposed to blow a gale, which will hold me up a few days. All well, back to work on the basement.

-
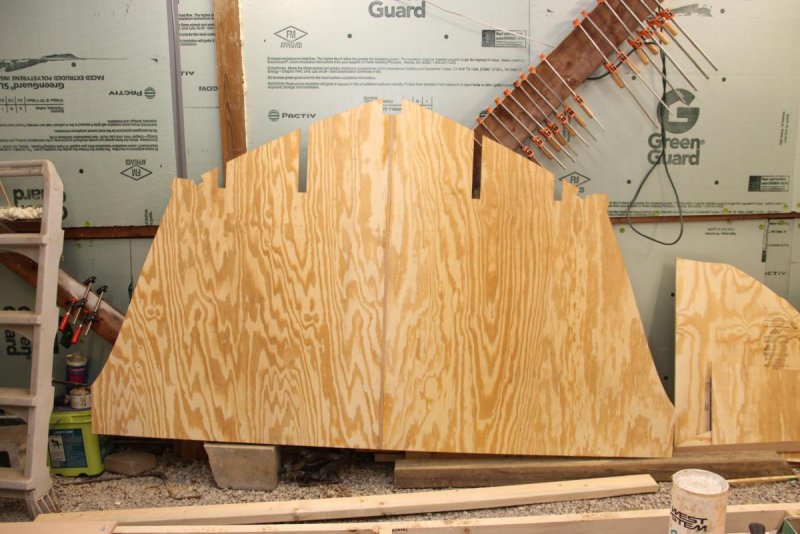
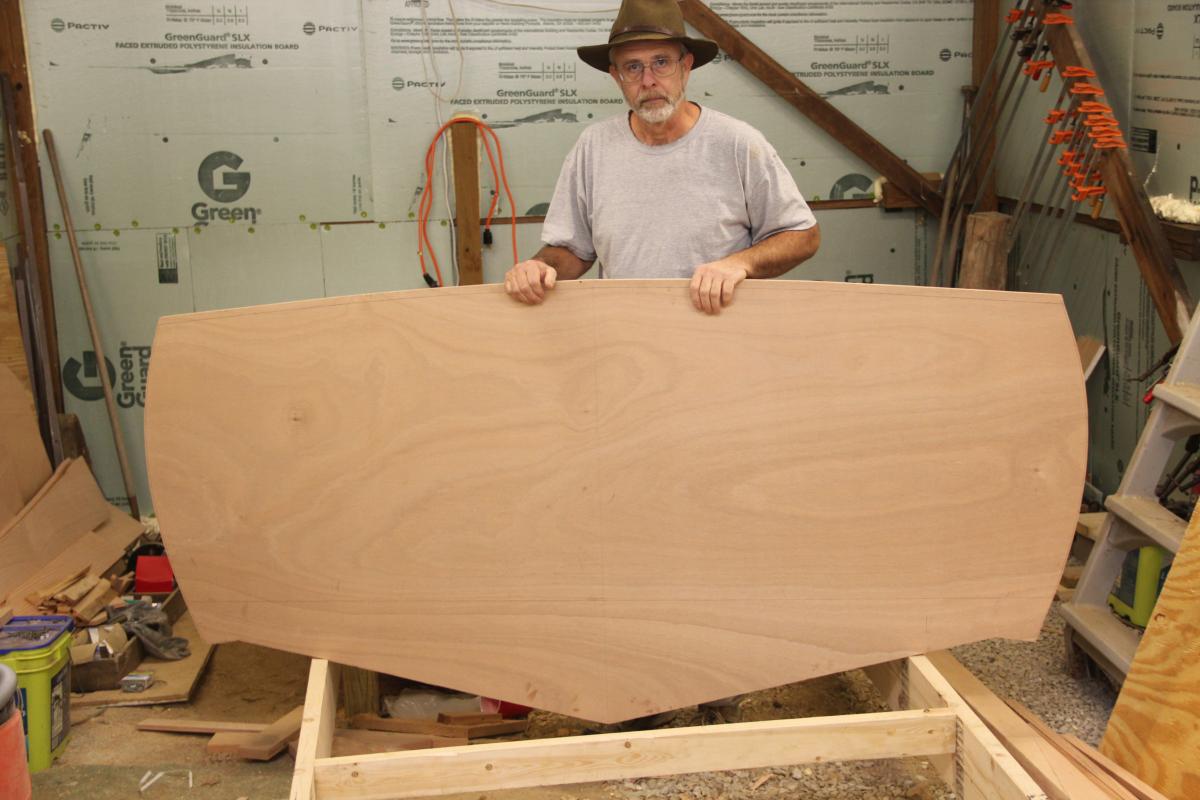
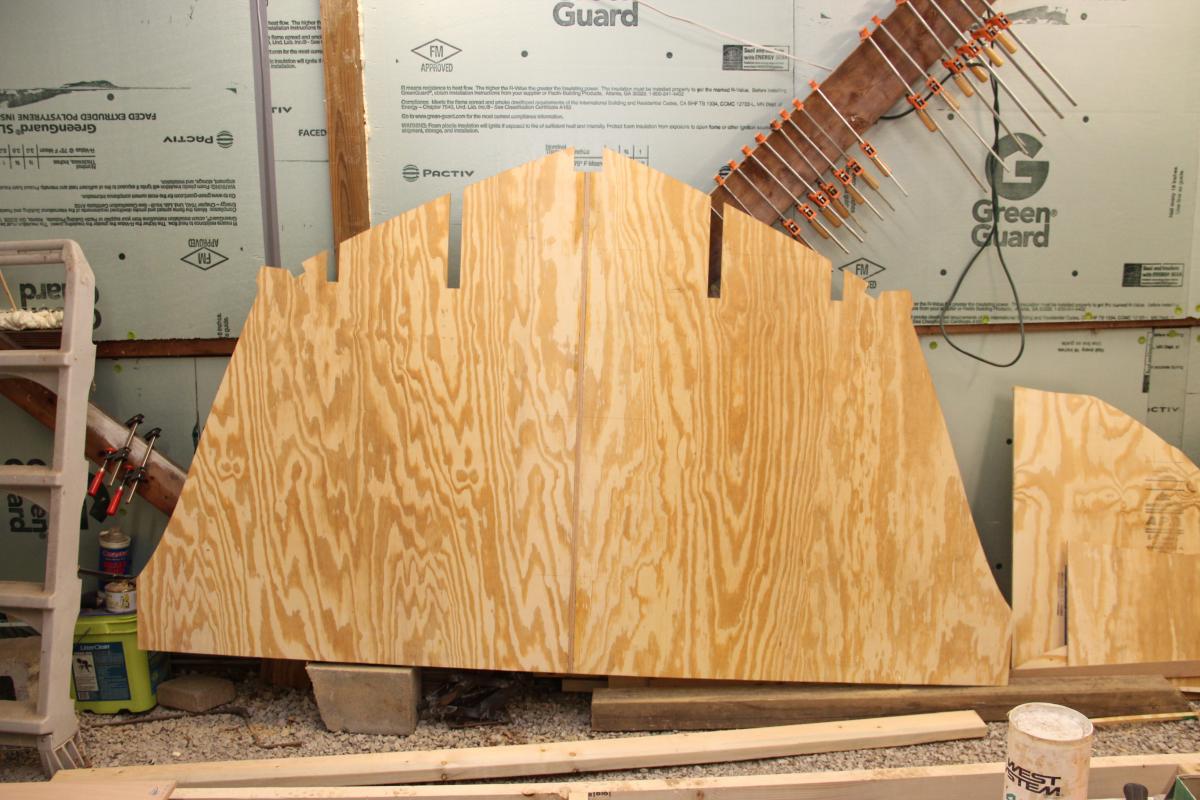
Completed Transom. I left a little extra wood at the top, just in case.


-
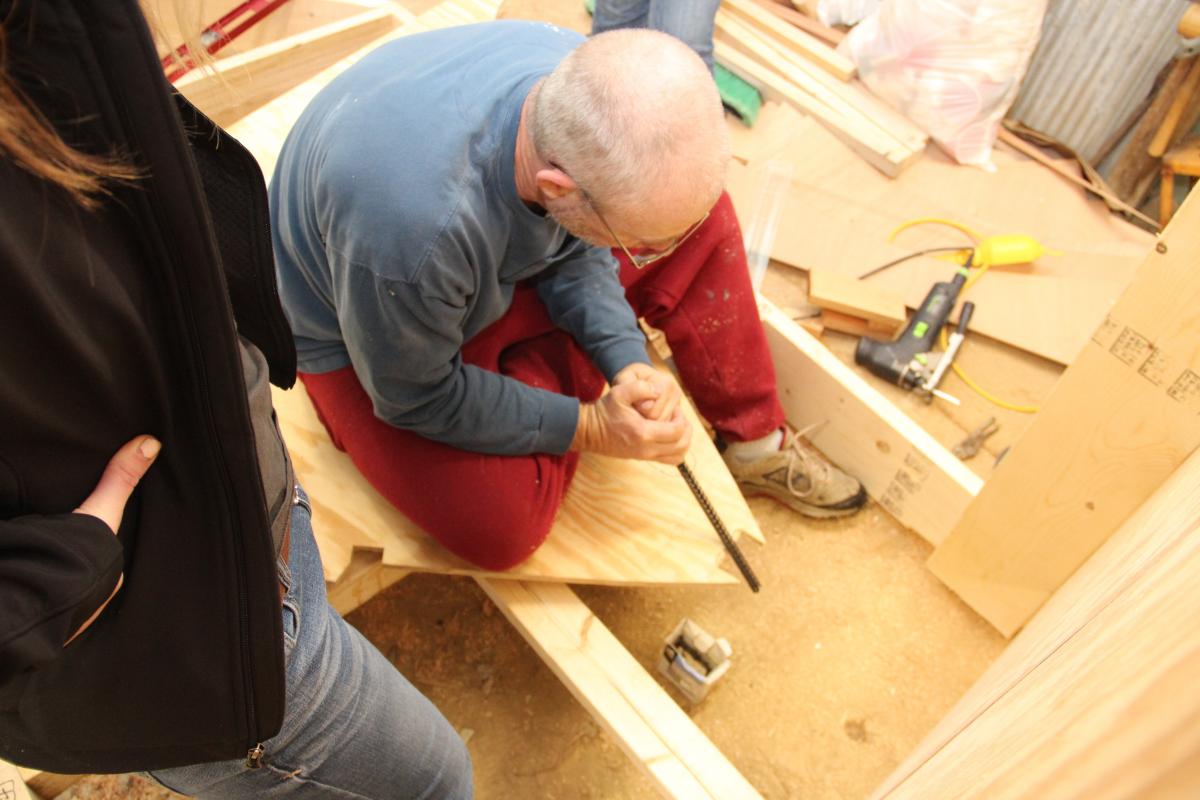
Hogged off some of the bevel on the keel & stem. My form for laminating the transom. I didn't want any screw holes in the transom. So I rigged some clamps and some culls to spread the load across the transom. It seemed to work well.


-
Sad news and a great picture
-
Looks great, where you been. I'm with the others,lets see some more pics. Early construction would be great. Graham is going to sell some plans on this design. It is just a pretty boat.
-
There you go, just what I was after. This has helped a lot Lance. I wondered how beefy I should make my form, and your undulating tip tells the story. As well as how you did your screws. I cut out my forms (both ends of my jig) today, using the mylar template you spoke of. I'll finish the jig in the morning and I hope to glue up the transom tomorrow. Thanks for the reply Lance. Dave
-
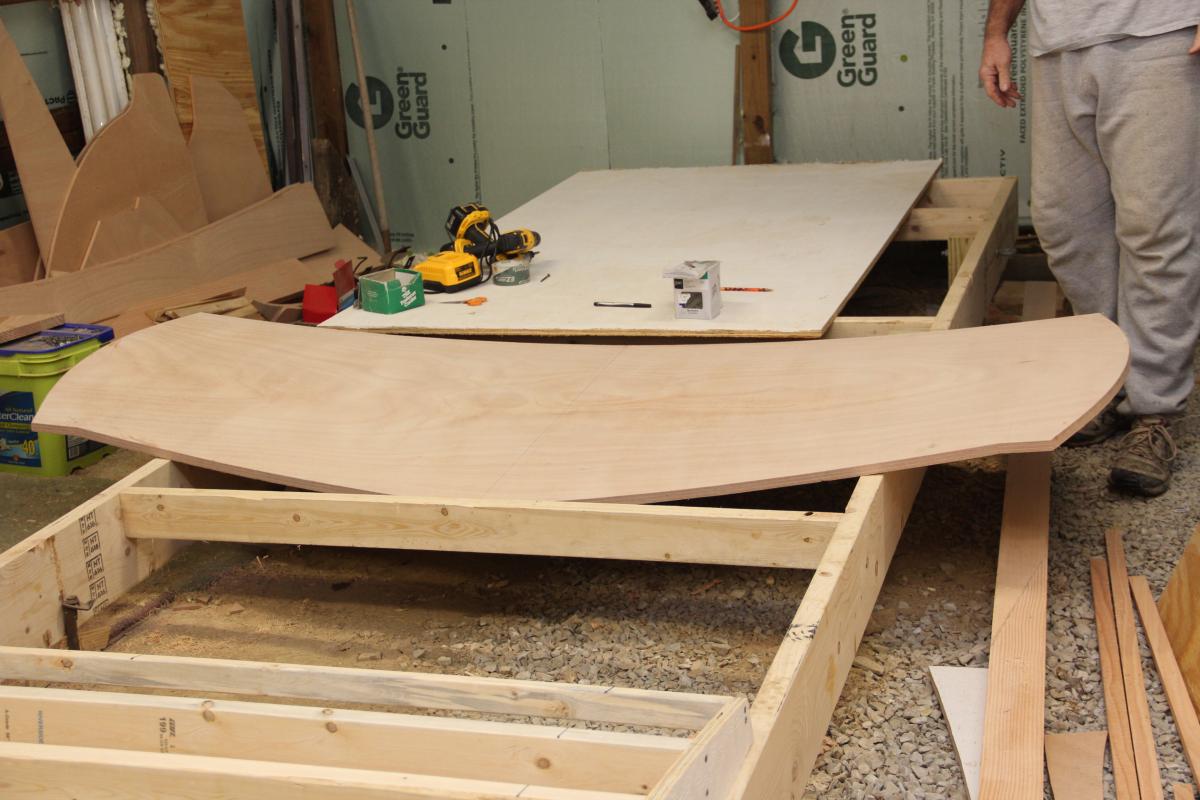
The curved panel itself. I'm just ready now to start to build the form.
-
Looks good Lance. I have a question maybe you could help me with. How did you make and laminate your transom. Any tips would be appreciated. Dave
-
www.gurit.com/files/documents/Bonding Guide.pdf This is where I got my info. Although I think if your blades are sharp, glue up with epoxy will be fine. I had no problems, as you can see. Both glue lines were stronger than the wood itself. One was planed and the other sanded with 80 grit. Getting solid info from the internet is not always easy. I had almost always gone from the planer straight to glue up and have never had any failures in any of my past projects. The above sight also recommended whipeing down doug fir with some kind of solution because it is so resinous. I did apply unthickend epoxy to both surfaces before using the microfibers. Interesting discussion. To sand or not to sand, that is the question. I think I'll sand, but not spend much time on it. And I always wet out both sides before applying the thickened epoxy. Standard operating procedure.
-
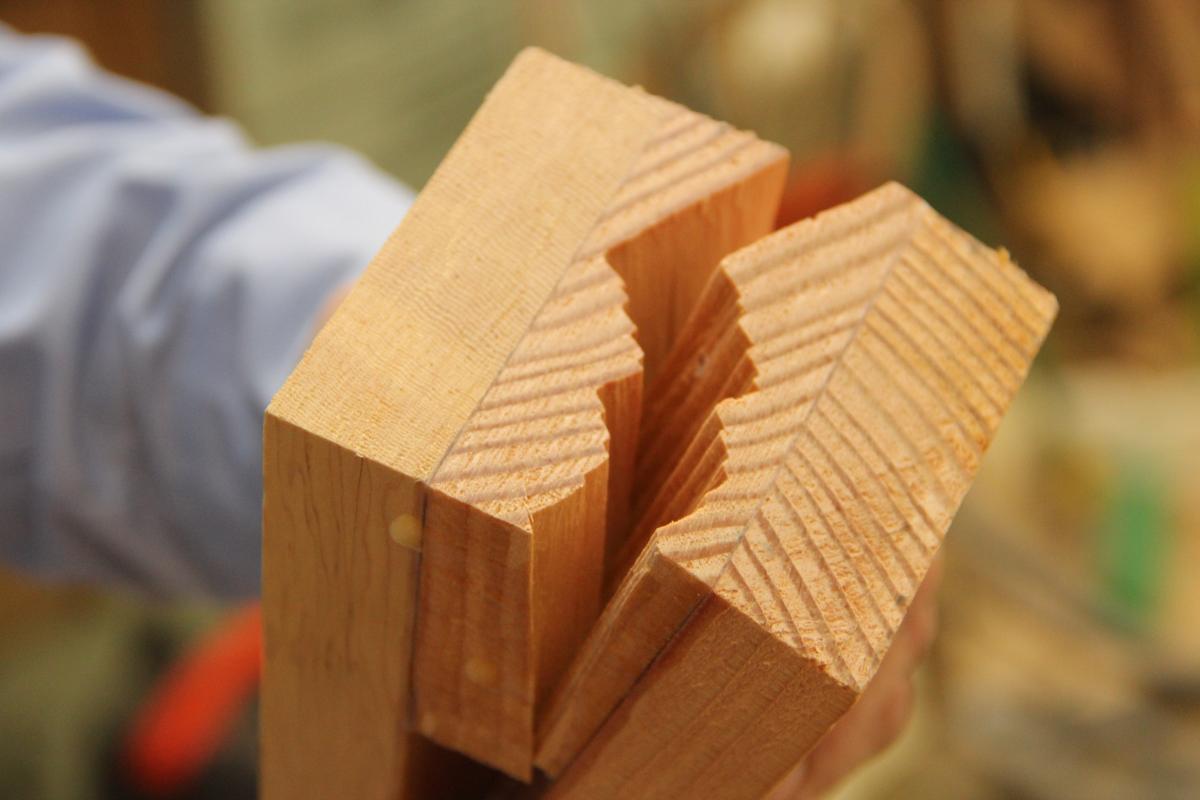
Finished stem and keel, although I still need to bevel it and round the inside corners. I'll mark it and then hog off the majority of the bevel, leaving some until after setup. Especially the area where the keel meets the stem (the gripe) as this spot can be tricky. I did a little experiment, cutting off some of the keel as I made it long. After I had glued up one side of the keel (mine is made from Douglas Fir) I read that Douglas Fir can have problems gluing with epoxy. The article said that after planning doug fir it should be sanded with 60-80 grit to open the pours of the wood as planning can cause case hardening. I knew you should sand hardwoods before gluing with epoxy but didn't consider it with doug fir, so I didn't sand the first side I glued up. After reading the article I did sand the remaining side with 80 grit. I think the sanding did help the wood absorb the epoxy a little better. Anyhow I cut off some of the extra length and clamped it in a vise and cranked until I achieved failure. (The two outside pieces were several inches longer than the middle one, allowing me to test the strength of the glue up) The joint failed in the wood and not the glue lines. I felt better. Here are some pics. Dave


-
Good looking boat. Sweet. I like the cabin on your boat. I'm currently building the Ocracoke 24 and would like to use the express style. The problem is I don't want to have a trunk cabin forward. I would like to deck it over just as your Warren O'Neal is. It is a problem of head room. I would be happy with just enough room to sit up just forward of the helm. I have completed the glue up of my keel and stem and by the looks of things so far, it may work. I need 37.5 inches to make it work. Some careful planning and perhaps just a little more camber in the fore deck, i'll just have to see. Post pics when you start building. Dave
-
Thanks for the tip Hirilonde. Makes sense, and I won't forget it. Nice to have a place to learn some things. One more side to glue up and i'll start work on the transom. Everything takes longer than you think it will. Gluing up the stem & keel today wore me out. Constant motion till it was done. Dave
-
Makin way. Didn't get as far as I had hoped. I had some trouble with some of my Doug Fir. Although the boards looked straight, two of them mooned or curved after I cut out the piece I needed. I don't know if it was my fault or what. I had to discard two 10 ft boards, I can still use them for smaller pieces later. The rest of the boards cut nicely. Another 12ft board had splits or shakes in it not apparent until I had cut and started planing it down. Expensive boards, but you'll have that I guess. Tomorrow I'll glue up the puzzle pieces, Sunday should see the completion of the stem and keel, then on to the transom.


-
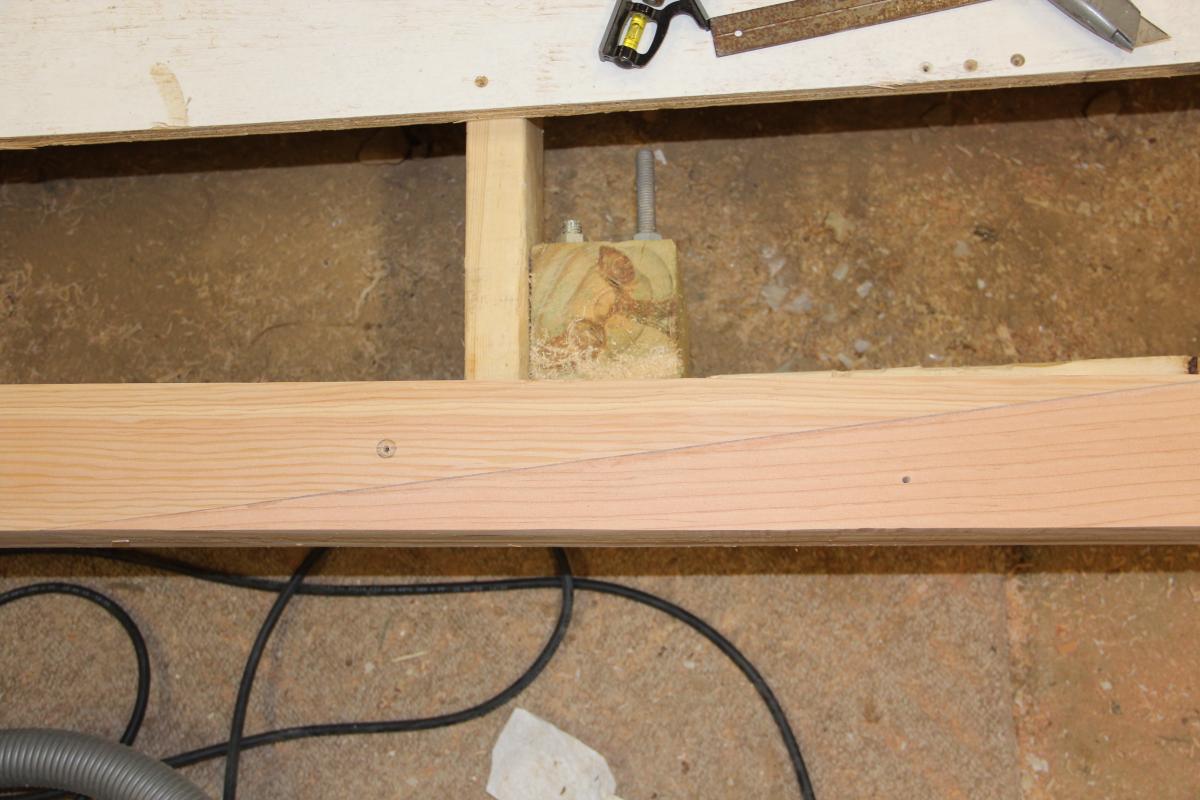
Thanks for the heads up Dale. The scarf joints are scattered around pretty good, like a puzzle. It actually took some thinking to get it all straight. I have finished with the stem and have begun glue up. Tomorrow is a big day. I hope to get two of the sides glued up, stem to stern. I should finish the job Saturday with the third and final side. It is actually quite a beefy chunk of wood. Should get some pics up tomorrow. Thanks again. Dave
-
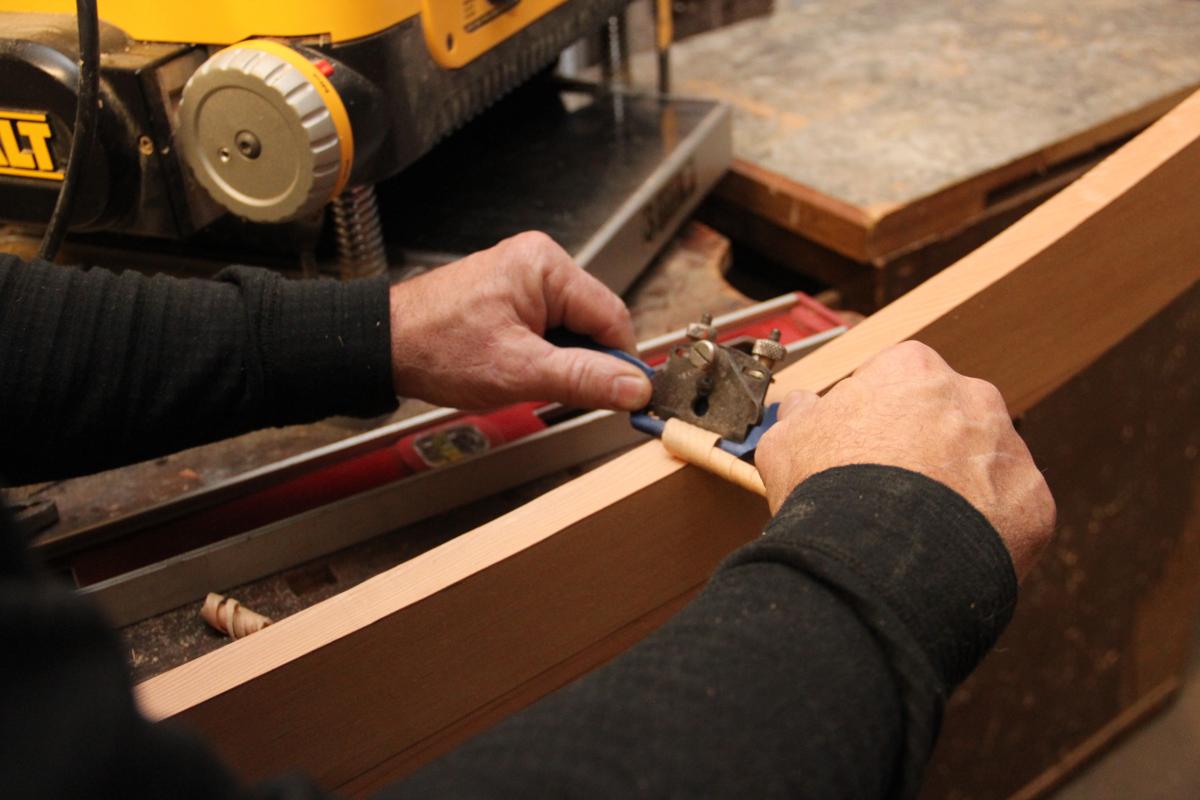
Working on the stem. I made some trial cuts to make sure my jigsaw blade wasn't flexing to one side, causing my part to be to small on one side. All was well, so I cut out the first parts of the stem. I cut very close to the line, then trued it up with the spoke shave and block plane. I'll use this as the pattern for the rest of the stem, marking all the scarf joints on this part and then transferring them to the right parts on the other two sides of the layup. The other two sides to the stem I'll cut a little big and then trim them back to main pattern piece with the router after glue up. Mark the bearding line and station points and move onto the transom. I'm having fun now! Dave


-
Tim, my plans say hull #4. I have not seen or heard of one actually built yet. I am going to power with Yamaha, probably 150HP. I have started on the stem and have cut out several of the pieces. I am using the middle section of the stem for the pattern to complete the rest. The stem and keel are made up of 3 one inch thick lamination's, if you can call them that. I am spending some time on the center one, making sure it is true as possible. Then when I glue them up I will use the router to trim the outside pieces to the middle one. I'll have to spend some time getting the glue off the center one so the router has a clear, smooth path. I think the time spent cleaning up will be worth it. The idea being to keep the everything square as possible to the sides and keep hand tool use to a minimum. Some pics coming soon. Great fun. Dave
-
Bottom stringers done, used butt joints.


-
Moving on. Just finished my last mold or frame. Now on to the Transom, Keel & Stem and Stringers. Set up coming soon. Sure wish I could work full time on it.