Fishman38
-
Posts
340 -
Joined
-
Last visited
-
Days Won
9
Content Type
Profiles
Forums
Events
Everything posted by Fishman38
-
Seems like a thread on this subject would be useful. I'll start it off by posing two questions: 1) I see recommendations in paint specifications on thickness of the coat(s). How does one measure the thickness of a coat of paint? 2) Would anyone care to offer opinions on brands and types of boat paints i.e. Epithane vs Awlgrip, single component vs two component, etc?
-
It seems the tape used for this would need to be heavier (stiffer?) than any masking tape I'm familiar with. Otherwise it would seem that some sort of backing would be needed, that is maybe held in place by an assistant, while the void is being filled?
-
The roundover technique described by Graham above worked great and much easier and faster than I anticipated. A plane with a sharp cutting edge also helps a heluva lot!

-
Got it this time Graham thanks. The picture helps. Just had a little uncertainty about the process and was concerned about doing some serious damage. For other newbies reading this, with the angle of the planks being what it is, it behooves one to become ambidextrous and plane fore to aft on both sides so as to be cutting with the grain for a smoother surface. Quoting Graham here: "remember that after the boat is glassed you will have to build it back up to a sharp corner on both the chines and transom." Thanks for adding that Graham. It would not have occurred to me to do that. And use the same mixture for the build-up as is used for fillets I assume? Jerry Note to Frank if you're reading this: I'm unable to make the "quote" function work. Have used it before so don't think it's operator error but may well be my W7.
-
You're right. I had not noticed that. It definitely is there though!
-
Not a lot got done today, mostly clean-up. Did however get a flat spot for the motor mount glued up. In talking to Graham I understand that for glassing purposes, on transitions such as transom to bottom, keel, chine, etc, one should create (cut) a round-over, radius of which depends on the weight of the fabric and maybe the angle of the corner, 3/8 inch for 10 # glass at the chine for example (approximately 90 deg). This makes sense to me for getting the fabric to lay properly on the wood surface. I just want to make sure I understand this before I start cutting into perfectly good plywood joints. I do not question Graham's instructions, it's just that I don't trust my hearing. I read better than I hear. Also, I have routers, round-over bits etc, which work great on 90 deg joints but otherwise not so much. So I assume I'll use whatever works, planes sanders and so on. Comments, advice etc are welcomed.

-
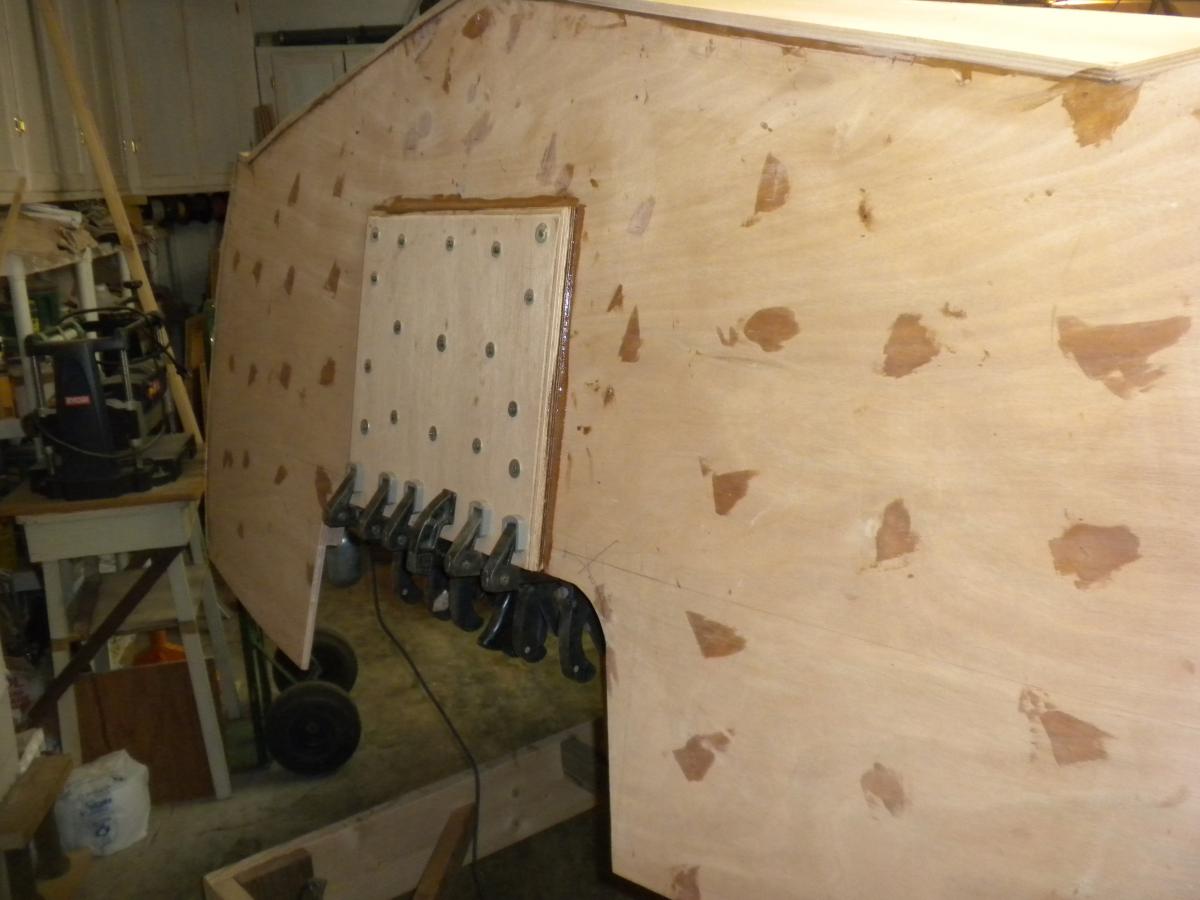
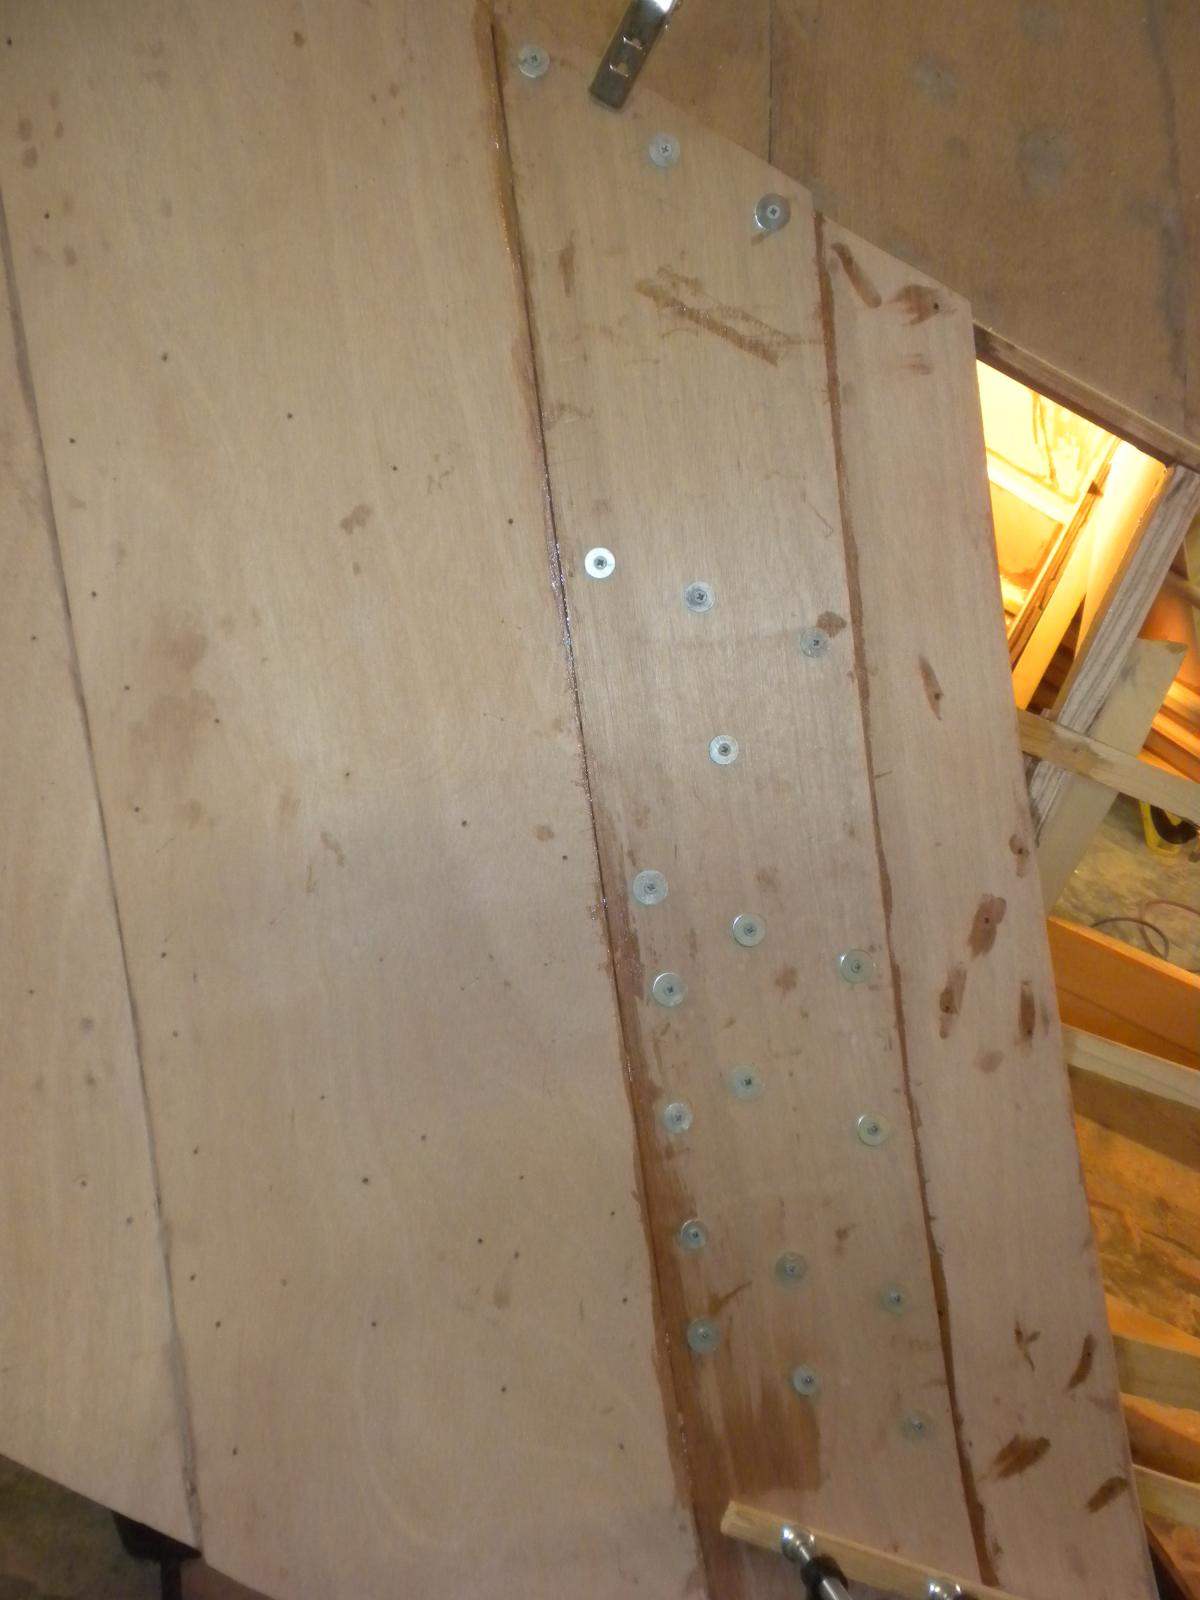
Finally got all the holes closed.

-
Nice work Miyot. Is the console your design? Maybe wider than I would like but necessary for a two seater in front. I like the driver's seat with rod holders etc mounted there. Again is it custom made to your specs? I had sort of thought I would go with a "T-Top" , which looks nice but considering I would probably have to have it custom made on the east coast and cost a bundle, not to mention it could be effective shade for maybe only an hour around noon, I like your scheme better.
-
You're right about that Howard and I do have one.. Actually I was was under two false impressions:(1) thought it needed to be stored in a cool place which the floor of my shop is and (2) I assumed that it didn't much matter that they were crystallizing because a day or two in a warm place would re-liquify it....not so! Hirilonde, as I said in an earlier post I used a heat gun for warming the pump and I do not recommend that too hot and dangerous; I suspected all along that the resin was flammable and was very careful so it worked for me, but obviously the hair dryer is safer. Sure enough someone on here confirmed that it is indeed flammable.
-
I had about a dozen gallons that were solid white. Would have taken many hours to liquefy all of them with a hair dryer, don't know about the heat lamp. I just put one in a pot of water on a slow cooker hot plate and left it on while I was working. Took 4 or five hours per gallon. One a day for about two weeks did the trick. Just make sure the water pot never goes dry!
-
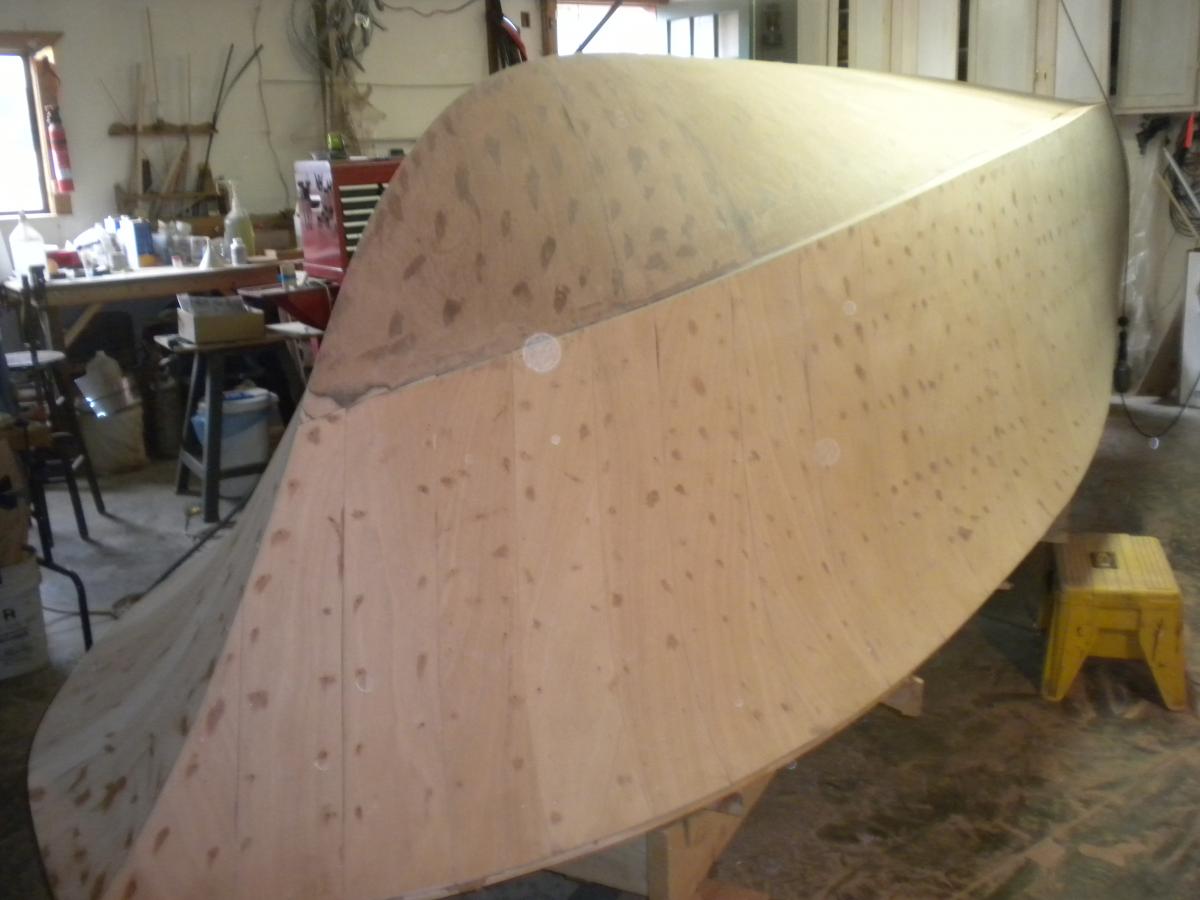
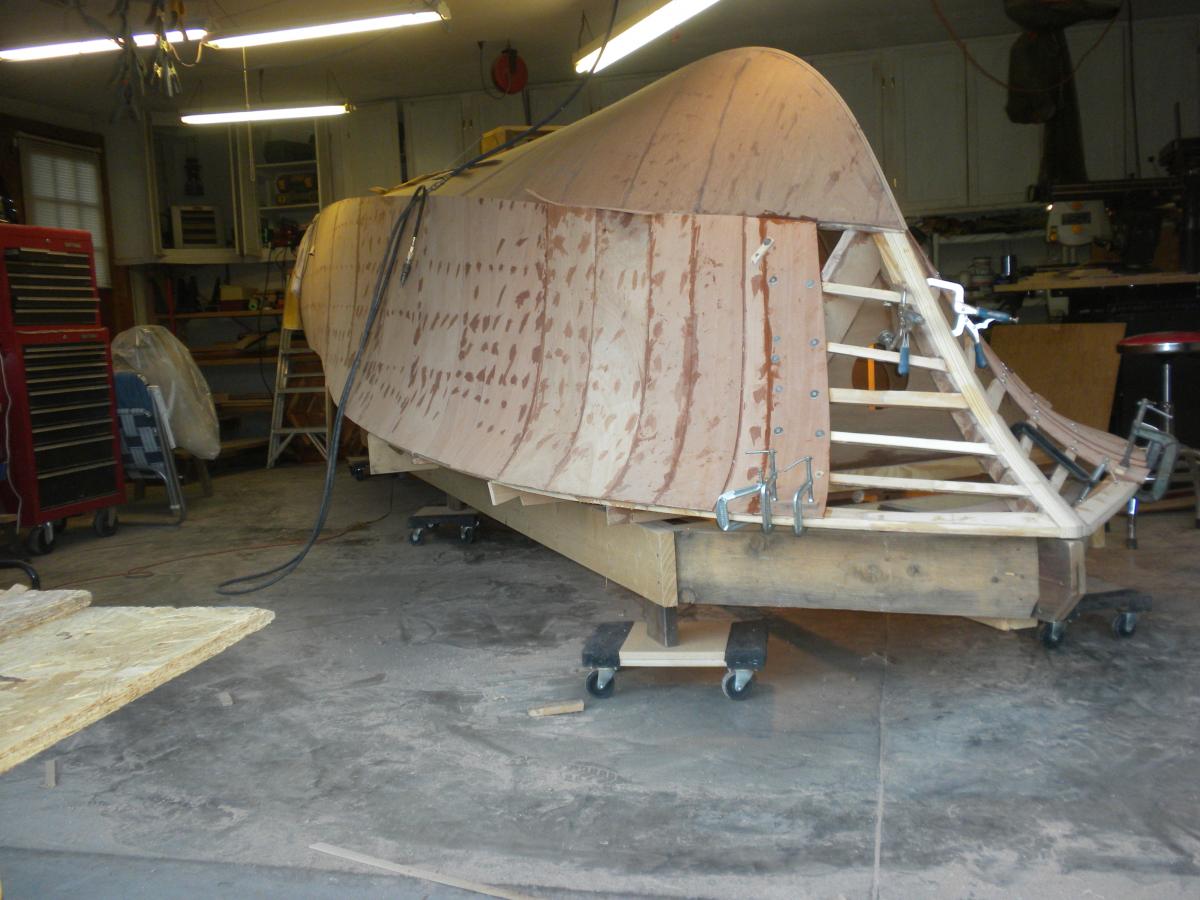
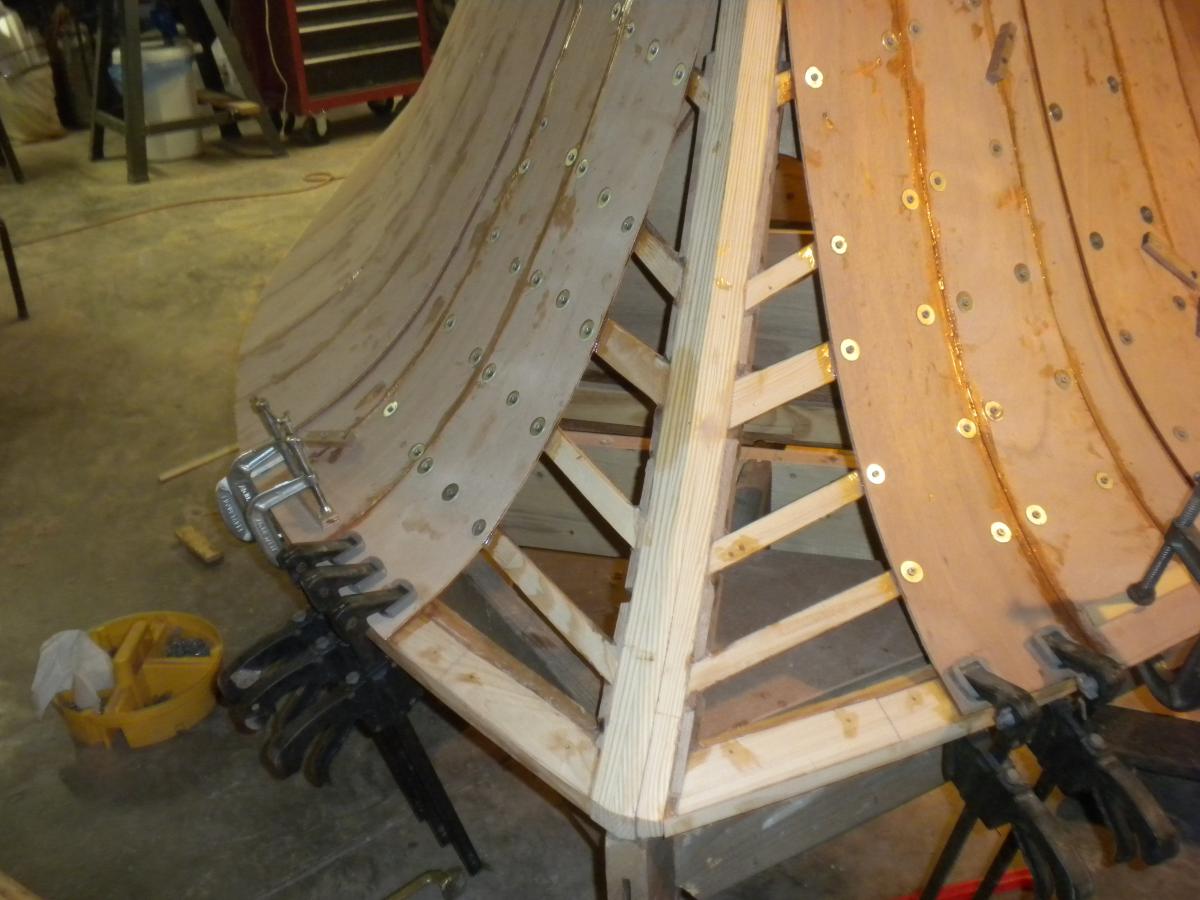
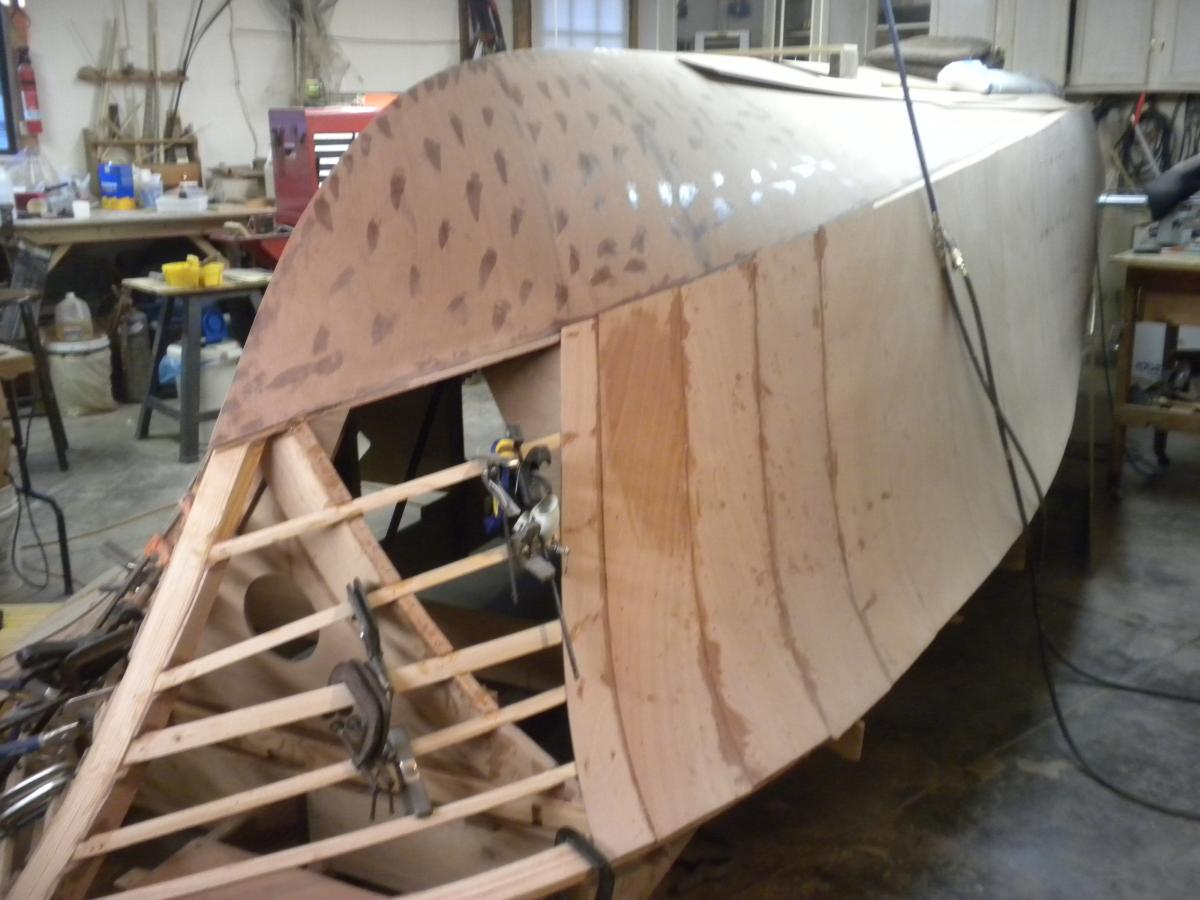
Decided it was time to get this thing mobile so as to be able to shift it around and make a little more workspace at the section I'm currently working on. Getting into the short rows on the planking, eager to get done with this phase and the longer hours are wearing this old man down! Phishunt there were some days such that when I got done with the the gluing for the day and cleaning up the tools etc there was enough energy left to crawl underneath and clean up the slop over; a few other days not so much. Will just have to put those hours in after she's flipped. Planning to put plastic down for the glassing phase but didn't think about it for the planking. Maybe a good idea but maybe not in my case since my shop floor has a sort of glaze finish and the goo pops off fairly easily after it hardens, maybe easier than wiping it up while still soft. Still having fun but ready to move on the next phase. I did get the slot cut for the motor a day or two ago and started trimming the planks at the chine. Also ordered a 25 yard x 60" (I think) roll of econoply from Airtech International, $89 including shipping.


-
Great! Thanks for the clarification.
-
Paul, I really appreciate the detailed description of the fairing process but must plead ignorance of what is a "good" primer for this process, what is a "LPU" and what is a "simile stage LPU". I've looked at the Eastwood website ( ) and wasn't much help. I like the idea of using a light coat of primer to expose the low spots and since it's all coming back off anyway (with sanding and solvent) does it really matter what kind/brand is used? Help please, again!
-
Ditto!
-
Advice well taken Miyot. I'm pretty sure it's worked ok so far but I'll not take that chance again.
-
This may be a big "no,no" but I have tried this and it seems to work ok: I get about done with a gluing procedure and find that I'm going to be a bit short of mixture and that what is left in the container is starting to stiffen (kick, maybe?). I add a pump stroke of A & B into the same container, stir and add thickener and proceed and it seems to work just fine. Will I "pay later"?
-
Phishunt, you should see the underside! Big mess under there, hoping I can clean it up after flipping so as to look OK!
-
Long before Walmart came along most of the groceries were sold by chains such as Safeway, Kroger and so on. Ditto for much of the other stuff that walmart sells. J.C.Penny, Sears & Roebuck, Montgomery Ward and so on. The difference? Walmart treats their employees such that most don't feel the need to unionize, thus no union wages (or dues), thus no subsidizing of fatcat union thugs, thus lower prices. I've known a lot of Walmart employees and customers, most of whom are happy with their lot. Check out their parking lots. Lots of small towns in the USA have access to goods within a couple of miles that would otherwise mean a round trip of 50-60 miles. BTW, If you want to see what unions (the UAW in this case) does to a company and city, look no further than Detroit. All that being said, I do occasionally miss being able to talk to someone in a store who knows a thing or two. Sorry, I know this is no place for editorializing. Just felt a couple of comments above needed a rebuttal. And sometimes I just have to stand up for Wal-mart.
-
Closing the gap. Had to modify my little scribe tool: drill a larger hole and use the whole pencil to keep the lead intact.


-
My favorite uncle always said "you gotta hold your mouth right." No matter what you were working on. Thanks everyone for the explanations! Sounds like I'm in for a lot of fun. Not!. A bit of arthritis but only in the left thumb so maybe it won't be too bad. Especially thanks to PAR for the comprehensive primer on the process!
-
Speaking of "longboards" will someone tell me exactly what that is? Can one buy them and if so where? And what does one ask for? If the image I have of what it is and what they're used for, it seems it would be pretty easy to make one out of scrap plywood, say 1/4 inch, (but how wide and how long?) and stick on whatever grit sandpaper you want with a spray on adhesive. Maybe add something on each end to hold onto................? My guess is you'd find them at an auto body paint store?
-
Too bad about the knee problem Miyot. Had to have a "floater" (piece of meniscus) removed from one a mine a couple of years ago. No fun. Had a little of that cold weather here as well. Luckily my shop is heated so not much of a problem. You were right about fitting the planking getting easier. I got five planks glued up today, best day yet. Got about 3 more feet to go to finish. (The planking of course) Good luck with the knee.
-

Why not another CS17 Build Thread? Here's #366
Fishman38 replied to mattp's topic in B & B Yachts Forum
LennieG, here's one source I found for these types of moldings. I have not purchased anything from them yet but they do seem to have about all sizes, shapes and types of metals. I also did not pay much attention to prices, was just looking for a place where I could get the stuff. http://store.hamiltonmarine.com/browse.cfm/moulding/2,478.html -
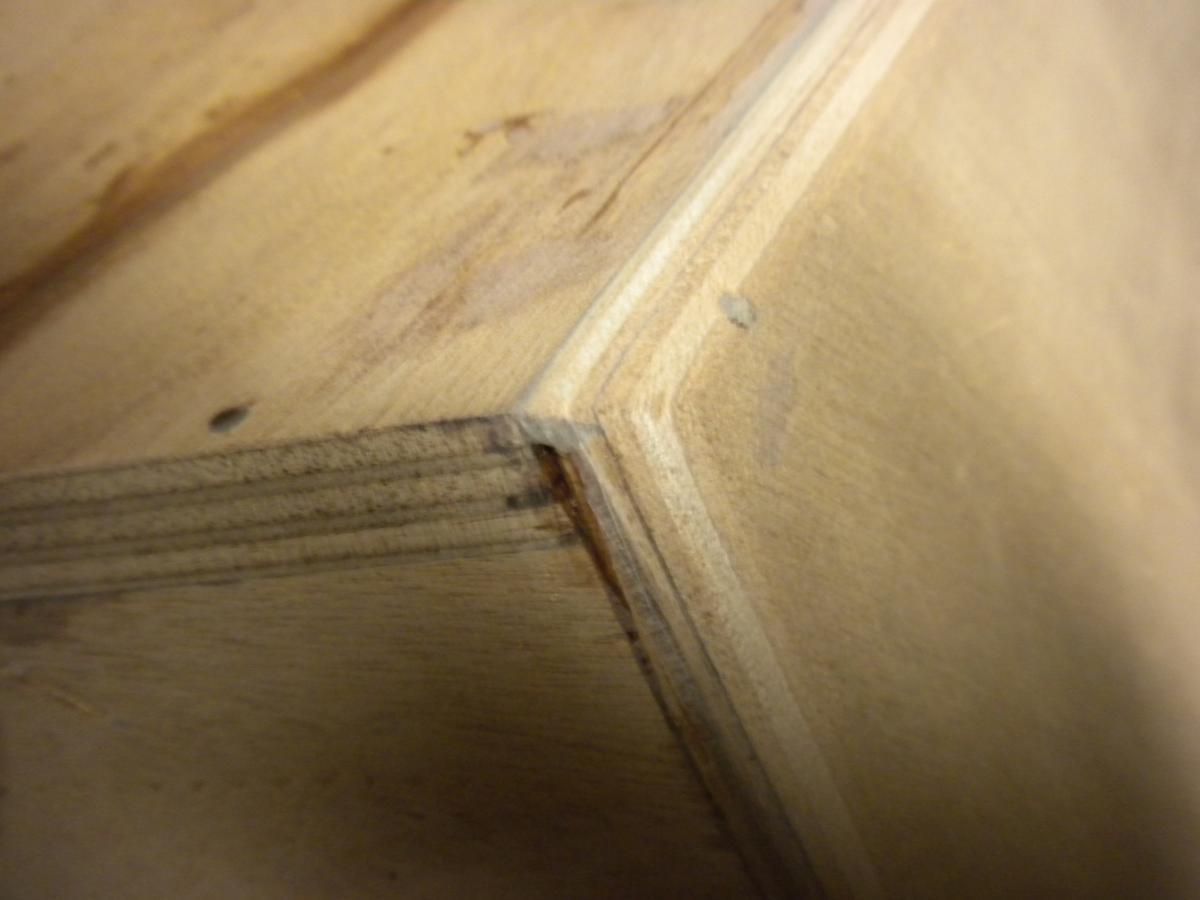
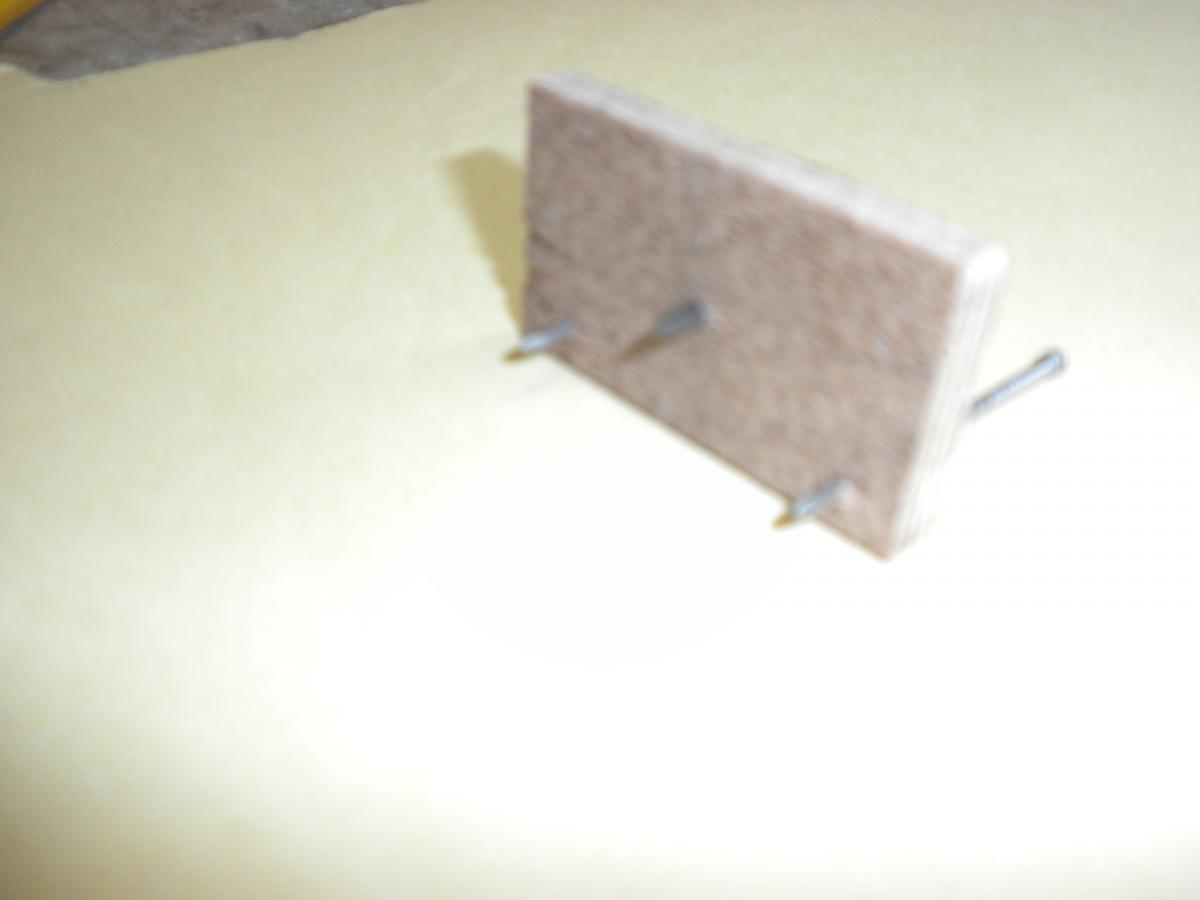
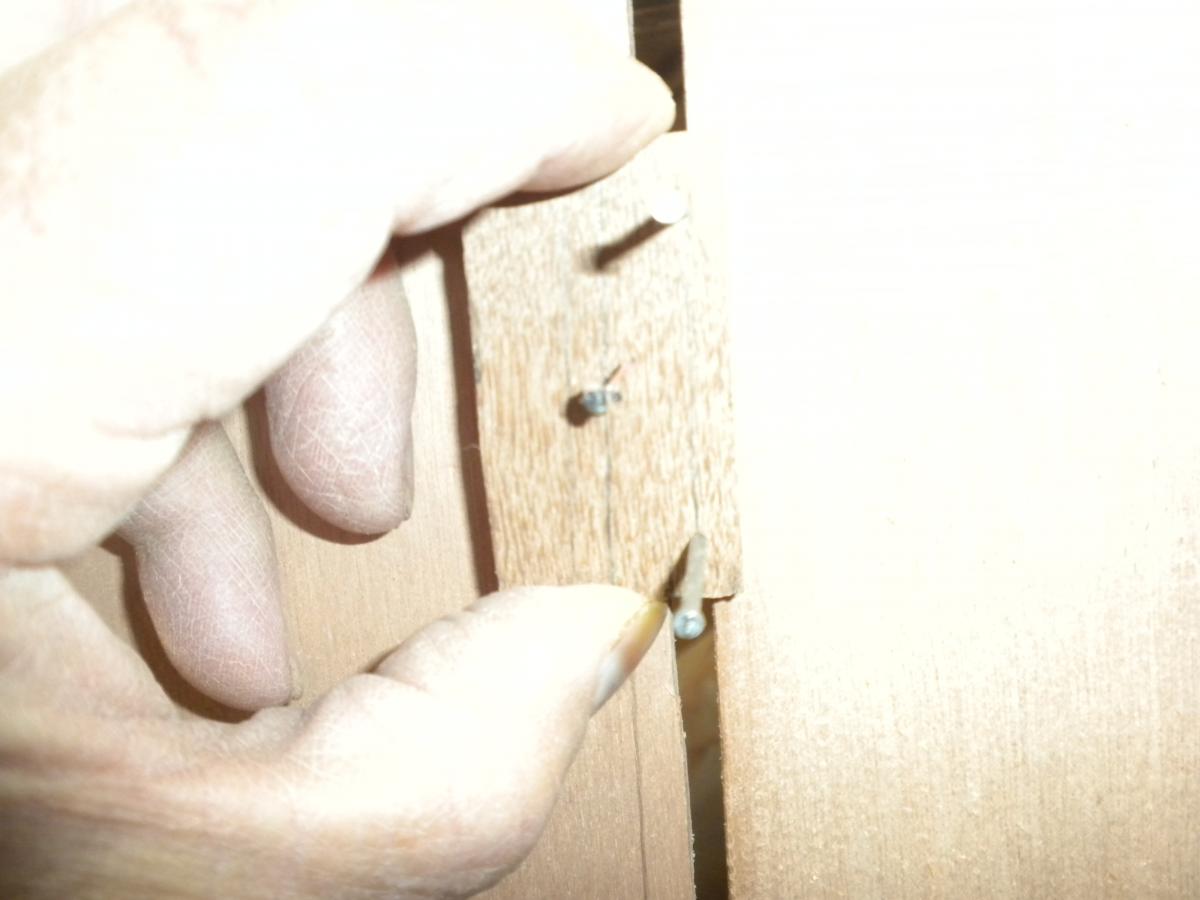
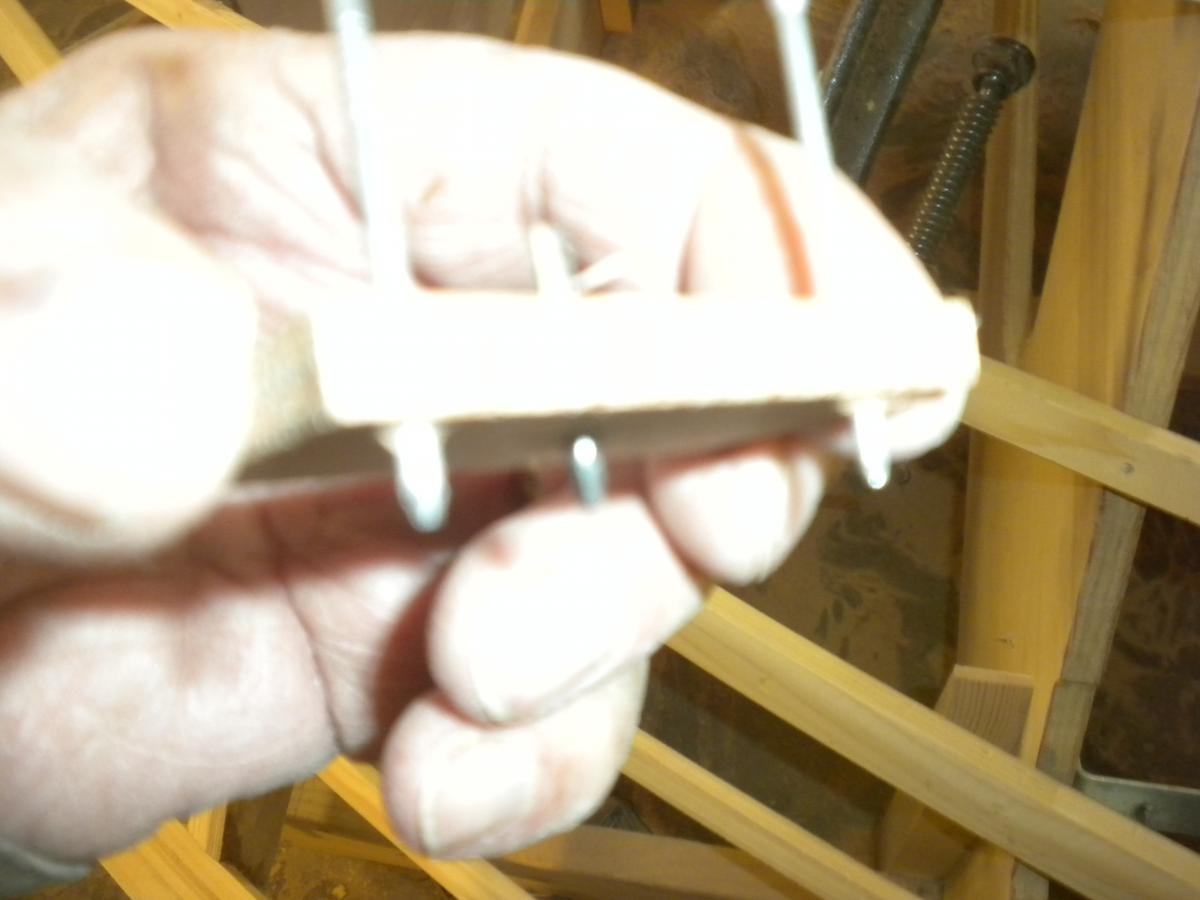
Miyot, I'm posting this not for you oldtimers who already have their method of doing this but for any newbies (like me) out there who might want to try an alternative. But if you're interested enough to read it, let me know if this is bears any resemblance to the tool you mentioned. Neither I nor the compasses I own were up to the job, so I built a tool: Took me about 15-20 minutes to build this thing from a scrap piece of 6mm marine grade plywood, 2- 4 penny finish nails (guides) and about a 1 inch piece of #2 pencil lead. Holes for the nails are 1/16", for the lead 5/64". The lead mics 5/64" and can (gently) be pushed through the 5/64" hole. For the sake of accuracy space the holes just far enough apart to eliminate "wobble", I placed them about 2 inches apart. This replaces the compass and the need to hold it parallel to the keel while drawing the line. Drill the hole for the lead from the midpoint of a line connecting the nail holes a distance equivalent to the "depth" (for want of the correct name of the line segment from the midpoint of a chord, perpendicular to the arc, because it's been too many years since geometry class) of the crescent mentioned by Miyot above. Call this distance Dm (see note 1 below) Protrude the lead below the ply say 1/8 to 3/16", and the nails that, plus the thickness of the top layer of ply, so the device rests approximately parallel to the surface of the planks. Use whatever is handy to put a point on the lead, file, sandpaper, whatever................seriously Now, dry fit the rough cut plank, clamped into place positioned so there's a gap at the sheer and chine ends equal to Dm , plus the diameter of the guides (1/16" in my case) so they will slide easily between the glued plank and the dry fitted plank. Nothing to it. Now, keeping the guides pressed gently against the glued plank and the pencil pressed gently against the fitted plank, draw the line chine to sheer. It worked for me: Note 1: Suggestion: guestimate the deepest of those crescents and use that number for Dm . That way should get you close enough without having to deill more holes for the lead. BTW it took me 10 times longer to write this than it did to make that tool. Also BTW, apologies for the crappy pictures. If it looks like anyone has any interest in this I'll try to get better ones.


-
Thank you Dave! I think maybe the "compass parallel to the keel" is the key. I have been doing essentially the same thing except that I was trying to to keep it perpendicular to the leading edge of the glued board. .................I cannot for the life of me figure out what happens to edges of the board when its twisted into the required shape!