Fishman38
-
Posts
340 -
Joined
-
Last visited
-
Days Won
9
Content Type
Profiles
Forums
Events
Everything posted by Fishman38
-
Chuggin' along. Still hoping to launch early summer.


-
Believe nzLance built a cabin into his version. Don't know about cabin headroom or more flare in the bow. It was a challenge for me to build it like Graham designed it!! okcracoke 20 in nz Started By nz lance, Jul 31 2011 02:33 AM
-
Prayers and best wishes for her speedy and full recovery.
-
Lovely boat!! I assume the 700 kg does not include the Evinrude?
-
Thanks Hightech. Fine looking work on your build as well, including one or two features about which I'd like to know the methodology used. For instance, how do you so accurately locate the holes in the sole to allow access to the chase(s)? All the ways I can think of to do it seem very crude and seem to require a lot of "guesstimation"! Is it just a matter of establishing a couple of reference points and careful measuring to determine the center of the hole?
-
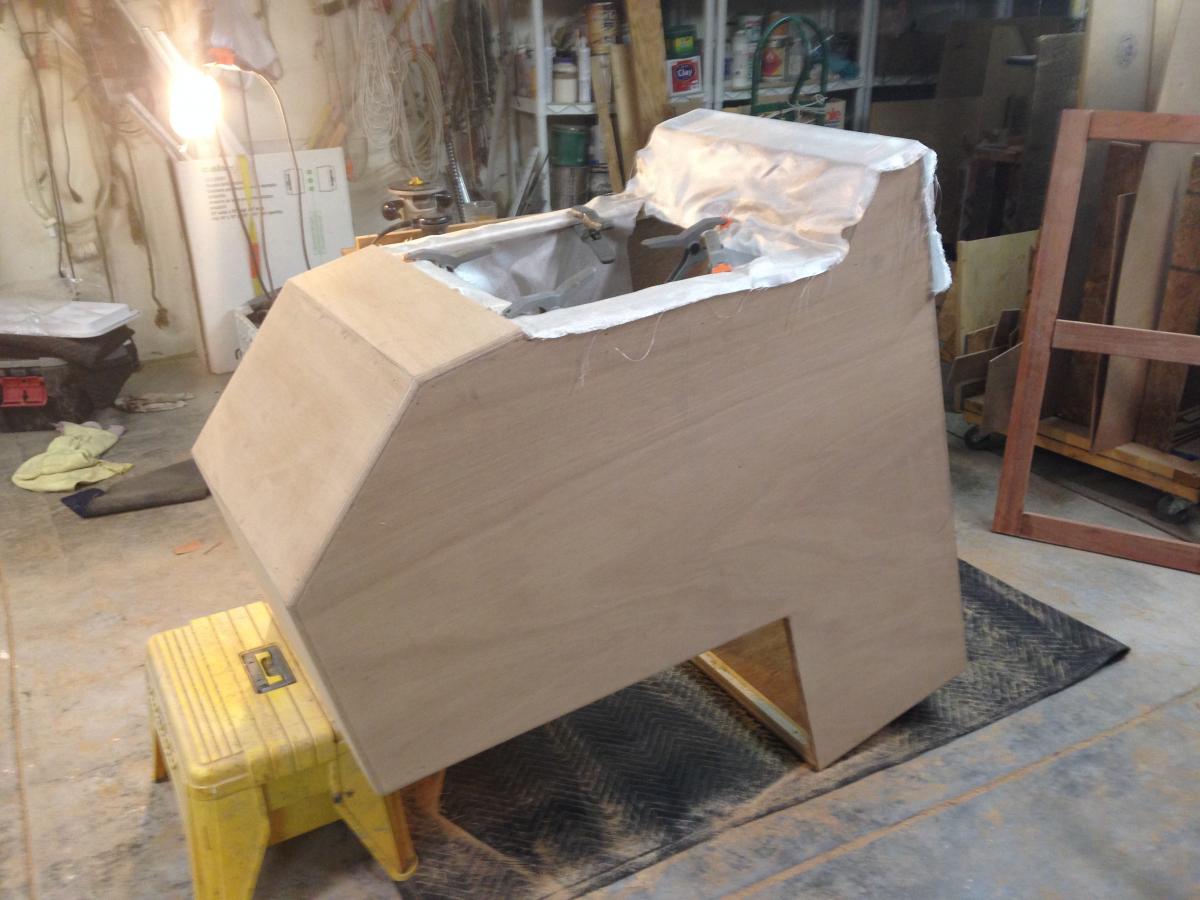
I think I just pasted down the last strip of fiberglass, that is until I start building the console, which I think, until someone tells me otherwise should be glassed. Steve I've been slow about posting updates because 1, progress is slow and tedious and 2, even with progress nothing much changes as far as the way she looks. That will be changing soon. I have an 86 year old friend who has helped me with this build since it started whenever there's something he can help with. I once said to him "Bob, if you see something I'm doing wrong speak up if you know a better way"..... he said "son I flew airplanes". Lately he has been doing the sanding etc getting the interior sides ready for paint, a tremendous help to me. I hate sanding! BTW, between the two of us we have 162 yrs of experience.........unfortunately, none of it has been in building boats....
-
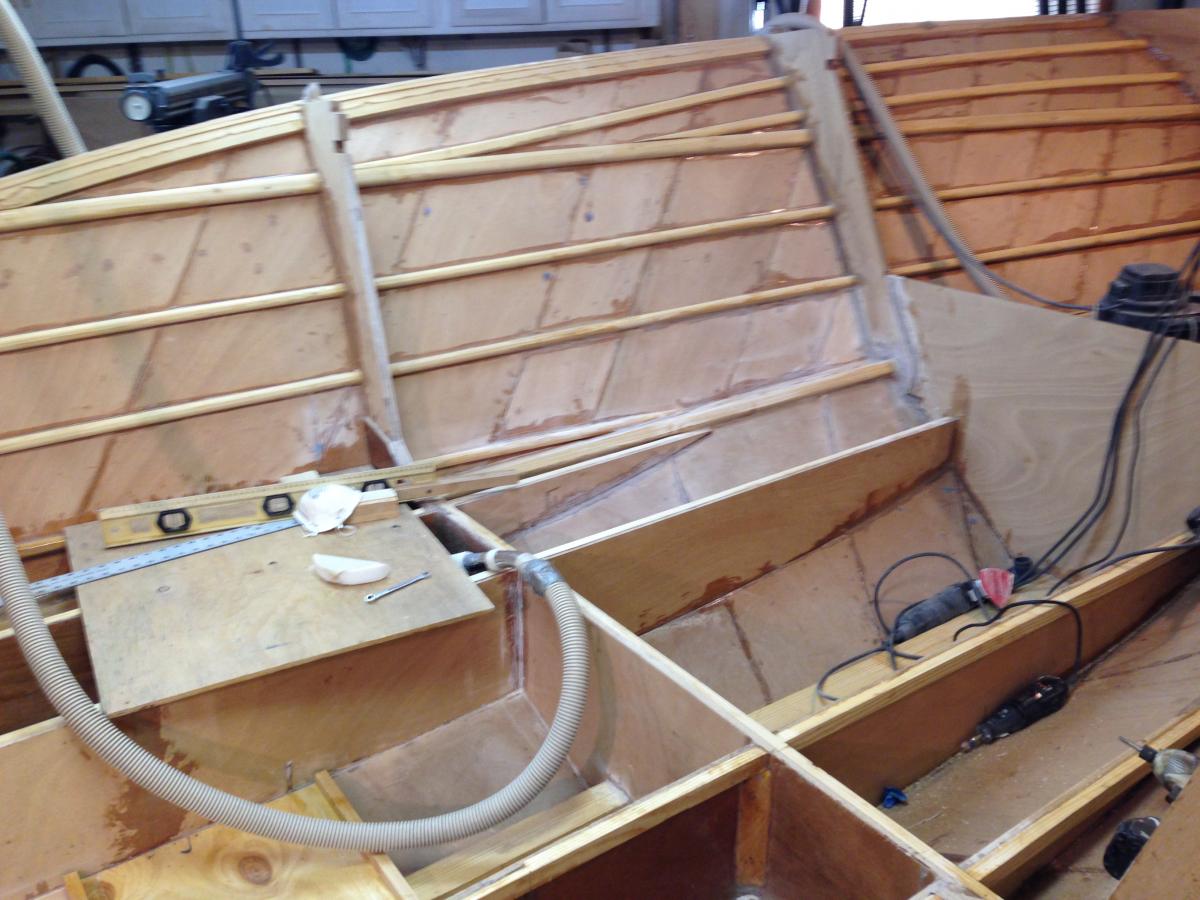
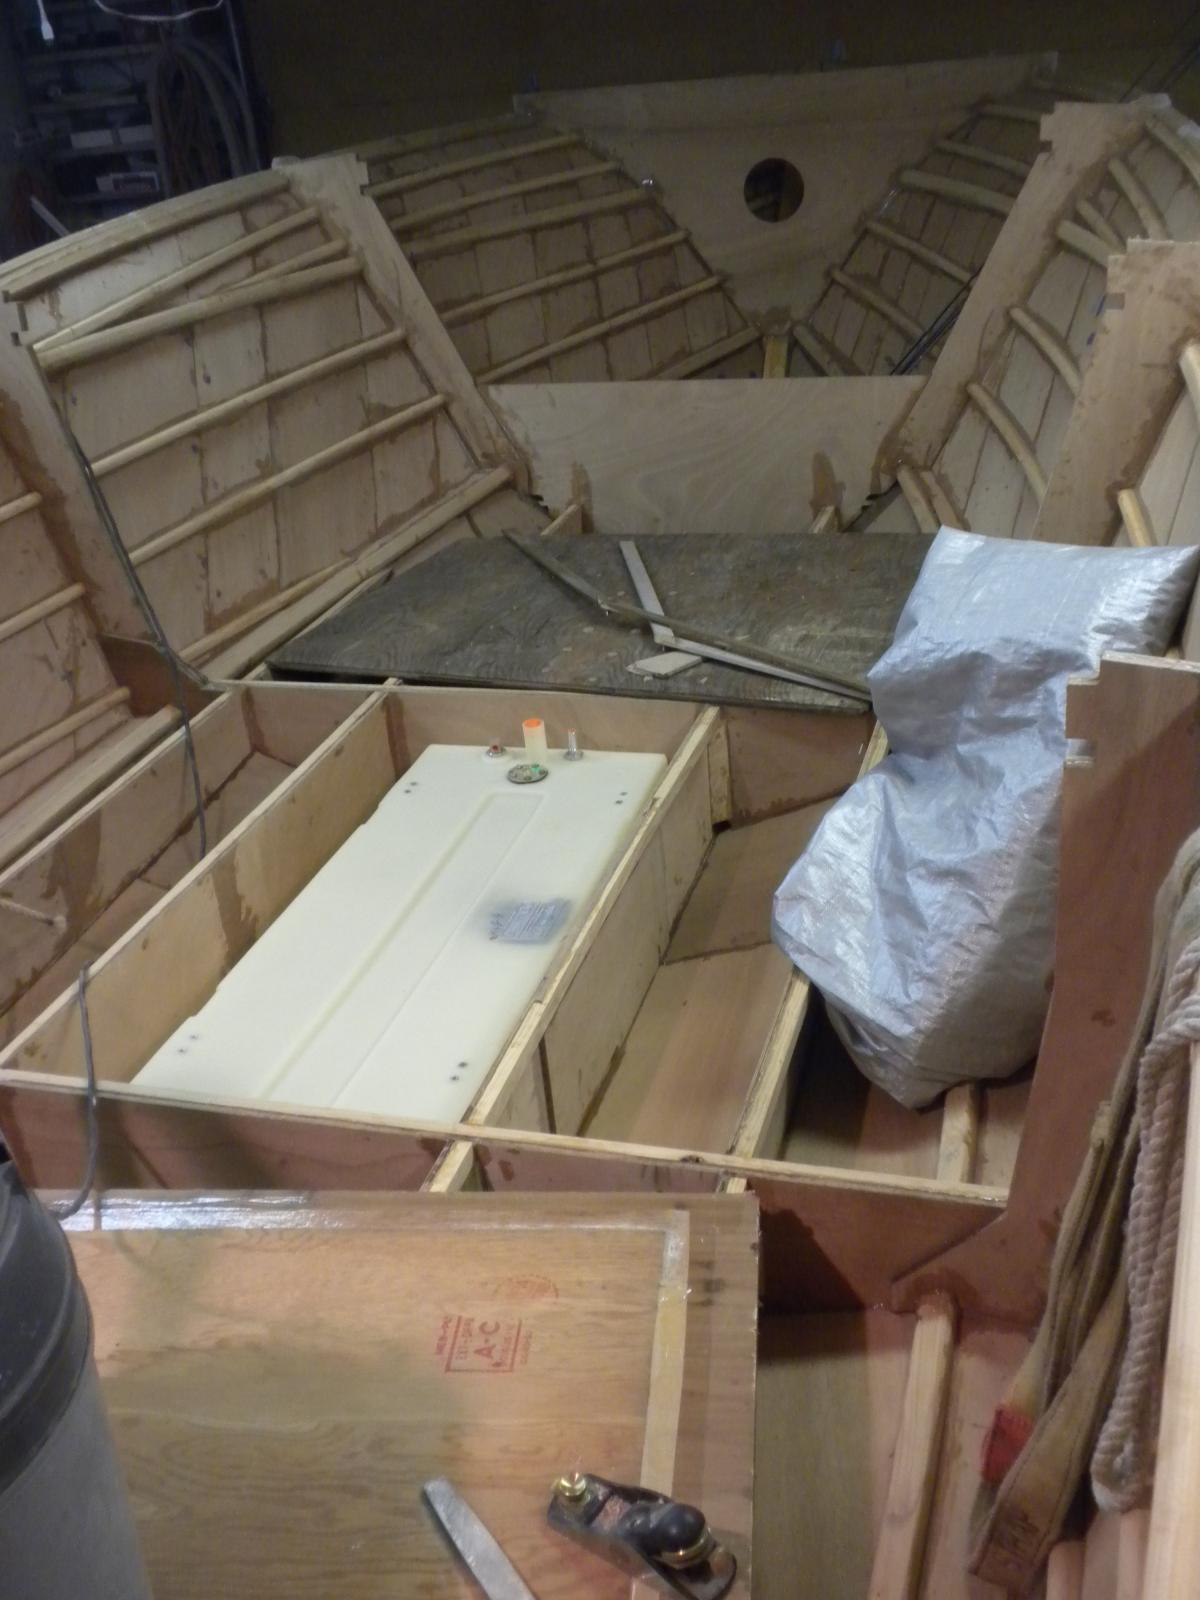
My workspace for the last six weeks; cleaning,sanding,fileting and glassing the bilge and lots of help from a friend cleaning excess epoxy, sanding getting ready to paint above the sole.


-
Thanks for the clarification Dave. Got the impression somewhere it was not common knowledge. As a matter of fact I assumed that the stuff was a mix of wood flour and silica but no idea of the proportions.
-
Steve, granted there's a little fatigue in that look, but it may be mostly concern for getting the camera time delay to operate properly......it was my photographer's day off.......
-
Nice work Bhill! Wish I could keep mine looking so neat. I like the way you did the cockpit framing.
-
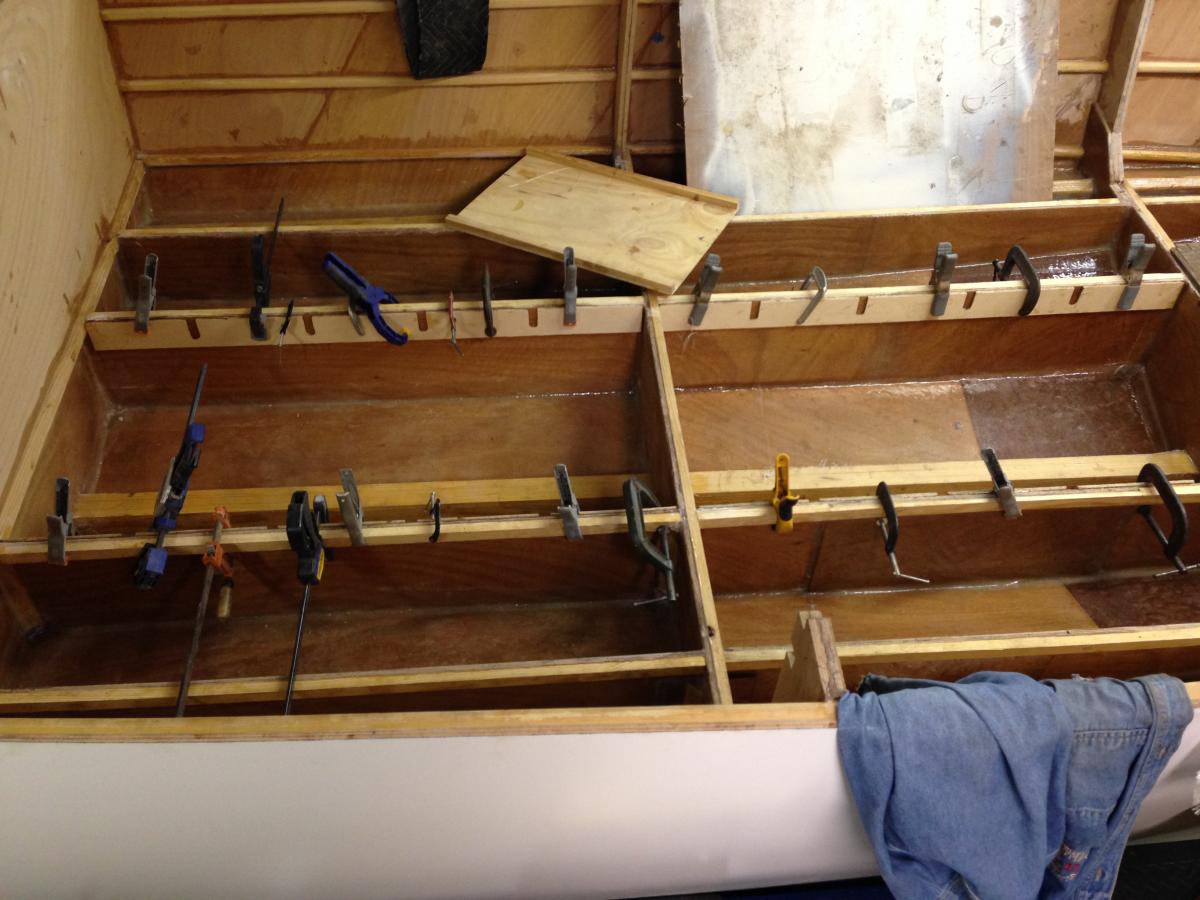
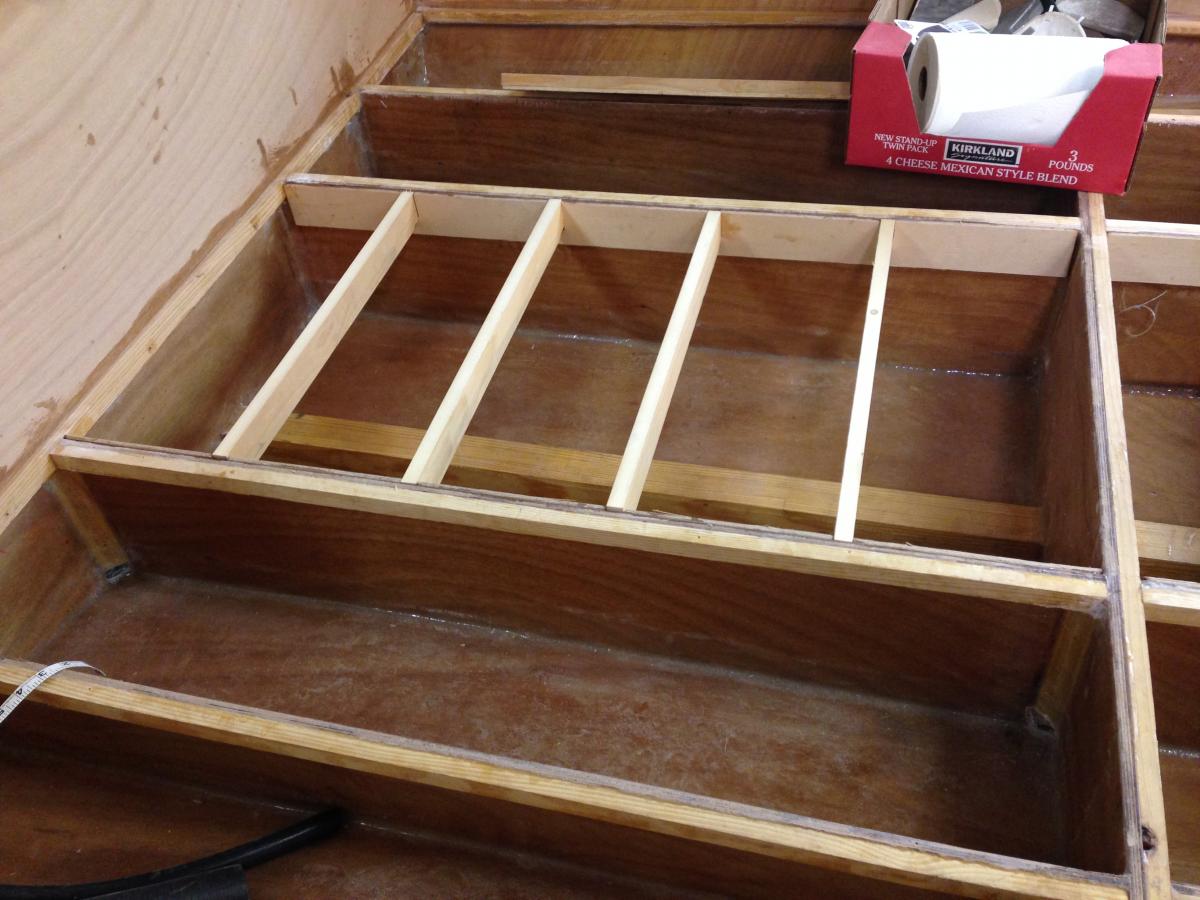
Hey Trev. I am using the mix that Graham sells which I understand is his own proprietary recipe. Looking forward to the pictures Bhill. I haven't yet decided exactly how I'm going to use the space aft of #8, some type of storage, maybe an ice box. One of my original concerns was the strength of the transom and what convinced me that it was probably more than adequate was the (sort of) honeycomb effect provided by the partitions Graham designed into that area. By the way, in the picture middle row far right sits a container with a brush standing in it. For anyone out there who uses diet supplements, ibuprofen by the handful like I do, etc, those pill bottles made of a rather heavy duty white plastic (PVC?) make wonderful mixing containers. I cut the top (neck) off using the band saw, de-burr them and use 'em over and over. Tough as hell and have a smooth, relatively flat bottom without the sharp corners found at the bottom of most plastic cups. Round over the corners of the mixing stick and the combination works great. All sizes.
-
Jerry Hall added 9 new photos. 1 hr · . A few pictures to show what I've been doing for the last couple of months with a 3-4 wks to go on this phase. This is the phase that when you build your boat you'll want to hire a grunt to do this part.....a small grunt that can work at floor level while standing on his(her?) feet.


-
Thanks Chick and Dale. That's the answer I was hoping for. Don't much mind the painting but the prepping for painting the bilge ain't much fun and very time consuming.
-
Trying to come up with a good reason to paint the bilge over fiberglass and 2 or 3 coats of epoxy which will never see the light of day.......??
-
Working my way forward glassing the bilge. A slow go.


-
Thanks Dave. Guess I'll have to learn to custom make (water tite) hatch covers.
-
Hey Dale. I am installing only a 25 gal tank initially and, thinking there may come a time I'll want to use the boat some distance offshore and may want to add fuel capacity. I was thinking about using screws to fasten a section of the sole down over where a second tank would go to make it a little easier to add. And maybe even over both tanks in case of problems down the road, all depending on the replies I got. Graham scuttled those ideas. I'll either add the second tank now or expect to cut away part of the sole later if need be. I fully agree with the concept of gluing for the purpose of structural integrity. I also agree generally with the "no screws" idea. So far the boat has only one screw n it and that is sst 1/4 x 2" I think it is, that was used to fasten the transom to the keel, and is embedded in epoxy. And maybe one or two broken off drywall screws that proved virtually impossible to remove without doing more collateral damage than I wanted to deal with. They too are enveloped in epoxy. I'm just now starting on the interior and assume I will have to use screws to fasten some of the stuff. Thnx for your interest. Jerry
-
Thanks Graham, that definitely settles that question!
-
Would someone please comment on the pros and cons of screwing vs gluing the sole in place? On a powered boat with fuel tanks going "below decks".
-
Thanks SteveVA. There'll be another brief interlude for Thanksgiving family matters but once that's over expect to have unbroken weeks and months to work on her.
-
Thanks Miyot, late spring hopefully anyway.
-
Thanks for the input LG. I probably sweat the small stuff more than I should and vice versa the big stuff. It's the little chores like this (the U-bolt thing) that people writing most of the literature seem to assume everyone knows how to do, that I do most of my worrying about. It usually turns out to be not that big a deal but that doesn't stop me from worrying about it. Besides it often gives me an excuse to buy another tool. Your boat is looking good!
-
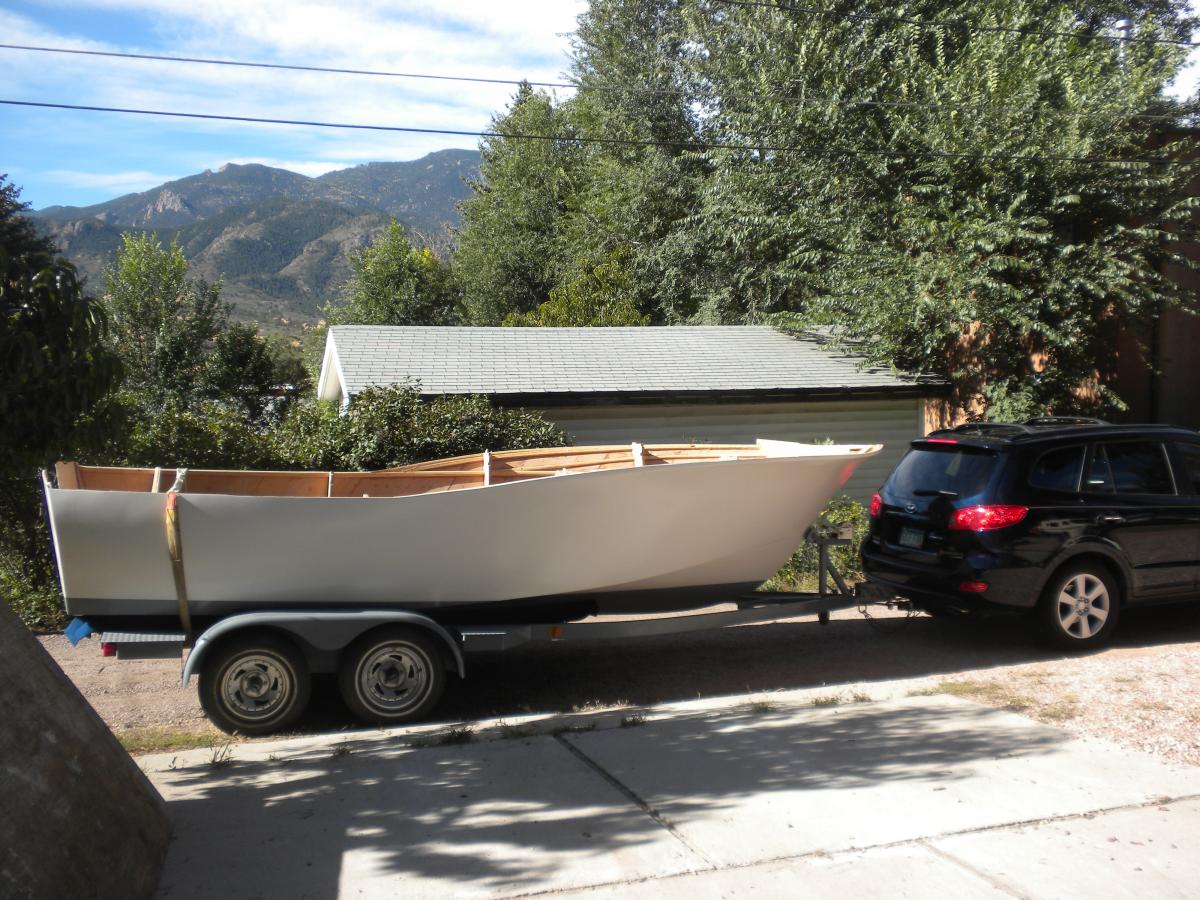
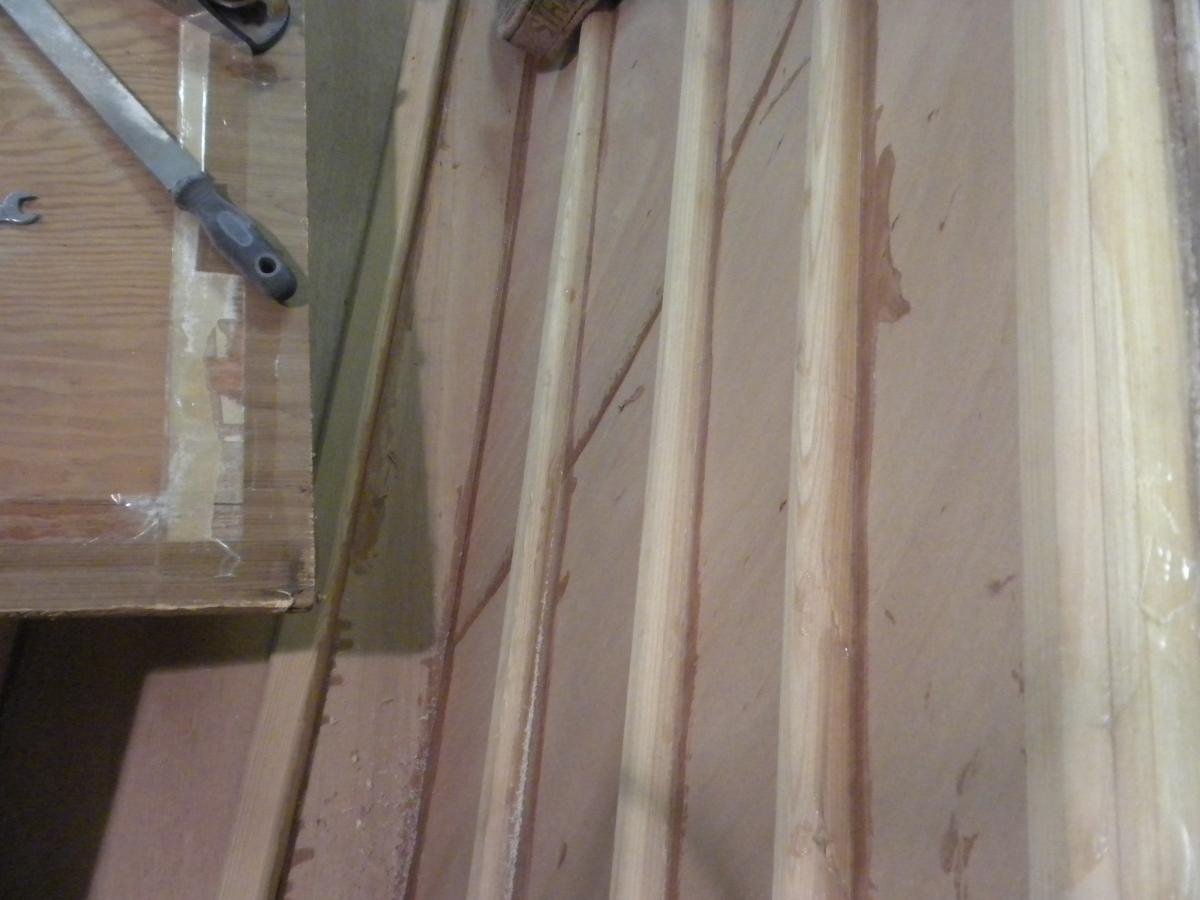
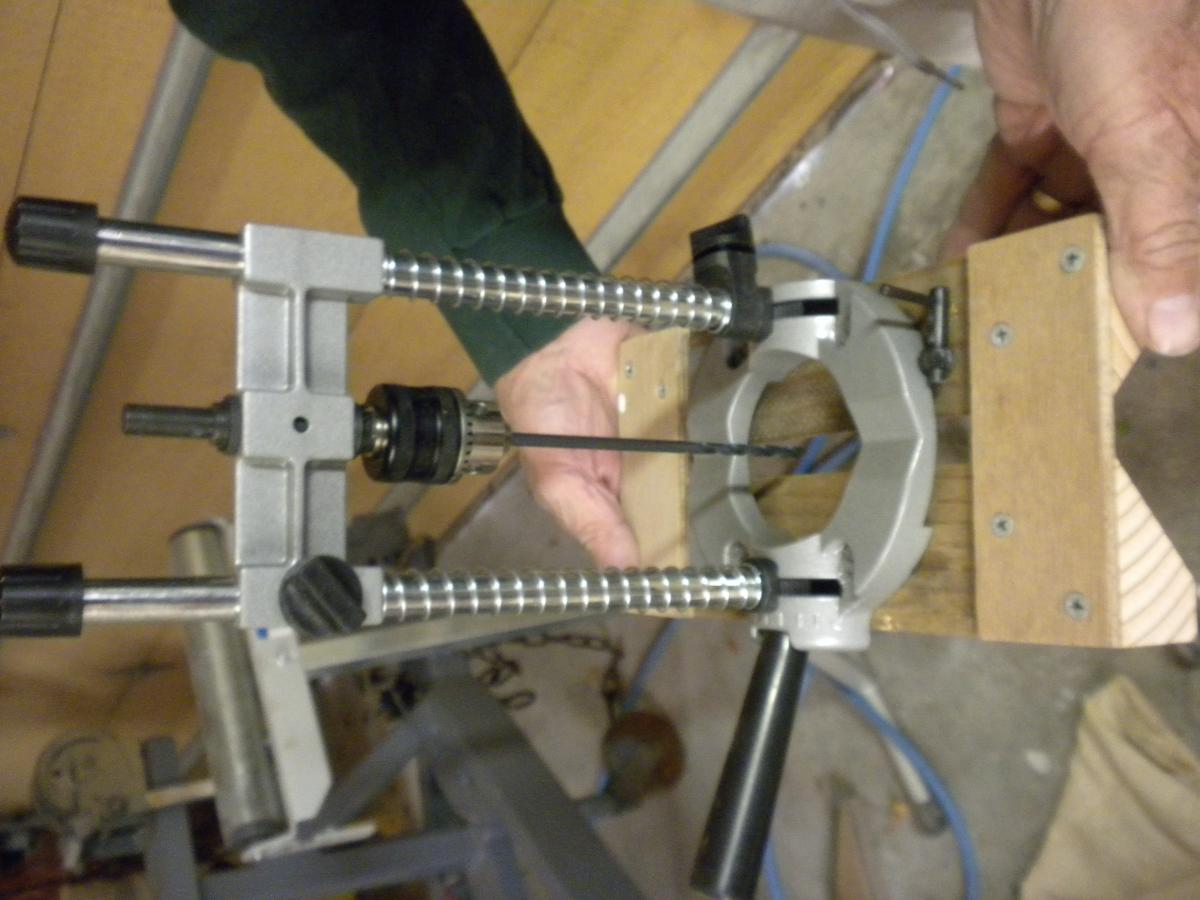
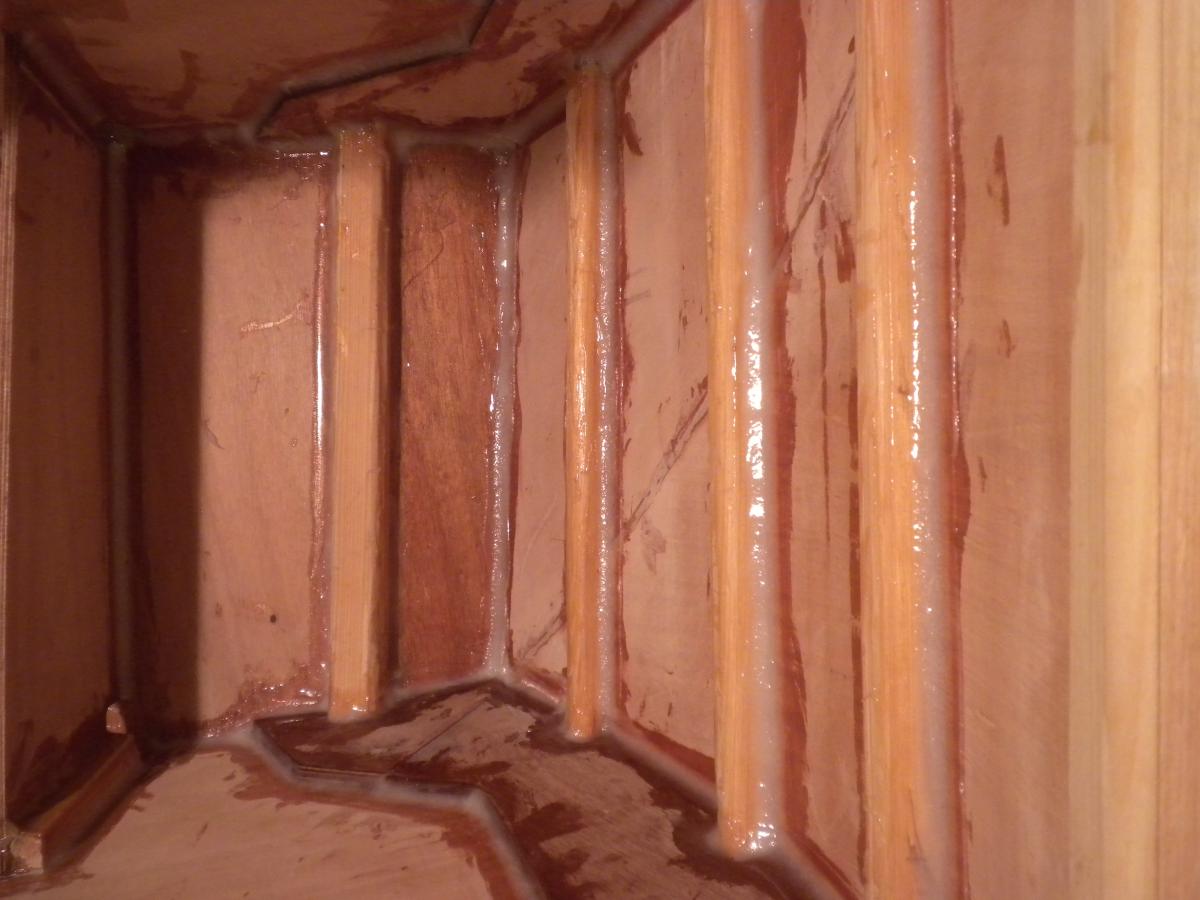
Back to working on jus' 'cause after spending a couple of months catching up on long neglected domestic chores. Left to right to bottom: 1. Got her right side up and on the trailer mid August. 2. Some mods required to fit the used trailer to the boat. 3. Getting ready to lay in the 1/2" radius fillets. Assumed I needed to rough up(sand, wire brush, whatever method I could come up with to reach the surfaces that needed reaching) the cured epoxy that the fillets would be adhering to. No easy chore doing this inside the engine well. 4. Used B&B epoxy thickened with West Marine #406 colloidal silica for the fillets. This pic is looking down into the engine well. Very close quarters. I tried several methods of laying in the fillets including West's fillable tubes with a regular caulking gun. What worked best? Cake icing bags, from Wal-mart or Hobby Lobby not sure which, $5 or $6 I think. 5.&6. This is a drill guide, $30 from Sears, fitted with a jig to match the shape of the stem for drilling holes for the U-bolt to be mounted in the bow. I have zero confidence in my ability to drill freehand two parallel end to end 3 1/4 inch holes through the curved stem. Maybe with this device and the help of my son. I can get close enough. Still trying to figure out how to, once the epoxy has cured in the oversized holes, re-drill it to the size of the bolt and keep the bit in the epoxy. I'm hoping the epoxy will drill easier than the pine wood making the bit tend to follow it. 7. Another shot into the engine well. This is where two bilge pumps will be installed. 8. And another. I found a small sand blaster at Harbor Freight that I think will work to abrade these glazed fillet surfaces to facilitate adhesion of the layer(s) of fiberglass which go on next. 9. Lots of prepping and filleting yet to be done.


-
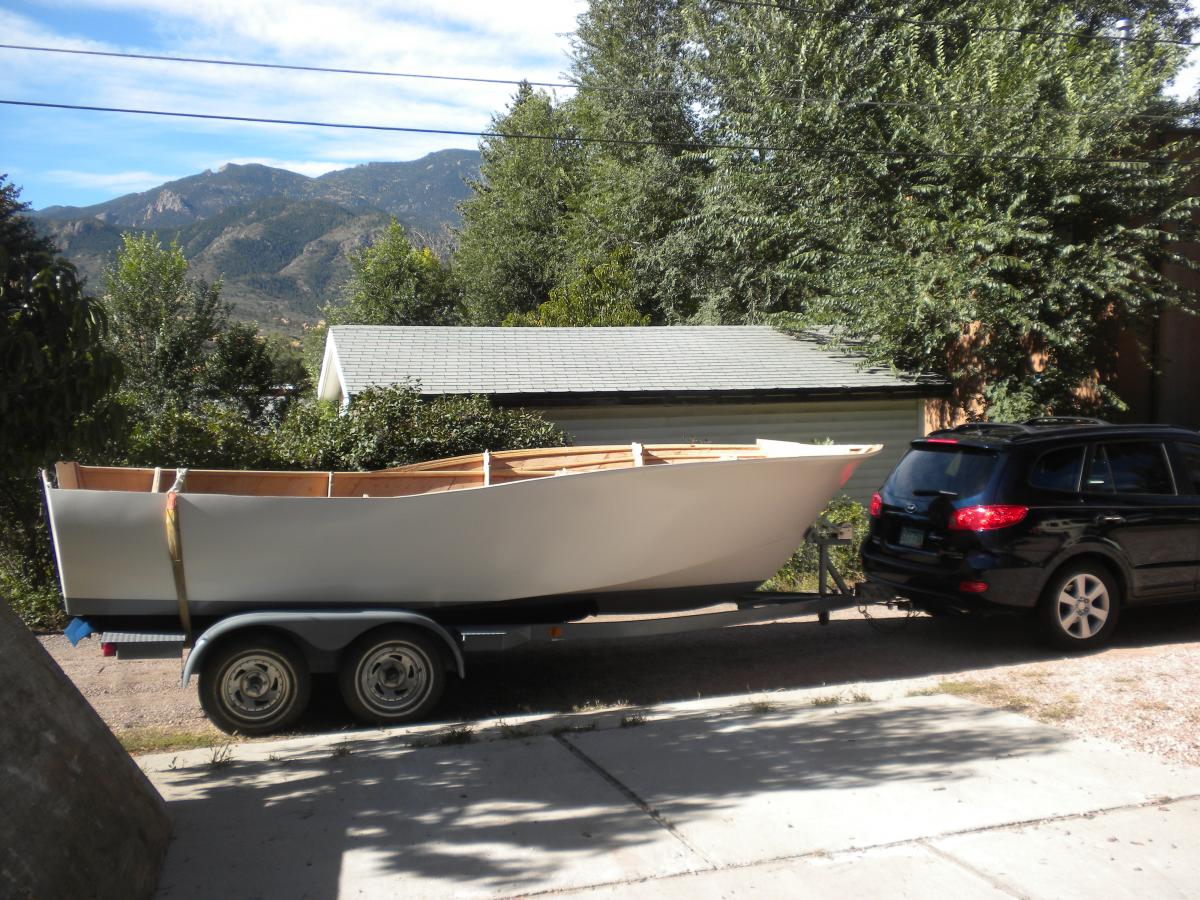
Thanks to all for the input. I'll go with the SST 304 U bolt @ 90 deg to the tangent of the stem, backing plate on each end, oversized holes filled with epoxy then redrilled. But I do have another question or three. I intend to build (shape) a jig guide to drill the holes to the bolt size, 5/16" I think it will be, then oversize them to what, say 3/8"? 1/2"? Then fill with what thickened epoxy I assume? Then to redrill back to bolt size using the above mentioned jig, hoping to keep the bit in the epoxy. Should I expect much difficulty in doing that? I apologize for being so anal on this issue, but I can picture problems ever after if this not done right! Most (read all) of the work on the project lately has been on necessary mods to the used trailer I bought for $500 and to date have spent upwards of another $1G on sandblasting, painting, welding etc and probably a new set of wheels and tires before I'm done. I think the end result is going to be better than anything I could have bought new under $3G. Below is latest pic of the combo just back from the welding shop. My wife's AWD Hyundai works better maneuvering this rig in and out of close quarters.............

-
Chick, I agree that the U bolt would seem to be a better option. However the question I posed above remains. (The eye bolt was easier to draw. ) It seems to me that parallel to the keel is better for the reason I mentioned above and even more difficult to drill two holes parallel to the keel. I also understood that 316 SS was usually used in marine applications. I'm sure that West Marine knows what they're doing and the 6 inches of threads on the longest of the three u bolts that the link Chick provides brings up would be long enough to penetrate the 3" deep stem at up to a 45 deg angle to the axis, that is the direction of the wood grain. I hope this makes some sense...................