Fishman38
-
Posts
340 -
Joined
-
Last visited
-
Days Won
9
Content Type
Profiles
Forums
Events
Everything posted by Fishman38
-
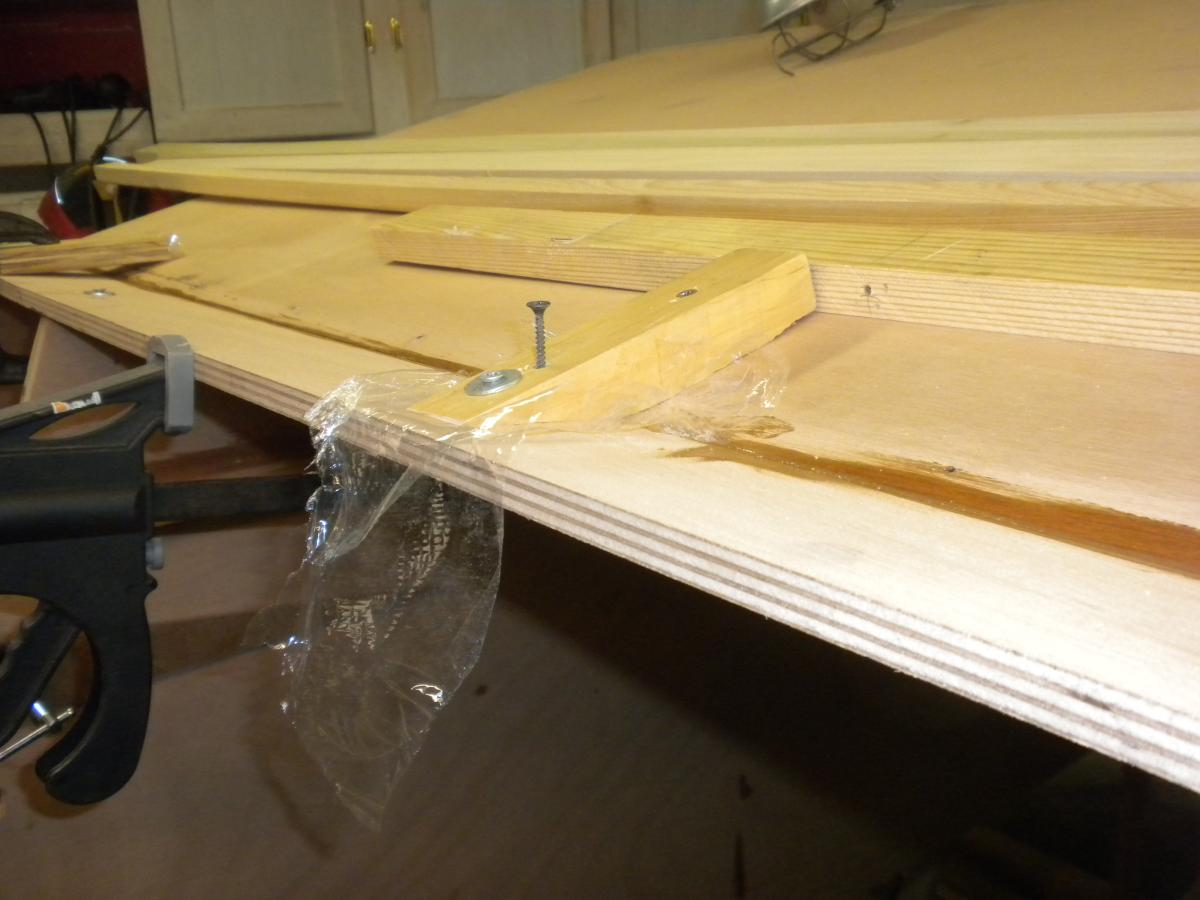
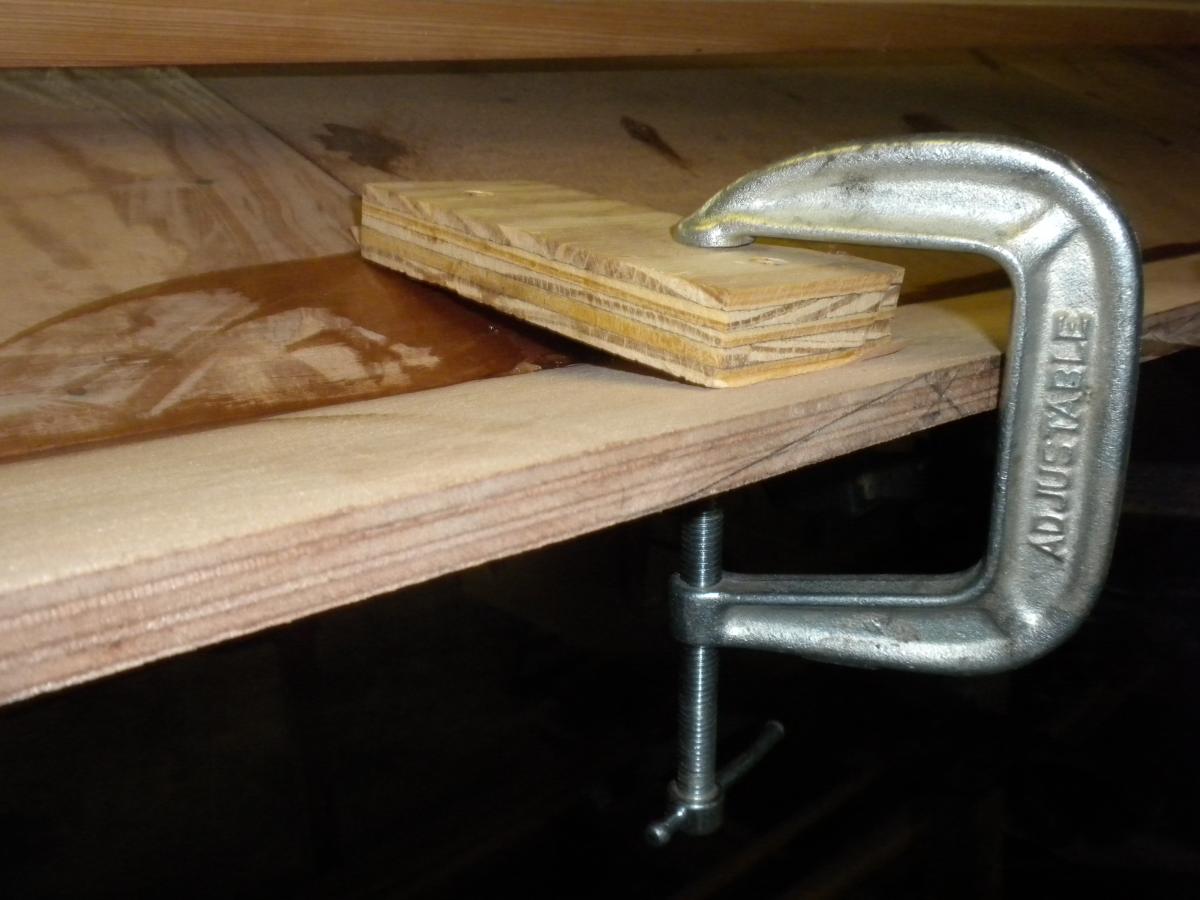
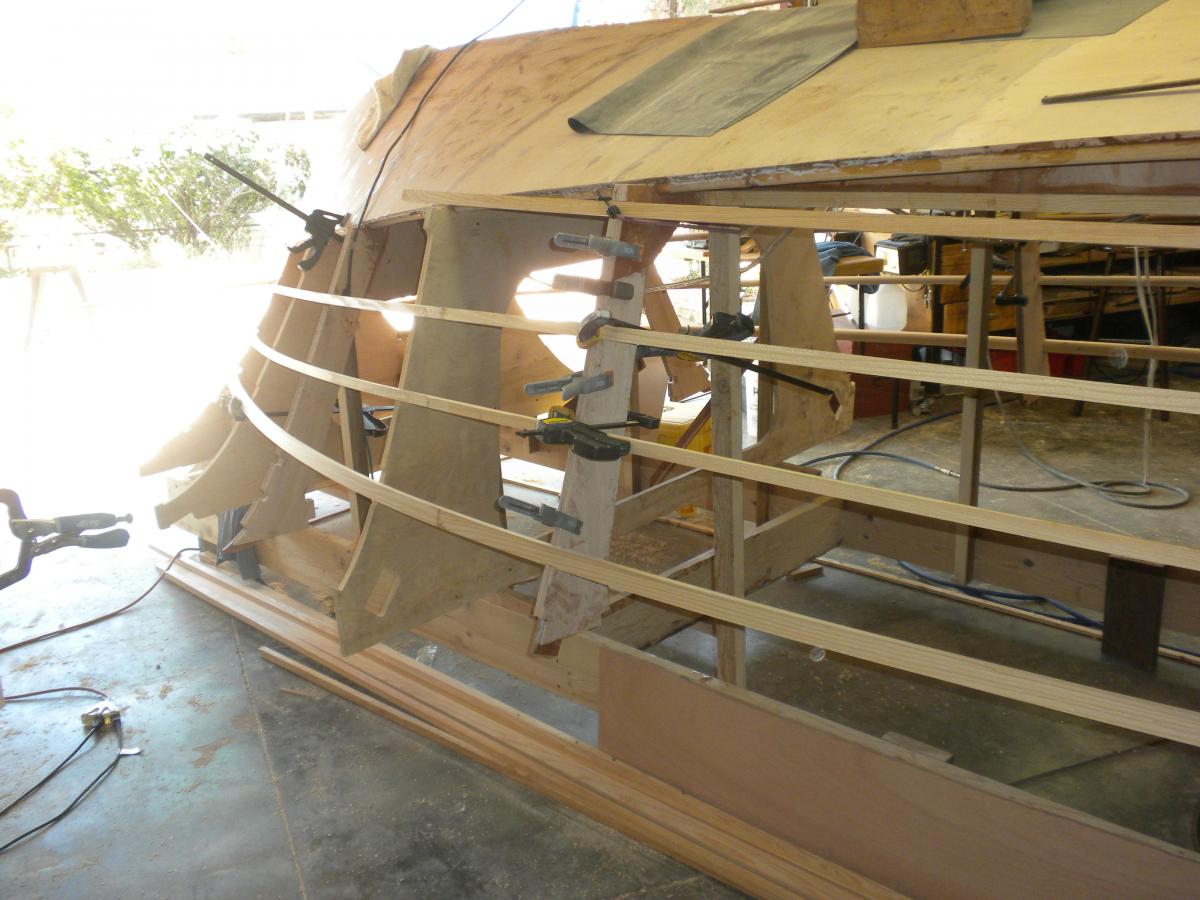
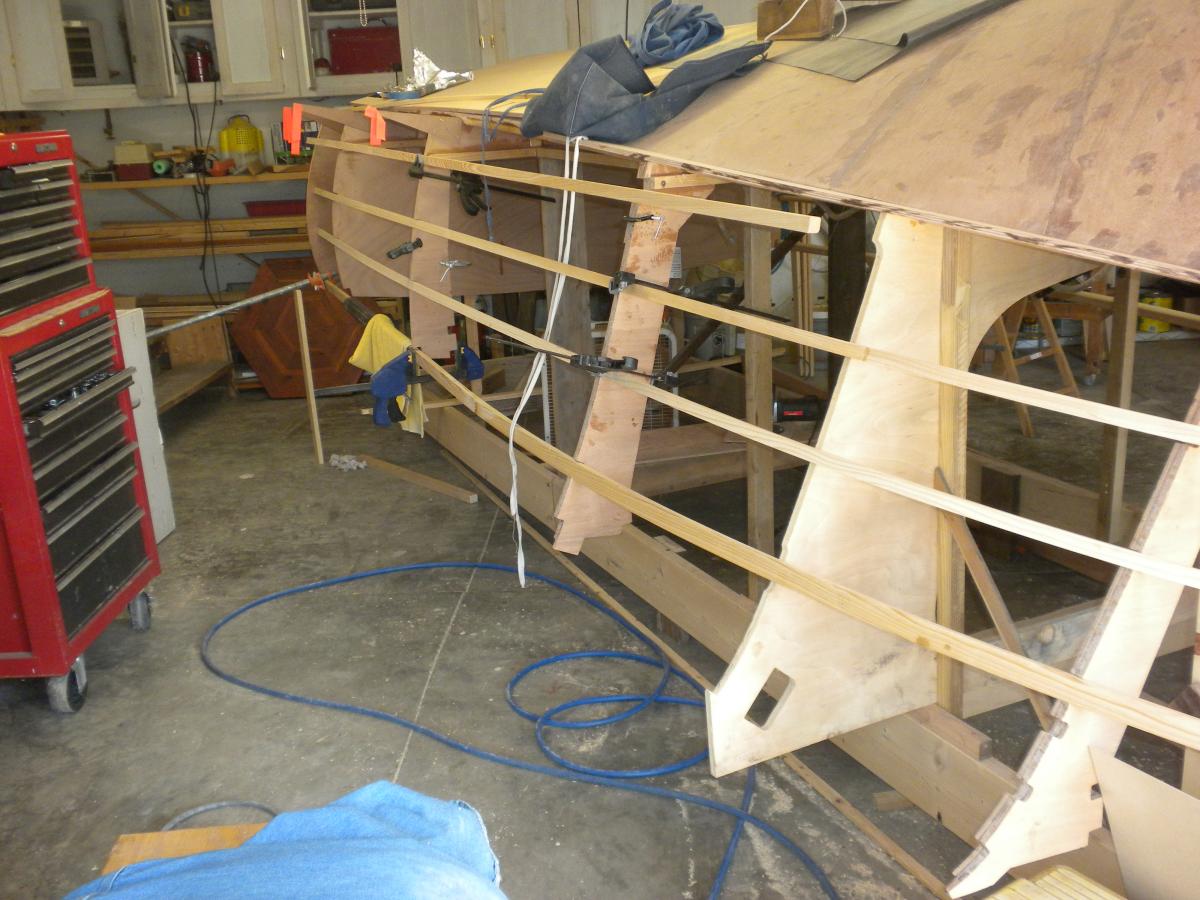
Here's a couple of the schemes I used to lock the flat in place 'til the glue set:


-
Miyot, I thought about doing it (sort of) the way you describe but there were a couple of problems: one was that cutting the bevel on the planks did seem to me to be the harder way to do it since I'm not real swift with hand planes; then there was the problem of working around the frames. Also, by the time I thought of it I had already rough cut the flats with a beveled edge and if I understand it correctly they would have had to be cut about a half inch wider to do it your way; I was all out of 1/2 inch ply and would have had to drive to Denver and spend $120 on another sheet of half inch Okoume. Bottom line though, your way is probably the best way if one thinks far enough ahead. Carolina Flare, doing it the way I did it there is still plenty of gap to fill with thickened epoxy I have a little trouble accepting that the strength of the joint would not be diminished the wider the gap, although a couple layer of FG on both sides of the joint I'm sure would probably provide plenty of strength. BTW, thanks for the attaboy!
-
So far the most challenging part of the project has been getting the chine flats fitted and glued. Next time I build it I think I will leave the chine end of the planks a half inch longer, that is so they're flush with the top side the (chine) flat. I first made a cardboard pattern then used it to rough cut the plywood then scribed the plywood and used the saber saw with the finest blade I could find, set at the (approximate) angle to (approximately) match the slope of the end of the bottom planks, then used rasps, sandpaper etc to improve the fit as best I could. Not real pleased with the result but think it will be OK, but next time I think I might leave the planks longer and fit to the bottom surface.


-
Getting ready to stick the chine flats in place.....and sanding.


-
Dry fitting the intermediate sheer and side stringers while trying to figure out how to fit the forward end of the chine flat.....I'll let them (stringers and chines) wait while I finish sanding/fairing the bottom and get the chine flats glued up.


-
Dry fitting the intermediate sheer while my 85 yr old "understudy" (talk about the blind leading the blind!!!) sands, fairs and fills screw holes in between acting as my third hand in cutting, shaping and otherwise fitting. Would have the stbd side clamped up too but for the crrrrrraaaak heard as we were torqueing it into place. Oh well will try again tomorrow.


-
Had to settle for a shot of vodka along with the shot of PP. Not much of a hand for rum but may have to convert before I finish this boat! Thanks Dale. Sail on!!
-
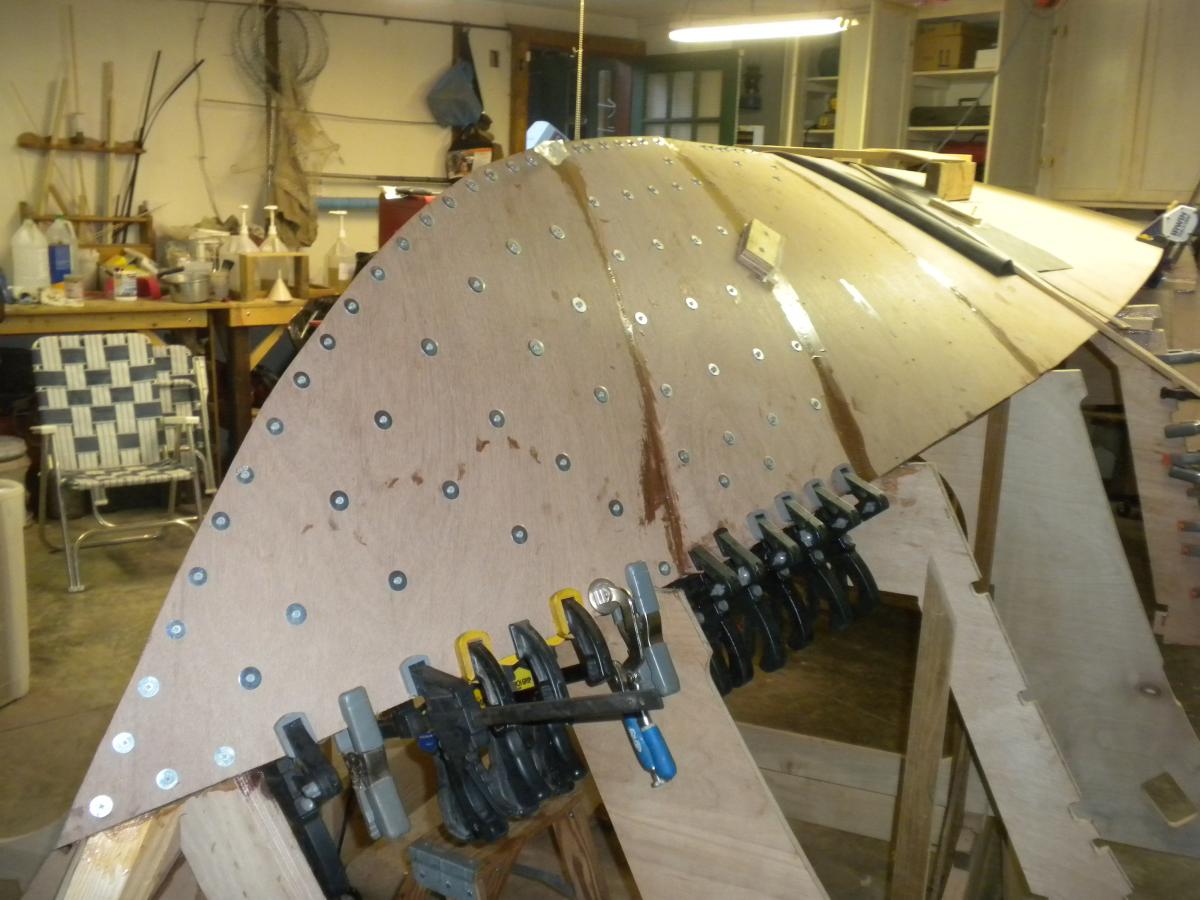
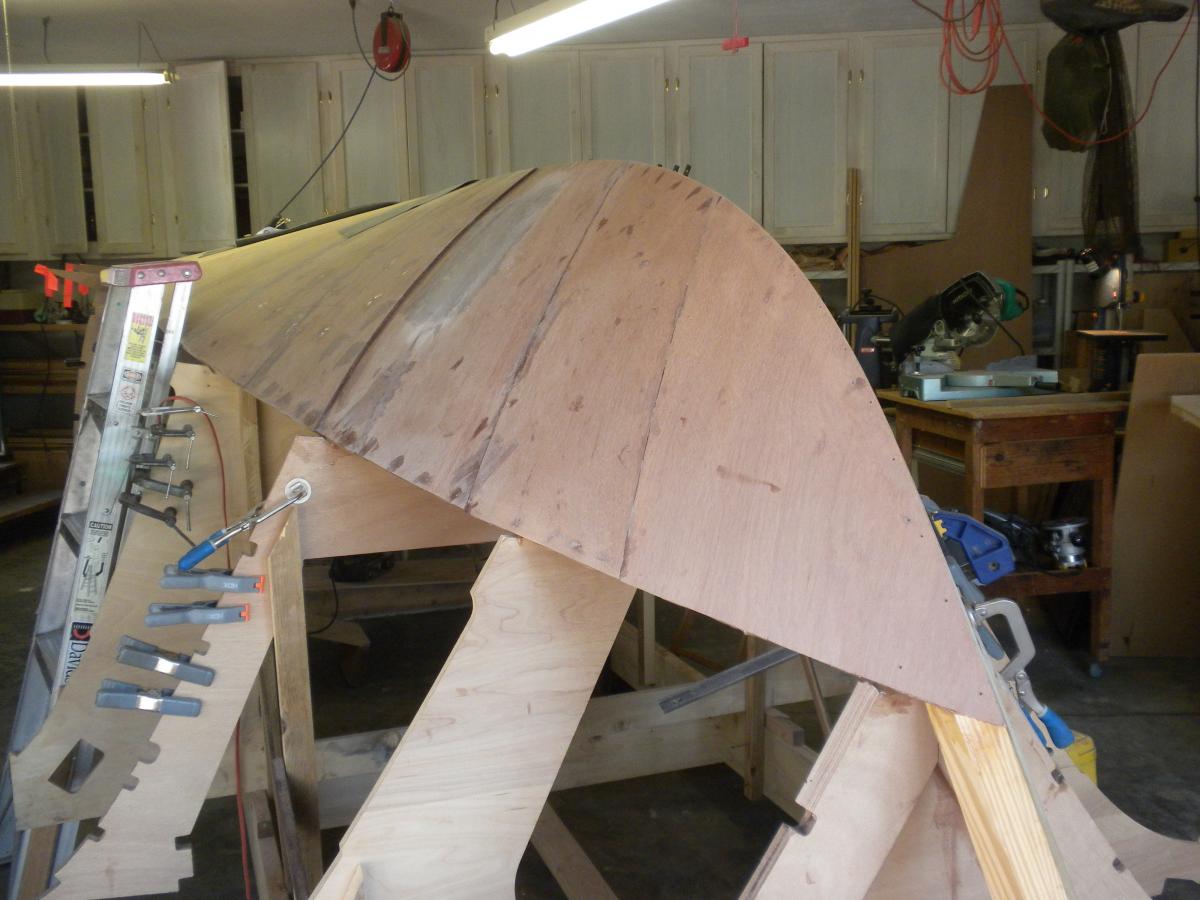
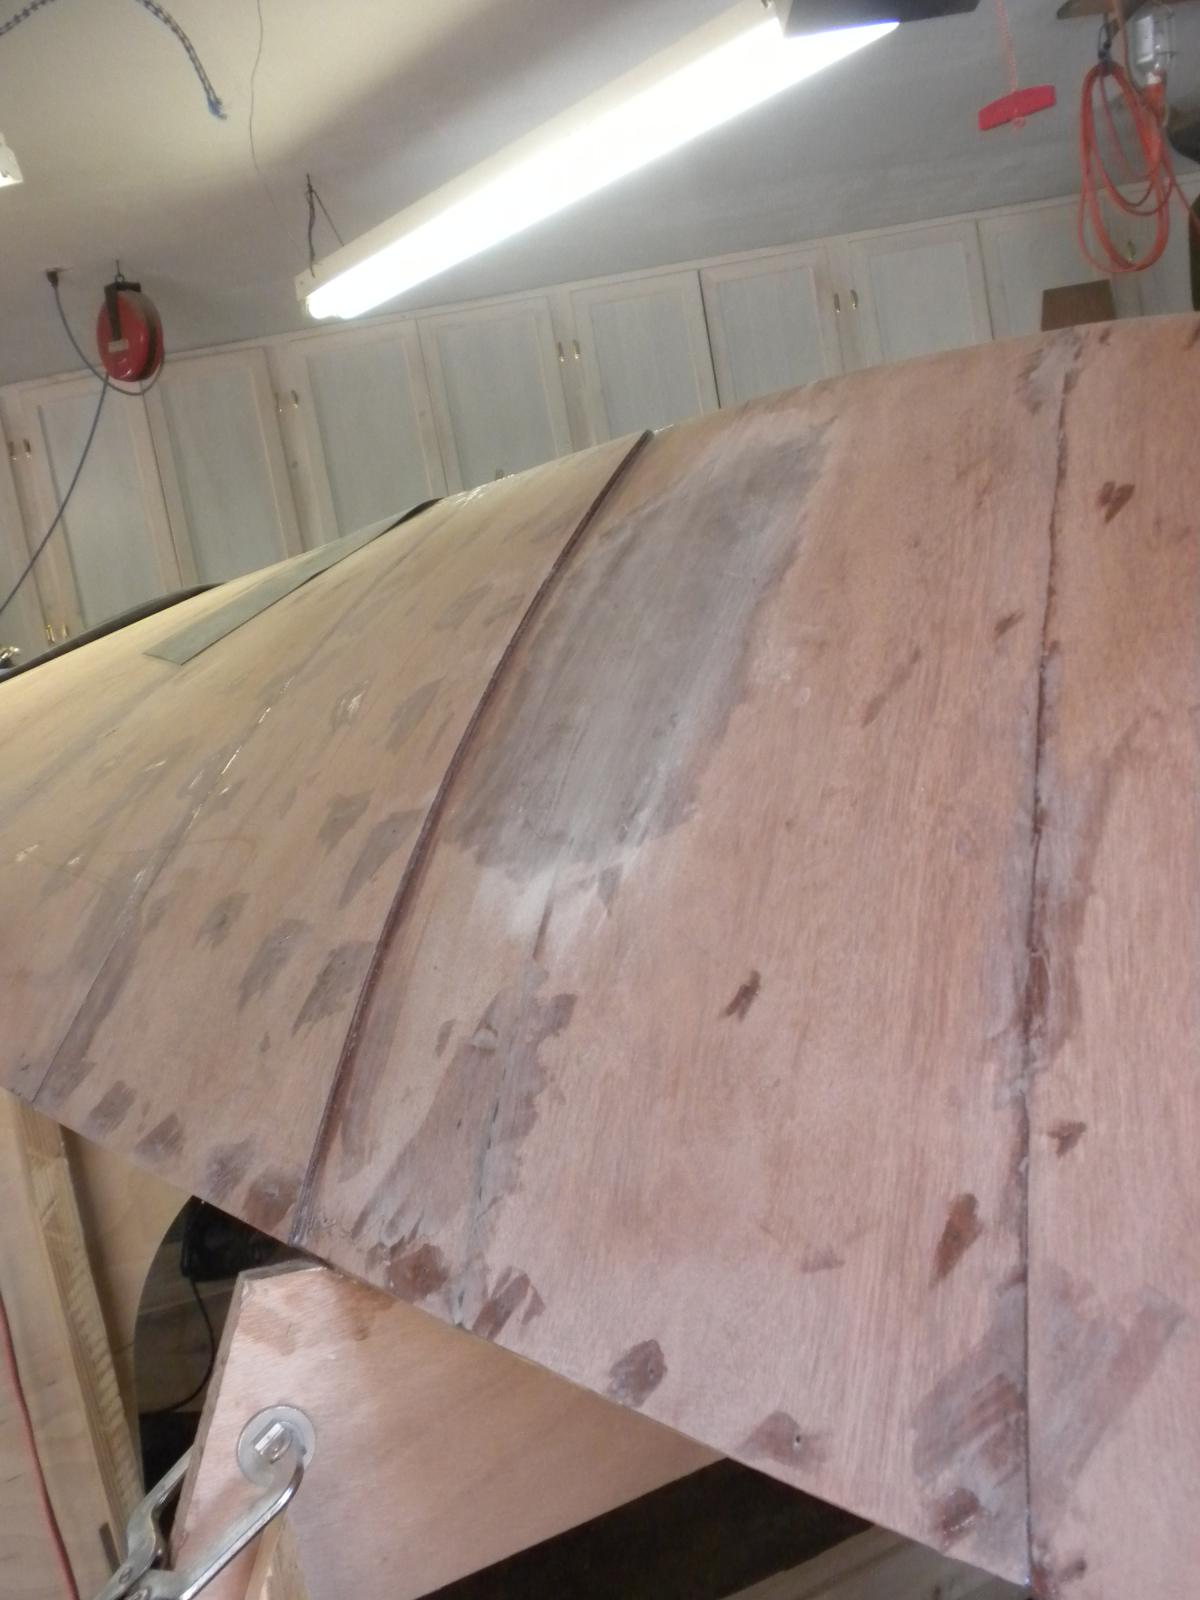
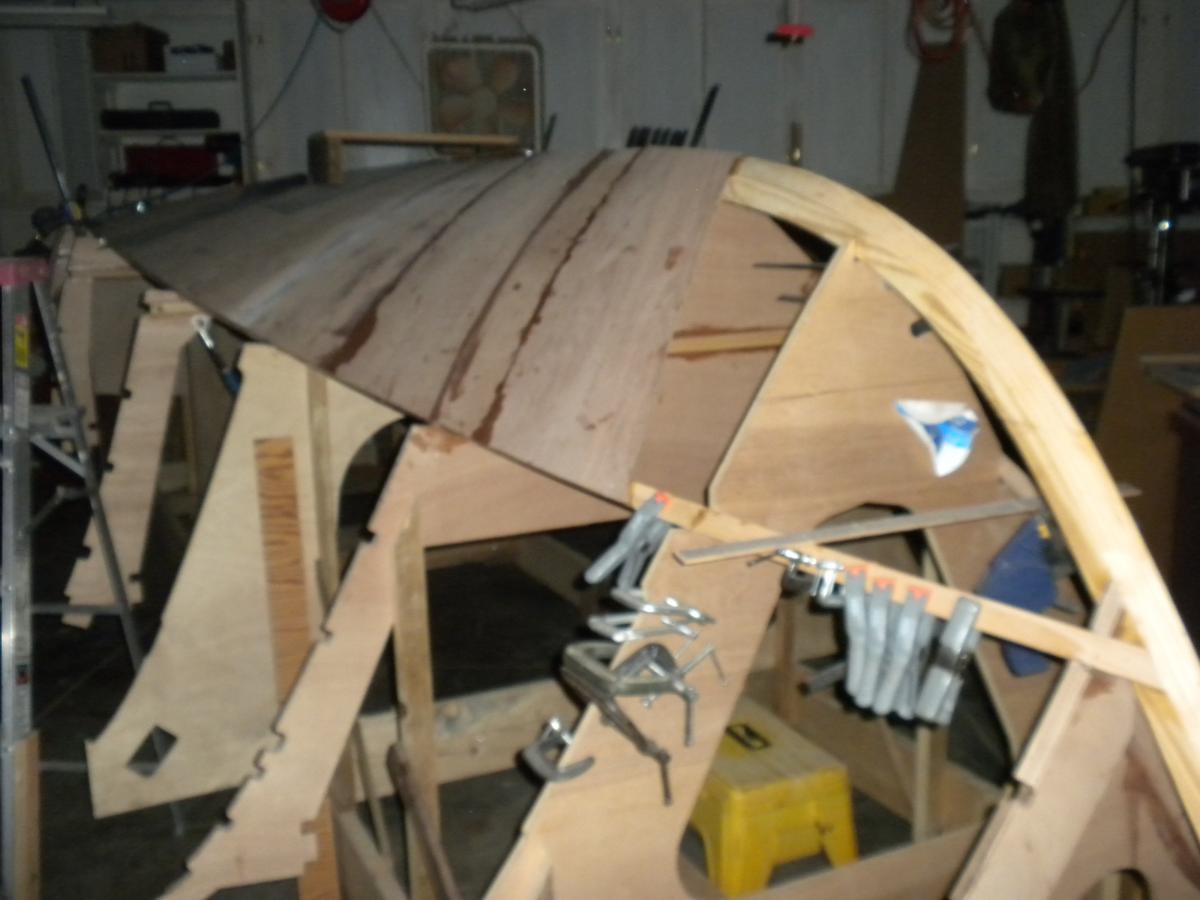
She's finally got a bottom. That's the last (bottom) plank. And a shot of Pikes Peak through the trees on the first day of Fall.


-
One step at a time,,,,,,,,,Kind of reminds me of the Johnny Cash song about building a Cadillac from spare parts.............not really!


-
What exactly is a stree point? Would that be a stress point?
-
Thanks Dave; Actually that bevel was a bit of a problem. I've yet to come up with a quick way to estimate the size of the rough cut to accommodate it (the bevel) and wasn't willing to take the time to do it the long, accurate way. Long story short I was a little shy on a couple of the inside panels and it took a little thickened epoxy to fill the voids. Cosmetic issue only, no compromise of the strength. I'm pleased with the way it's going together so far. I purposely didn't get too close with the camera
-
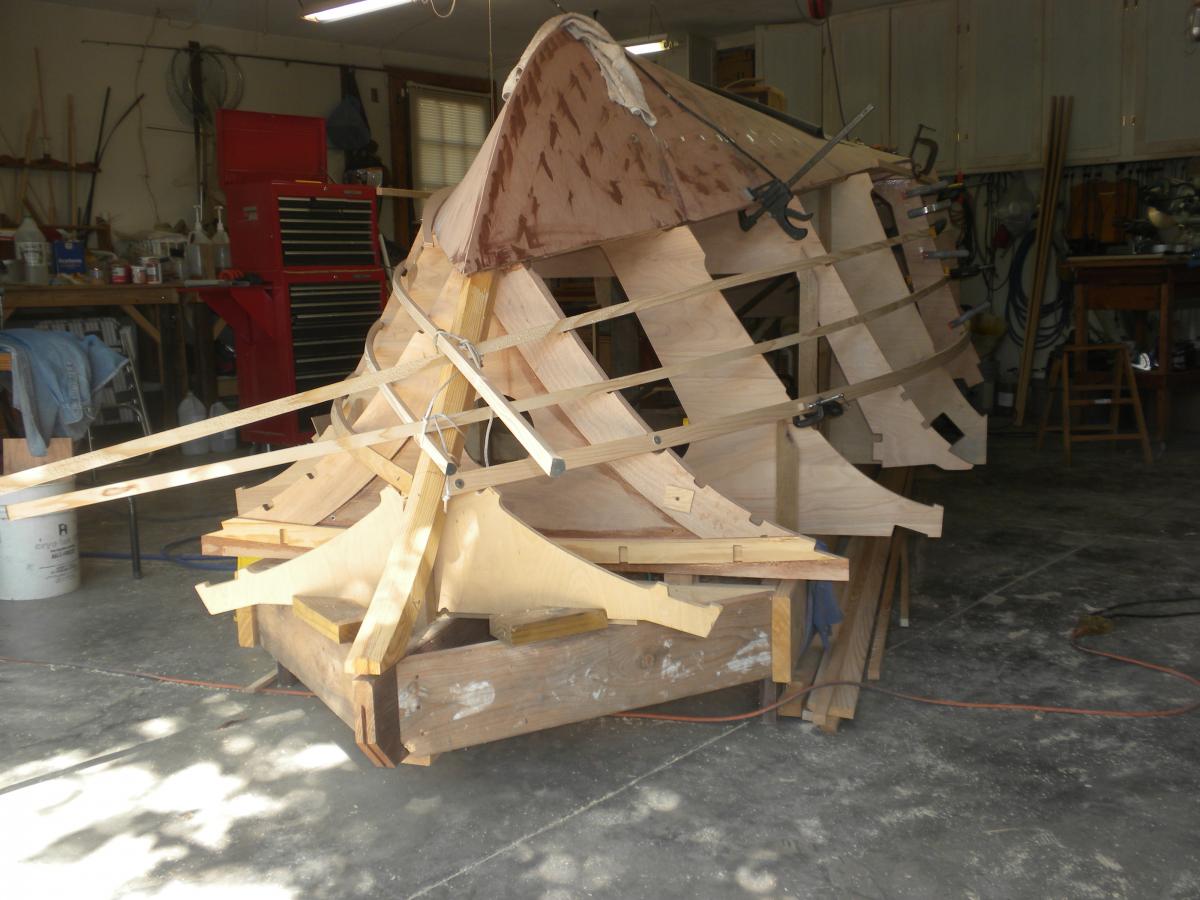
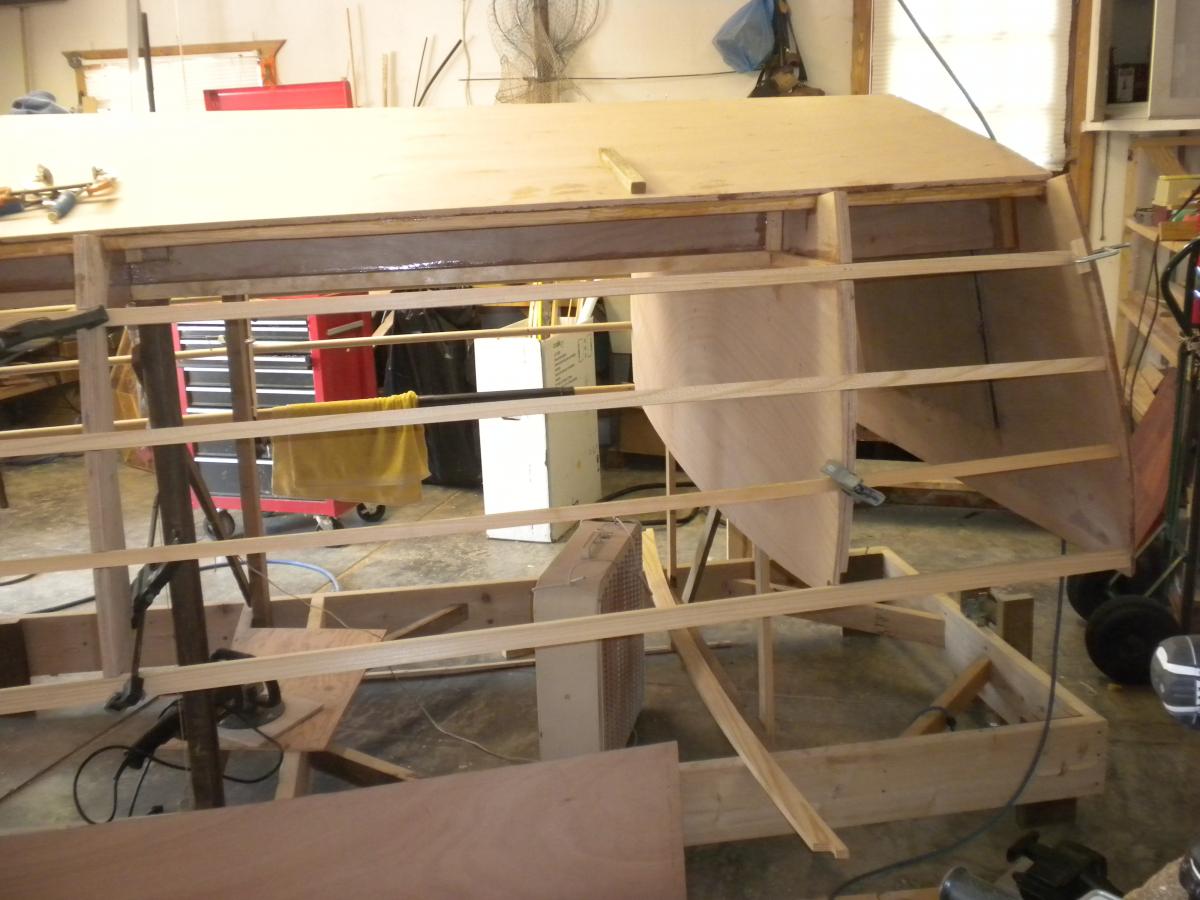
Slow progress this summer, largely due to family obligations, an eleven day trip to Red Lake Ontario (Canada) for a week of very good walleye fishing and other prior obligations, not to mention being limited to 5 or 6 hrs per work day due fatigue. Here are the most recent pictures:


-
Lots of interruptions this summer, family matters, etc. so progress has been slow. Those are pretty much over now at least 'til Thanksgiving so can get back to serious building. Hope to finish the bottom planking this week, then get the chine flats in. BTW one of the etc's was an overnight trip last weekend to Estes Park and the Boulder area, where much of the flooding has been going on the last few days, for the "Highland Games" that they have in E.P. every year. Would have been dicey for us had that started while we were there. Some of the flooding has been happening here in Colorado Springs as well, within a few blocks of our house and up into Manitou Springs, only a couple of miles away. Between the fires and the flooding it's been an interesting couple of years!
-
Were you able to do this singlehandedly? (I'm sure you must have used both hands; I mean did you have any help... )You started at 7 PM, what time did you finish?
-
Thanks Dave; I had read the "planking" page a few months back but had forgotten that there was some info on the chine flat in there. However in the version I have there is no mention of the rabbet that you describe. So thanks for filling that in for me.
-
Getting close to finishng the bottom planking and installing the chine flat. Haven't seen many if any discussions of shaping, fitting and installing the chine flat. I've studied the pics in the Lance of NZ OC20 build and those of Miyot's OC24 build and have some ideas of how to proceed but would welcome any tips/cautions in this part of the project. For one thing it seems that stitch and glue techniques between the frames would be useful. Also so far I've ended the bottom planks at the bottom (top actually)of the chine log. It seems that beginning at the forward end of the chine flat the bottom planks must stop about halfway down the chine log to allow room to anchor the side planks. Any suggestions appreciated. J.O. PS: Sorry about the fuzzy picture,

-
Thanks Graham and Dave.
-
Thanks PG. I remember seeing such an article as you mention but couldn't remember where and couldn't find it. Didn't think to search in Scott's thread. I thought maybe you were using a polisher/buffer rather than a grinder but couldn't find anything there either that looked like it might serve. I will look again. Sounds like a neat trick. I assume it would be used only around the edges to avoid interfering with adhesion of the resin? Or is that not an issue?
-
Hitechmarine could it be that there's a zero missing from the RPM of your grinder? I've searched DeWalt, Milwaukee, Bosch,and Craftsman and none seems to offer a grinder that runs at less than 5000 RPM. It does seems that I've seen such grinders used for grinding through paint and rust on ships in years gone by but cannot find one these days.. Maybe I'll visit a pawn shop..... Also, no one, even Woodcraft in this town sells 36 grit sandpaper. Woodcraft does sell a 36 grit sanding sponge, but not sandpaper. Incidentally, since starting my boat building project, I've discovered the virtues of spray adhesive used to bond sandpaper, especially 40 grit to whatever size and shape of a stick you can imagine and create to get into any nook or cranny that shows up in your work. I've done such with a stick about the size and shape of a yardstick and used it sort of like a crosscut or buck saw. One can really gouge out the material!!
-
Miyot, thanks for the very comprehensive primer on using peel ply. I printed it so as to have it readily available when the time comes. I do have a question or two: I gather that it's "use one time and discard"? So I'll need at least enough to cover the entire exterior surface of the boat, right? From what I've read It seems there is more than one type of peel ply. Is there a specific type I should order? Can you suggest a supplier?
-
Peel ply question: So given the curves on the Ocracoke 20 does one just use the peel ply on the appropriate surfaces, leave the rest and plan to do more sanding etc on those places?
-
OK Miyot, maybe it was the helper(s?) I saw in some of your pictures, or maybe you're just crafty with the camera, but the pictures sure make it look like craftsmanship! J
-
Paul, my situation was similar to yours except don't have a carpenter son, when I started my OC20 about the first of April. I'm a jack-of-all- trades, master of none type, mostly home remodeling etc. Family matters and a fishing trip took me away from the build for about a month so I'm really just getting started with the bottom framing up, the transom installed, and the two 1/2" aft bottom panels plus the first two feet of 1/4" laminate just finished today. Hopefully I've got a couple of uninterrupted months of work ahead. So far I love the project. Have spent a lot of time sitting staring at it trying to work out how to take the next step but things have gone fairly well. The guys on this forum have been very helpful, especially Miyot who is several weeks ahead of me with his OC24 and following his posts has been invaluable and maybe a little intimidating. A real craftsman. As for building a smaller boat I considered that but decided that at my age (75) I may not have time to build two! Hope this helps! Jerry
-
Miyot, do you mind telling me what you use to "extrude" thickened epoxy for the fillets? I know there are fillable caulk tubes available somewhere but not here. I think I can order them from Jamestown Distributors. If they're the size of a regular caulk tube it seems a pretty large batch to mix and use before it kicks. I have tried using a zip-lock bag with a hole on a corner and it can be done that way but lots of mess and waste and a pretty slow process. Is there a better way? I assume you're going to paint your boat. Seems a shame to hide that beautiful woodwork!
-
Say what?? Boat looks great!