Fishman38
-
Posts
340 -
Joined
-
Last visited
-
Days Won
9
Content Type
Profiles
Forums
Events
Gallery
Everything posted by Fishman38
-
"Thanks for the great pictures, would you mind if I used them (with credit of course) on the B&B website?" Be my guest Alan.
-
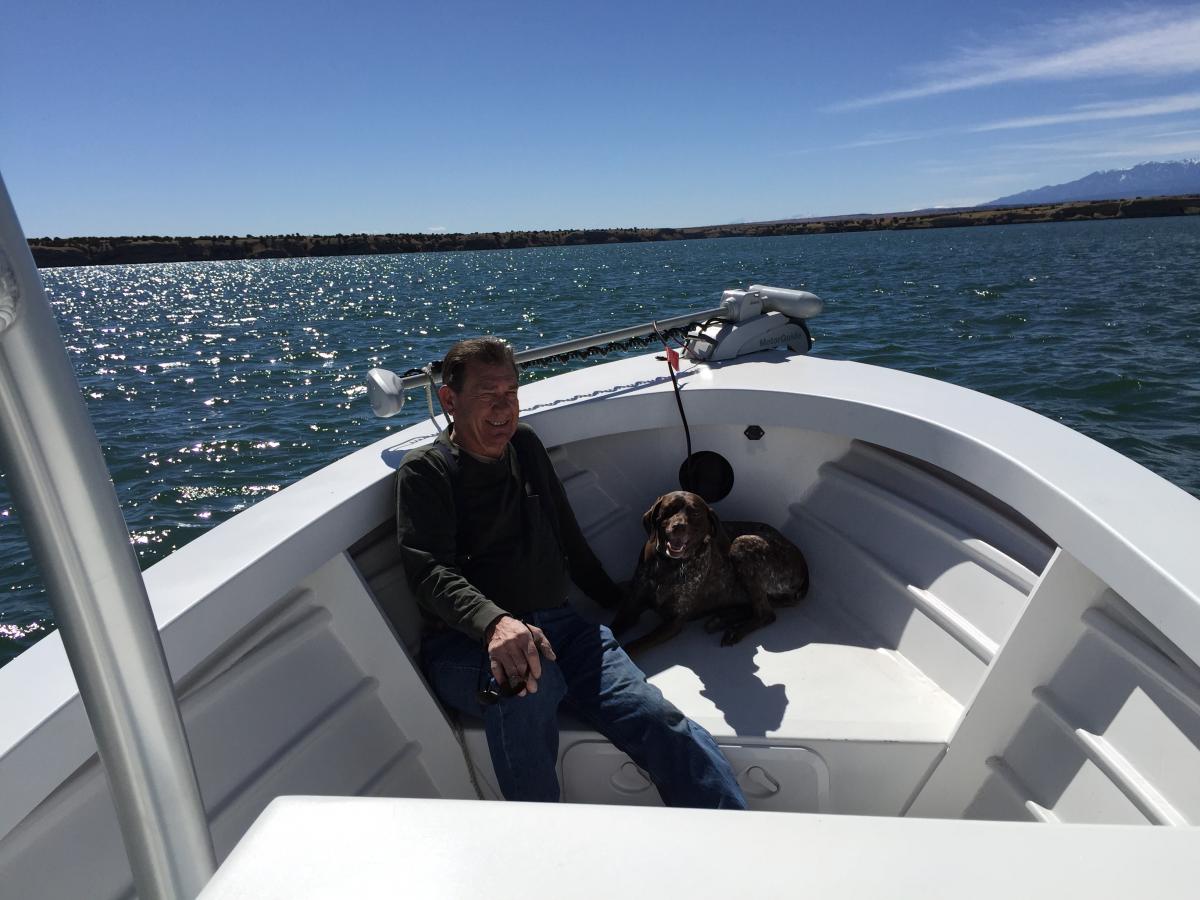
It's been a while, but I've been intending to post some performance figures so will attempt to fulfill that obligation in this final post. The boat weighs 1800 lbs dry with 115 hp 2015 Yamaha mounted. Fuel tank capacity is 25 gal. That add another 154 lbs when full. I started with a 15 pitch, 13.5 " diameter prop. at elev approx 4500 ft. (Pueblo Reservoir, Pueblo, CO) topped out at about 5300 RPM. Obviously too much prop since top for the motor is 61-6200 RPM. Speed at that (5300) RPM was 33 mph. This was with me (200 lb) and a friend (150 lb) and about 60 lbs of fuel on board. Boat handled very nicely, great on turns, but some porpoising at higher speeds. At 8500 ft elev, same load except this time a full gas tank, 154 lbs, same prop, topped out at 5100 RPM and 31 mph. Again she handled nicely except for the porpoising. Switched to a 13 pitch, 13.75 diameter prop, which, with two more people (women, total about 250 lb) and additional 160 lbs of sand in the bow, at 8500 ft elev topped out at 5700 RPM and 35 mph. This time no porpoising. Took a trip to Red Lake, Ontario, about 1200 ft elev, for five days of fishing. With the smaller pitch prop, myself, my two sons total about 600 lbs and fishing gear, motor topped out at 6100 rpm and 38 mph, great handling, quick onto plane, great on turns except on turns in 20 +/- mph wind she skidded a little, little if any skidding in lower wind speeds. Overall a wonderful boat. I've had many, many compliments on the boat, A 30 year commercial fisherman from Alaska couldn't say enough about her beautiful lines. Thank you Graham Byrnes and B & B Yachts Designs. By the way, for anyone building or considering building the boat and plan to fish with an electric trolling motor mounted on the bow, plan on getting the longest stinger you can find, lots of thrust and maybe some ballast in the bow to keep the prop in the water. Mine is 5 feet long and wouldn't hurt to be a little longer and 80 lb thrust. The high bow and gun'ls respond as you would expect to the wind. Now I going to try to post a few more pics. The two deck hands are my sons.


-
Thanks Terry. Yes it is the North Marina. I'm in Colorado Springs.
-
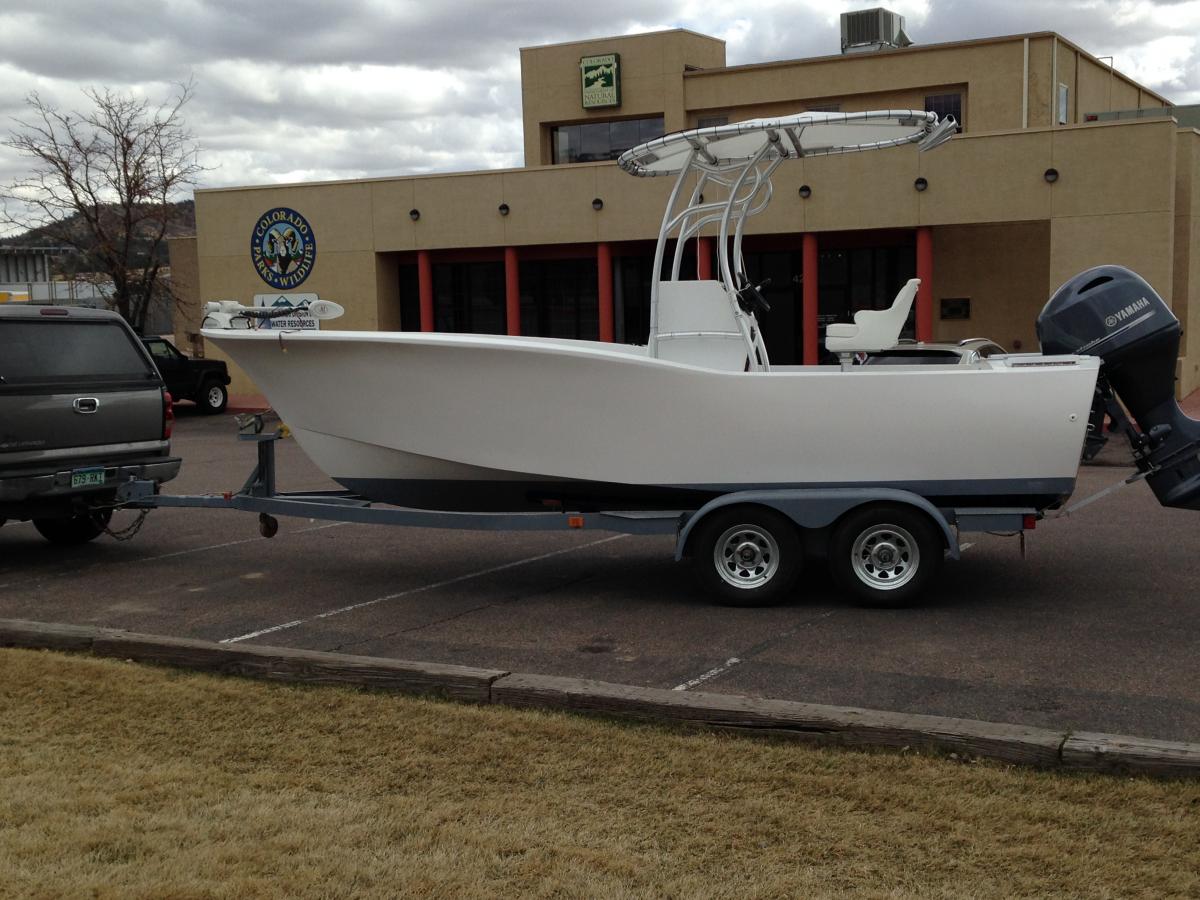
You're right HTM I'm really looking forward to getting her on the water and seeing what she can do. Matter of fact I got her on the lake for the first time today, just for a couple of hours, but in the first two hours of running Yamaha says to limit the RPM's to 2k for the first hour and the second hour to just enough to keep her on plane. So the fun stuff will have to wait 'til the next trip in a couple of weeks. Actually maybe 3 or 4. Gotta take some time off to go see some spring training games. Hope to get some better pictures then but here are three from todays maiden voyage:


-
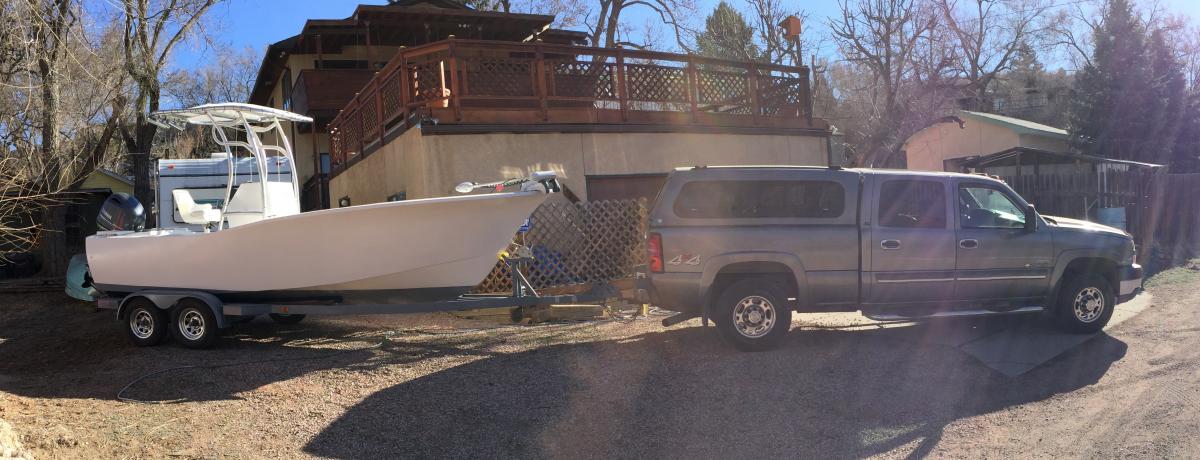
Thanks Tsouthward1. I'll check with ACE. Here's the latest picture of jus' 'cause, parked at Fish and Wildlife getting registered. For those interested, also got her weighed. Boat, motor T-top and trolling motor no fuel or batteries came to 1900 lbs. Take away about 550 for motor, T-top and trolling motor leaves weight of the hull at about 1350lbs. Lighter than I expected.

-
Thanks to everyone for the input. Doesn't sound like a very pretty picture.
-
This question has nothing to do with the foregoing discussion gasoline, filler hoses, etc. I just think since my boat is about finished I should insure it. There's lots of companies out there that insure boats but apparently not all of them insure homemade boats. I'm hoping someone can recommend a company that does and at a competitive price. Anyone?
-
Dale, unless you have a chronic odor of gasoline in or around the cockpit, I think the only problem you might have is gas spills when filling and you apparently have learned how to avoid that. Just sayin.
-
Easy there PAR-dner. OK a couple of your points are good ones and I'm convinced. I'll put the filler cap and vent on the afterdeck. Thanks for the lesson.
-
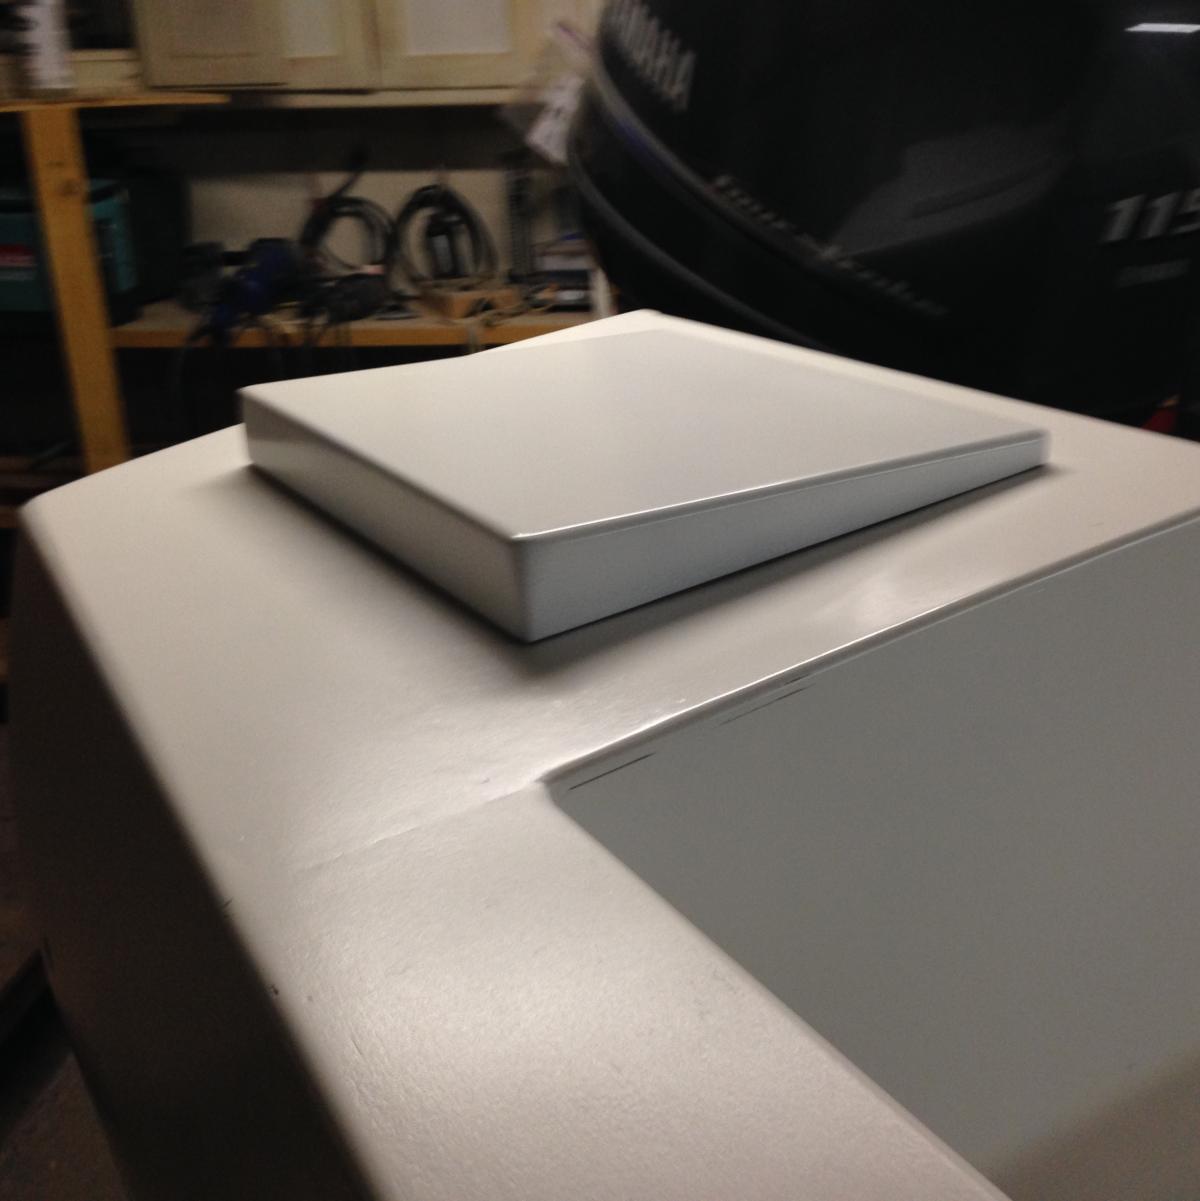
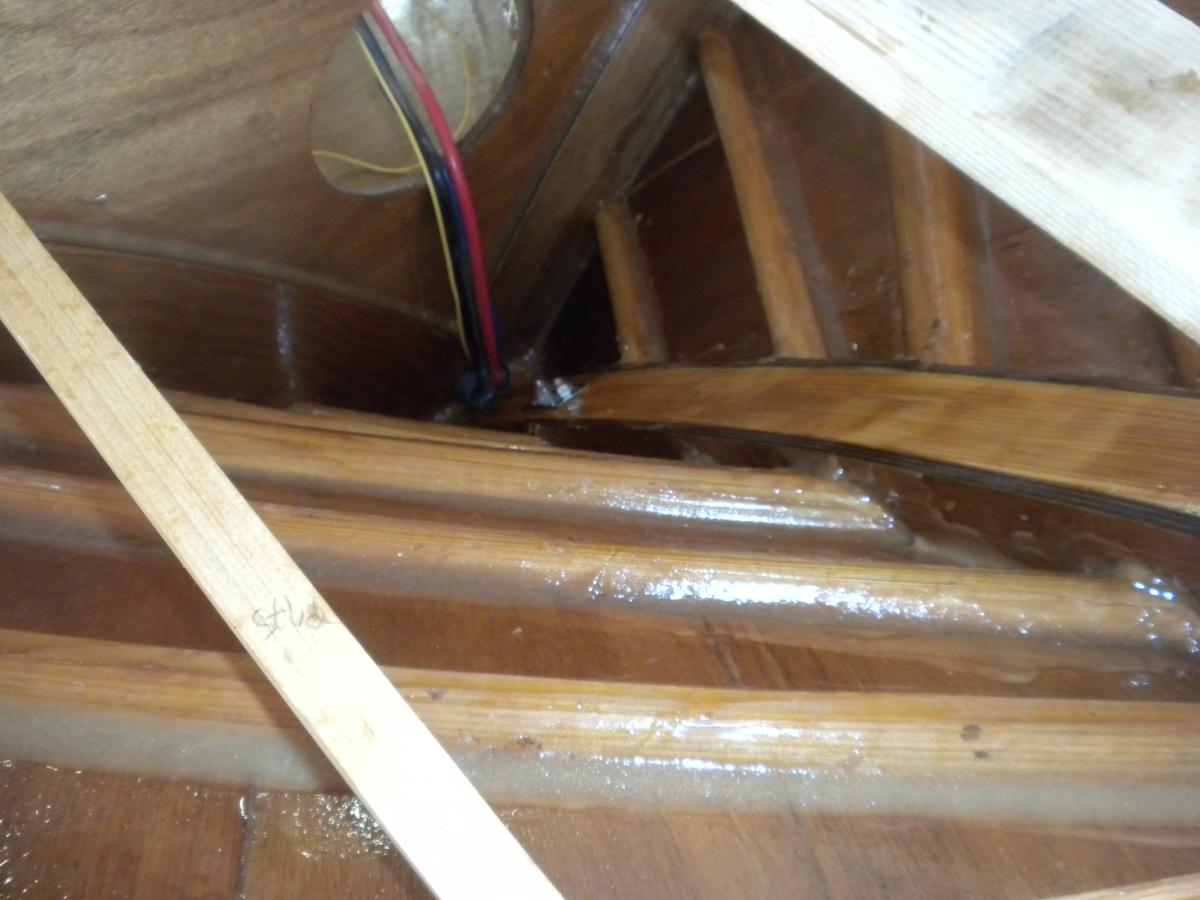
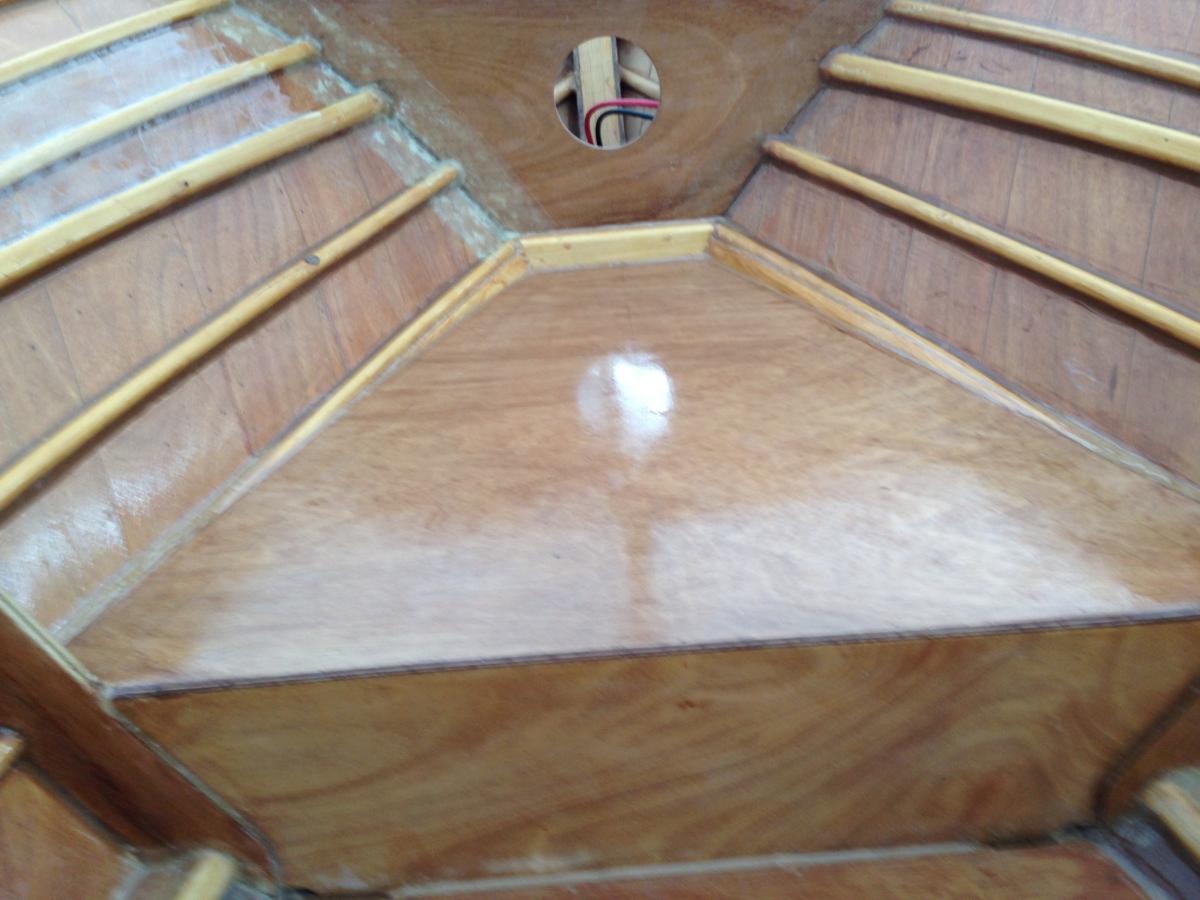
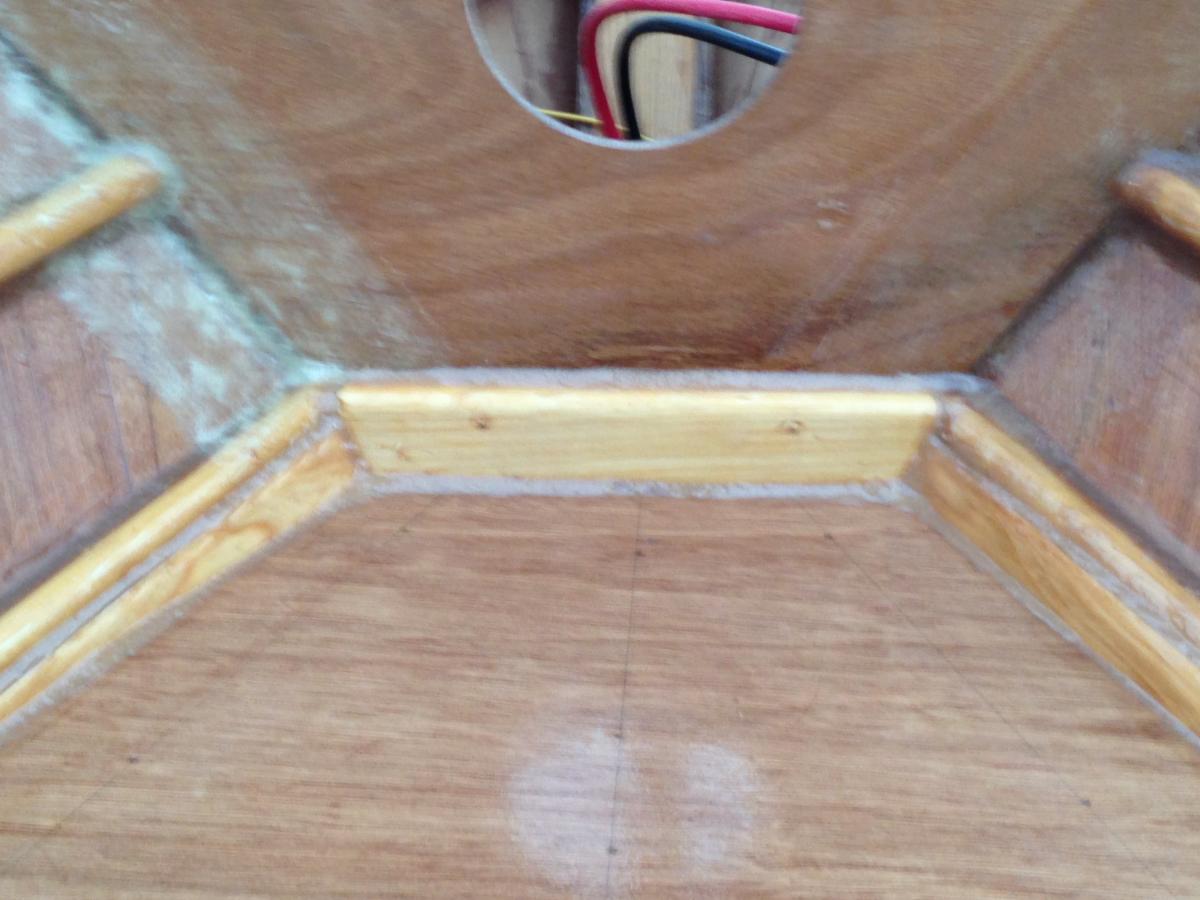
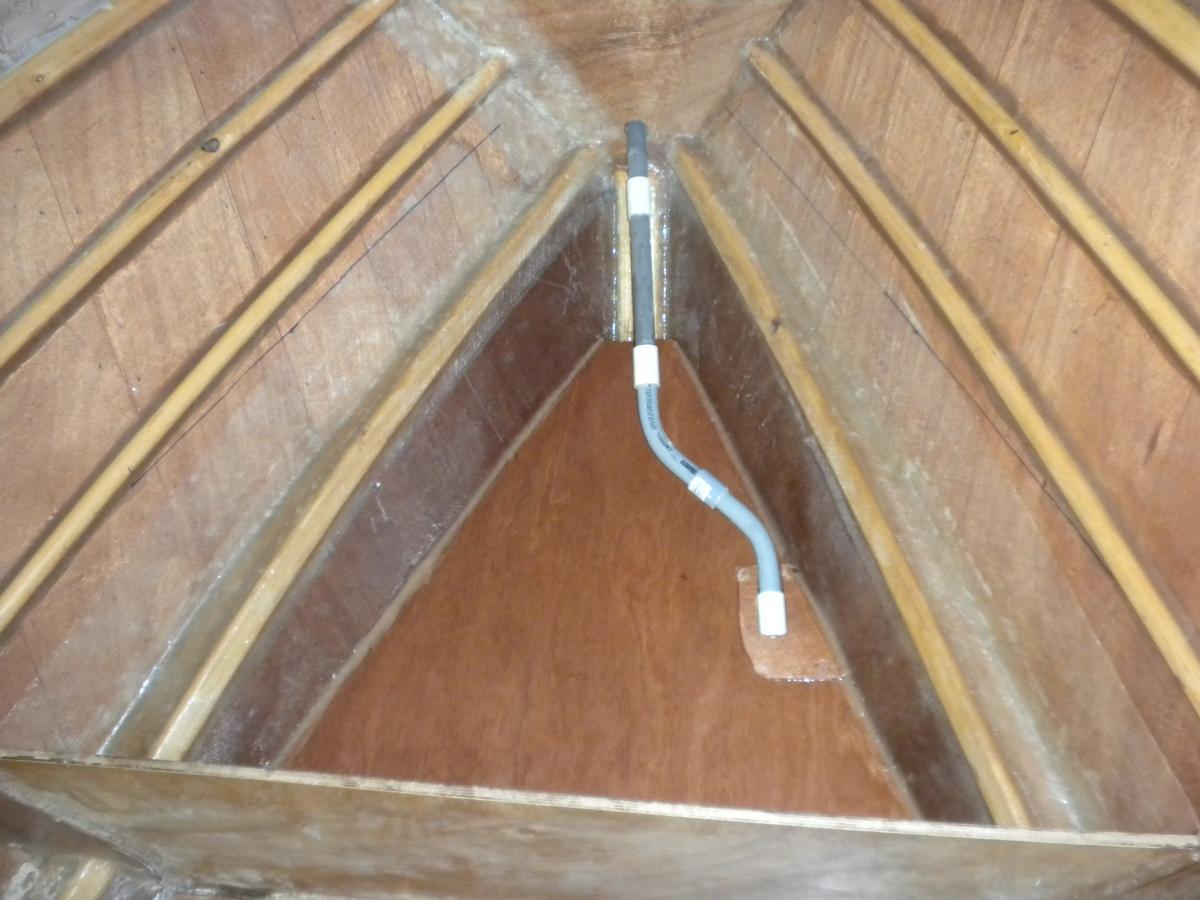
Good question K2BA. Something I may eventually regret and actually am not especially proud of . I spent hours studying fuel tank specs trying to find one that would fit the limited space under the deck and that I could route a filler and vent hose to from the gunwale. Finally gave up and put a 20 gal tank over the keel between frames 7 & 8 with the fittings & fuel sensor at the aft end. So what you see there is a chase (cover) for filler and vent hose and fuel line. Filler cap will be located in the engine well which while being convenient, I did it that way with some trepidation for safety reasons. I ran all this by the Yamaha dealer who didn't see any problem with it. There is one issue. The filler cap I bought includes a fitting for the vent hose and (I realized later) if the vent hose is connected to it could allow water to be sucked into the tank in rough conditions. Obviously that would be big trouble. I'll either get a different filler cap or just plug the vent fitting and run the vent hose to a fitting at gunwale level next to the port hatch cover. That chase cover will be fastened in place. I probably should have run this issue by the forum gang and come up with a better solution. Thanks to you and everyone else for the kind words. The support provided by folks on this forum is awesome!!
-
Thanks Rick.. It's only taken about twice as long as I expected!
-
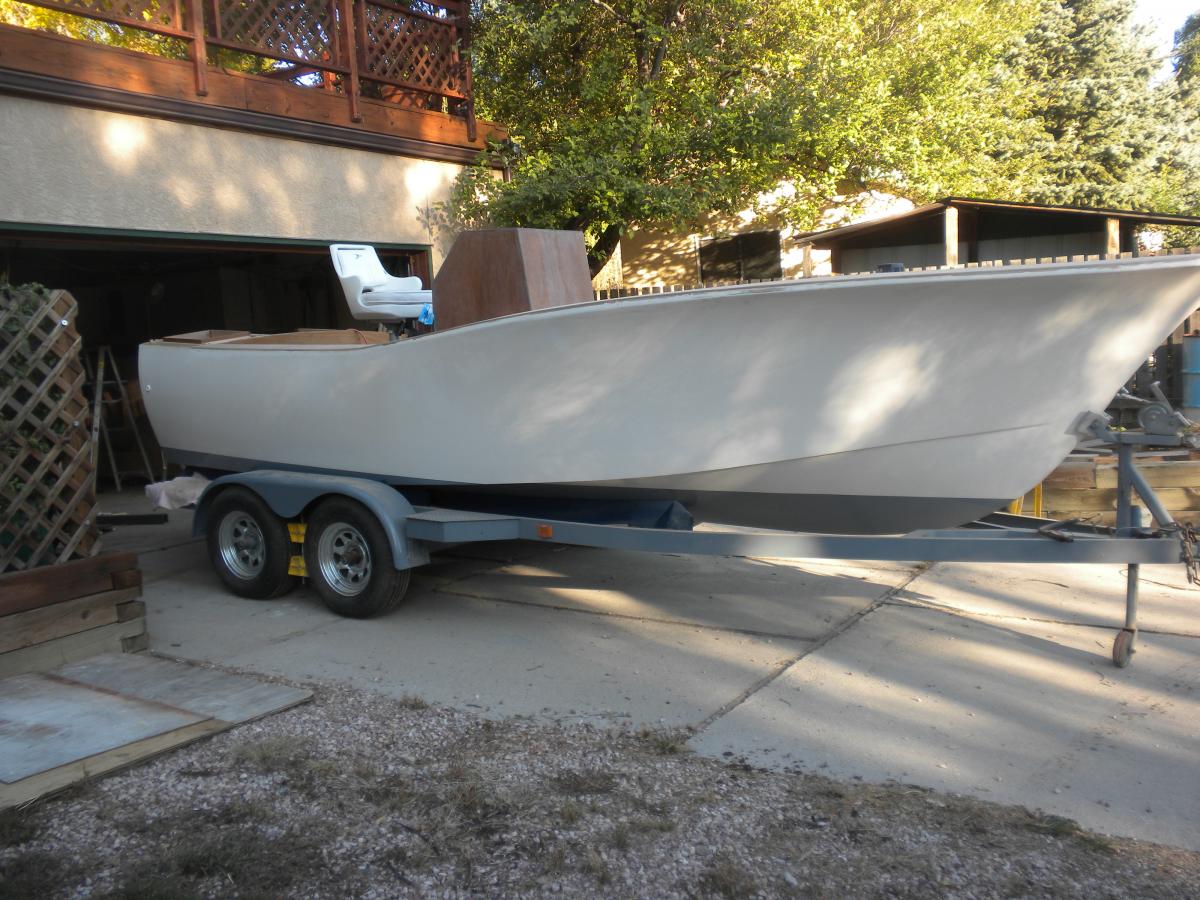
Finally about done with the build. A few more details but mostly rigging for both the boat and the motor. Motor needs a prop for one thing. Also install the T-top. Had her over to the welding shop today to add a couple of feet to trailer tongue. Oh, bump rails will also be added and painted gray to break up the vast expanse of white. Here's a few shots to show the look. Except for a shot or two after installing the T-top, this will probably be the last until spring when I can get some pics on the water and comment on how she performs.


-
Finally about done with the build. A few more details but mostly rigging for both the boat and the motor. Motor needs a prop for one thing. Also install the T-top. Had her over to the welding shop today to add a couple of feet to trailer tongue. Oh, bump rails will also be added and painted gray to break up the vast expanse of white. Here's a couple of shots to show the look.
-
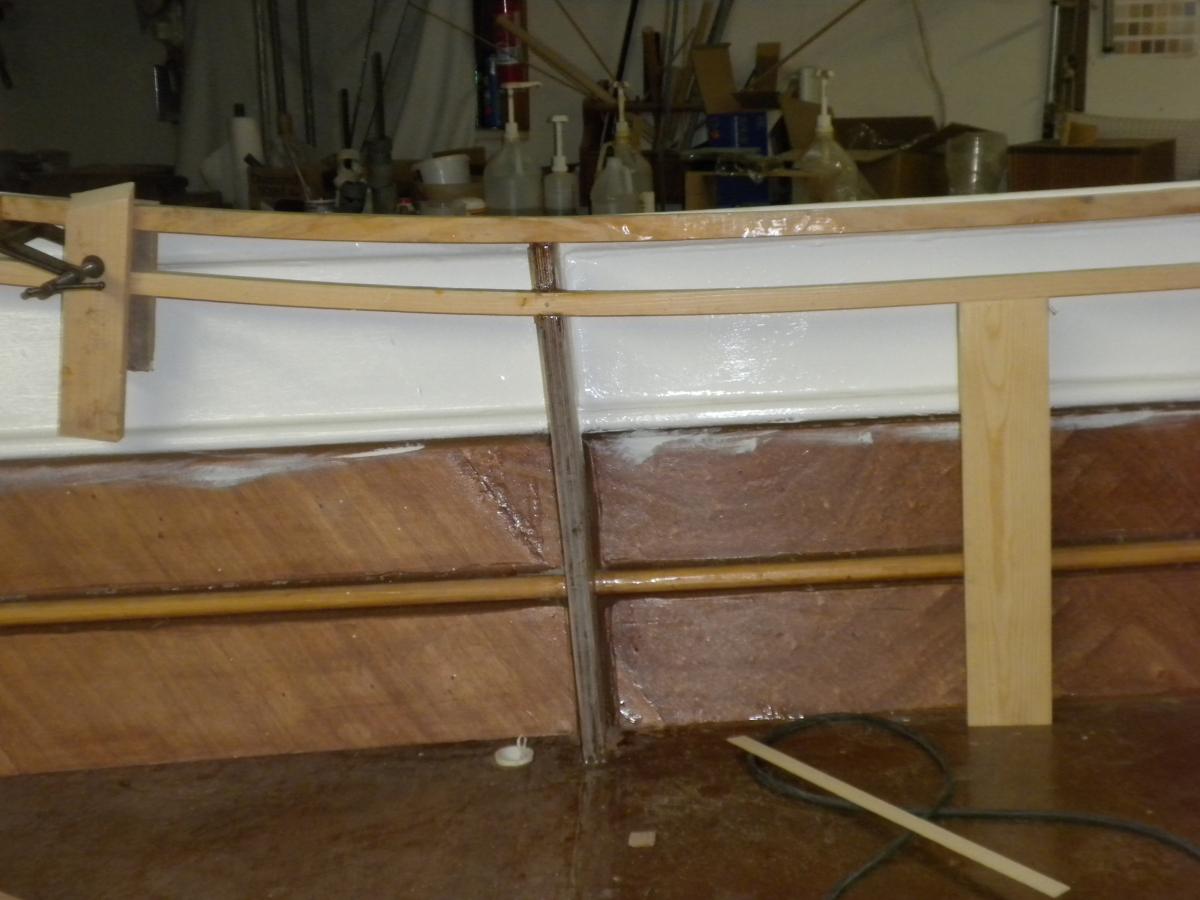
Not sure but I think I see daylight ahead. Had some issues with getting the carlins fitted properly but with Graham's help it seems to have turned out ok. Also had to take another break to get some home maintenance taken care of. Here's a few of the most recent pictures. Still have hopes of launching before freeze-up.


-
Thanks Graham. This helps a lot! I'll have to cut out a part of what is already glued but shouldn't be a big problem.
-
Thanks Graham. I will wait.
-
A few more pictures that may help. The curve(s) I'm trying to deal with are actually S curves but aft of #7 frame it should straighten out and run parallel to the deck to #8 frame. The wet rags seem to be helping and when I can get back to it I think maybe I can straighten both out with supports placed between the stringers and the deck and maybe when dry the'll remain straight. The "sag" in the lower stringer is not a big deal but the top one is. BTW the stringer is not yet glued at #6,7 and 8.


-
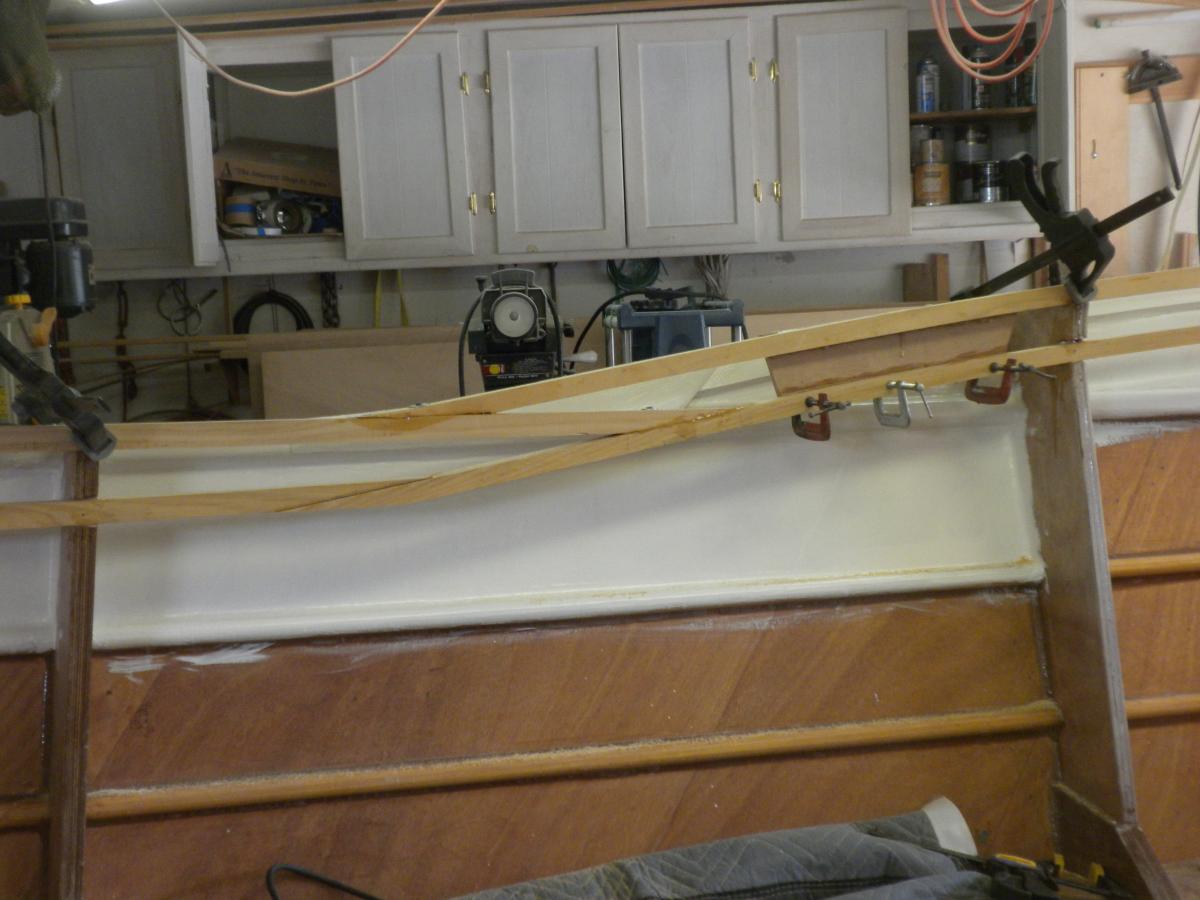
Hey Miyot, good to hear from you. I may be doing this all wrong. For one thing the plans show the carlin stringers butting directly into frame #2. I wanted this to be a smooth continuous curve, meaning the stringers had to be one piece roughly 36 maybe 37 feet long. That's why I laminated it, to get the length I needed as well as to be able to make the 180 deg curve at the bow. Problem is if you look at the profile there is a curve in the vertical plane as well and it gets rather steep, actually discontinuous 15 inches forward of #7 frame (probably closer to 20 inches or more on your boat). I actually made that a gentler, smoother curve than the plan shows, but it is still difficult get that part of the stringer to make that part of the curve and match the sheer clamp so that the side deck has the smooth downward slope to the sheer. It's almost as hard to explain as it is to do, especially as I'm not sure I'm using the correct terminology. Anyway, it seemed like a good idea to do it this way at the time. It may turn out to be not so much so, although I don't see how solid stock could be much easier to do than laminated. Seems to me what really is needed to solve this particular problem is about four more frames spaced 8 or 10 inches apart . If all else fails I can start over and do it as the plan is drawn.
-
Would anyone care to share any secrets aside from brute force for getting the carlin stringers to follow the compound curve of the gunnel/sheer clamp? I laminated the 1 x 1 inch stock to approximate the curve in the horizontal plane. That doesn't help fitting to the curve in the vertical plane however. I'm going to try soaking, maybe steaming which I don't like because of the drying time required to get the epoxy to adhere. Also don't know how well steaming works on laminated stock....... Especially the top stringer must closely match the gunnel curve(s) in order to preserve the "look". I would appreciate any suggestions.
-
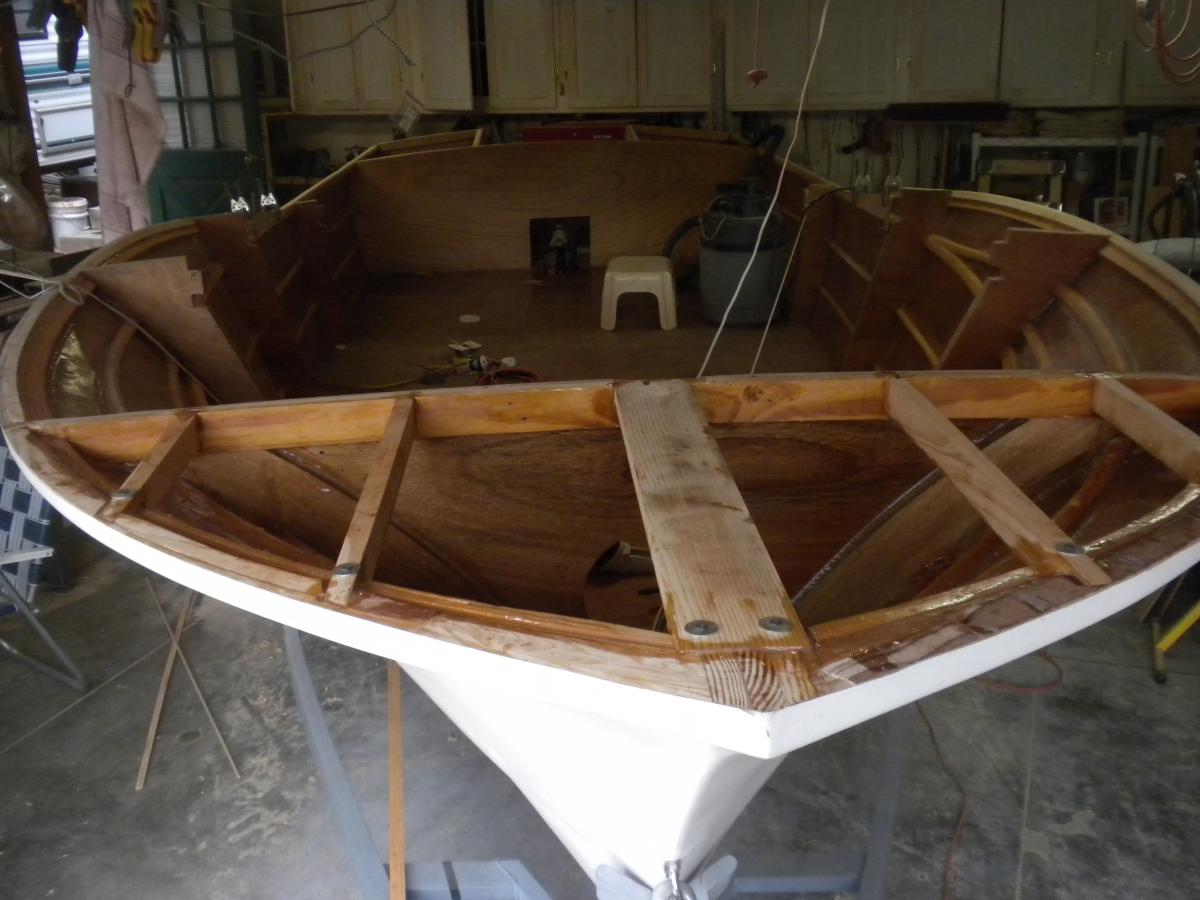
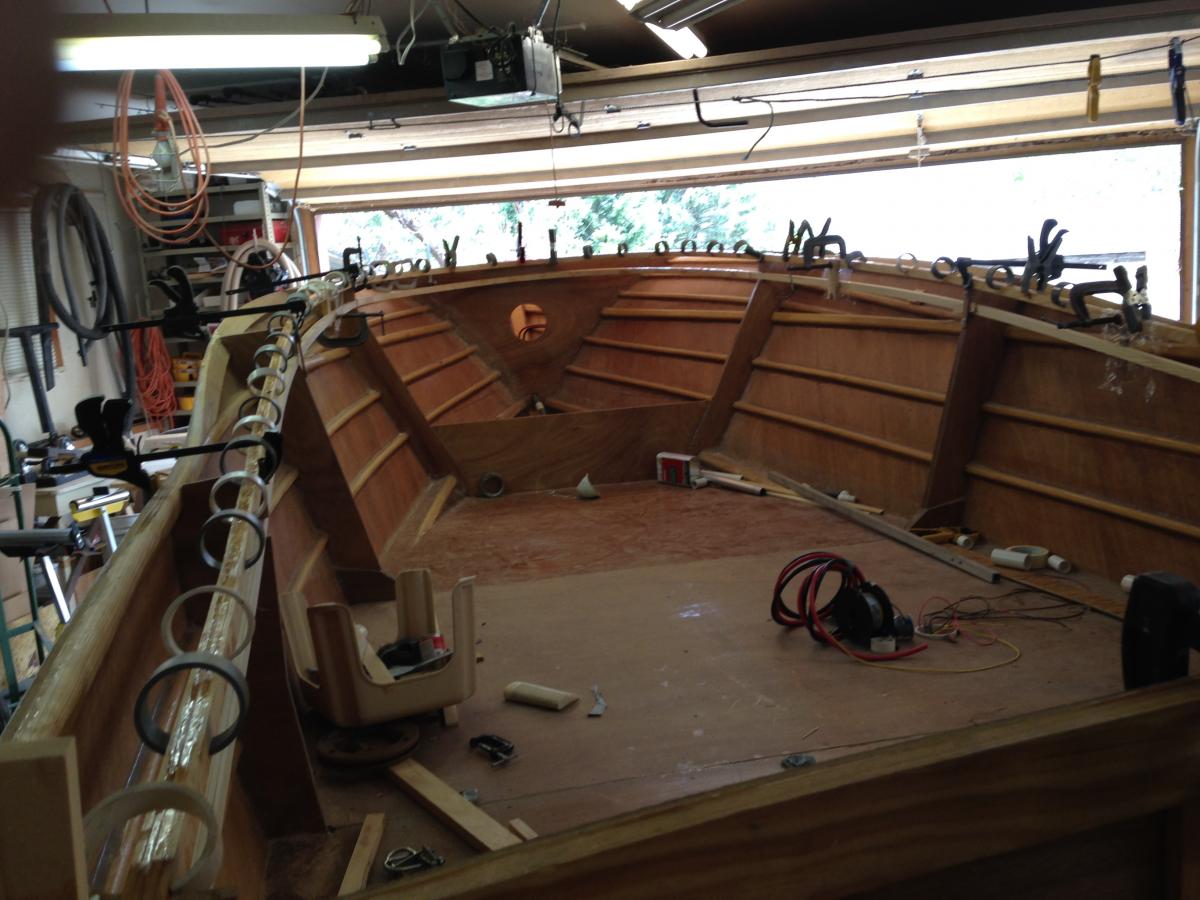
Been some time since logging on. Lot of catch up on home maintenance to do this summer and not a lot of boat work could be done. Most of what was done, a lot of sanding, shaping, and other minutia needed before installing the carlin stringers, didn't show up in pictures, so didn't get posted. Here are a few that do show some progress. The lower carlin stringer was glued in place today.


-
Not real proud of that taping job on #2 but I think it's stronger than it looks here and maybe some paint will help the look.


-
The arm seems back to normal now so work proceeds. And best of all two of my granddaughters


-
Thanks for asking Steve. Sorry to take so long to respond, just haven't checked in in a while. Yes all is fine, except for a pinched nerve in the right shoulder that showed up a couple months ago, and god-awful weather for the last 3-4 weeks, both of which has slowed progress even further than normal. Due to the limited space in my shop I usually move either the tools or the boat outside to make room to work. Since I started building the console and pedestal, they take up even more floor space and there haven't been many dry days the last month. I never complain about the rain though because out here we need every drop to keep enough water in the lakes to float a boat! This year though it is getting a little old. I am getting some work done though and will post more pictures soon.
-
Good to hear from you Dave. I'm at the stage where progress is slow and whatever progress I do make doesn't show very well in pictures. Most of the problems I have aren't of a sort that can easily be phrased as a question, nor can a solution be easily proposed. Just things I have to sort out in my own mind. Things such as where to put the batteries and how to wire them. I'll have an (electric) trolling motor on her which means a minimum of three batteries, etc,etc. Those are the reasons I'm not posting very frequently these days. I put off gluing the sole down as long as I could to try to make sure I wasn't forgetting to do something that could not be done afterwards. Have started that process now and other than flipping the hull, it is the only thing I've run into which for me is absolutely a two man job. So I have to do that sort of on my son's schedule, who likes to help but who has a wife, a couple of teenagers and a job which doesn't leave much time for much else. (my other helper is in the process of moving and has an ailing wife) Thanks for the comment on the console. I work on that and the pedestal (which is going to be one of a kind....it'll be a single seater) in my spare time. Think both are going to work out ok. If not those can be easily rebuilt I think. I'll post pictures of the pedestal (leaning post) when it gets a little further along. Jerry
-
Probably Pueblo Reservoir.