Fishman38
-
Posts
340 -
Joined
-
Last visited
-
Days Won
9
Content Type
Profiles
Forums
Events
Everything posted by Fishman38
-
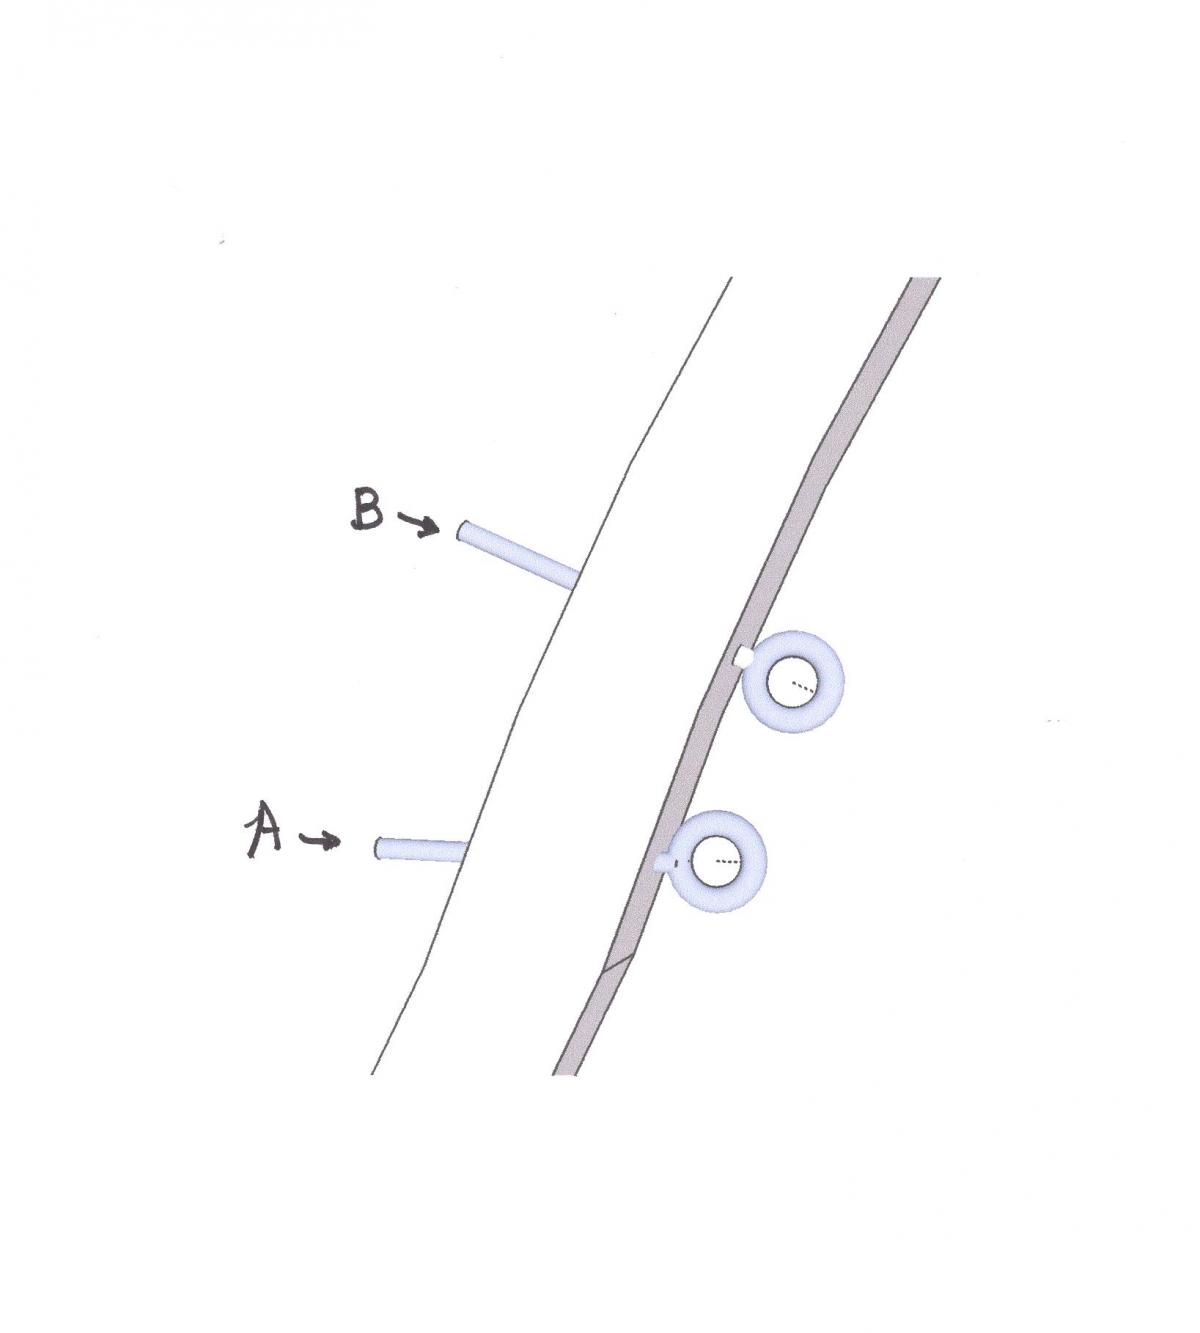
This is a crude representation of two ways to install a bow eye bolt. "B" has the hole drilled perpendicular to the grain of the stem. While (in my situation) it would be the easiest way to do this, I am concerned that the winch force, not being parallel to the axis of the bolt would put more stress on the borehole wall as well as the bolt itself and more likely to eventually lead to leaks and/or breaking the bolt. While "A" has the hole drilled more nearly parallel to the keel and may be a little more difficult to do, the winch force should be mostly against the backing washer resulting in less stress on the seal between the bolt and the borehole wall. Does this matter? Any comments on this or any other aspect regarding installing the eye bolt such as type of sealant and how to apply it are welcome.

-
You may know that I just a few weeks ago flipped my OC20 and have taken time away to catch up on some long neglected domestic chores. Since the flipping party any time I managed to spend on the boat project has been spent on getting the trailer modified to fit the boat. Took it to the welding shop this morning get the bunk brackets welded. Sorry I can't help you with the cost issue. I will tally it up one of these days but so far I've been having too much fun building to spend time on accounting. I did buy the CNC frame kit and highly recommend it. For me that left plenty of work to be done! The only really troublesome things I found was (1) getting some of the stringers bent properly up near the stem. I bought a small steam generator to help with that I think steaming in some way is essential. And patience! .... I used a large adjustable (Cresent) wrench to supply the torque when and where needed and that would have worked better had I left square corners on the stringer stock up near the stem. And (2) getting the paint I used for the bottom and sides to flow properly without runs and exhibit the gloss I expected. Inexperience with this type of paint and painting a major factor here...............both these issues actually. I show the boat to anyone interested and everyone who's seen it is blown away by the beauty of her lines. Good luck with your build.
-
Awesome! I'm not a sailor, only been aboard one of these beautiful things once in my life..............I always wonder how sailing works on something as relatively narrow as a river. The answer is, apparently, by tacking............continuously! Thanks for posting this Gordy.
-
Guess I'm not sure how to answer that Trev. I'm trying to build her like Graham designed her, which like most power boats I think, is with the keel concealed by the bottom sheathing. Matter of fact, I think the chine flats function somewhat like an external keel does on a sailboat by helping stabilize the craft in turns. Mind you I'm speculating here as I know very little about sailboats and sailing nor boat designing for that matter. I'm sure there are many on this forum who can provide a better answer to your question.
-
Couple of photos I can offer Steve, but I've taken leave from the boat to try to catch up on domestic affairs and projects around the house, so nothing much has been done since "flip" day. I expect to get back on it soon, maybe as early as tomorrow.


-
Anyone building the OC20 and looking for the right fuel tank may want to take a look at a comment I just posted on the "Ocracoke20 in nz" thread: (I tried to reproduce it here but still CANNOT get the "quote" function to work for me,)
-
Anyone building the Ocracoke 20 and looking for the right fuel tank may be interested in the following: Regarding the tank that Lance describes on pages 5 and 6 herein as a Tempo product, it seems that the Aftermarket Moeller tank part #032525 is one and the same and since Moeller now owns Tempo, probably is. After hours and hours of searching, I decided that to maximize capacity and ease of installation the best choice for my boat is the 24 gal OEM Moeller tank part #FT2498......HOWEVER, for a little more than half the price and what I think will be relatively minor modifications (to the boat not the tank) the best choice is the Aftermarket 25 gal version (032525).....and an extra gallon to boot.
-
Will do. Thanks!
-
Wow! That's a much longer list than I had found on their site or any of their dealers. I think maybe I can find something there that will work. Thanks Dave! Later: BTW I think I've found a 24 gal model that will work perfectly.
-
Dave, your Moeller fuel tanks appear to have diagonal fill fittings, which appear on none of the tanks shown on Moeller's web page. Just wondering if yours were custom made? All the ones they show that will fit in my boat have fill fittings that stick straight up about 3 inches and that doesn't leave enough space to make the right angle turn to the side of the boat.
-
Thanks Dave! Once I get her back inside I'm going to take a few days off and go for a ride around Colorado before starting on the interior. And when I do start on that I hope you and others will field some questions, such as any tips you can offer on locating and drilling the holes for the bow eye bolt and the stern drain. ..... It's going to be like starting a new project for me but must say I'm looking forward to it. I have done the editing on the video and am going to try to attach it here. There seem to be issues with the file type extension so we'll see.............nope, still doesn't work. Will try again later.
-
Got her looking up about 6:30 this evening. This is the sturdy looking crew that did it. Also have some video but it needs some editing which I may or may not be capable of doing. I'll try.

-
Sunday Aug 3 Cut her loose from the strongback and waiting on the flippin' day.


-
Just about done getting her cradled up and ready to roll over. Got 8 or 9 guys lined up to help with that Tuesday after work, accompanied by beer, soft drinks chips and dip.

-
Thanks Dave. And LennieG. I am indeed ready to get her sunny side up! Getting help lined up for a week from tomorrow, giving a day or two, depending on how construction of the frame/cradle goes. I'll post pictures of that process. Dave, your method of "going it alone" is very tempting and I do believe I could do it but it would be very dicey given the limited space I have and I really don't want to buy tackle that I would probably never use again. Also I want to minimize the chances of damaging the paint after all I went through getting it to look halfway decent. But it is definitely an interesting challenge! Jerry
-
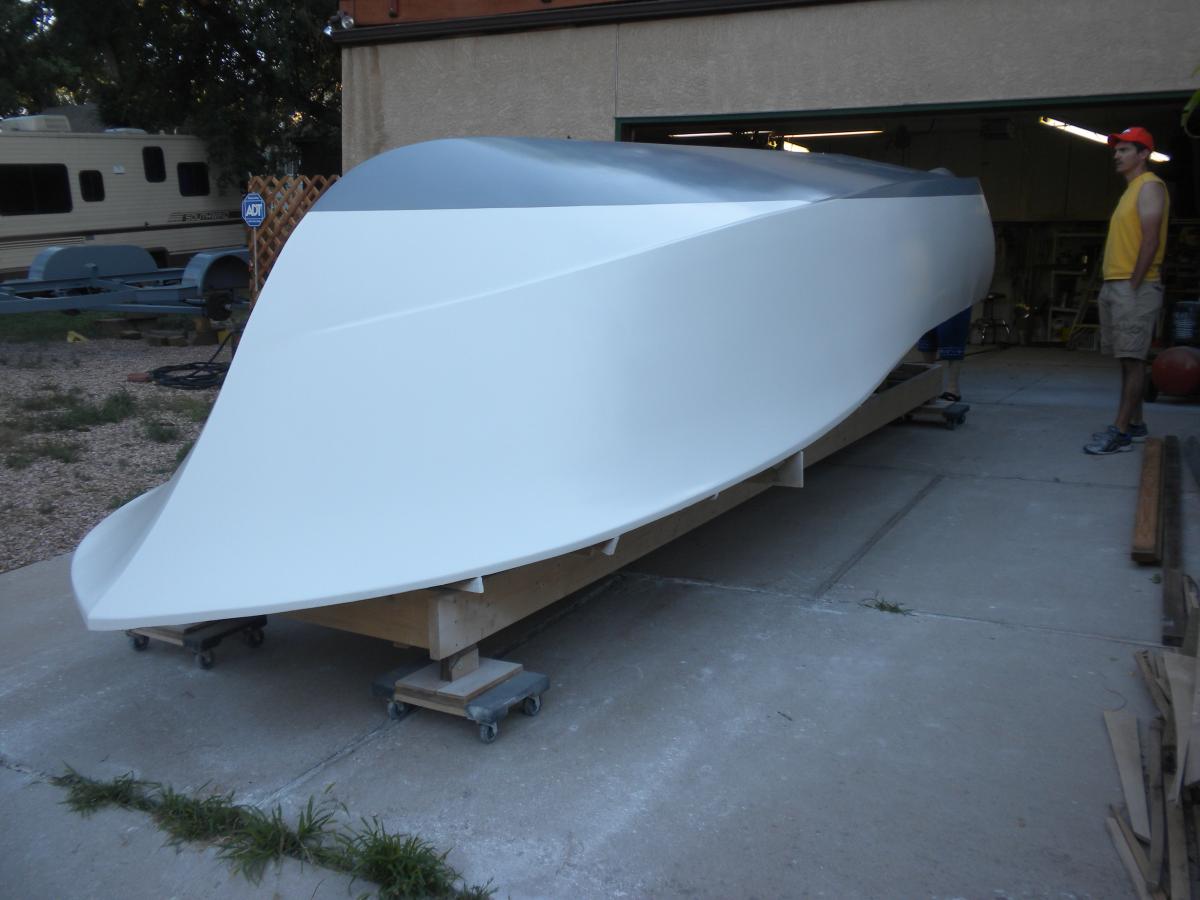
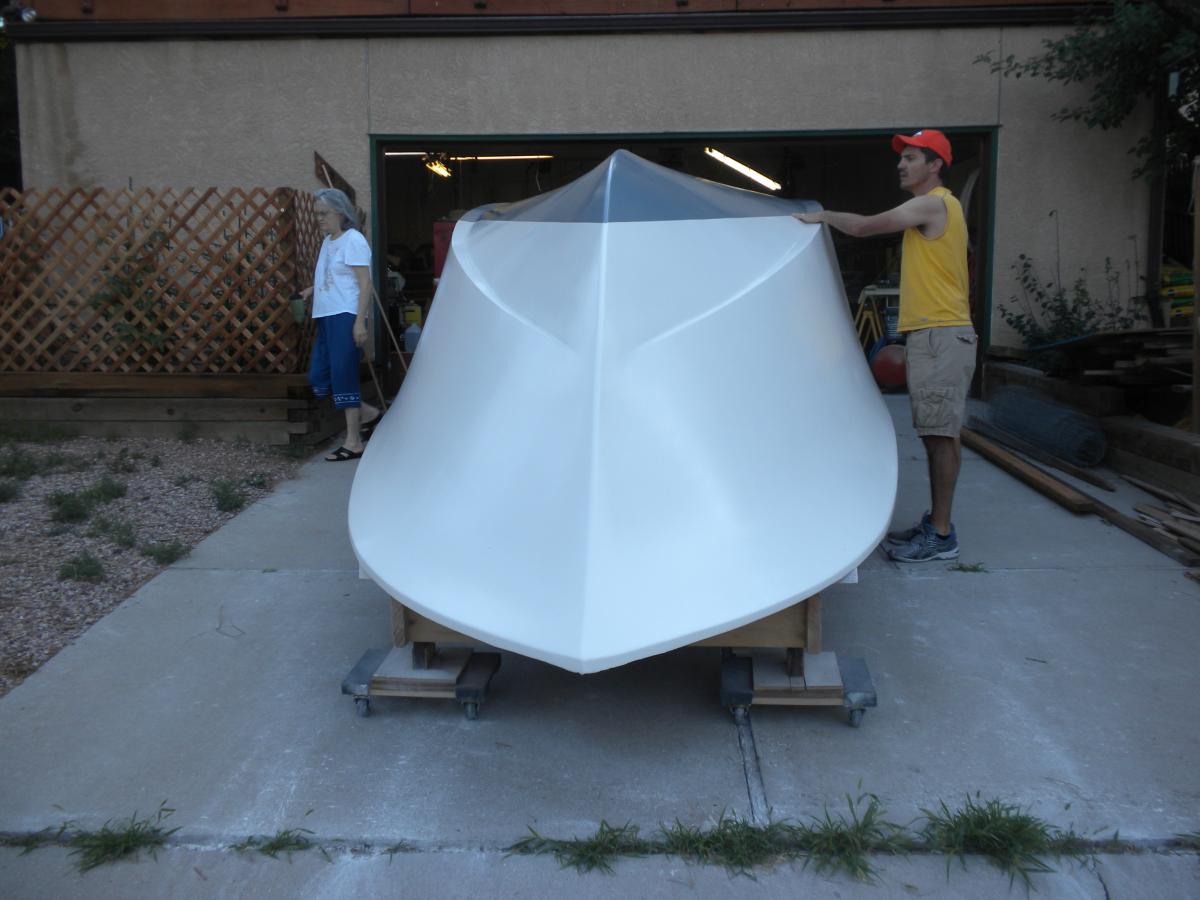
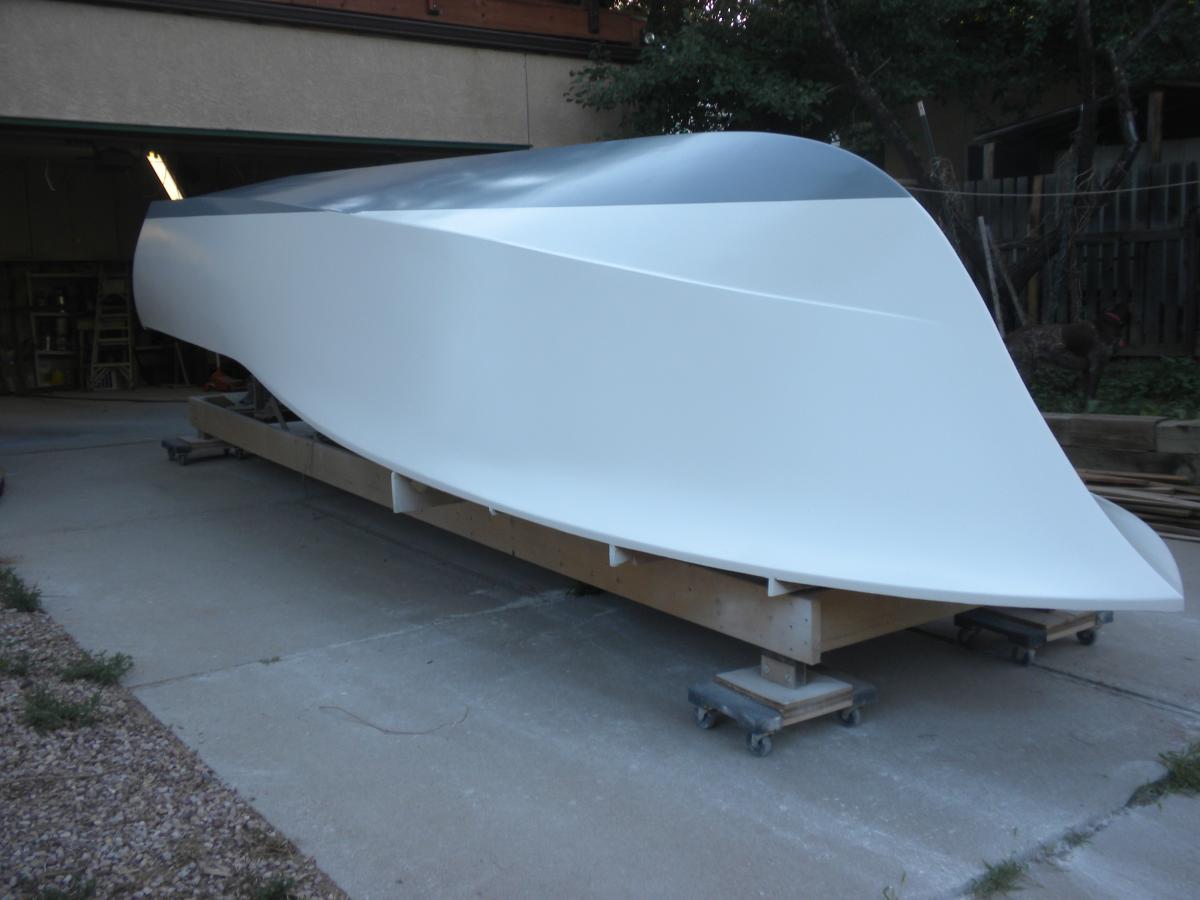
Finally done with painting the hull, provided I can get her flipped without damage.....The motor home beyond the trailer belongs to a neighbor. Also finished painting the trailer this morning. Hoping to not have to open another can of paint for a few weeks!! Starting to build the frame and cradle to protect her as she's flipped, which I hope to take place in a little more than a week.


-
Graham, I have been out of touch with the forum for a couple of weeks and was not aware of Carla's medical problems when I spoke with you yesterday. Please pass along to her my belated best wishes for a speedy and full recovery and the same for the second stage. Jerry Hall
-
Sorry guys, I've been sort of stalled out in the painting process plus a 10 day sabbatical for a fishing trip. Since returning have been prepping for one more -final I hope-coat which will go on today. LennieG I've sprayed on three coats so far and have had terrible problems with runs, aka sags, drips & errors!. I'm going to try some things today with the spraying and if I'm not satisfied with the results will roll and tip this next coat. She's still bottom up SteveVa, hoping to remedy that in the next couple of weeks.
-
Beautiful boat Miyot! Congratulations on a job well done! Can't wait to get to that day with mine. Having a tough time getting the paint right but it's coming along.
-
Very nice! Thursday will be the maiden voyage right? (I went back and reviewed some earlier post and see that it is......I've been busy the last couple of weeks with family matters and missed a couple) Good luck!
-
Thanks Miyot. Yes it's very nice to be able to work outside weather permitting. I rigged a block and tackle to move it back up the sloped drive easily.
-
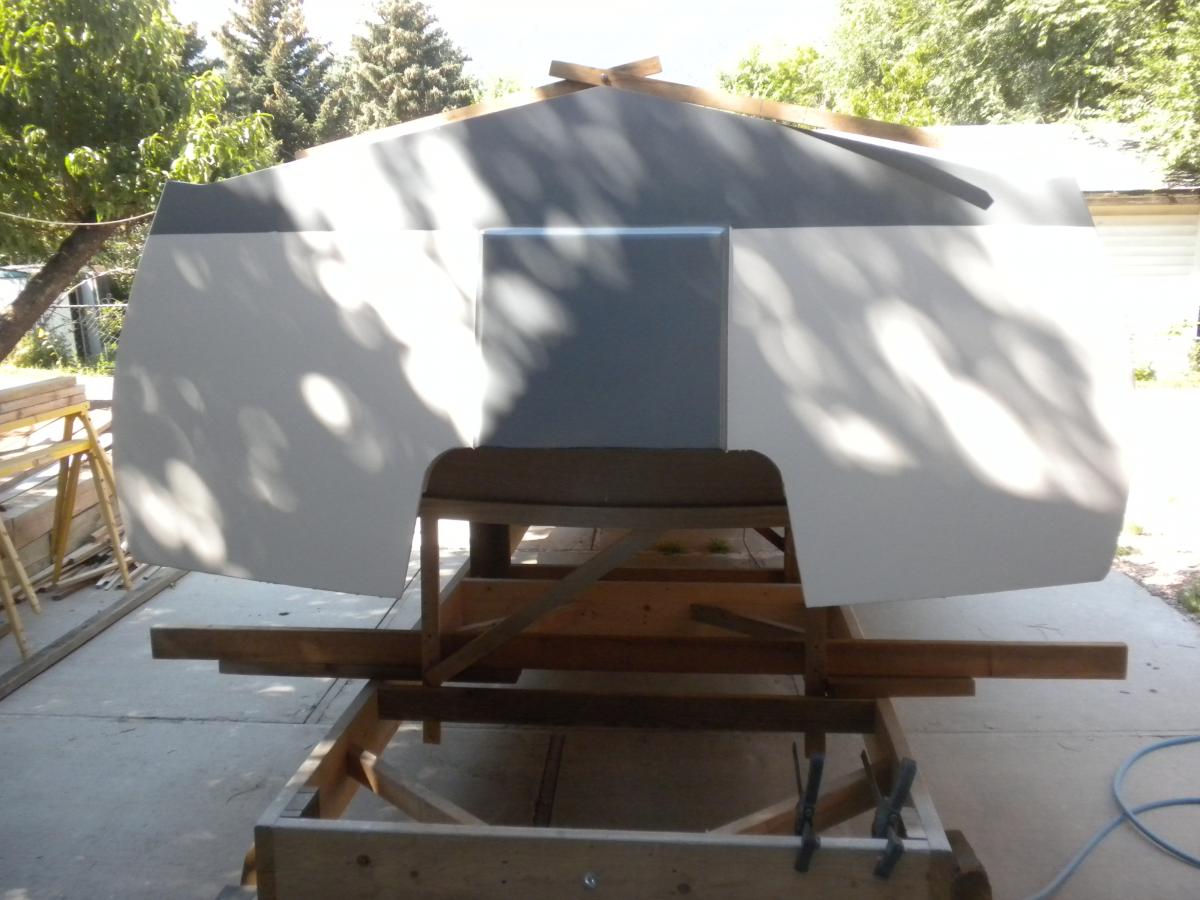
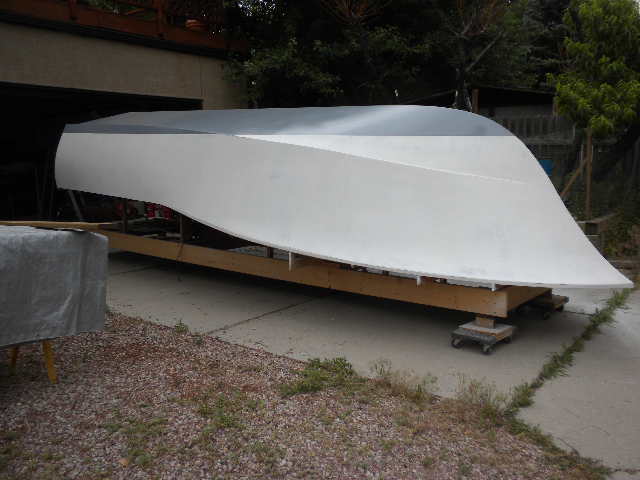
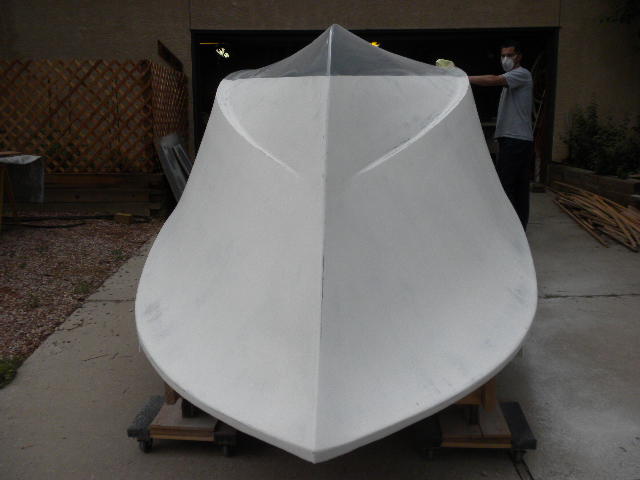
Been struggling to learn how to (spray) paint, using a new Central Pneumatic, HVLP gun. Couldn't get the gloss finish I expected 'til coat number four. Problem seemed to be pressure too low, resulting in not enough paint. Jacked psi to 60, 10 psi over gun rating problem solved I think. Added coat no.5 for good measure. I'm talking about the bottom gray. The white is still one coat of white primer. Hope the couple of pics upload. Reduced the size to smallest possible. We'll see. .........................seems to have worked. I'll try to find an optimum size that works........later. .................Still later: Resized the pics to 49.7 kb (640x480) which seems to be a nice size for the purpose. Guess one should occasionally reread the rules: "Max. single file size:2MB" Had not noticed this before and in the normal mode my camera makes (about) 2.5 MB pics. ..............Ooops. Looks like I posted the same picture twice. Maybe this is better.


-
Third and final coat on the gray bottom...................... Sorry, file "to big to upload" I'll try again tomorrow with smaller files.
-
What about after the final finish coat is down. Should I buff it and if so with what? The same buffing compounds used on car finishes? Maybe a question I should ask the paint manufacturer?
-
Got the same result last time I tried to post, a few days ago.