nzlance
-
Posts
132 -
Joined
-
Last visited
-
Days Won
9
Content Type
Profiles
Forums
Events
Everything posted by nzlance
-
Great to see another Ocracoke on the water. beautiful job Lenny. She looks fantastic. Congratulations.
-
Dave! Bloody hell she's all done. Congratulations mate. What a beauty. Absolute top job. I bet you are a proud owner. Still trucking over here in little ol NZ. Built another boat. ..... Have to do something in the evenings. Hope you enjoy your craft. She's looking great. Regards Lance boardman

-
The ocracoke will handle 4-6 people no probs. They ride and beautifully and are powered by a relatively modest amount of hp considering the size of the boat. ( and they are a big 20 ft boat) The build us quite straight forward and very strong. One thing I really liked about the hull was the chine detail whereby the chine is part of the hull, not a strip of timber tacked on the outside , it just looks better even though the caroliner lines have still been kept. They are a great boat. Well designed, strong, functional and good looking. If you are up to the build.... Which isn't hard , but will require a big commitment , then go for it. You won't be disappointed.
-
All modern engines these days are brilliant. Its pretty much a case of what manufactures sticker you want on the cowling. Reguarding fuel tanks etc, you can really notice the weight differance on my boat with only the rear tank full. Each tank is 25 gallons but I only use the forward tank for general tooling around. It keeps the weight more central in the hull as opposed to alot of weight in the stern. Things might be different on the 24.... more boyancy due to larger hull etc. If I were to do it all again I would probaly just put in one large tank forward. (If I was to get one custom made to fit tightly between the bearers it would of been around 150 ltrs.) And maybe use the rear compartment as a wet locker/ fish bin etc. This in itself opens up another can of worms reguarding water in the cockpit and so on. But all I can say is just be careful how much weight you shove at the back of the boat because you will notice it when you put the throttle down. The 20 likes the engine trimmed in to keep her bow down so it can do its job of slicing through the water. More weight in stern= alot more trim in.
-
I had this trouble a while back. I had my picture quota increased and was away again. I had to check with this random pic to make sure pc was working ok. Sorry Dave couldnt help myself. Your making great progress. Shes looking like a boat.

-
Hey sorry for slow response fisherman. Have not been infront of pc for a while. No downriggers for me mate, just good ol fasion rod and reels on my boat. I like to keep things simple. cheers. Lance.
-
Hi Dave. Things looking good mate. Interesting to see the plank fixing debate still raging. You will find screws and washers or wooden blocks will be the only way to go especially once you start side planking towards the bow. The flare means alot of thin strips to avoid snapping but they still need a hell of pressure to hold them firmly down against the first layer. No doubt you have a good block plane, they are worth there weight in gold once you start the spiling process on your veneers. One thing I found interesting was Grahams idea to use the Ashcroft method for the planking- running both layers of side veneers in the same direction, as opposed to double diagonal planking. Just hoping someone would shed some light on what the advantage of the Ashcroft method is. Your doing a great job. Shes looking great.
-
Very smart looking craft Hokey well done mate. love the clear finish on the deck. And only 44lbs? Thats bloody good going.
-
Build is looking great Dave. I procrastinated over weather or not to do limber holes as per plan. If the holes were not put in the underfloor compartments would obviously act as seperate boyancy chambers basically meaning you would have to puncture the hull about 12 times in different areas before she filled up. (you probaly should not be in charge of a boat if you can manage that). But with a free draining underfloor are it is a real piece of mind to know any water getting in will get out, and the boyancey problem is solved simply by placing polystyrine under all the floor panels. I used plastic re-bar chairs to hold the poly up off the hull to allow free draining. They are cheap, strong and wont rot being plastic and they worked a treat. I put scupper drain holes in the foot well in the cabin, so after a days fishing....( Its utterly staggering how far fish blood will splatter) I can get the garden hose right up into the cabin, wash everything down, and all water is gone within seconds out the drain plug (bung) at the transom as long as the hull is tipped up above level. The floor on mine is drained into a bilge eventhough its high enough above waterline to allow transome scuppers, I beach launch...and an oncoming wave will push water into hull. Where I mainly use the boat there isnt alot of swell plus the cabin and combings deflect 99% of all water so the poor old bilge pump has quite a boring life. You are deffinatly doing the right thing Dave, and making great progress shes looking fantastic mate.
-
Mine will be quite a bit different to what you are building because I went to a portifino stern. There was a template on the mylar so you can use to make your formers to curve the transom panel. I cut mine out of 2 inch thick timber the more surface area under the ply helps keep the surfaces from undulating. I also used 3 laminations and left the third off until the sides had been planked, then the last layer locks over the sides. There is alot more ply to be added to outboard well etc but is easier to once hull is flipped. When I laminated the curved panels together I pre-drilled strips of timber and spaced them quite close together , right angles to the formers to provide even clamping pressure on ply. scattering screws all over the place makes for 'lumpy' surface as the ply trys to pull up between fixings. The panel will sring open abit once glue drys, but will pull around again once you fix it to beams. Be very carful doing this bit, as you have to keep the bottom of the panel slightly above the line of other stations to allow for planing angle as transom is tilted outwards around 15 degrees. Hope this helps. Looks like you are doing a great job... and more imortantly, you are enjoying your build.
-
Hi Dave do you mean potifino constrcuction or the curved transome panel itself?
-
A couple of new bits suck the boat. The keel strip made from 1.2mm 316 stainless. Had the edges upturned 7mm the full length of the hull. Went on very well and forms up to the bow eye nicely. After pre-drilling it I filled the whole thing up with thickened epoxy then spent an entire friday evening grovelling around under the boat whiping up tonnes of glue that poured out the edges as I went along and screwed it into place. Real mission but the end result is pretty good. The entry on the boat is so fine that the keel rollers were wrecking the paint and glass on the forward section. This will sort out that issue. Installed a shiny new alloy baitboard that also has 3 rod holders and knife slots at the back. Its nyalic coated so wont turn into a dull grey manky looking piece of s--t ever. very popular coating for aluminium boats over here. Good enough for the space shuttle..... Also installed carpet in cockpit.....went off kiwi gripping it. Carpet is just so much nicer on wet feet, non-glare and reduces noise. Draw backs are it can be hard to clean but a couple of mins with pressure washer and nice smelling chemicals and shes as good as new every time. Headlinning stuck on too.... Have nearly run out of things to do.


-
Geez you were not joking about deer antler ... (my 4 year old son calls them horn-tlers) for the tracing tool. love oringinal ideas.I used a nail punch sharpened to a point and punched a dot through the mylar every inch or so then conected dots with pencil. Crude but effective. We wish you could be workin on the thing full time too mate.Keep pics comming.
-
I have used International Perfection on my boat and the one before it. The stuff aint cheap but put on properly you can hardly tell the difference from a spray job, and its tough. My last boat was built in 2007 and after 3 years of abuse... beach launching, dive tanks and fish blood it still scrubbed up as good as new every time. I was bloody impressed. Hence the reason for using it again on my Ocracoke. There is a few things I have leant about it the hard way though. Put on atleast 2 undercoats. The stuff sands back beautifully but in doing so you are also rubbing back your base coat so you end up exposing glass if you go to hard. External corners are the worst. As for the top coats, I use a foam roller...which puts the paint on thinner than a brush but alot less chance of drips and runs. The finish coats are super glossy....like you could shave in the reflection, the first coat is easy because the undercoat is a dull white so you can see where you are going. The second top coat is very hard to see the wet edge, even after you have rubbed it down with 320 grit. Also 2nd coat must be applied within a couple of days max of first coat as 1st coat hardens so much the 2nd wont stick properly. I found this out the hard way a few years ago.... It was like trying to put paint onto a greased piece of glass. All this info is on the back of the tin. Like I said if done right the results are impressive and very hard wearing. The stuff aint designed to be sprayed as thinning it will deminish the gloss levels but care taken with some rollers and a brush and you will have a top notch job. Its worth the money.
-
If it were me I would put in a tank mate. I never really get a massive urge to go for a swim in a bay that is packed with yatchs.
-
Masked up and rolled on kiwigrip.Goes on really easily. Removing the masking while its still wet was a bit tricky, but other than that all went well and looks good. Certainly looks grippy.Next will be going up around the bow with it.


-
Yeah thats what I have read aswell Onboard. It seems like the price you pay for a super grippy surface is that everything will stick to it. My concern is the gunnels surrounding the rod holders will be coated, meaning alot of fish blood (which on a hot day seems to stick better than epoxy paint!) will become inbeded into Kiwi-grip.I guess at the end of the day its only a simple matter of re-masking and re-coating after a soapy water scrub down. The product is acrilic, so very easy to roll on with textured roller. I have used 3m sticky backed rubber panels before, which look great for a couple of months then they shrink back leaving a nice brown perimiter of adhesive around each panel. Not ideal. They are also quite tuff which makes cutting the radius corners etc quite tricky without digging blade into paintwork.
-
Sorry lads, taken a wee break from boat last few days.... Was on such a mission to get it in the water , promised myself a few days rest once splash day happened. (Day job on top of night boat job tends to wear one down) .Have put in rod holders as there position needs to be fixed so I can mask around them for the non-slip. Gonna use kiwi-grip. The name has nothing to do with choice. Just looks like a good product, If anyone has used it and has any comments...good , bad or otherwise please let me know. Will get the anchor sorted this weekend. From here have to get carpet in, vhf, bait board and wire up bilge pump. Will get pics asap. makenmend, miyot, maligno, hargrave, hokey, gordey,dmnolan,piper.....cheers.
-
Shes looking great scott. Man that is a massive surface to fair. Wish I could offer some advice to help make things easier but you probaly are aware more than anyone of the task ahead. Just keep trucking.....and if you have any mates that owe you a favor... nows a good time to give them a call! (Longboarding) ps. I have read the Gougeon brothers book on boat construction about 3000 times. It has been the most helpful book reguarding boat building, especially yatchs of your size I think I have ever come across. Well worth getting If you havnt already.
-
Hey Hokey, You were right about 115, they are super powerful for size. They deffinatly arnt the most advanced peice of kit on the market but I was genuinely surprized at how smooth and quiet it was. My fishing buddy has a merc 115 opti on his 5.8 glass boat and we have to scream at each other when underway. This thing will do me fine. And thankyou ..... all of you once again for kind words.
-
Geez thanks fellas. Dont worry... I still have alot to do and more than happy to put all progress on forum. Really stoked that you lot have enjoyed the journey too. Very keen to see how the 24 goes Dave. There is still alot of finishing to do, non-skid, rod holders, canopy............ the list is a mile long so will keep the updates comming and hopefully throw in a few pics of epic hauls of fish. (I live in hope). I didnt get very good pics of boat on water as it was nearly dark buy the time we got her in the drink. Over a year of building, days of rigging and getting everything sorted and then...... A spring low tide and no water in harbour! Talk about torture! We had to wait 2 hours before take off, 6pm, hence bad light.


-
Went out for the maiden voyage tonight. 48 mph at 5700 and was still winding out. very happy indeed. Not bad figures for a 20 ft boat with only a 115. At 4200 rpm its sitting real nice @ 34mph retuning 7 gallons p/hr. Carb engine, pretty good economy. The ride was beautiful, very smooth.... rides up onto the plane easily while hull remains farily level, very impressed. High speed turns showed no prop venting... it just hung on like on rails. The trim tabs work great , with both of us on one side at 30 mph a simple touch of button had boat pefectly level and super stable. Also very stable at rest... sure it healed slightly with crew on one gunnel... but that was to be expected ... it aint a catermaran. All up I was bloody happy. Have been in alot of boats over the years and this was right up the with the best of them. The conditions werent exactly testing but punching across ferry wake @ 40 mph showed no signs of anything scary at all. smooth, composed and quiet. Congatulations Graham on your hull design. It works well., turns alot of heads too. People all over the marina were pitching up to look at her. Will get some pics with her rigged up ASAP.
-
Ha ha thanks Piper. That pic actually makes him look slim. You wanna see him side on, hes one fat little bugger. Connected up a few gubbins in transom locker , Fuel tank change over tap, trim tab pump, fuel filter and oil tank, everything just needs wiring up by mechanic. Used some teak to make a couple of footrests and stair treds. drivers side needs a couple of stainless spacers and long bolts before fitting. Man it was nice to do some work with just timber! No glassing, no fairing, no itching, no resporator mask........


-
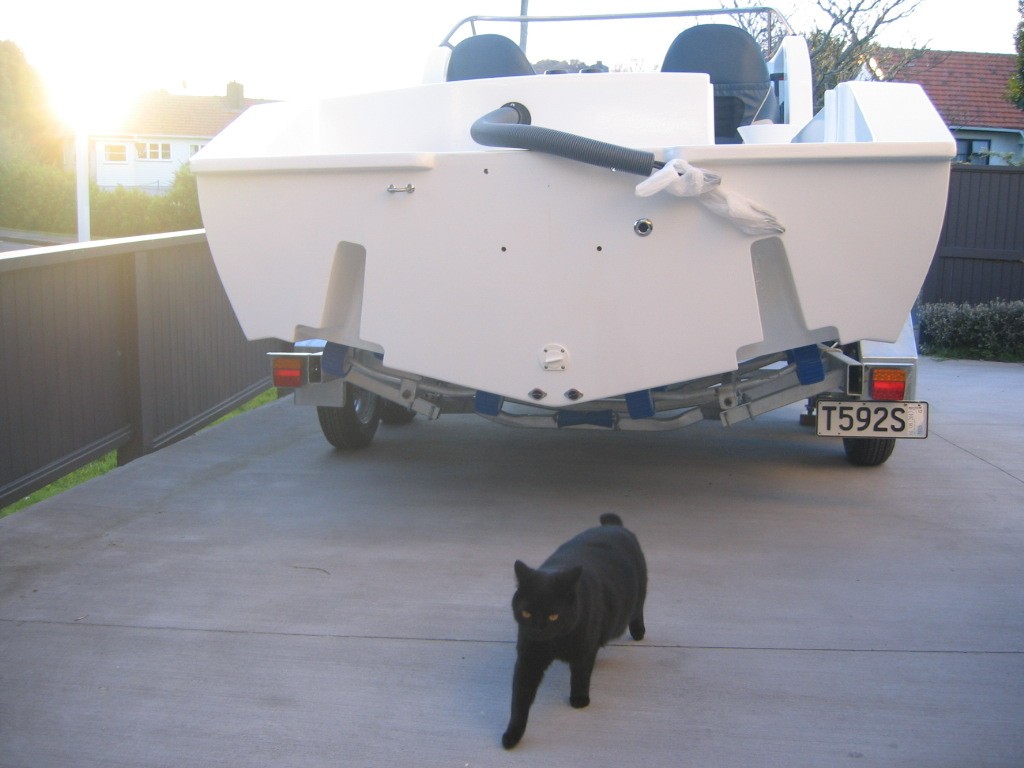
Zeb the cat is not into any of this boat thing at all.

-
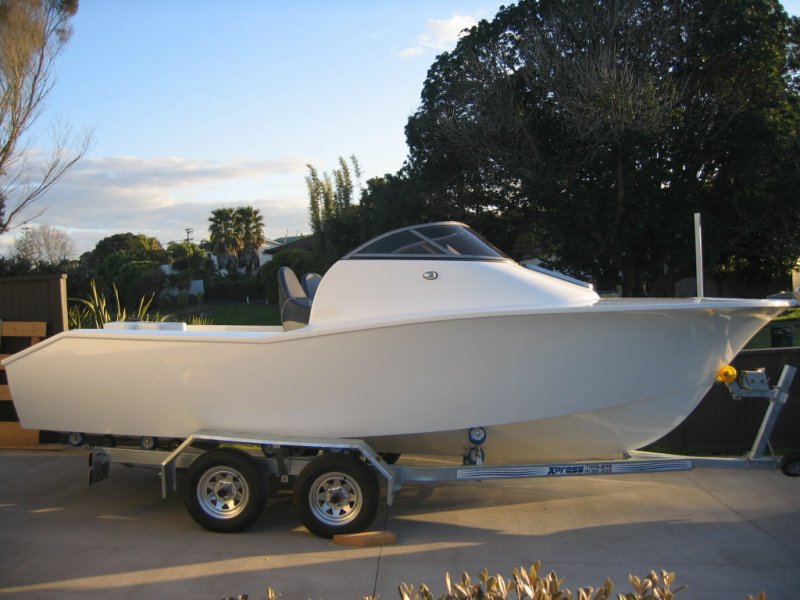
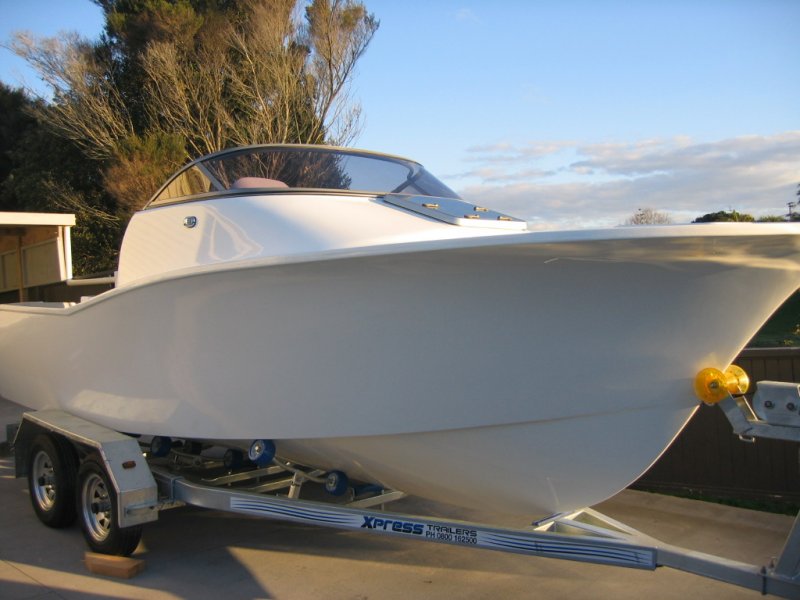
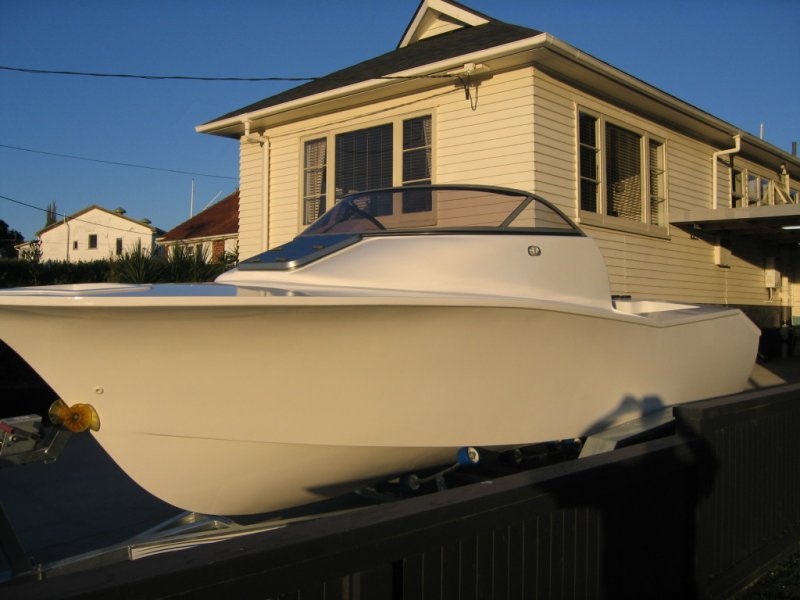
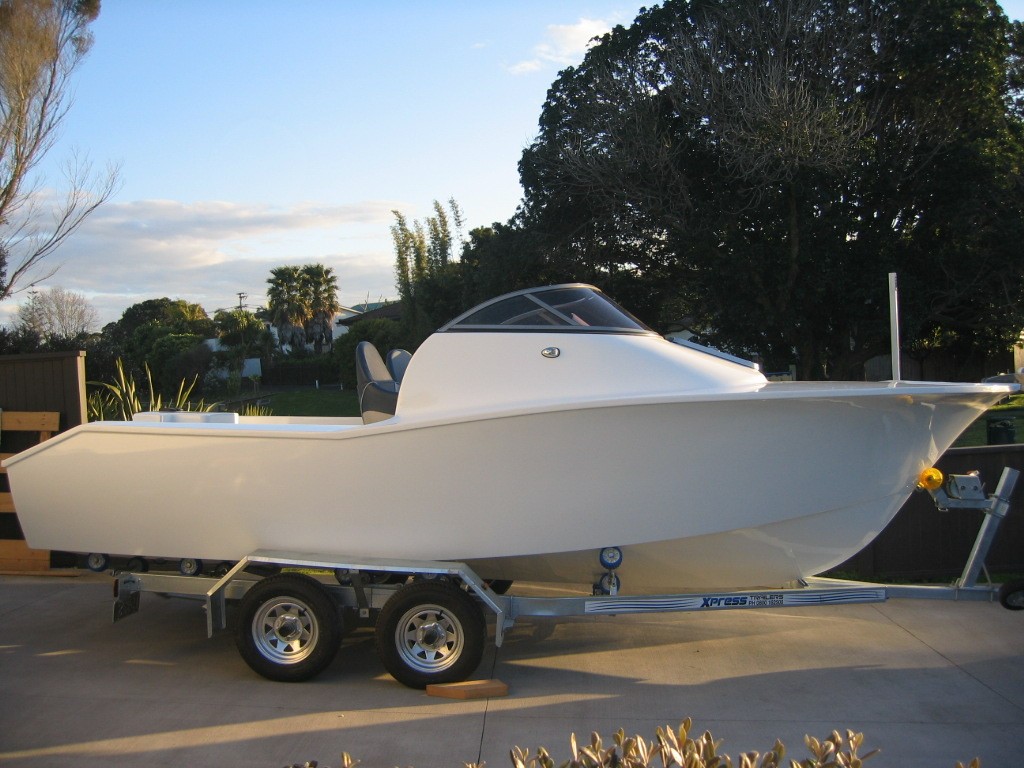
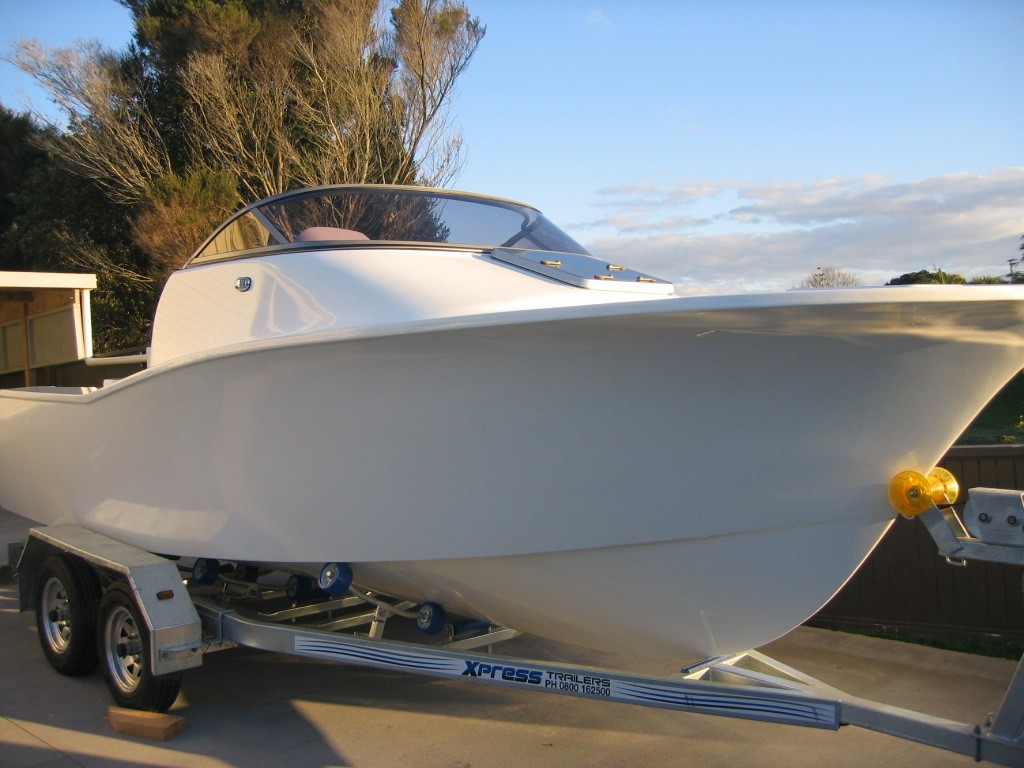
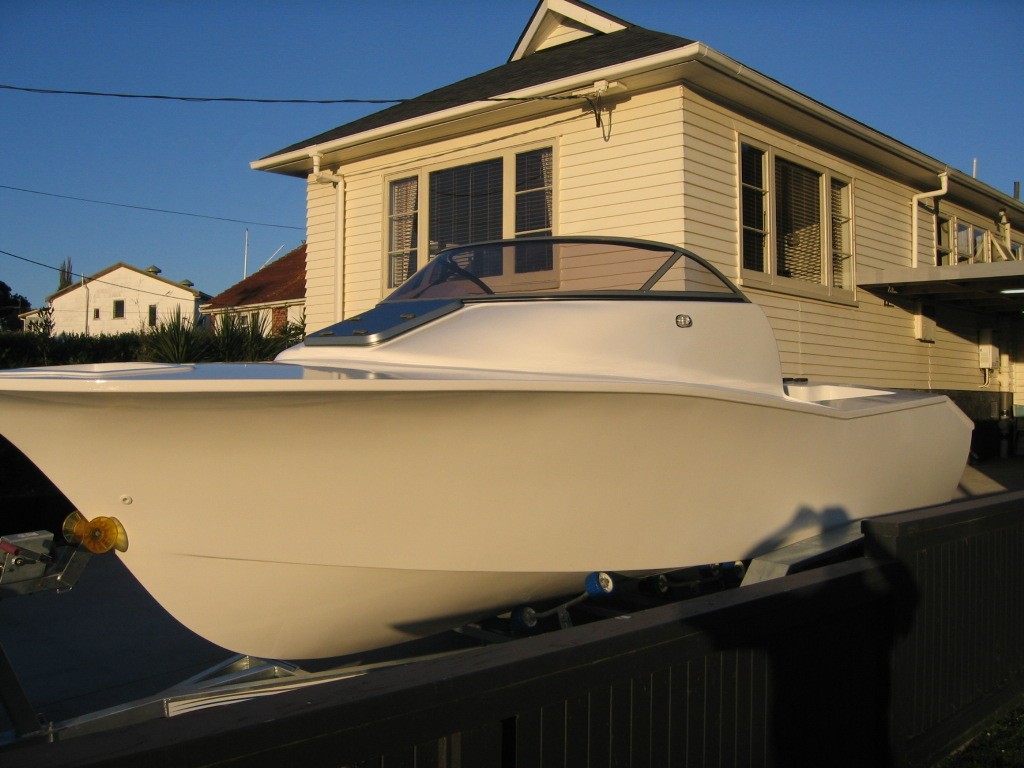
Managed to wheel her out out this afternoon. Next job is to fit stainless belting around the gunnels.... and get outboard fitted next week. Should be able to get some performance figures then. Have to fit trim tabs, fuel filter and tank-changeover tap in the transome locker aswell. Carpet will be done once shes been in the water and all set up. 6 rodholders , non-skid to be done in very near future too.