nzlance
-
Posts
132 -
Joined
-
Last visited
-
Days Won
9
Content Type
Profiles
Forums
Events
Everything posted by nzlance
-
Thankyou hokey. Its good to get some feed back from other outboard owners. My last motor was a yamaha f60 high thrust 4 stroke pushing a 15 ft wood/glass run about deep v. Top speed was only around 30 mph. But the fuel enconomy!!! You could go all day on a couple of tote tanks. It was wisper quiet, started first turn of the key, even if it hadnt been touched in months. Anyone that hopped aboard the boat was simply amazed, the loudest noise was the tell tale stream hitting the water! It was a fantastic piece of engineering. So going back to a dirty ol carbed 2 stroke was a hard call for me, but I have herd nothing but praise for yamaha sws engines. They still sell alot of them new now, I guess there are alot of guys around like me who have to weigh up fuel economy against asking price. Saving over $10 000 buys alot of fuel!! The interesting part will be the performance of 115 on this hull. According to Graham it will do 42 mph with a 90.... which is quite frankly bloody fast considering it was a Honda 90 on the back....they arnt exactly known for there rocketship performance.
-
Hey thanks Gordy. Very much looking farward to seeing how they work. I purchased an engine for the boat , a 2006 yamaha 115 salt water series. It definitly wasnt what I originally planned, It was surposed to be a 4 stroke or a DI 2 stroke such as an etec or optimax. But the cost!! One thing you gotta know about nz. We get utterly ripped off when it comes to outboard engines. Like for example a new 4 stroke from any of the big manufactures ie, Honda etc over $23 000.00 nzd yet our currenceys value is nearly equal with US dollar. I spent ages trying to decide what to purchase but in the end money talked. Yes the fuel enconemy isnt as good and yes the resale of the entire boat wont be as good either should I decide to sell. But, This engine is nearly new ....... less than 100 hours, they are very relible, tonnes of grunt, easy and cheap for parts and service and was way less than half the price of a four stroke.
-
From here its fillets, then glass. Then back on track with painting.


-
Once the cutting started there was no going back.


-
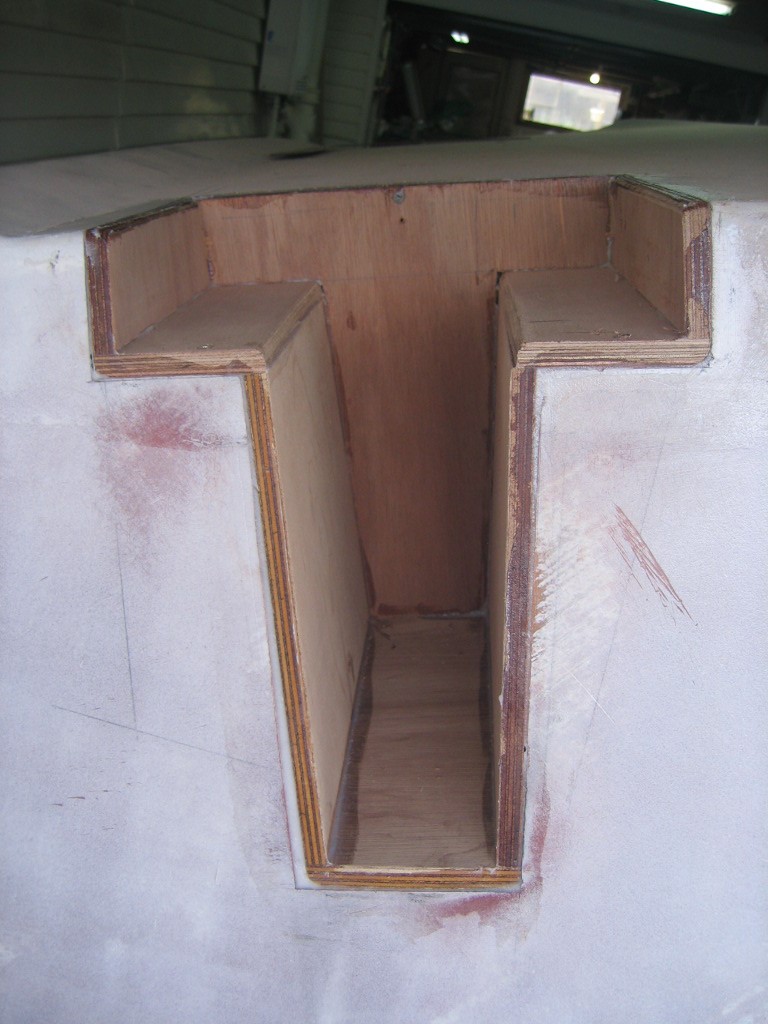
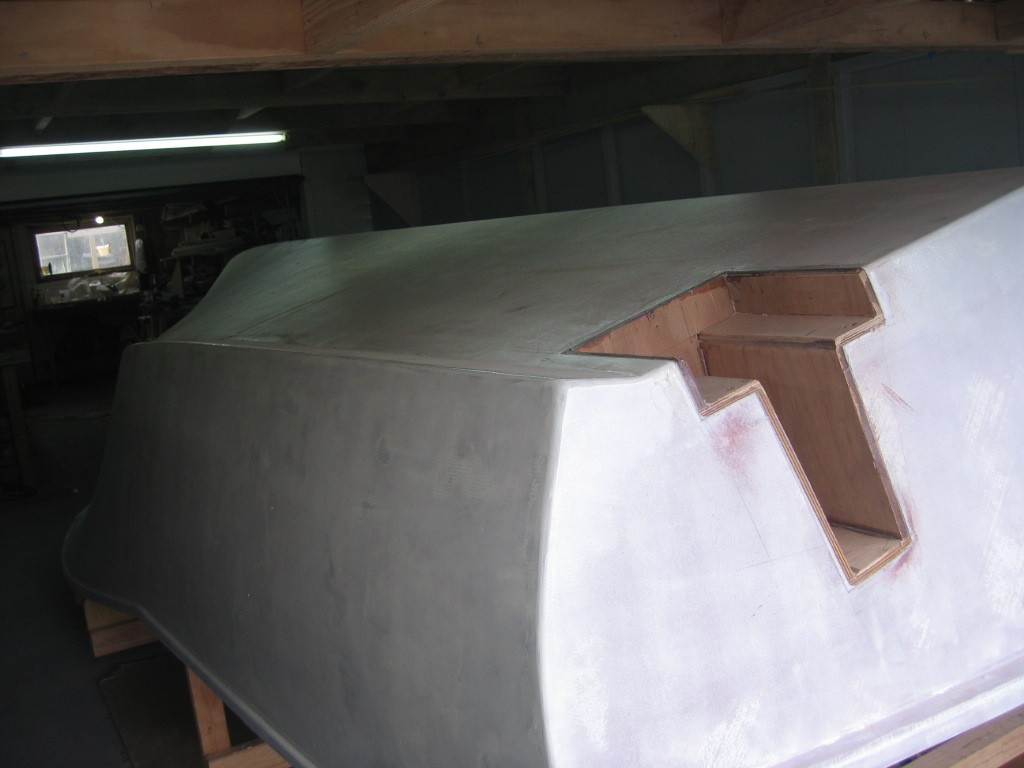
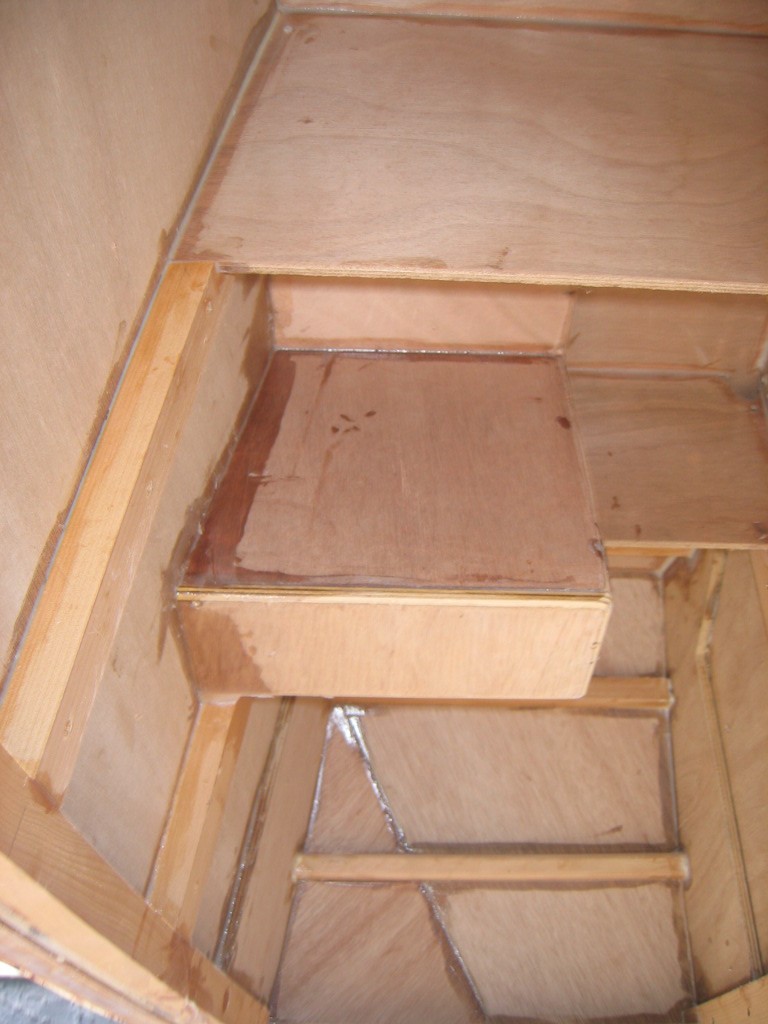
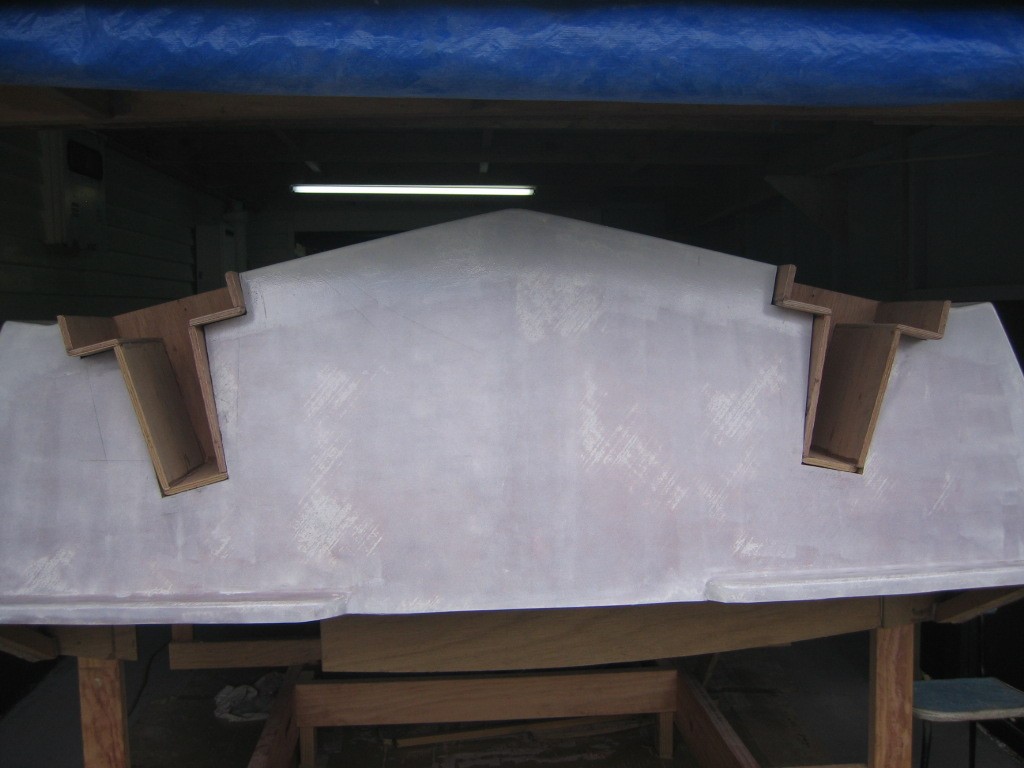
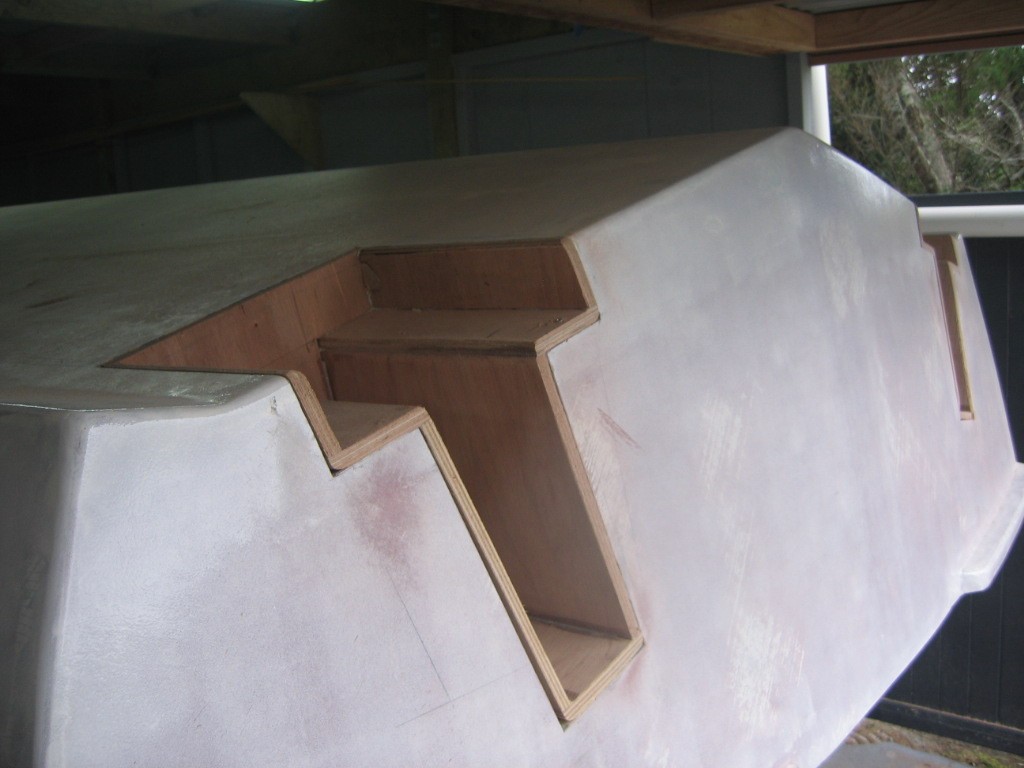
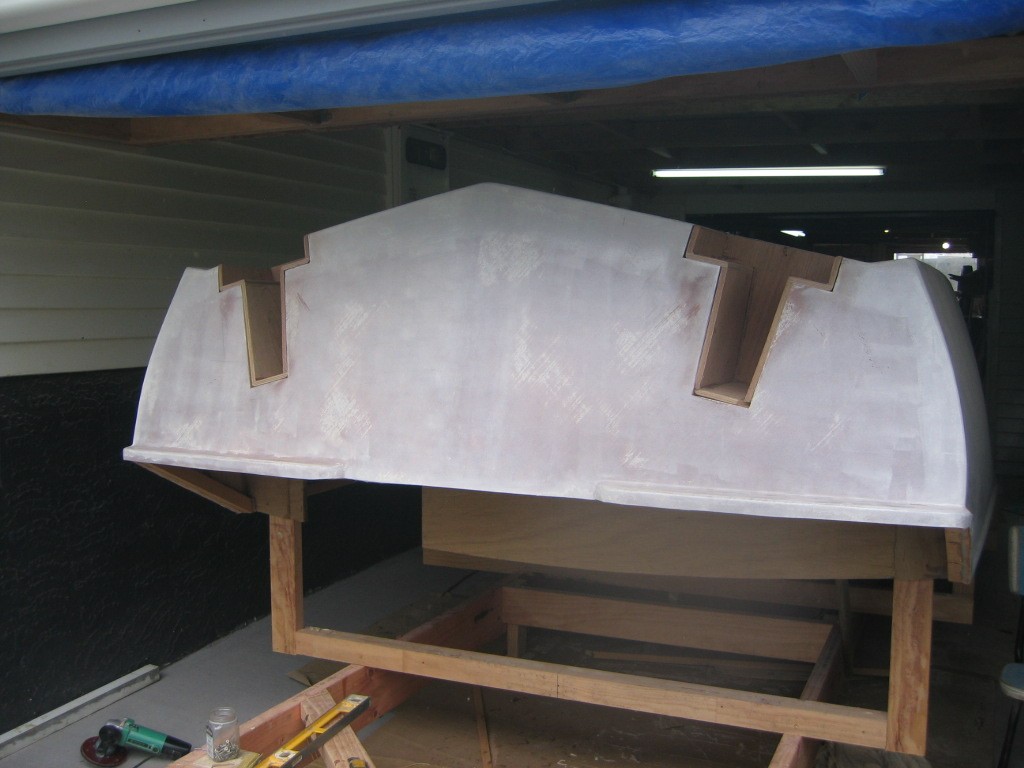
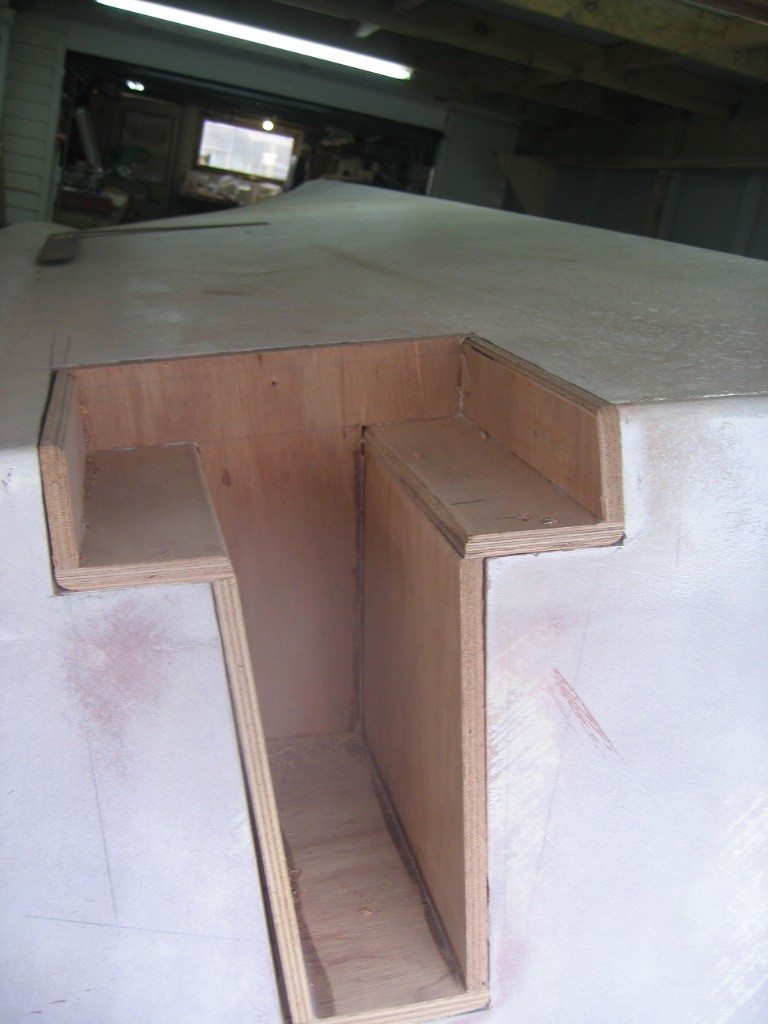
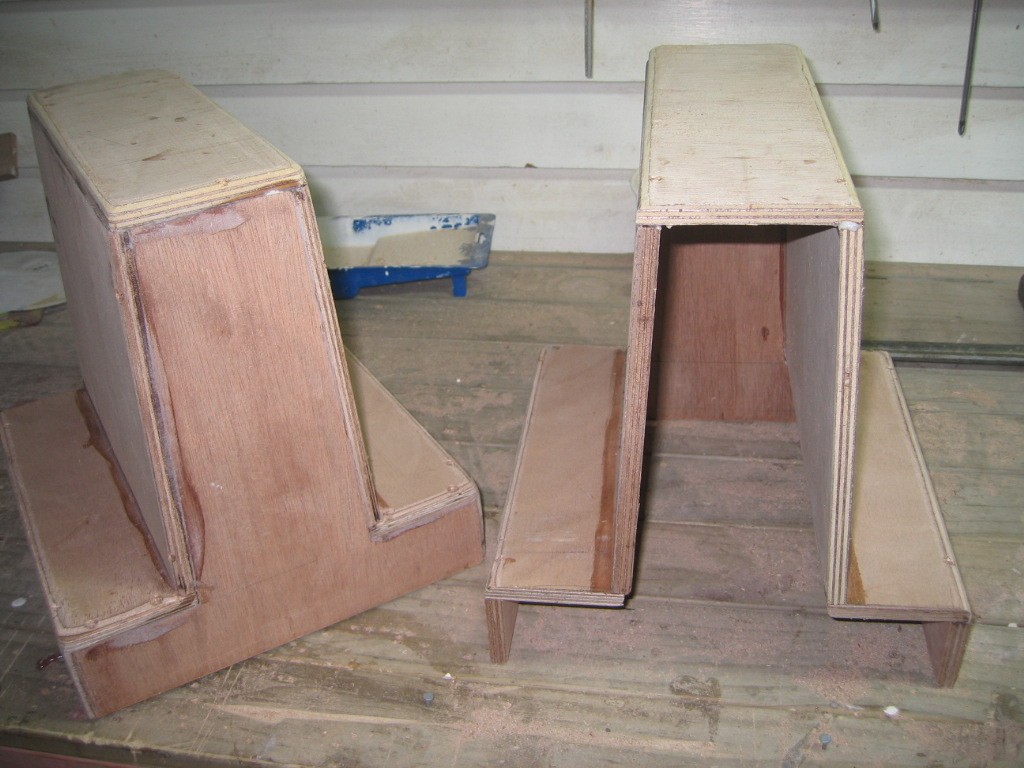
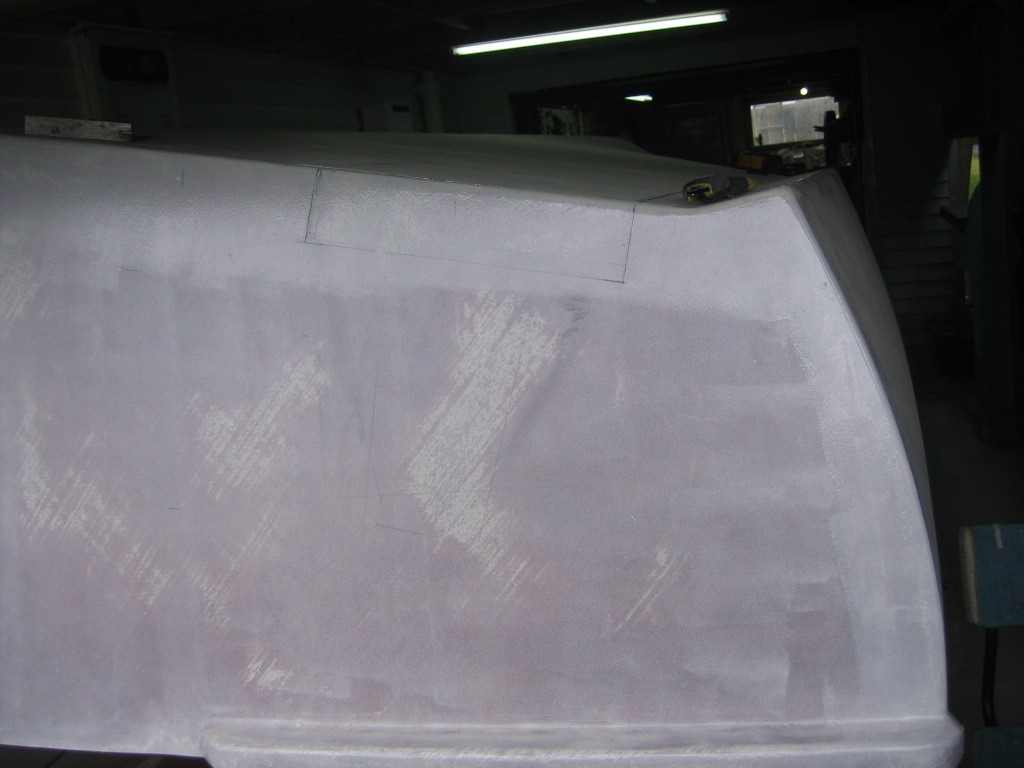
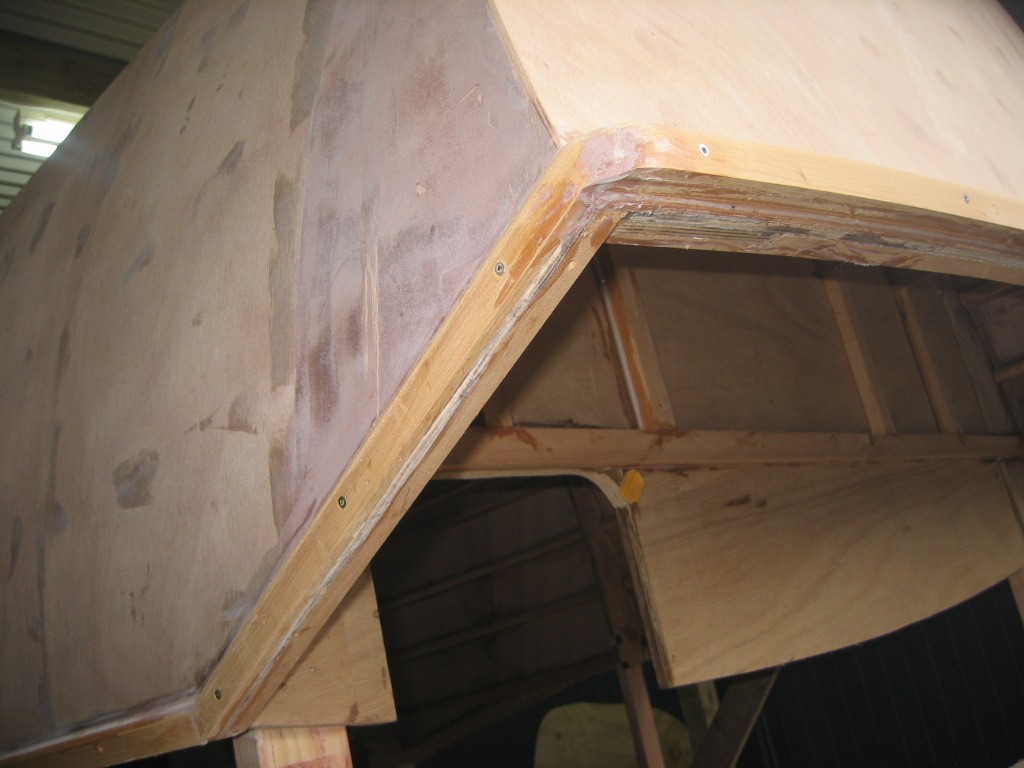
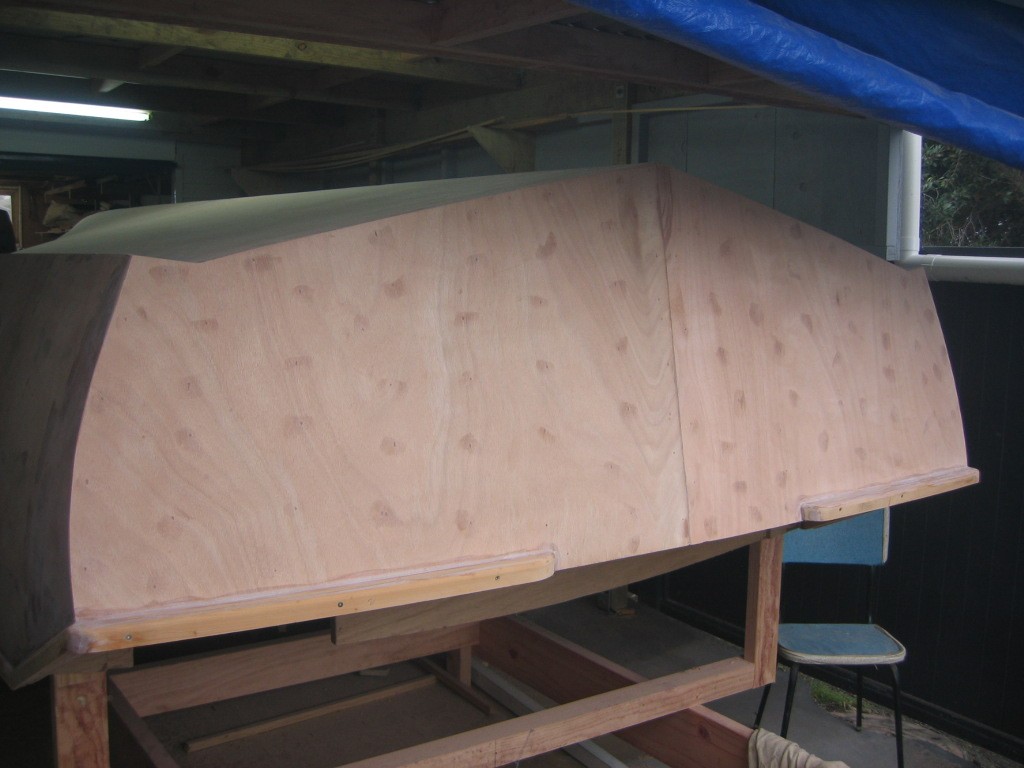
Been away for a bit recently, gave me a bit of time to think about fitting trim tabs. Was going to worrie about it once boat was complete, as fitting tabs on the outside of the hull is pretty common practice. There are those out there that say tabs arnt neccessary, and they would be right. Any boat will still go quite happily without them. But after talking to a good friend of mine whom I do alot of fishing and diving with, he said the one improvement that he would make to his boat if he had a lazy $1000.00 bucks to throw around be to fit trim tabs. Granted his boat has a hard top -Sutees 6.1. (nz built alloy fishing boat, one of the best around) So it suffers from a bit more windage than my boat will, but I think the pros out weigh the cons. Advantages: Will level out an unbalanced boat while travelling. Lifts the stern further out of water for better speed and fuel econemy. Will trim bow up or down better and more efficiently than using the engine. They add waterline length to the hull to help smooth out ride in choppy conditions. Disadvantages: You have stainless steel plates protruding well past the hull which are fantastic for cutting through fishing lines-usually when trophy fish is on. They can and do dig into the sand when beach lauching the boat in shallow water. People stand on them either while getting back into the boat while swimming or on shore loading up. They add more weight ,complexity and cost to a boat. Its something else to break, something else to fail when you least expect it. Not to mention the cost. A grand is alot of cash and could easily pay towards a whole array of other goodies to bolt to the boat. I thought I would remedy some of the disadvantages of tabs by recessing them into the hull. The bennet tabs I have chosen are 10" x 12" long. I went to the shop pulled them out of the box , took some measurments, packed them up again and gave them back to the man behind the counter, much to his dismay. Dont really need them at this stage. Just there dimentions. I made up the boxes out of 12mm ply and allowed the glue to set. Next day I cut the boxes into the hull. Trust me...... I felt sick chopping into the hull at this stage of the build, its nearly ready for paint. So none of this was undertaken lightly. The odd shape of the boxes is to allow the hydraulic rams to be fully recessed in, but still accessable. The curve of the transome ment that the back edge of the tab will protrude past the hull- but not by much. Fully recessing the entire plate would mean a cut out of over 400 mm long, this had me woundering weather or not it would have an adverse affect on the planning suface of the hull at low speed. The reason why the plate checkouts are 60mm deep is that Bennet trim tabs are quite heavily folded.Like a gull wing, not flat like lenco tabs, so extra room is needed. From here All corners will be fillited. Then each recess to be heavily glassed as im sure these areas will be under huge strain once up and running. Once boat is flipped more timber and glass will be added to outside of boxes.


-
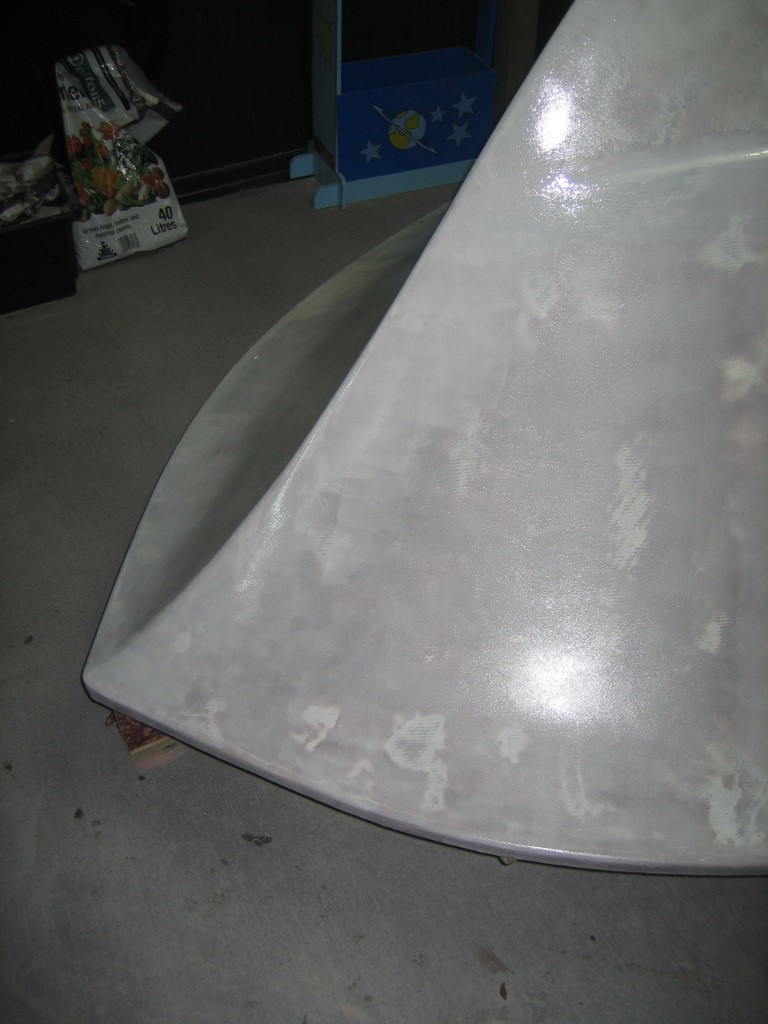
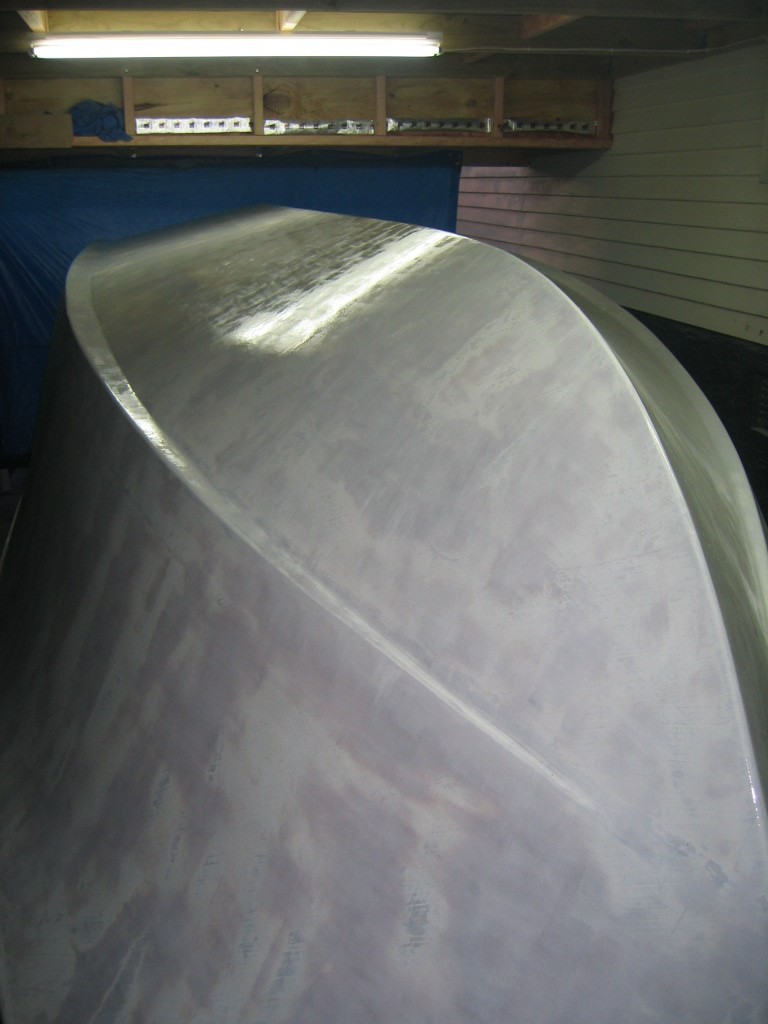
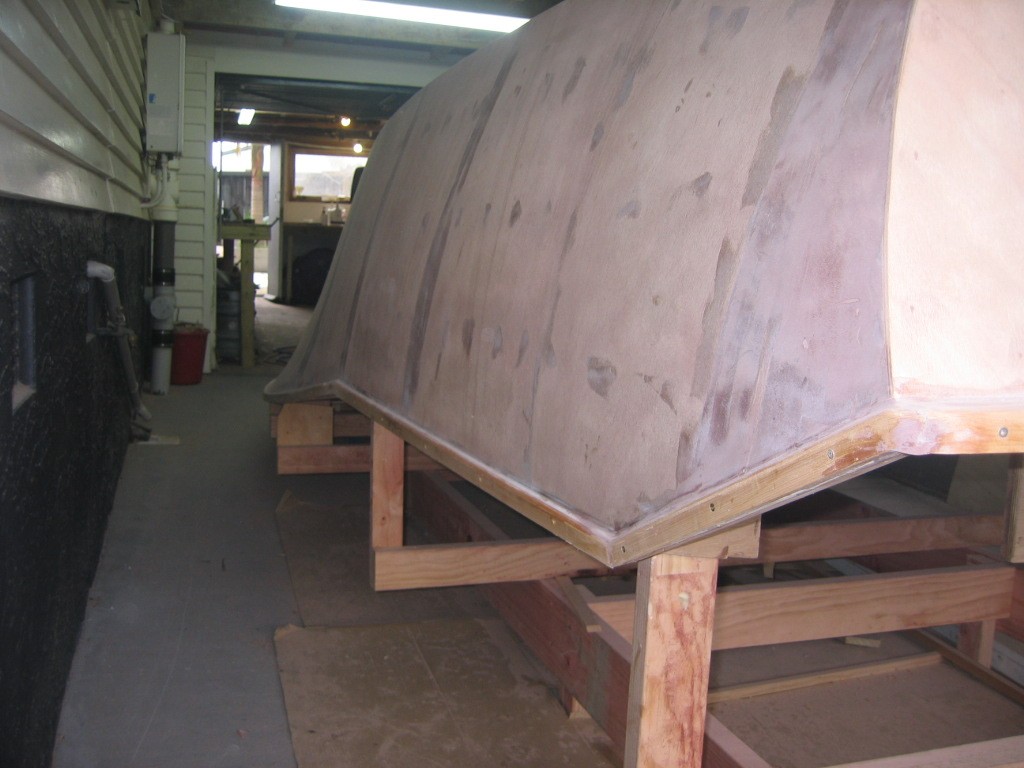
Two more coats of pigmented resin to be rolled on then time for high build surfacer.


-
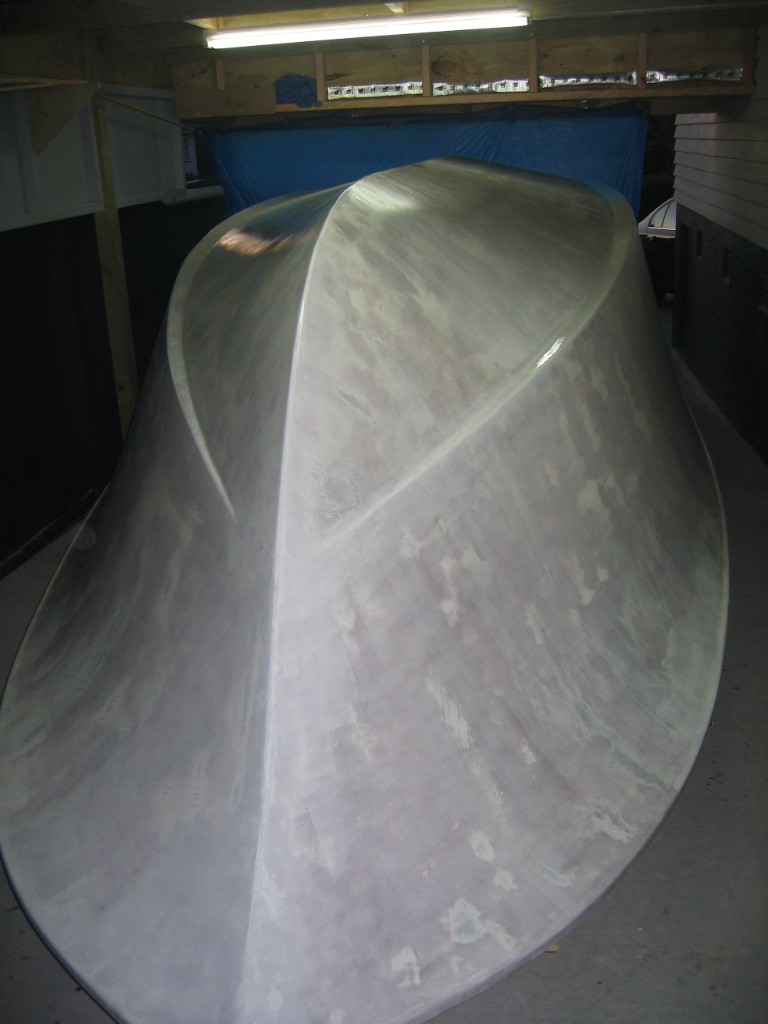
Dont quite know why got 3 of the same pics there.


-
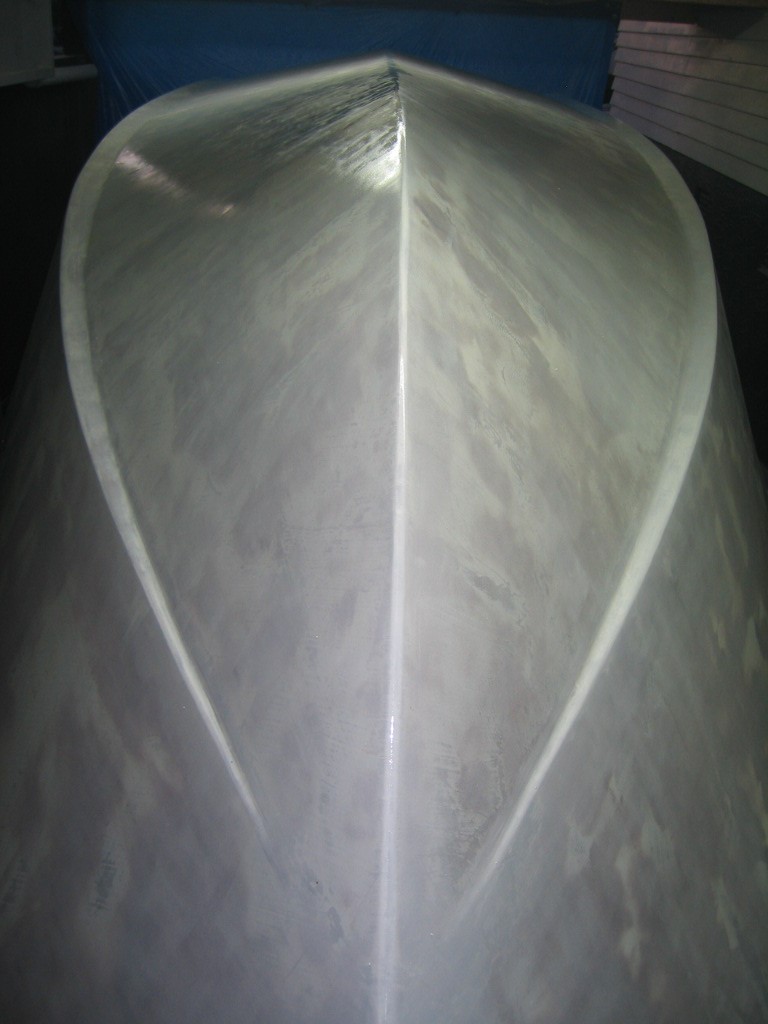
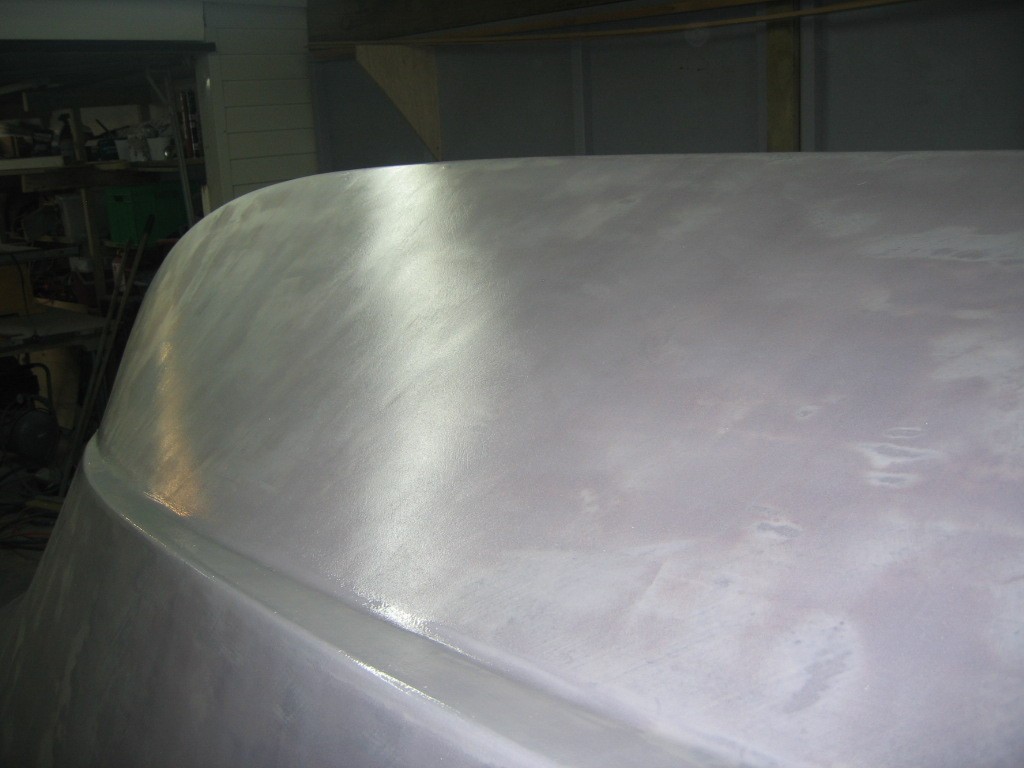
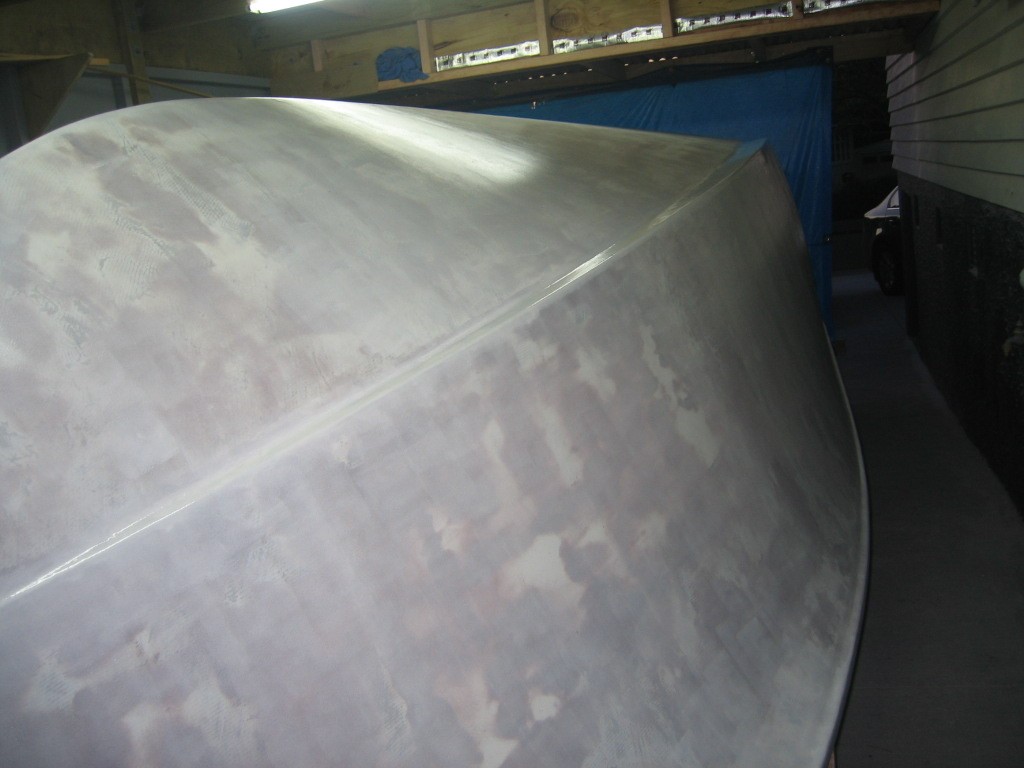
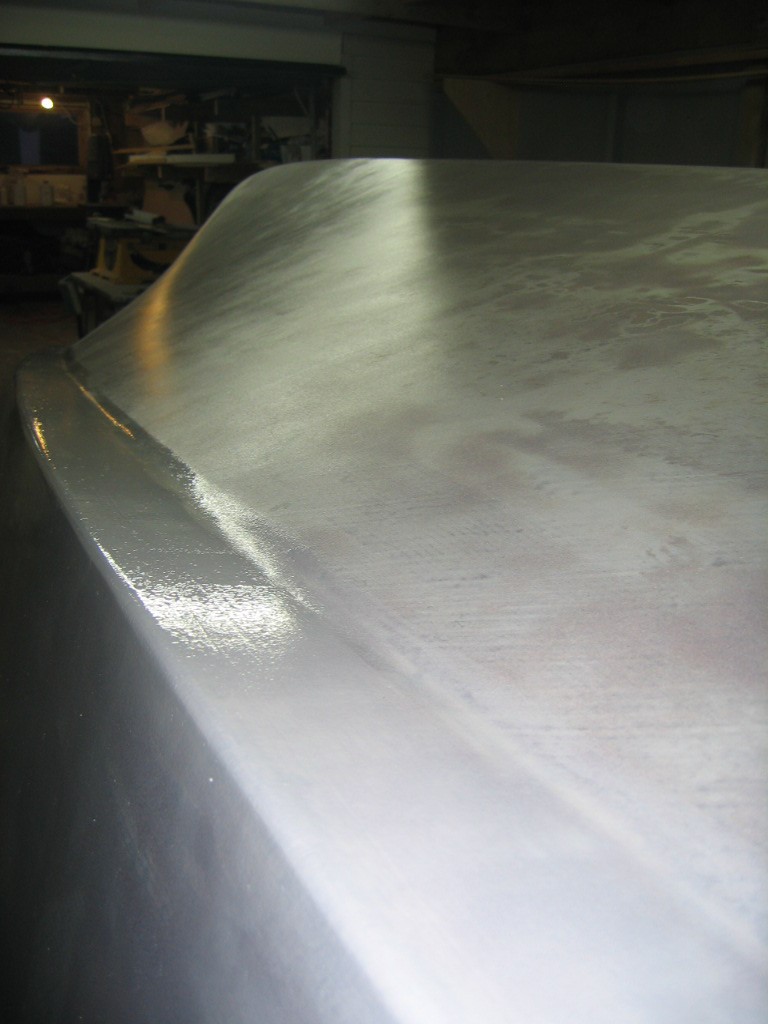
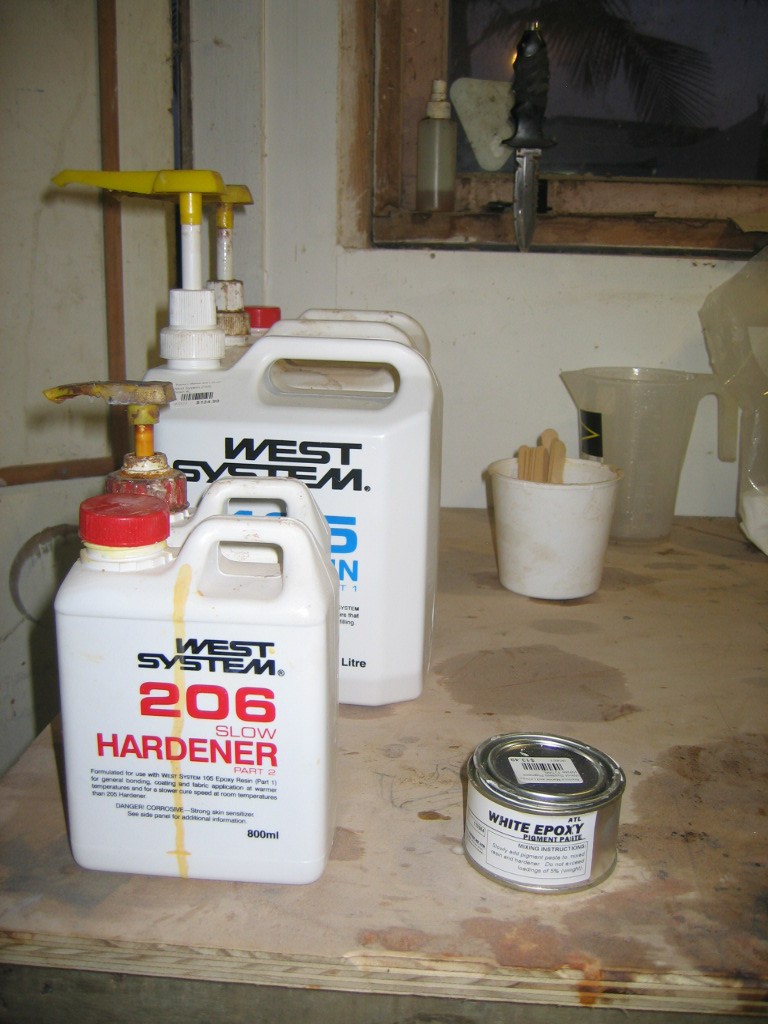
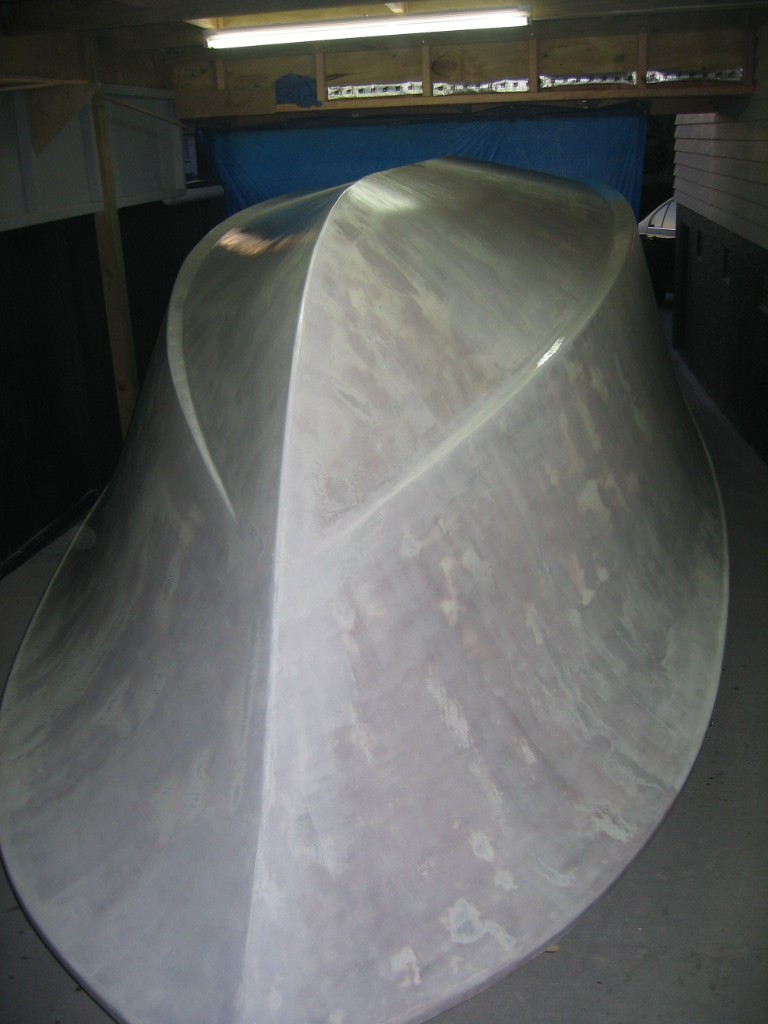
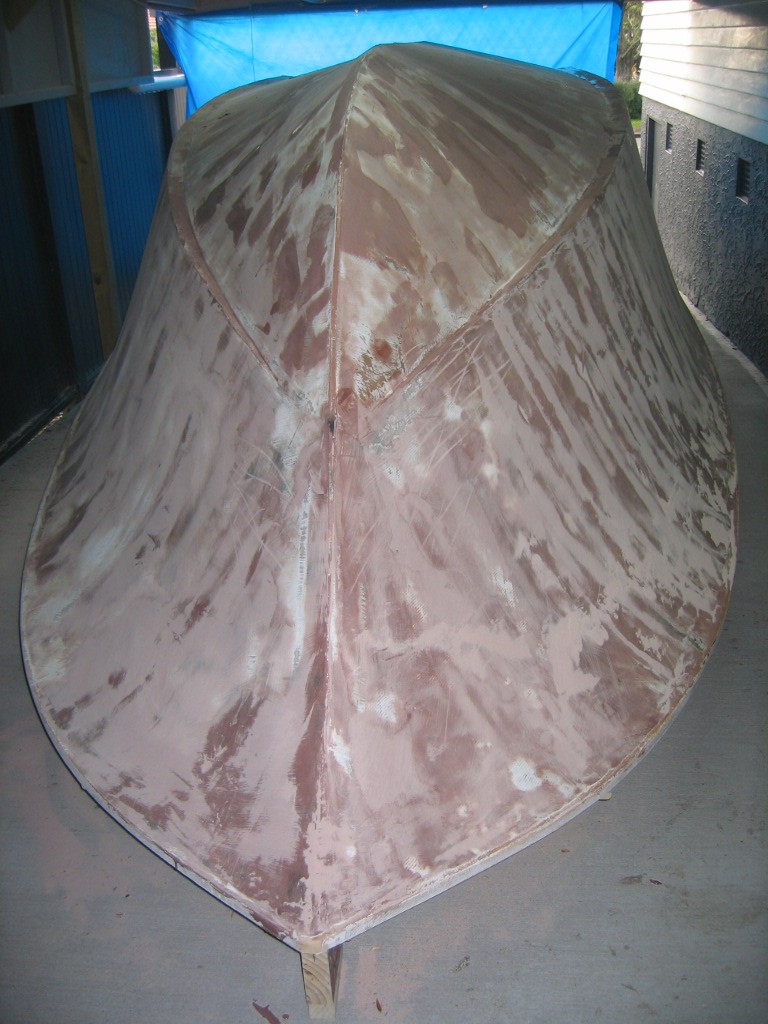
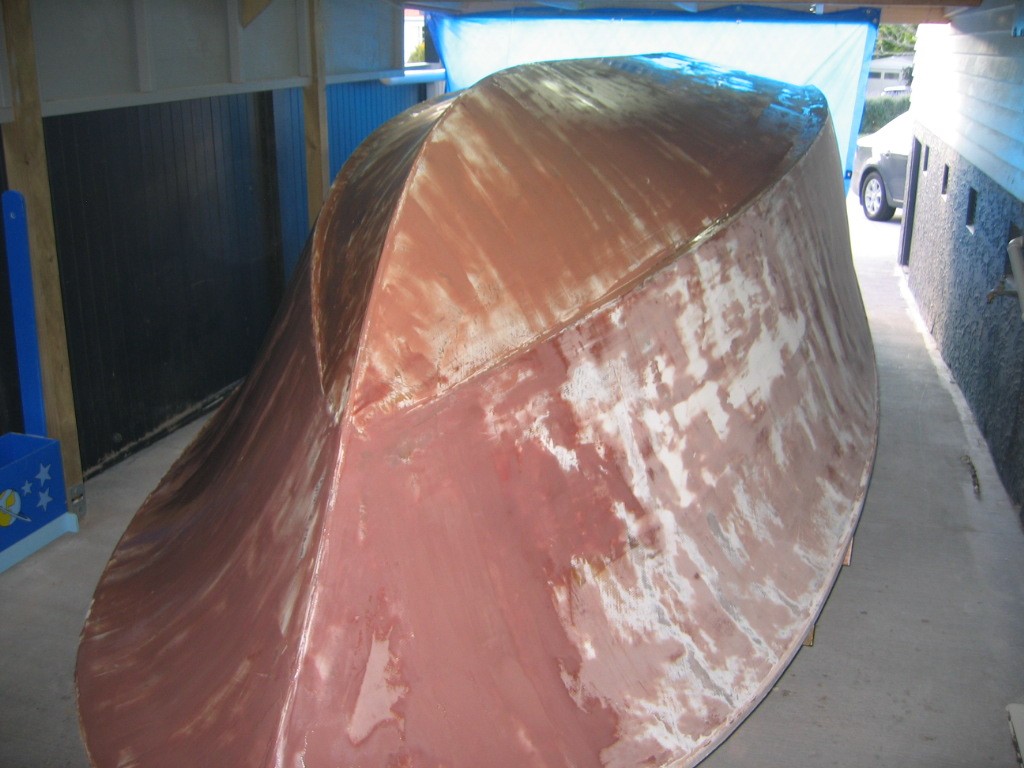
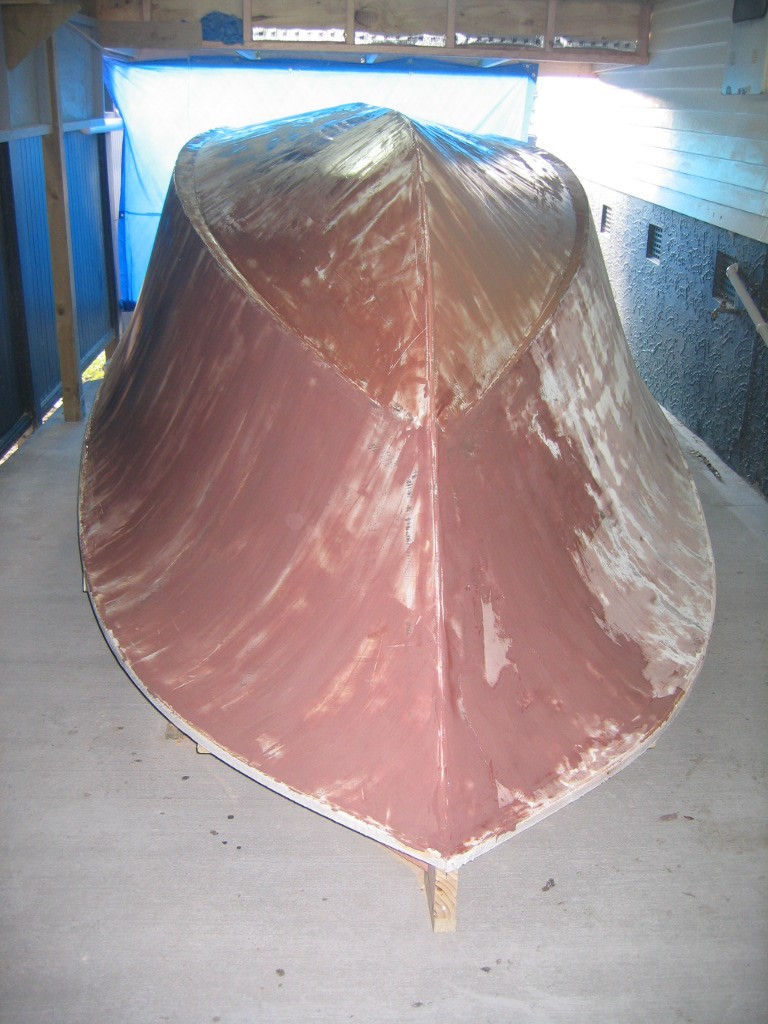
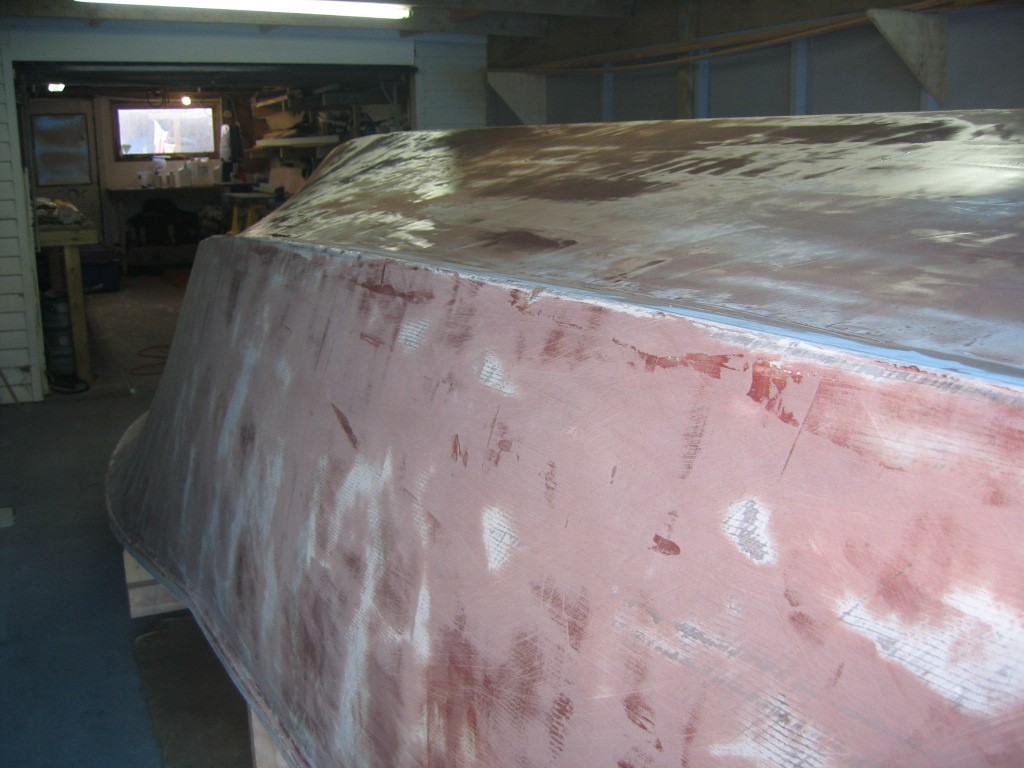
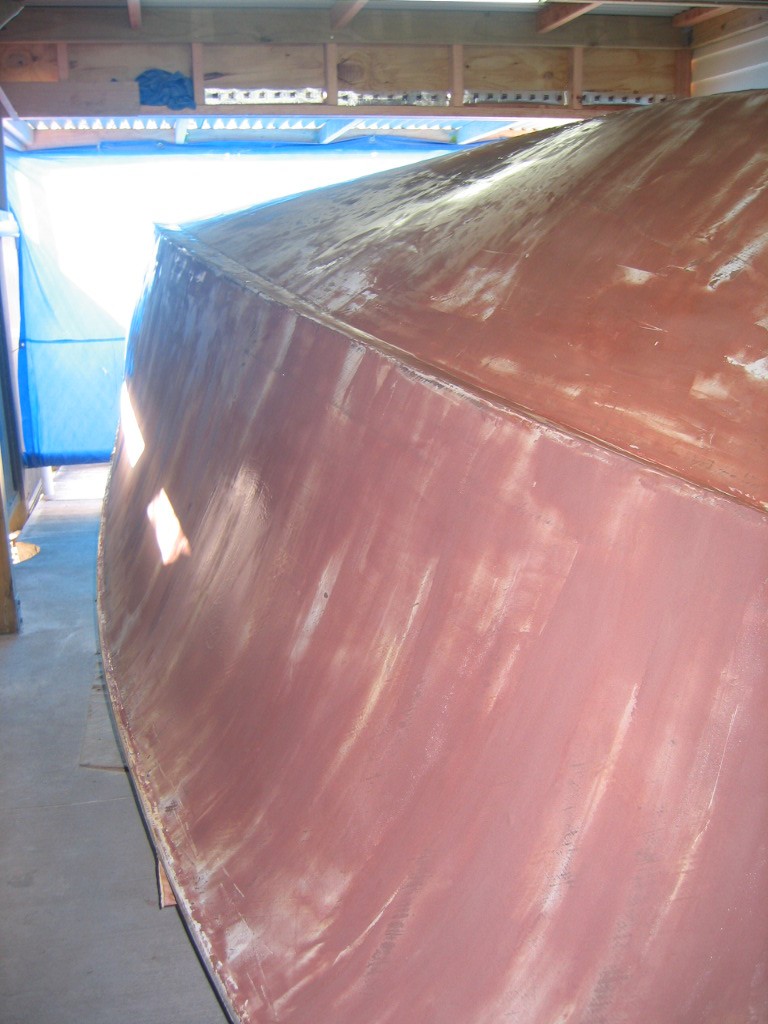
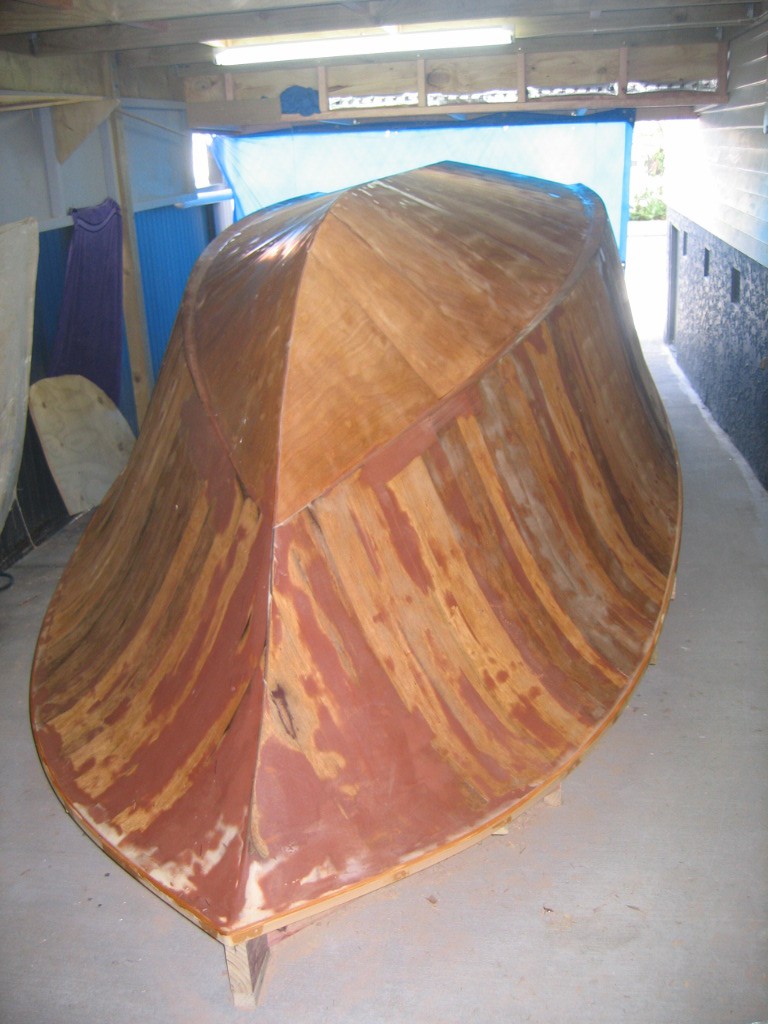
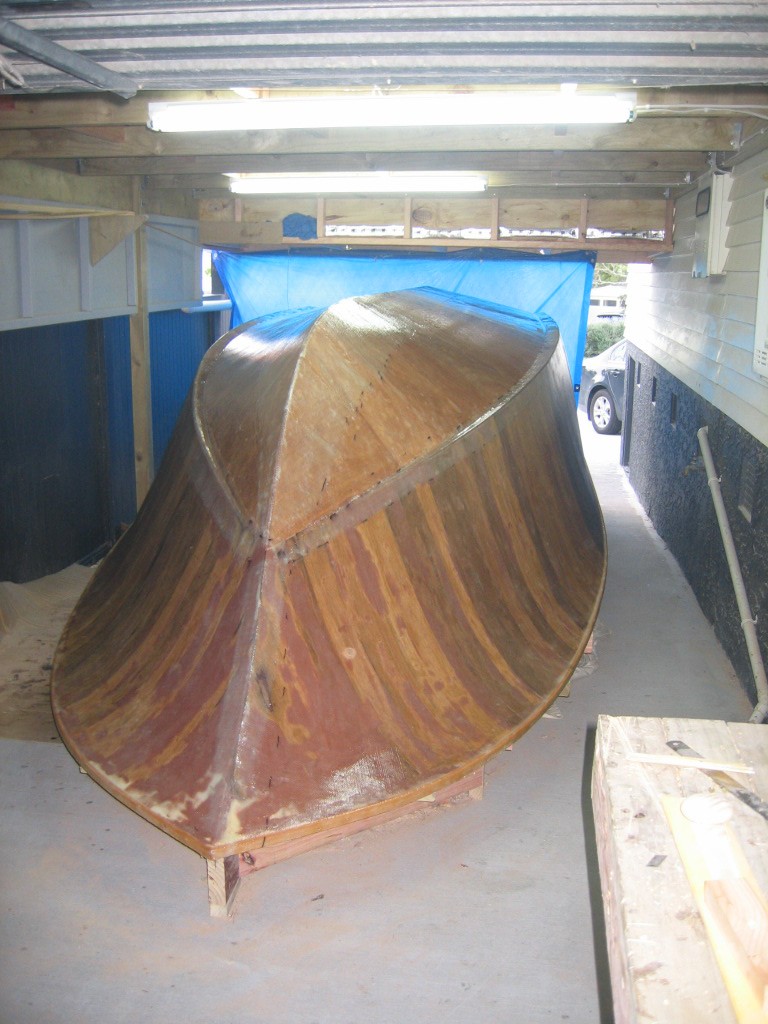
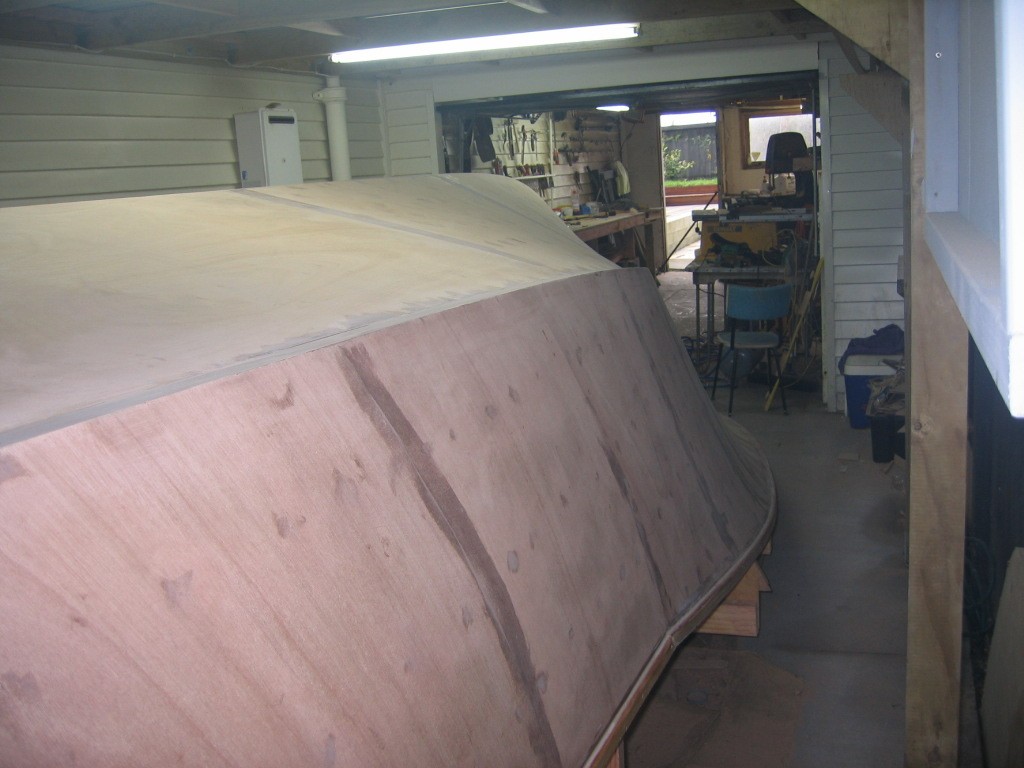
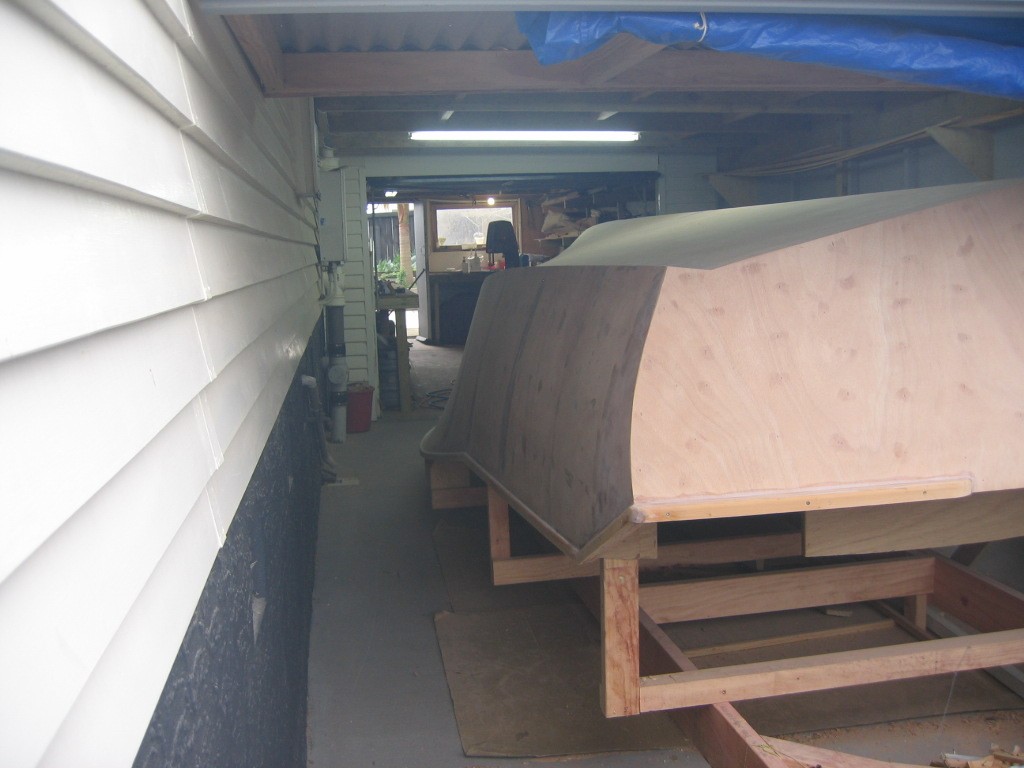
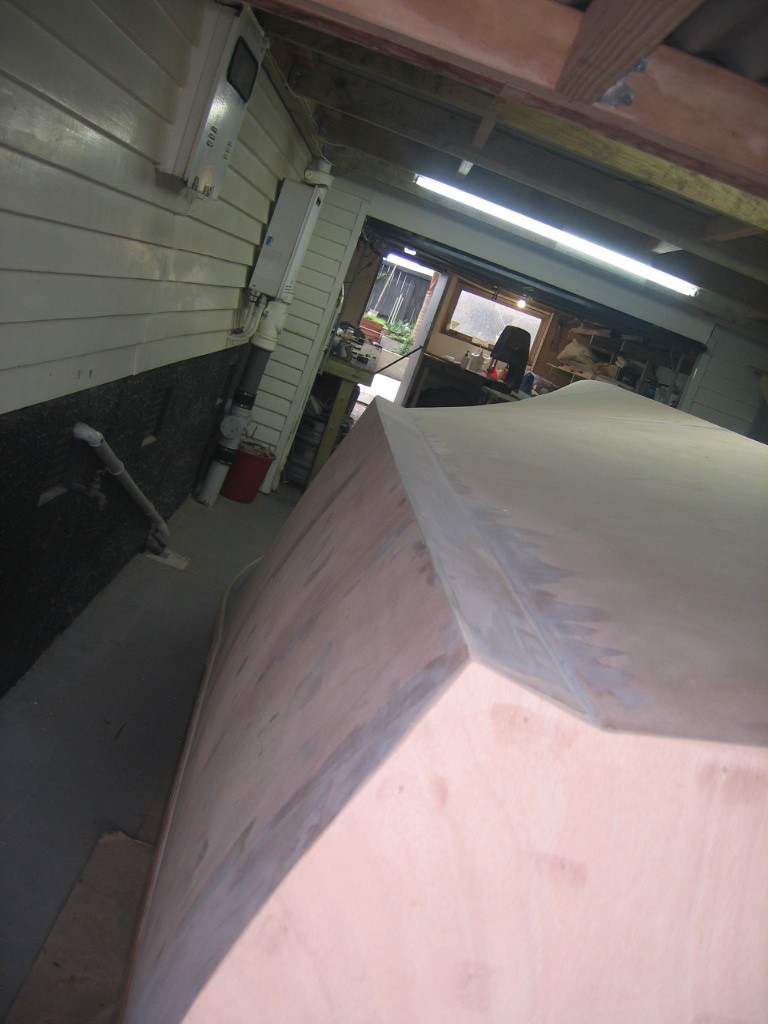
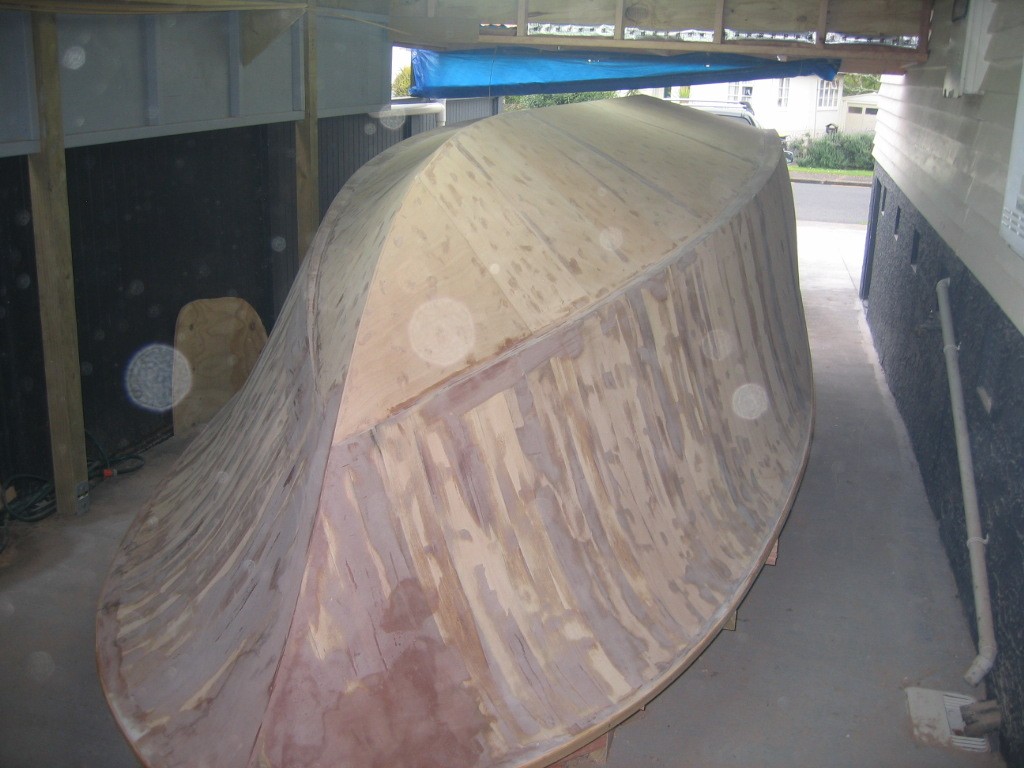
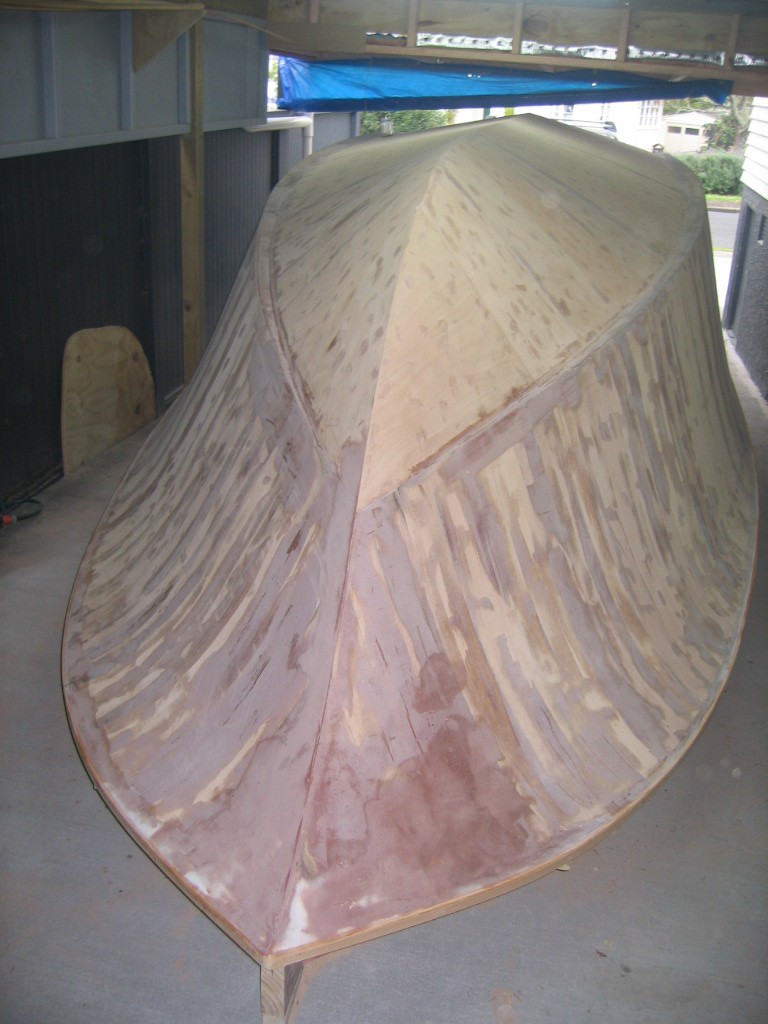
Ok, fairing has come along well. There has been countless hours of long boarding. My appoligies for the lack of interesting pictures. There has not been much to look at lately, just a hull in different stages of a long slow and sometimes tedious process of being prepared for paint. There has been what seems like gallons of resin and 407 mixed, applied, then only to end up as dust on the floor. But each time the procedure of sanding, light checking and circling low spot with pencil, filling, sanding, light checking again and so on goes on , the final goal of a hull ready for paint gets nearer. I got to the stage of not being able to see any real undulations because of 2 things. 1, most humps or hollows have been filled and faired. 2, There were so many different patchs of different coloured filler all over the hull that it was impossible to see any ripples. I got the hull about as good as I could then mixed up some resin with a small amount of 410 and white pigment and rolled it on. The 410 was to slightly thicken the epoxy and to ease sanding. The rolled on resin provides a barrier coat prior to painting and also being a light glossy uniform colour it makes any imperfections stand out.... which it has. But all in all things are looking pretty good, a couple of small bumps to deal with on the bottom then its time for a couple of coats of high build surfacer to cover scratchs etc. Will roll on two more coats of pigmented resin. Helps build up a good base for the colour aswell. Foam rollers are definatly no good for rolling on sticky epoxy over a length of time they just rip to bits and become imbeded in the hull. Not good.


-
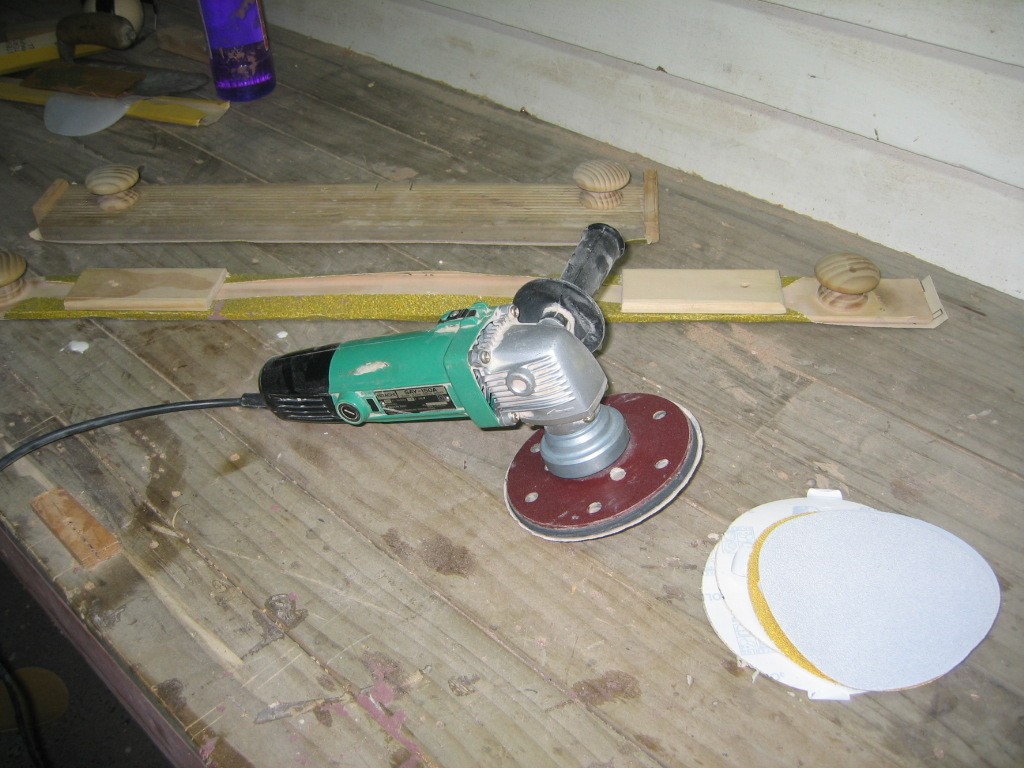
The final skim coat of resin and 406 wasnt that thick and it was mainly to fill in low spots at that stage rather than make high spots so wasnt to bad to sand back, but yes it is hard. My father lent me a Hitachi random orbital 150mm sander, my word it completely blitzes any epoxy filler regardless of what its mixed with. With a 40 or 60 grit on it will take down most surfaces very quickly, sometimes alarmingly quickly if care isnt taken ! It doesnt leave belt marks like my belt sander does although only having a 6 inch base it will only really follow the iregularities of the surface. So a long board still has to be used for a majority of the faring. Oh and being that it cuts through so much material it produces a massive amount of dust with no means of collecting it so a mask is vital. All in all a great tool, I should of brought one years ago. Hey thanks oyster about the for the compliment on clean state of shed, I usually give the place a sweep out prior to taking a couple of pics each week, trust me some times its a bloody mess!


-
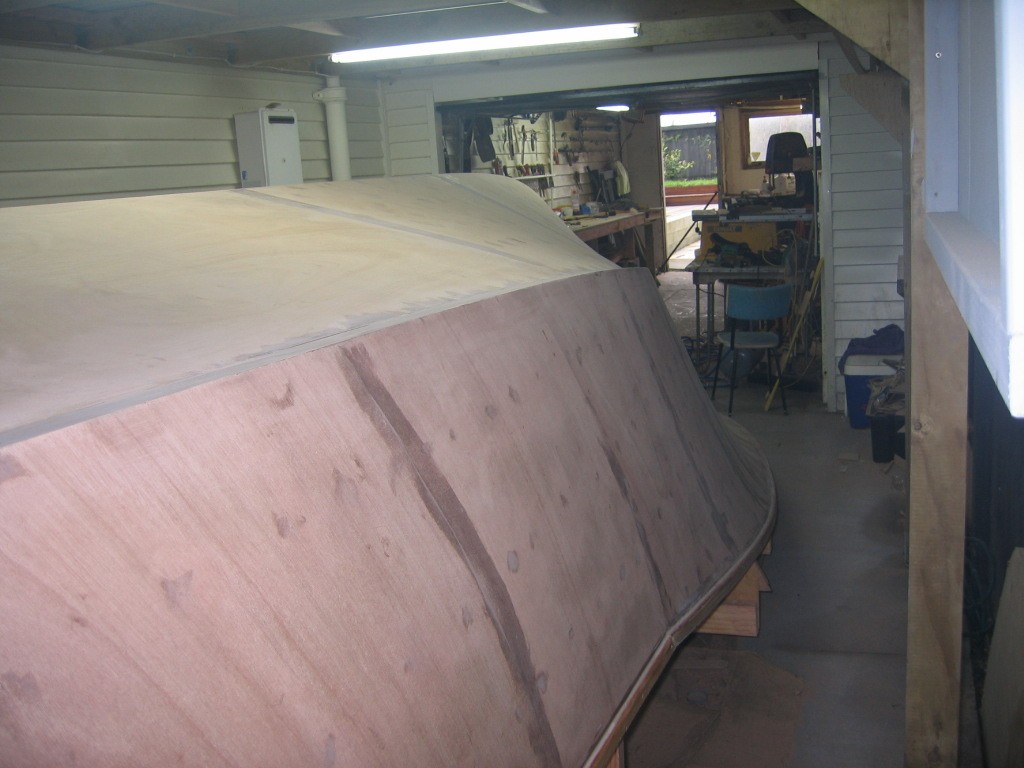
Now the long process of fairing begins. Once the hull was glassed there were 3 coats of resin rolled in to fill the weave. the last coat was thickened with west systems 406 silica powder. This was to ease sanding. Then another coat of epoxy and 406 was trowled on and sanded. Im using 406 for its strength. The entire hull has been long boarded and orbital sanded. Although the shape of the hull is fair the glassing process has produced alot of humps and bumps, mainly where there is a lap in the cloth. Once sanding with 40 grit is complete I have trowel filled the entire hull again with 407 micro balloons. I used my trusty concrete float for this and it worked well on the flat areas such as the back half of the bottom of the hull. This will again be long boarded when dry but the glass cloth is compleatly filled now and all laps and seems have been delt with. West systems 407 is much easier to sand than 406, I enquired about using 410 fairing powder on the bottom of the hull, as it is 30% easier to sand than 407 but the NZ supplier said there is a chance that it may not be strong enough to stand up to the constant strain and impact of boat trailer rollers and general bumps and knocks. Although on cabins etc it was fine as long as it wasnt painted a dark colour.


-
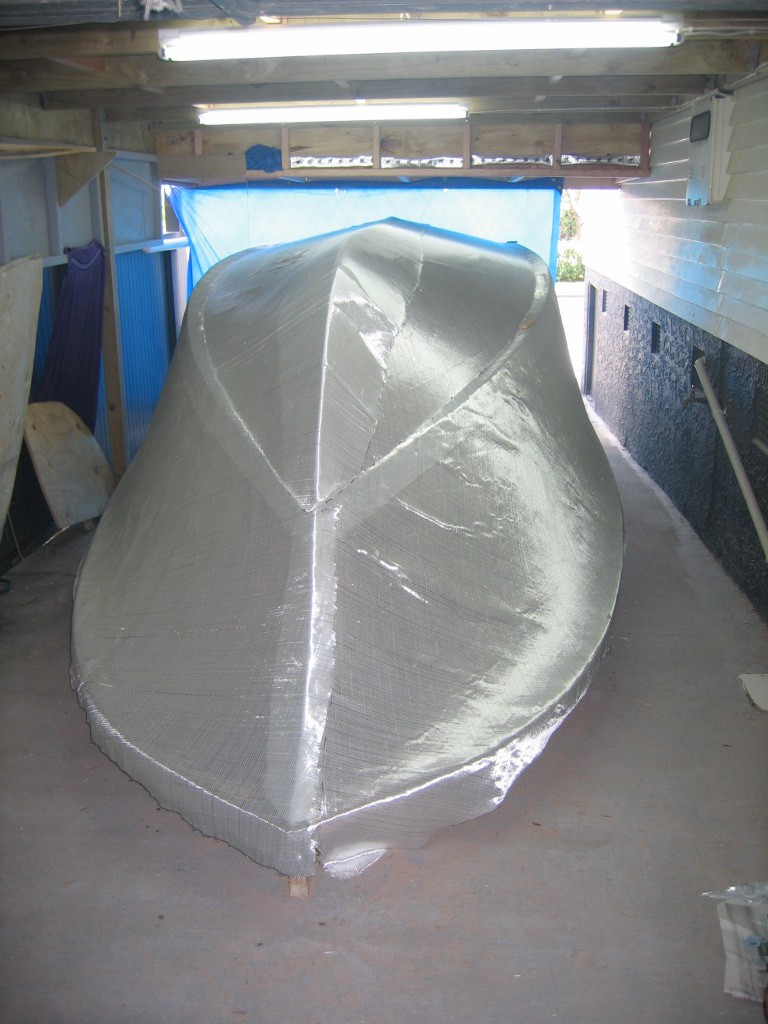
Ok, hull has been coated in resin before cloth is applied. 10 0z double bias. It absorbs alot of resin when wetted out, especially where it is lapped on th keel and along the chines. All went pretty well, being a heavy cloth it sits nice and flat against the hull, like I said just took a heck of a lot of resin, rolling out etc to wet it out.


-
The boarding platforms will be attached and glassed down following the shape of the rails glued to the transom. Another sheet of 6mm ply was added to transom to beef it up abit. More ply will be added to the center part on the inside once hull is flipped bringing the thickness to around 50 mm plus layers of glass etc.


-
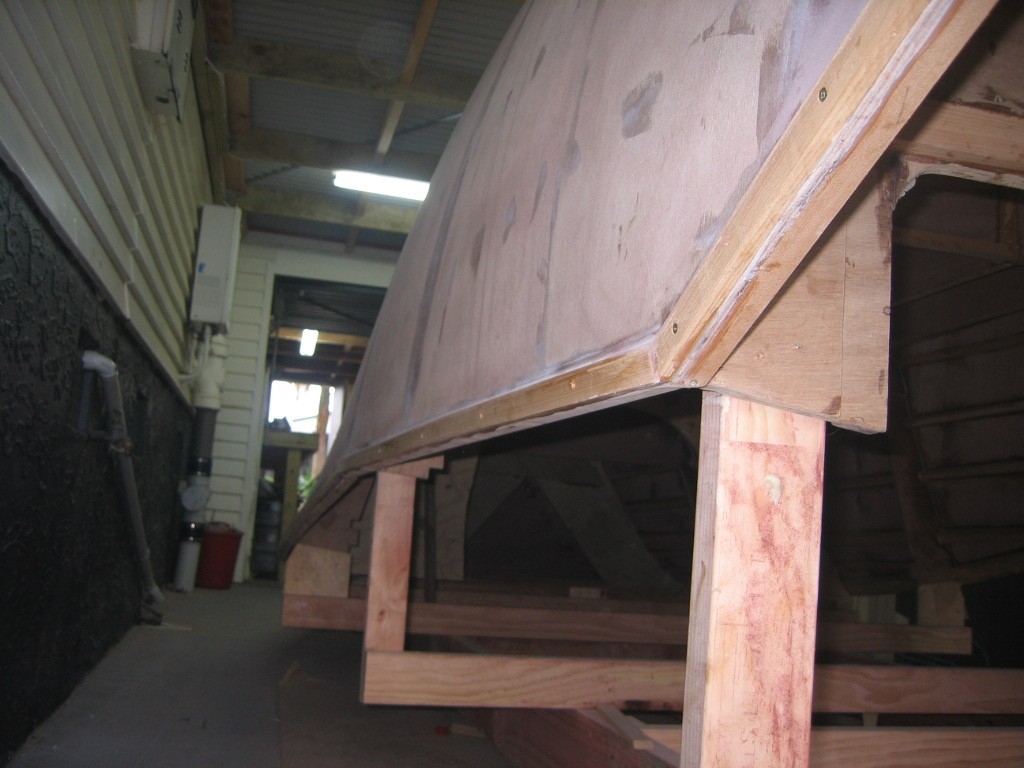
10 ounce cloth will be used for inside and outside of hull. Shearband fitted now so once entire hull is glassed and fully painted it will be completly finished on the outside.


-
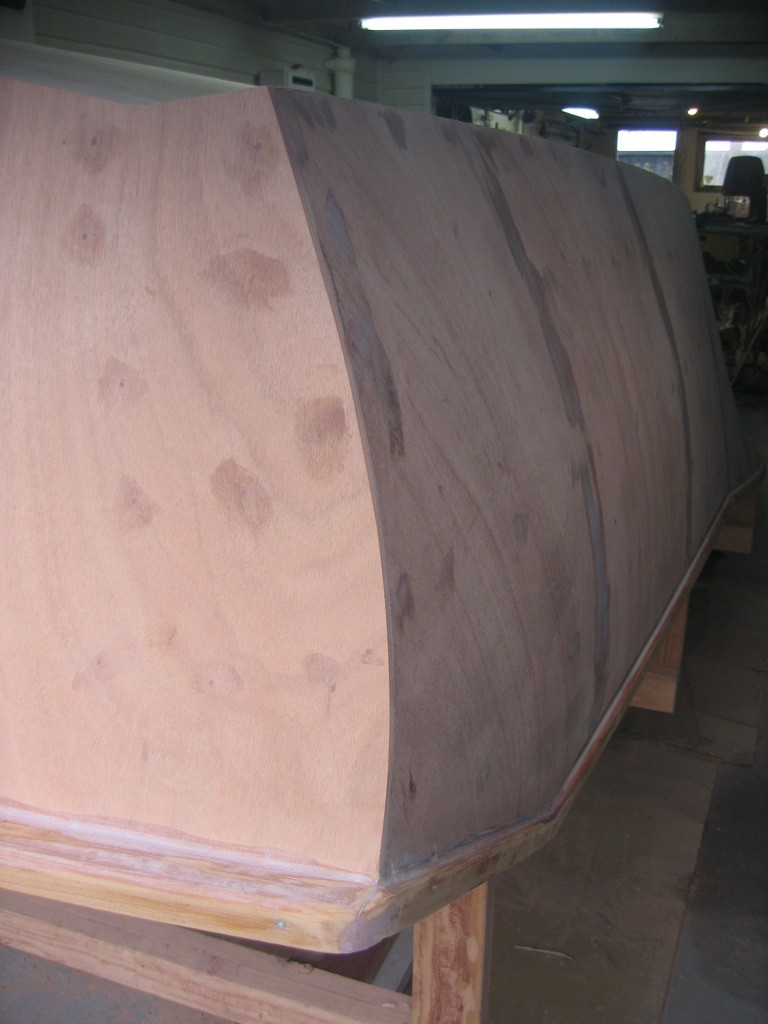
Still have to radius corners but concentrating on getting important lines like the chine bang on before rounding the corners over.


-
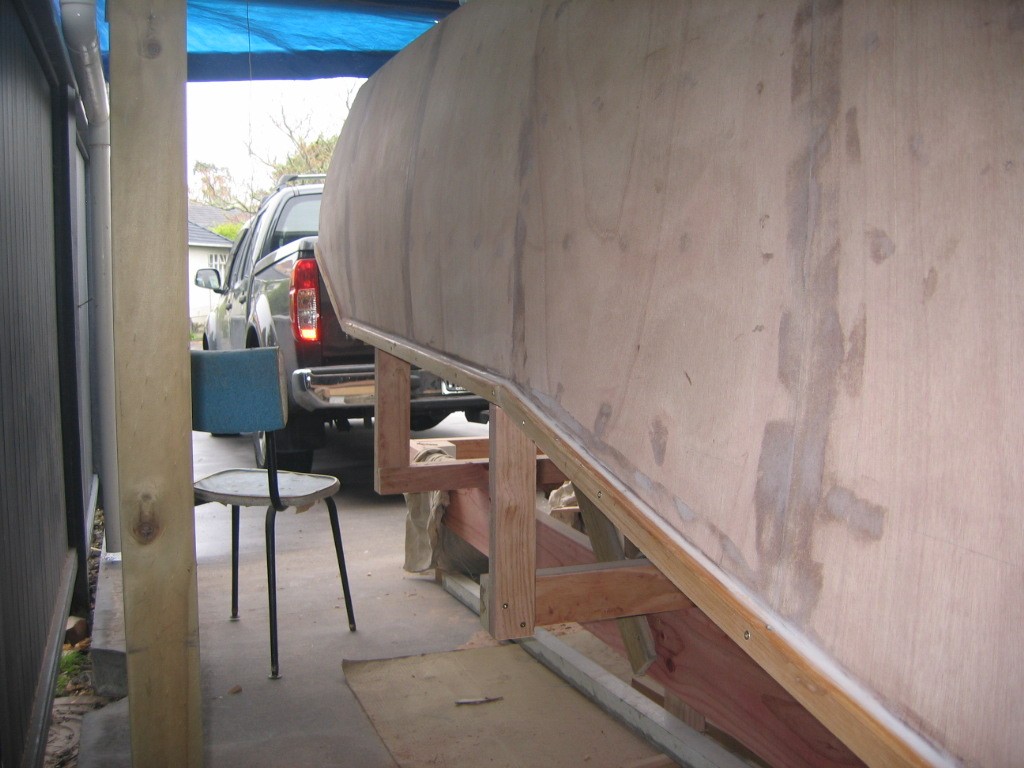
All planking is complete and been faired up. I used west system 407 micro balloons in the 105 resin. Its still strong but a hell of alot easier to sand than resin mixed with 404 glue powder. At this stage I havent gone totally overboard on filling and fairing every single blemish as the glassing process will create more areas that will require attention im sure. ie where the two sheets of cloth overlap along the keel line, this will need to be filled faired and sanded after the cloth has been layed. I also attached a 30x12mm shear band around the entire outside of the hull. Doing this now wasnt easy as I had to plane down the planking, alot of it upside down and a foot off the floor. But it means the shear band can now be glassed in and painted with the rest of the hull. Once the hull is flipped there is sill 9mm of ply ( the decks and gunnels etc ) to glue down to the 30mm deep band, the topside fibreglass can join on the shearband and the whole lot will be covered with a rubber fender strip. On my last boat I used one and it worked very well. The fender strip is used by GRP production boat manufactures to conseal the join between the hull and deck when fitted together. It works just as well on wood/glass boats. It can be heated up with heat gun an bent around pretty tight corners but it also means the fender strip can start from near the center of transom , around the entire perimeter of hull and back around to transom in one continious length.
-
Thankyou very much. It should be Grahams design that should be taking the credit though.I was sceptical when I first got the plans because the boat varyed in construction method to the pictures shown of the ocracoke 20 on the website. His reason for changing was to ease and speed up construction and have a better looking product in the end. (The whole chine area is a perfect example and is also done like this on the smaller 18ft Marissa.) And he was dead right. The boat has gone together easily,with minimal faring of stringers etc to get it ready for planking.Thanks to his design not only has the build been easy but the hull is strong,looks good and should perform well. You couldnt ask for much more.
-
Planking going well but slow process , ply cut down to 100 mm wide strips as i approach the bow.


-
Cheers dmnolan. Cant vouch for boats performance yet, but to build is pretty straight forward. New pics show have nearly compleated first layer of planking one one side and have started 2nd layer on other side. I had to stop because a stringer snapped when I put a screw through it for some reason. They are under a hell of alot of tension I guess.So some swearing , epoxy and a couple of cramps all is good again. You can see in the pics the chine detail whereby a rebate is created in the bottom planking that tapers from nothing to 8mm deep at the bow to allow the side planking to flush up neatly with bottom planking. It makes for a nice clean sharp bow profile. I have noticed on many (most infact) caroliner style boats that a chine is created by sticking in a piece of tapered timber once the hull is built. This way looks much better. Makes for a wider chine too which doesnt protrude from the hull.


-
So far everything going good. A couple of pics from inside hull. Have to clean up epoxy pretty well as alot of this is seen when finished.


-
Ok here is some pics of bottom planking and chines complete. ( 2 layers of 6mm). Today started side planking (2 layers of 4 mm)


-
Started bottom planking on weekend. First two sheets were 12mm with a 6mm x 150 mm rebate at the front edge to take two staggered layers of 6mm Gaboon ply. (seems alot lighter than meranti) All has gone pretty well so far. All the side stringers have been faired and ready to plank. The whole fairing process seemed to go very quickly and easily. I think the chine design has alot to do with it as there is no massive chine log that needs hours of planning and shaping. The chine flats are simply cut from 12mm ply , glued into place and faired once dry. The side planking is then glued to this with 3 layers of glass to give the whole chine strength along its entire length with a nice sharp bow profile.


-
Hey cheers mike, I looked at the Lee Valley tools website. Very interesting to see that we here in New Zealand pay about three times as much as USA , Canada etc for the same tool, yet our dollar is similar in value. Go figure!
-
Veritas block plane etc.


-
Couple more pics


-
Just about finished the stringers, have to laminate the one inside the shear band as I managed to break two thanks to the tight curve. Spent a bit of time framing up inside the transom, have to add alo more ply etc but will be alot easier to do once boat is flipped. Also faired one side of the boat, not quite there yet but bottom planking is the next big step. Brought a Veritas standard angle block plane to help shape stringers. All I can say is what a brilliant piece of equipment, razor sharp straight out of the box, blade adjustment very accurate. Worth every cent, find yourself picking it up to do everything. End grain not a prob.