Pete McCrary
-
Posts
692 -
Joined
-
Last visited
-
Days Won
40
Content Type
Profiles
Forums
Events
Everything posted by Pete McCrary
-

Core Sound 20 Mk 3 -- #4 "Chessie" . .
Pete McCrary replied to Pete McCrary's topic in B & B Yachts Forum
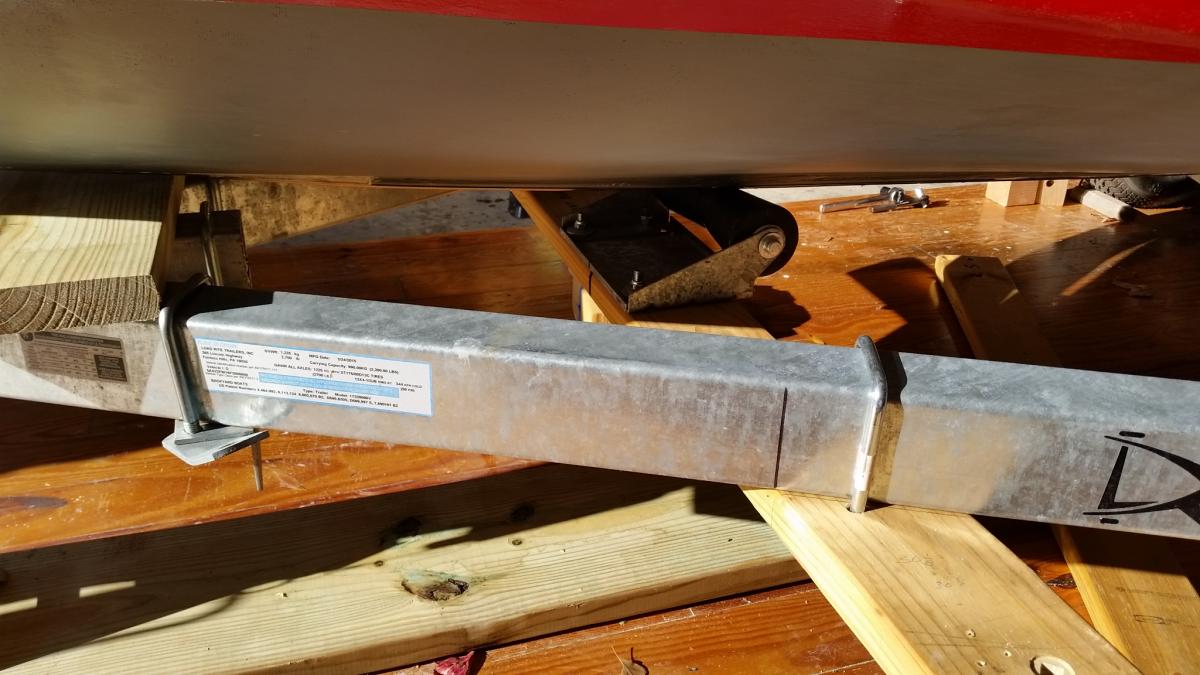
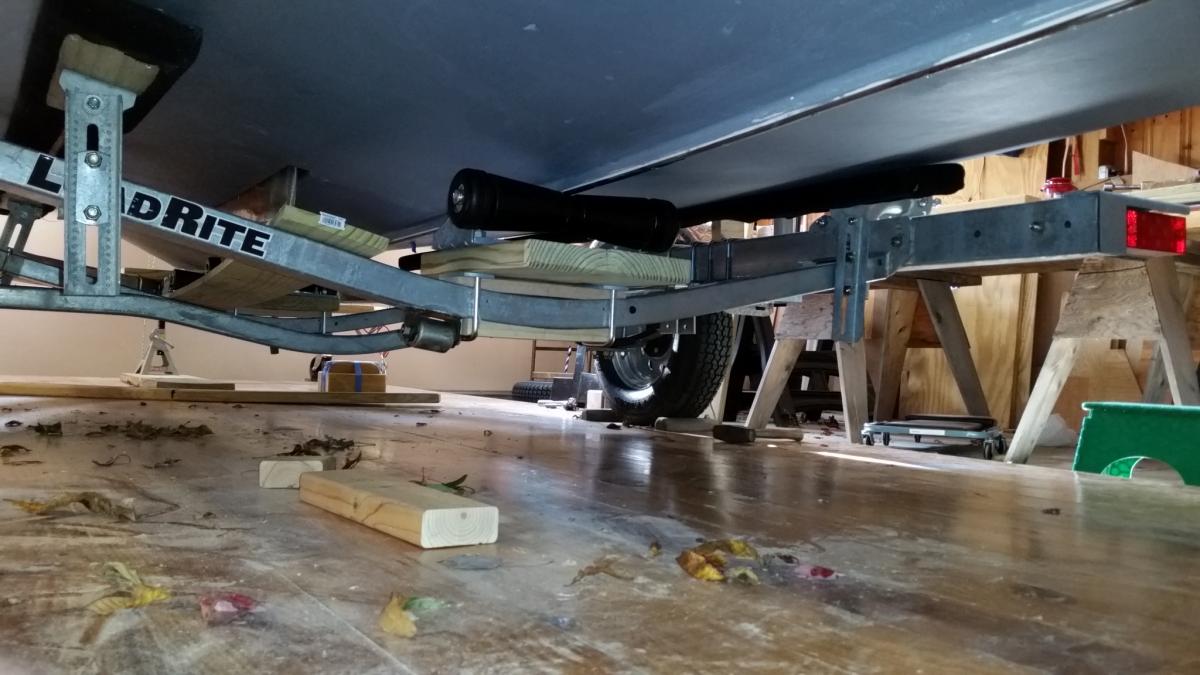
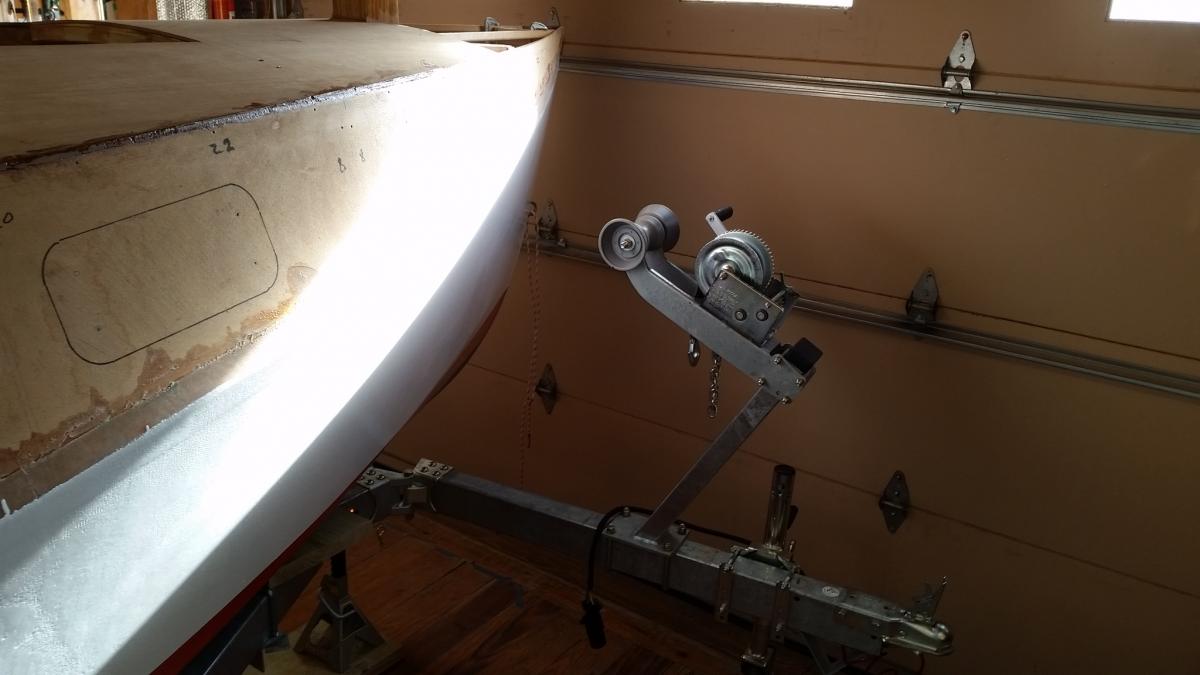
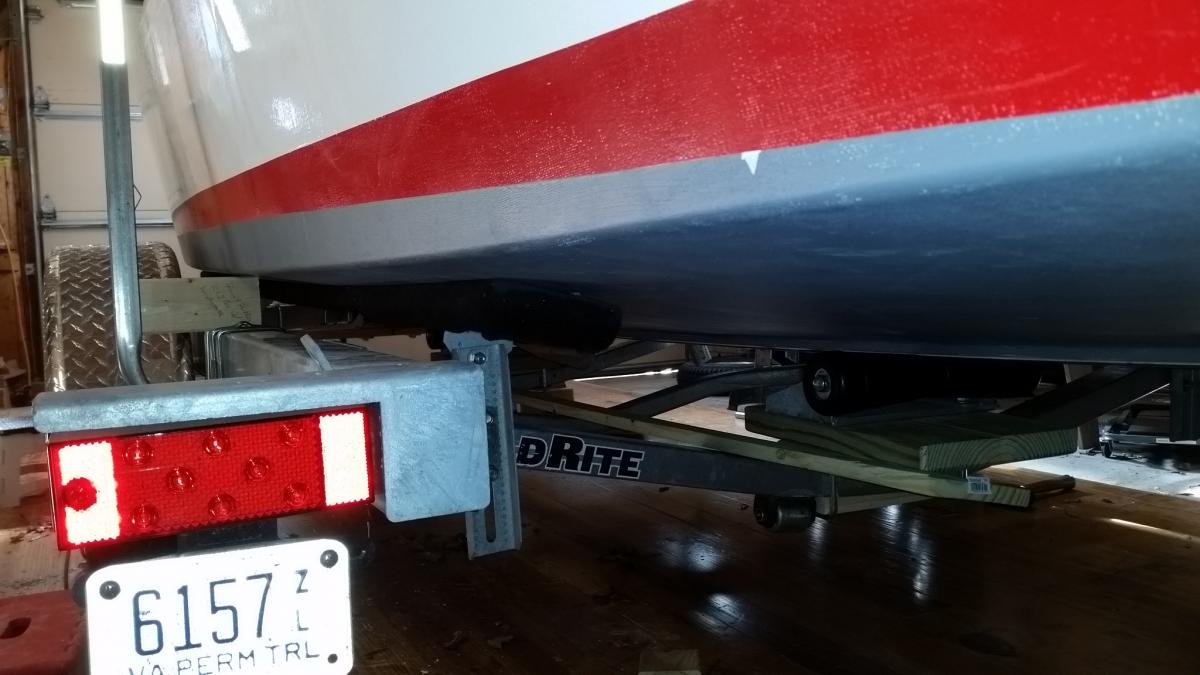
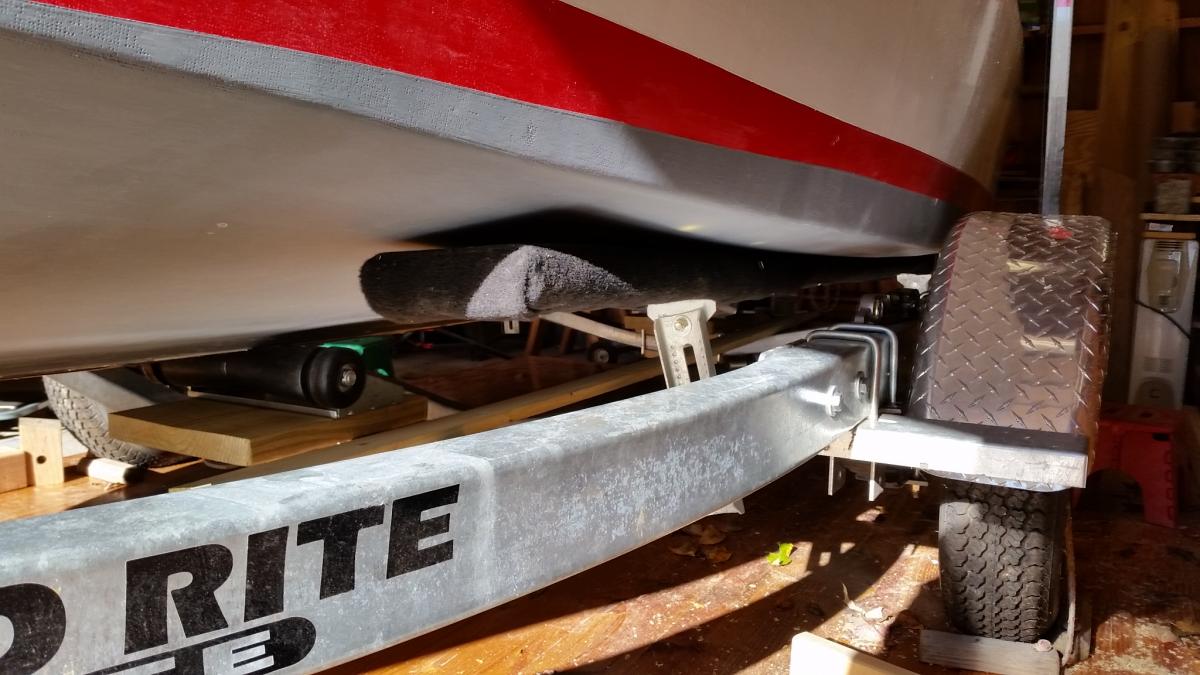
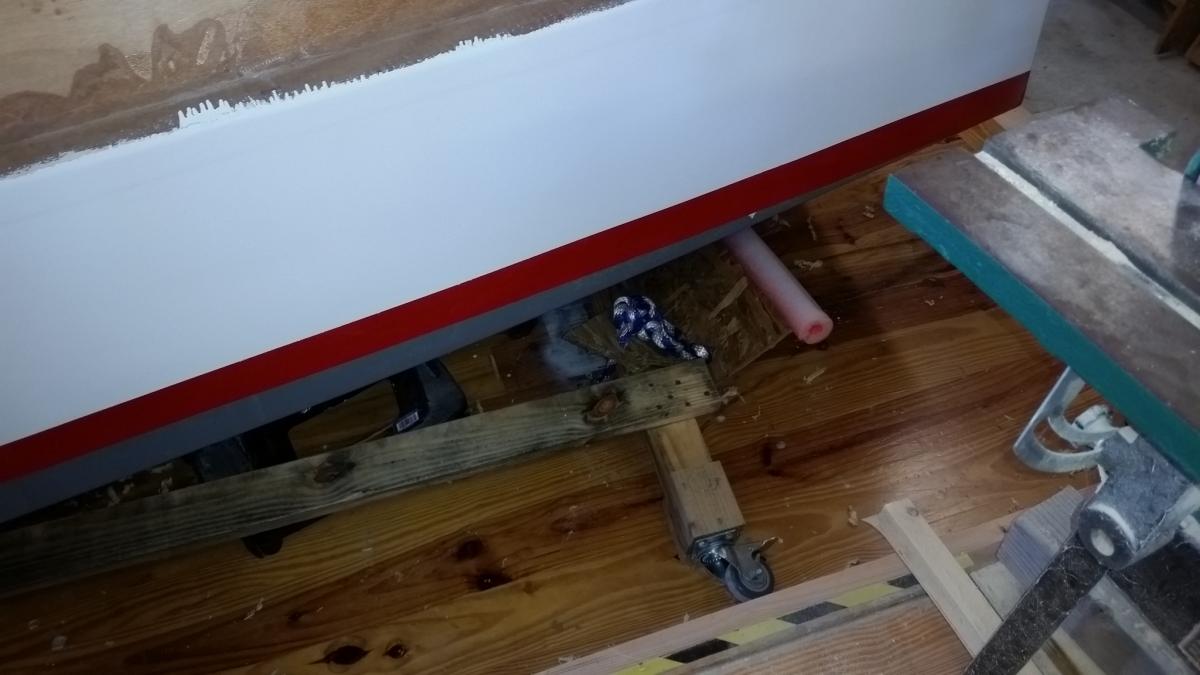
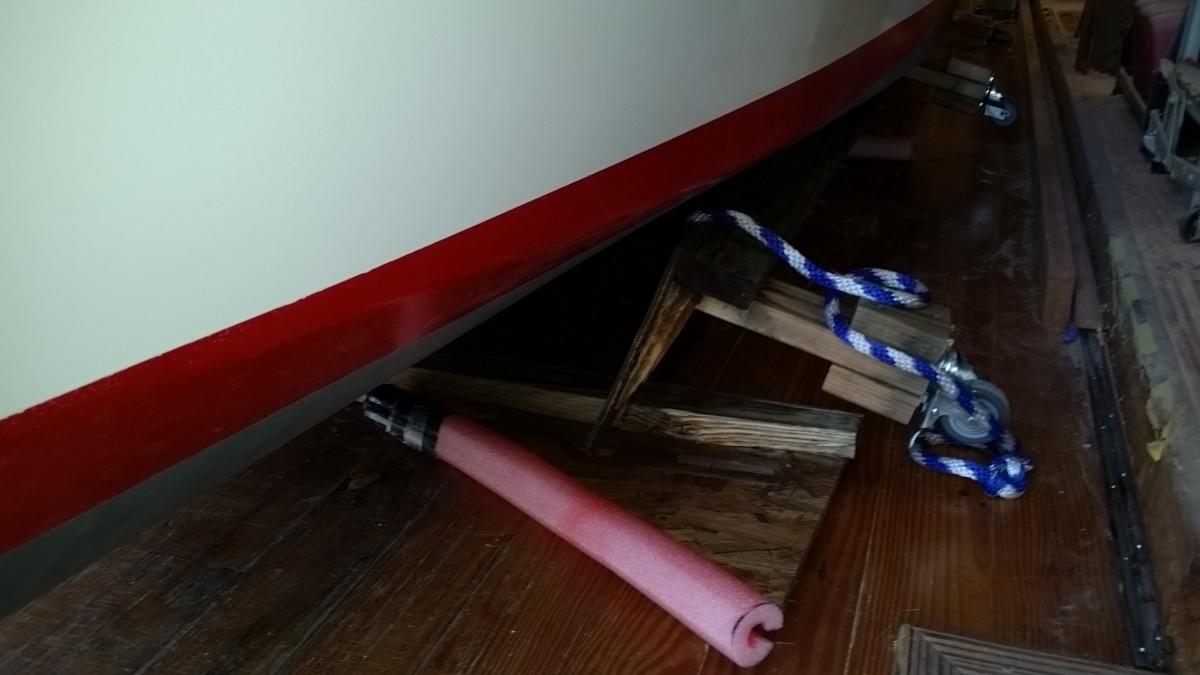
We were thinking about the good time for all at the mess-about. "Chessie" couldn't make it ... But next year we'll all be there. Matching "Chessie" to her trailer took more time than I expected, so not much construction since the cradle collapse. At this point I only need to "lag-bolt" the bunks to their support brackets. Then I'll be ready to resume building. Here are a few photos of rhe trailer rig: Positioned to swing tongue and close garage door. Next photo shows the forward (3rd roller). Most of the load is on the middle roller, but this one supports enough of the load to deflect the 2 x 6 by about 3/4" (my guess ~ 200 lbs). I could increase the loading by adding spacers under the roller frame. Looking forward from under the transom. Spacers had to be placed under the roller brackets to get the boat high enough to keep the chines from being too close to the trailer frame. You can see a 1 x 6 just laying on the cross-member. That will be attached permanently under the CB as a "safety net" to prevent the board from dragging on the highway in case of its "tackle" giving way -- or, more likely, the skipper forgetting to raise the board before hauling her. Next photo shows tight fit of boat/trailer assembly with garage door closed. There's about a 24" space aft of the transom for a "pass-thru." Temporary spacer (2 x 4 block between frame and chine) shows 3.5" clearance. Next photo looking aft on Port side. Now I hope to make daily progress on the final buildout. The interruption has been frustrating -- but at least [now] when she's finished she'll be on her trailer and "road-ready" -- WITHOUT FURTHER ADOO!


-
Sorry, Steve, about the traffic mishap -- but glad you and the boat are ok. I won't be at the mess-about either. However, Chessie is being fitted to her trailer tomorrow and construction restarted. The trailer's tongue now has a hinge and will fit in the garage with Chessie on board. Hope to bring her to the B & B shop in December for a rigging checkout. I'm planning on having her at next year's MA Small Craft Festival as well as the B & B mess-about.
-
Core Sound 20 Mk 3 -- #4 "Chessie" . .
Pete McCrary replied to Pete McCrary's topic in B & B Yachts Forum
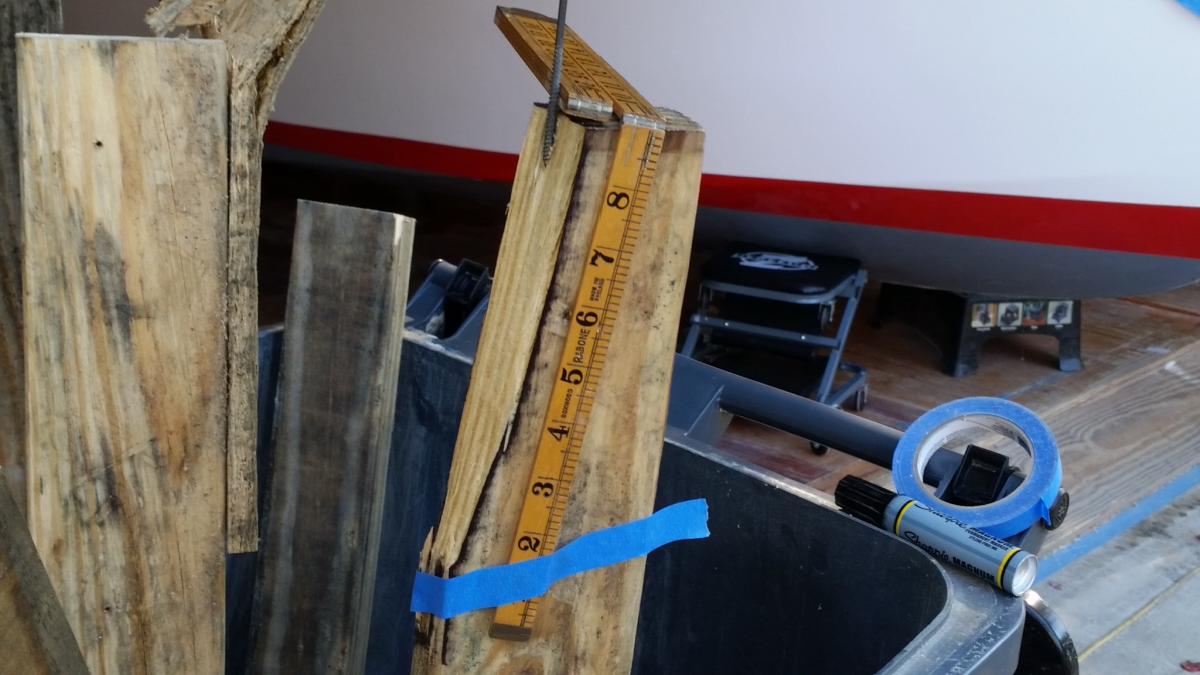
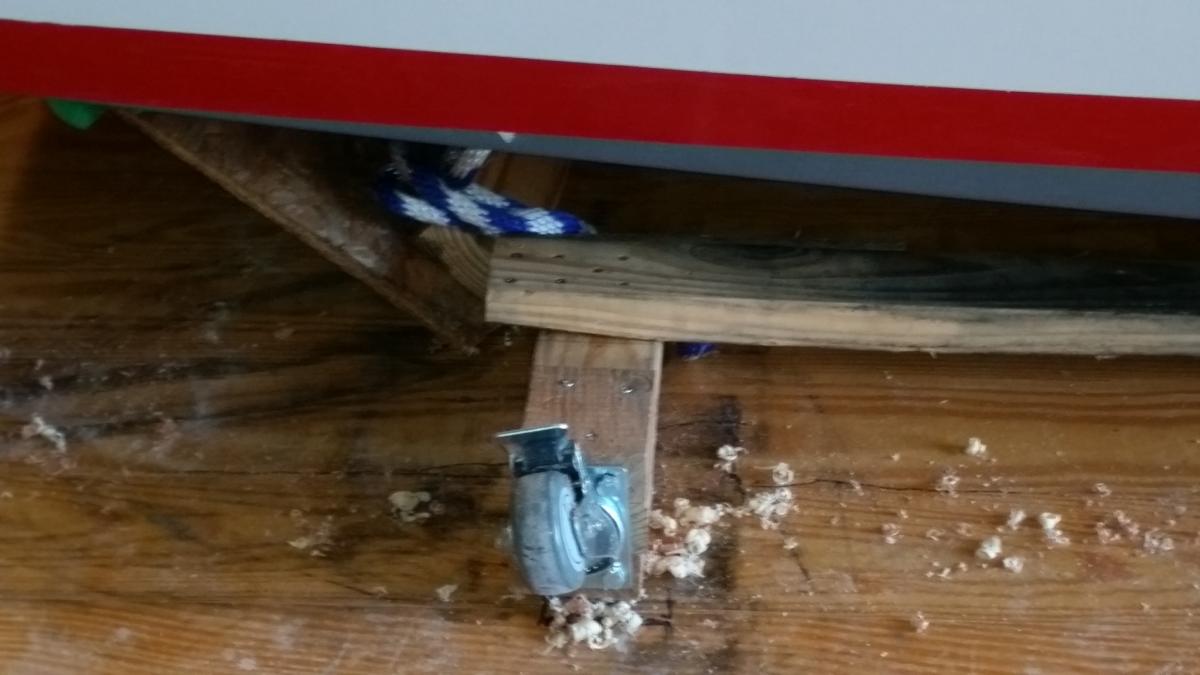
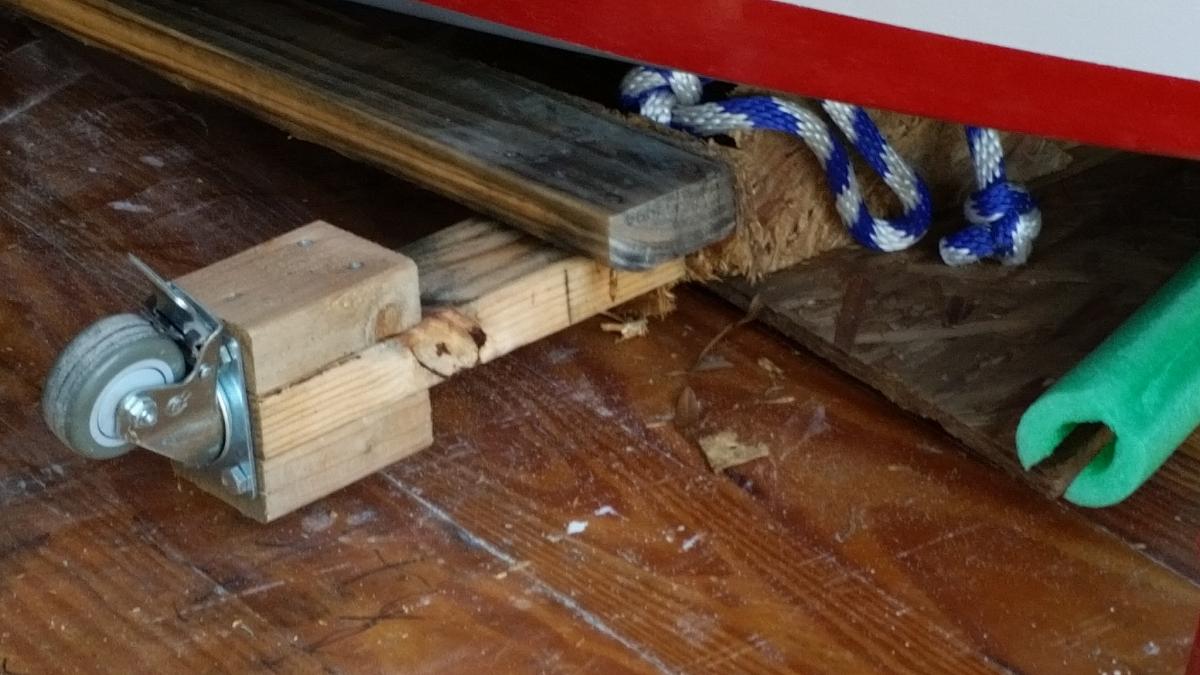
At this point I'm sure that I won't make this year's mess-about. But definitely next year. Yesterday I "chopped up" the collapsed cradle and shipped the 6 casters to a fellow builder. As I took it apart, I noticed the split on the cross-beam where the failure started (forward port-side). Here's a photo: Notice the dry-wall screw entry point and the angle of the cross-grain. For the benefit of future builders I suggest your cradle legs be 4 x 4s and not 2 x 4s. And definitely use 6 legs. And if you use casters, always set the brakes, especially if you are going to work inside the boat. Make sure the 2 x 4 beams are straight-grained and don't stow [the cradle] outside unless covered. And I'd definitely drill pilot holes even for the dry-wall screws which will go into stock lumber without pilot holes. However, that causes a splitting wedge -- especially if driving into the end-grain. My cradle failure started where a dry-wall screw went into the end of one of the 2 x 4 cross-beams. It had a cross-grain and the angle was such that it only had to split over a length of 9". And mine was weakened after being outside while "Chessie" was bottoms-up.
-
Core Sound 20 Mk 3 -- #4 "Chessie" . .
Pete McCrary replied to Pete McCrary's topic in B & B Yachts Forum
Yes. I'm lucky I didn't break my femer. My sister-in-law (~ my age, 83) broke hers -- just slipped on her deck chasing a squirrel with a broomstick. She didn't fall on anything but the deck. But I think old women's bones are more brittle than ours. Today recovery is about 99%. Full ROM and very little pain. Notice a little weakness climbing stairs. I'll be 100% by the end of the week. Trailer guy called and it won't be ready until tomorrow. I'm taking the afternoon off. -
Core Sound 20 Mk 3 -- #4 "Chessie" . .
Pete McCrary replied to Pete McCrary's topic in B & B Yachts Forum
New. It's supposed to have a hinge in its tongue this afternoon. -
Core Sound 20 Mk 3 -- #4 "Chessie" . .
Pete McCrary replied to Pete McCrary's topic in B & B Yachts Forum
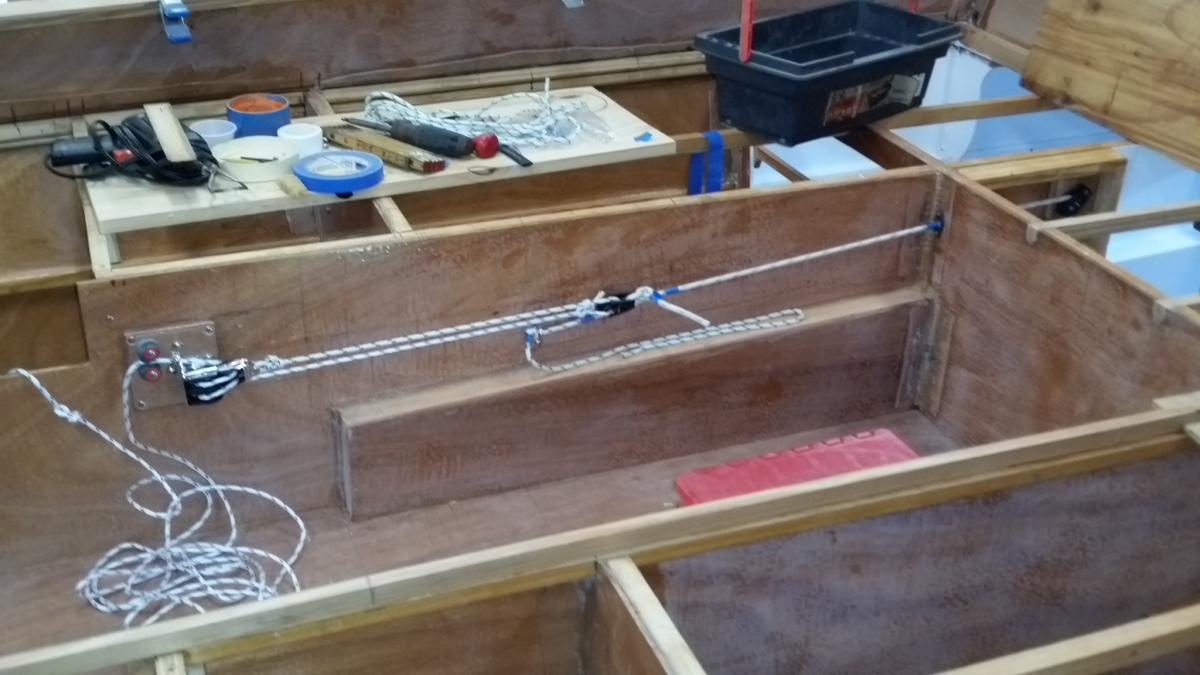
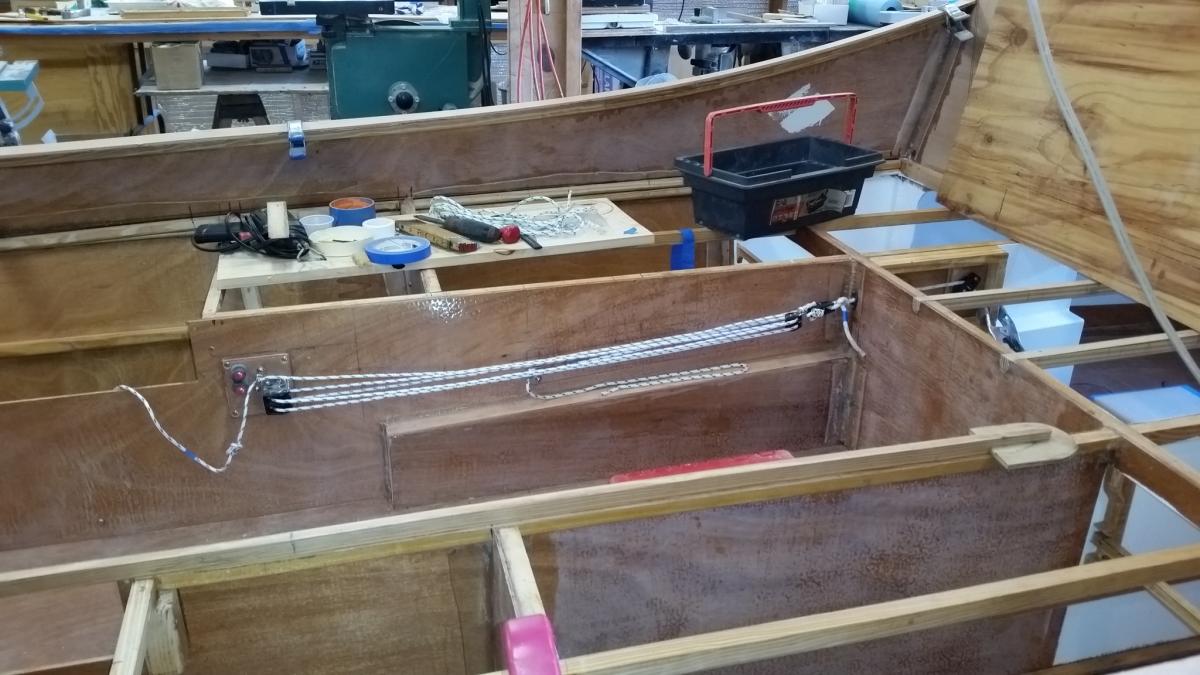
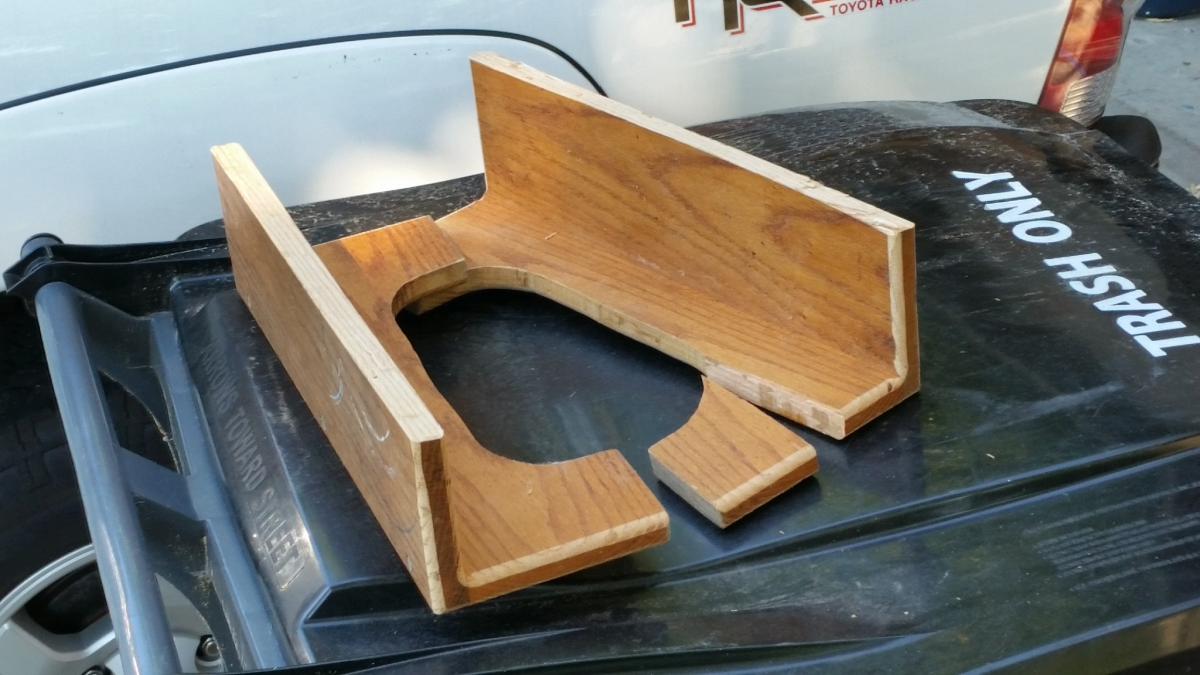
Tomorrow afternoon I should be getting "Chessie's" trailer with a hinged tongue. So, today, I "fine tuned" the CB tackle. Before I started I verified the CB pendent's travel from full down to full up: 15.5 inches. A bit more than expected. This required that I move the pulley block aft about 4". Here are two photos of the arrangement full up and full down: Next is a photo of the stool that I was sitting on (inside "Chessie") when the cradle collapsed. Looks like it might have tilted during the fall and then the edge of it came between my thy and the suddenly stopped boat bottom. The injury still is hurtful and stiff -- but each day sees and improvement. That stool is made of 3/4" oak. I'll repair it with a plywood doubler under. Fitting the trailer to "Chessie's" bottom will take a few days. I tell myself -- it's not wasted time since I'd have to do it anyway before moving her out of the garage. Now, at least, when finished and ready for her maiden voyage, I won't have to mess with the trailer.


-
Core Sound 20 Mk 3 -- #4 "Chessie" . .
Pete McCrary replied to Pete McCrary's topic in B & B Yachts Forum
Alan suggested that a hinge on the trailer's tongue would allow me to keep "Chessie" in my garage and on her trailer with the garage door closed -- and [he] gave me a link to such hinges on the Internet. The local "Truck & Trailer" shop is presently installing a hinge which will be ready Monday afternoon. Now I'll be kinda forced to give the thy a rest for healing. BTW, I won't be rebuilding the cradle. And for future builders, I have 6 casters (4 with both wheel and swivel brakes) along with 24 lag bolts, all of which I'd sell just for the shipping costs. The attachment plates are sized to fit on 4 x 4 legs with 4 holes for lag bolts. Just let me know the address and I'll price the shipping. -
Core Sound 20 Mk 3 -- #4 "Chessie" . .
Pete McCrary replied to Pete McCrary's topic in B & B Yachts Forum
Thanks to all for kind comments. The injury is minor but painful and slow healing. Large muscle to the outside of right thy. The impact was hard enough that the stool I was sitting on split! It was made of 3/4" oak! Felt much better this am -- so I went shopping for a "come-along" of higher load limit than the x7 pulley at the bow. That activity set me back to yesterday's pain and stiffness. Dear wife said "told you so." But I was so anxious to get to finishing "Chessie." She's has always claimed that men (especially me) are sissies to pain and terrible patients. This time I'll listen ... and go easy for a few days. -
Core Sound 20 Mk 3 -- #4 "Chessie" . .
Pete McCrary replied to Pete McCrary's topic in B & B Yachts Forum
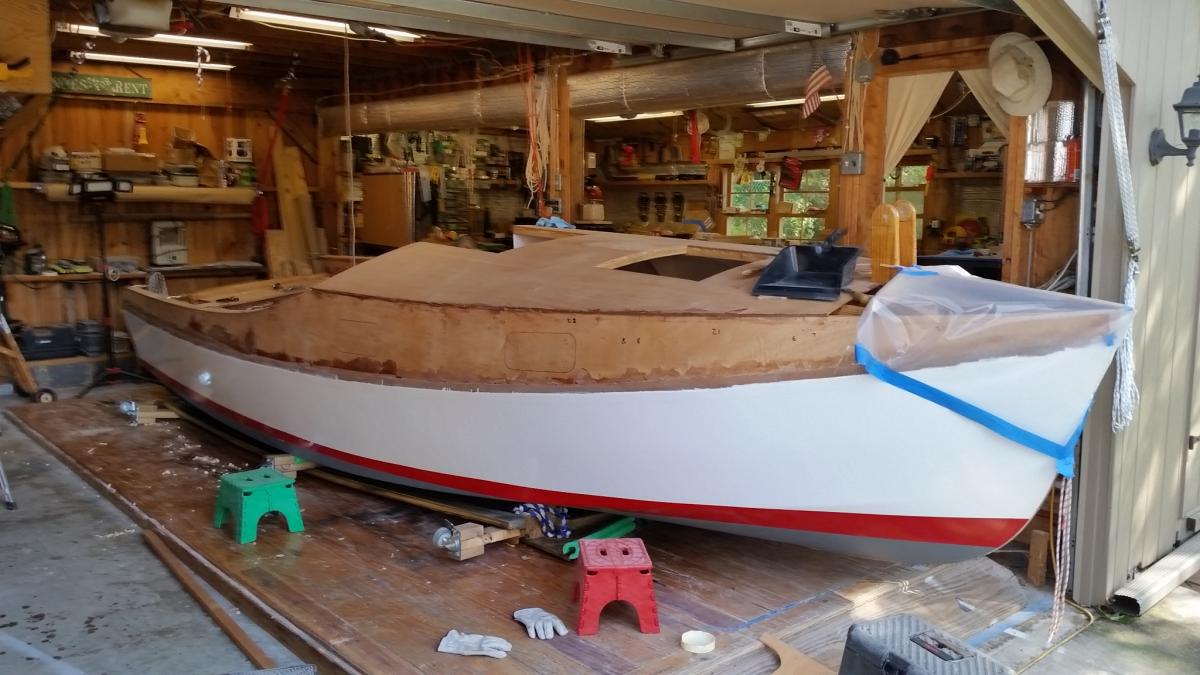
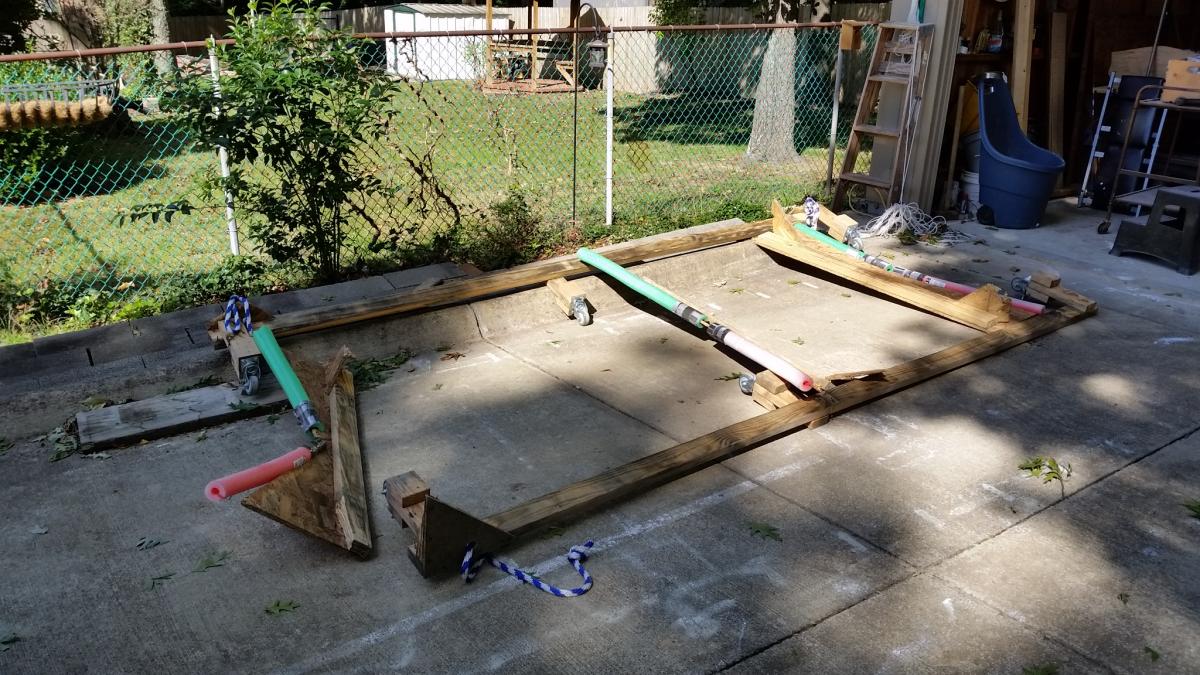
CRADLE COLLAPSE !! Advice please !!! I was inside the cabin between Blk 2 and the 2nd floor aft of Blk 2, mounting the two (ventilation) deck plates on Blk 1. I heard 4 or 5 snapping sounds and suddenly the cradle failed at the forward span (on the port side) and then the three legs on the starboard side gave way. A huge noise that brought my neighbor to my aid. They steadied the boat and helped me out. Here are the photos: Boat on the collapsed cradle. Inspection showed that the first failure was the forward 2 x 4 cross member on the port side. It split at that end allowing the leg to roll out from under the frame. I think there were at least three causing factors: 1. The cradle was outside (boat inside) for about 10 days and subject to considerable rain. 2. The grain at end of the 2 x 4 was at a considerable angle. 3. The cradle's six legs-ends were mounted on casters -- and that subjected them to twisting torques from all directions (thruout all 360 degrees) depending on the last direction of cradle movement. That subjected the 2 x 4 to a twisting force in addition to the normal (bending) load. TUITION PAID: Big painful bruise on my right thy (presently under an ice pac); cradle destroyed; time lost; pride hurt; more ?? LESSON LEARNED: Cradles shouldn't be left out in the weather; support beams should be straight grained; casters that "swivel" create twisting torques that should be accounted for when installing the casters; and maybe other lessons that I have not yet learned ?? Suggestions please !! It appears that "Chessie's" fall was cushioned as she fell on her own cradle in two stages -- the port-side forward corner, and then the entire starboard side rolled outward -- and she fell the rest of the way, finally resting on the collapsed cross members. Inspection reveals no damage. So far I don't even see any scratches. I think at this point I should simple lift her (using the 3-point pulleys) and roll her trailer under her. Then match the rollers and bunks to her hull. And finish the building on her trailer. The bow will stick out the garage door by about 3 feet and I'll have to keep the rain off with some plastic sheeting. Please offer helpful comments and suggestions.


-
Core Sound 20 Mk 3 -- #4 "Chessie" . .
Pete McCrary replied to Pete McCrary's topic in B & B Yachts Forum
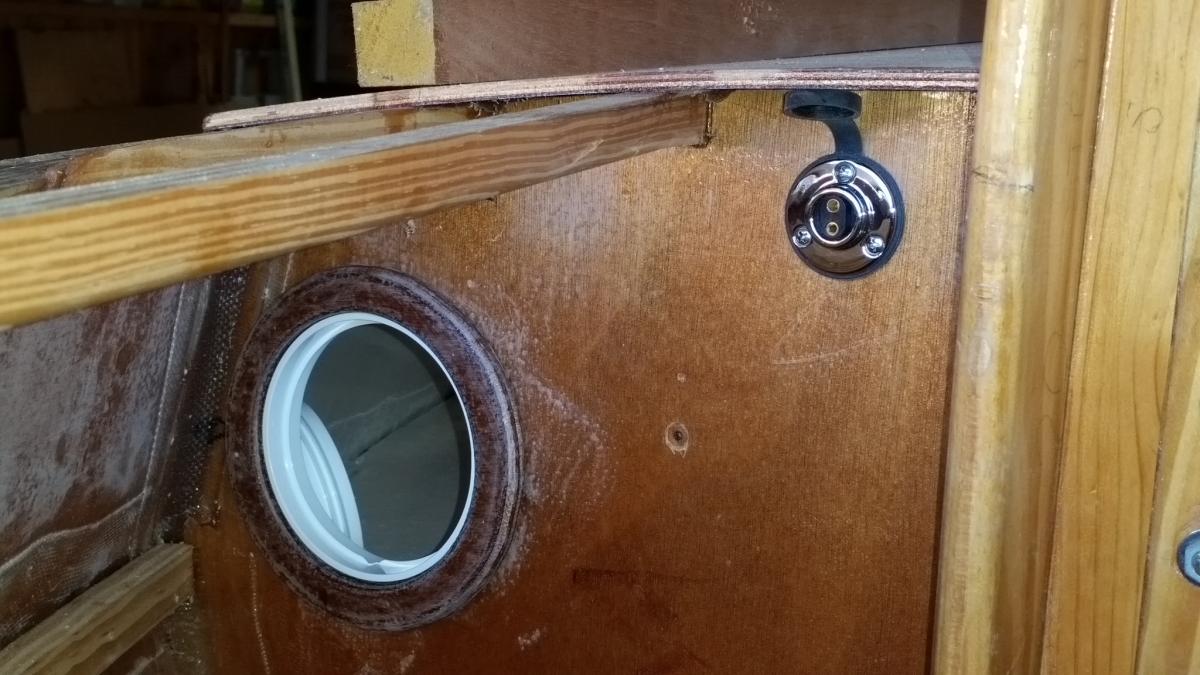
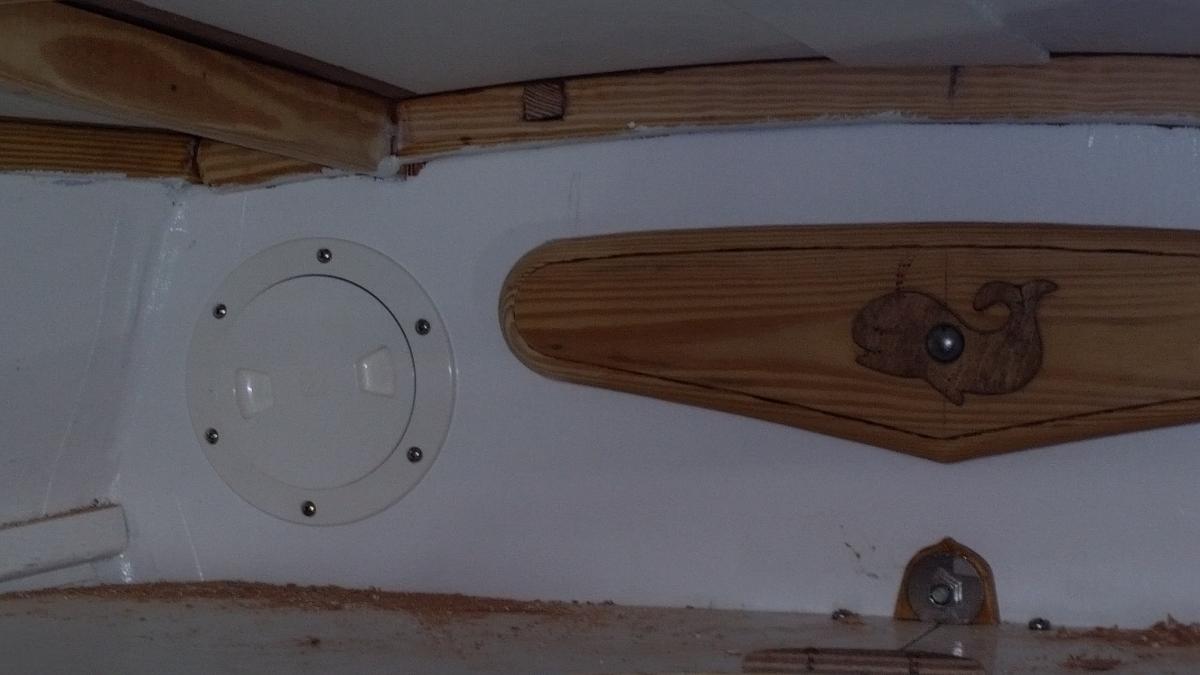
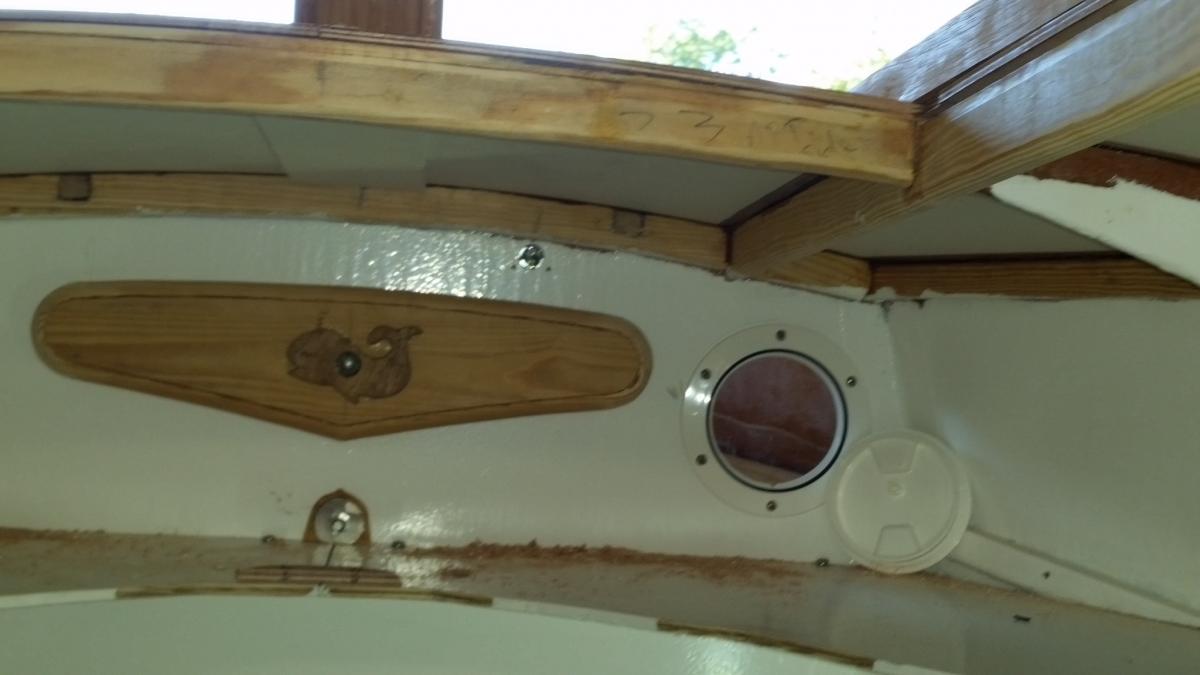
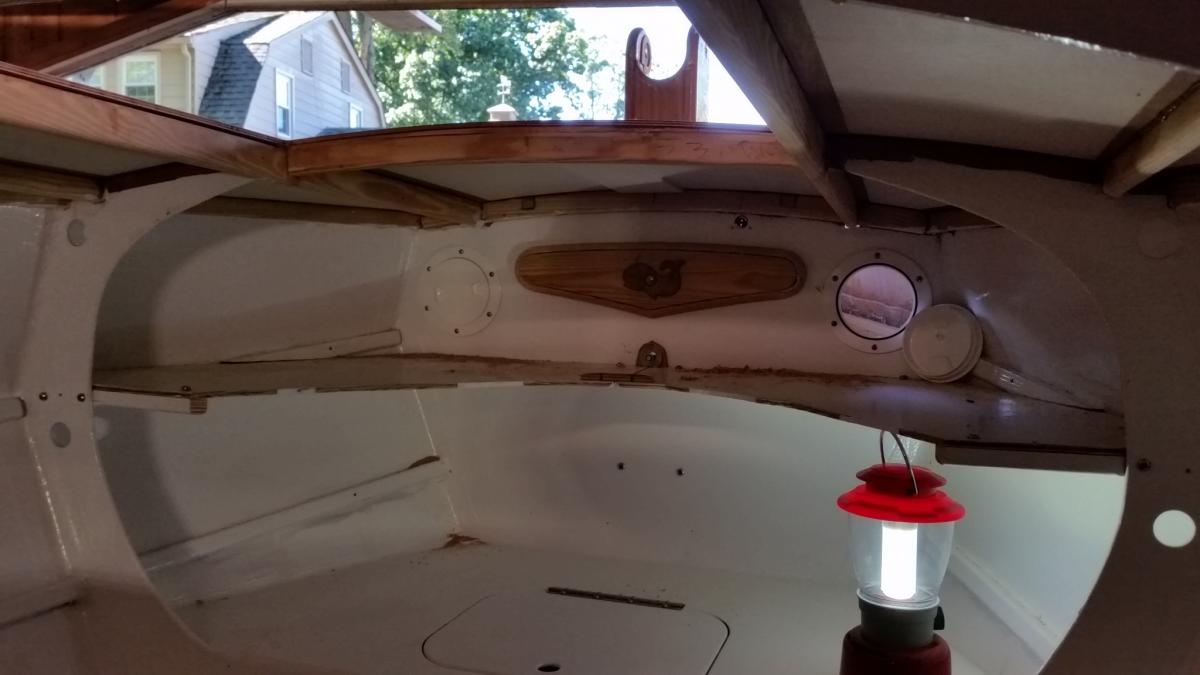
Before laying on the foredeck I modified Blk 1 like Graham suggested. But I installed two 4" deck plates for a little more ventilation. Also, I put in a thru-deck female polarized 12 volt connector. I think the "pigtail" on the electric cable [that powers the red-green-white nav-light at the top of the mast] is long enough so that it may not need to be disconnected when lowering the mast. We'll see. From the outside before laying on the foredeck. Port-side. Note the thru-deck electrical connector near the ceiling. It will be protected and hidden by a wooden electrical conduit.


-
Core Sound 20 Mk 3 -- #4 "Chessie" . .
Pete McCrary replied to Pete McCrary's topic in B & B Yachts Forum
Drew, Rolled and tipped. I just hate that part of building boats. If I could "hire it out," I would! Especially this two-part stuff. The finish looks OK from 20 feet. Not-so-good up close. -
Core Sound 20 Mk 3 -- #4 "Chessie" . .
Pete McCrary replied to Pete McCrary's topic in B & B Yachts Forum
With the CB, Anderson Bailers, keel batten, and half-ovals all installed and well bedded -- "Chessie" was again rolled and is now [hopefully] permanently upright: . Now, safely upright !! The rollover crew and observers (from the left): Jeff Mirus, Dale Wine, Brenda Wine, Terry Carr, Matt Carr, John Lamb & son Wyatt (7 mos), Pete McCrary, and Henry Felber. Annie McCrary is the photographer. . Bewildered !? Now, ... The home stretch.


-
Core Sound 20 Mk 3 -- #4 "Chessie" . .
Pete McCrary replied to Pete McCrary's topic in B & B Yachts Forum
We had a grand time at the Small Craft Festival. Lots of conversation with Steve, Graham and Beth, and Alan and family. Graham certainly deserved the 1st place prize. The Core Sounds are wonderful designs. I certainly hope to enter "Chessie" in next year's festival. Last year when assembling the CB trunk -- I "dry-fitted" the CB and measured the space between the forward edge of the CB and the aft side of the forward frame. I figured that if I put a "spacer" in that gap, then the CB shaft-hole would line-up with the 3/8" holes drilled thru the trunk -- and all that I'd have to do [to line-up all the holes] is slowly raise the CB until I could push thru [all the holes] a tapered 3/8" dowel. That is what we did. Then we wedged the CB so it wouldn't move, removed the dowel, and inserted the 3/8" SS bolt. Worked like a charm. However, the CB wouldn't freely rotate to the "up" position because of my EARLIER SCREW-UP OF NOT HAVING SPACERS IN THE TRUNK WHEN INSERTING the module into the hull. I marked where there was friction, removed the CB, and scrapped and sanded the offending surfaces to gain about 1/32" extra space in the offending edges. Quite a bit on the trunk edges and a little on the CB itself. Now the CB can rotate without any binding. But there's not much clearance in case there is some "swelling," which I doubt. However, if some river debrie or seaweed gets in there -- it may cause a problem. We'll just have to try it and see what happens. In place in the "down" position. At the festival I talked to a builder of a CLC PocketShip (like my "Tattoo") who had the same problem with his CB trunk. His CB opening had so narrowed that he had to switch to an aluminum CB at considerable expense. The extra weight was helpful for ballast, but it was much more trouble installing because of the weight. I hope I don't have to go that route. But, if I have to, maybe I could get Graham to design a CB profile consisting of three layers of aluminum with the outer two layers cut to a contoure that would be the foundation for a proper hydrofoil with thickened epoxy used to fill in the edges of the layers. But only as a last resort. Builders should be LOUDLY cautioned to have spacers in place when inserting the module. I missed the warnings -- but should have known better anyway. Her final ROLLOVER is scheduled for Wednesday afternoon !!


-
Core Sound 20 Mk 3 -- #4 "Chessie" . .
Pete McCrary replied to Pete McCrary's topic in B & B Yachts Forum
The bottom and waterline boot are finished and one coat of Interlux polyurethane (white) is on the topsides. Tomorrow would have seen a 2nd coat -- except for when I opened a recently purchased can (West Marine), it was SOLID !! . The bottom will remain gray (AWLGRIP 545). So, now I'm taking off on Friday for the Mid-Atlantic Small Craft Festival. My life-long helper, Annie, says we need a mini-vacation. On Monday I'll resume the final construction of "Chessie."
-
Graham, Annie and I will be there too. On Friday I will have put the last coats of paint on "Chessie's" bottom, waterline boot, and topsides. Time for a break and let the paint harden over the weekend. On Monday I'll install the half-ovals on the keel and the CB & Anderson Bailers. Roll her right-side-up on Tuesday. Pete Mc
-
Core Sound 20 Mk 3 -- #4 "Chessie" . .
Pete McCrary replied to Pete McCrary's topic in B & B Yachts Forum
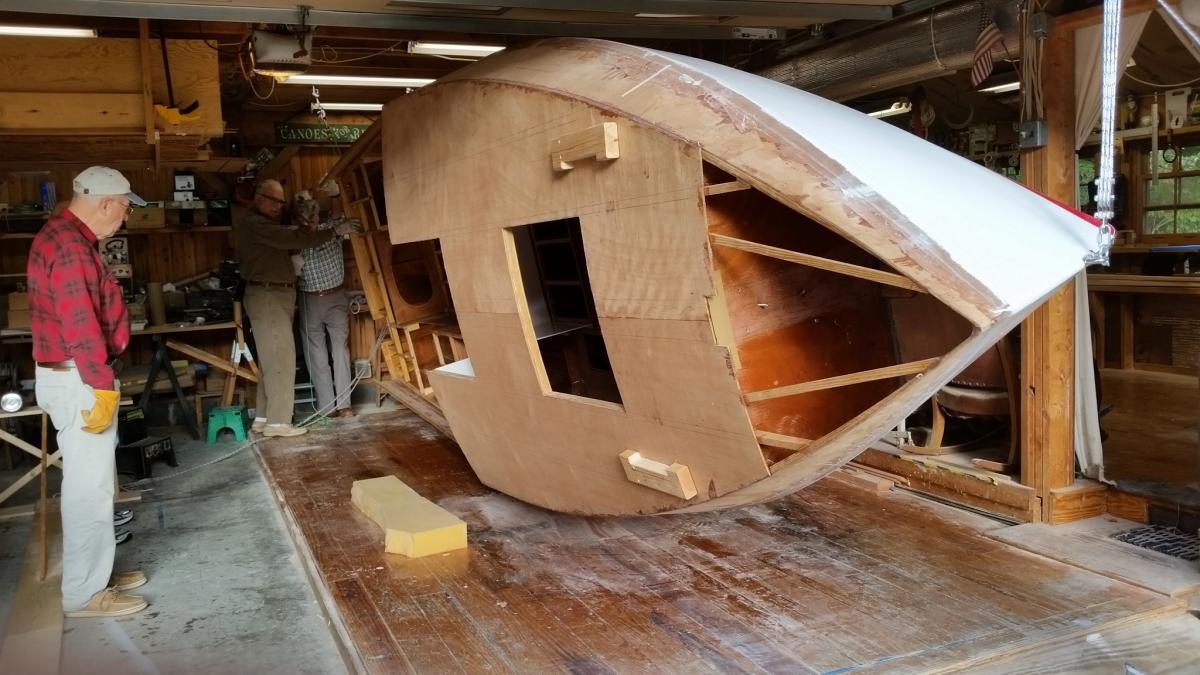
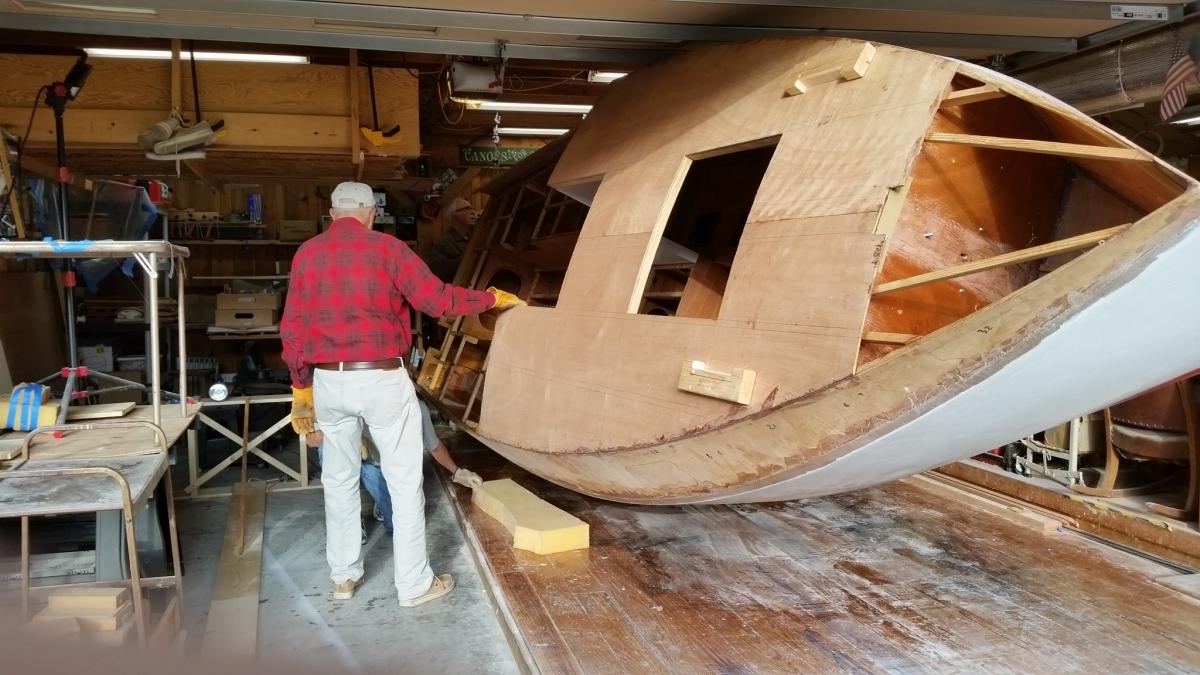
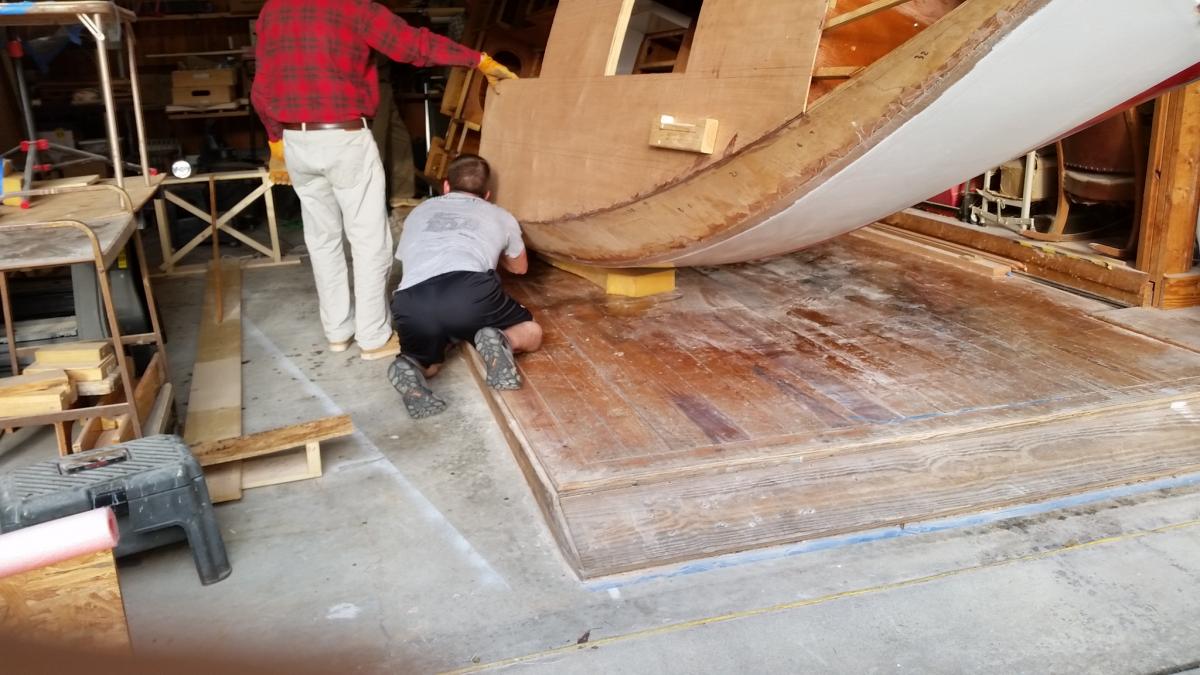
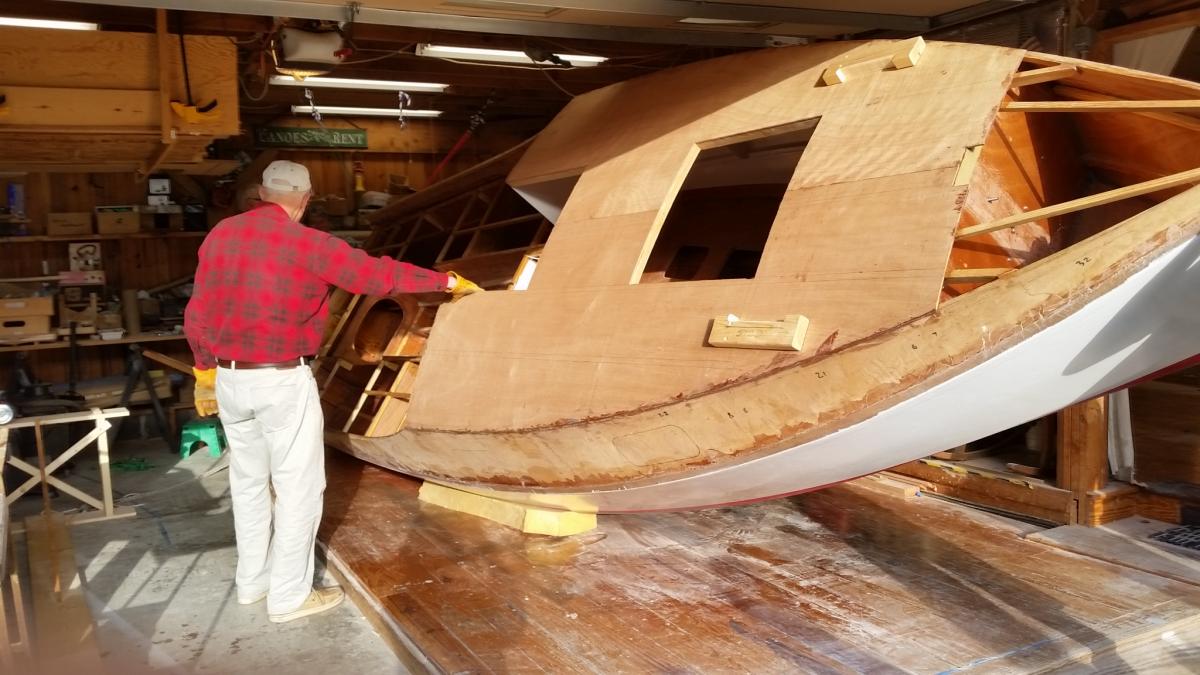
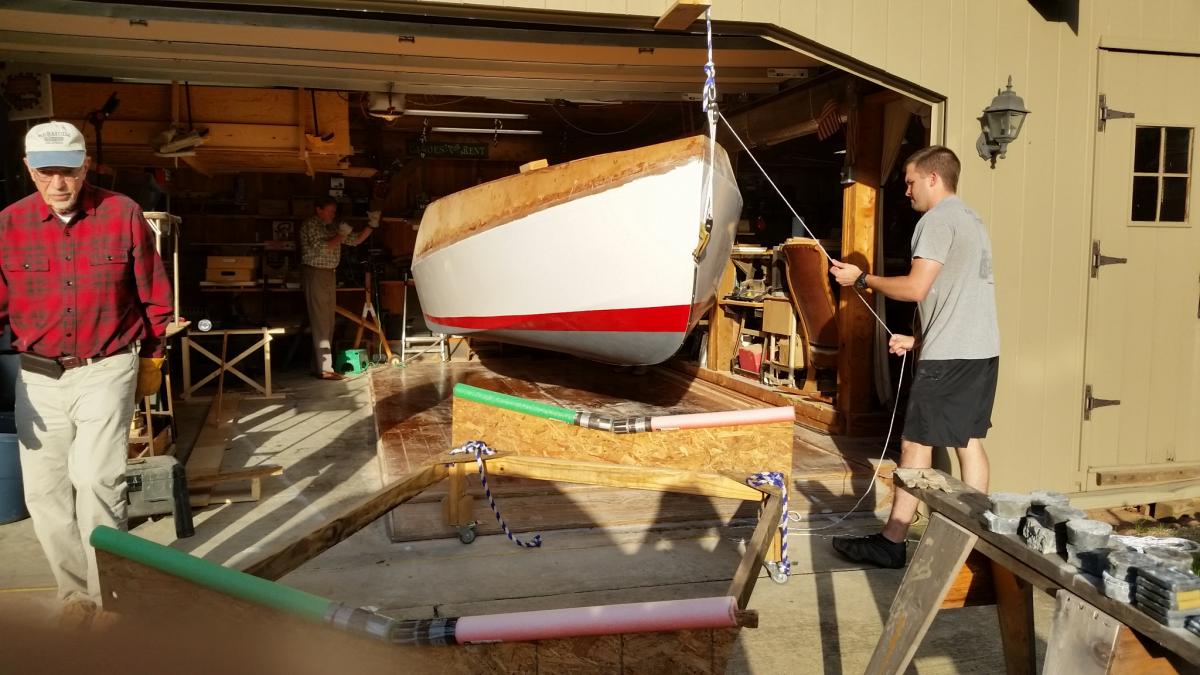
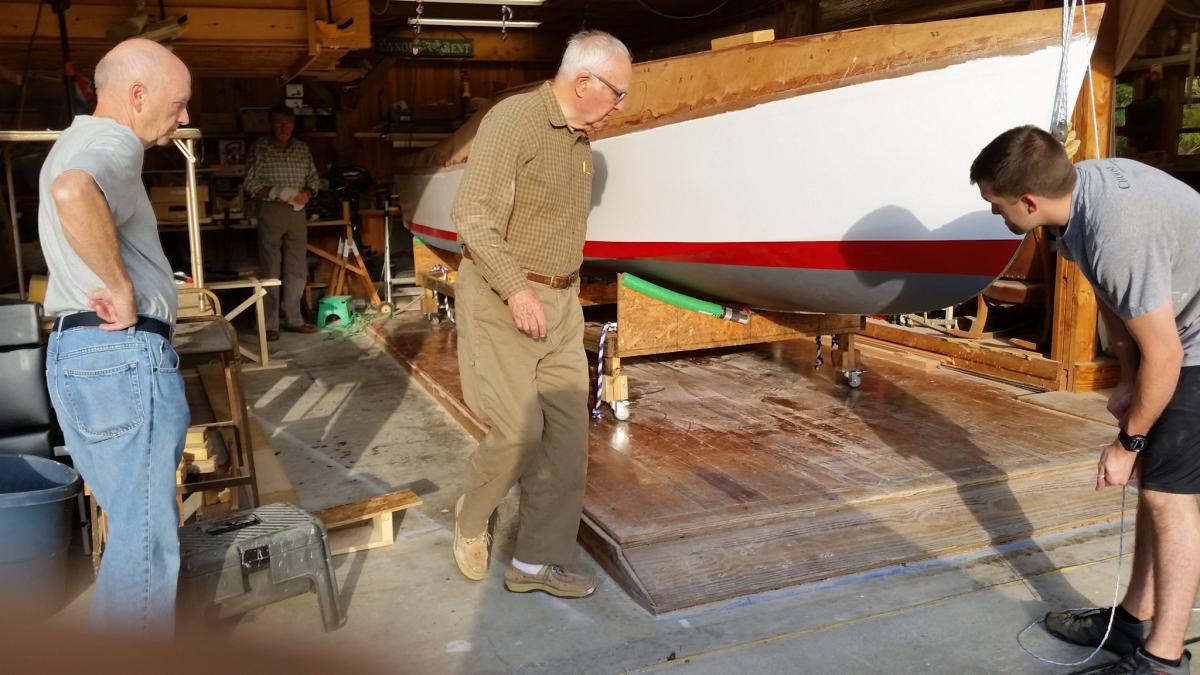
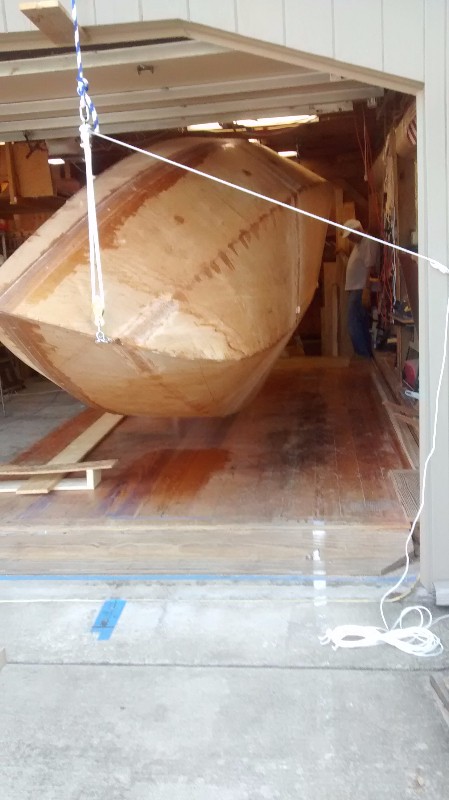
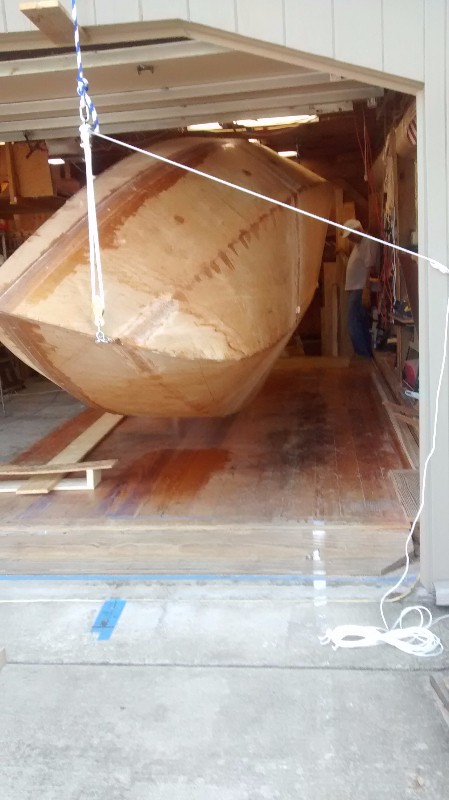
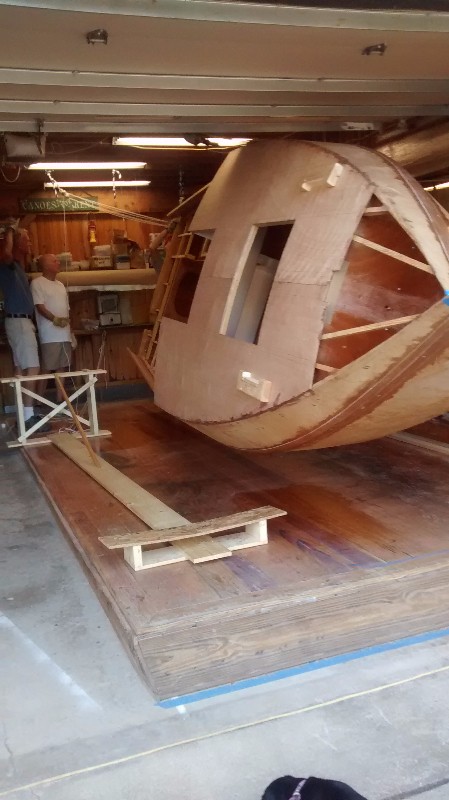
This morning applied the 2nd (and last) coat of paint to the waterline boot. Tomorrow I will apply 545 primer to the bottom and topsides. Thought you all would like to see some pixs of the rollover event (August 27, 2016). Here they are: Preparing the three-point lift. Son, Jim McCrary at the bow-eye. Removing the construction cradle. The rotation: Inserting the inversion pedestal. Lowering "Chessie" onto her pedestal. Ready for glassing, et cetera. The crew: Dale Wine, Henry Felber, Pete McCrary, Jim McCrary I really like the 3-point rollover system. It only requires 3 or 4 persons to safely do it. But I especially like the fact that just one person could easily use the pulleys to load & off-load the boat onto its trailer. Also, raise it for service to the bottom and/or the CB.


-
Core Sound 20 Mk 3 -- #4 "Chessie" . .
Pete McCrary replied to Pete McCrary's topic in B & B Yachts Forum
I hadn't thought of a buff-tan dodger or Bimini. I was going to go with white for heat reflection. But maybe buff-tan would do -- and be "cool" too [both ways]. And I eventually want a [main] boom tent. -
Core Sound 20 Mk 3 -- #4 "Chessie" . .
Pete McCrary replied to Pete McCrary's topic in B & B Yachts Forum
Dave, I considered that. But I didn't want to have to strike the waterline and the boot-top after the hull had been painted. I know it's a bit more trouble masking, etc., And, anyway, there would still be a transition from bottom paint to topside paint. Now, I'll have two transitions. I'll be quite happy with a nice looking "20-footer" -- as they say with respect to antique car classified ads (i.e., "looks good from 20 feet"). Robert, I had in mind what the car people call "British Racing Green." It's a roadster that must have a buff-tan soft-top. It's a dark green. I think Interlux calls it a "Sea Green." -
Core Sound 20 Mk 3 -- #4 "Chessie" . .
Pete McCrary replied to Pete McCrary's topic in B & B Yachts Forum
Just pulled the tape off the 1st coat for the red Boot. One more and I'll start the 545 primer on the bottom and topsides. The bottom will have 2 coats of 545, the 2nd one with some graphite to make it kinda gray rather than white. The topsides will have 2 coats of 545 and then 2 more of Interlux Brightside Polyurethane (white). . Straight-on eye-level with the waterline. My paint schedule should have "Chessie" ready for insertion of her CB and then bedding of the Anderson Bailers, bow-eye, and half-ovals by approximately Tuesday, September 27. Then ROLL HER top-side UP (never to be "bottom up" again) !! The remaining color scheme: Sheer strakes -- Green; Cabin roof and bulkhead -- White; Decks -- Gray. I might leave the rub-rails, toe-rail, and transom BRIGHT. But maybe not, depends on how they look when I'm ready to paint or varnish. Haven't decided regarding the sprit booms. They'll be made of poplar. Not a very pretty wood (in my opinion) -- so maybe paint them white like the masts. Comments, suggestions, welcome.


-
Core Sound 20 Mk 3 -- #4 "Chessie" . .
Pete McCrary replied to Pete McCrary's topic in B & B Yachts Forum
Thanks guys. Bubble's been cut out. Watertite epoxy putty to be applied to all dinks today. AWLGRIP 545 starts tomorrow. -
Core Sound 20 Mk 3 -- #4 "Chessie" . .
Pete McCrary replied to Pete McCrary's topic in B & B Yachts Forum
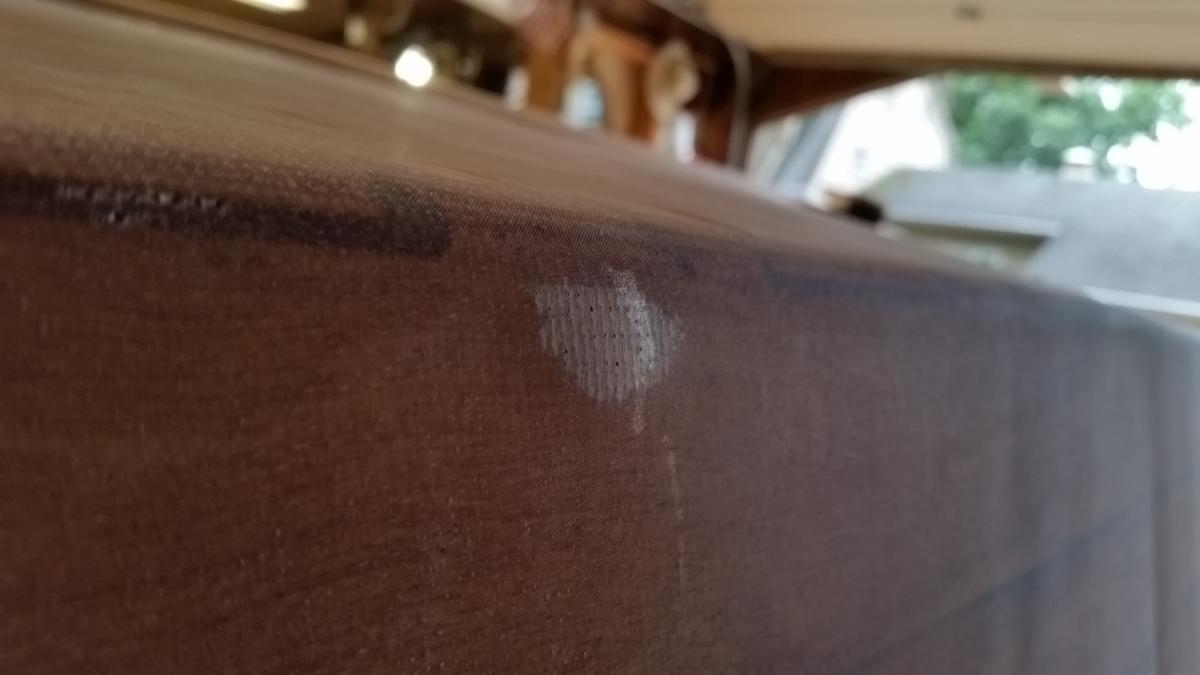
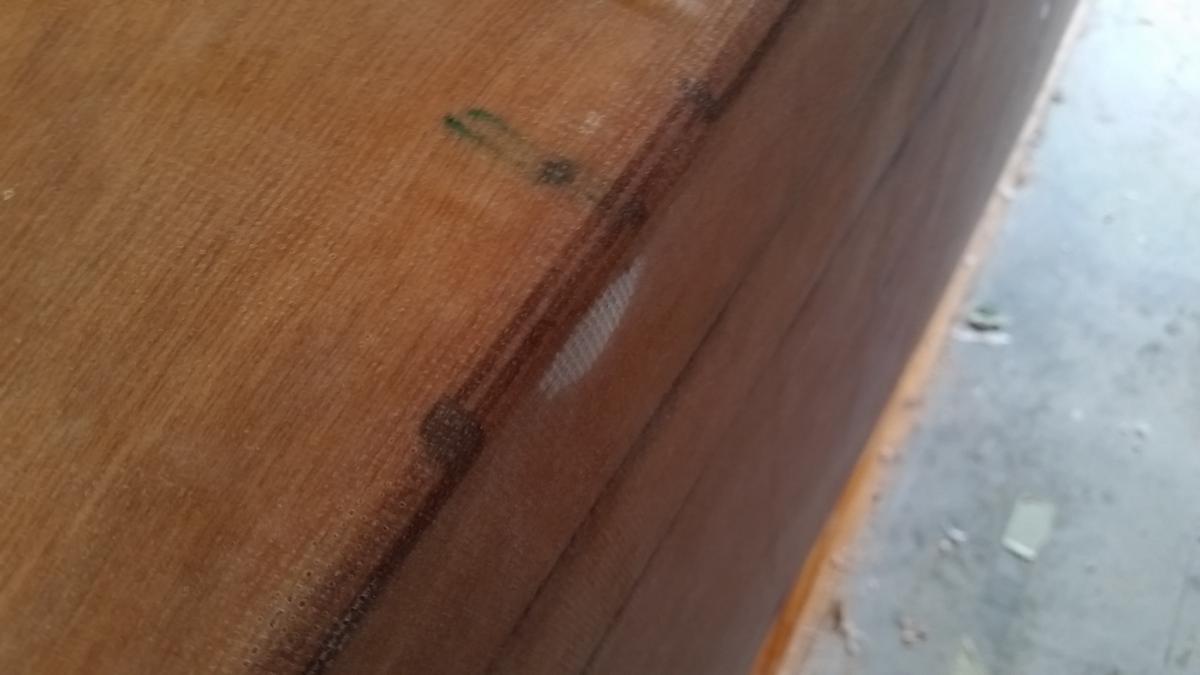
ADVICE NEEDED from experienced glassing experts. While prepping the bottom for its first coat of AWLGRIP 545 epoxy primer I discovered a "bubble" under the fiberglass near the chine. Here are photos of it: . It's about 1.25" x .75" and if I push on it, the space under it ~ 1/64". I was considering: A. Drill small hole and inject it with slightly thickened epoxy, leave bump as is, and sand for the epoxy primer; or B. With an Exacto blade, cut around the primiter, remove the bubble, feather the edge with scraper and 80 grit, then fill space with epoxy putty, and sand for the epoxy primer; or C. Any better idea. Suggestions would be appreciated.

-
Core Sound 20 Mk 3 -- #4 "Chessie" . .
Pete McCrary replied to Pete McCrary's topic in B & B Yachts Forum
When I get close enough -- I certainly will !!! I'm really looking forward to actually sailing "Chessie." -
Core Sound 20 Mk 3 -- #4 "Chessie" . .
Pete McCrary replied to Pete McCrary's topic in B & B Yachts Forum
Jay, I think "Chessie's" CB slot will be ok -- but I wish I'd thought to put in the spacers. I put in a little work almost every day and I'm ready to start priming and painting the bottom. But time seems to just fly by. And the cabin hatches and cockpit coamings (seat backs) are yet to be done. I haven't ruled out having her ready for the mess-about, but it's beginning to be an "iffy" prospect. If I miss it, Graham said it'd be ok to bring her down in November to help me fine tune the sailing setup. I could use the help having never worked with a cat-ketch rig. -
Core Sound 20 Mk 3 -- #4 "Chessie" . .
Pete McCrary replied to Pete McCrary's topic in B & B Yachts Forum
Tomorrow I'll epoxy & glass around the roundedover CB slot [edges] and cutouts for the two Anderson Bailers. Then I'll just about be ready for priming and painting the hull up to the bottom edge of the sheer strake. But I've never had any experience using any kind of "bailer" (except bucket & sponge) and much less installed one: QUESTION for others who have: Which would be the better choice going forward, A. Permanently install the bailers now, carefully bedded (masking the exposed parts when priming and painting); OR B. Prime and paint now (masking their cutouts when priming and painting) and install after the bottom is finished with painting. Before any priming, I'll epoxy the glass (piece shown in photo) on the routed out bare plywood and (when cured) cut away the central space and bolt holes. Suggestions and comments would be welcom.
-
Core Sound 20 Mk 3 -- #4 "Chessie" . .
Pete McCrary replied to Pete McCrary's topic in B & B Yachts Forum
Jay: Was it bonded all the way to the top? Or, did you only have to cut and trim it loose near the slot?