Pete McCrary
-
Posts
692 -
Joined
-
Last visited
-
Days Won
40
Content Type
Profiles
Forums
Events
Everything posted by Pete McCrary
-

Core Sound 20 Mk 3 -- #4 "Chessie" . .
Pete McCrary replied to Pete McCrary's topic in B & B Yachts Forum
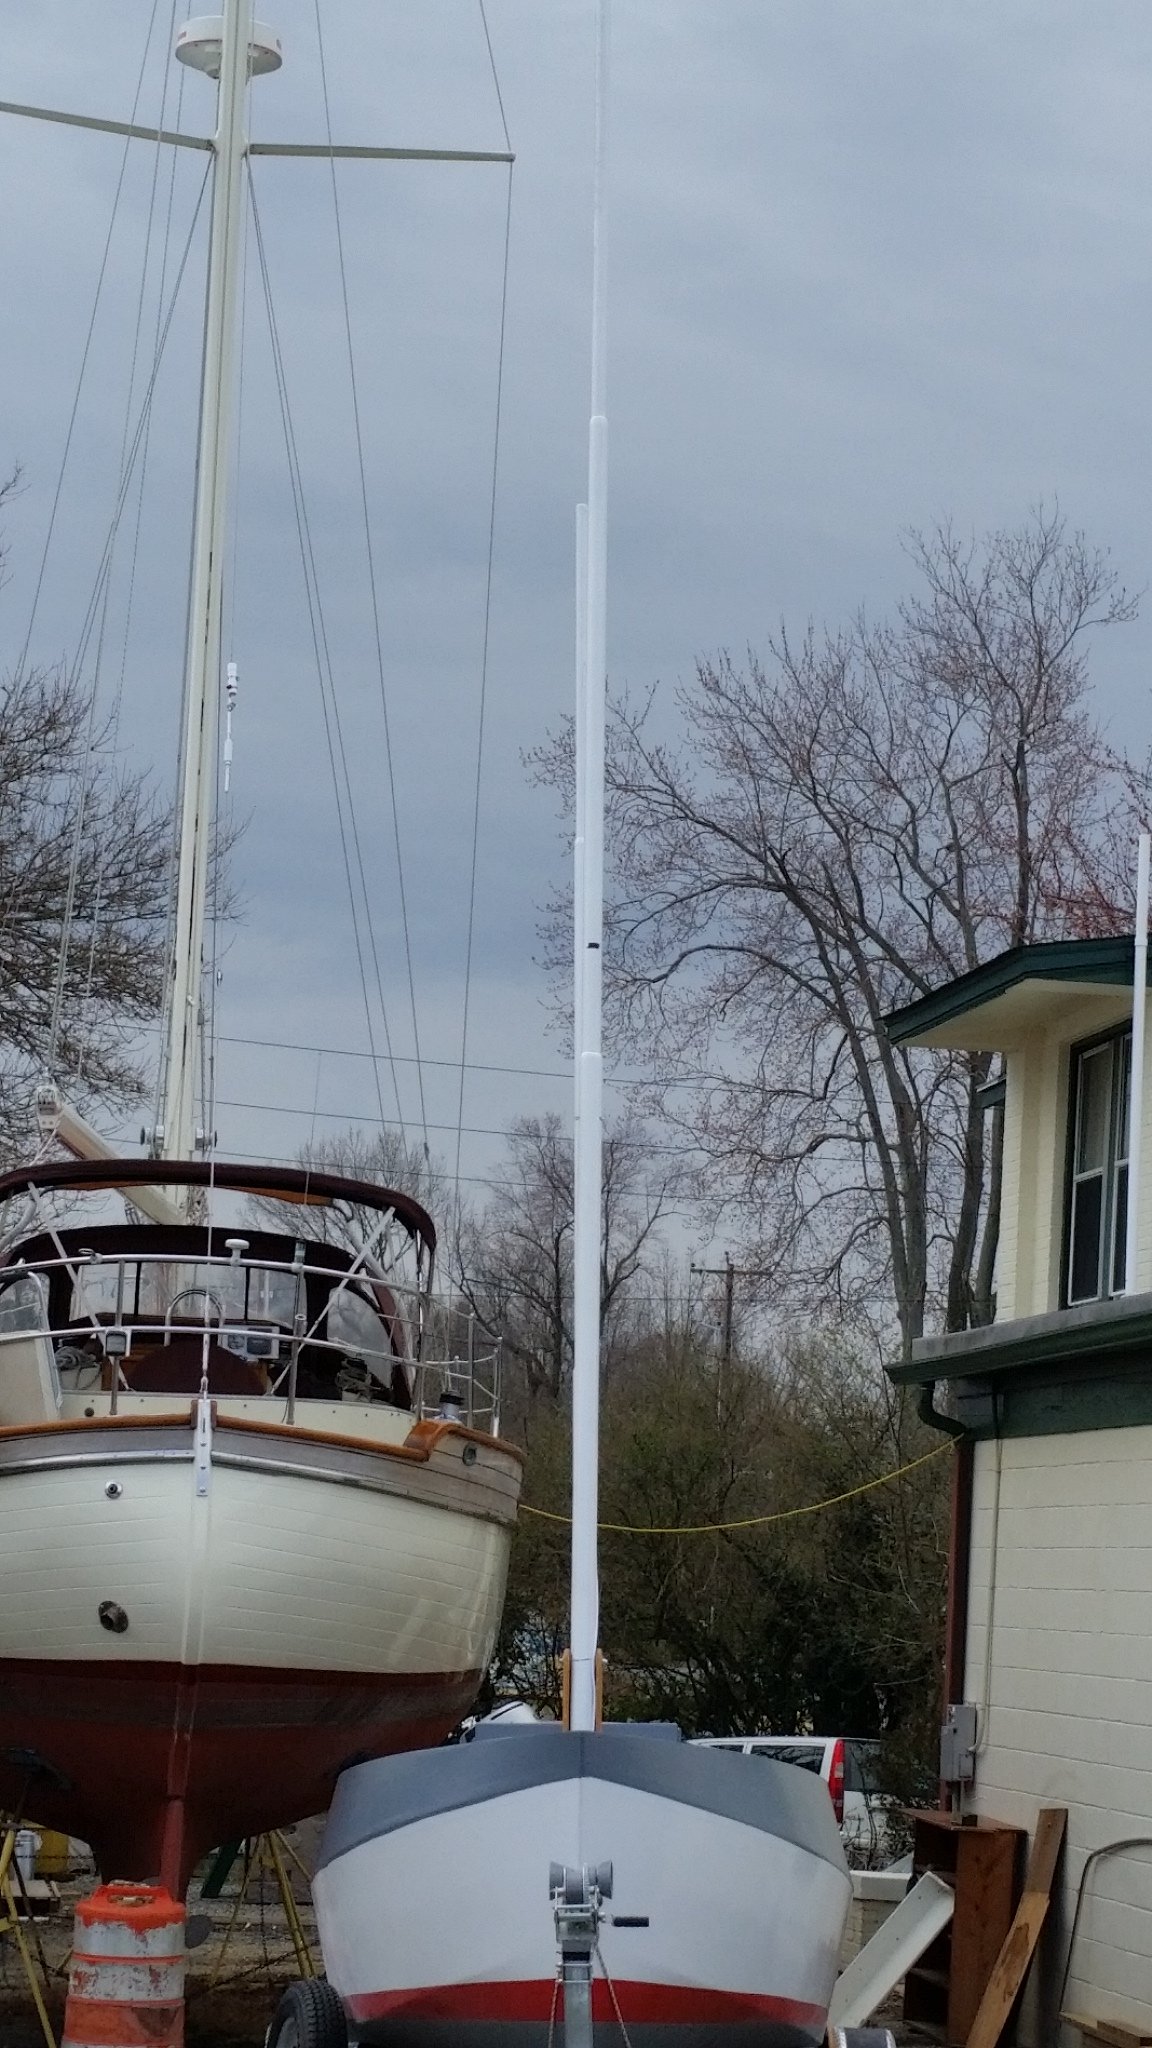
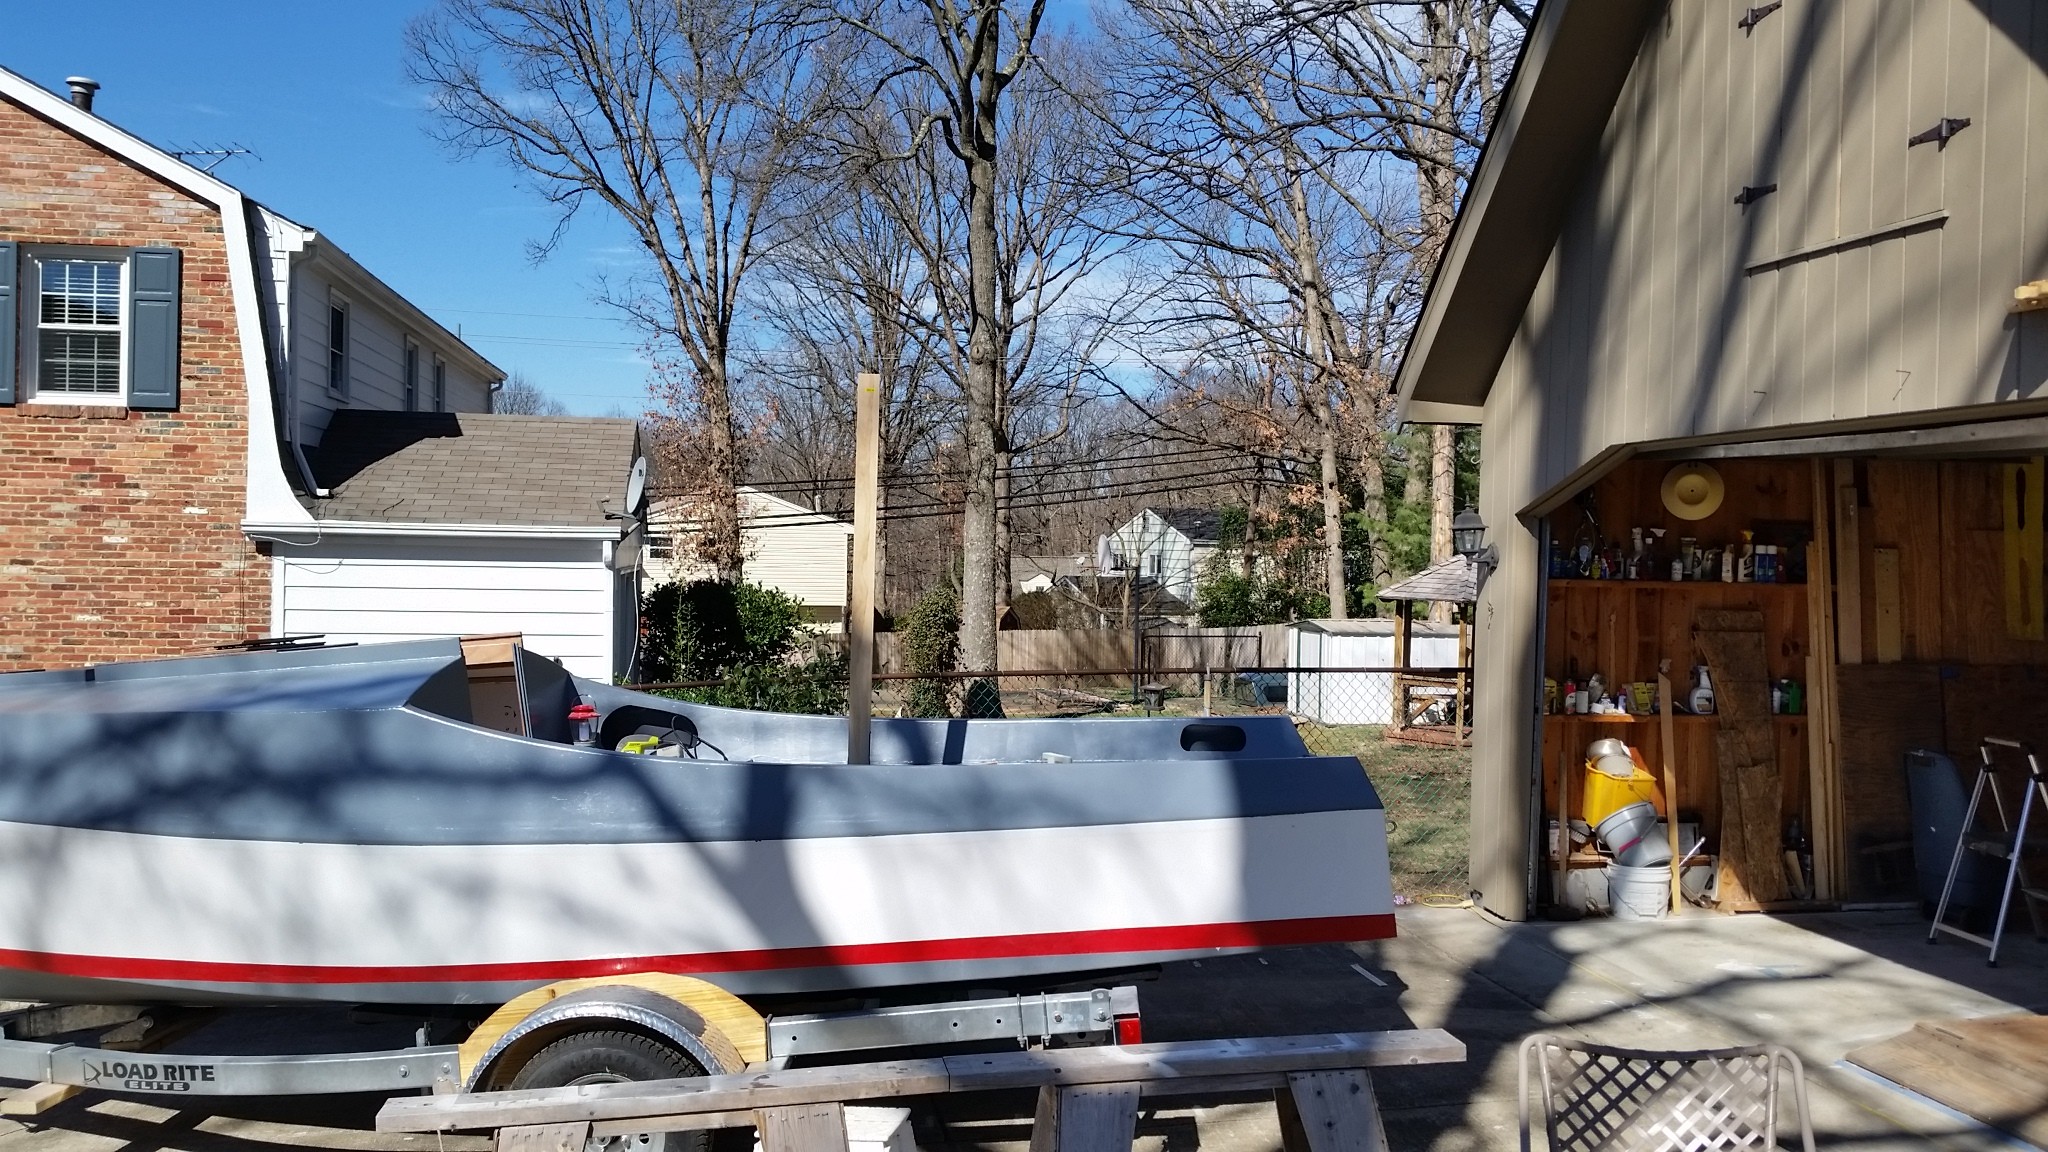
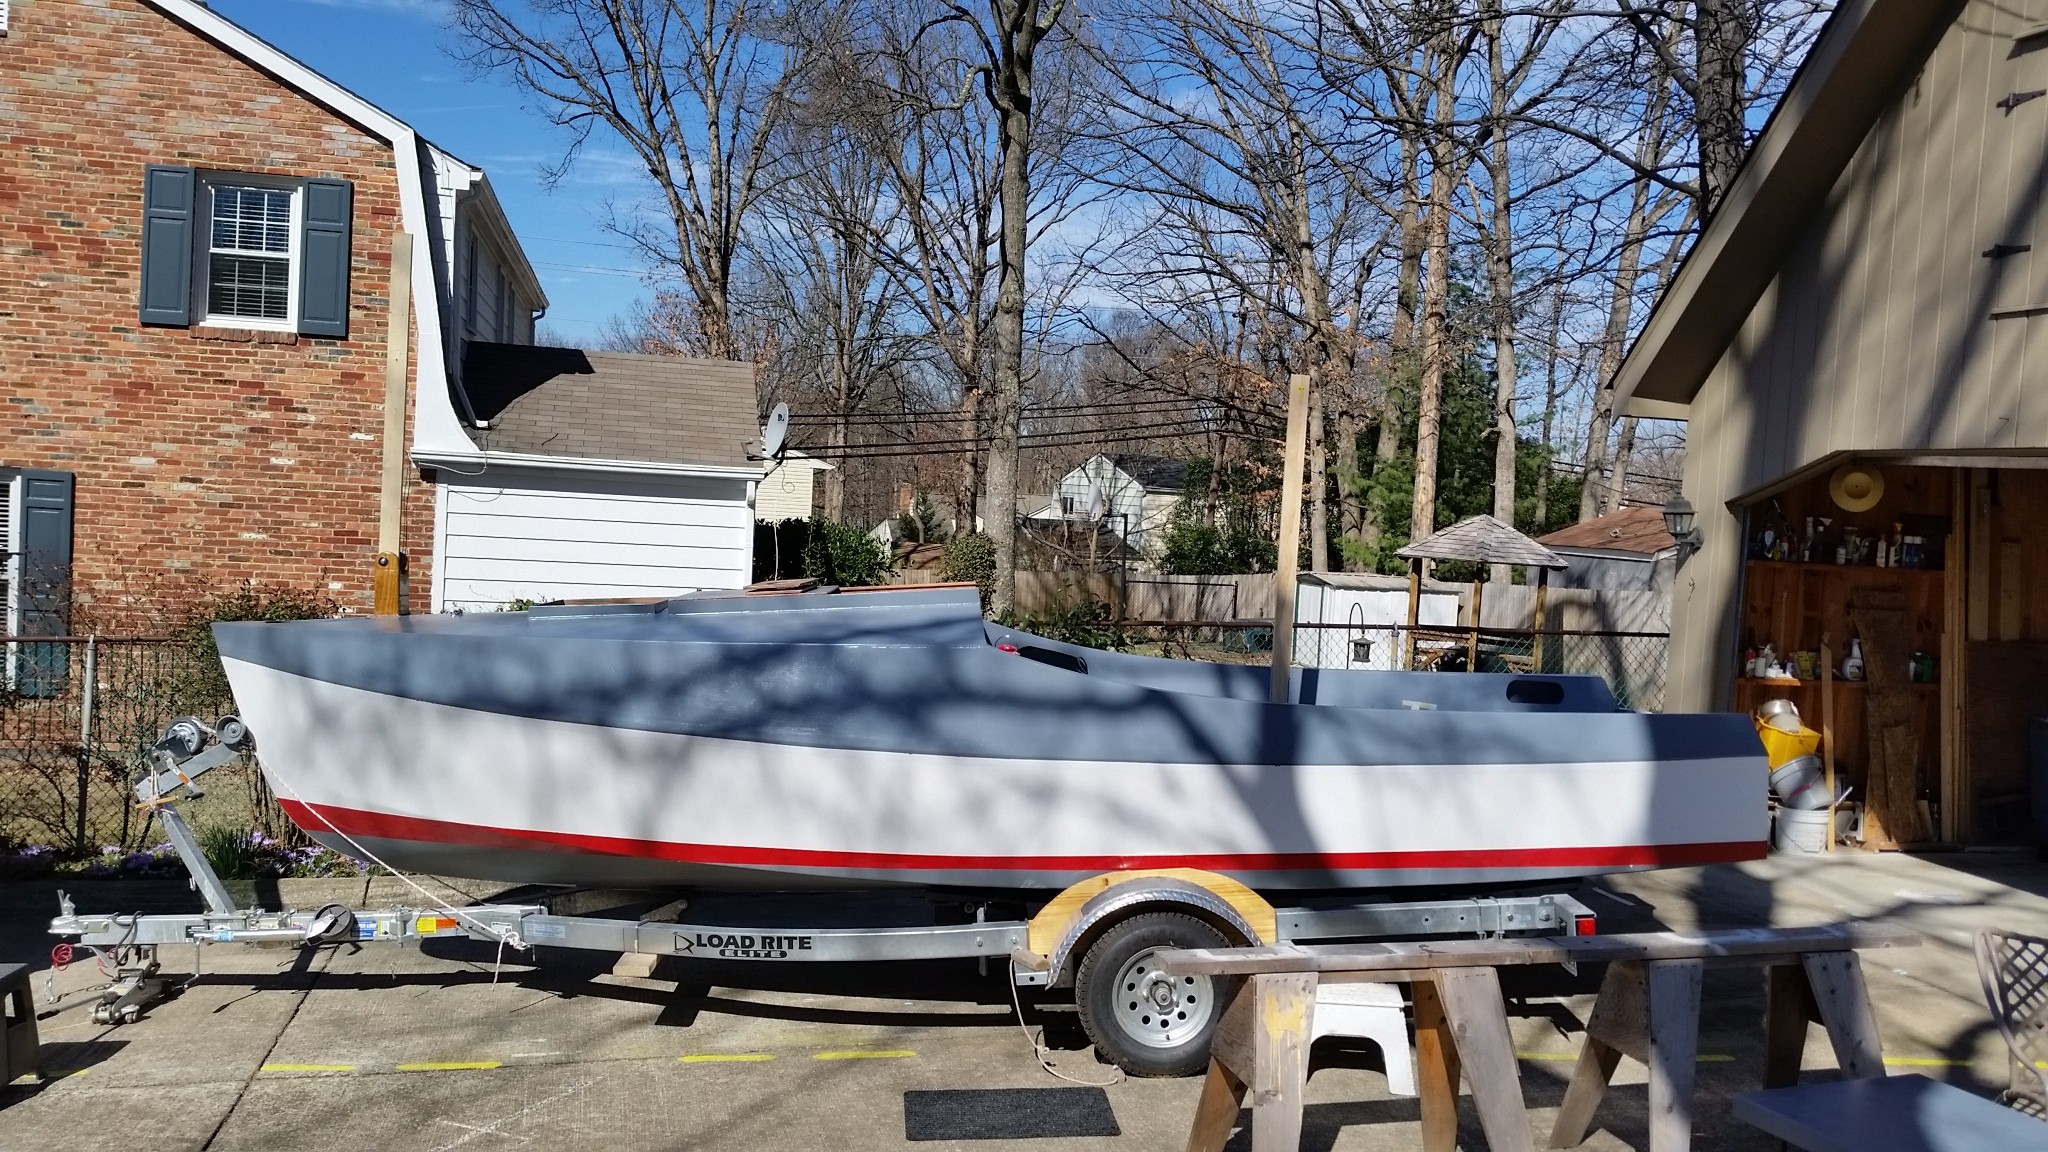
Main mast raised and mizzen stepped for the first time at the canvas shop. No hitches. And they look very close to being pararllel. "Chessie" will be there for about a week while she's measured and fitted for cabin cushions and a [no] boom tent. I'll be able to do family tax returns, earn some $$, read a book, dream of cruising with "Chessie," lightly tackle the honey-do list, etc.

-
Core Sound 20 Mk 3 -- #4 "Chessie" . .
Pete McCrary replied to Pete McCrary's topic in B & B Yachts Forum
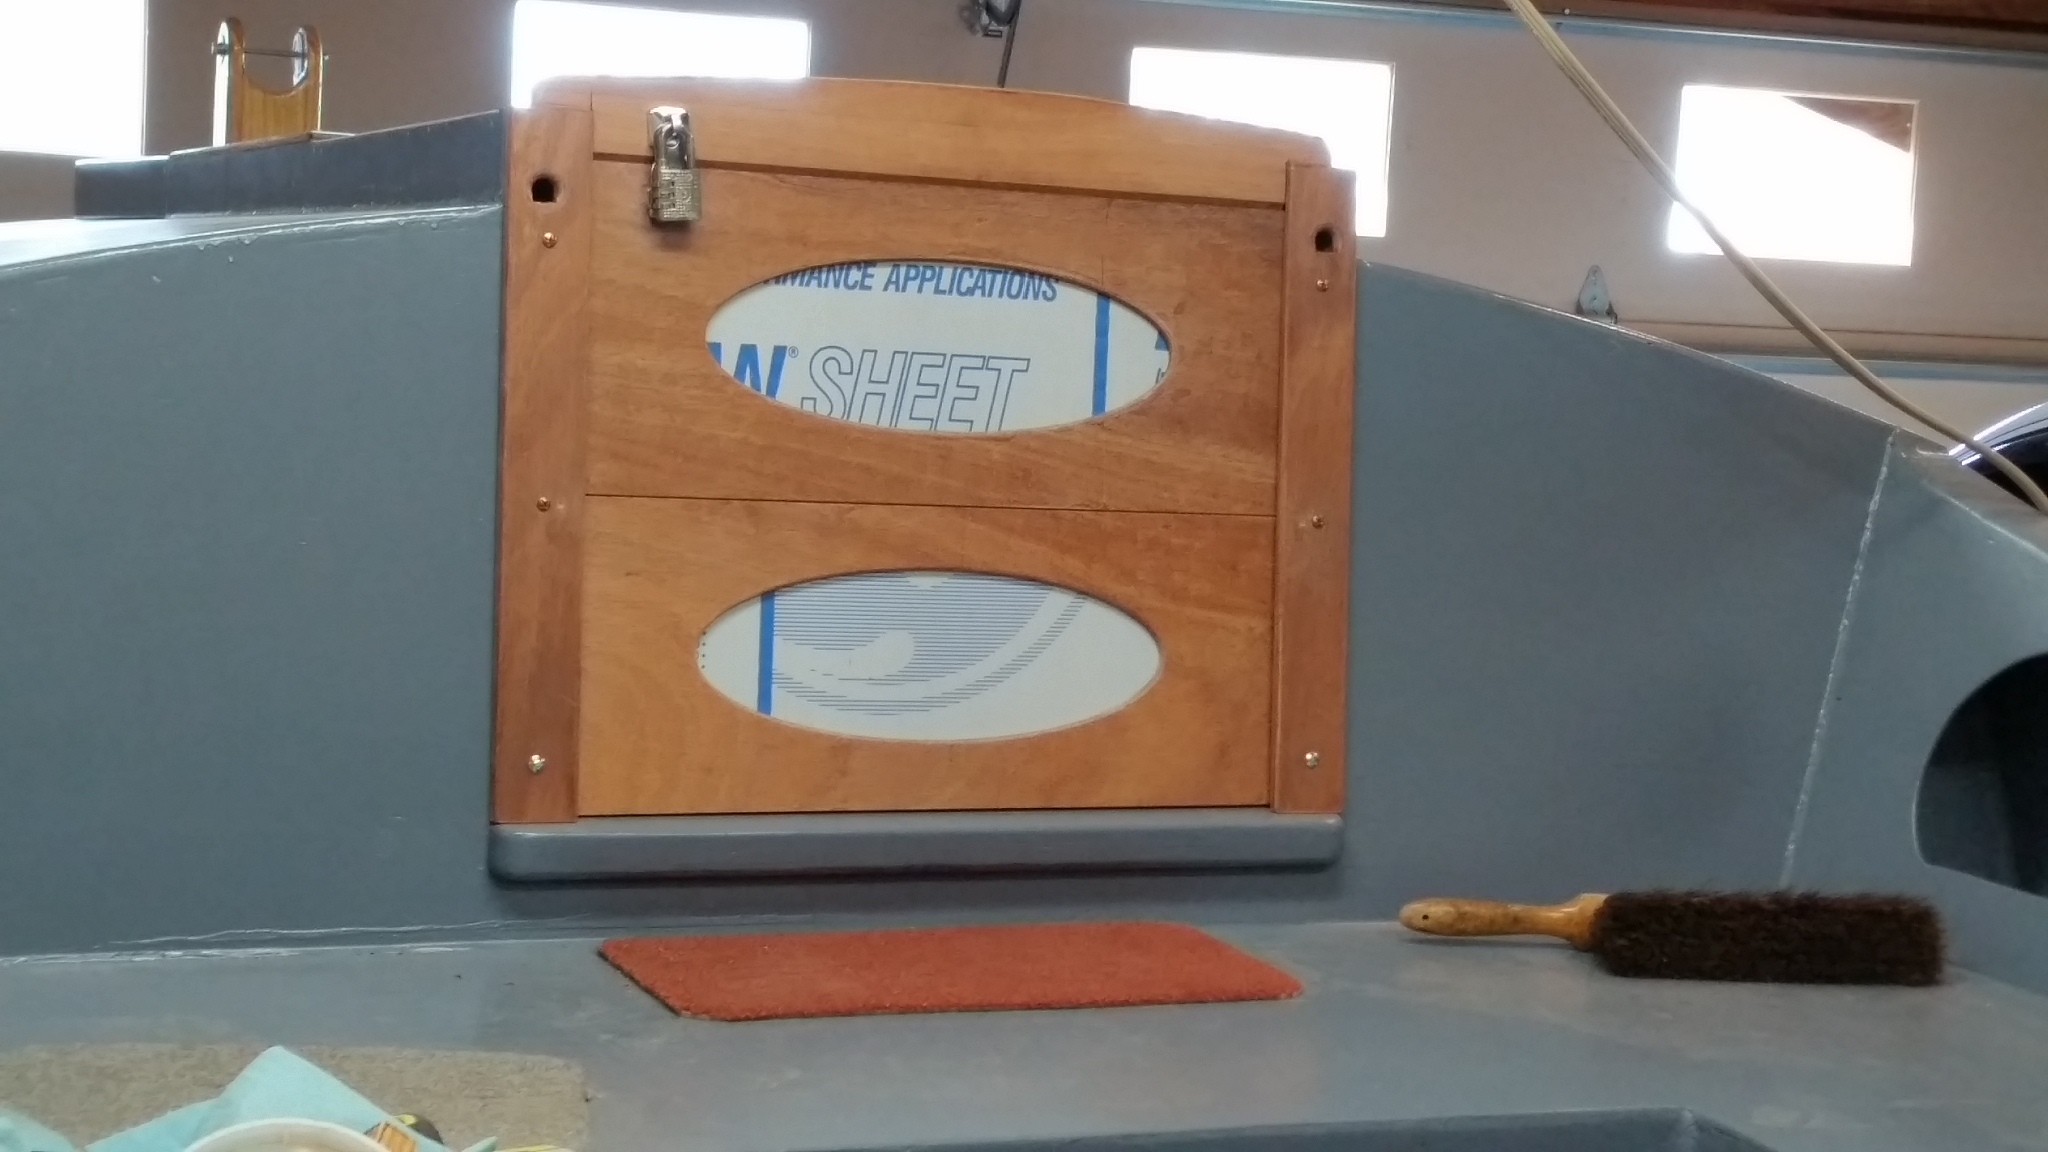
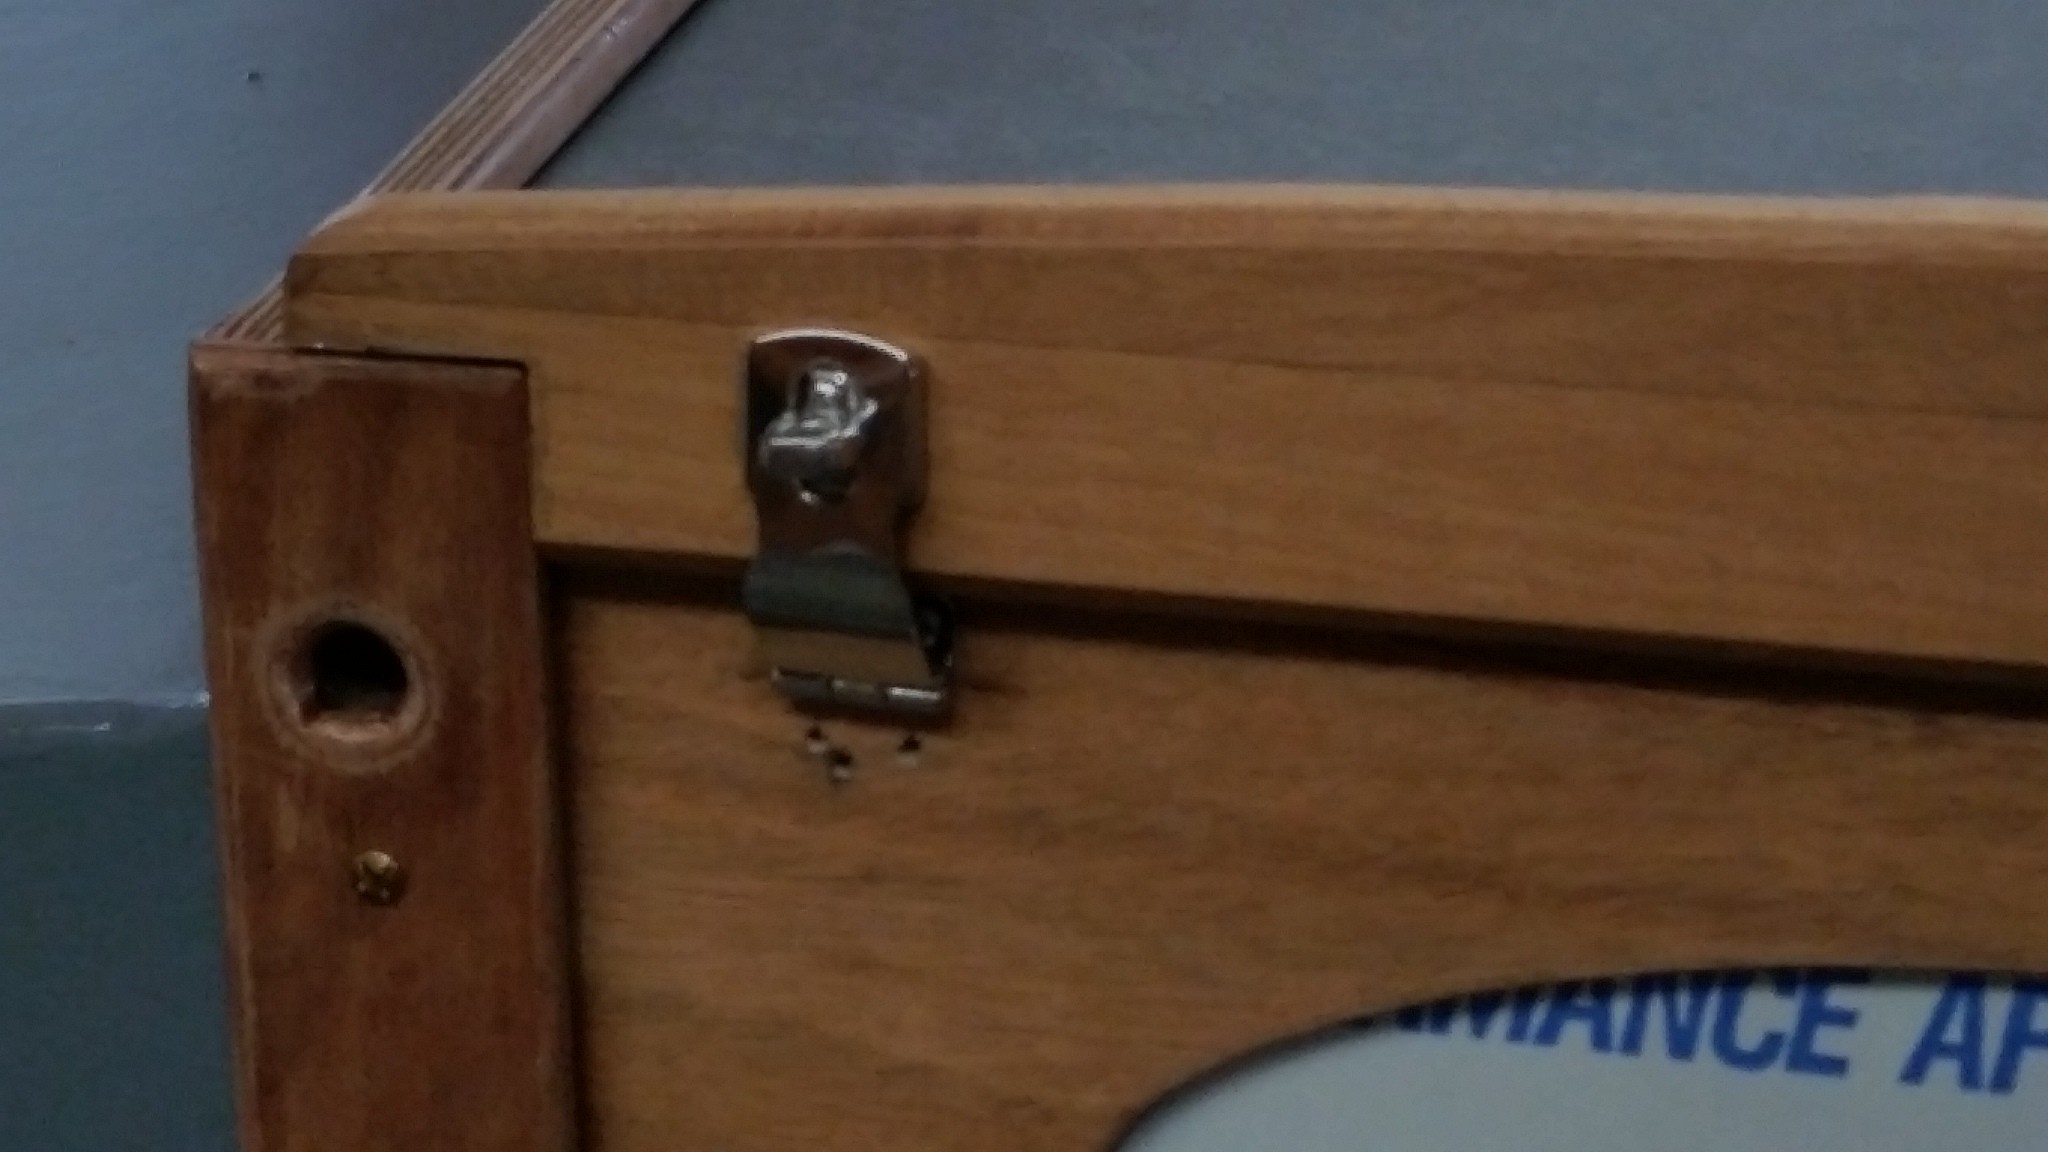
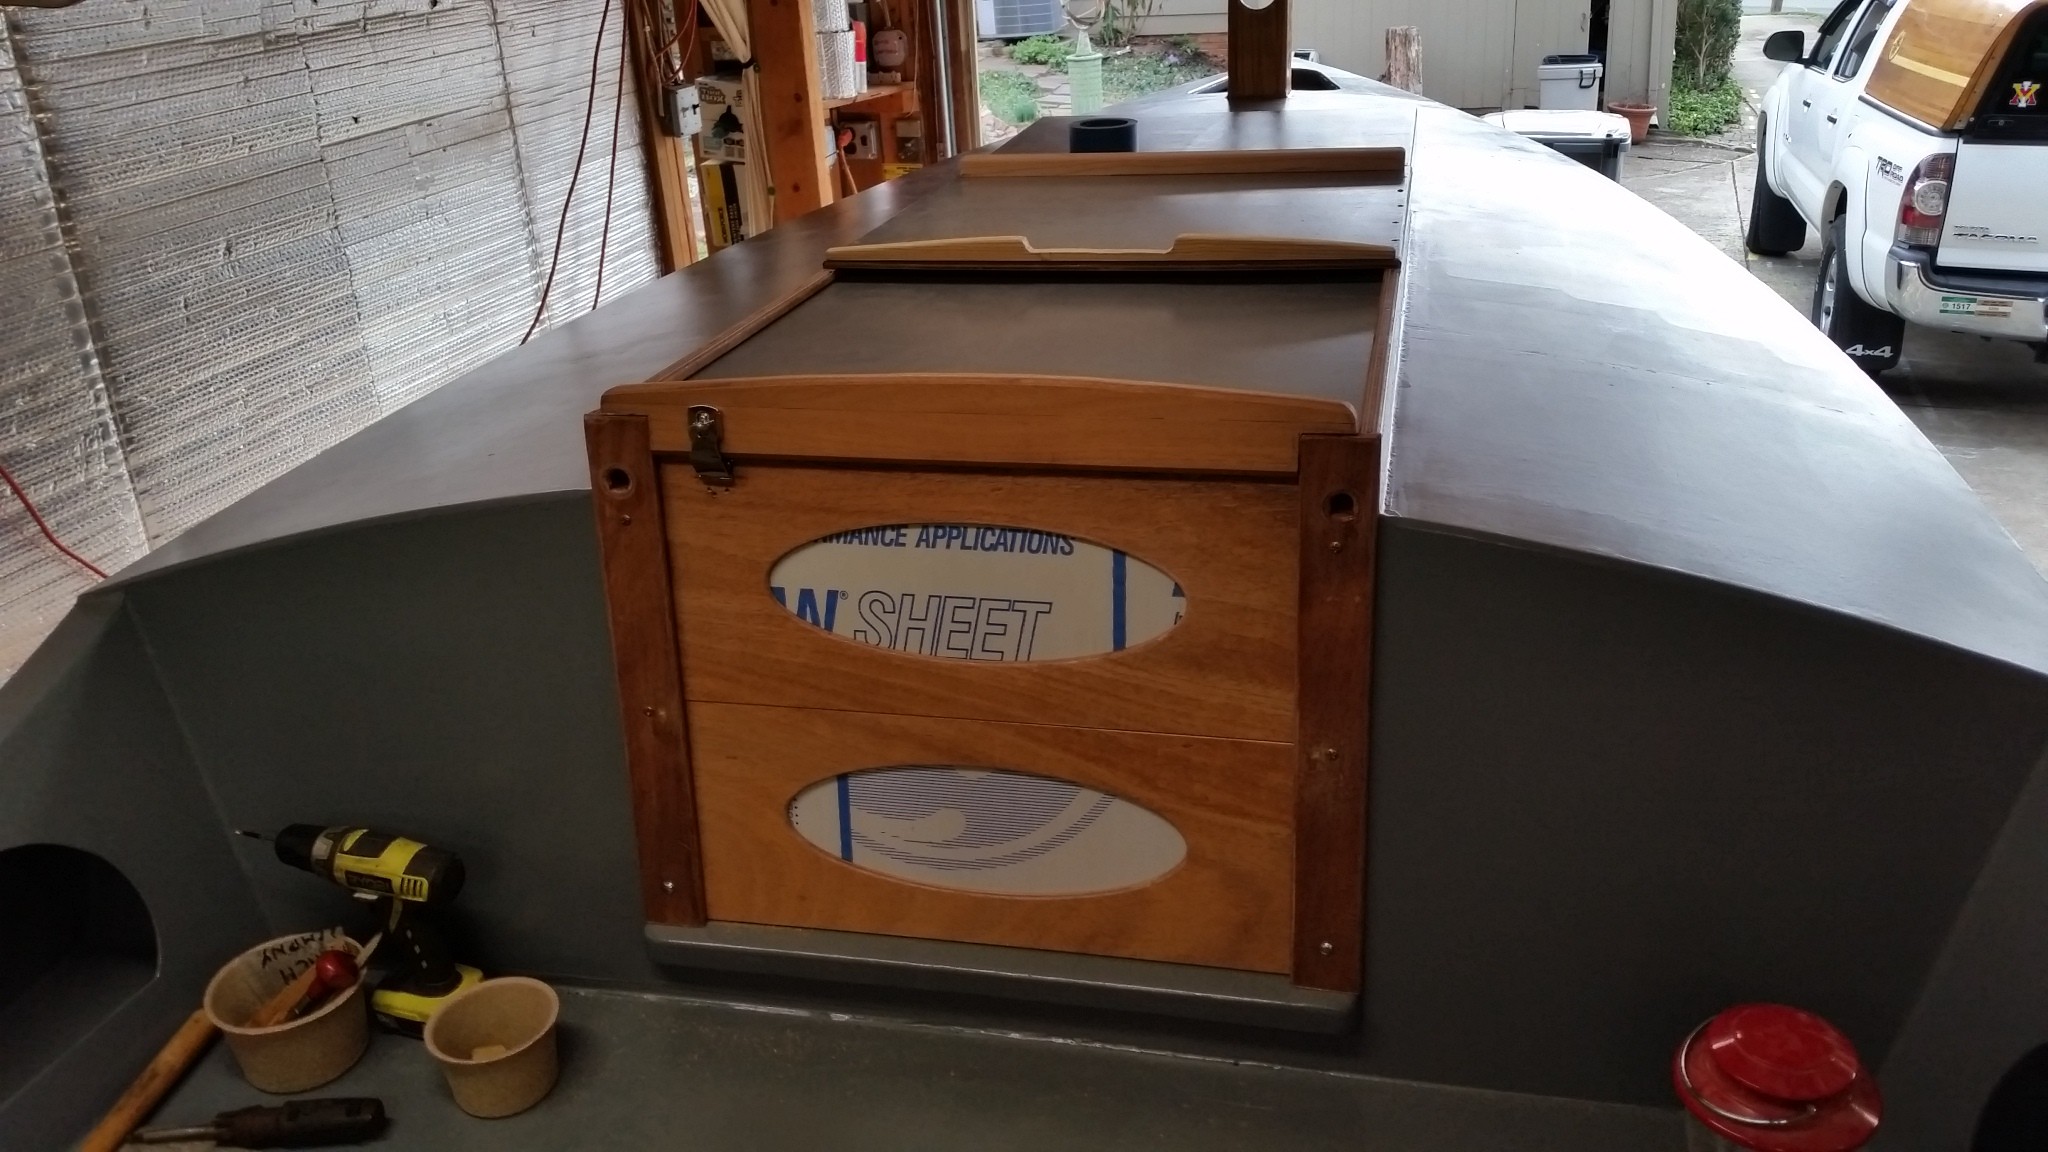
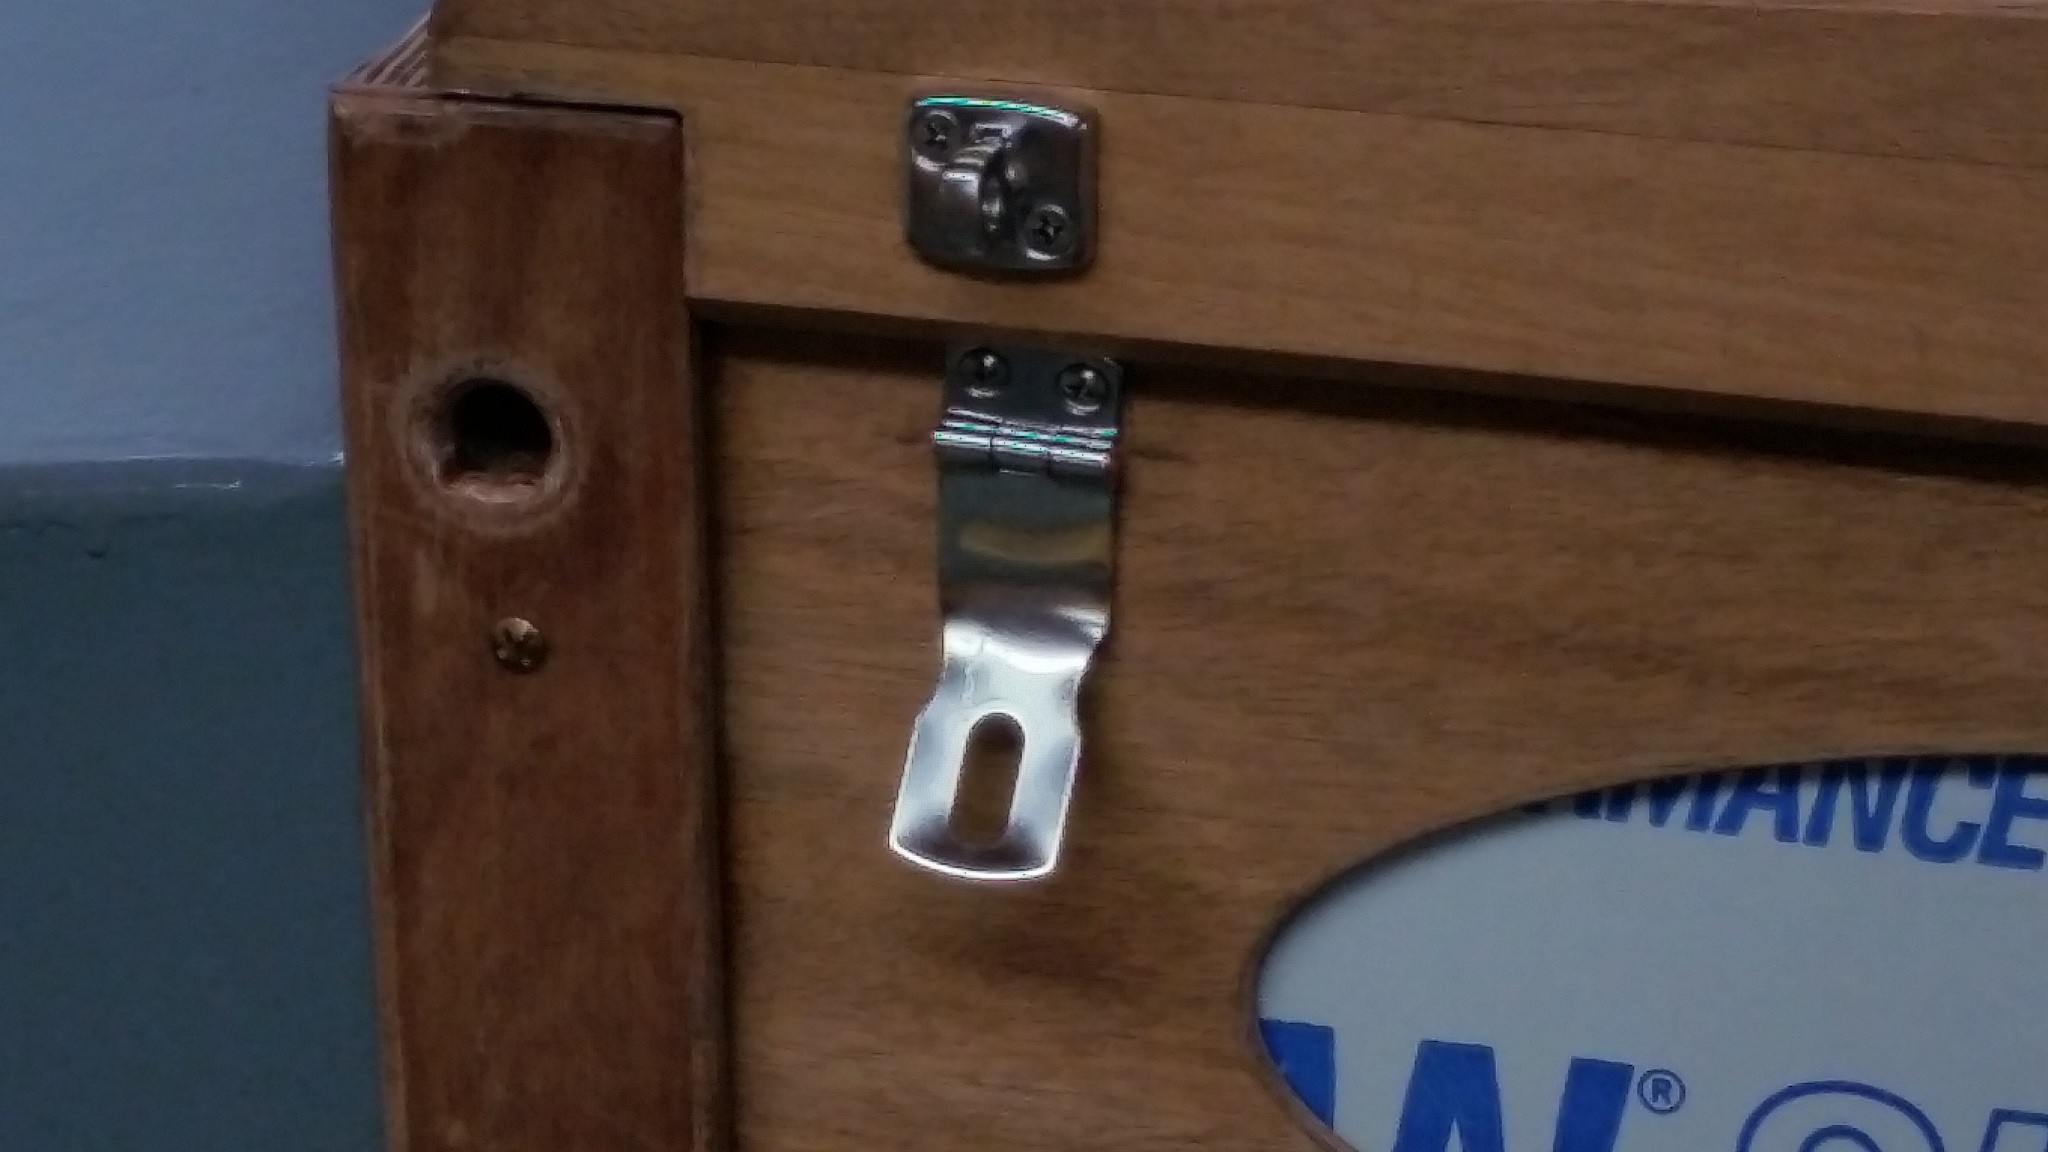
I didn't like the looks of hatch--drop board intersection. A small mod brought them into the same plane. Now the hasp doesn't need to be bent.

-
Core Sound 20 Mk 3 -- #4 "Chessie" . .
Pete McCrary replied to Pete McCrary's topic in B & B Yachts Forum
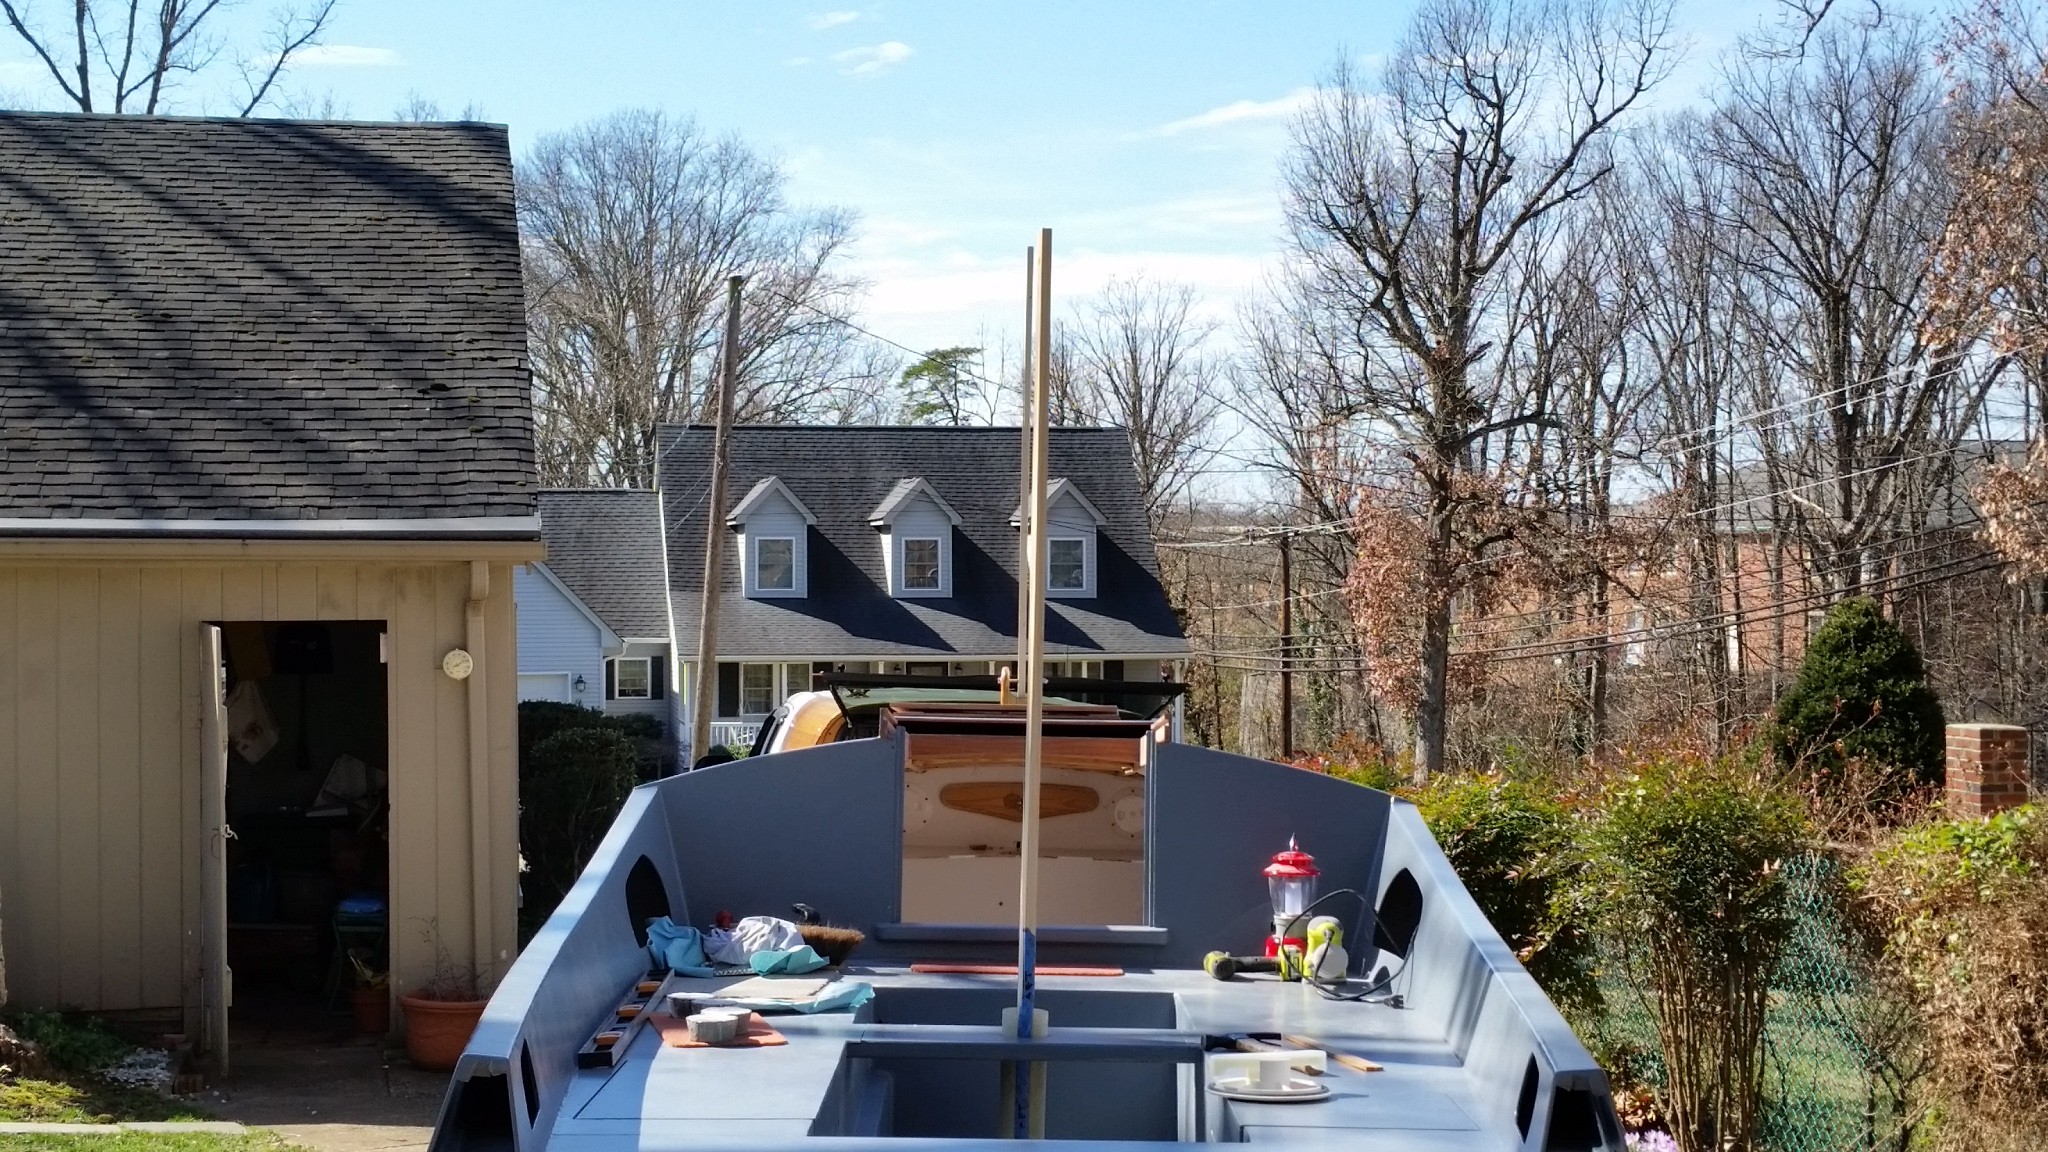
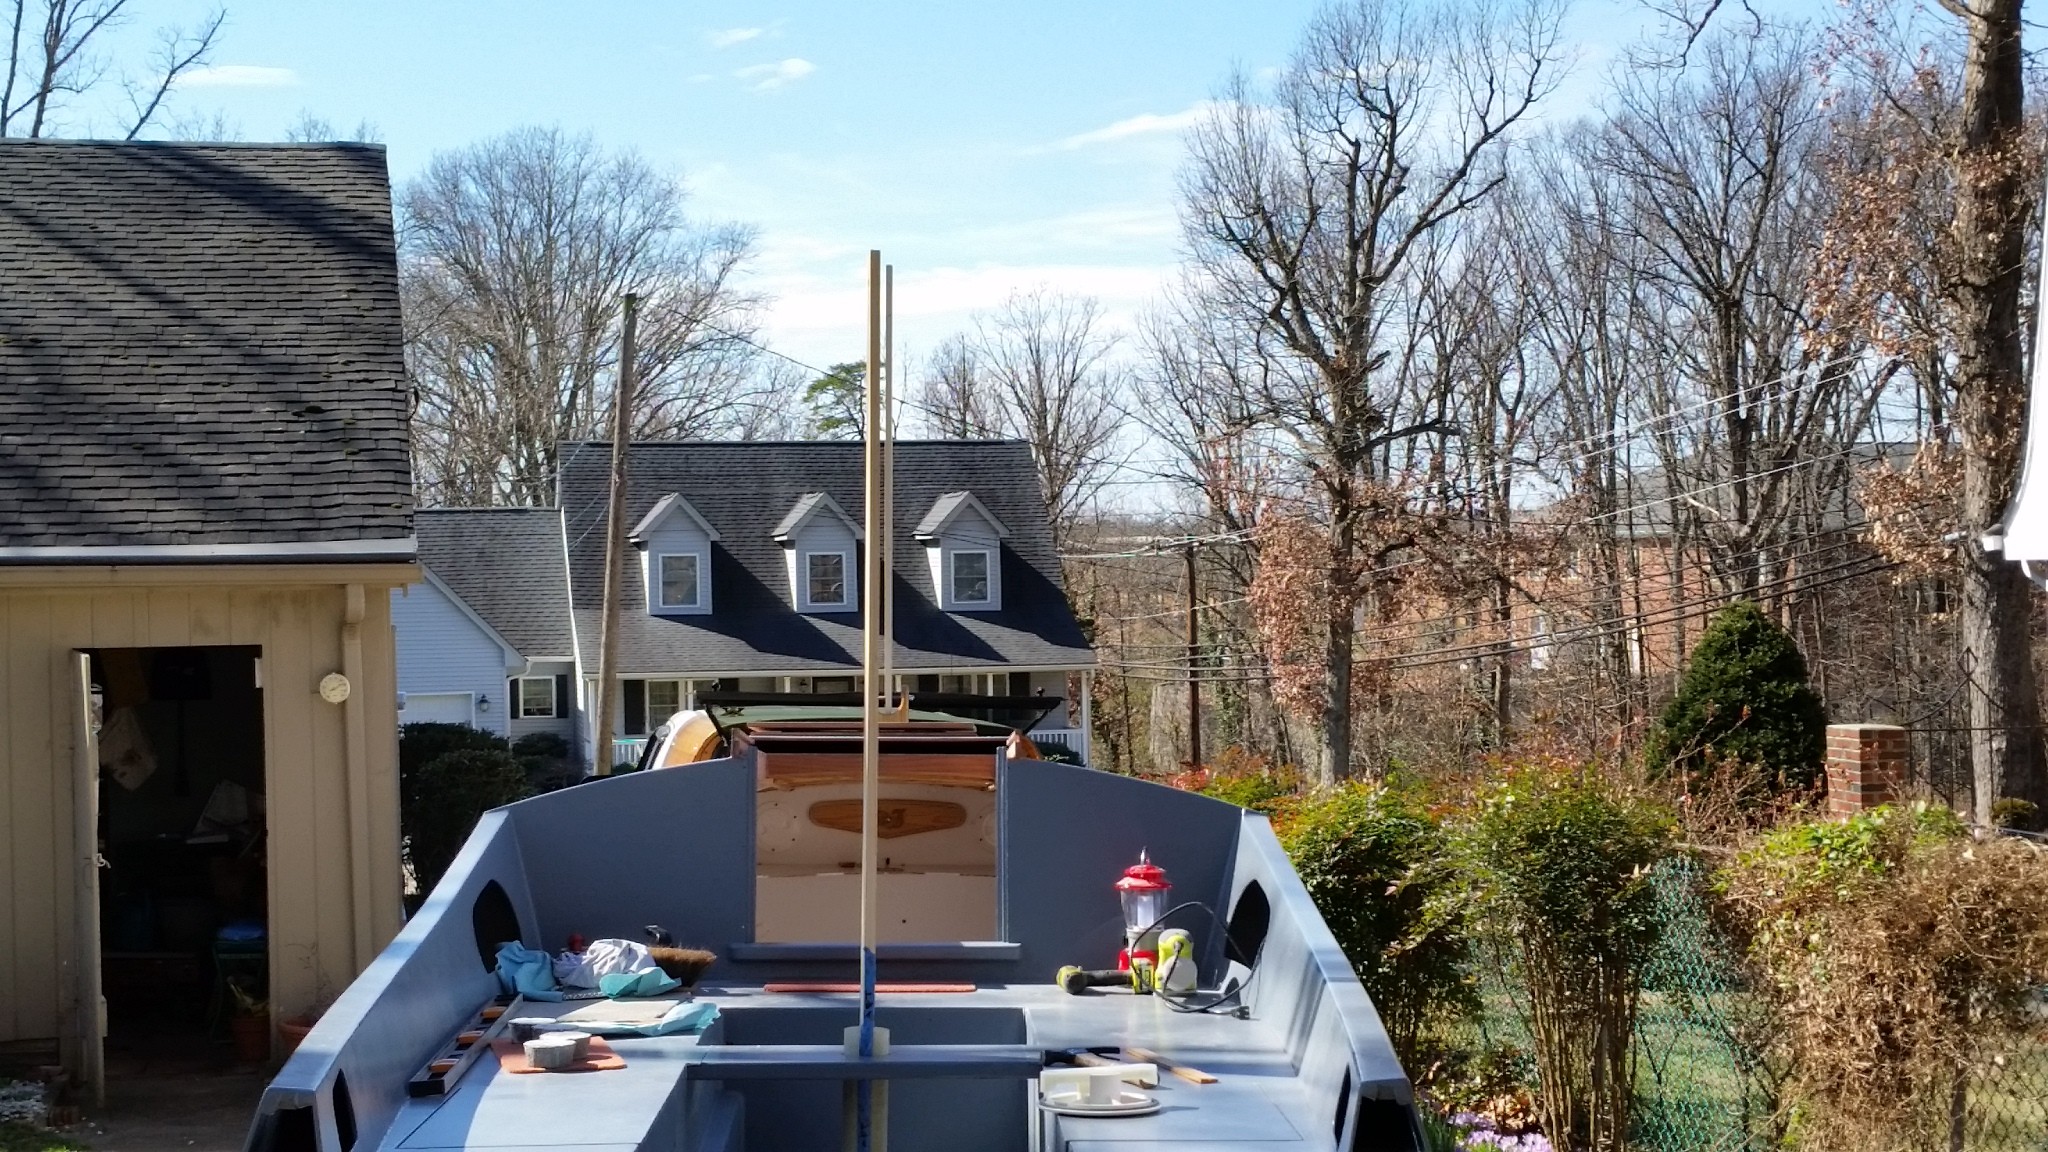
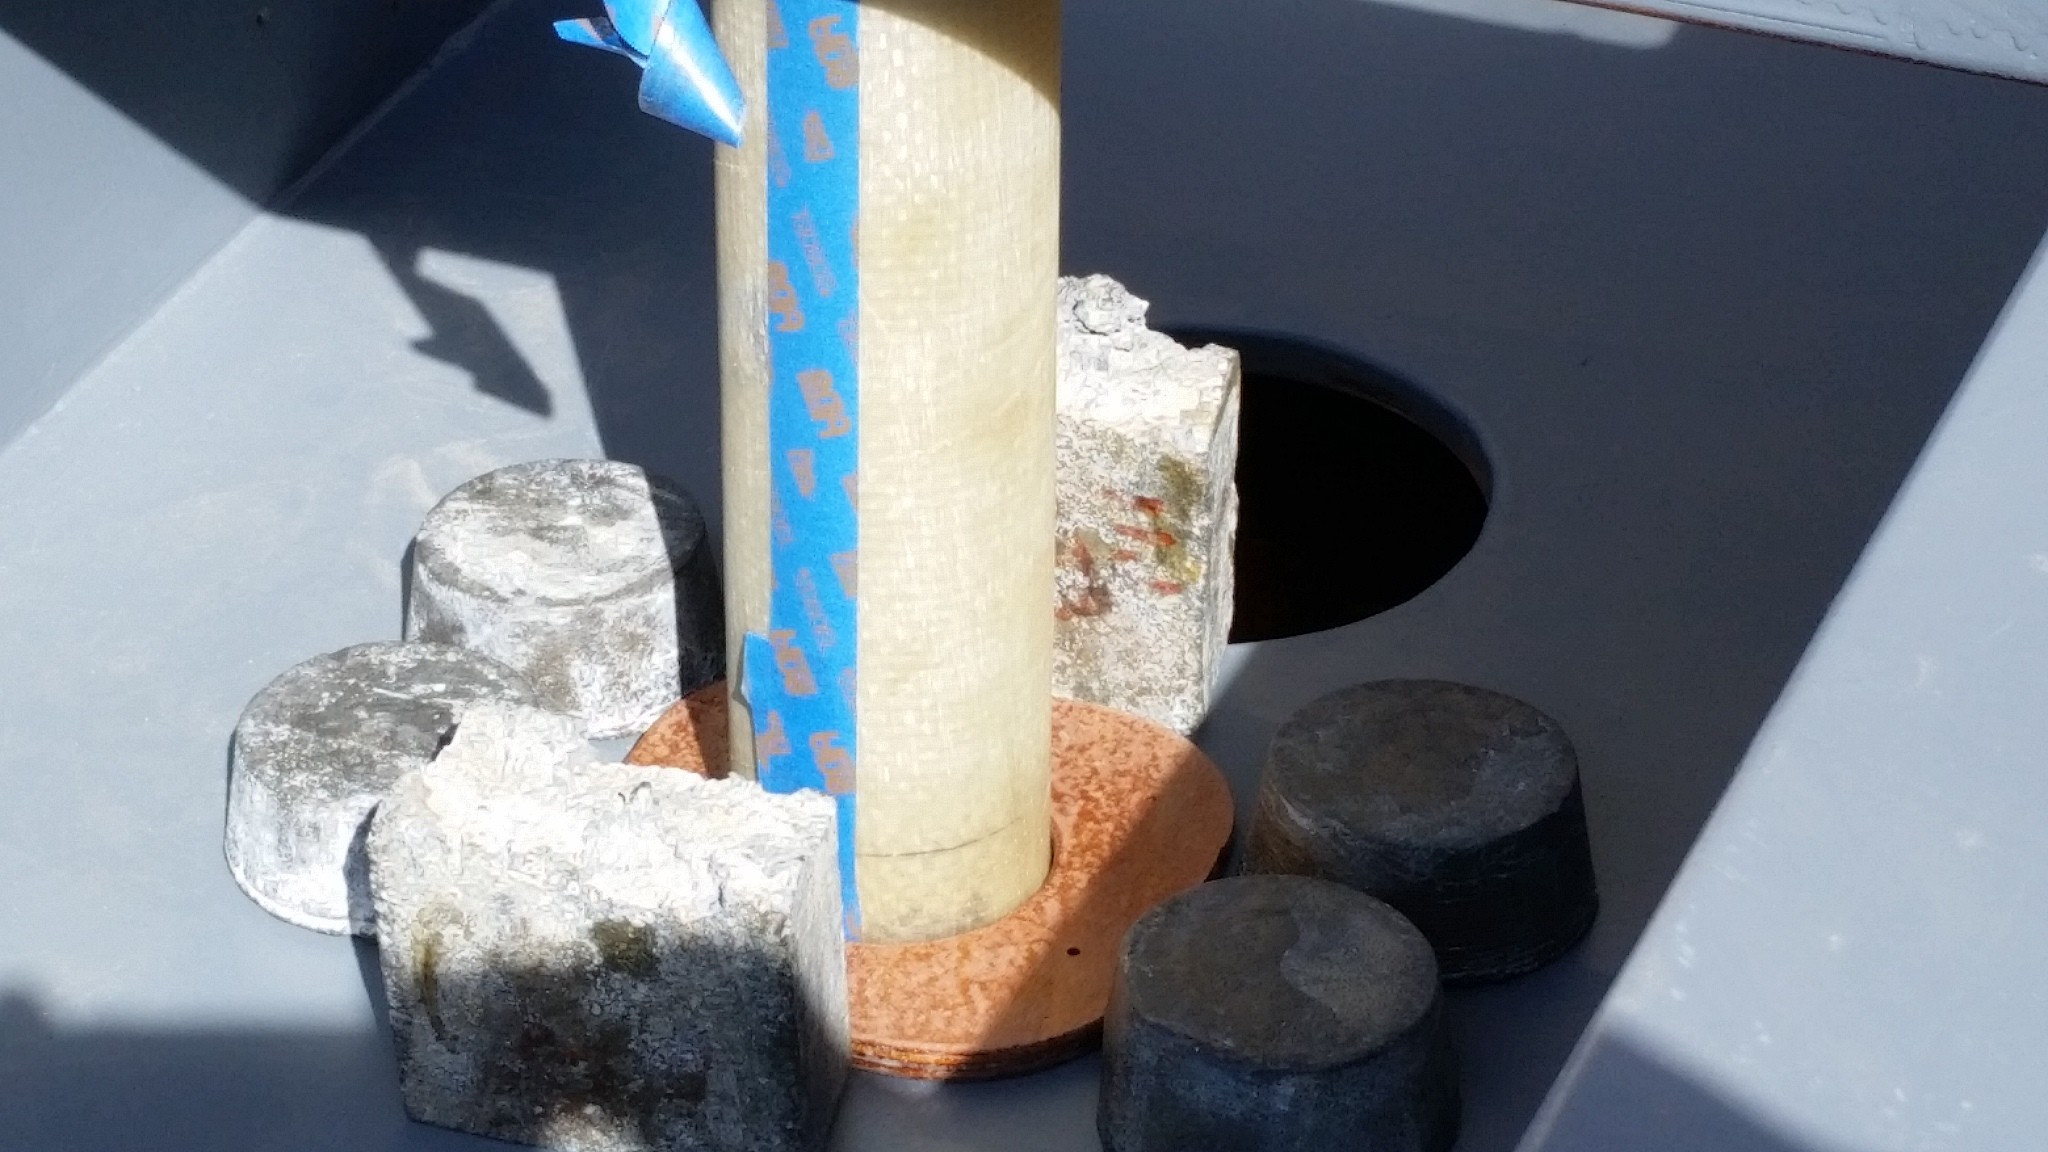
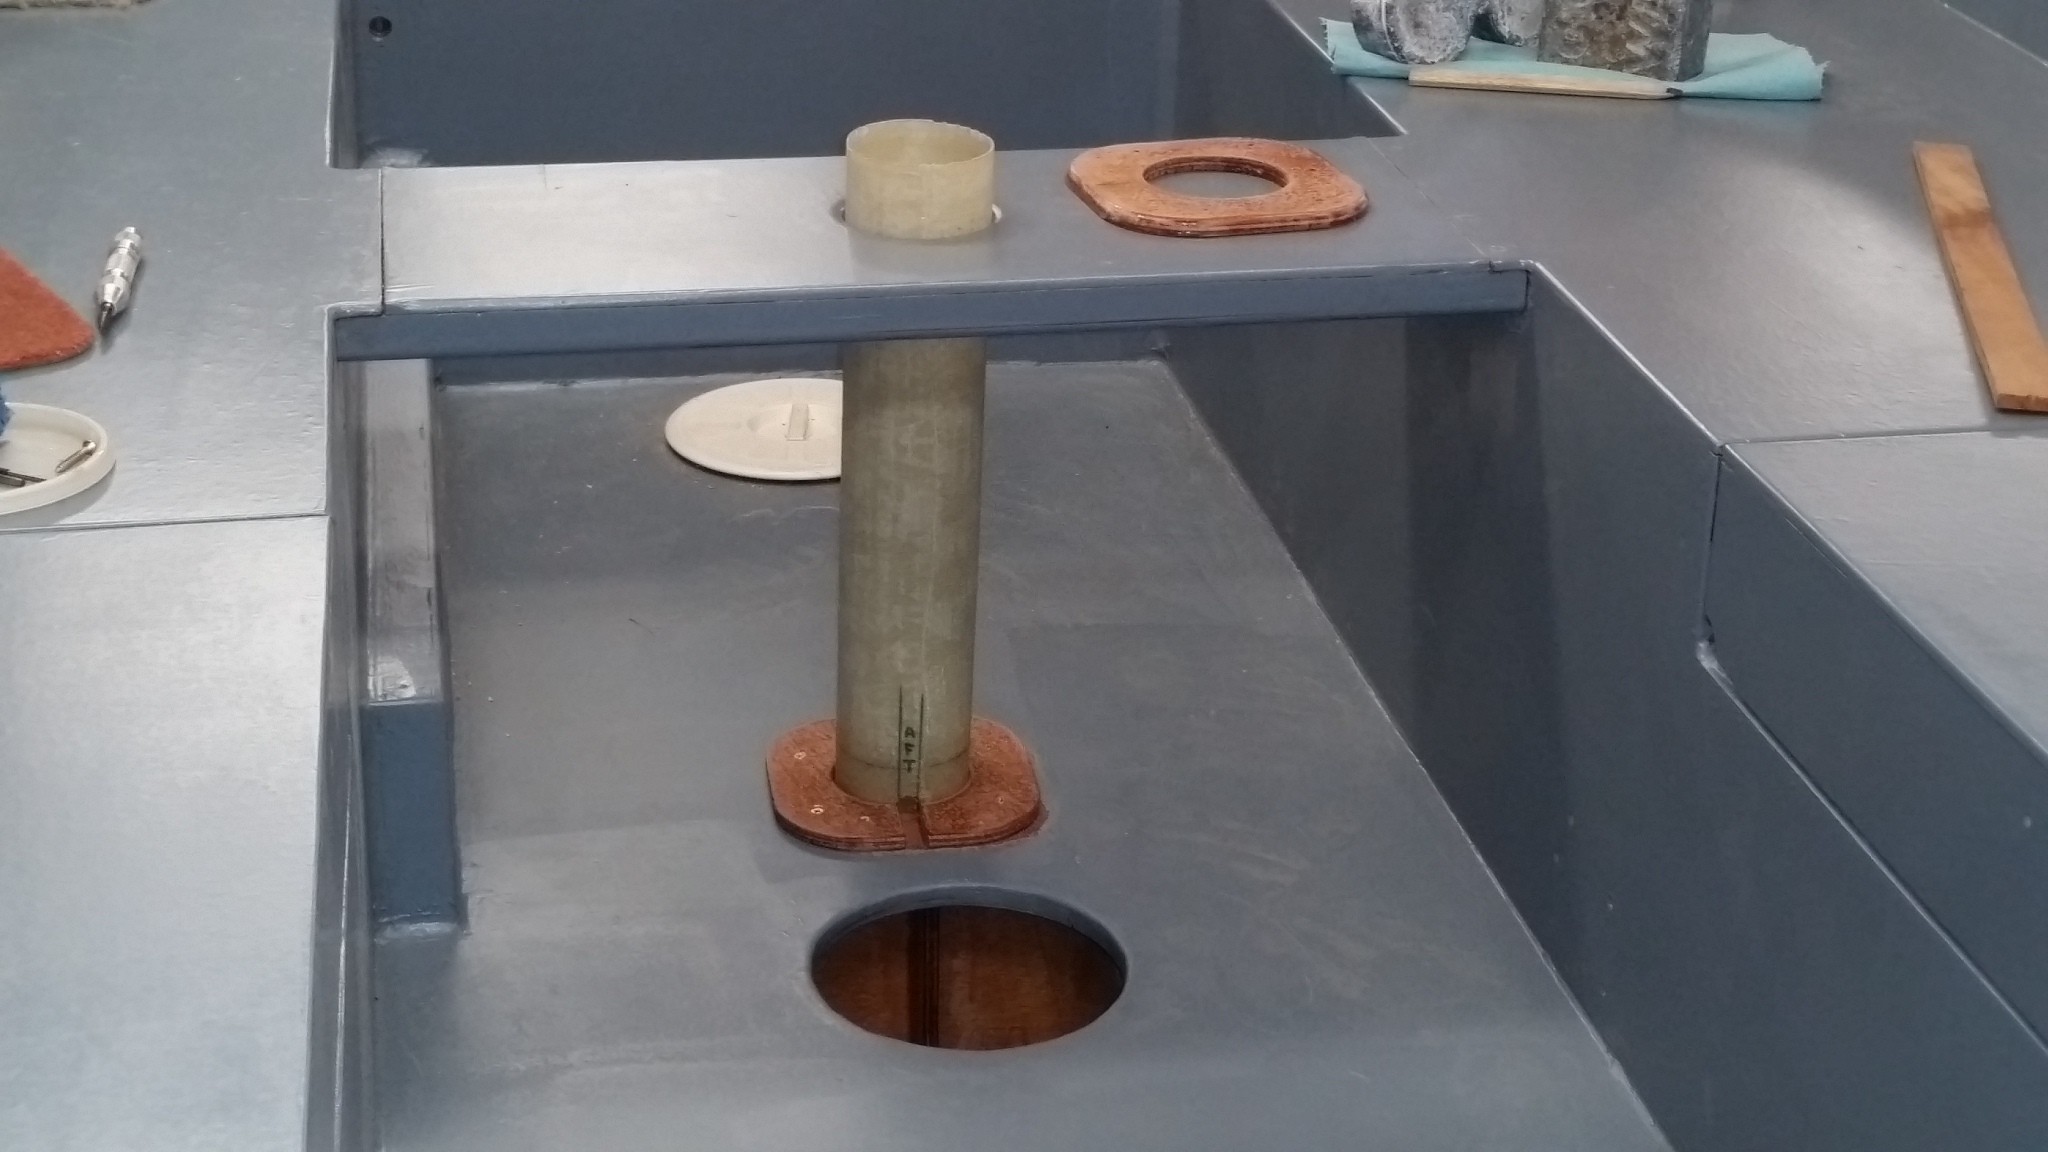
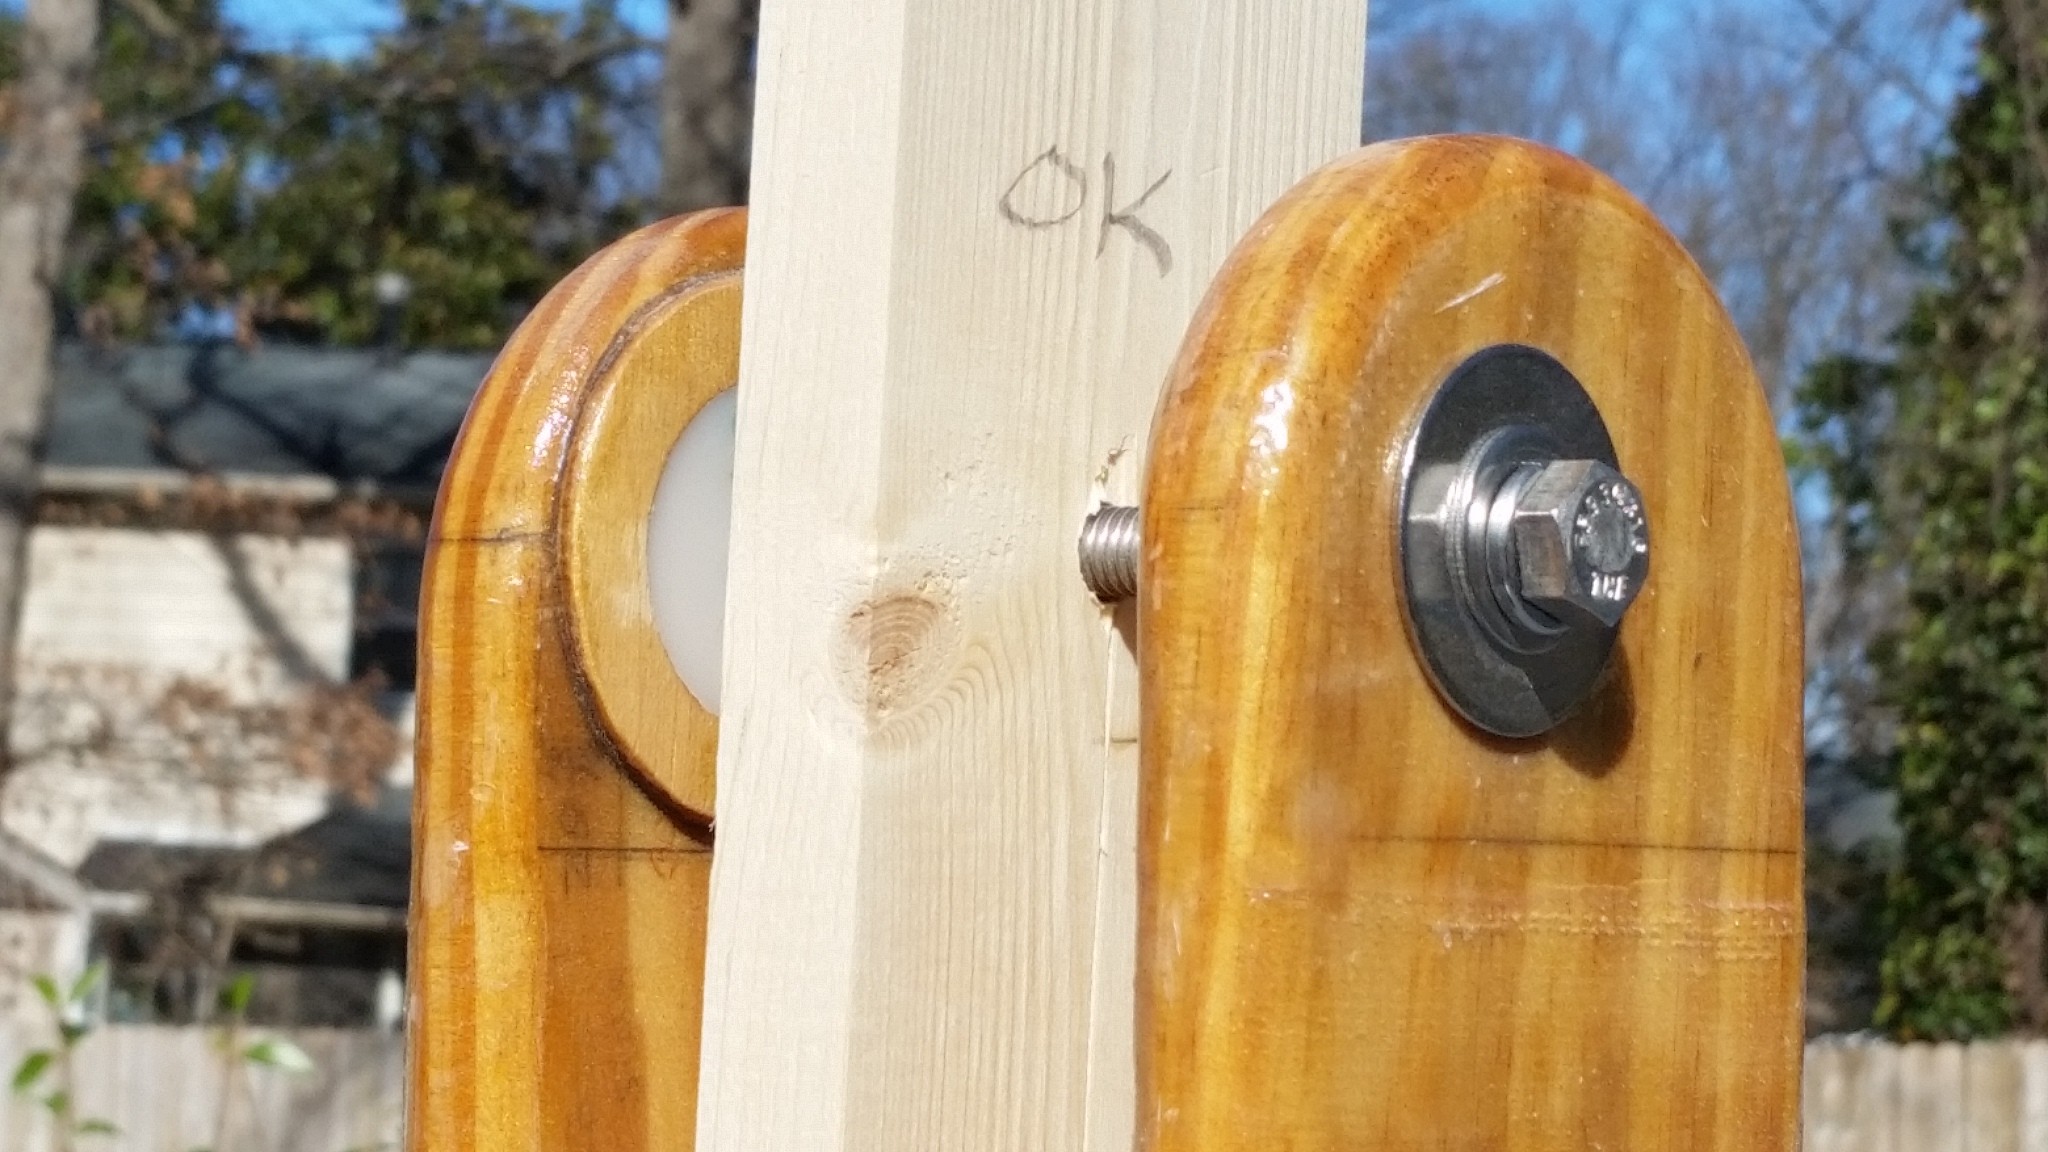
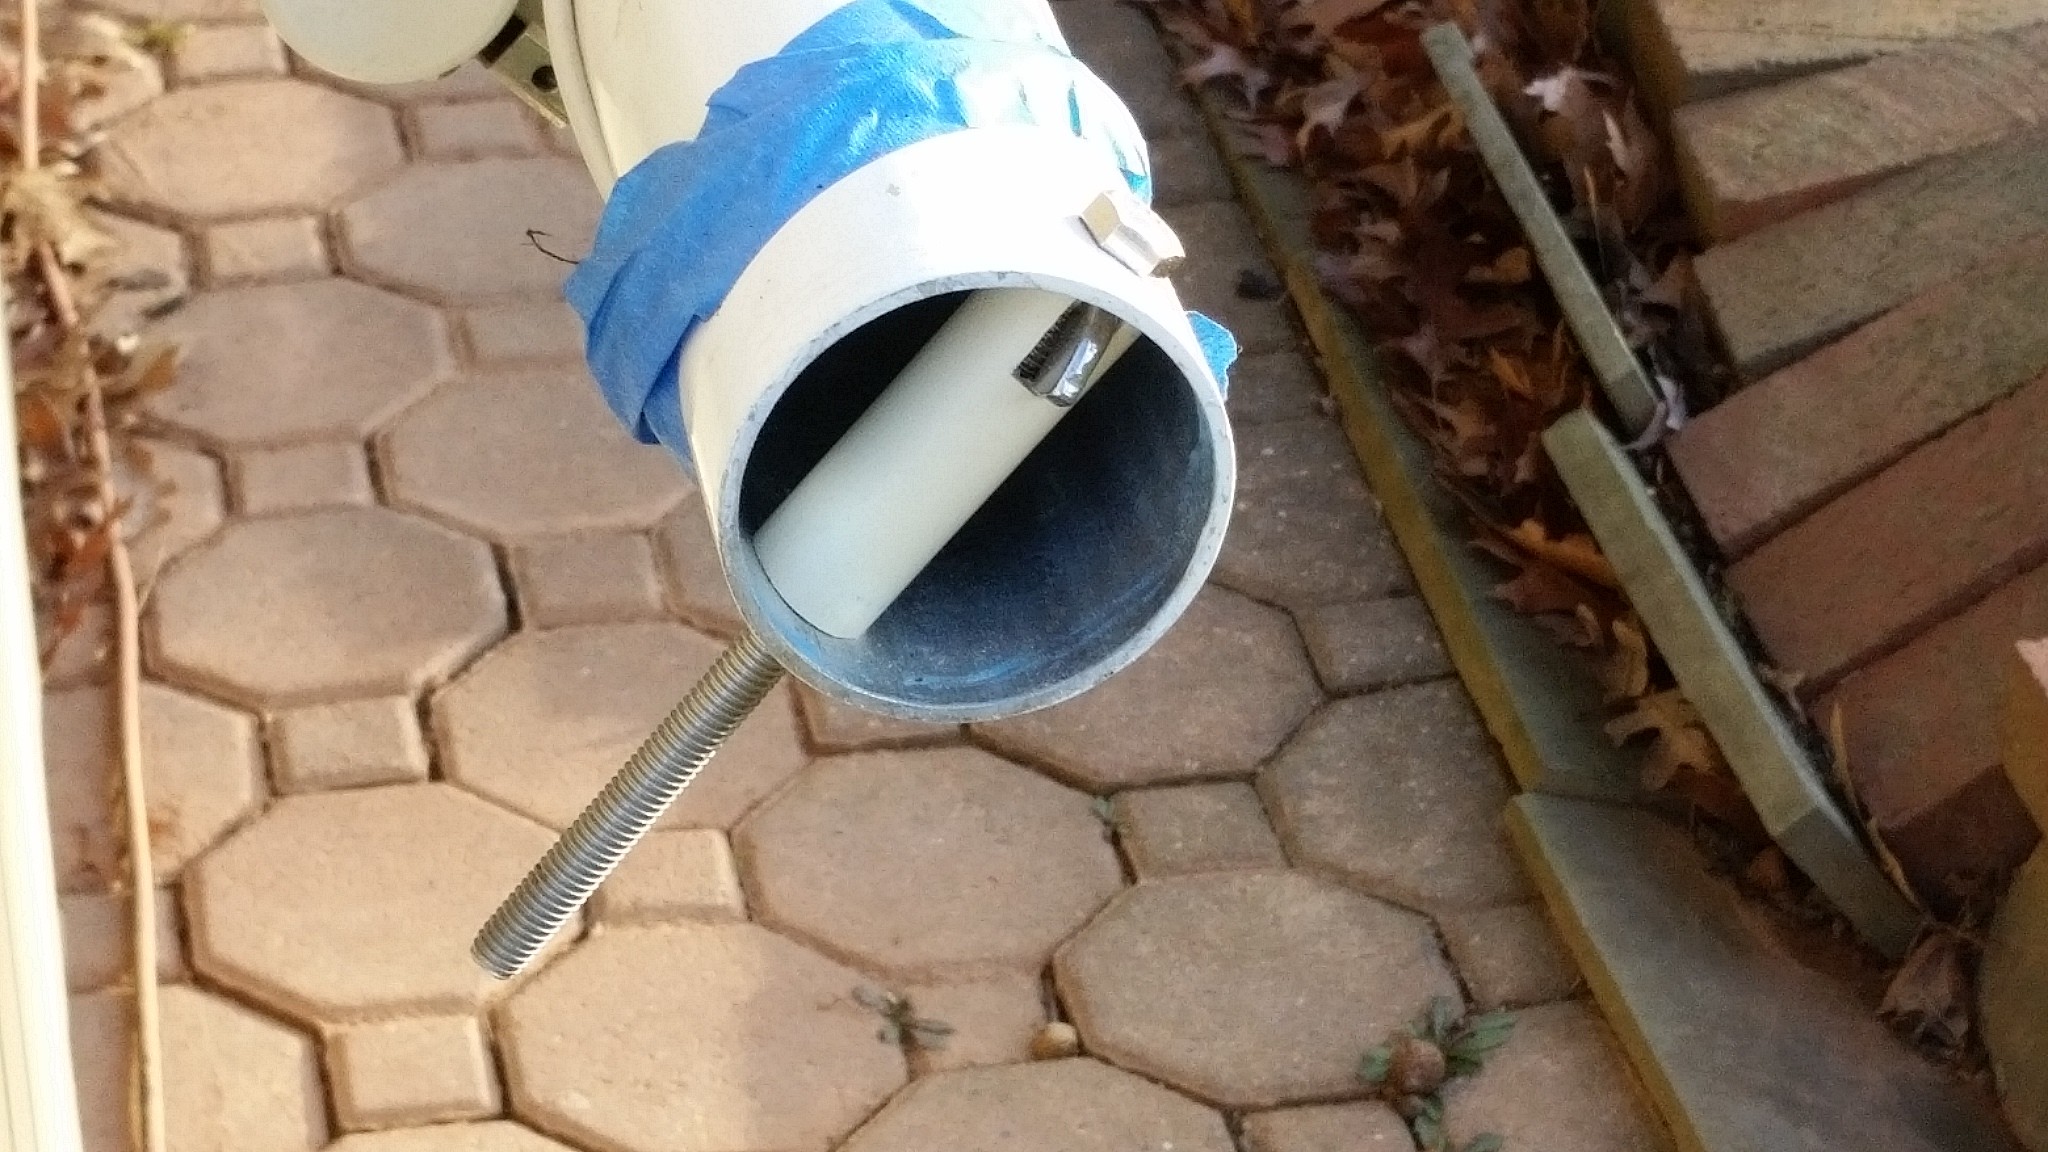
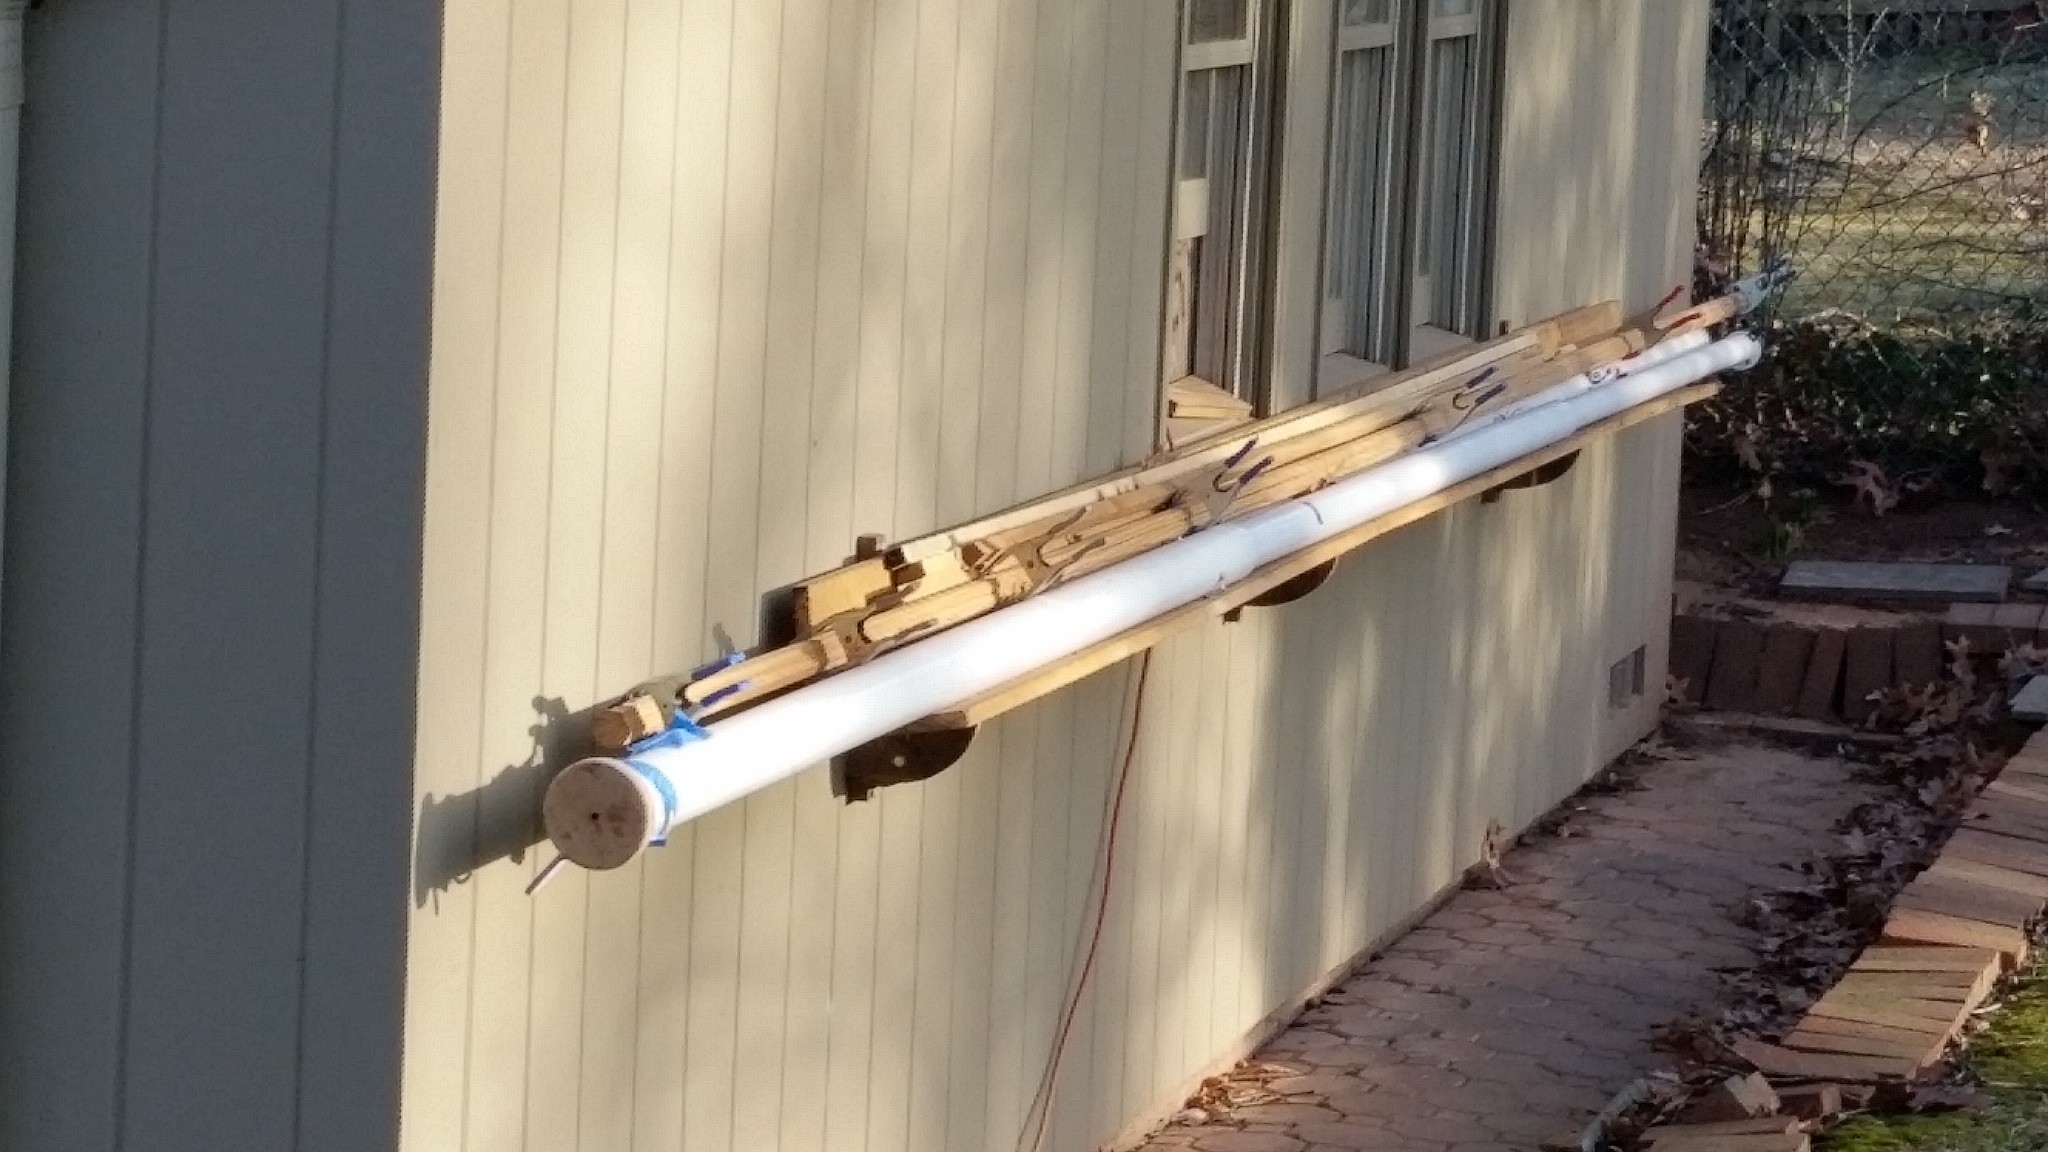
At Alan's suggestion I set up two faux masts and fixed the mizzen step's position so that both masts were in the longitudinal vertical plane and parallel to each other. The mainmast rake was fixed BR the CAD parts -- the mizzen's step was adjusted to match. Here's the setup: One side, Then the other. Mizzen & mainmast made plum with nose jack. OK, compared to neighbors' house sides When all's right -- the step is permanently located. Tomorrow,... Final prep for trailering her to the canvas shop on Monday.


-
Core Sound 20 Mk 3 -- #4 "Chessie" . .
Pete McCrary replied to Pete McCrary's topic in B & B Yachts Forum
Alan sent me this CAD drawing of Graham's concept for a dodger. On Monday I'm trailing "Chessie" to the canvas shop and negotiate a deal for bunk cushions and possibly a dodger. Here's the mizzen partner being permanently epoxied in place. Tomorrow I'll locate the mizzen step. I've copied Graham's security system. My caps for the drop board channels also serve as the retainer for the sliding hatch. They have to be removed in order to remove the hatch. They'll be bedded (not glued) in place. The permanent fasteners will be bronze 3/16" carriage bolts so that they can't be removed without having access to the cabin. Small measure of security. She's now "rain-proof" and ready for the road trip to the canvas shop. I'm very close to rigging the mast and getting ready for the maiden voyage. Hope it won't be like the Titanic. On a sad note -- my neighbor, friend, and boatbuilding / sailing buddy had a heart attack last Thursday. His second (requiring) open-heart surgery. He's ok and will be home tomorrow. He'll have a couple of months recovery before he can again help me in the shop. But he's planning on sailing with me this summer. He and his wife are avid dancers. The meds told him that he got thru this ok because he was in such good shape from dancing. He's my age and I've told him that his dancing will extend his life -- like I think boatbuilding.and sailing will co for me.


-
Core Sound 20 Mk 3 -- #4 "Chessie" . .
Pete McCrary replied to Pete McCrary's topic in B & B Yachts Forum
1. It's two coats of white AlwGrip 545. I'll probably just leave it at that. 2. At the start I bought 4 opening ports from B & B. Expensive, but good ventilation. 3. Just barely. But I have all my side mirrors set up to see the "blind spot" on the aft quarter. I'm more concerned about what's in the adjacent lanes. 4. It's the barrier coat as well as the finish (AWLG 545). "Chessie" won't routinely be in any slip or at a mooring. She'll mostly live in my driveway. 5. Now that I'm her morning hair dresser, I can do no wrong. But as she recovers (broken wrist) and won't need help doing hair, I better be more attentive. With a long driveway to a back-yard garage, the yellow lines help a great deal. Today laid on the 2nd varnish coat for the two sprit booms. -
Core Sound 20 Mk 3 -- #4 "Chessie" . .
Pete McCrary replied to Pete McCrary's topic in B & B Yachts Forum
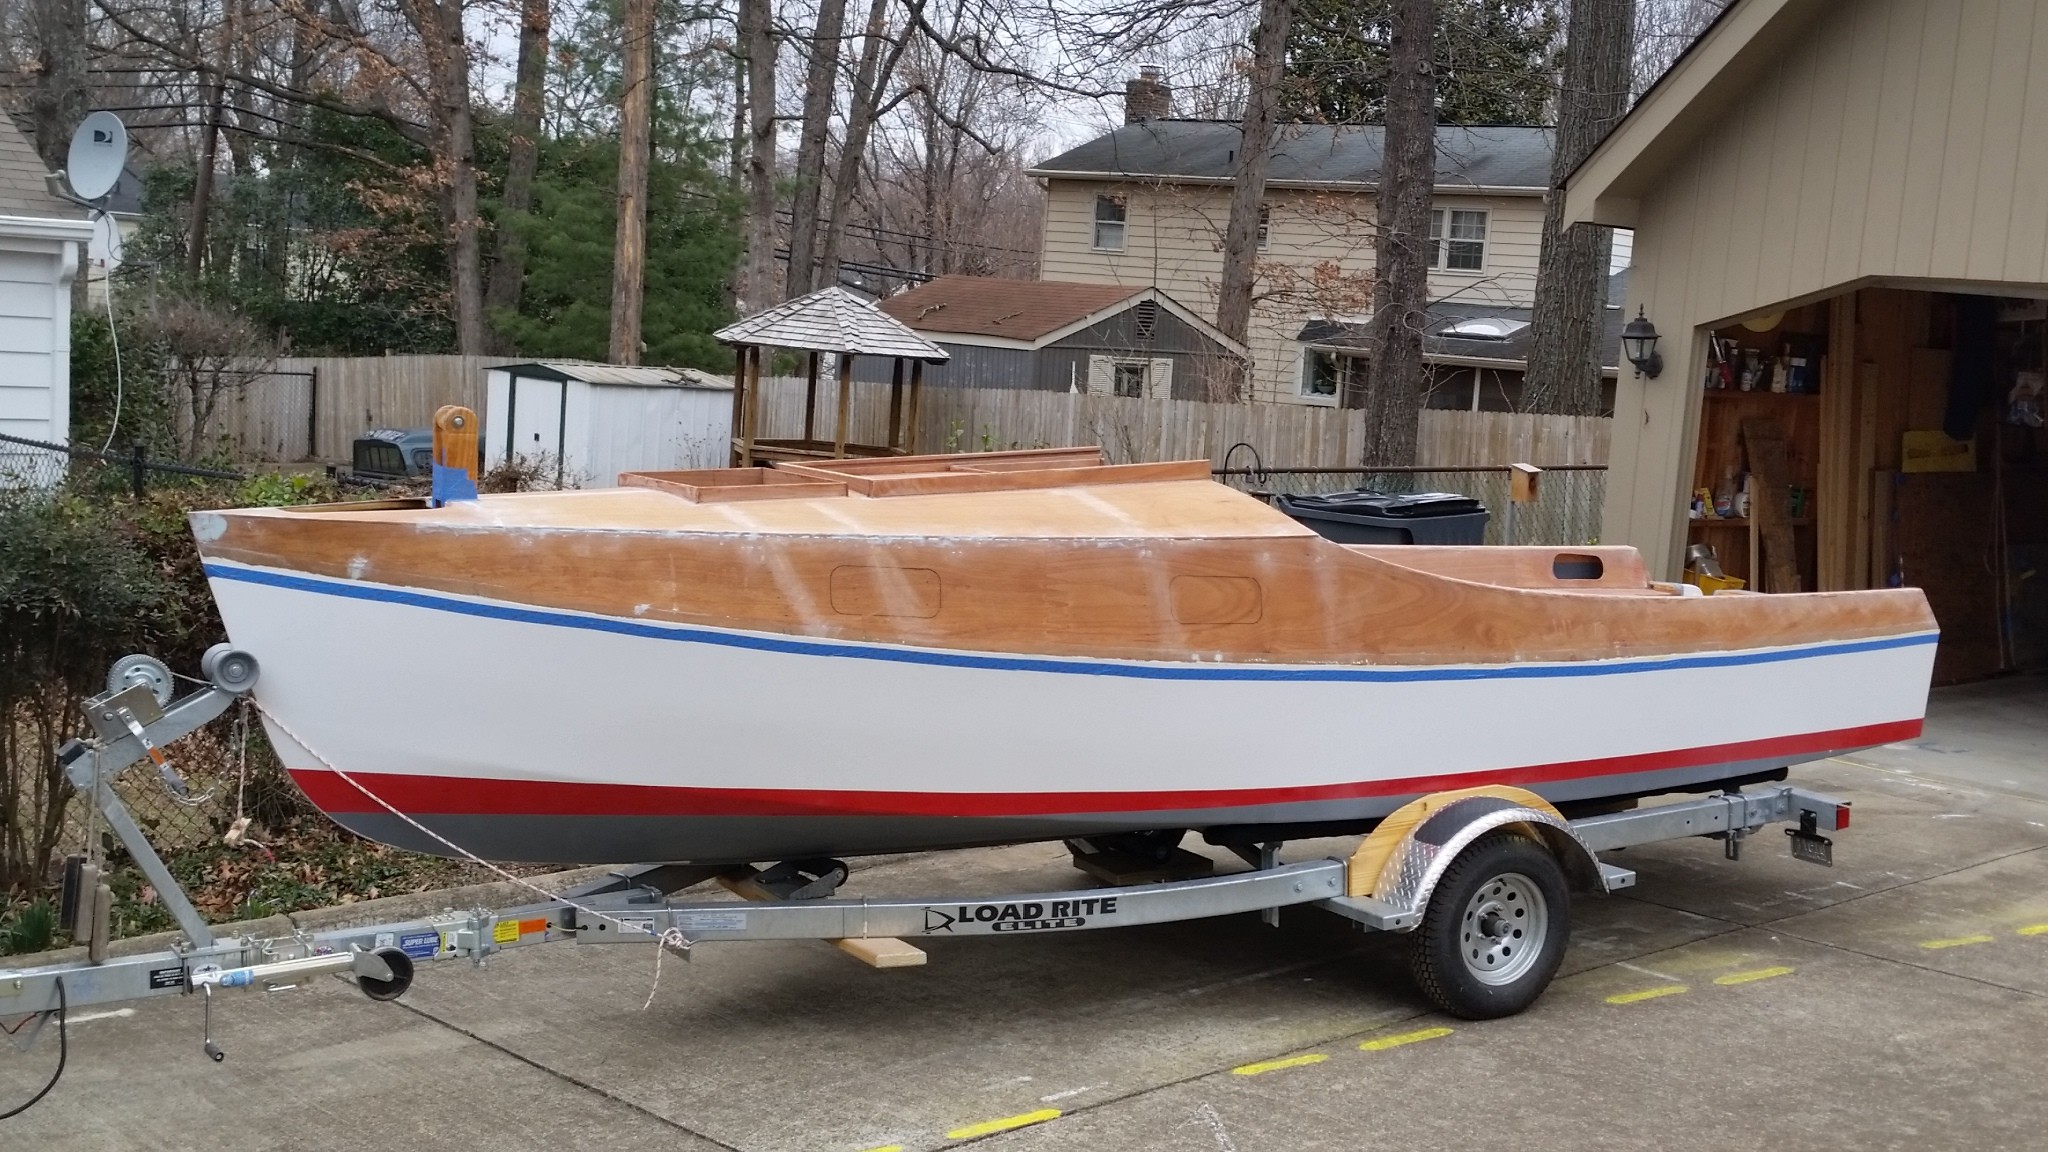
"Chessie" is back from the paint shop showing off (in her underwear) -- and impatient for her "fitting out." After making her "rain-proof," I'm going to permanently install the mizzen partner and step making sure that the masts are parallel and in the same plane. On Monday I'll tow her to the canvas shop where her cabin cushions will be fabricated. And they will give me an estimate for a "dodger." For their design guidance I've found on "Carlita's" build computer generated images of Graham's concept of a dodger for his CS17.3. She was admired by two curious locals, Lucy and Paige. The roses for my honey were half-price (at Costco) on the 15th. I'm getting cheap and overconfident in my old age. BTW, the two coats of AWLGRIP 545 only cost $576. I supplied the primer, they supplied the labor, rollers, and making supplies. I couldn't help myself -- I said "I that all?!" I was expecting somewhere between $1,000 and $1,500. But I know he was doing me a favor.

-
Core Sound 20 Mk 3 -- #4 "Chessie" . .
Pete McCrary replied to Pete McCrary's topic in B & B Yachts Forum
"Chessie" is at the paint shop and I'm doing other things. Like sealing the spars for 5 coats of varnish.
-
Core Sound 20 Mk 3 -- #4 "Chessie" . .
Pete McCrary replied to Pete McCrary's topic in B & B Yachts Forum
Graham,... Thanks for the photos. I learned of "drip edges" from my father, but I had never heard of (or thought of) a "drip groove" on the top of a drop board. I'll certainly do that. Sometimes we just fail to see the obvious. Remindes me of the inventor that made talking movies possible (sound track on the film's edge) . His invention incorporated a flywheel into the projector's film-track to smooth out the shuttelling of the [film] frames. The problem was unsolved for years -- until his invention. His patten application was denied on the grounds that the solution was "obvious" and therefore not inventive !! The U. S. Supreme Court upheld the ruling of the Patten Office. -
Core Sound 20 Mk 3 -- #4 "Chessie" . .
Pete McCrary replied to Pete McCrary's topic in B & B Yachts Forum
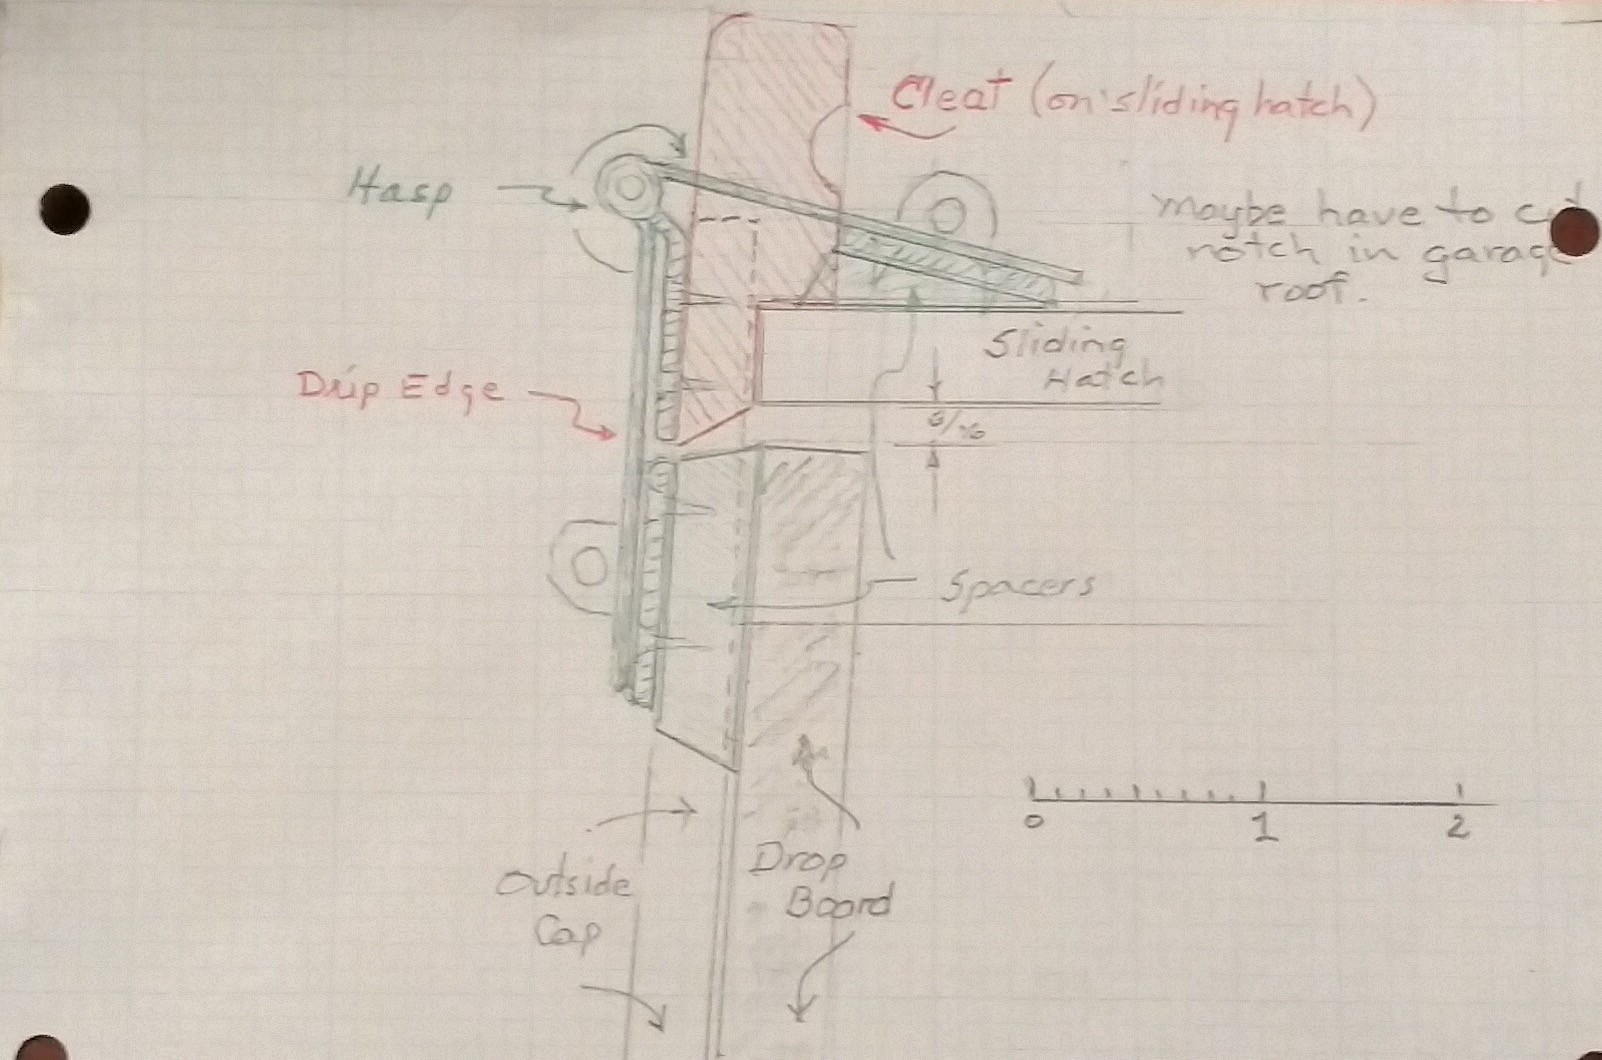
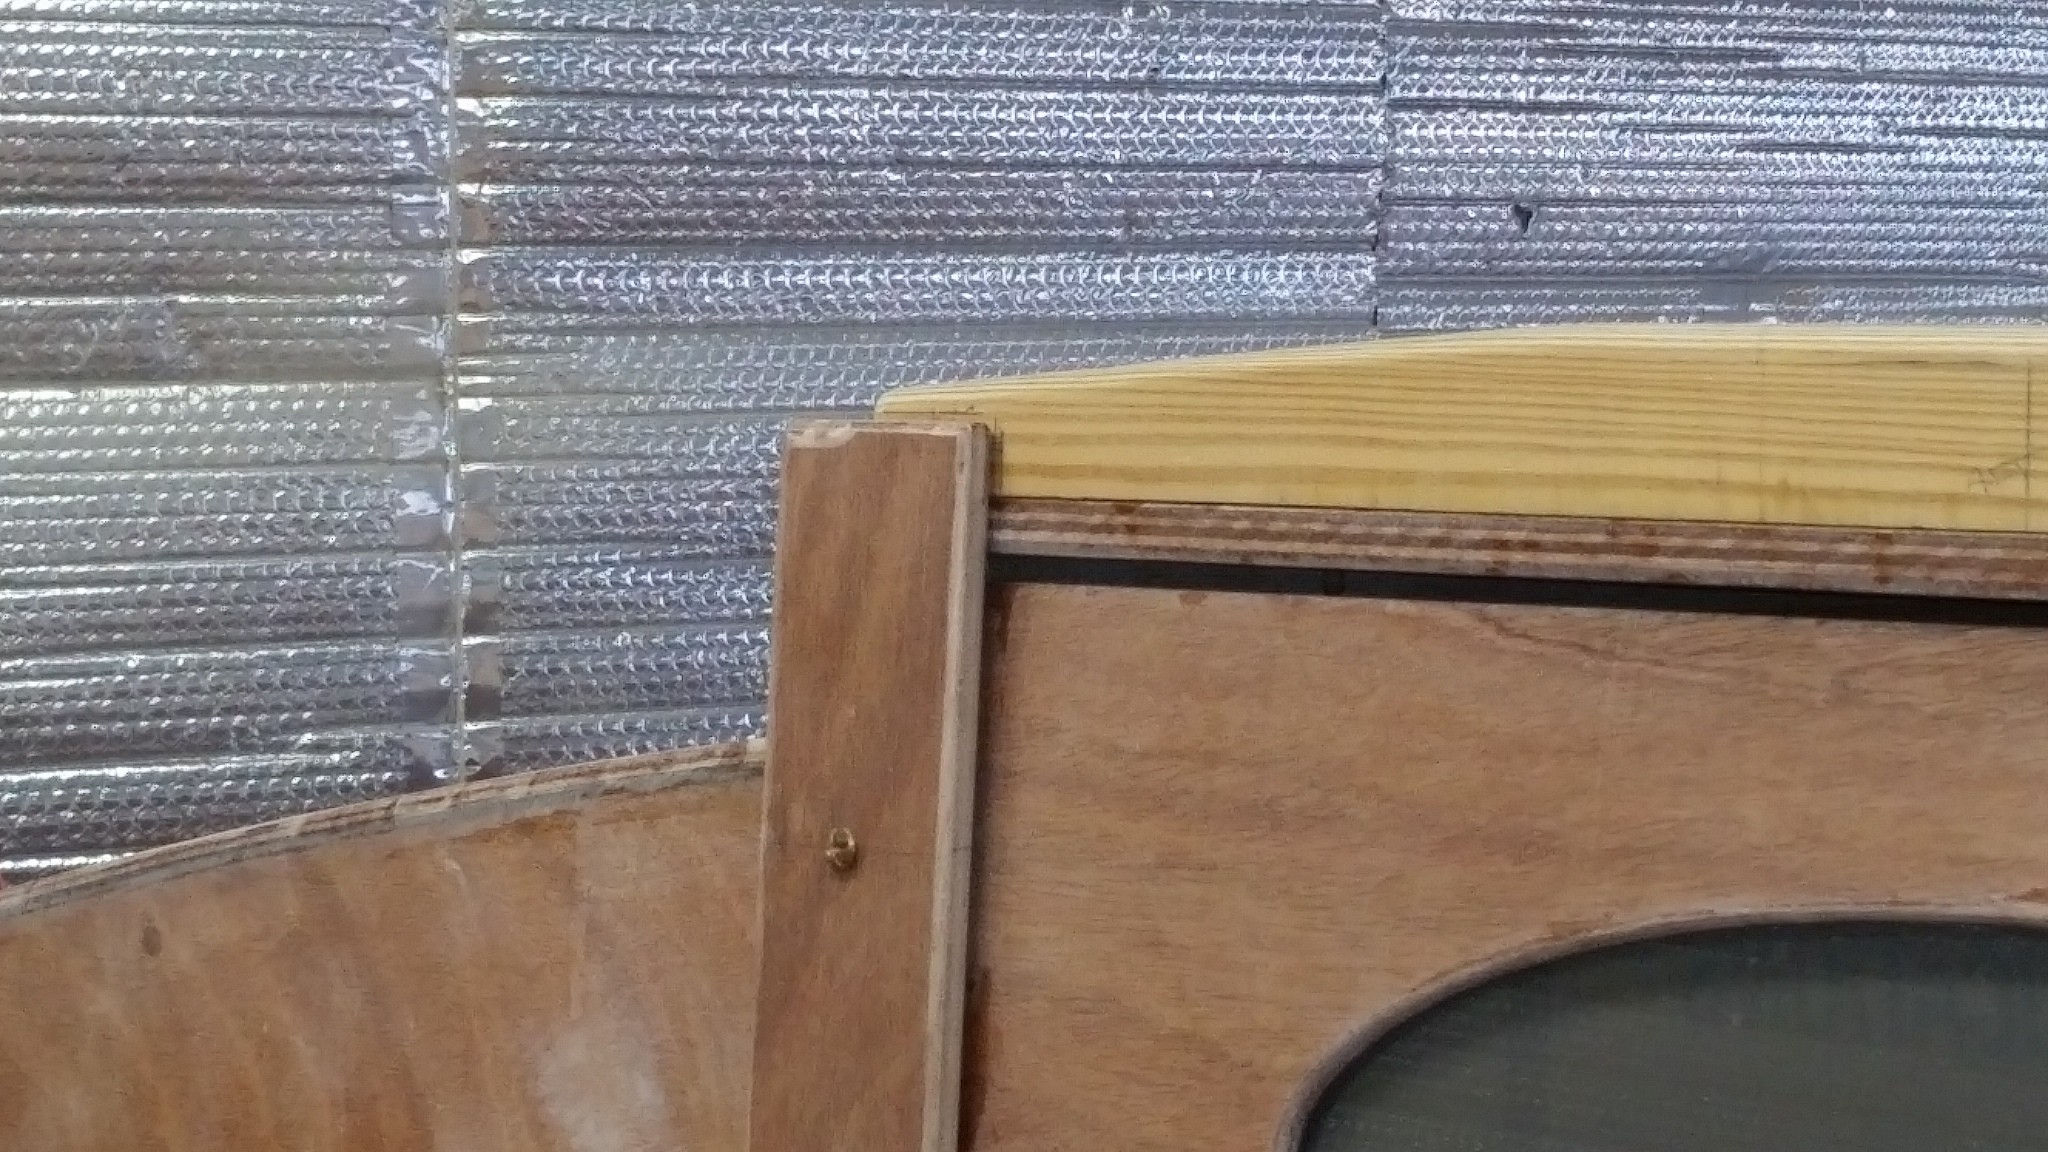
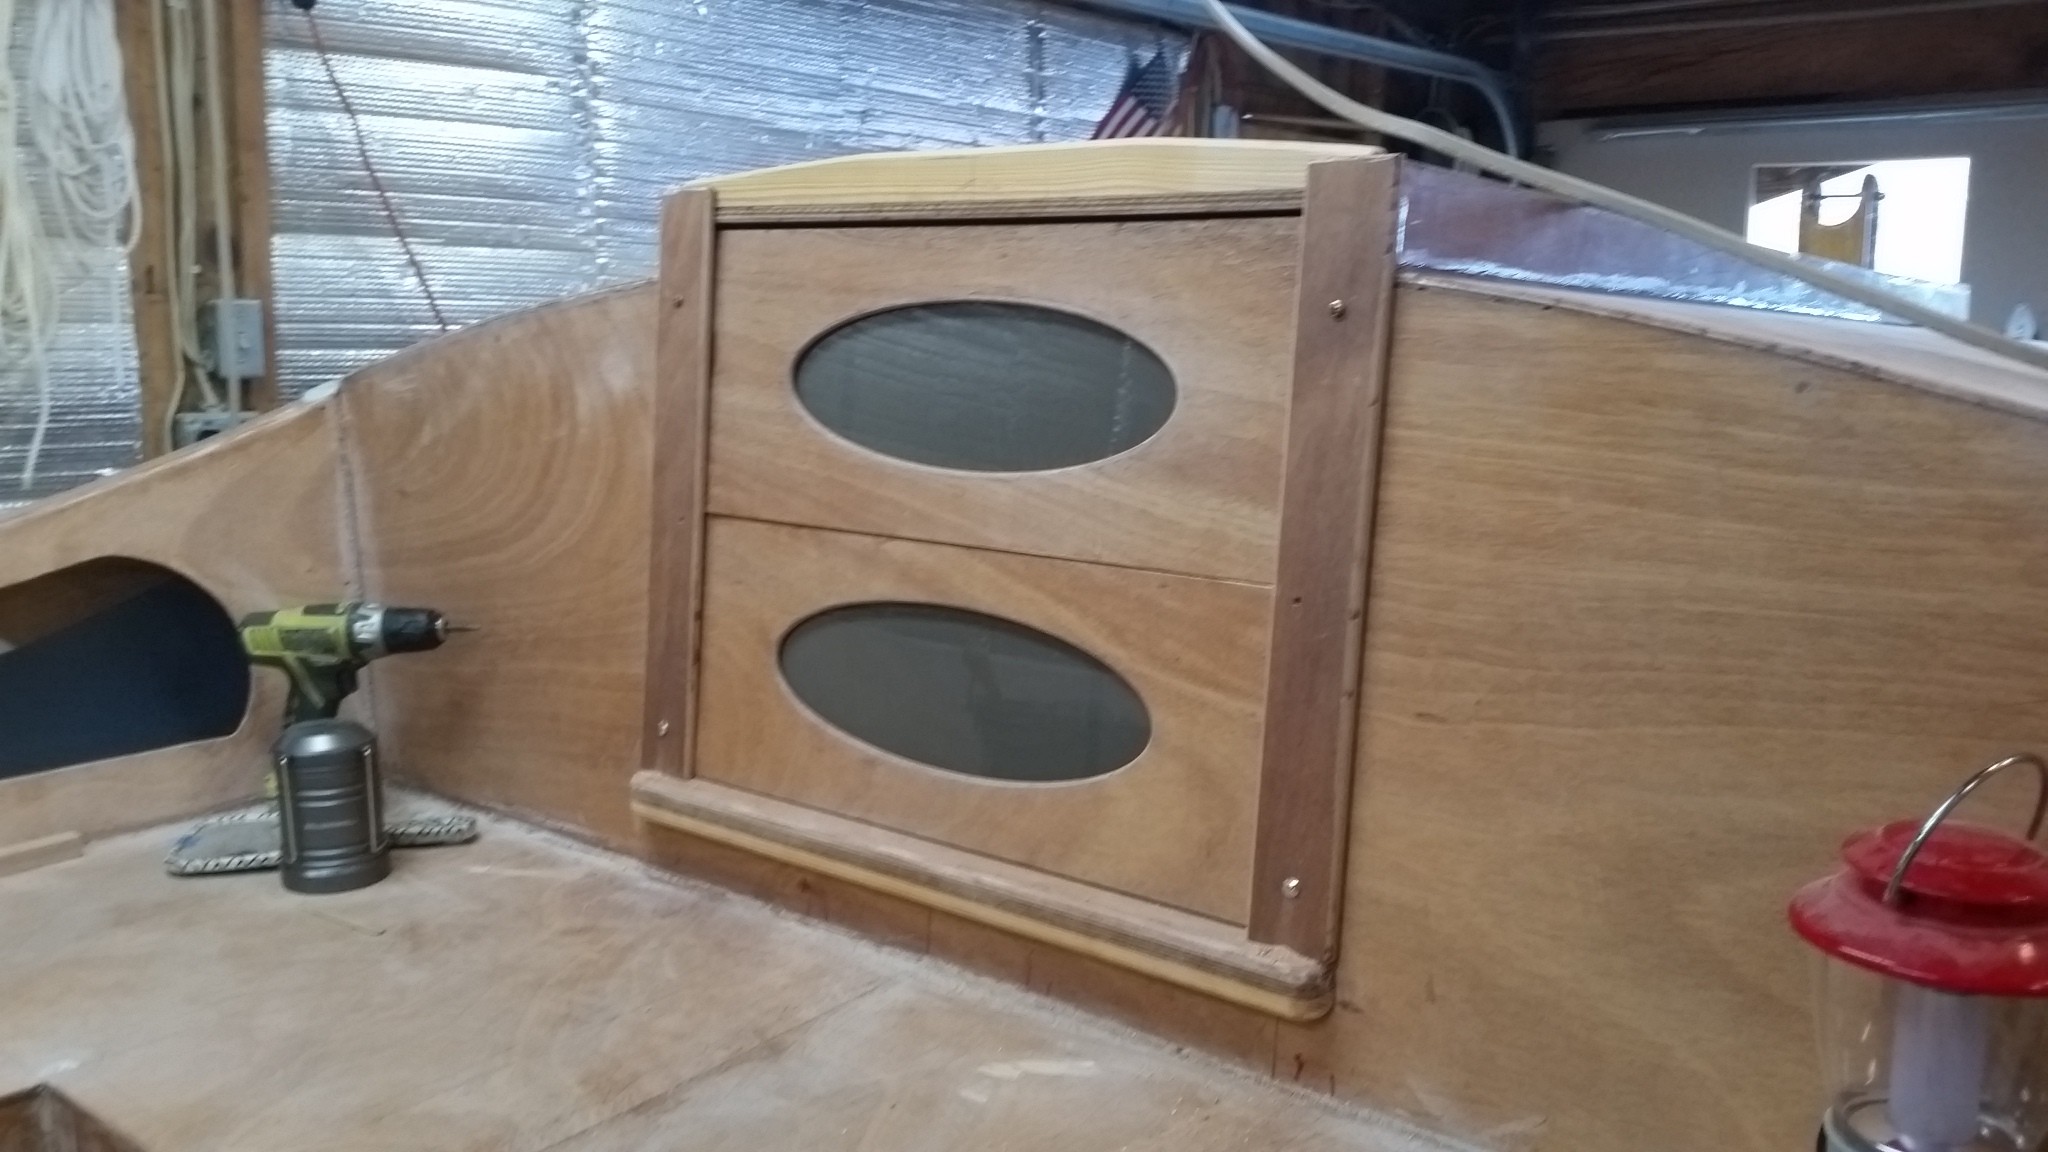
Presently, I haven't the patience to create a near perfect "finish." A solid "20-footer" is my goal. I've had success with Interlux Topside single-part for what will go over the AWLGRIP 545. Here's my design for the cleat at the aft end of the sliding hatch. Hopefully, that drip edge should prevent any ingress of rainwater over the top of the drop boards. Also shown is my arrangement for "companionway" security. Of course, this won't prevent an intrusion while the cabin is occupied. I'll cut that from a left-over piece of mahogany. The same scrap will be used for the hatch cleats and the breakwater for the forward hatch. Those cleats and the drop-boards will be the only "bright work" on "Chessie."
-
Core Sound 20 Mk 3 -- #4 "Chessie" . .
Pete McCrary replied to Pete McCrary's topic in B & B Yachts Forum
Lots of reasons. First, I really don't like the ordeal of applying 545. It's really for professionals, which I'm not. And (in Virgina this time of year) it requires a heated shop, which mine isn't. Of several body shops I tried none (but this speciality shop) would have anything to do with anything other than insurance funded work. My guy would reluctantly do the whole job (two coats of 545 primer plus two coats of paint (three colors) for a "time & materials" contract with an estimate of 2k to 4k or more $$! His rate was a reasonable $70/hour. I said suppose I have the boat in his shop ready for 545 application (sanded, taped, vacuumed, etc.) along with sufficient 545 for his application on an afternoon for the first primer coat and then the 2nd primer coat the next day -- thereby not requiring any sanding between coats. And I'd do the over-painting myself in warmer weather. He said he would do it for $70/man-hour. The bottom (up to the sheer line) is already done -- he only has to do the sheer strake and above, hatch covers, cabin roof, foredeck, cockpit deck & coamings, and foot sole. I'm guessing close to $1,000, not more than $1,500. We'll see. I'll let you all know. I'm hopeful -- mainly because I like the guy. And because when he and his crew saw "Chessie" they were very impressed and seemed enthusiastic to be a part of the effort. She'll be ready Wednesday am and I'll report the results. BTW, the 545 will be rolled & tipped, not sprayed. -
Core Sound 20 Mk 3 -- #4 "Chessie" . .
Pete McCrary replied to Pete McCrary's topic in B & B Yachts Forum
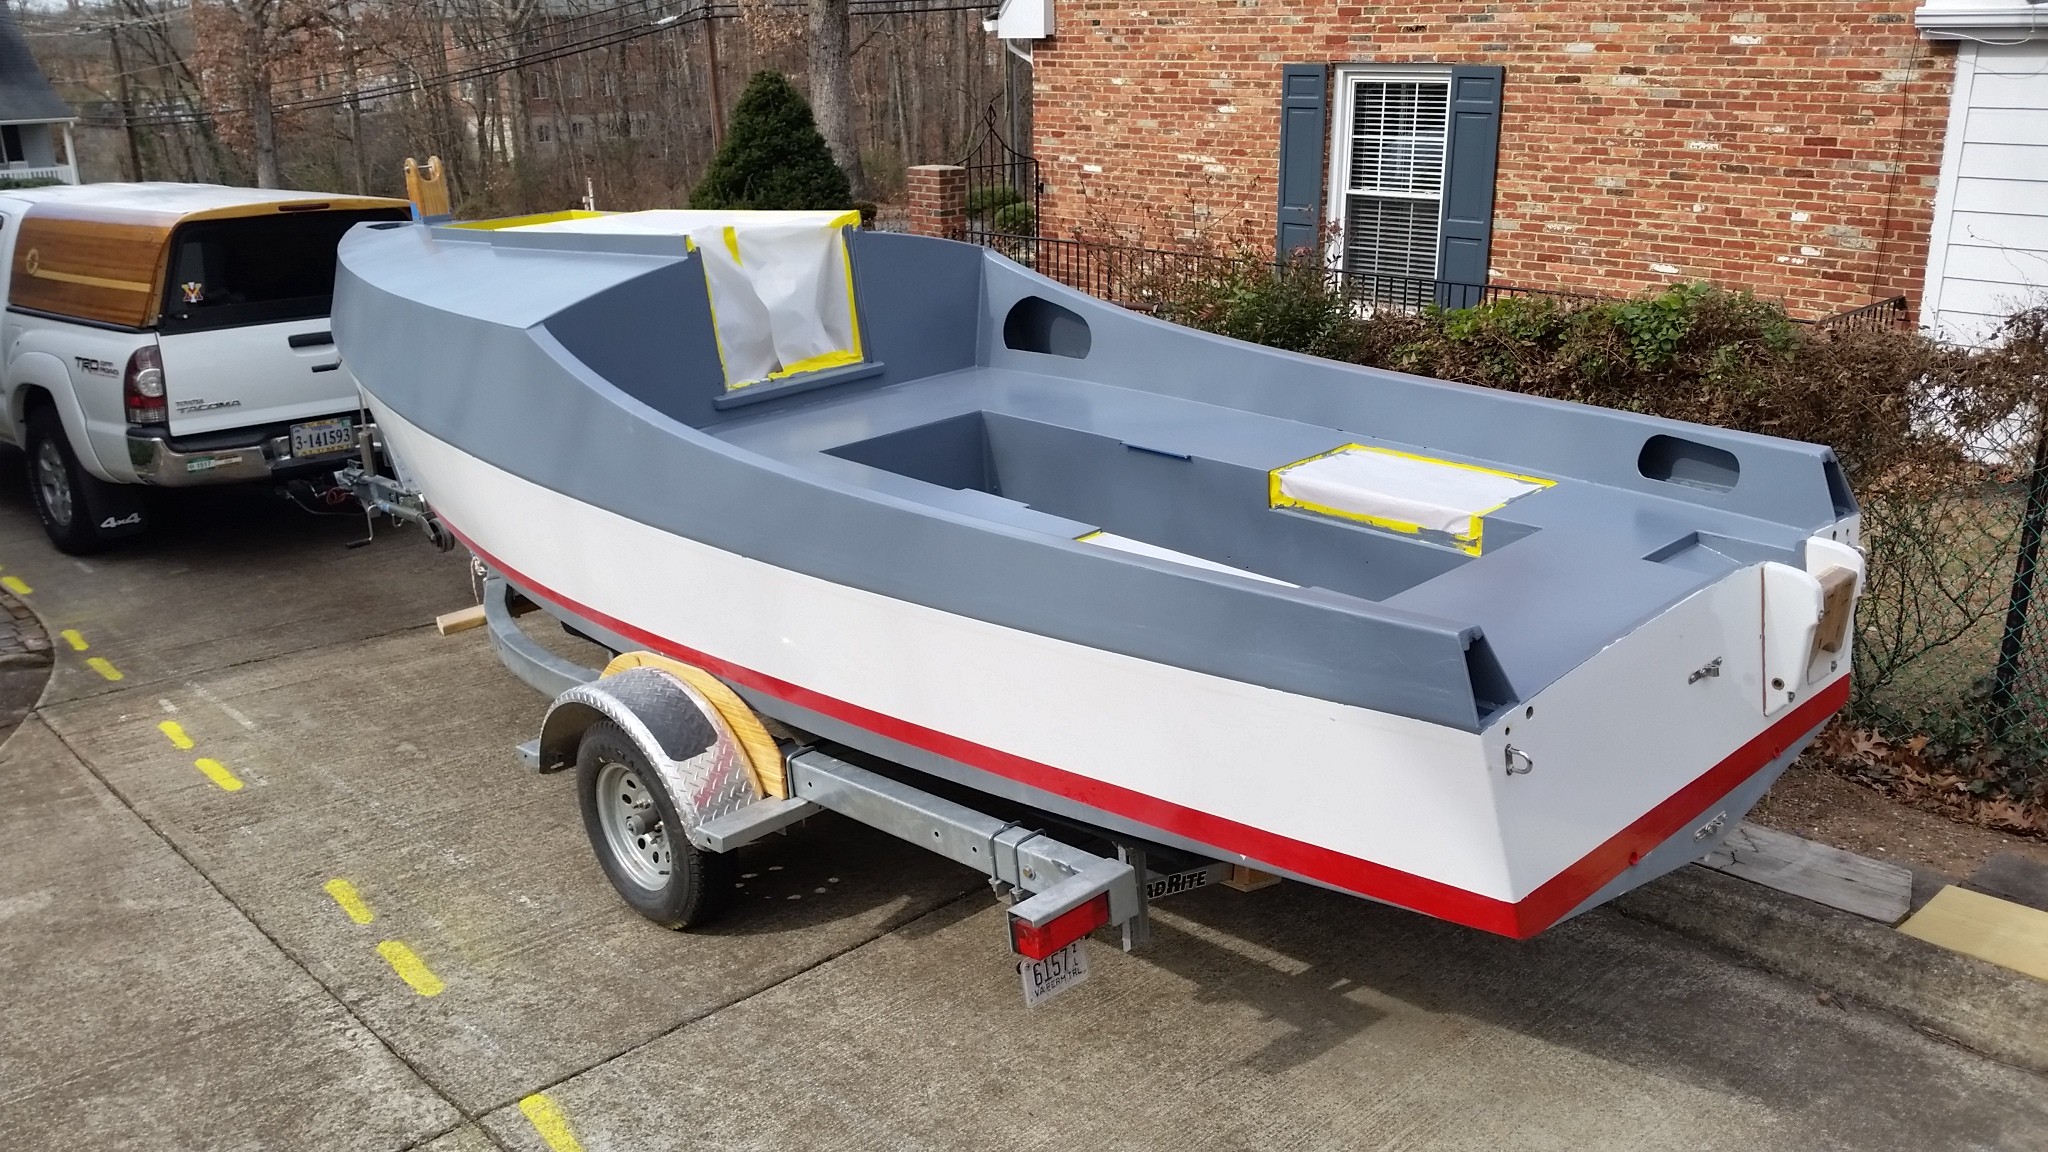
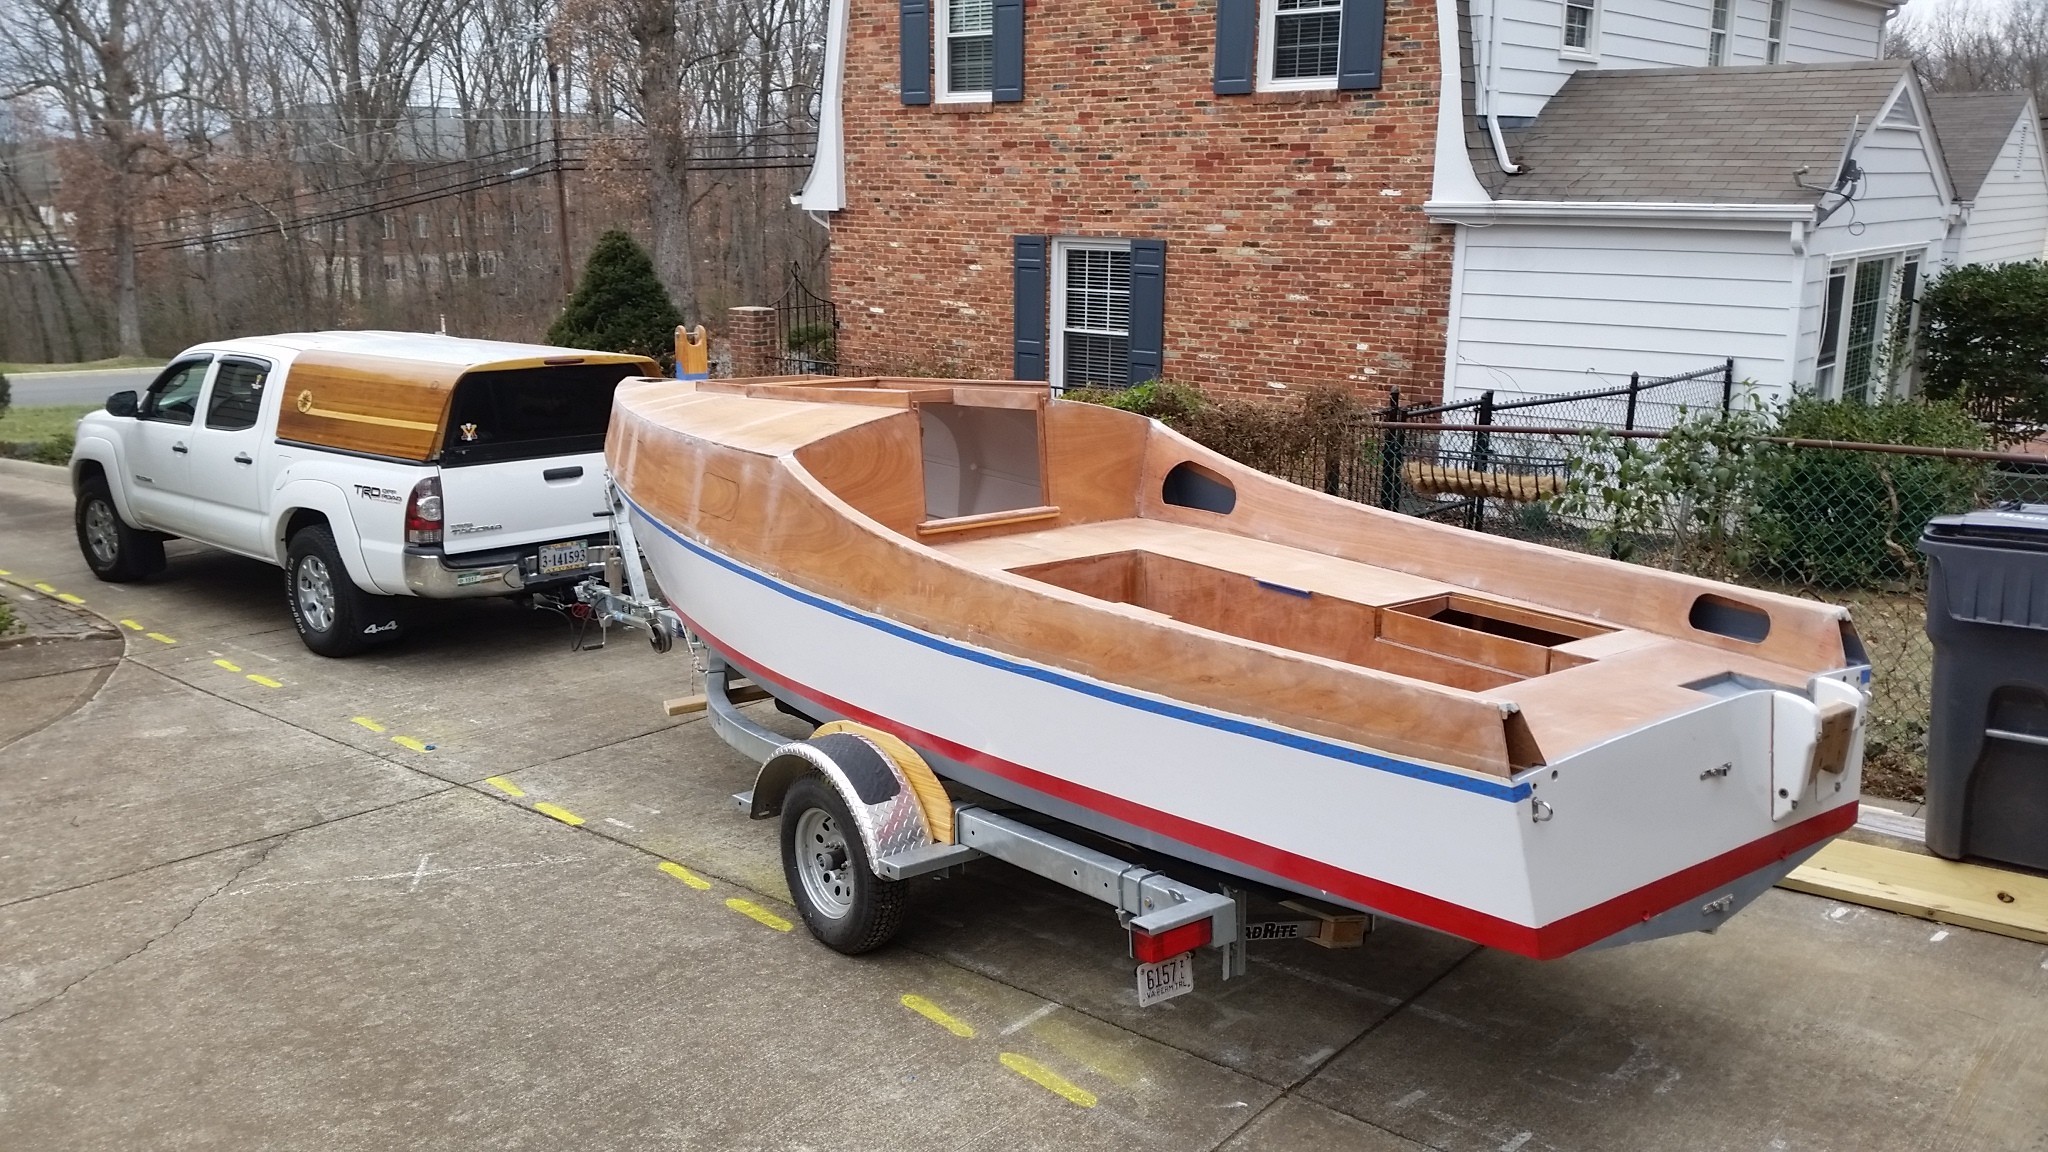
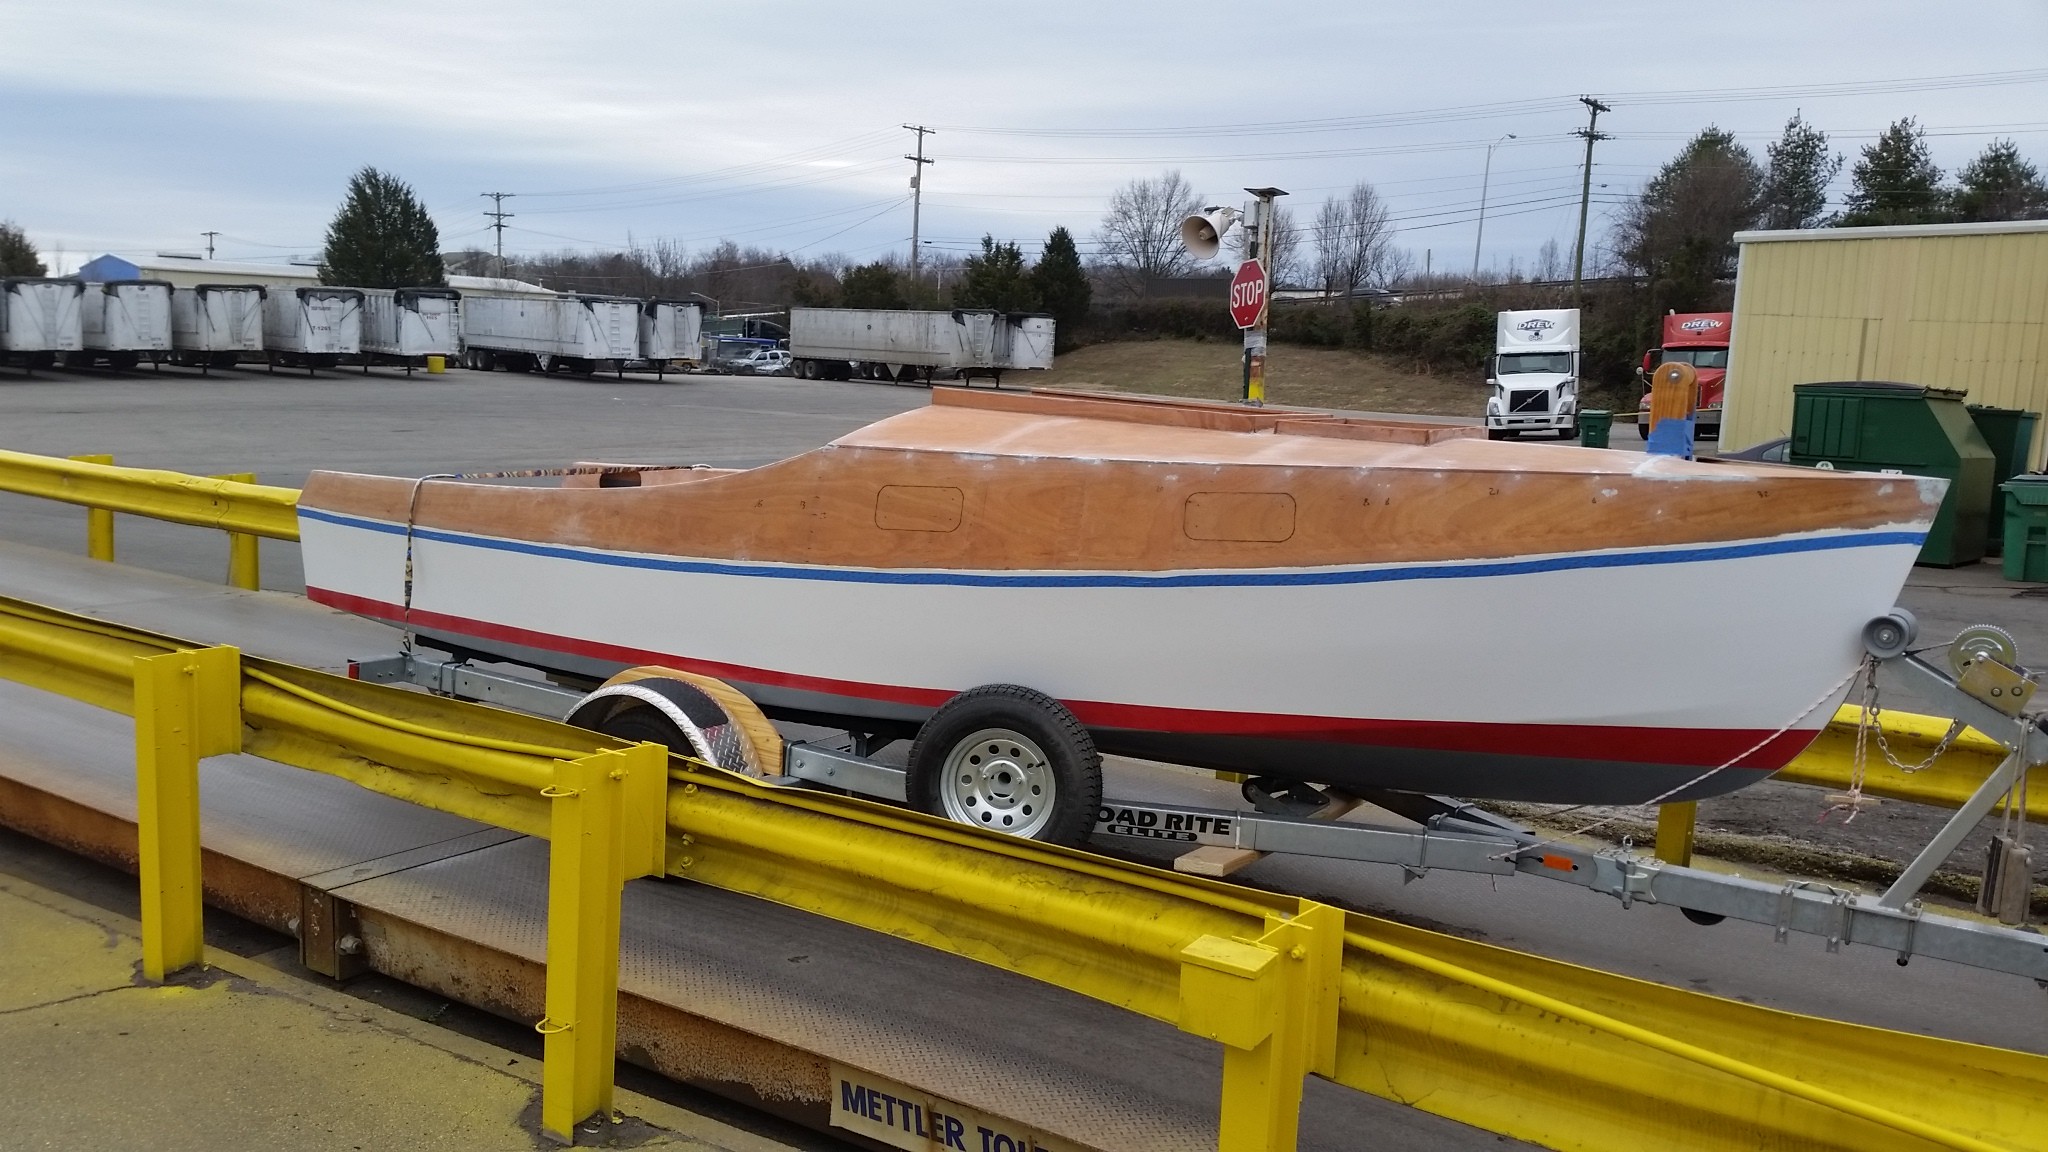
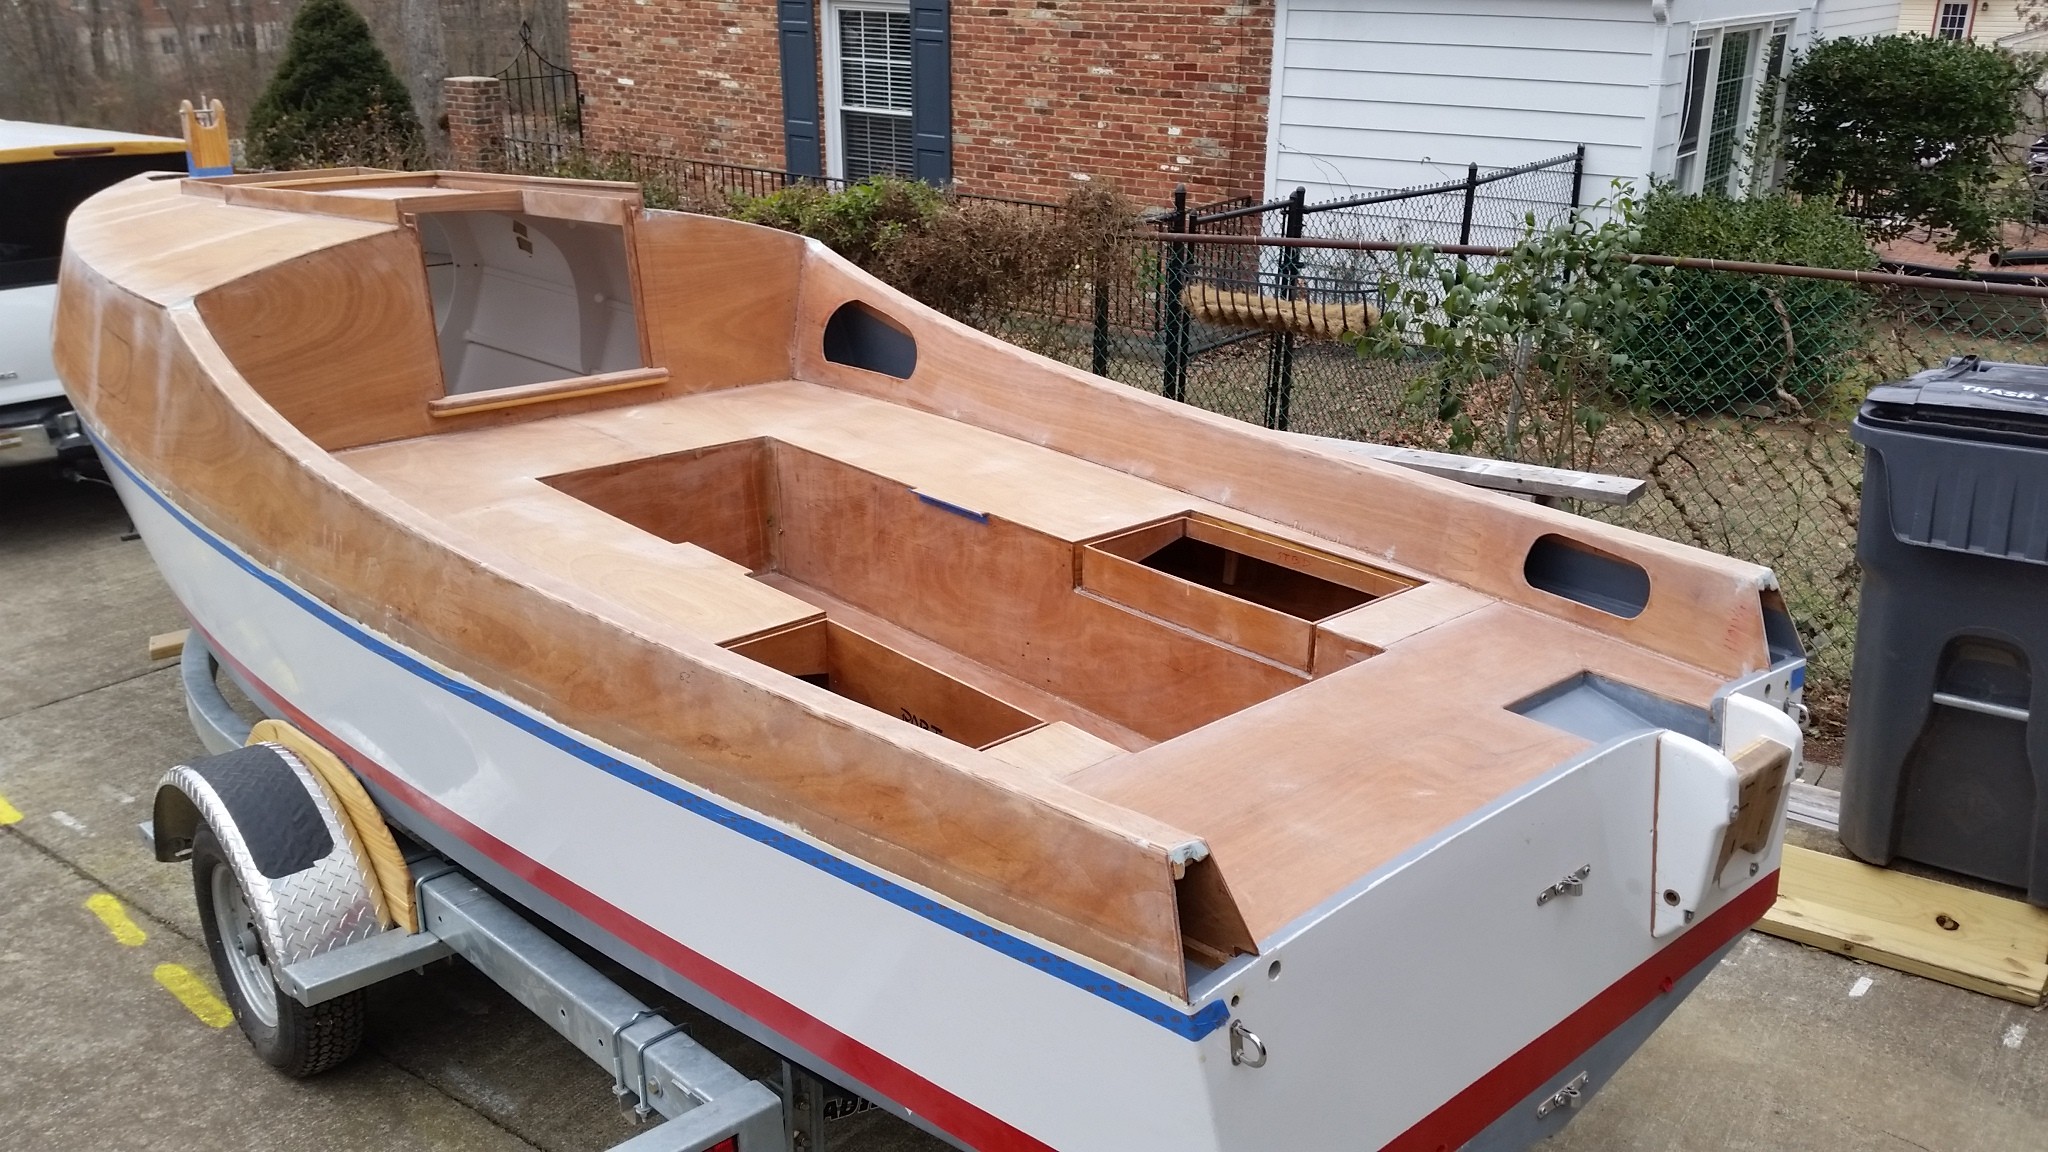
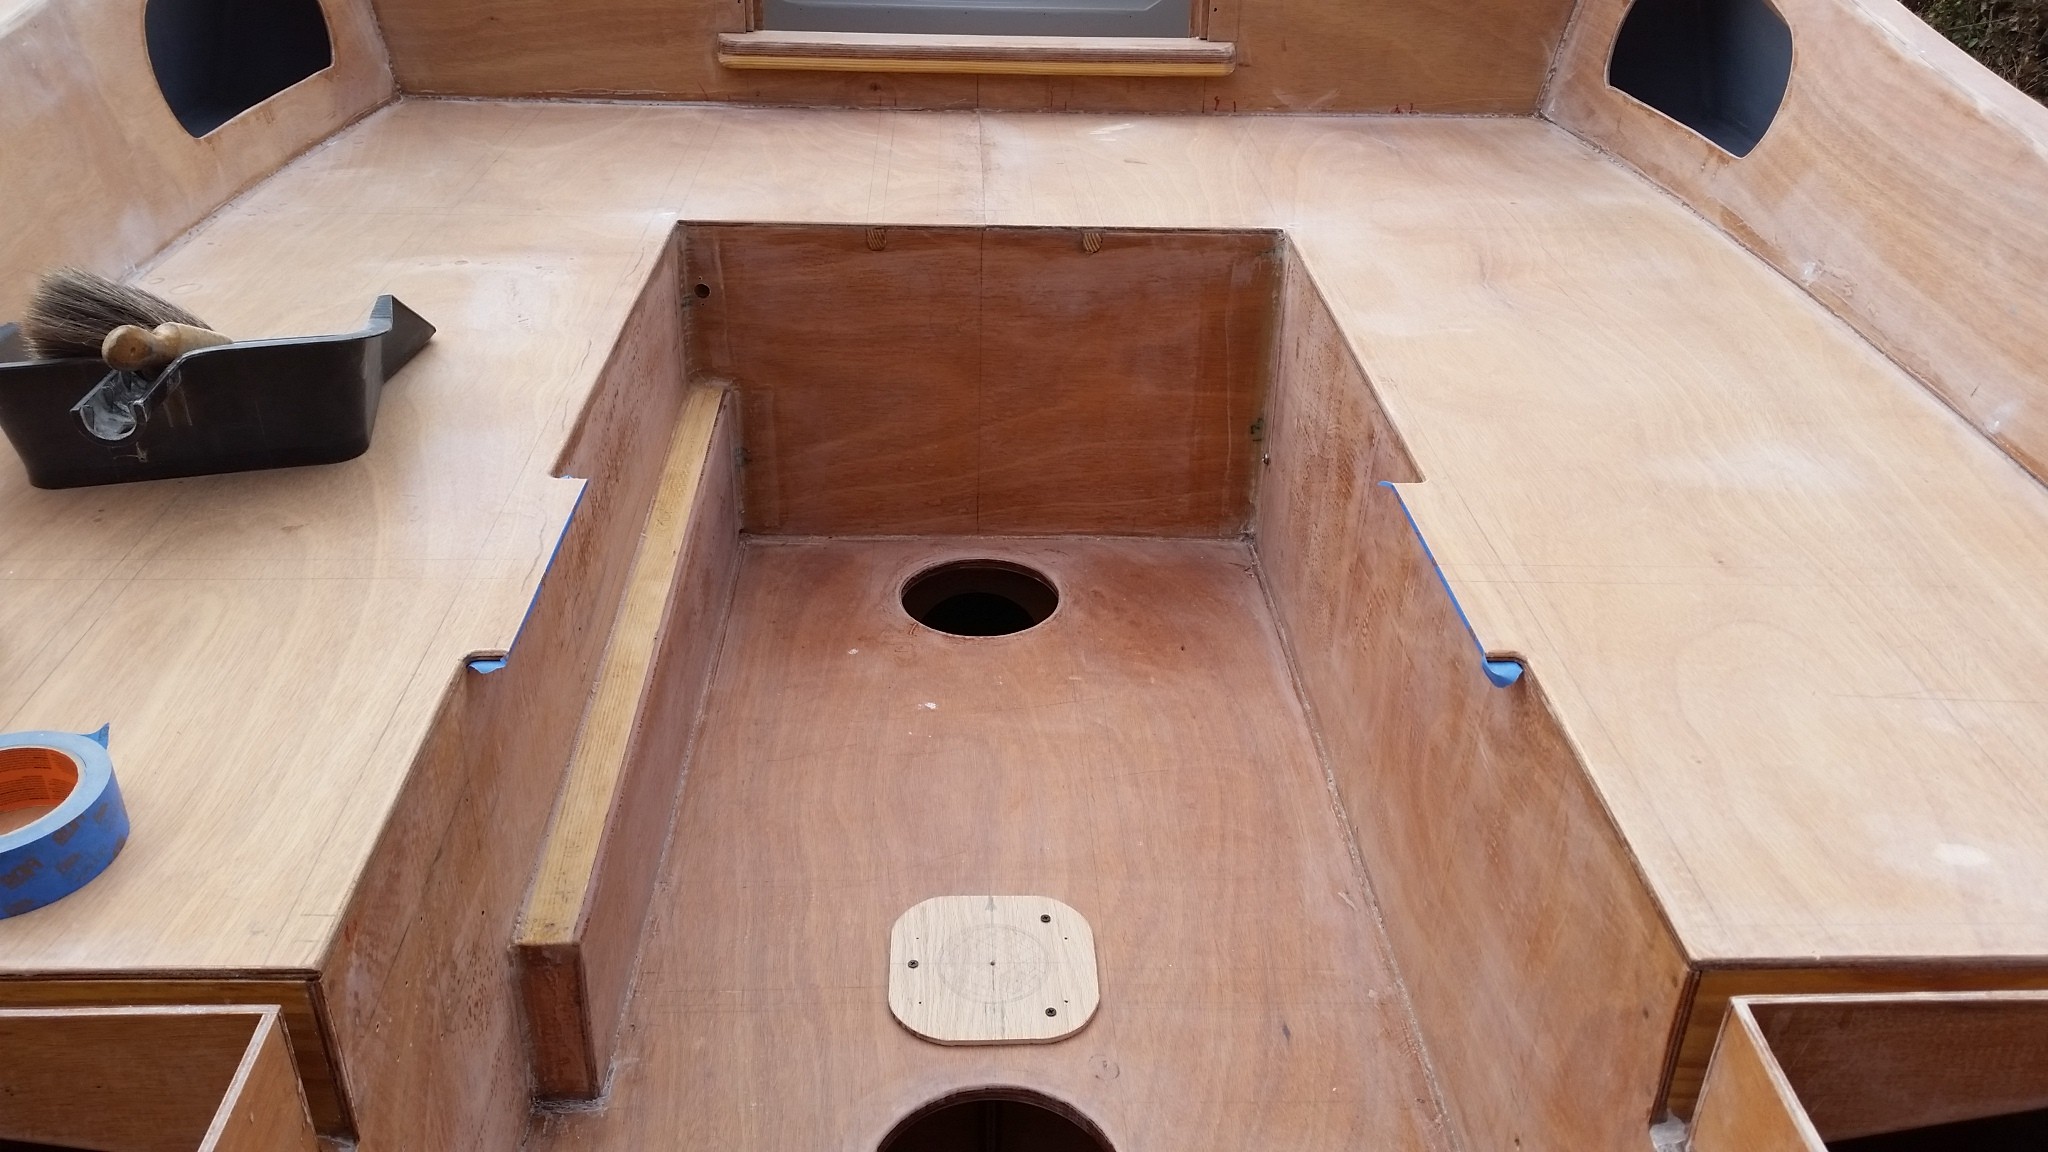
"Chessie" went to the paint shop this afternoon for two coats of AWLGRIP 545 primer. She'll return Wednesday, February 15, ready for masts installitations, fitting out, and final paint jobs (upon arrival of warm weather). Here's what she looks like: The spot on the footwell sole for the mizzen step must be kept bare (i.e, w/o primer) so that it may be effectively epoxied in place after careful alliingment of the main and mizzen masts. Here she is on the city scale. Total trailer & boat (sans all hatches and garage cover) = 1,360. Axle only = 1,180. Therefore tongue weight = 180. Now I have four days off. Taxes, honey-do, vacuum entire shop, etc., etc., ... Relax ??


-
Core Sound 20 Mk 3 -- #4 "Chessie" . .
Pete McCrary replied to Pete McCrary's topic in B & B Yachts Forum
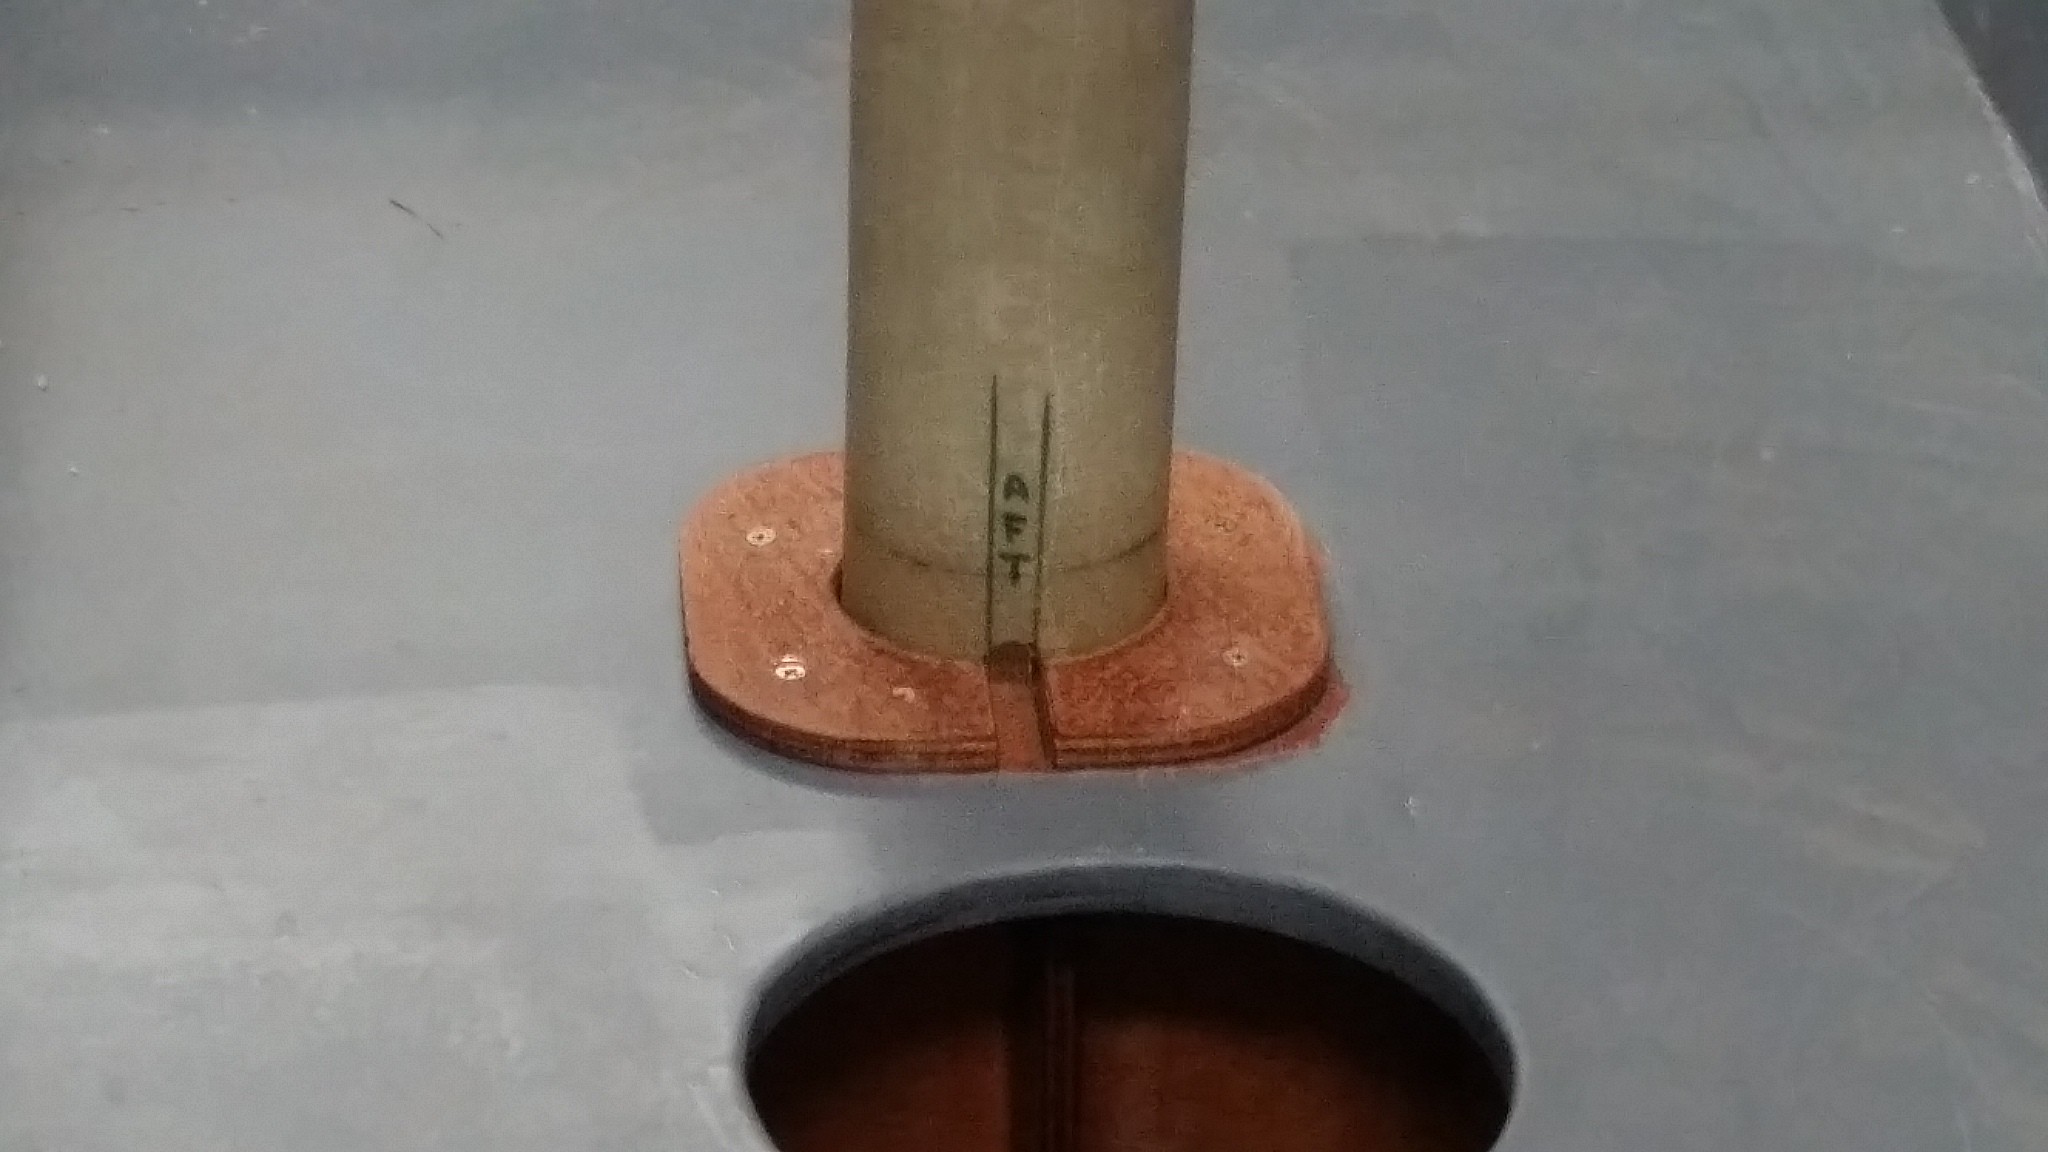
Here's a mast-heel plug to keep out critters and rain wether in the driveway or on the road. The kerf left after a 3" hole-saw cut needed just a little trimming for a perfect fit as shown below: The main and mizzen masts are stowed outside under the roof overhang along with the rub rails. I hope to bed the rails (and the 3/4" half ovals) next week.


-
Core Sound 20 Mk 3 -- #4 "Chessie" . .
Pete McCrary replied to Pete McCrary's topic in B & B Yachts Forum
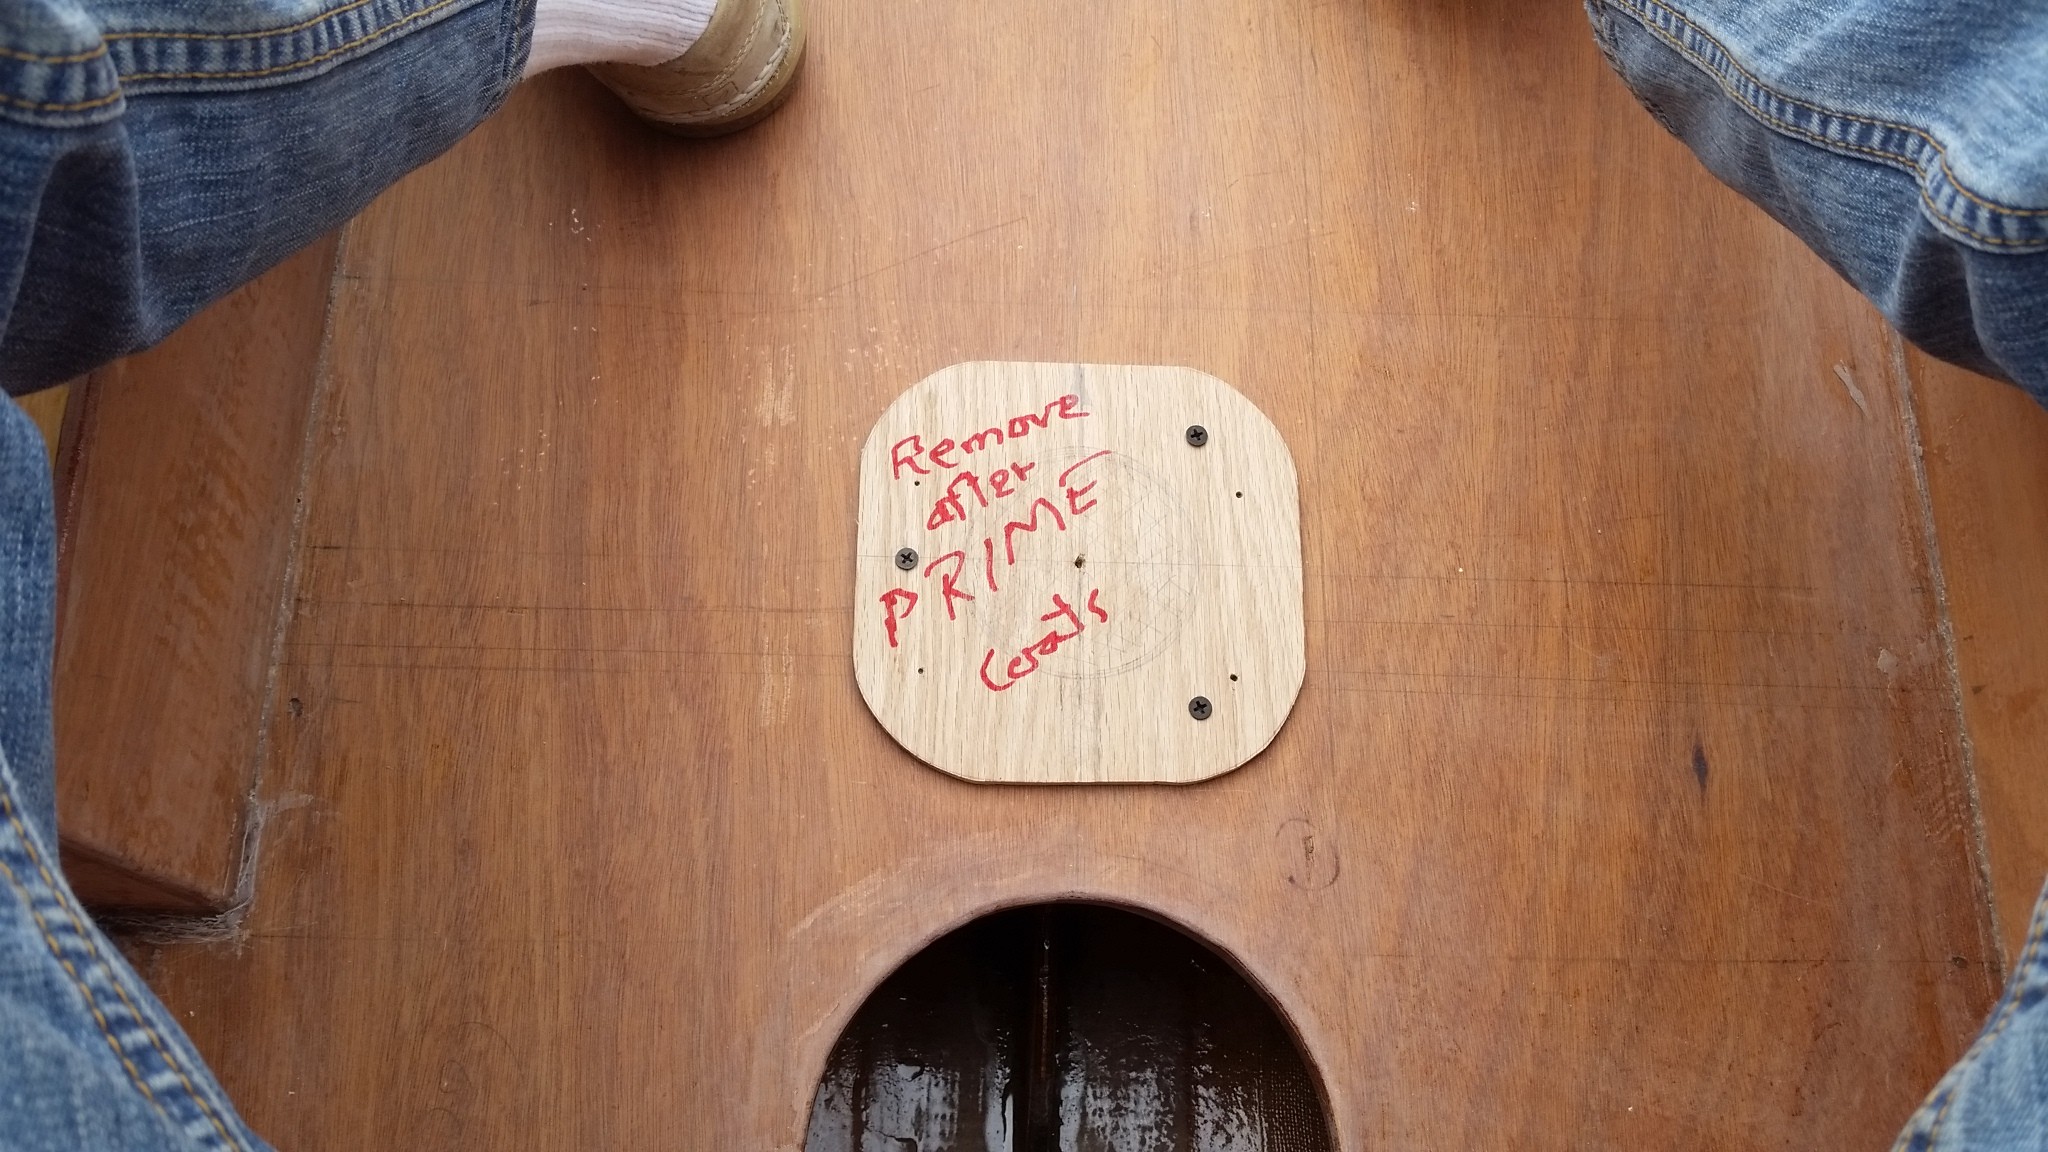
"Chessie" is almost ready for the paint shop day-after-tomorrow. Last night I glued on the inside spacer & drop board guides. I'm not going to have a "retainer" for the sliding hatch. The cockpit-side guides will serve that purpose by extending them up to the top of the slid rails. If (when) the sliding hatch needs to be removed -- I'll just remove the (cockpit-side) guides. They won't be glued in place, but rather bedded and [carriage] bolted to Blk 3. Carriage bolts (instead of screws) are used for security because they can't be removed by a casual thief outside the cabin. Of course, a serious thief could use the chain saw that he always has handy. Each guide will have a drain hole cut just at the aft end of the drain channels on the inboard side of the hatch rails. Those holes are not yet showing in the photo. Notice the gap (~ 3/16") above the top drop board and the end grain on the sliding hatch. Also notice the yellow pine cleat on top of the hatch. The final cleat (will be mahogany) and modified with a rabbet (~ 1/2 + 3/16) 11/16" x 3/8" that will cover the end grain and provide a drip edge so tha no water will ingress. The top of the drop boards are at the same height as the companionway coamings. The rabbets in the rails are just oversized (~ a little < 1/16") so as to allow the hatch to be raised slightly -- allowing the drip edge to clear the drop board and coaming when moving the hatch forward. Tomorrow and Thursday I will be fairing many improfections on the hull with an epoxy puddy compound.

-
Core Sound 20 Mk 3 -- #4 "Chessie" . .
Pete McCrary replied to Pete McCrary's topic in B & B Yachts Forum
Steve: If by "edge banding" you mean gluing on a piece to cover the end-grain of the plywood -- no, that's not my plan. Just a little extra epoxy. For the present I've decided not to worry about water collecting in the corner of the rabbet. I think the spacing is sufficient so that any water collecting in the rabbet will drain out one end or the other. If I see some residue of moisture, than I'll consider some kind'o fix or another. Yes, the deadlights were part of the drop-board kit. And no, I'm not planning to hinge the bunk hatches. On a road test we hit a road "hump" a little fast and jostled things around a bit. Although there were no bunk cushions, every hatch cover remained in its place. -
Core Sound 20 Mk 3 -- #4 "Chessie" . .
Pete McCrary replied to Pete McCrary's topic in B & B Yachts Forum
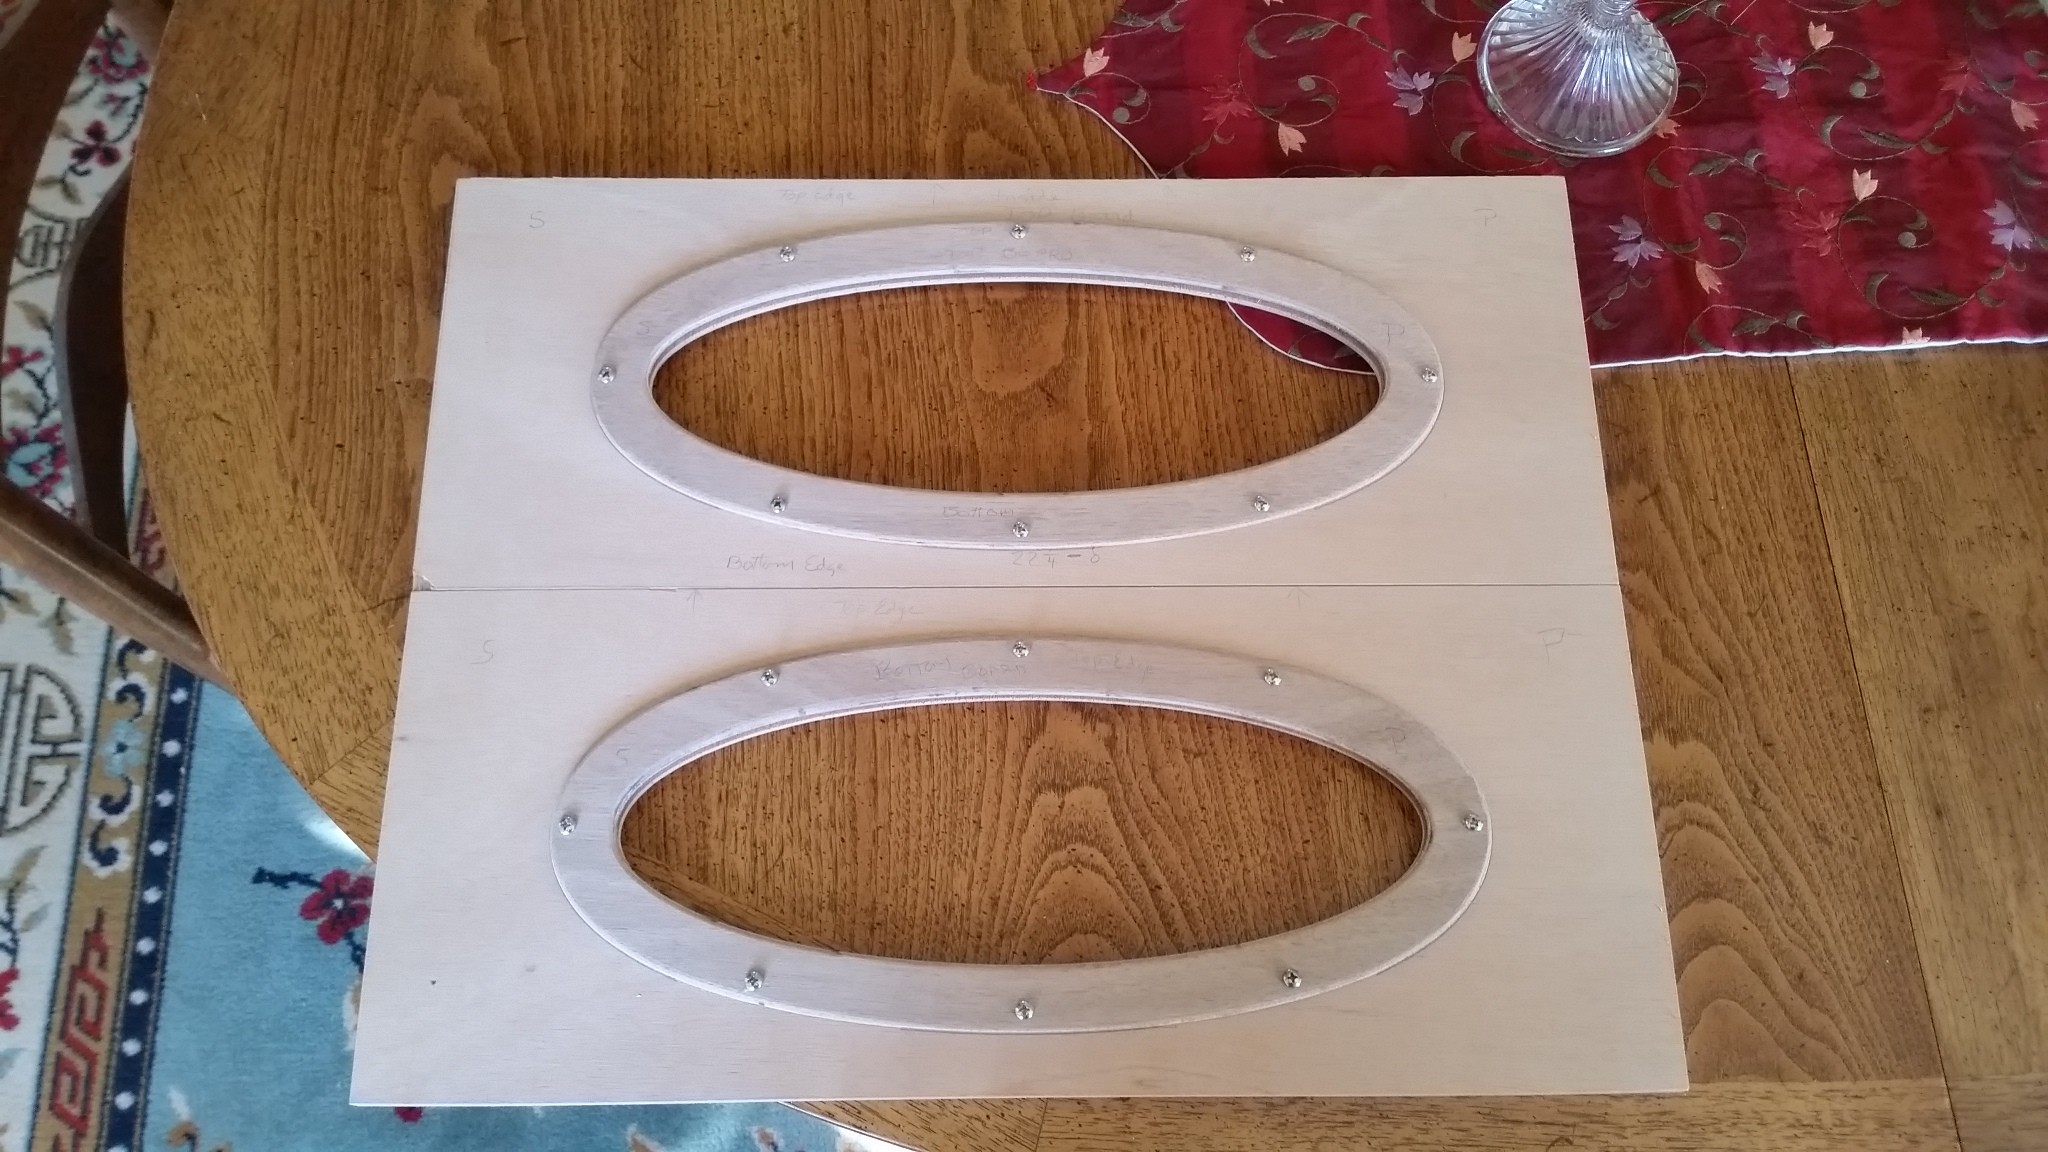
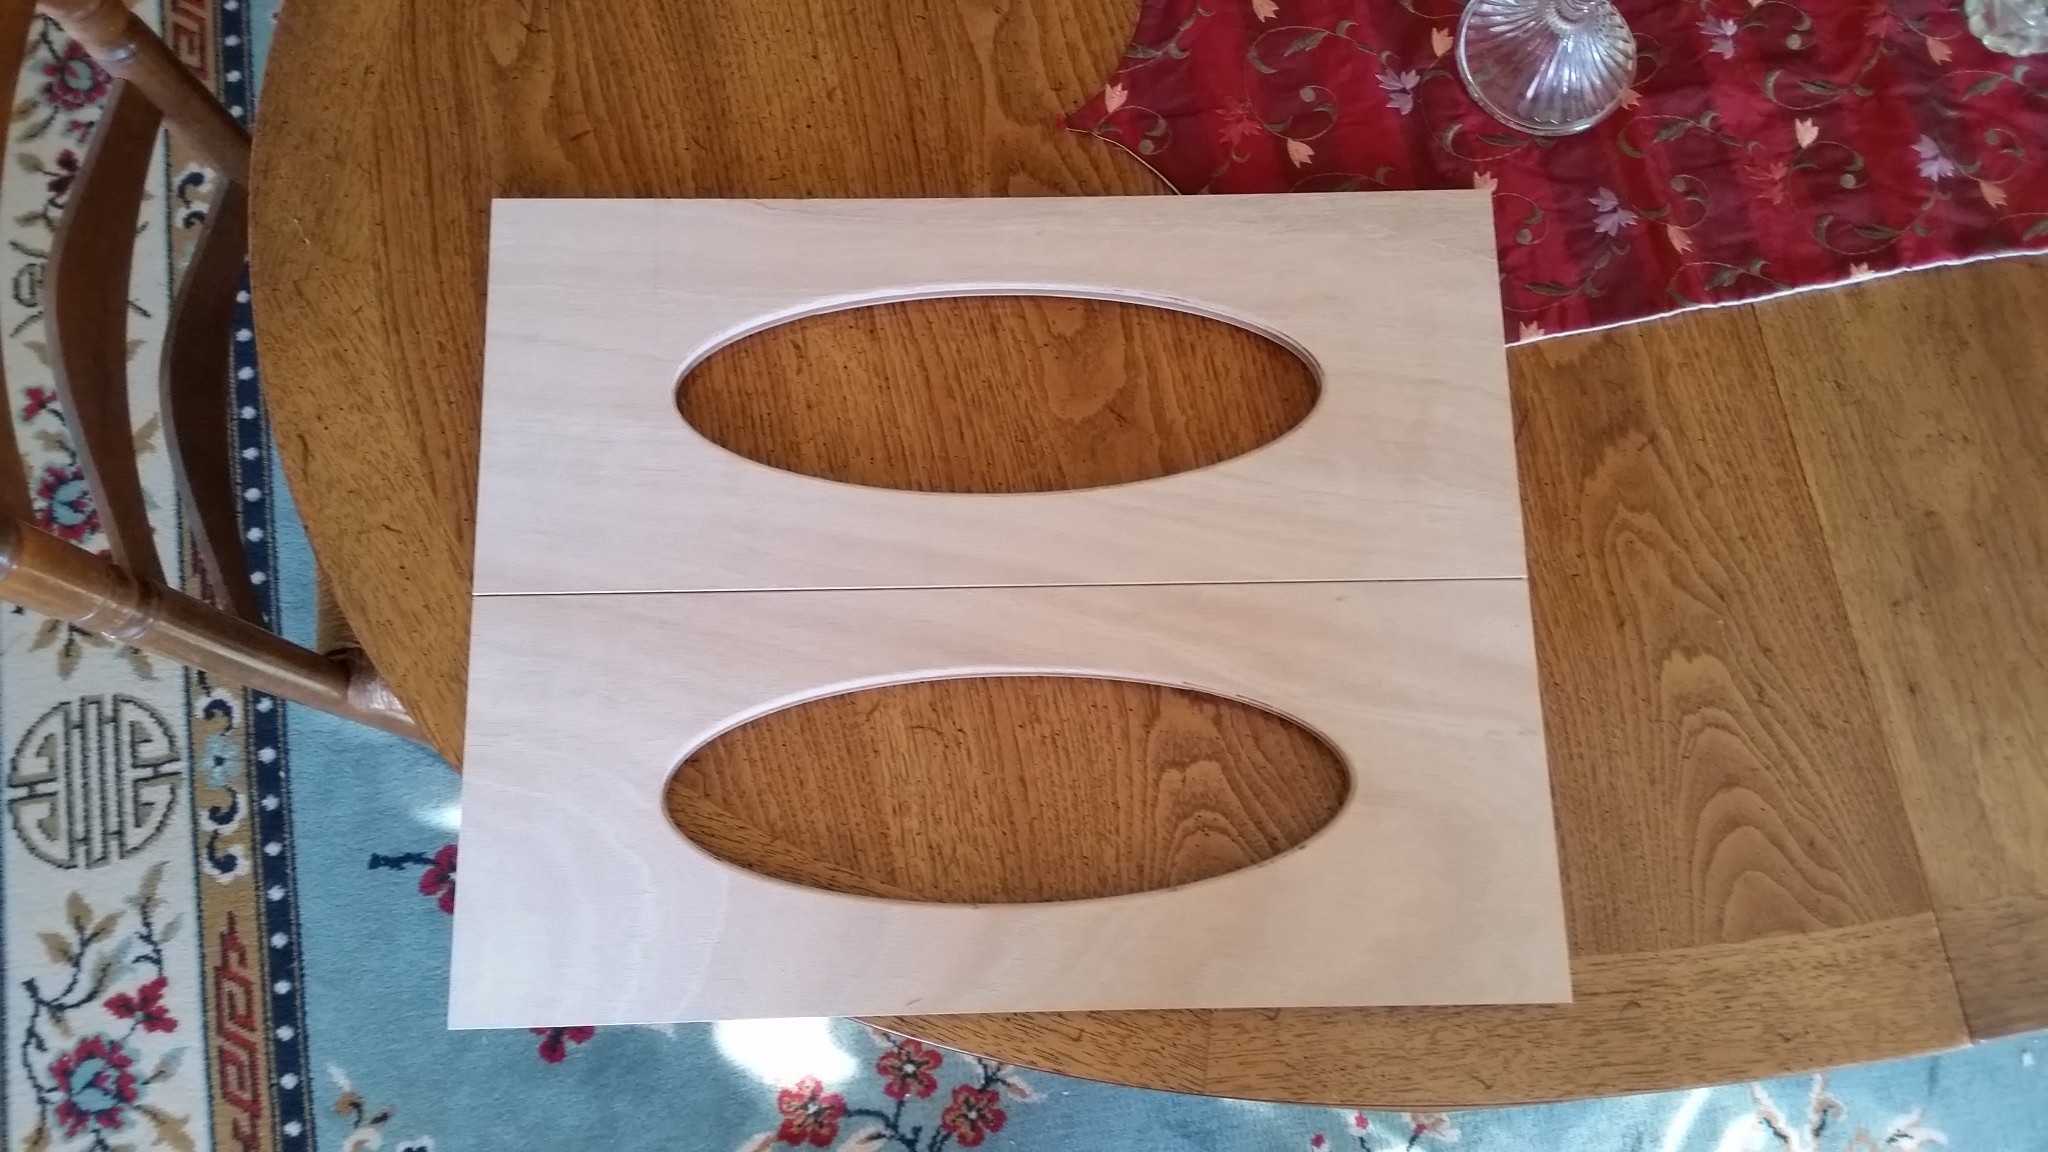
I had the date wrong for the paint shop appointment. It's Feb 10, not the 3rd. I'm kind'o glade because I can get several more things done first. Like the drop boards: Alan had these machine-cut for me. Obviously from the same piece of marine veneered-plywood. Notice how the grain pattern continues from the top board to the bottom board. A beautiful pattern. Noticing that, I decided to finish the boards "bright" rather than with primer and paint. The inside corner of the top board got clipped. It has been repaired with a dab of glue. Notice that there is a very small gap between the outside edges where the boards meet. Maybe that will facilitate draining. Should I consider slightly expanding the gap and inserting a wedge so that water won't be trapped in the lower corner? The wedge would have an angle slightly more than the slope of Blk 3. Alan also had the boards machine-cut the rabbets and bezels for the elliptical windows. And the screw-holes were machine-marked. With the greatest care -- I couldn't of done the job so perfectly. Next will be the vertical framing to channel the drop boards.


-
Steve,... On "Chessie" I cut only two longitudinal beams, one for Port and the other starboard. They ran from the forward side of Blk 3 all the way forward thru the knotches in Blk 1 right up against the sheer strake (needs a sharp bevel there). With those on the bench, I then inserted the rough-cut [as to the arches] cross beans at Blk 2 and the fwd and aft knees. So it was a fram open at each end and cross beams (exactly 23" lengths) at Blks 1 & 2 and fwd & aft kneel. I made all the other pieces [on the boat] fit that exact rectangle. That took quite a bit of trimming and adding of shims. Some of the knee ends needed to be added to and some subtracted from. But in the end the companionway-hatch openings were true rectangles. Once all was right and dry-fitted, I marked the arches on the cross-beams and removed them -- and cut the arches for final dry assembly. Note that there were cleats on Blk 3 already beveled to the roof line. That also provided a "corner" into which the longitudinal beams could be set (butting up against the aft side of Blk 3). After all was in place (about as good as I could get it) I permanently epoxied everything. All the roof support beams (cross & length-wise) still needed adjustment (shimms and trimming) so that it would be truly conical so that the big roof plywood piece would fit nicely everywhere.
-
Steve,... "Chessie's" cabin beams were cut from 3/4" sock yellow pine and not bent. Alan gave me dimensions between the sheers at each bulkhead and cabin knee. I braced (forced) these dimensions with temporary adjustable beams until I could fits the cross-members. I made a rectangular frame that constituted the longitudinal .75" x 1.5" beams and cross-members at each bulkhead and cabin knee. I stretched a batten over each space in order to mark the profile (arch) appropriate for each station. They are close, but not identical. Note that the roof surface is slightly conical and not cylindrical. I made the mistake of assuming each had the same radius -- and later had to add shims to two or three [of them] in order to get the right profile. It all worked out very nicely. I made the framework on the bench to assure that the edges were parallel and cross beams perpendicular to the side rails. The 1 x 3s are the cross beams before cutting the arching profiles. Notice the shims that I had to add to the cabin knees because the elevation on the port side didn't always line up with the stbd side elevation. Close, but not perfect. However, considering the ~ 6' beam and possible slight errors in the keel, chine, and sheer joints -- I considered the line up remarkably close.


-
Core Sound 20 Mk 3 -- #4 "Chessie" . .
Pete McCrary replied to Pete McCrary's topic in B & B Yachts Forum
Steve added a filler plank at the forward end of the cabin sole to increase the width of the cs20.3 bunks. I was inclined not to ... but decided to have son, James, stretch out on the bunk to actually see if it would be OK for his 6' 3" size. He said for "camping out" it was OK, but suggested a trapezoidal box between the bunks. So, that's what I'll do. The box will be light-weight and serve double duty as a convenient (portable) container for toiletries. Here are a few pixs: The sitting-headroom is close, but I think this cabin will be comfortable with some compromises for a solo crew. A crew of two would have to like each other a whole lot. With a boom tent and filler boards aft of the bridge deck -- sleeping in the cockpit would be [for me] preferable.


-
Core Sound 20 Mk 3 -- #4 "Chessie" . .
Pete McCrary replied to Pete McCrary's topic in B & B Yachts Forum
Chick,... There's a channel on each side outboard of the companionway coamings (not yet installed) -- which channels drain forward to P & S limber holes. If the boat is tilted bow up, there is also drainage into the cockpit. I won't install the companionway framing and coamings until after the primer coats are on. These surfaces will be masked off from the primer so the framing may be glued to surfaces just having epoxy [on them]. -
Core Sound 20 Mk 3 -- #4 "Chessie" . .
Pete McCrary replied to Pete McCrary's topic in B & B Yachts Forum
Steve,... I, too, plan to bunk "head forward." But with 3" cushions that are beveled to the hull sides, I think the top surface will be wide enough for comfort. But tomorrow three of my four kids (the youngest is now 53) and the in-laws will be here to help their old man celebrate his 83rd -- and I'll recruit the tallest (6' 4") to try out the bunk spaces in various configurations. Photo recording it all. If it seems advisable, I'll fabricate a temperary filler board to see how that works. I definitely need a comfortable space for rest and sleep when cruising. The last structural elements for "Chessie" (the cockpit seatbacks) are now inplace and trimmed. Looks like a real boat. Just in time to show off to the kids. I still need to roundover the edges to a 3/8" radius. Next week I'll be getting her ready for the paint shop.
-
Core Sound 20 Mk 3 -- #4 "Chessie" . .
Pete McCrary replied to Pete McCrary's topic in B & B Yachts Forum
Yes, sir. But it's a small thing. I'd like to know how to move pixs around. QUESTION re cold weather curling. Are there any other effect than extended cure time? What about below freezing temps? -
My first boat, an 11' 1" sailing dinghy, from $5 plans from Popular Boating (1963) -- built from scratch. Learned a lot -- and this was before knowing about epoxy. I also built from plans a cedar-strip canoe and Arch Davis' Penobscot 14, a plywood lapstrake "Whitehall" type design. Learned more with that one too. But I now would opt for a kit if available. Prior to my present CS20.3, I built three from CLC kits (two sailing dinghys and a PocketShip). I think kits are probably less expensive, and much less time on the road shopping for the special materials that are needed. You still learn plenty when building from a kit.
-
Core Sound 20 Mk 3 -- #4 "Chessie" . .
Pete McCrary replied to Pete McCrary's topic in B & B Yachts Forum
My sailing friend and neighbor, Henry, and I installed the cockpit seat back this afternoon. Outside temps in the sixties. Our last chance for epoxy work before a week or so of cold weather. These seat backs (also inboard support for the coamings) are the last structural members required in building the boat !!!! A major milestone. A very good feeling. Here are a few pixs: Dry-fitting the seat backs. Blocking under the coaming caps for easier attachment of deck fittings. The blocking only extends about 2/3rds the way forward from the transom. The final glueing of the seatbacks to the coamings. Now, all must be trimmed, filleted, and prepped for the trip to the paint shop for two primer coats of AWLGRIP 545. Maybe by the end of next week. Then fitting out, maiden voyage, et cetera. So far, it's been 21 months of construction. If Frank is viewing: How do I edit before posting?


-
Steve,... I think my sequence was to attach the knees & Blk 3 first, then the sheer strakes. I didn't even know about the need for the inwale battens (at the corner of the knees at the cabin roof line) until after I had attached the strakes. If I had, I would've cut the notches first. It was a "bear" of a job to do it afterwards including notches in Blks 2 & 3. Probably makes sense to notch them all first. Maybe also attach the roof-line inwales first? A view of "Carlita" pixs would probably show how Graham did it. At Graham's suggestion I made a pair of 3/4" x 1.5" x 21 foot battens attached to the outside of the side planks a little "proud" of the plank edge that provided a "lip" against which the sheer strakes could rest. Those battens doubled as future rub rails. They made the job of attaching the sheer strakes much easier. You'll need inwales along the sheer line with to top edges flush with the top edge of the side planks. They're not needed for structural strength -- but mainly as a backup for screwing on the RubRail. No notches needed -- the inwales are just installed between the stem, bulkheads, knees and transom. Note, however, that these shouldn't be installed until after the sheer strakes are epoxied in place. Since they are in pieces (not a stem-to-stern batten) they would disturbe the fairness of the sheer if installed before the sheer line is made immobile by the attached sheer strake. Although you wouldn't install the sheer-line inwales until after attaching the sheer strakes, it would be much easier to measure and cut (and dry-fir) each section before putting on the sheer strakes. The inwale thickness was 1/2" x 1" (not sure of the width?). The half-inch thickness provided a 3/4 inch "bite" for the RubRail screws while remaining flexable enough to fit the inside curve of the sheer line. I'm going with memory, so it would be prudent to verify my cited dimensions.
-
Core Sound 20 Mk 3 -- #4 "Chessie" . .
Pete McCrary replied to Pete McCrary's topic in B & B Yachts Forum
More progress: The companionway hatch "sill." Deck cleats for the cockpit seatbacks (inboard surfaces of the coamings). Next (a day for each): Epoxy inplace the coaming caps, the cleats under the inboard edges of the caps, and on Tuesday (hopefully) the seatbacks. She could be ready for the paint shop by the end of the week.