Rod Thompson
-
Posts
85 -
Joined
-
Last visited
Content Type
Profiles
Forums
Events
Everything posted by Rod Thompson
-
Yes, I have to admit to being a bit of a tease with the subject line. Turning it over took less time than setting up for it. Still, it was easier than organizing a "flipping crew" each time.
-
An all ends well.

-
Adapting Charly's method to a lower ceiling, my wife and I successfully turned over our CS 17 for painting. Wooden block is from the father-in-law, cable puller from a friend, and sling from a local hardware store. The pully that the sling turns on is adapted from a roller for a boat trailer.


-
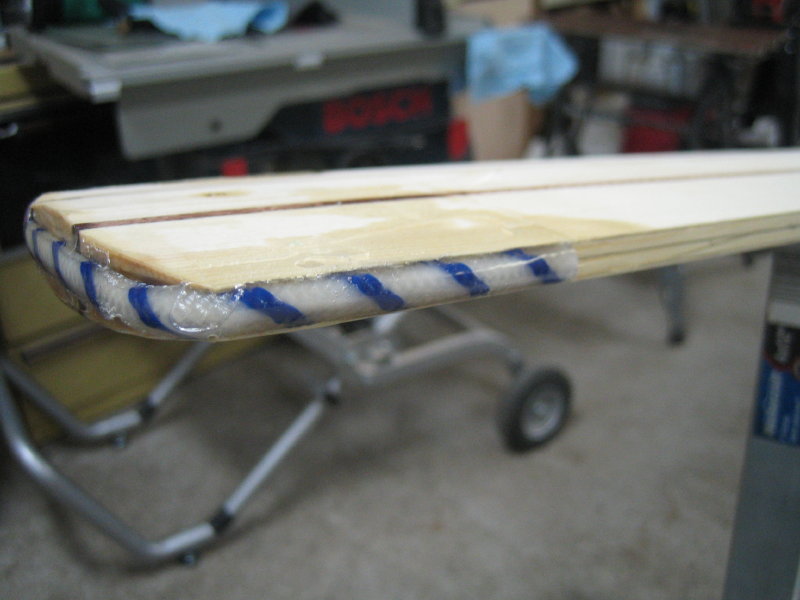
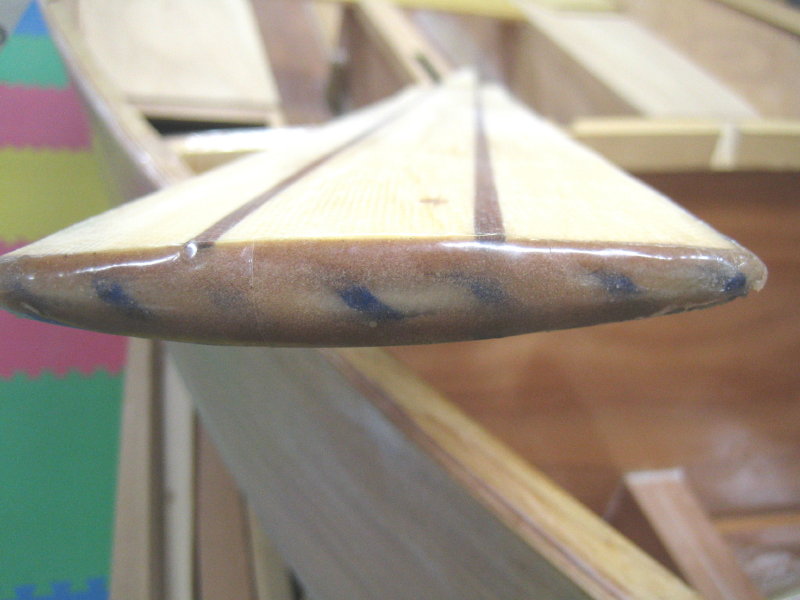
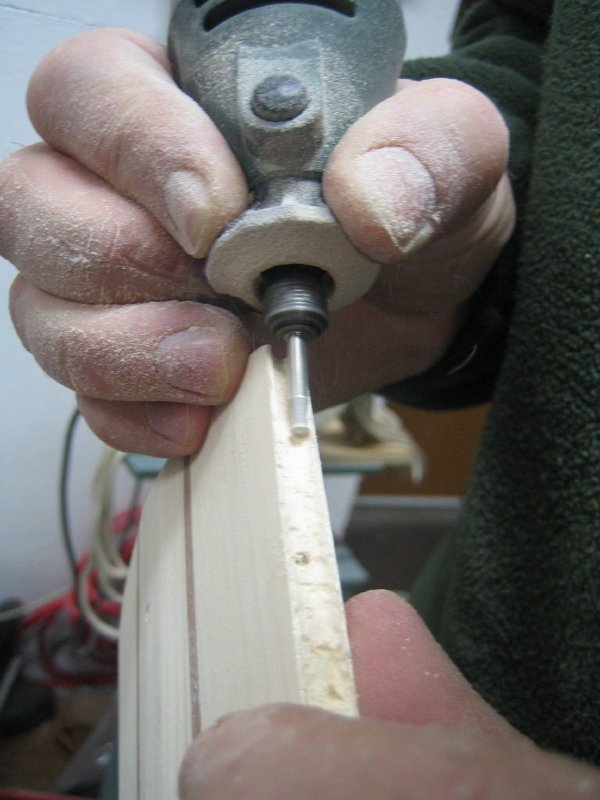
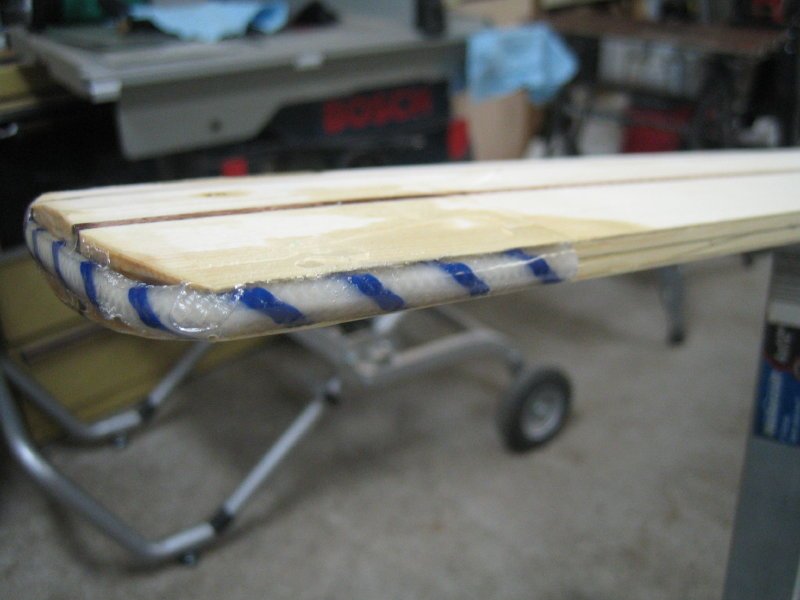
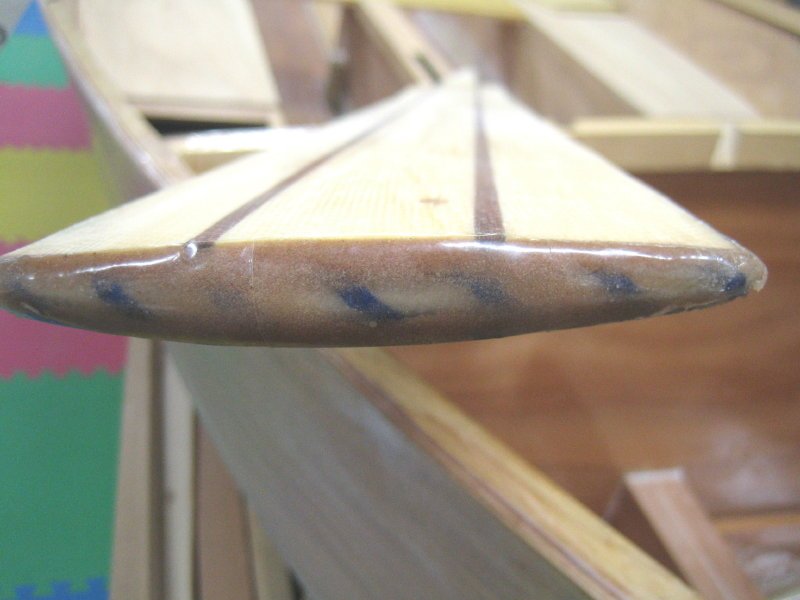
Having read the good reviews on epoxied rope for the CB edge I did the same for the tip of the oars I recently built. Seems to me it will be tougher than the usal spline inserted in paddle/oar tips. Like Charlie I cut out a bit of a groove. Added some additional filler on the end of the tip to round out the profile. Lots of rock in these parts.
-
Joining the Club - Spindrift 12 plans ordered
Rod Thompson replied to cdunc's topic in B & B Yachts Forum
I had similar challenge with my CB case for CS 17 #144. After doing much of what has been suggested still had a small curve in the base of the CB. This was eliminated when the CB was glued and screwed to the side of the keel batten. -
My thoughts echo those of Scot and Apteryx. I was a studs n' nails kind of wood worker until this CS 17 project. Couple of other references I found useful are "Stitch-and-Glue Boatbuilding" by Chris Kulczycki who founded Chesapeake Light Craft. "Kayaks You Can Build" by Ted Moore & Greg Rossel has some good basic info, especially if you want much bright finish. I use West System Epoxy. I recommend reading their reference material if you haven't worked much with any brand of epoxy before. Two videos that helped me put it all together was Devlin's and one from Chesapeake Light Craft, "The Zen of Wooden Kayak Building." I began building 14 months ago and have about 4 or 5 to go. As you probably know, this forum is an excellent help. Most begginer-type questions have been asked at least once so can be searched. The experienced guys are very patient with us. Sometimes opinions vary but everyone is respectful and open to more than one way of getting the job done.
-

-

-
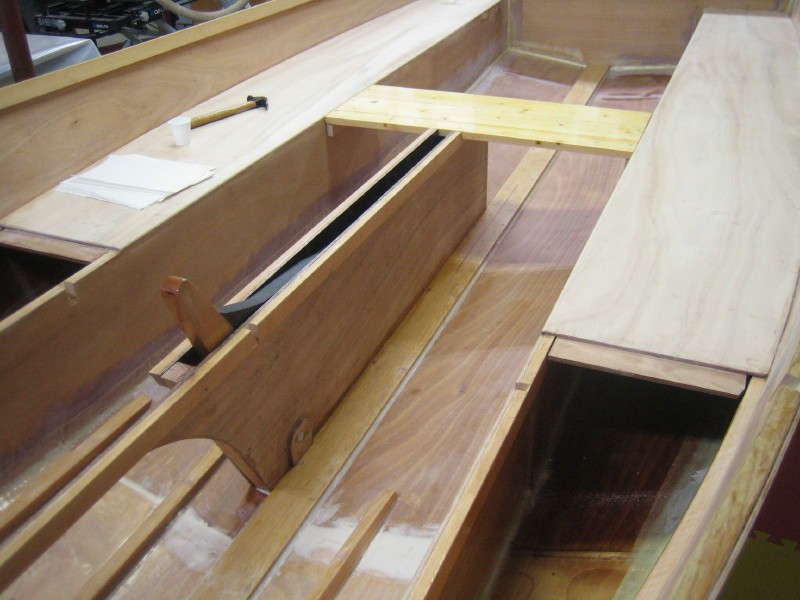
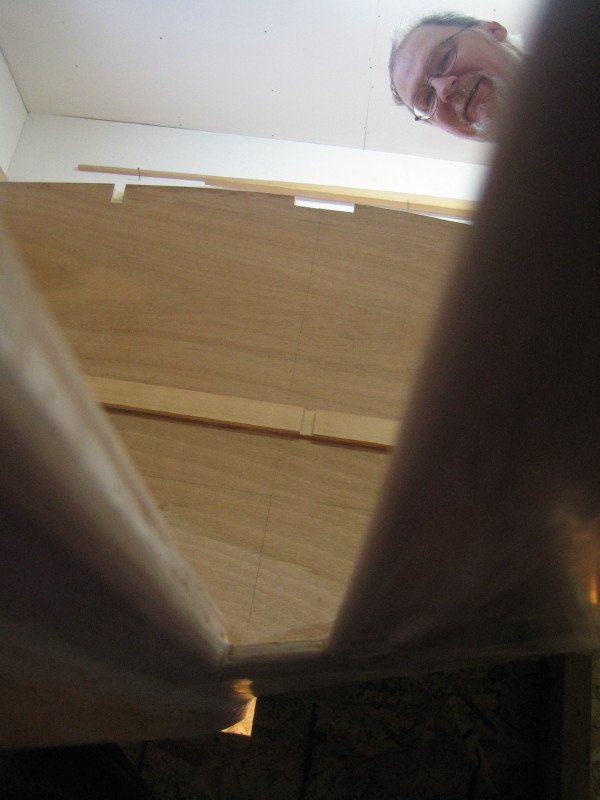
Have recently completed installation of centre board case for CS 17 #144. Don't know what your wondering about but here are some pictures from my project.

-
Cool idea. That step is coming up for me and I've been wondering. Bought my tubes from the same source at the same thicknesses. Appears that you stapled the paper to the mandrel. I wonder if that "spray on glue" would work well? How much sanding did you have to do with the 60 grit? I plan on using spruce or fir for the top section.
-
No expert. My first was a small Magellan which showed longitude and latitude, speed, direction of travel etc. This Christmas my family gave me a Garmin model GPSmap76CSx. It is a hand held model around $300 Canadian. This one you can load different types of maps onto. It hooks up to the computer for transferring routes etc. My son who uses these a lot tells me that there is a lot of free stuff on the net to use with Garmins. Our field staff at the Forest Service use Garmin models and say they are pleased with them. Below minus 15 Cel. they start to chug but that shouldn't be a problem for sailing.
-
Roy, Just happen to have my plans out for CS 17 #144. The plan sheet entitled "Hull Panel Instructions" calls for 18.5 ft. for the side stringers. The materials list calls for 16 ft for "seat stringers" and 12 ft for "cockpit side stringers." For the side panels I went with 18.5. Yes it is a 17 ft long boat but the stringer is not layed out in a straight line and the sides curve creating a distance of more than 17. Rod
-
A market niche Graham could explore is hard-water sailing. Nothing like scooting across a freshly frozen lake (wait for a couple inches of ice) with clear water below. Feels as if your flying above the ground. Actually messes with your sense of balance. Once winter sets in the trick is to design ski-skates that can handle a mixture of ice and wind swept snow. Come spring there is window for bare ice again. This time three feet thick with cracks of open water. Jumping over those is a thrill. Have done that with a sail board rigged with steel runners.
-
Thanks to all of you who have shared pictures and video of the messabout. Watching from afar it is nice to be able to put some faces to names. Enjoyed seeing the detail on the boats. Lots of inspiration for amateurs like myself. Particularly useful to me is seeing how the sails and centre board are rigged. Lot of good descriptions on this site but unless I have a book of nautical terms at my side I struggle to put it all together. Pictures worth many words as they say.
-
Charlie made an important point about humidity. On the Canadian prairies we like to joke in January that "at least it is a dry cold". I have camped many times during winter. Coldest being -52 in the Rocky Mountains. The coldest night of my life was on a beach on Vancouver Island. Rats chased us out of a old wooden building onto the beach. A fog rolled in, soaked our sleeping bags and crept to the bones. The air temperature was above freezing but the humidity transports heat away from the body. Will take the dry cold any day. For you sailors who are bad mouthing snow I'm sure that you could empathize with those of us who get a kick out of gliding over sparkling snow with ski's. Sky so blue it hurts your eyes. Air pure enough to wake every pore of your body. Have R60 in the ceiling of my house Ray. Grain (Rye) augered into a pellet stove keeps this cottage warm.
-
Enjoyed the pictures Bill. Did that trip many years ago. Your photos bring back the smell of the air off those mountains, damp mornings and muddy portages. The map shows many more campgrounds than I remember. Didn't happen to see a swede saw hanging on a spruce on the east side of Issac? Would have had 39 years of rust. Is that a carriage for portaging sitting behind you in the moccasin? I did the trip in an old 18 foot canvas and cedar freighter canoe that soaked up water along the way.
-
It probably goes without saying that anyone willing to post a few pictures of the goings on would have a ready made audience among B&B fans not able to join in.
-
Being a life-long paddler I find that nothing sets off a shiny new vehicle better than a sleek canoe or kayak perched on the roof. Your wooden creation is the perfect accessory. Where in Tennessee would one take a "Damn Yankee"? I visit my son in the region and am always on the lookout for interesting places to dip a paddle in quiet waters.
-
Would like to join the many others that have enjoyed following your build and congratulate you on a job well done. Your pictures of heading out to the bay inspire those of us still in the shop (or under the tarp). Looks like you and the family have many good memories to come. Lessons learned, first impressions, that sort of thing, would be interesting as well.
-
Ray, Wes, is it fair to say that you are getting better coverage than set out in the manufacturer's specs. Seems to me they say 200-250 sq ft./gallon for the primer and something like 350/gal for the top coat. Would be nice if their rates are conservative.
-
Thanks Wes for expanding on your experience with Silvertip. Interesting to get your take on its fill or "build" properties. I think Ray finds the same. I was trying to get a sense of how much time to spend getting a smooth epoxy base. I'm quite satisfied with what I've achieved on CS #144. One problem in a few spots was bunch of pin holes that appeared in the last fill coat. Think I must have introduced some imputities. Have managed to fill them with a thin coat of epoxy mixed with cabosil. Forced the mixture in with a metal drywall putty knife. Had the effect of applying a glaze. Regular expoxy rolled and tipped in the normal way was pulled out of the little holes.
-
Congratulations on the new work space, I mean house, Wes. I'm still deciding on paint and am interested in your thoughts on the benefits of the Silvertip primer. In addition to the low odors and easy cleanup how was it an improvement over what you used on the outside which as I recall was an Interlux product - VC Performance.
-
Thanks for the clip Garry. Makes sense to be cautious and wash down before the application regardless of what went on before. As it turns out I did get directly to the next coats. Weave is now filled. Only issue is some pinholes in spots. Not a gas thing. The west system guide says it is a surface tension problem over abraded fiberglass or epoxy. The fix is to force epoxy into them with a stiff spreader held at a low angle. Ever dealt with that before?
-
After an epoxy surface has cured and any potential blush has been washed off does one have to wash again if any amount of time has passed before the next coat (paint or epoxy) is applied. Intent is to apply the next coat soon after the wash but sometimes the best laid plans go aground. I guess I'm asking if the amine blush continues to come to the surface over time.
-
Spindrift bottom glassing w/cloth
Rod Thompson replied to Greg Luckett's topic in B & B Yachts Forum
Ray by referring to the System 3 primer as "high build" do you mean that it fills in minor imperfections of the resin coat? Trying to get an idea of how smooth I have to get the final coat of epoxy before applying primer. Thanks for your detailed description. 8-10 coats wow!