Bcone1381
-
Posts
137 -
Joined
-
Last visited
-
Days Won
1
Content Type
Profiles
Forums
Events
Everything posted by Bcone1381
-
The other problem area I see now is that the fabric has started to relax. I think Jeff says not to rely too much on heat shrinkage of polyester because of this relaxation. These two photos show some waviness that were not there until the coating process was started. Again, I only heated the fabric up to 180. My advice is to buy an iron that will allow fabric to be shrunk at 250 to 290 degrees. In was in a hurry, and it looked good from the 180 heat shrinking, so I compromised. This is the I iron will get for my next Kayak if I don't find one at a garage sale first. http://www.aircraftspruce.com/catalog/cspages/sealfabriciron.php These errors could have been avoided, and I others hope learn from my errors. Yet, they are pretty minor cosmetics, and the casual observer will not even notice them. Kayaks that build memories will develop some character and this one has some already.


-
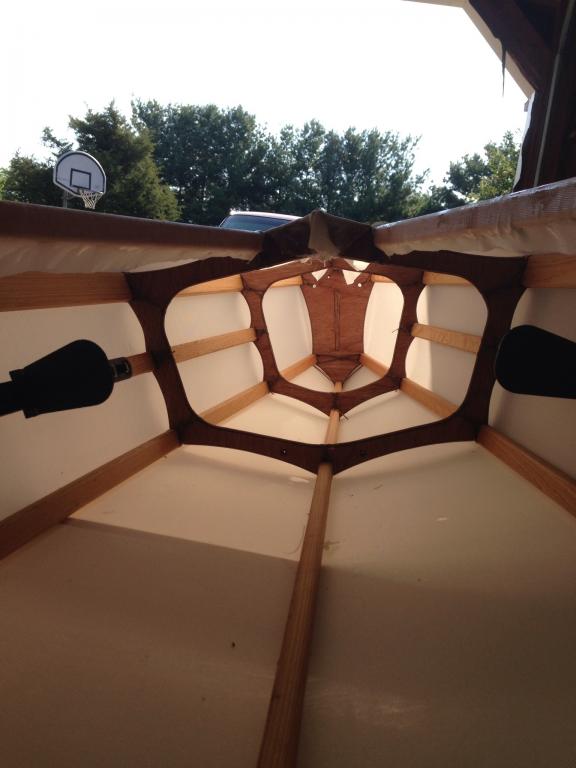
I don't want to come across like my boat is a master piece. It's my first boat, and I've made a few errors. If I show them to you all, maybe you can avoid some of them and come out with a masterpiece first time around. Our boats have compound curves, and fabric naturally likes straight curves. So, we stretch the fabric, or use darts to make the fabric go around a compound surface. These photos show the area where I had trouble. (I still do not know how to rotate a photo) . These sharp corners are tough, but the key error was glueing the fabric before visualizing where the shrinkage would best be utilized to remove the extra fabric due to its compound shape. I left too small of a space for heat shrinkage to remove the inch plus of extra fabric. By the time I saw this it was already glued. Next time I will seriously consider a coaming...a large one...and attach the fabric via the standardized SOF method. I also will consider gussets in corners to transition the area help eliminated he gathering of the material.


-
The way I got my seams straight was to roll the port and starboard edges of fabric around the interior cord just enough so that each side made an equal gap along the center stringer. The gap is then closed up by tightening of the sinew. You can really get some leverage yanking on the sinew at this point with a tighter weave fabric. Once these seams get going straight, they naturally want to stay right on track. If the seam got off track turning it back on course was tougher than undoing and resewing. I focused on a straight seam on every stitch...the two sides were carefully rolled, then pinched with the left hand, then sewn in place, then tightened. This photo shows the seam when I was sewing a bit loose. I tightened things up a tad after this point due to feedback on this sight from Jeff. The original 8oz fabric can't be tightened too much or its loose weave gives way to holes. Next boat I build I will use a tighter weave fabric and rely much more in skin taughtness with this stitch rather than heat. Future photos will show why. I will show you the good, the bad and the ugly....so far mostly good, nothing bad, but a little ugly mixed in. .

-
I wanted a translucent mahogany kayak. This is the result of what Cory from the Skin Boat school set me up with. The Spirit Line product is clear, and I added pigment to the resin to give it some color. The other option would be to dye the fabric before coating it, which also looks great. Today I coated the top of the kayak. I am running low on the Spirit line due to my own fault. I found I mixed too much up a couple times, and it started to set up on my causing waist. I have a 50-50 chance of running out. So far I have about 90 hours into building it...I have gone slow and taken my time...I am not experienced at all. As far as cost, the Kayak plans, and strongback materials was $118. I bought the best lumber available as far as I know for the frame and spent $197. That included $30 for custom mill work to cut my 18' long stringers to size. My $95 piece of marine grade was BS 1099 compliant and I have enough left over for another boat. $49 for sinew, thread, needles, shipping cost. A rod holder for $13. Footrest, Spirit line Goop, dye, Tung Oil, Bungee Cord, and shipping was $130, the original 8oz fabric was $92. So it looks like in have $600 so far into it, and still need a seat, backrest, and materials for a paddle.

-
Here is the kayak after sewing and shrinking. My iron was only putting out about 200 degrees. I was expecting over 350 degrees F. I bought a new one, and then learned that my federal bureaucrats now limit the temperature on household irons to 180. So, I shrunk my fabric with a 180 degree iron. I was happy with it at this point. I did not mention that I coated the frame prior to covering with Tung Oil purchased from the Skin Boat School.


-
The combing of the Cast-A-Way is a different build that the typical kayak combing. The instructions called for staples to hold the fabric to the frame. Here I am trying to help the fabric make a compound curve with some heat from an iron. I pulled it and heated it, and tried to shape it. . I held it in place with tacks, and trimmed it with my "Hillbilly Hot Knife". (An old Kitchen knife heated with propane torch.). This hot knife idea worked out real well...way better than my soldering iron. Once everything was in place I glued the fabric to the frame. The glue used Spirit Line, commonly called Cory's Goop from the Skin Boat School. It actually is not designed as glue, but rather coating for SOF fabric. I tested and experimented with several different products, and nothing failed the test. It is a testimony to how good stuff sticks to polyester. Shear loads is what is at stake with my fabric attachment, as opposed to peel loads. Peel loads (forces) are very different from a shearing force. I know some will criticize me here for this decision. This was an improvement over Staples. The biggest draw back I think will be getting the fabric off when it gets reskinned someday. I still like the way a standard combing is installed. My next kayak may be another fishing kayak, and I am considering building a very large coming using the typical techniques and fabric attachment methods for SOF kayak.


-
I added foot rests, and waited for the original 8oz polyester fabric to arrive, then started sewing. The sewing went better and faster than expect. This seam is sewn with the waxed artificial sinew that Jeff sells, and has a piece of parachute cord rolled up on each side. I used one piece of cord with a needle on each end. I really liked this stitch, but in wonder how a baseball stitch would look, at the same time I am afraid to try since this went so fast, easy and came out so straight. By the way, this is my first Kayak I have ever built or owned. It's time to go running, c'mon old man-lets Go!


-
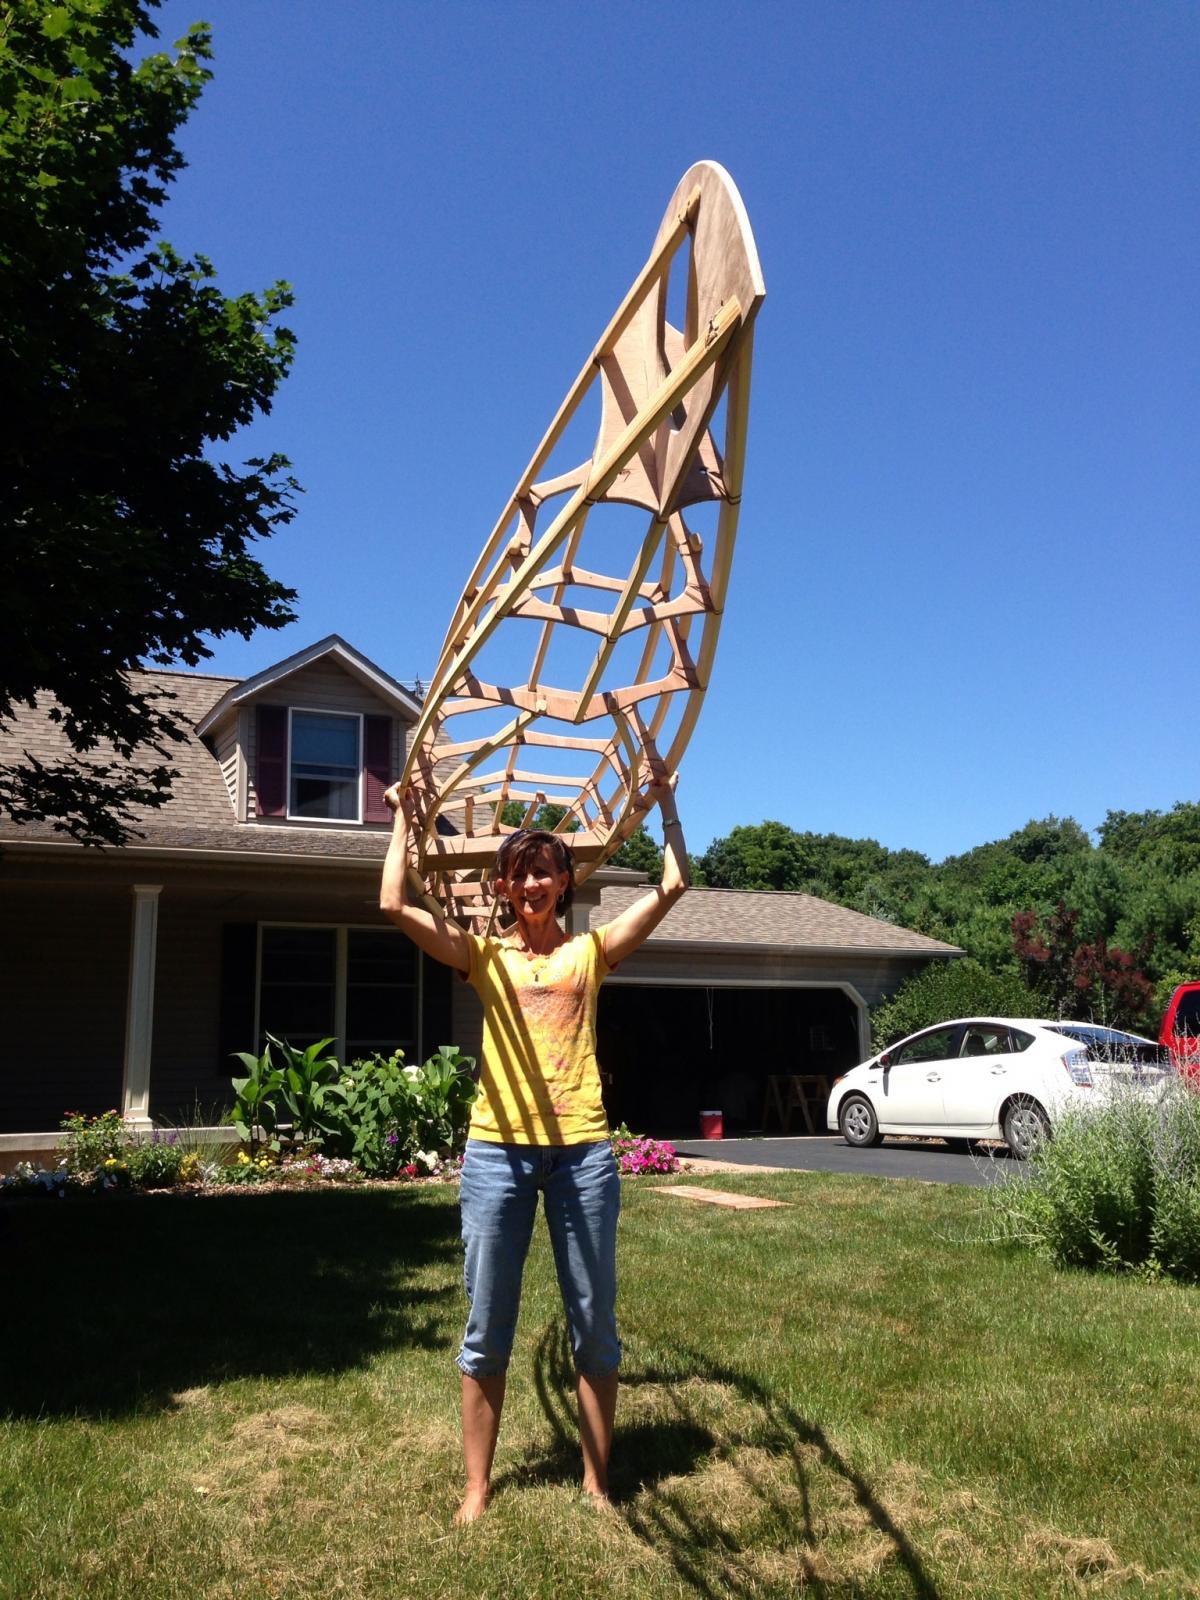
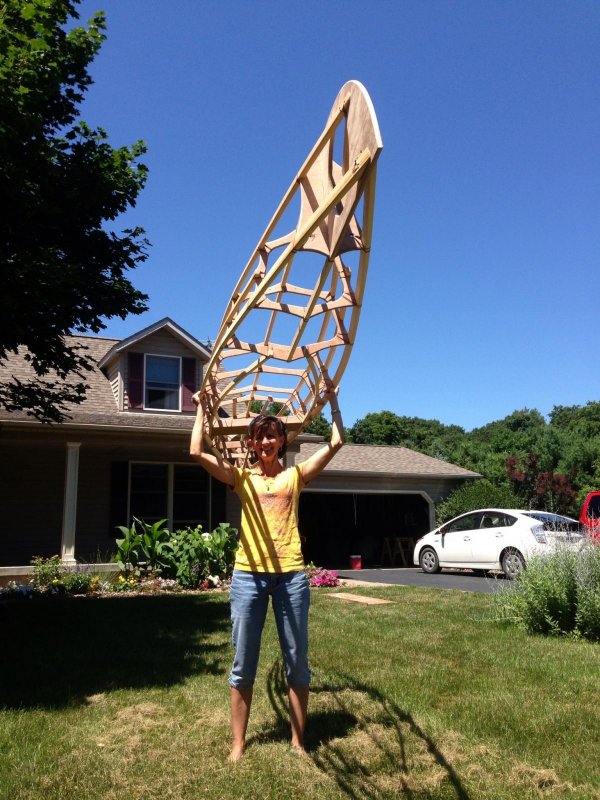
This kayak has around 100 lashing. Each one took me a minimum of 7 minutes, probably averaged 8-9 minutes. . I guess that means about 14 hours were spent lashing. I like starting the with keel, the working from the center of the boat out towards the bow and stern, trying to keep everything lined up just right, and thinking about the forces being exerted on the structure. Keeping everything as equal as possible makes a straighter boat. Here the frame was completed. My obligation is now officially fulfilled! I understand that A FROG-Frame On Grass photo is mandatory. You might see Harley to the left guarding the Kayak Frame. He has been a faithful companion of this build...I think he wants a ride when it's done. My wife demonstrates here the lightweight structure of these boats...it was 25 pounds at this point. I also might stress that the Kayak Frame is light in weight, but by no means weak. Jeff Horton has a design that will be legitimate in anyones eyes. I suspect she will really take every reasonable beating a teen age boy could give her.


-
It seems pretty quiet on this forum so I thought I might start sharing with you all a Fishing Kayak I am building. If you are a lurker, thinking about doing this, go for it. The experience has really been fun and rewarding. I started out building the strong back exactly like Jeff Horton outlined in his book. I wish I knew how to rotate a photo. This one is better. Frames or Bulkheads were cut with a jig saw, corners rounded with a router, and then sanded. I set some key bulkheads onto the strong back, then added stingers and the remaining bulkheads? I have four sons, this is my 17 year old (#3) who helped me assemble the stringers and bulkheads.


-
Jim, what is the weight of your kayak? This looks really sturdy with those rub rails for protection. I don't see them used like that much these days.
-
I saw this photo in the main area of the messing-about forum, and thought that it might be suitable for discussion here. My experience is nil and I wonder what changes in handling would take place with a keel like that. Here is the fully restored boat, with rub rails. Also note the familiar brass that was used on both the bow and stern.


-
Give us some details on those footrests!
-
Here are a couple shots of a modified stitch that I am using with the Jeff's original 8oz. Polyester fabric. This is my first kayak and am unsure of the quality of my work, yet am pleased so so far with how it is turning out. I am using two needles on both ends of a single piece of Jeff's waxed sinew. I don't have concerns about the holes the needles are going through, but I am being very careful, for i can see the loose weave could be an issue without some care. I have wondered if I am sewing it too tight, and am trying to keep it a bit loose, then tighten it with an iron. The Original 8oz shrinks up to 5% at higher temps (260f). I still don't know how I will finish off the bow and stern either.


-

-
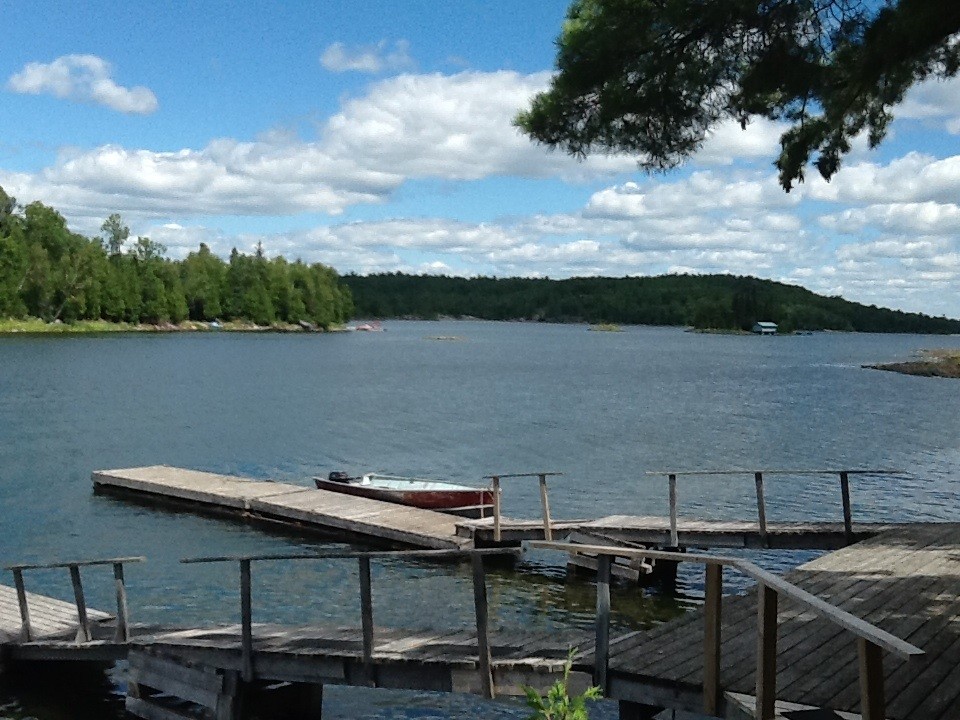
I am building a Cast a way, have the frame completed, and will be covering it soon. I am vacationing in the Georgian Bay this week, and my teen boys, wife and I have access to two plastic kayaks. We are playing around a bunch, and when The plastic kayak gets water logged it weigh 200 pounds. We dragged it up onto the dock, turned upside down to empty it, and she smiled at the abuse. My experience level with kayaks is very low, and so I have one question in particular. 1). How do you empty water out of a water logged SOF kayak? In think my boat would break if I did to it what I can do to the plastic. 2) Using these plastic half-wits has me considering attaching thin strips of light weight soft wood for rub rails to gunwales, keel, and stingers after fabric is attached before sealing it. 3) Comparatively, how tough are our SOF's
-
I will be starting to cover my kayak soon, and am thinking about the seat and back support. I sure would like to see what yours. We all are looking for information on your past successes and errors, and what works and what does not. Brooks
-

-
Jeff; I just tried to order the original 8 oz fabric from your web site. The website did not allow me to change the quantity from 1 to a number greater than 1. All of the other fabrics that you are offering allow me to change the quantity except this new offering. I tried to order it on both Safari, and Fire Fox browsers. I am building a Cast a Way, so I thought about 17 or 18 feet was about right. Brooks
-
I'm ready to shop for the old 8 oz!

-
Use a calibrate iron. Your wife's iron calibrated with a candy thermometer sandwiched between paper towels works well, but a temp sensing gun is a handy alternative. Adjust the thermostat to specific temps and then mark the knob position. 225, 250, and 350 are good settings. Also use the same extension cord when shrinking as you did when calibrating. As the fabric Is heated it shrinks and should not loosen up when it cools. A hotter setting shrinks it a little more up to a point. But when it's heated over 350, it will start to permanently loosen. ( I think polyester fibers start melting above 350.) Therefore, never use a heat gun or unregulated iron. I bet that your wrinkles will vanish at 225 degrees. Brooks
-

First post and and a question about skinning the boat
Bcone1381 replied to AeroE's topic in Kudzu Craft Forum
Lee, I have a background and comfort level similar to yours with the Poly Fiber product line. The frame of My first Kayak is being assembled, and I would like to protect it with varnish. Then I think I'm going to cover it with the 8oz fabric. Poly Fiber wants a wood frame fuselage to be varnished with their Epoxy Varnish (~$75) before appying fabric. I assume their glue solvents will dissolve all good oil based spar varnishes. Therfore, I think I will glue the bottom fabric with a two part poly urethane coating for SOF Kayaks called "Cory's Goop". http://shop.skinboats.com/2-Part-Urethane-Coating-for-Kayak-Skin-goop1.htm My vision is to to apply the fabric to the bottom of the boat, wrap it up and around the Gunwales glueing it in place on three or four sides of the gunwale. I then will place one piece of fabric over the top, glueing it to the top and outside covered gunwale surface. I will then use Cory's Goop for sealing the fabric. Looking for feedback. Brooks -
I am building a cast-a-way, which I think might be a mess about with a few changes to the top deck.

-
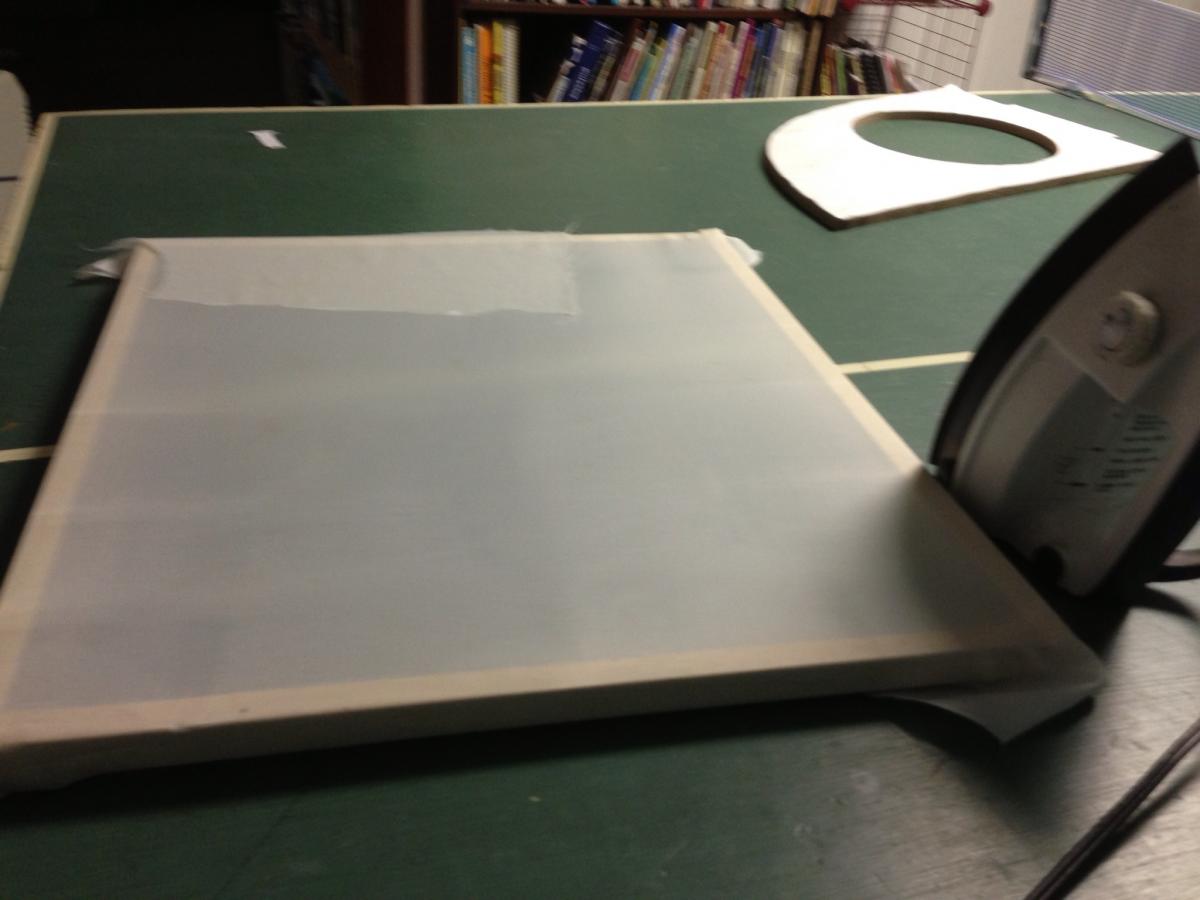
Jeff, do you think your 11oz. Fabric will tighten after heating it with an iron like the fabric in my test? It was heated with an Iron to 220 degrees.


-
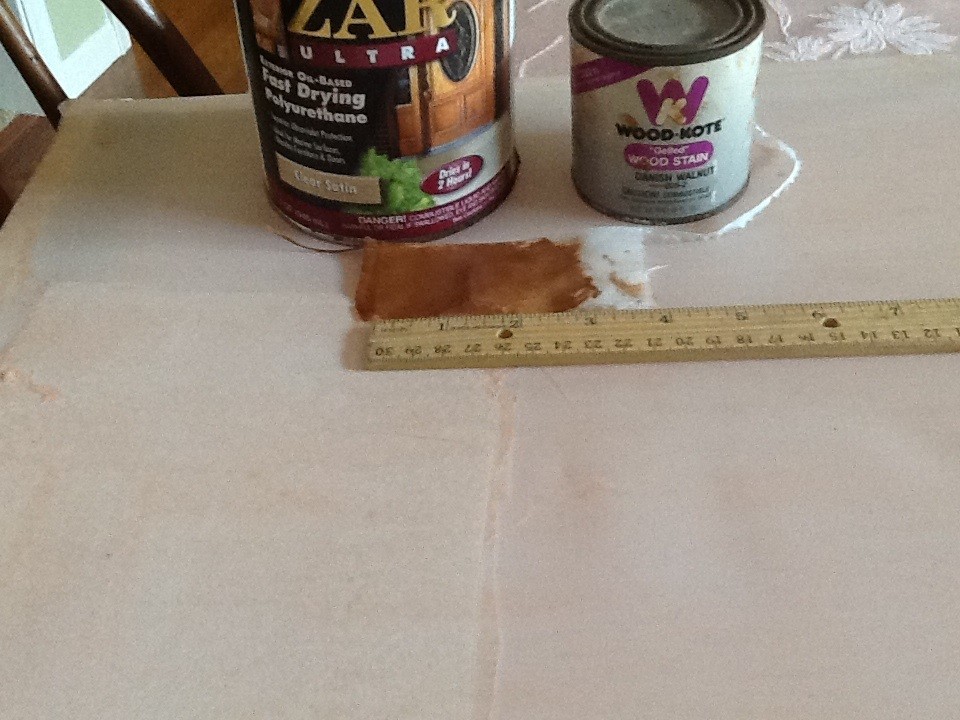
Here are Two experimentation projects. A 4 inch piece of polyester stained and varnished sits on top of a frame that I covered with 2.7 oz polyester. A second layer was glued the first with vinyl product made for the aircraft covering process. The stain was rub tested and did not transfer onto another surface nor show signs coming off.

-
There have been a lot of products thrown out as ideas. In the end, These products have to stick, flex, hold up in direct sunlight, and to temperature change during a frigid winter while in storage. I like different ideas and am also looking some science and testing, like a display I saw at the Maritime National Historic Park on Fisherman's Warf. They had about ten varnishes that were being tested on a pieces of wood. The tested articles were just sitting outside in direct sunlight. I don't recall what specific product held up best, but the oil based products were far superior. Since Flexibility was not being tested, it don't think much about testing it on my Kayak though.