Miyot
-
Posts
339 -
Joined
-
Last visited
-
Days Won
16
Content Type
Profiles
Forums
Events
Everything posted by Miyot
-
Tarbaby, I checked out your build on face book. Really good looking boat. It looks huge. How many ft. is it? Jump in any time, the more the better. Dave
-
Russel, I received the 9/16 Raptor staples. I believe they will hold the planking layers together in the aft bottom flat sections. I will not use them anywhere else for planking. I don't think they will hold the planks together where they are under tension from being bent. Some careful experiments would have to be done and I am just sticking with screws. Hightechmarine, the 3/8 staples will be great for holding the fiberglass on plywood. I don't know about the Penske board, not a clue. These staples and brads will have their place in boat building. I looked for some tech or instruction on the web and found nothing that would help me. I'm not going to experiment on my build. I may do some testing on some scrap ply later to check them out further. Dave
-
Fishman38, the above post is from Hightech marine. And I want to know what Penske board is as well. It looks good. I looked up Penske board. A kind of foam board, to be glassed on both sides. Hightechmarine, is your use of the Penske board to save weight?
-
Hey Lance. Hope your catching some fish. I think the advantage of the Ashcroft method is its speed to build. Less labor involved. As you advance with the Ashcroft method, you can clean up inside and work both layers at the same time. With double diagonal planking, you must finish the first layer before adding the second. Ashcroft may not be a strong as double diagonal, but surely strong enough. If I was building a heavier boat and planned on high speed, wave jumping, spine crushing, bone shaking, teeth breaking runs offshore, I may opt for double diagonal. I'm 53 and I've left those days behind. Anyhow I think it is probably easier and you can clamp the outer layer to the inner as you go, making fastening the outer layer easier.
-
Thanks for the heads up Tarbaby. I figured as much. I don't think golf tees are foolish, just a lot of work.
-
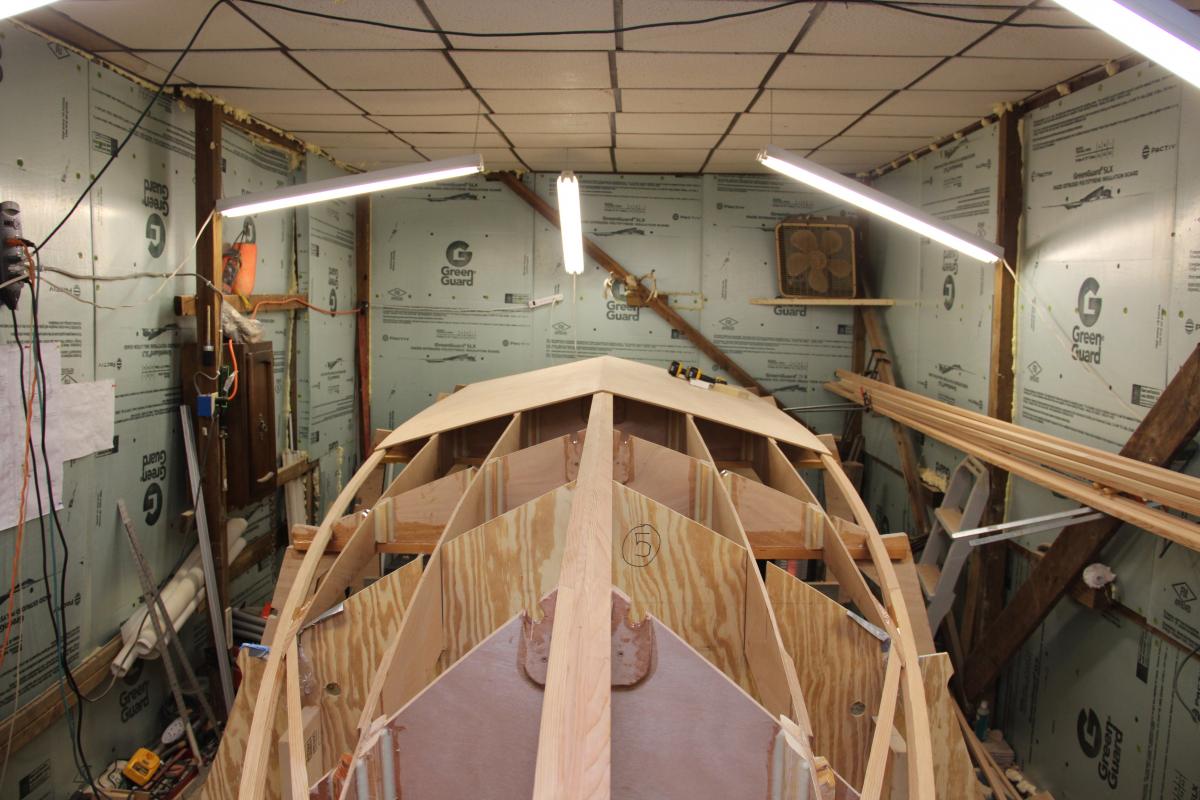
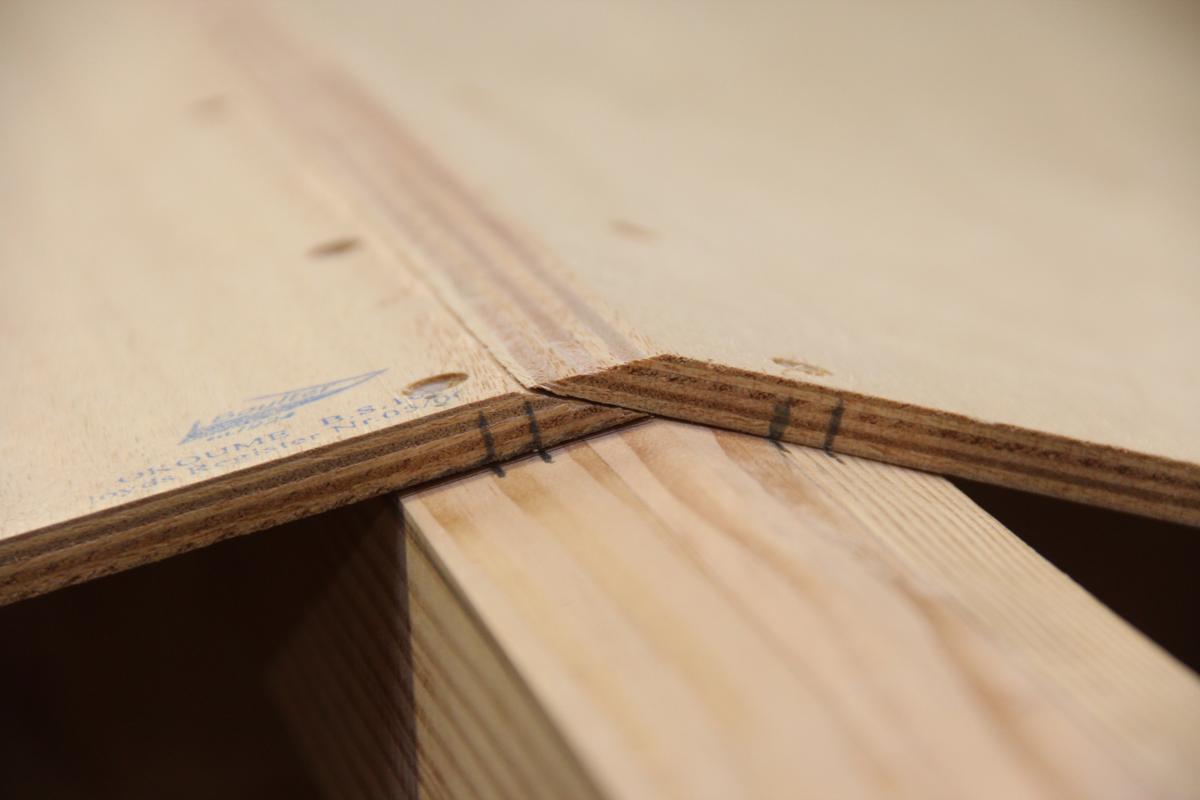
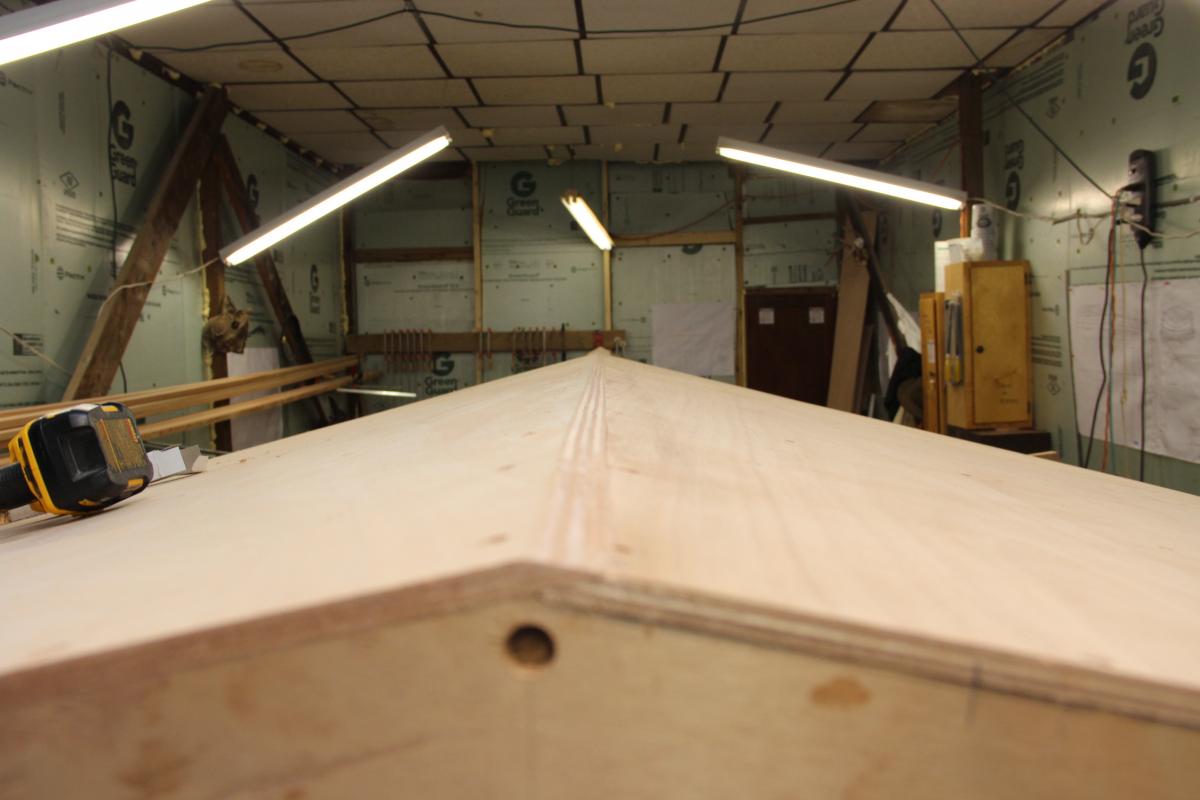
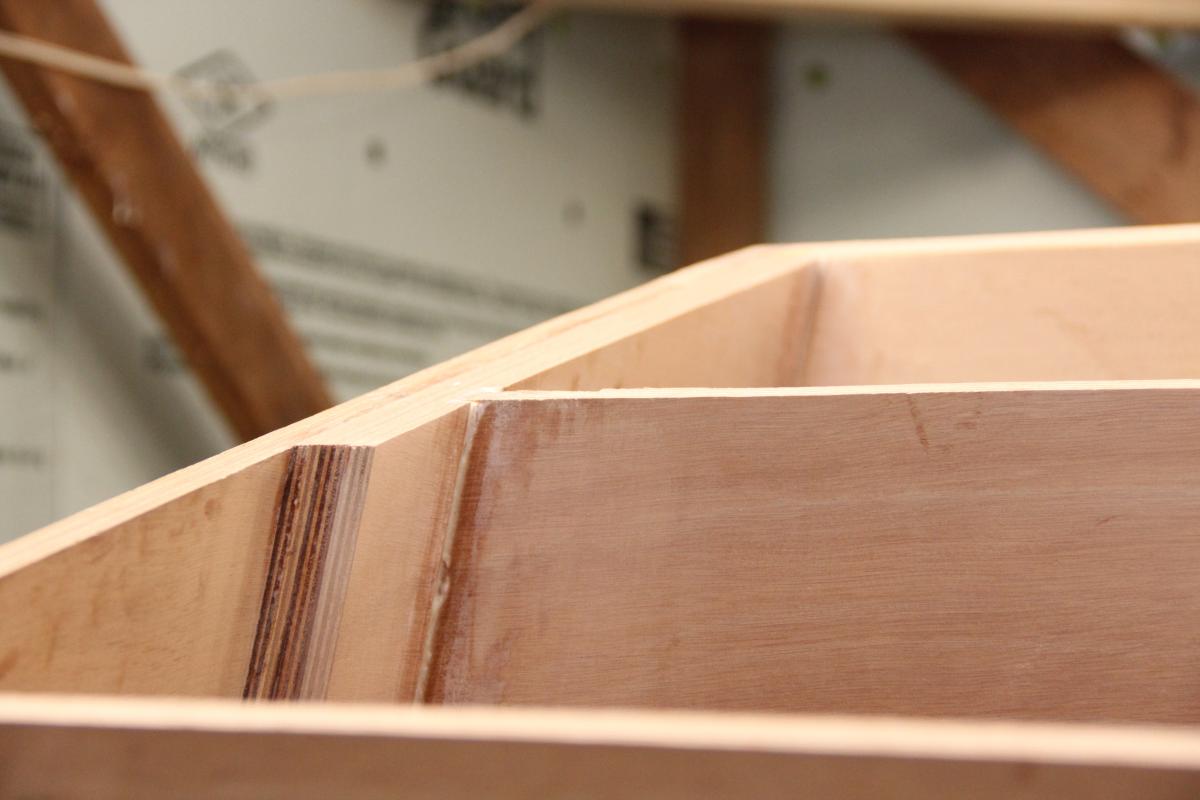
Planking. Overlapping bottom planks. Had some trouble fitting planks at the bow. Discovered I had developed a slight crown on my bevels on the stem. Took some time to get them really flat, but this solved my problem. My plank batten was a little soft and was forming around the slight crown with out difficulty. Bending in the full sized plywood was a little different. The planks are now fitting much better at the bow and I feel better. Here are some pics.


-
I received the Raptor stapler and tried it on some scrap pieces. The 3/8 staples will be good for fiber glass work. But not long enough for planking. I ordered some 9/16, they may work for holding planks together. The CT6000 stapler is adjustable, driving the staples flush or leaving them proud. The stapler has to be held square and with good pressure for it to work properly. A little technique to it. Also the new stapler has some oil in it that ejects onto the wood. I'm sure that using it some in scrap pieces first will get rid of the excess oil. Like everything else, another tool to learn to use properly.
-
B: old barns are great sources of lumber. My Haven 12.5 has seats made from Chestnut Oak taken from the loft in my barn. A lot of Oak can be found locally in most of the old barns. It is hard as a rock, but excellent lumber. Planing the Chestnut Oak was like carving diamonds. The boards I used were 14ft. by about 20 inches. And I got clear pieces over 8 ft long. Beautiful boards. I bet with some effort you would find lots of affordable lumber.
-
Sorry Russel. I just talked to Raptor, and ordered their CT 6000 stapler and a box of 5000 staples(S-05-37). All for about a hundred bucks. They were excellent and helpful on the phone. I got the 3/8 inch staples. Now they answered my questions and this is the jist of it. The staples will not draw your planks together, but will hold them once clamped. You will still have to use screws to draw the planks together, unless some other type of clamping can be done. Now perhaps less screws can be used, but you will have to be sure your not getting gaps in the planking layup. I'm not depending on the staples to do the job, if they help, great. But they will be able to be used in many applications during the build. Sand-able, plane-able, etc. They do not drive in flush and remain slightly proud. So may be good for holding glass on the boat during wet out. Sounds like a great boat building tool. I will use them and report on their performance. Thanks Russell. Dave
-
Fishman38, your staple idea may yet work. I did some research and found they have been used on thinner veneers. Perhaps with the modern guns to drive them they may work. Howards nails have also been used, at least where driven into structural members. If the plys can be pulled down and fit nicely, the staples may be strong enough. It would be a bonus. No holes to fill or screws to remove.
-
That is correct. Some builders of cold molded boats have complained about print through and so use unfinished golf tees to plug the holes. That sounds to much for me. And builders should remember there will be holes on the inside of the hull to fill as well. The inner layer of planking is only 3/8 thick on the bottom and 1/4 on the sides. Not thick enough to screw into without the screw coming out the other side. After epoxying with 2 or 3 coats on the outside, the hull is glassed.
-
The objective is to clamp and hold the two layers of planks together until the epoxy cures. Nails of any kind just won't work. The traditional method is to use a screw, either with a washer or small block of wood, covered with tape or some other release to keep it from becoming permanently glued to the hull. After cure, you back out the screws and either fill the holes with epoxy or glue in a wood plug. The holes are small so there is a problem getting plugs small enough. Some use wooden golf tees, epoxy them in and then cut them off and sand. My thought is to just use epoxy and a fairing compound. Check out NZ Lances Ocracoke 20 on page 2 of the B&B forum and you will see exactly how its done. Now you will be drilling literally hundreds of holes if you pre-drill the outside planking layer (probably what I will do). The inner layer is only screwed to the Transom, keel and stem and stringers. I will probably use silicon bronze screws for this and leave them in the boat. This has to be done at regular intervals so you don't hit them while attaching the outer layer of planking. It is really a simple procedure. You have to remember there will be literally hundreds of screws driven through the outer layer of planks and into the inner layer to draw the planks together. You can't afford to use a screw that breaks frequently because they are epoxied in. Thats why I looked for and found the metal lath screws (recommended on another site) . I have yet to break one, even in a fully cured layup. Remember these planks are plywood, with the first bottom planks 4 feet by 8 feet. Screws are really the only option and they must act as clamps. None of us have a clamp that can reach to the middle, let alone hundreds of them. If you look at NZ Lances build, you will understand.
-
Russell, I don't think the brads or staples will pull the planks together properly. Even screws are a poor clamp. Actually a screw driven through two layers of plywood will actually cause a gap between them. The threads pull the screw through the first plank and just before entering the next plank, actually push the planks apart slightly before penetrating the second ply. Now the only way to get no gap between them is to clamp them first. This is impossible on the larger planks and probably not practical on the smaller ones. I have been considering drilling a pilot hole just larger than the screw through the outside plank so the threads don't bite on the first layer. My common sense tells me this will produce a better clamping pressure. I just don't know if its worth it, however it would take very little extra time. Now I know this slight gap does occur through past experience. I have used clamps and screws as clamps in this build. I use only enough clamping pressure to pull the parts together properly. The screws I've used have been for clamping and keeping alignment, running the screws first, then clamping. I notice little or no squeeze out in the screwed areas. Back the screw out and you get a nice squeeze out of epoxy. Re-drive the screw, and without some kind of clamping pressure or applying hard pressure to the head of the screw with your driver, the epoxy actually sucks back in. The screw causing a slight gap. Now running down the screw, backing it out and running it back in again usually clamps a little better, but not always. Now maybe I'm being to persnickety, but I want a nice solid glue line with no bubbles in the layers. Brads or heavy staples may work on the edges, driven into the keel or stringers, after proper clamping. But I would not trust them. I'll bet the staples are great for holding glass on the boat while wetting out. And I may use your idea for that part of my build. Wondering if they would cause dimples in the glass, where each staple is, especially if using with mat. Questions to be answered. I hope someone will chime in that knows. Dave
-
Russell, the vert stiffeners may be overkill. However the Ocracoke 20 CD has the same type of stiffener put in by that builder. NZ Lance also used a similar method on his 20. I liked the idea, and it was hard to get the epoxy into those joints. My boat will see some offshore service when the weather is favorable. I'm going for extra beef when I think it is worth it. Gluing ply to me is only gluing to the first outer ply. So my thought is to spread the load and keep her stiff. Working in a sea the boat is under a lot of stress. Twisting, bending, in every way imaginable. Longevity and strength are my thoughts. I added a notched frame on the transom as well for the stringers to notch into, again thinking about strength and longevity. I feel the extra day of work or so is worth it for the life of the boat. I waited on my notches thinking some may need moved slightly and indeed up forward a slight angle to the notches is favorable where the stringers make the curve at the bow around stations 2 and 4. However, to the designers credit, this is probably not necessary. And after cutting several notches using the stringer to find the most appropriate angle I gave up the idea and I'm just cutting out the notches and modify them as I fit the stringer. As to planking, I have not done a cold mold boat either. I have spent a lot of time fairing and will spend some more before it is over. Thinking the better I do here the less problems I'll have fairing the hull later. I can say that on this boat up forward, the bottom planks want to flatten out after they pass the inboard bottom stringers. There is no support for the mid sections of the planks just forward of the end of the inboard bottom stringer. However if you install the forward deck stringer as called for in the plans, they will support the planks. Helping keep the convexity in the forward sections. I mention this because it appears some builders of the Ocracoke 20 appear to have left them out. I could be wrong on this. However I myself considered leaving them out as I may not deck this area over. Leaving a little more storage room up forward. After seeing my plank batten want to flatten out forward of the inboard bottom stringers I opted to install them. Only a 2 or 3 hr job. And I think well worth it. Now you probably could install these planks and bow them to match, but it would not be easy. When I get there, I may deck this area if I think it will stiffen and or strengthen the forward section. Now I have been reading up on this cold molding planking thing some. And I will probably not epoxy the seams on the first layer of planking, initially. These first seams probably won't match perfectly on the first inner layer, especially the forward side planking at the bow. The second overlapping planking layer (overlapping the inner seams) will pull them fair when screwing the outer layer of plank down to the inner layer. The epoxy layer in between the planks should squeeze through and fill the seams on the inner layer of planks. And if it doesn't you would have to spend some time forcing some in from underneath to fill the seam. Perhaps a better way would be to glue the seam, then add the outer plank before the inner seam has a chance to gel. If anyone with some good experience knows better please chime in. Sorry to be long winded, I'm not very good explaining things. Dave
-
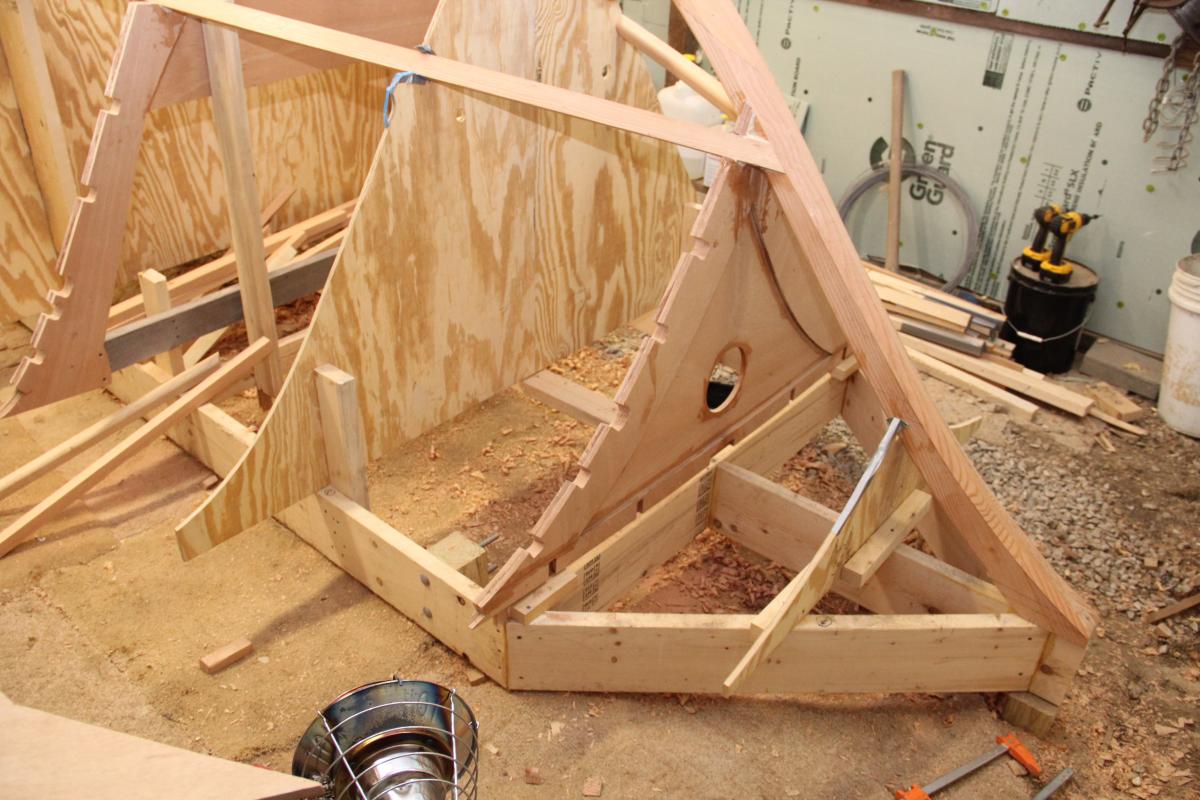
Notched frame for side stringers at transom. Transom lamination's. Cut some notches.


-
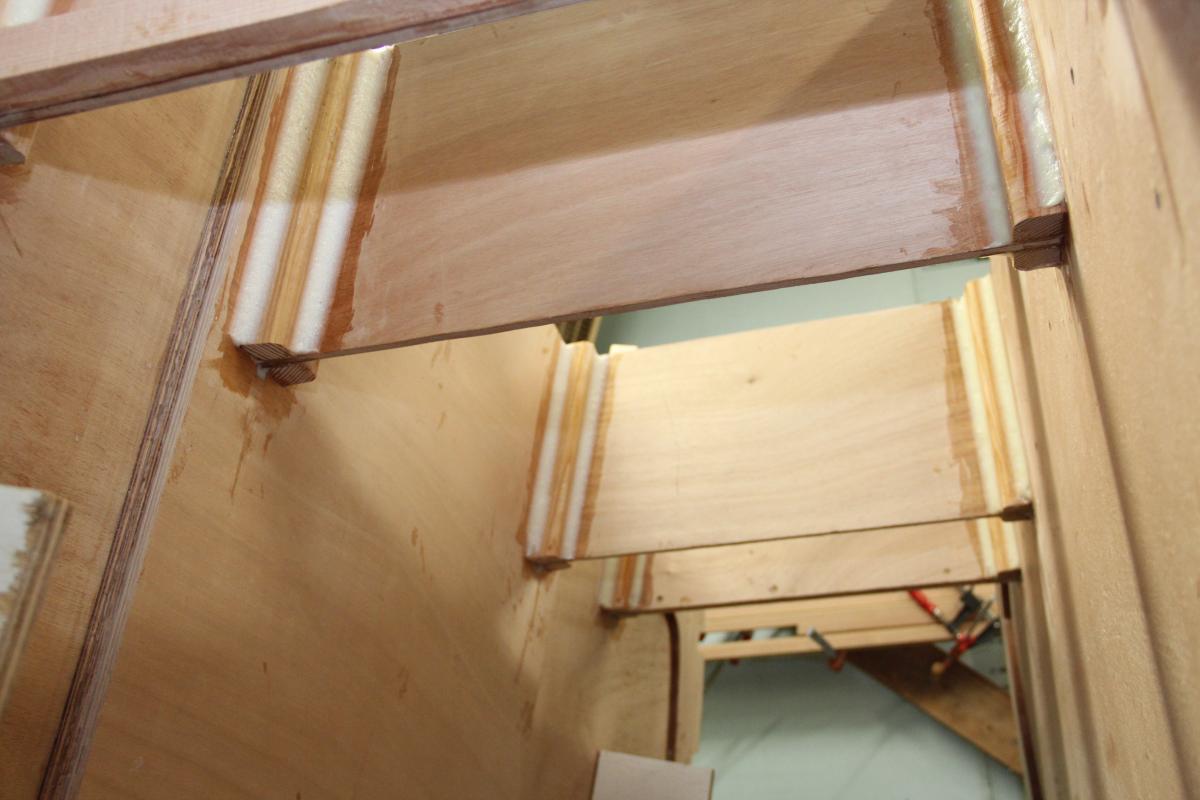
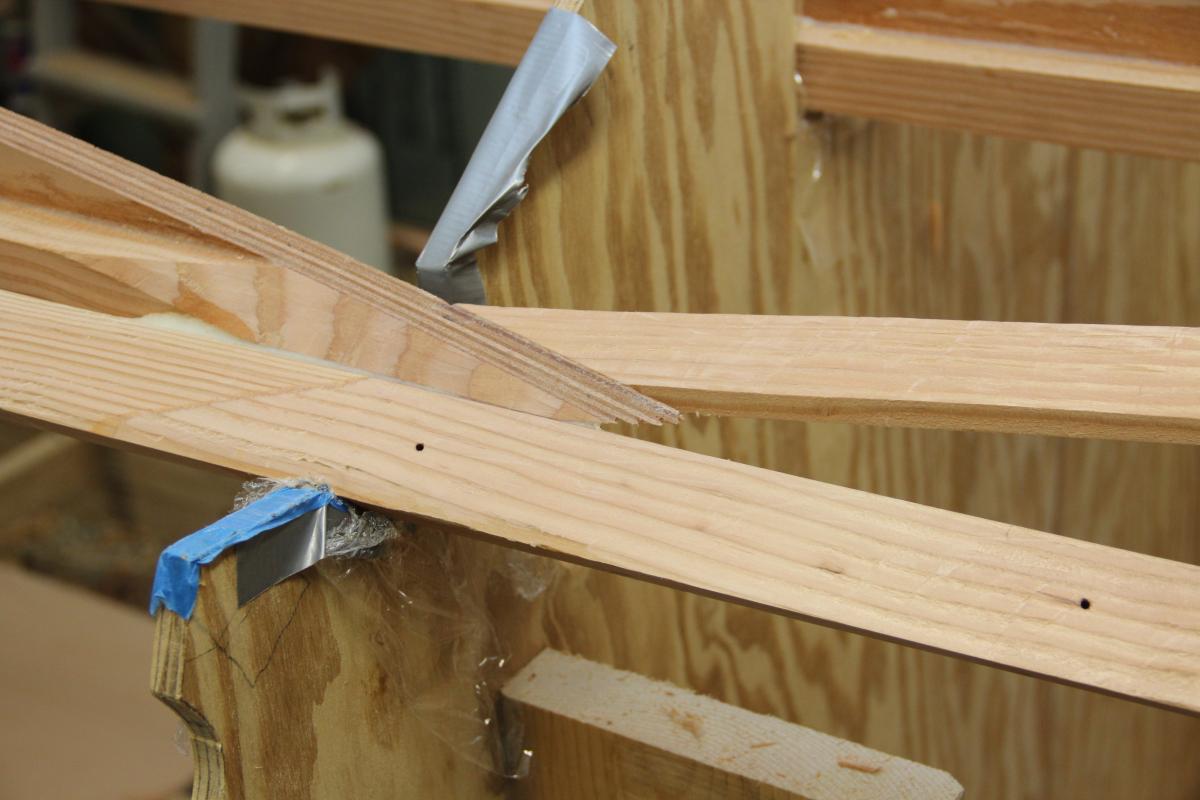
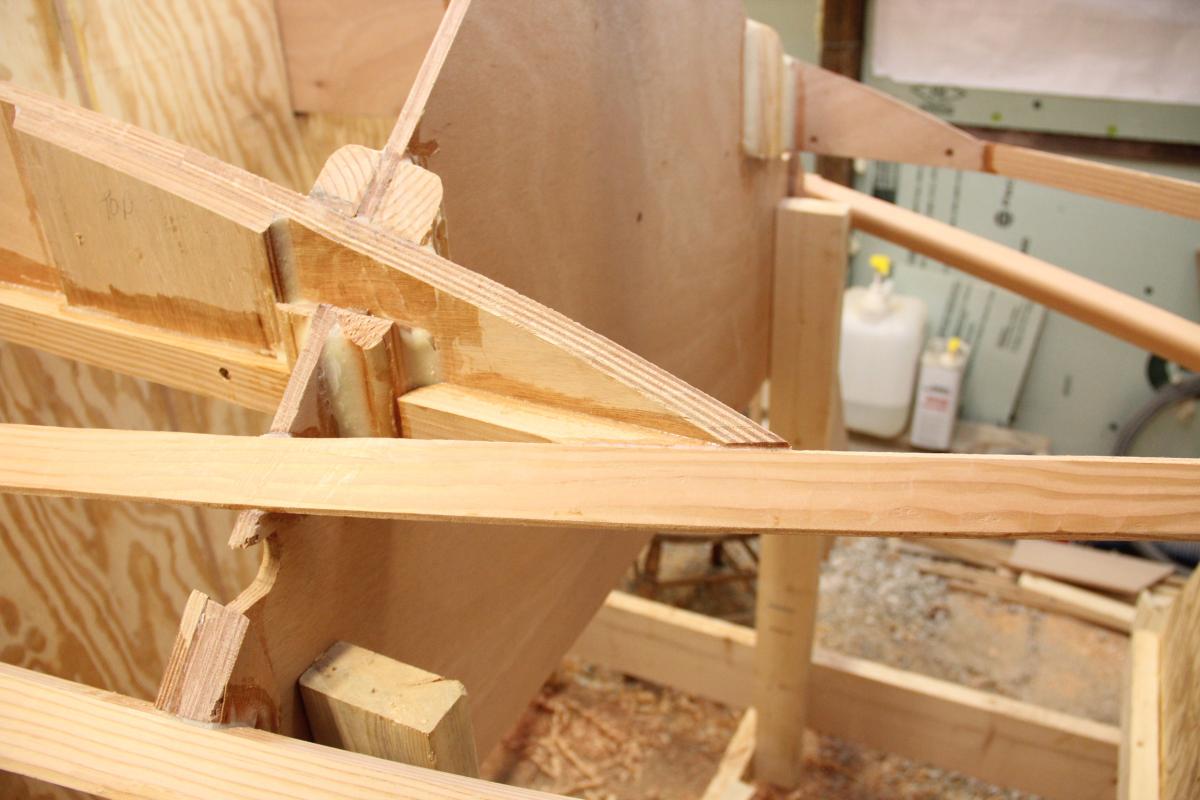
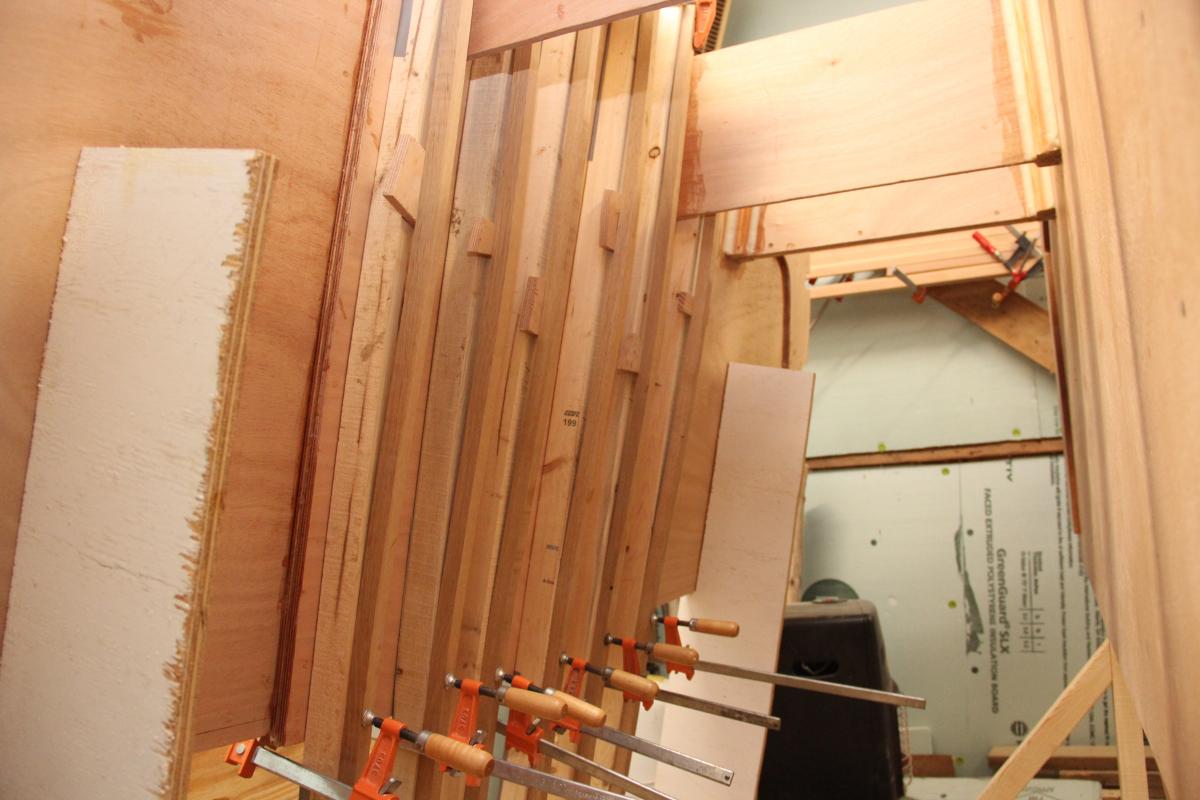
Installed forward deck stringers, also 2 lamination's installed on inside of transom. One more lamination to be installed on transom, which will notch over the inboard stringers. I think installing the transom lamination's is easier now rather than fitting after turnover. I used clamps and culls to install the lamination's rather than using screws for clamping. My culls are cut slightly convex so pressure should carry across the face, I also used an additional strip of oak with a block in the middle to be sure of good pressure in the center of the face. This worked well and no holes are drilled in the transom. I'll spoke shave these lamination's fare to the bottom for a perfect fit. I'll be adding trim tabs later, so I'll ad another lamination on the inside bottom where the screws to the tabs will be. The deck stringers would actually pass through the chine batten at about station 5 if left as one piece from stern to stem. I was a little perplexed at what to do here. The pics show my solution of the forward deck stringers. I just glued the deck stringer to the upper section of the outboard bottom stringer. Keeping it flush to the top . This worked well. The deck stringers pass through the inboard stringers at their ends as well. Making this area very strong. Bottom planking in a few days. Here are some pics.


-
Fishman38, the metal lath screws I got at lowes are Phillips head. Your hex drives may be better, test them on some epoxy work and let us know. I use an impact driver to drive and remove them. I used them for keel glue up,etc. I have broken one Phillips bit so far in this build, but not one lath screw. Hokeyhydro, I to use a lot of drywall screws, I'll have to try your heat the screw to remove it. Since using the metal lath screws and never breaking one, I just can't bring myself to use drywall screws for epoxy work ever again. Scott, the pictures hide many little mistakes, and I assure you my build has got them. Thanks for the nice comments fellows. Dave
-
Fishman38, I didn't use any screws to fasten the chines to the stem. I thought about doing so, but got the clamps to draw it in tightly, which took some fiddling as clamps don't like to work on angles. I was afraid to use a screw to far forward for fear of splitting the chine batten. You could use screws, but either remove them after the glue sets up, or set them deep enough to avoid them while fairing. I will, and have used screws in this build. The screws I leave in the boat are silicon bronze. These can't usually be removed after the epoxy sets up. The bronze is soft and the screw usually breaks off if you try and remove it. I worried over this problem some, and have used some stainless screws. They are stronger than the bronze and can be removed if done so in time, but invariably some break off. Which is not a problem if they are deep enough to avoid while fairing. I have found a screw that can be left in until the epoxy sets up fully and then removed. They are called metal lath screws and can be found at Lowes stores. They have a washer of sorts formed at the head of the screw and you can get them in several varieties and lengths. They have some with a self tapping or cutting tip and the others have a normal sharp tip, which I liked best. I did some experimenting with these and have not broken one yet. I use these for all my epoxy work, and have yet to break one. They are strong, but can't be left in the boat. Perfect screw for planking. Hightech marine, looking forward to seeing your build. Keep us posted. Dave Fishman 38, I inverted the one pic so you could see the boat right side up. Didn't mean to post twice. Dave
-
Both Chine Battens installed. Bottom nearly fared. I need to install 3 more plys to the inside of the transom and install the forward deck stringers and the bottom will be ready to plank. I believe i'll plank the bottom before installing the side stringers. This will give me a little room to work.[attachment=8489:IMG_5968.JPG]


-
Both Chine Battens installed. Bottom nearly fared. I need to install 3 more plys to the inside of the transom and install the forward deck stringers and the bottom will be ready to plank. I believe i'll plank the bottom before installing the side stringers. This will give me a little room to work.
-
I can't answer any questions on altitude. Most brands of epoxy are different, and each have their own instructions. Which ever you choose, follow their instructions. I am using West System, which is a Gougeon Bros product. The temp. range is in their manual and has to be followed to avoid problems. I am using a fast hardener now and my building is running about 55 degrees f. This works well for me and allows enough open time (before the epoxy starts to kick off or gel) to get things done. I may switch to a slow hardener this summer if temps get high enough. Make sure you measure your mix correctly, I'm using pumps. Make sure you keep an accurate count of strokes if you use pumps and never try to use more hardener to speed up the cure. If you forget how many pumps of resin, just stop and pour it back in the container, clean up and start over. If your adding hardener and forget. Discard it. Just read the manual or instructions and follow them. I'm sure someone else will chime in with some good tips. The Ocracoke is a pretty boat and I'm sure you will do fine. Enjoy your build
-
Initial fitting of Chine Batten. Some fine tuning to do to some of the notches and I'll glue it in. It would be nice to have help, by yourself its like wrestling with a steel spring. I fit the batten at the transom, worked forward and cut the compound miter at the stem. After fitting I tried working backward from the stem, thinking it would be easier to fasten at the stem. This was far worse. Starting aft and moving forward seems best.


-
Dale, what kind of glue did you use? Also what kind of foam? I briefly looked at a few websites that carried foam, etc. But didn't really get into it as it is a ways off for me. I worried about the glue letting go yrs down the road and the foam falling down. I planned to use something like Lance did to keep it off the bottom.Dave
-
Good to hear from you Lance. Hope your having a good summer and enjoying your boat. Snowing hard here at the moment, possible 6 inches today. Going skiing Sunday. Spring is not far off. Probably another year before my launching. Good idea on the poly, I too will use something to make sure my foam stays off the bottom, allowing water to drain. Dave
-
Thats a nice comment Howard. In fact this is my 3rd and largest boat, but I had never worked with wood before I began building boats. I considered the points you have made and they are valid. I decided to go with all compartments draining to the aft bilge, where I'll have two bilge pumps. The check valve idea sounds pretty good, but I probably won't do that. I am just afraid that water will eventually get into the boat and would have no way out. Although it will be kept mostly on the trailer. I did struggle with the problem and opted for the limbers. I did see a telephone pole once, about 20 miles offshore. It was floating upright with about a foot of it sticking out of the water. Definitely a boat sinker. I will carry some kind of emergency patching kit on board. I had planned on just sealing the limbers with epoxy, perhaps with some glass as well. Thanks for the nice comment, better wait to see how it looks finished. Dave