Pete McCrary
-
Posts
692 -
Joined
-
Last visited
-
Days Won
40
Content Type
Profiles
Forums
Events
Everything posted by Pete McCrary
-

Core Sound 20 Mk 3 -- #4 "Chessie" . .
Pete McCrary replied to Pete McCrary's topic in B & B Yachts Forum
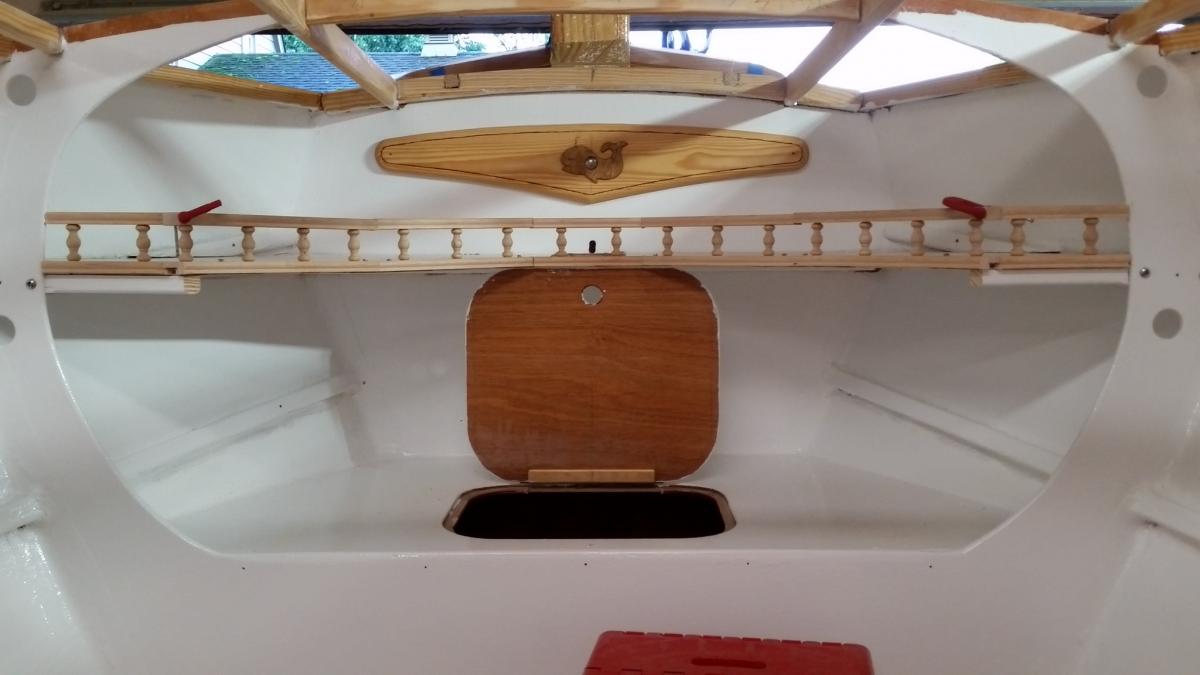
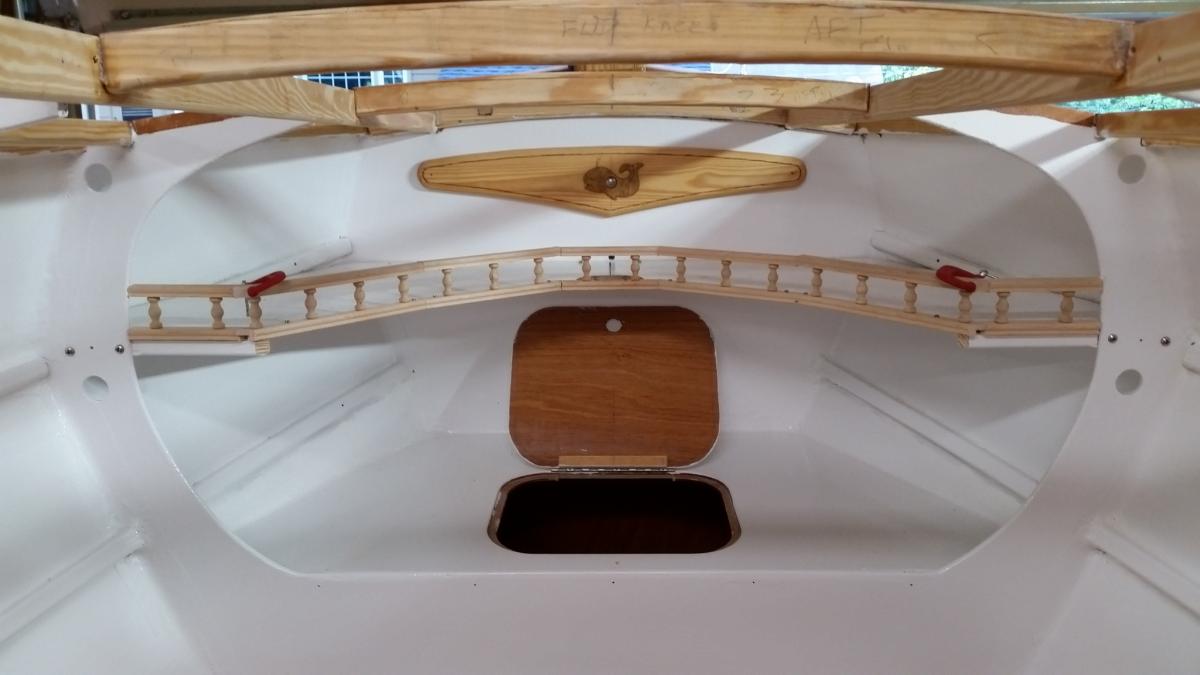
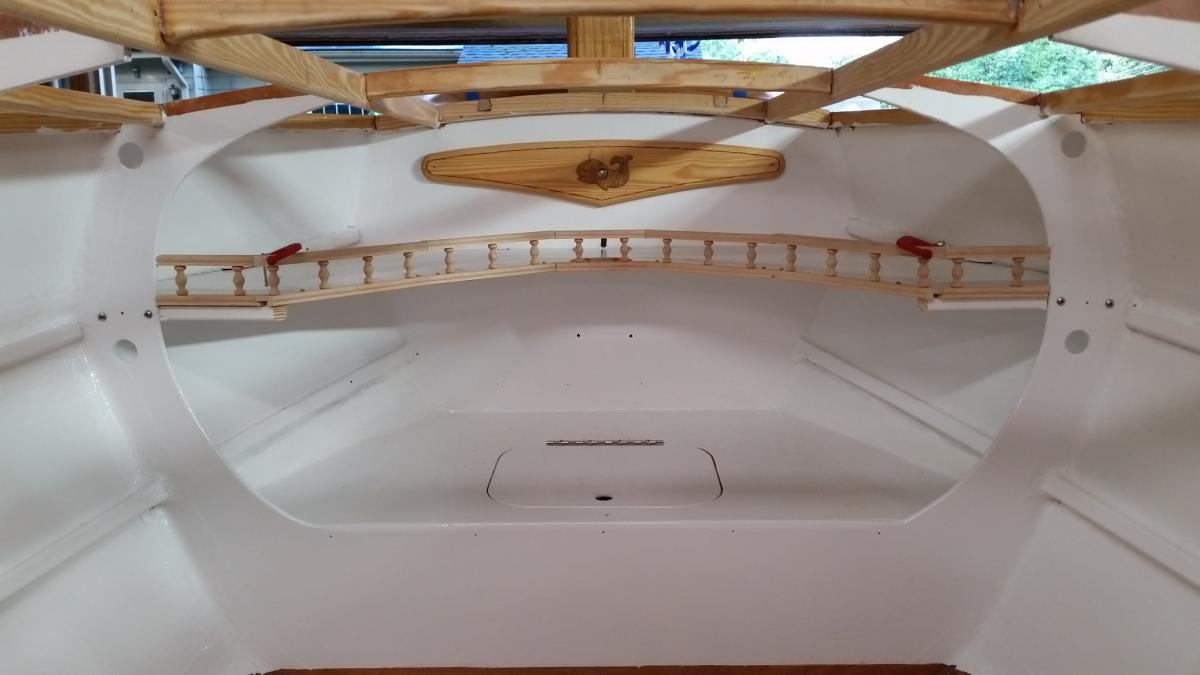
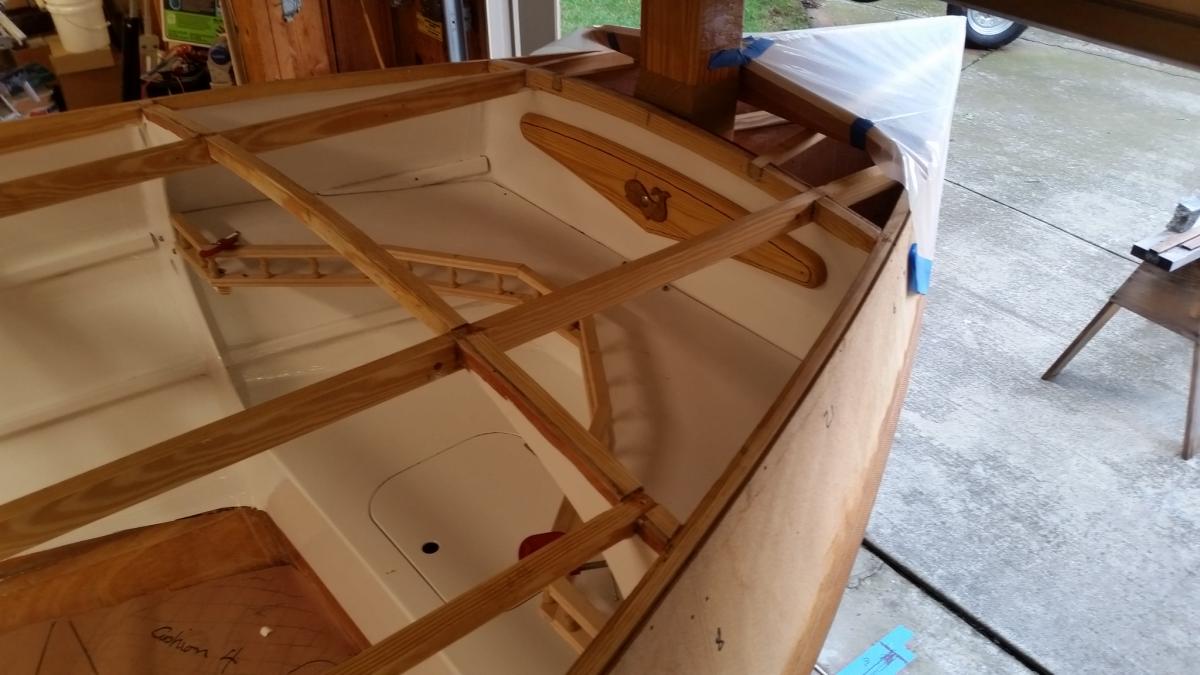
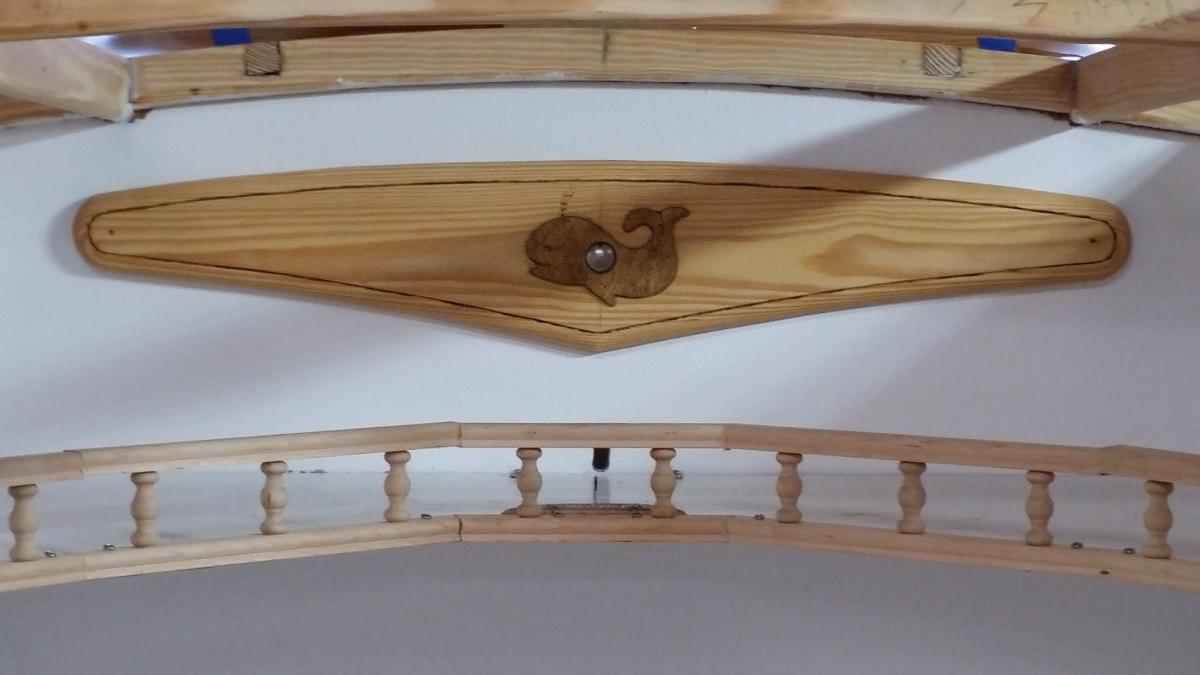
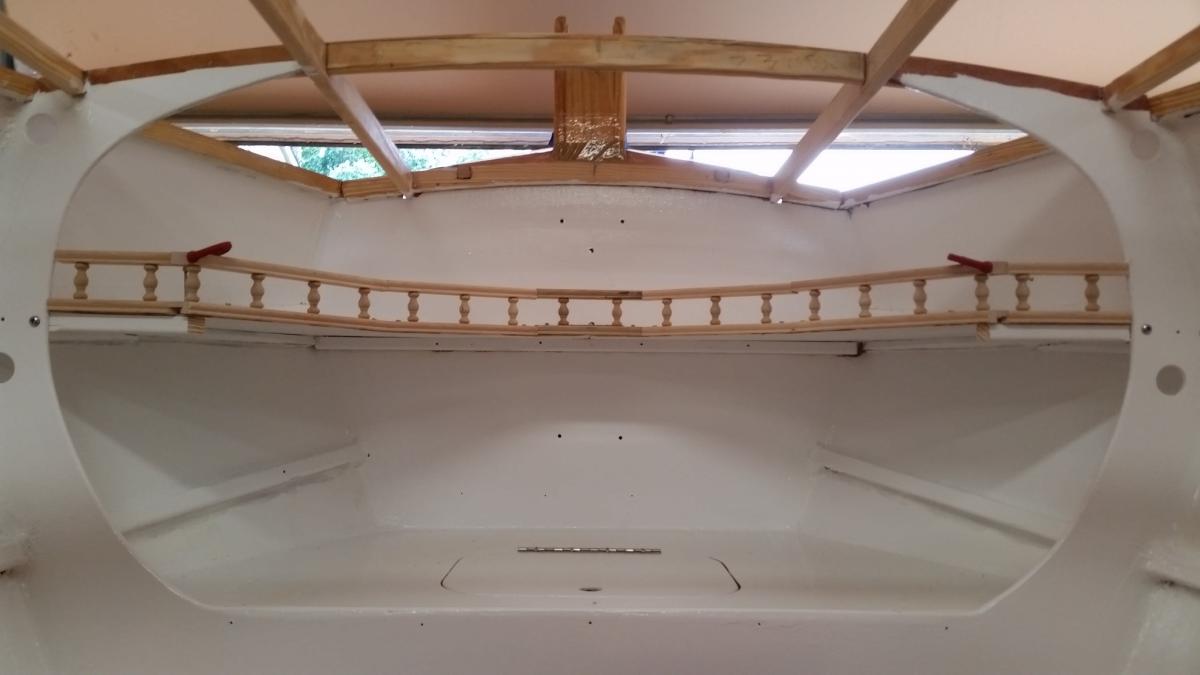
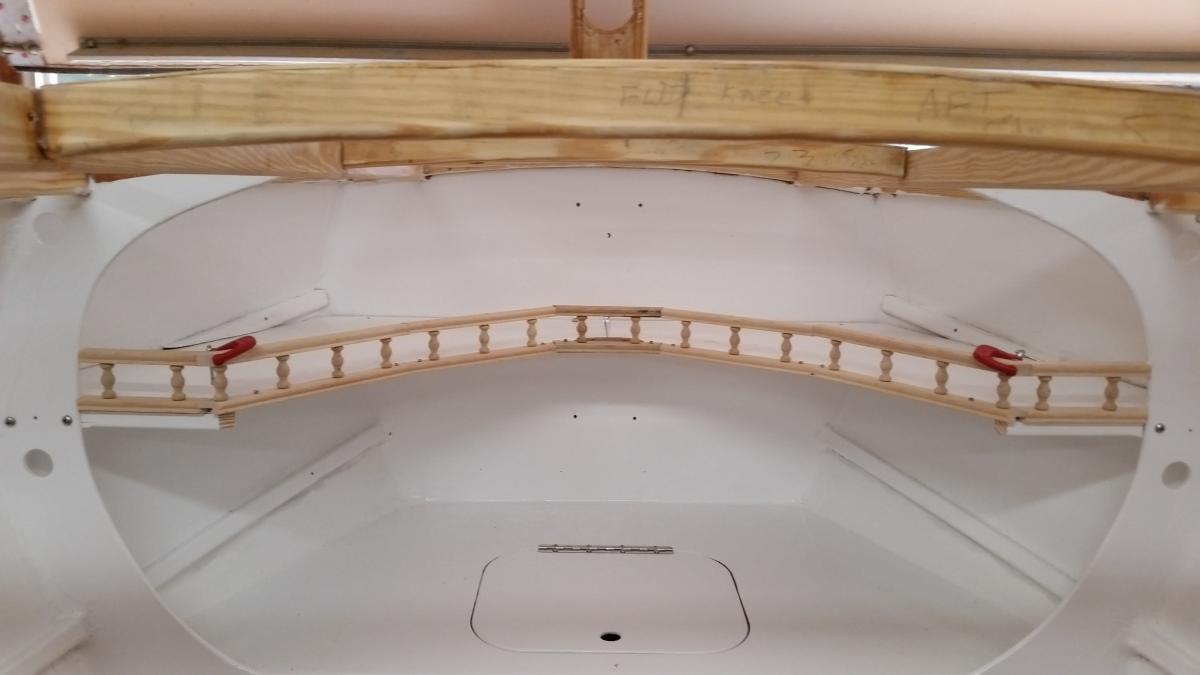
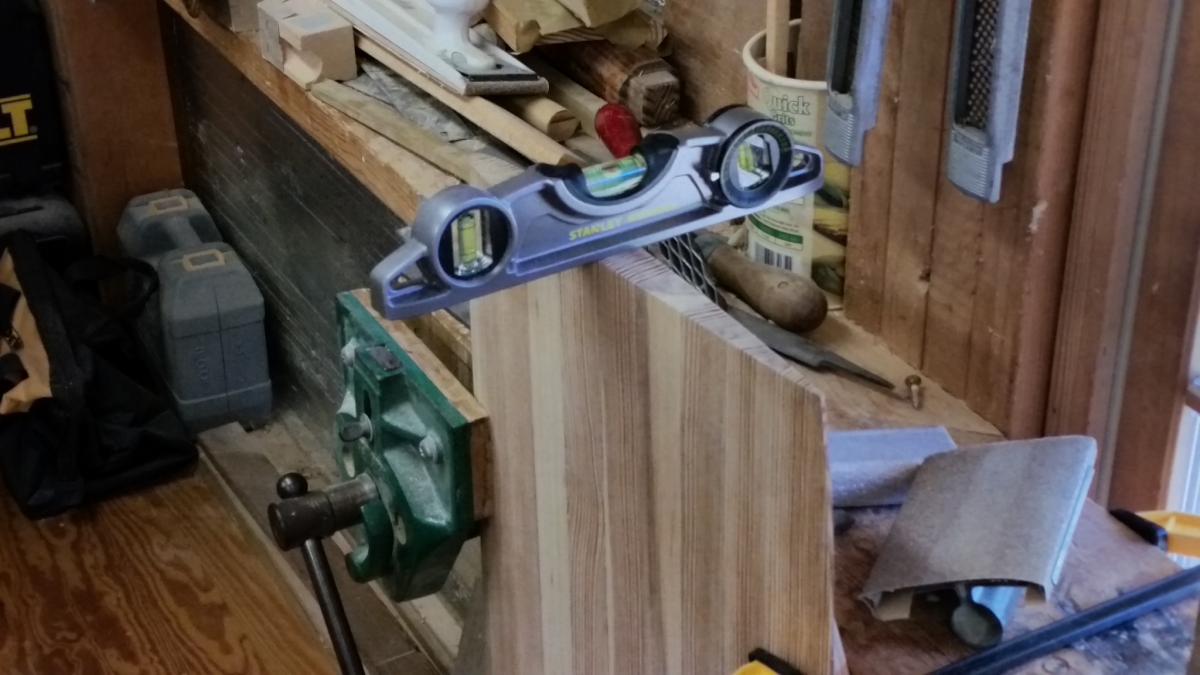
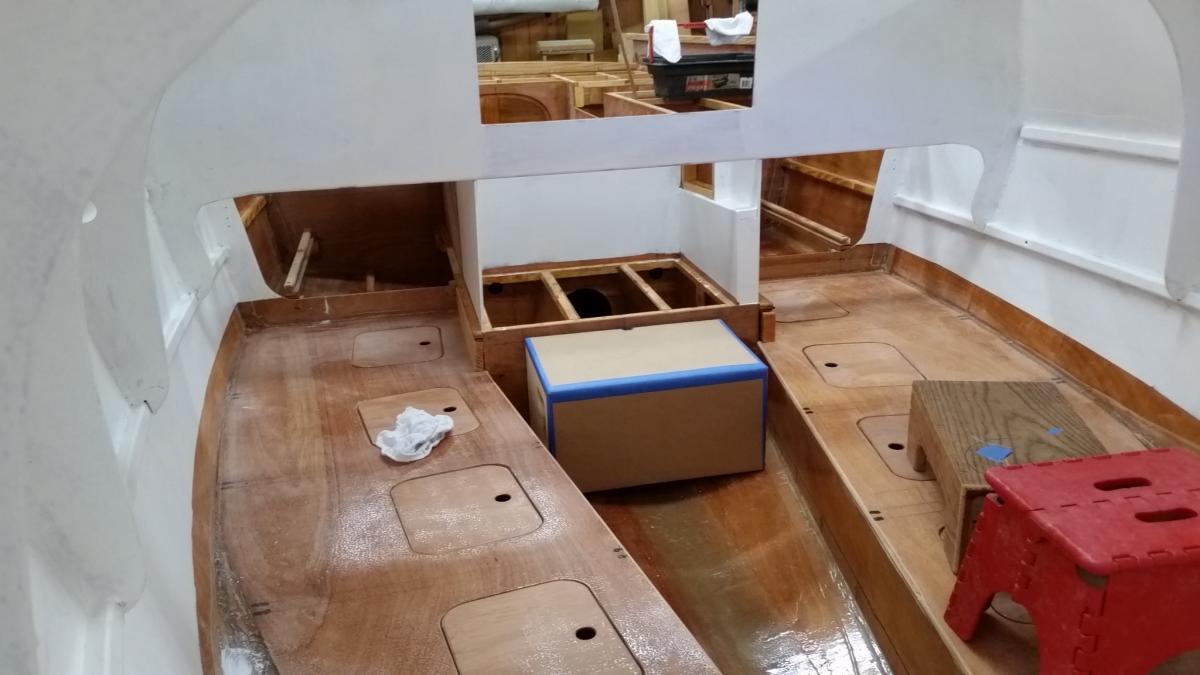
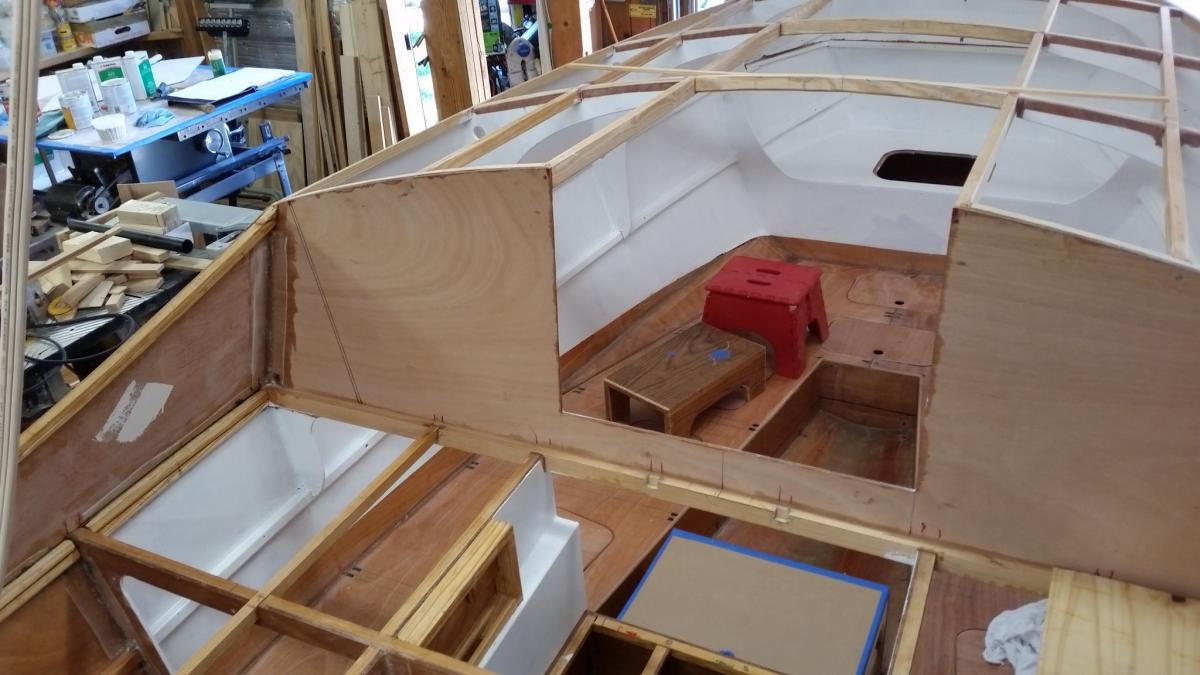
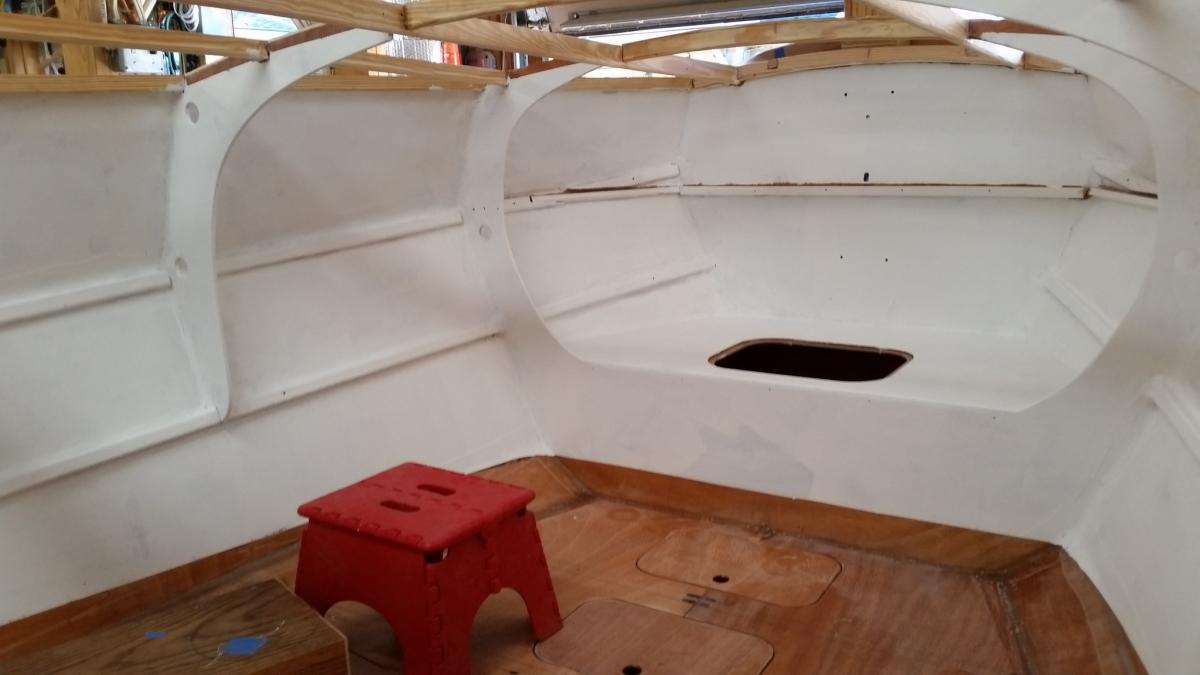
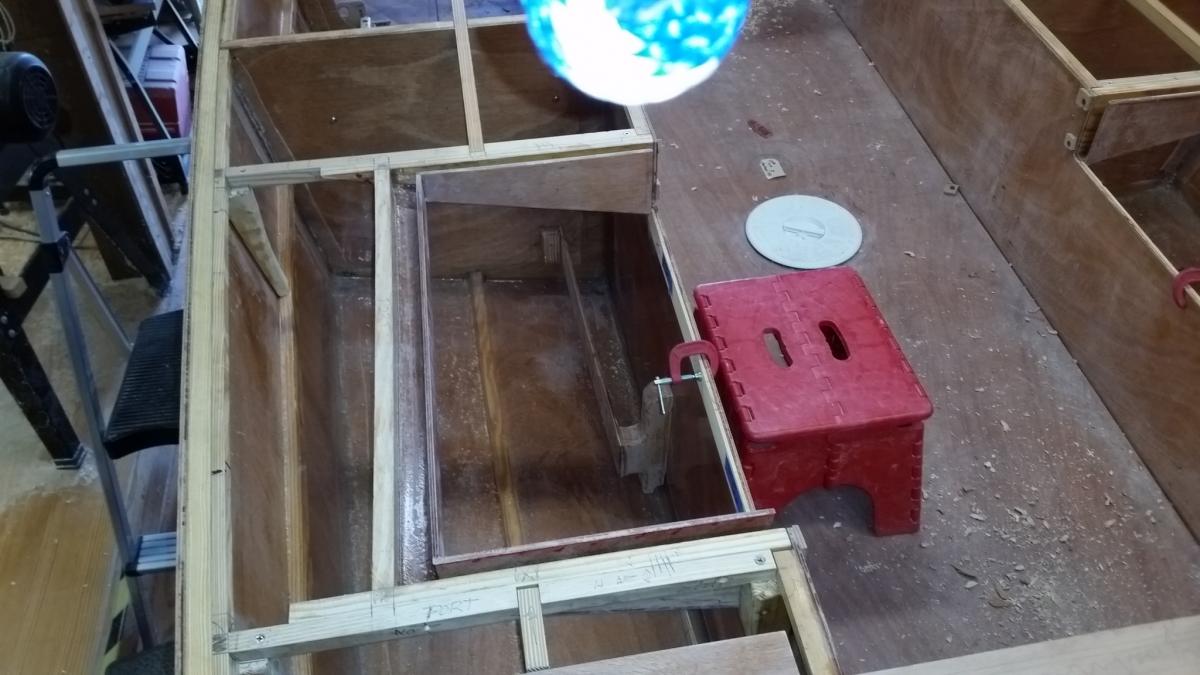
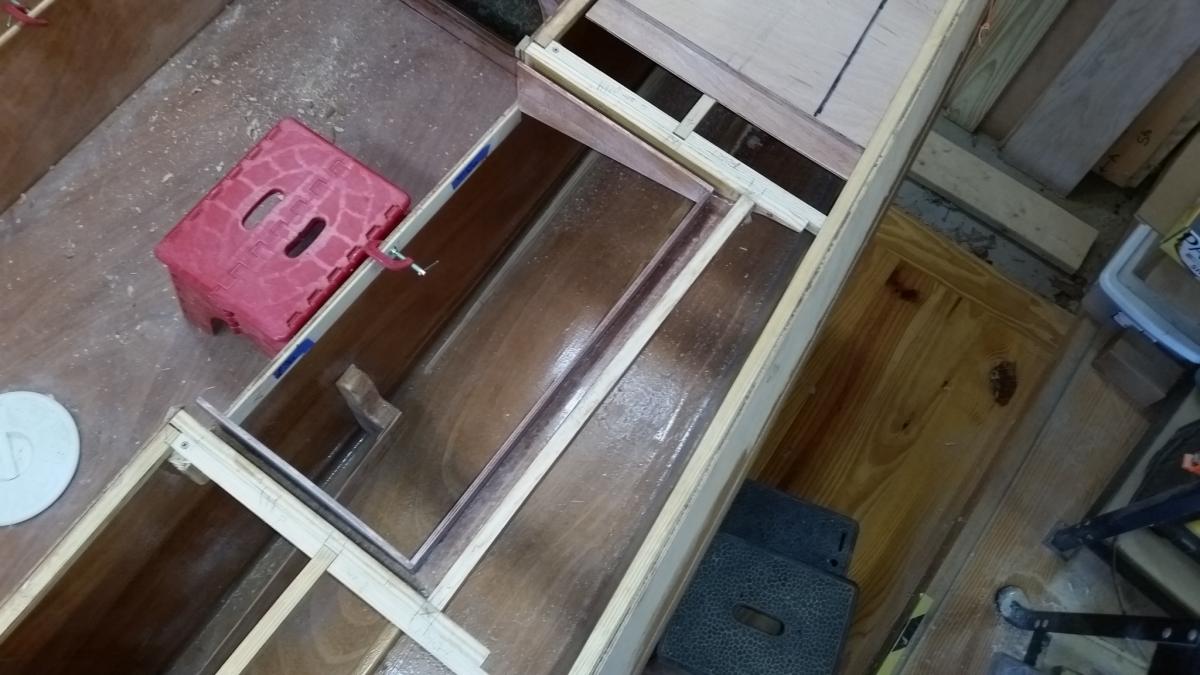
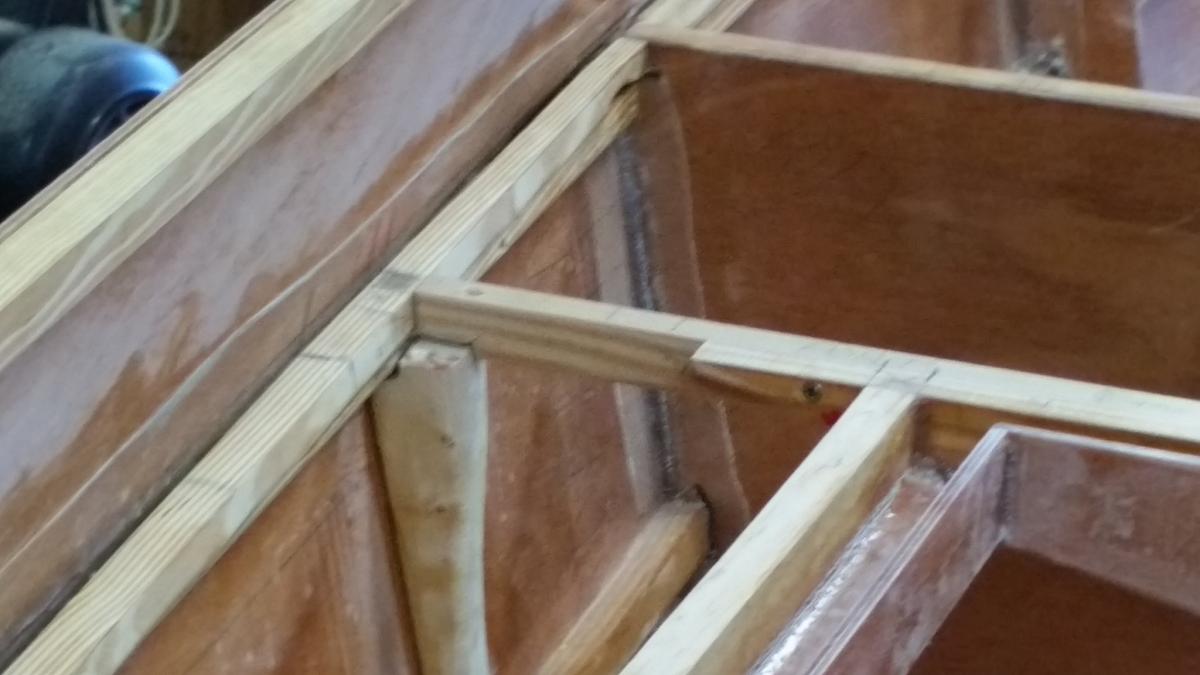
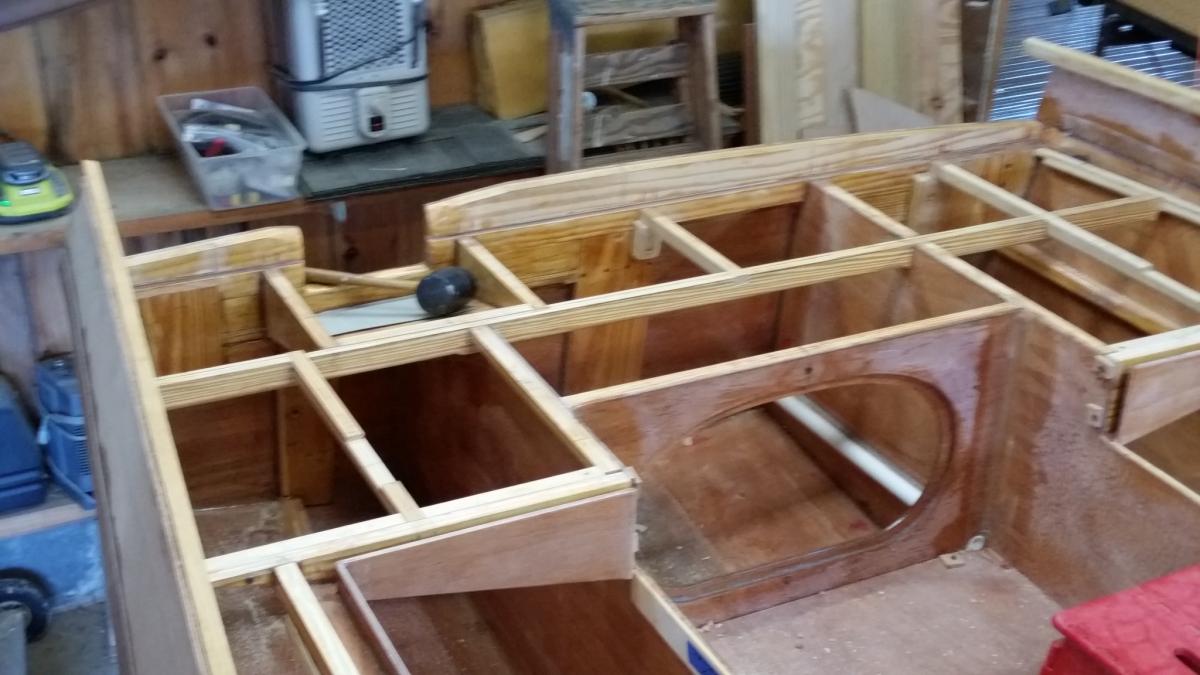
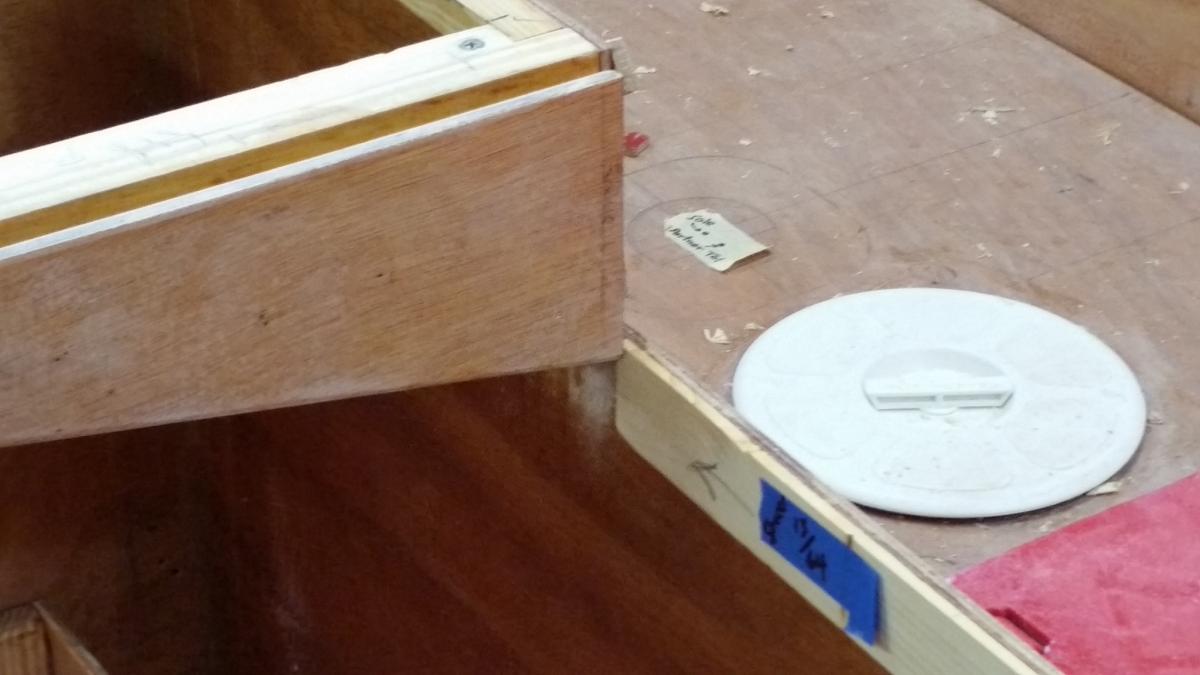
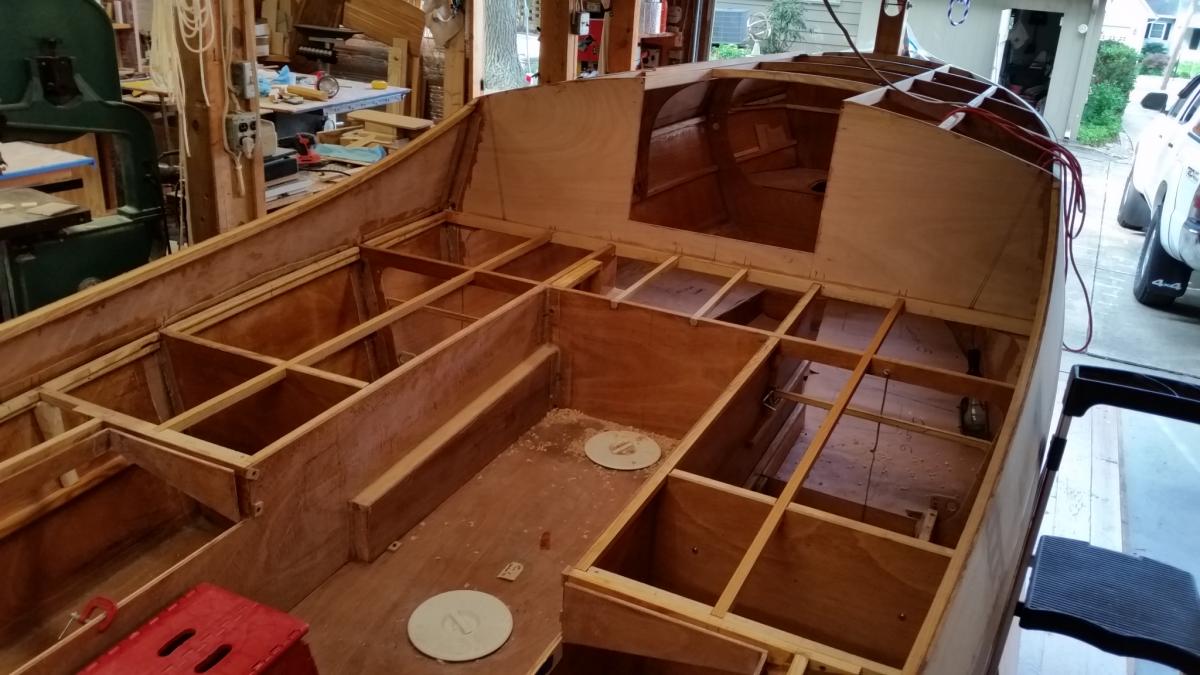
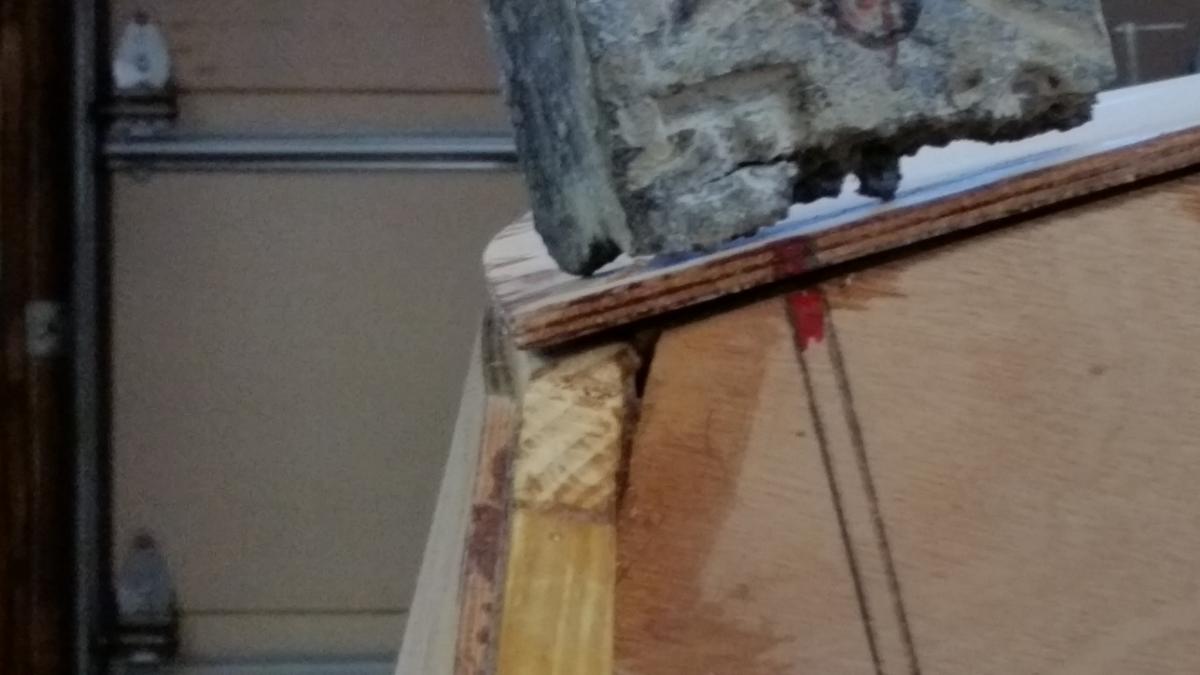
Thanks, Paul. Hadn't thought of that. Two would do -- at the aft corners. "Chessie" will seldom be perfectly level (side-to-side) and the fwd edge and centerline fits aren't that tight. BTW, that locker hatch "just" clears the bottom of the shelf so that it can be opened all the way resting against Blk 1. And the mast-bolt also just clears the top of the shelf. I'm not bragging. It's all accidental! I didn't even think of those issues when placing the shelf supports. Rarely does Murphy's Law work in reverse. . Forward edge of hatch just clears bottom of shelf. . So that when open it can rest on Blk 1. On the photos below you can see that above the aft part of the locker top, there is open space up to the cabin roof. I plan to use this space as a sort-of closet to hang clothing, towels, etc. My "honey" volunteered to hang a curtain on the aft side of Blk 2. She suggested that it could be drawn apart from the middle and tied off at the edges. It would also hide stuff on the shelf like toilet paper, Rx bottles, etc. I thought it a pretty good idea. . I need a name for my little whale. Any suggestions? Now, all this comes apart for staining and other finishing touches. It won't be reinstalled until after the second rollover event. Next, just three tasks before the first rollover: finish the CB, lay on the cabin roof, and glass the transom !!!!!


-
Core Sound 20 Mk 3 -- #4 "Chessie" . .
Pete McCrary replied to Pete McCrary's topic in B & B Yachts Forum
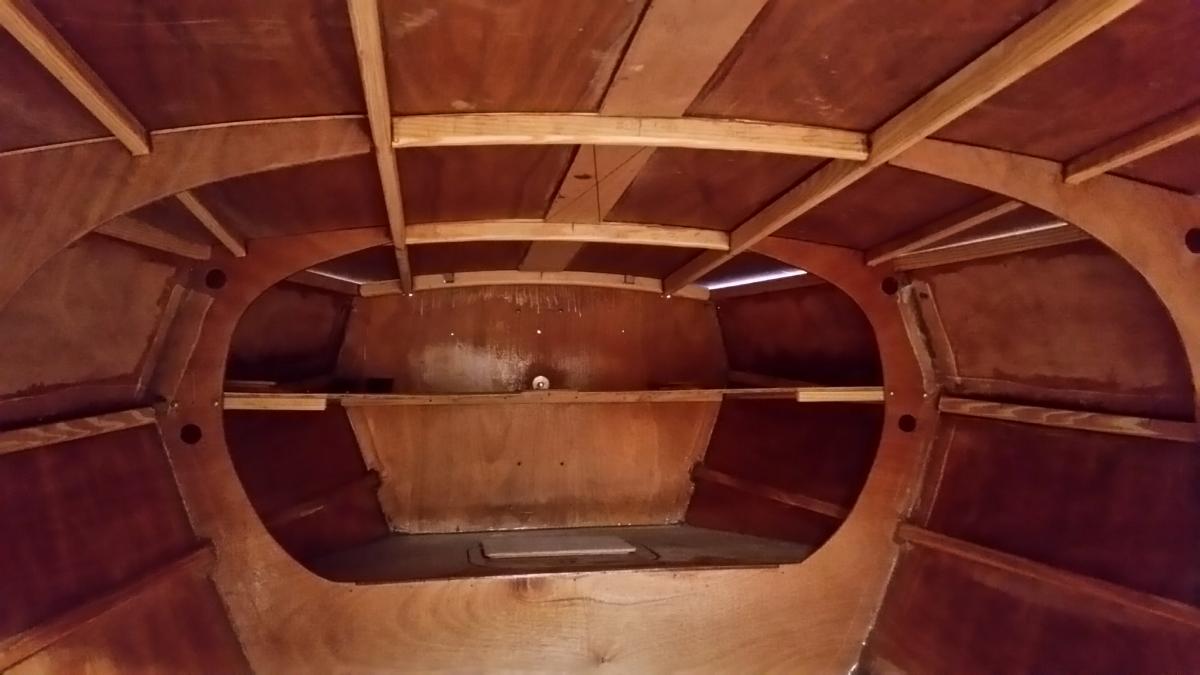
Before I restart work on the CB, I thought I'd let the epoxy at the lead casting / CB joint another day to reach greater strength. So, I took up a "little" job that took nearly all day. Here is the result: The fiddles are presently screwed on. The shelving is removable but more likely they'll be more or less permanent. Just aft of the center of the shelf I plan to hang a rod (spanning port to stbd) for clothing, towels, curtain hiding the shelf as well as the locker.

-
Core Sound 20 Mk 3 -- #4 "Chessie" . .
Pete McCrary replied to Pete McCrary's topic in B & B Yachts Forum
Getting started on the CB ... Glueing on the Pb casting for the CB tip: . The set up. . Getting the faying surface level, side-to-side. . It's pretty close. . Just a tiny gap at the trailing edge. . Thickened epoxy applied. . Leading edges lined up. Next I'll review the procedures for glassing each CB side. While the epoxy is curing on the CB I'll start prepping the transom for its glassing. Then the cabin roof -- and she'll be ready for the rollover.


-
Wish I had done that!
-
Drew,... I forgot to cut the slot in the top of the CB well before assembly of the module. It was much harder to do later -- I had to find an extension for my drill bit. I suppose I could have gouged it out with just a chisel. The construction manual warned the reader to do it before assembly and that was my plan -- but I forgot about it and got ahead of myself. BTY I'm not permanently putting down the cockpit decking or the footwell sole until almost the last thing AFTER the bottom is done and she's right-side-up.
-
Very nice Drew !! And you still have stowage space aft of Blk 4. Question: what's your arrangement for the CB tackle? I don't see box for the CB pulley and pendant at the top-fwd end of the CB well.
-
Core Sound 20 Mk 3 -- #4 "Chessie" . .
Pete McCrary replied to Pete McCrary's topic in B & B Yachts Forum
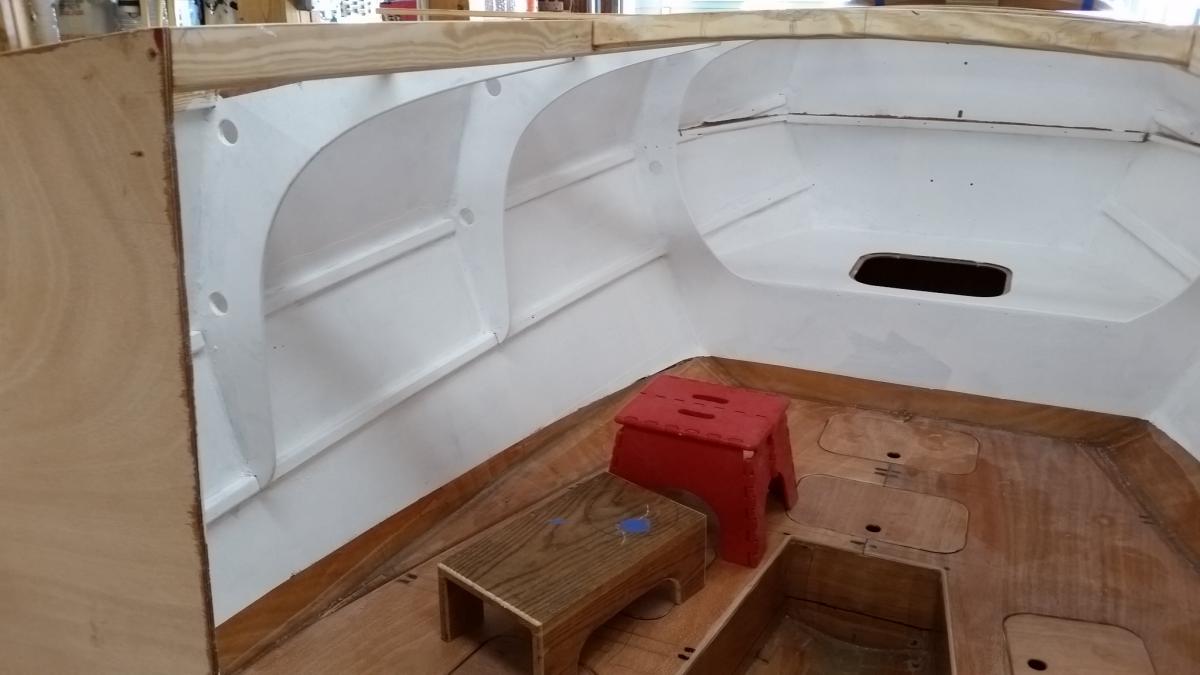
Getting ready for the rollover !!! I decided that it would be easier to paint the cabin interior now, instead of after the rollover. I just about hate painting! Especially if I have to bend over, reach overhead, kneel, stand on my head, fight off cramps in confined spaces, etc. ..... So, ... I'm doing the cabin interior now. Only the surfaces that will be above the 3" cushions that I will have made for the bunks. By the way, the bunks will not have any lip to keep the cushions lined up on the bunks. That will be accomplished by the cushions themselves. There will be 5 cushions, each with a slight wedge shape. The most aft cushions will be constrained by the hull sides, Blk 4 and the water-ballast tank. The fwd cushions will be constrained by Blk 2 and a 5th cushion wedged between them. There will be no "cording" between the cushions -- only on the edges against the hull, bulkheads, and footwell. Any one of the cushions may be easily removed for access to the hatches in the bunk supports. In the photos you'll see that I've taped off the 3" below which will the be bunk cushions. These surfaces will never be painted. And because they are not subject to UV damaging sunshine, the last epoxy coating will be left as it is. The prep -- sanding, wiping, taping,... Took about 3 to 5 hours. The next day I laid on the 1st primer coat. I started at about 8 am and finished (all taping removed) at about 11:30. Most of the painting could be applied with a roller from outside the hull by reaching over the sheer strake. When finished, the shop temperature was at 93 degrees (high humidity) and the heat index at 107 degrees (according to the radio). Note: they always exaggerate! I didn't measure (or even estimate) the square footage, but the 1st coat required an entire quart. They are predicting high temps the next several days. So I've decided to prep (sand -- wipe -- tape) in the early am on Saturday. Then do the 1st coat (of paint) early Sunday, another prep on Monday, and the final coat on Tuesday am. That's almost a week just to paint the cabin interior. Next will be gluing down the cabin roof. Or, more interesting, fabricating the CB with its 17 lb lead tip which must be available while she's "bottoms -up." Getting closer and closer.


-
Core Sound 20 Mk 3 -- #4 "Chessie" . .
Pete McCrary replied to Pete McCrary's topic in B & B Yachts Forum
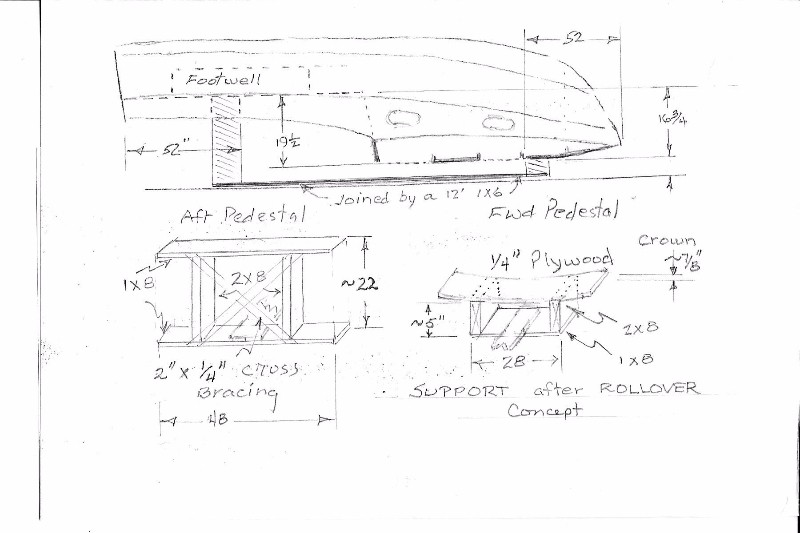
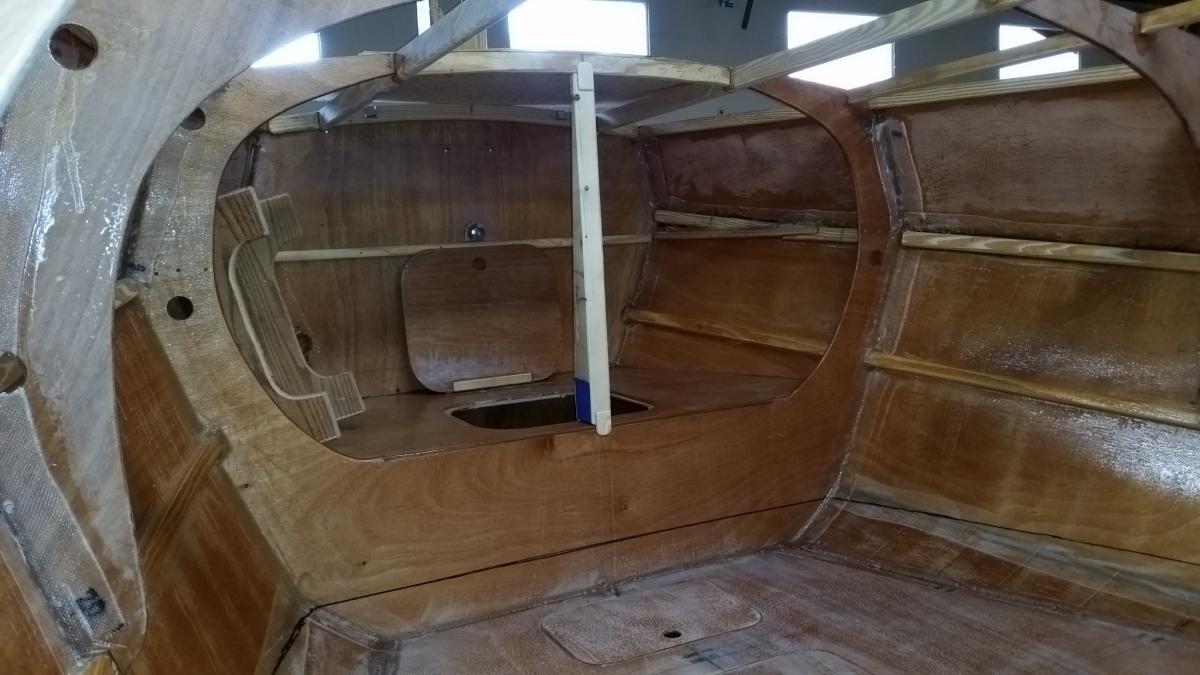
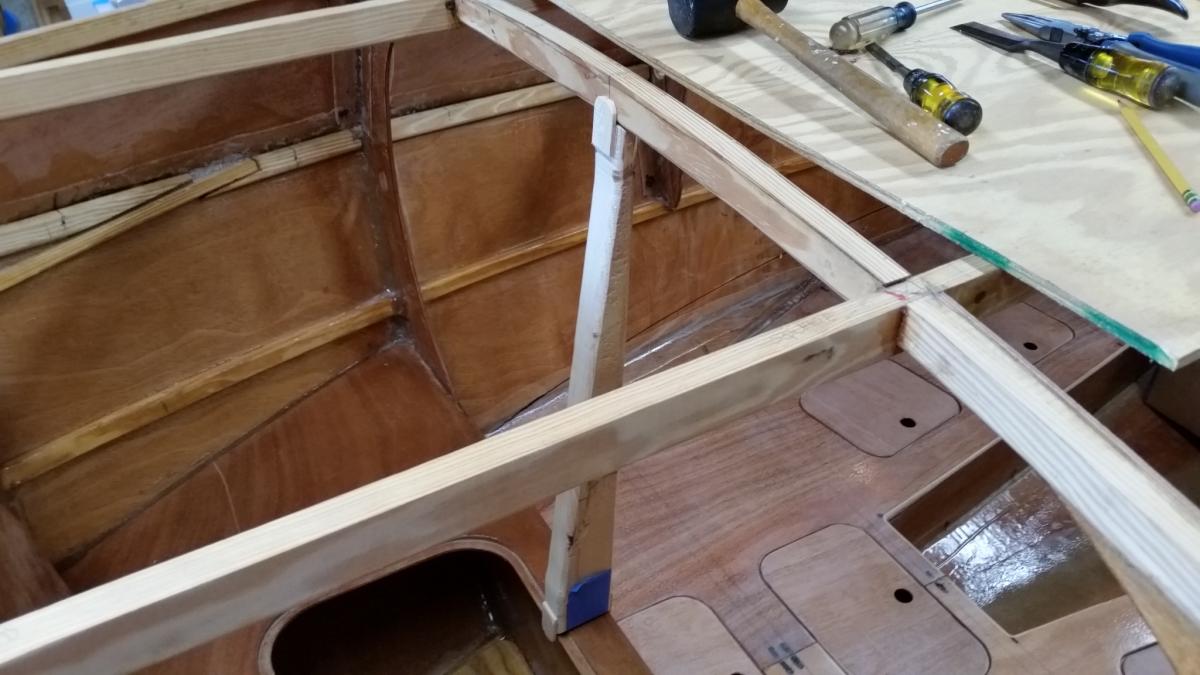
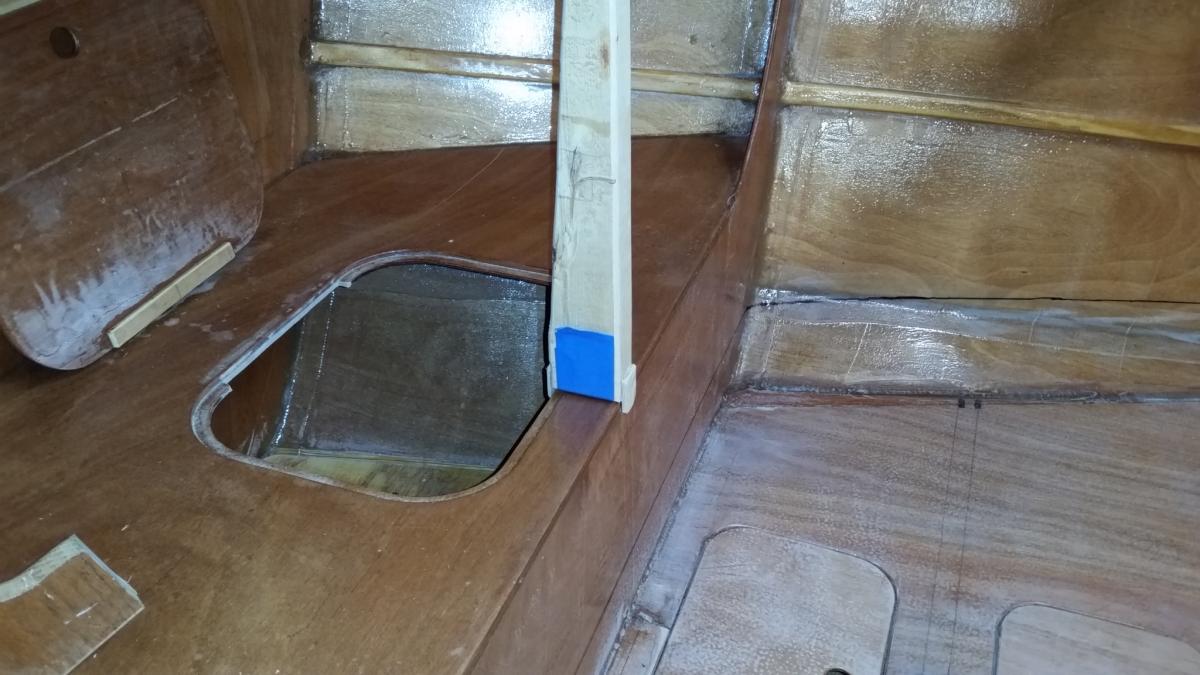
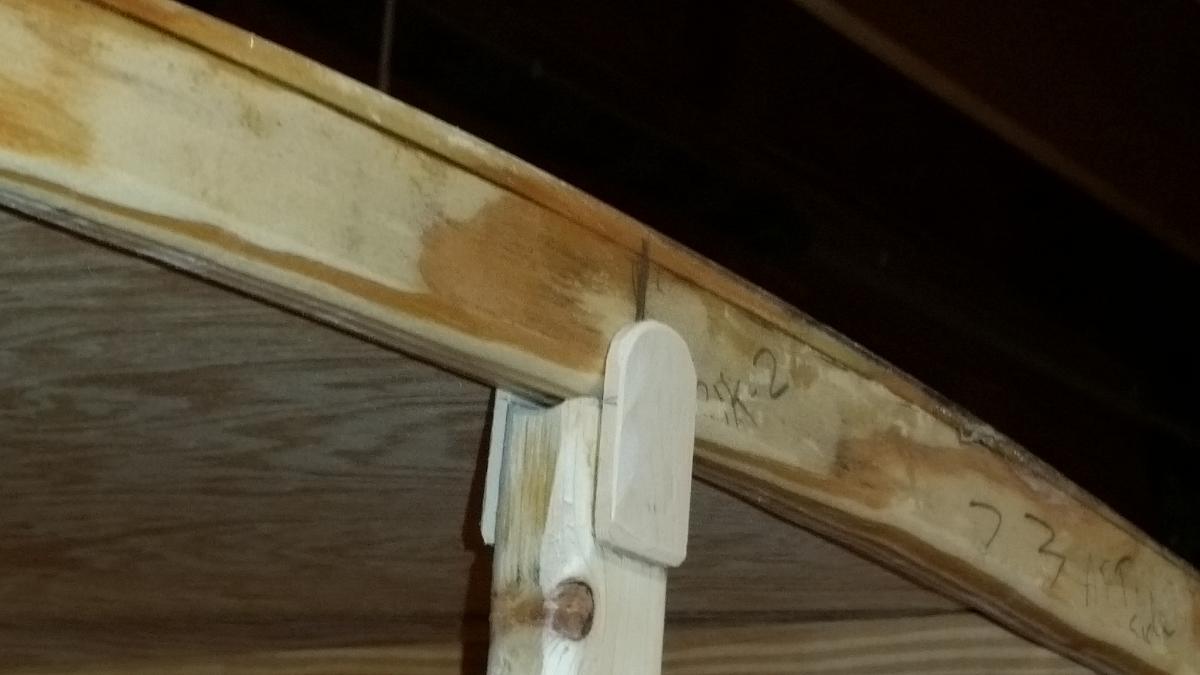
I plan to prop up an up-side-down "Chessie" with supports under Blk 2 and the cockpit just aft of the hatches. Here's a sketch of my design concept: . Not to scale !! Alan assured me that the Blk 2 and its roof beam would safely support more than half the boat's weight [at this stage], but I decided I'd feel more comfortable with a little back-up. So I fabricated a column supporting the centerline of the roof beam over the aft edge of the locker. Here are a few photos. . Looking forward. . From above looking aft. . The foot of the column. . The head supporting the roof beam at blk 2. The fore and aft pedestals will be joined so that the whole thing can be moved around on the shop floor. The foreword lift point of my lift rig is just outside the plane of the garage door -- and I must have a way to move "Chessie" back into the garage. I'm getting at least one and often several things done each day. One day at a time -- I just don't know how many more will be needed.


-
Core Sound 20 Mk 3 -- #4 "Chessie" . .
Pete McCrary replied to Pete McCrary's topic in B & B Yachts Forum
Chick, Actually, with this list just 2 pages long, I feel like that I can now see the light at the end of the tunnel !! It'll be fun moving items down to below the "items done" on the last page. -
Core Sound 20 Mk 3 -- #4 "Chessie" . .
Pete McCrary replied to Pete McCrary's topic in B & B Yachts Forum
Fellow builders and those considering building a Core Sound 20, Mark III. Persons considering whether to build a boat often ask: How much time will be required to complete the job?? A question not easy to answer. But I have information that may help a builder (or potential builder) make an fair estimate considering his own circumstances. This is not meant to bore you -- so skip it if you are past this issue. I'm mostly retired and manage to put in about 2 to 3 hours a day on building "Chessie." I started in April 2015 with the hull already fabricated with Blks 1 & 2 installed and the transom dry-fitted in place. Also, at my request, B & B's schedule was such that they were able to fabricate [for me] both the main and mizzen masts. This has saved me considerable time. From April 2015 I've worked almost daily EXCPET for a total of about 10 weeks that had to be devoted to family matters and semi-retirement work requirements. Originally, I had hoped that if I could put in 4 to 5 hours daily, then I could have her ready for the October 2015 Mess-about. It just wasn't possible. Now, I have diminishing expectations of having her [at least] in her underwire for this year's Mess-about at the end of October -- about 2.5 months from now. I'm still hopeful, but not overly confident. That's because I made a list of remaining tasks: BEFORE-TURNOVER TO-DO LIST (made list on August 1, 2016) ... Approximate sequence .. ___ Foredeck beams -- trim, glue in place. ___ Roof beams under foredeck -- trim , glue to side panels. ___ Fab temporary support column at Blk 2. ___ Cabin roof: __ permanently glue down cabin roof; when cured, __ remove plywood material from the hatch openings. ___ Transom: __ prep edges all around, __ apply glass & epoxy. ___ Install transom "bow" eyes; OR, a centerline "rollover bracket." ___ Install pulleys for turnover lifting rig. Do this whenever HELP is available. ___ Design and fabricate "cradle" for inverted hull. ___ CenterBoard: __ complete the CB rigging, __ sand, glass the CB & its weight. ___ Remove tabernacle. MAKE HER "BOTTOMS UP" !! ___ Bow eye: __ Remove, __ Replace (just before next rollover). ___ Permanently mark top & bottom of waterline boot. ___ Glass & fair all surfaces; then __ prime & paint waterline boot on sides of hull, __ install CB & both Anderson Bailers, __ Fab both keel battens; then __ permanently glue to keel, __ bed both half-ovals to keel battens. __ prime and paint the transom and also the hull (but [paint] only above the waterline just "up to" the sheer). __ paint the waterline boot on the transom. __ IF the bottom is to be painted, do it now. MAKE HER "RIGHT-SIDE-UP" !! ___ Photograph her and apply for Hull ID Nr and Virginia Registration Numbers. ___ Replace tabernacle (permanently). ___ Foredeck: __ fab stem knee, __ install foredeck, __ install anchor roller. ___ Complete & install cockpit hatch tops. ___ Neat epoxy undersides of cockpit coamings and caps. ___ Install cockpit coamings and caps. ___ Assemble cabin roof components: __ forward hatch w/ solar panel, __ garage, __ companionway hatch __ fab the drop boards. ___ Fab & install toe rails. ___ Rub rails: __ bed & screw in-place the wood rails, __ bed the half-ovals. ___ Glue down footwell sole. ___ Glue down ballast tank top under bridge deck. ___ __ glue down cockpit decking, roundover footwell & motorwell edges. ___ Mizzen: __ fab & install the partner and thwart, __ install heel (setting rake at 2 degrees). ___ Fab sprit booms. ___ Prime & paint: topsides, decks, roof, rudder/tiller, sprit booms. Etc. ___ Install portholes. ___ Road-transport requirements: __ main & mizzen masts cradles, __ design trailer / boat interface, __ fabricate trailer bunks & rollers, __ load boat on trailer: __ road test, weigh & determine "tongue weight" (before Sea Trials), __ design & fab off-trailer storage cradle (for off-season storage). ___ Install all deck hardware and sailing rigging. ___ Install all ground tackle. ___ Prep OB motor for sea trials. ___ Design and install electrical system. ___ Contract for cabin cushions. ___ Contract for "dodger." SEA TRIALS ... (October 15 target date !?) ___ Arrange for photo & video shoots ... ^^^^^^^^^^^^^^^^^^^^^^^^^^^^ ITEMS DONE (after 8/1/2016) !! ^^^^^^^^^^^^^^^^^^^^^^^^ ___ Index (w/drywall screws) roof to cabin beams and the sheer inwales -- all 4 corners ++. ___ Remove cabin roof. ___ Apply epoxy to (bare) surfaces of the 2 permanent roof butt blocks. Use Peel Ply. ___ Remove forward locker shelving (over & under). ___ Remove tabernacle -- apply packaging tape, replace (dry fit). ___ Vacuum inside of cabin. ___ Mark level of cushion tops (+ 3" above bunk tops). ___ Remove blush in cabin above level of cushion tops. ___ Tape faying surfaces on underside of cabin roof (use 2" tape). ___ Mark the top & bottom of the waterline boot. ___ Epoxy underside of all 3 cockpit deck panels. ___ Epoxy butt blocks to aft cockpit deck (2) and (1) on the portside deck. ___ Tape the faying surfaces on the underside of the bridge deck (use 2" tape). 8/7 Apply AWLGRIP epoxy primer (2 coats) to: __ underside of cabin roof, __ underside of bridge deck, __ top of shelving over fwd locker, The one encouraging thing about the list is how many things I've gotten done just in the 6 days since the list was made on August 1st. But I'm not going to push it. My boatbuilding must remain fun. BTY, is any of you see that I've left out something essential, please let me know. -
Core Sound 20 Mk 3 -- #4 "Chessie" . .
Pete McCrary replied to Pete McCrary's topic in B & B Yachts Forum
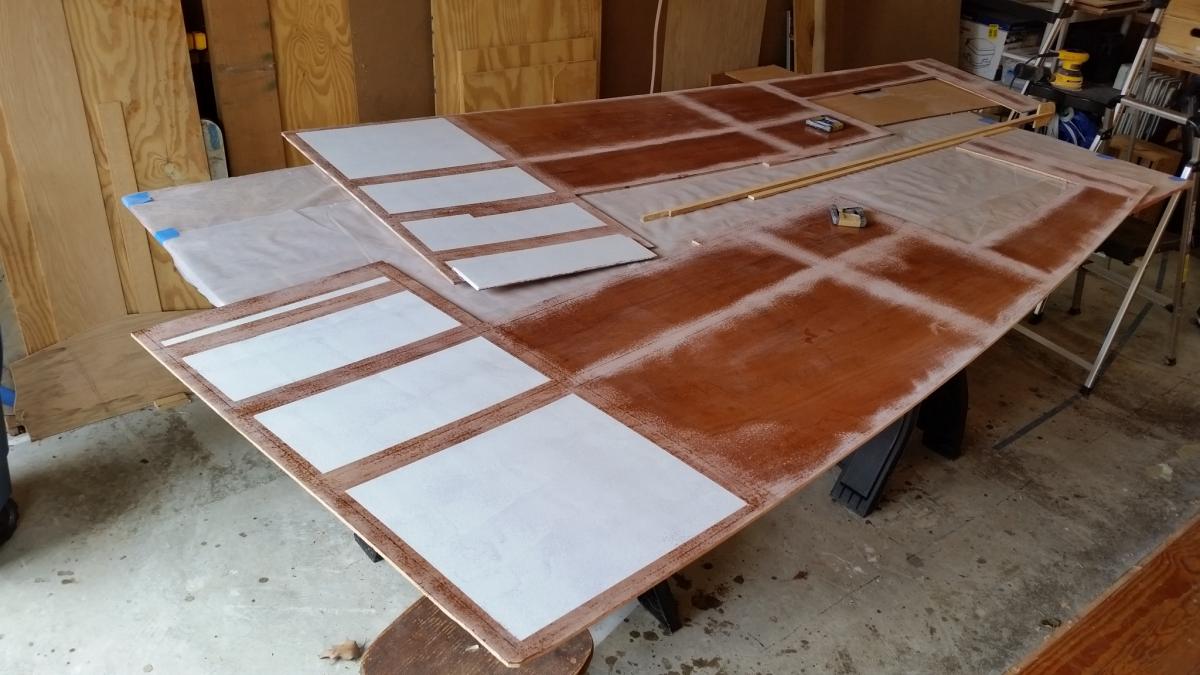
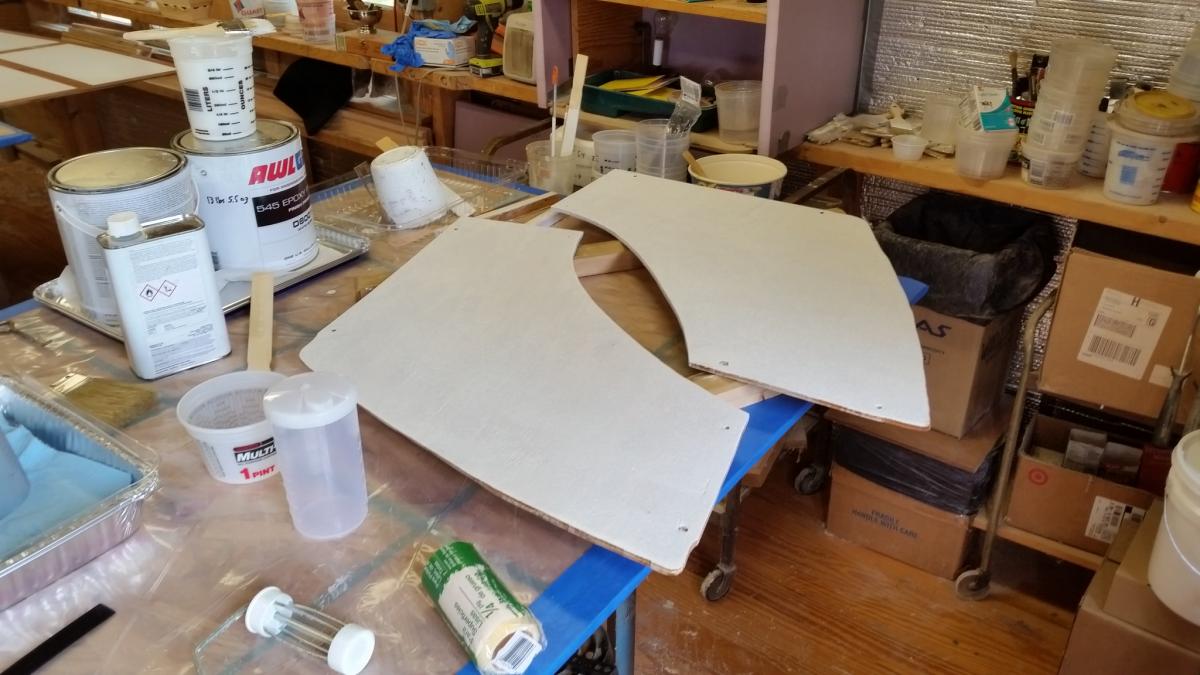
Almost ready for putting on the cabin roof. Today laid on the first coat of AWLGRIP epoxy primer on the undersides of the cabin roof, the bridge deck, and my shelving for the space over the forward locker. You'll notice that I taped off the faying surfaces that will contact the deck and roof beams. There will be a "fiddle" on the aft edge -- like Chick's, it's from Lowes. First thing tomorrow I'll lay on the 2nd coat. No sanding if done < 24 hrs.


-
Core Sound 20 Mk 3 -- #4 "Chessie" . .
Pete McCrary replied to Pete McCrary's topic in B & B Yachts Forum
Cockpit framing now all dry fitted. Next I'll remove the three deck panels and permanently glue in place each framing intersection. Then glue on the cabin roof and glass the transom. She should then be "ready to roll." Pretty hot here -- 99 to 100 in the shop. No work after about 11 am. But I start early before my honey fixes breakfast.


-
Core Sound 20 Mk 3 -- #4 "Chessie" . .
Pete McCrary replied to Pete McCrary's topic in B & B Yachts Forum
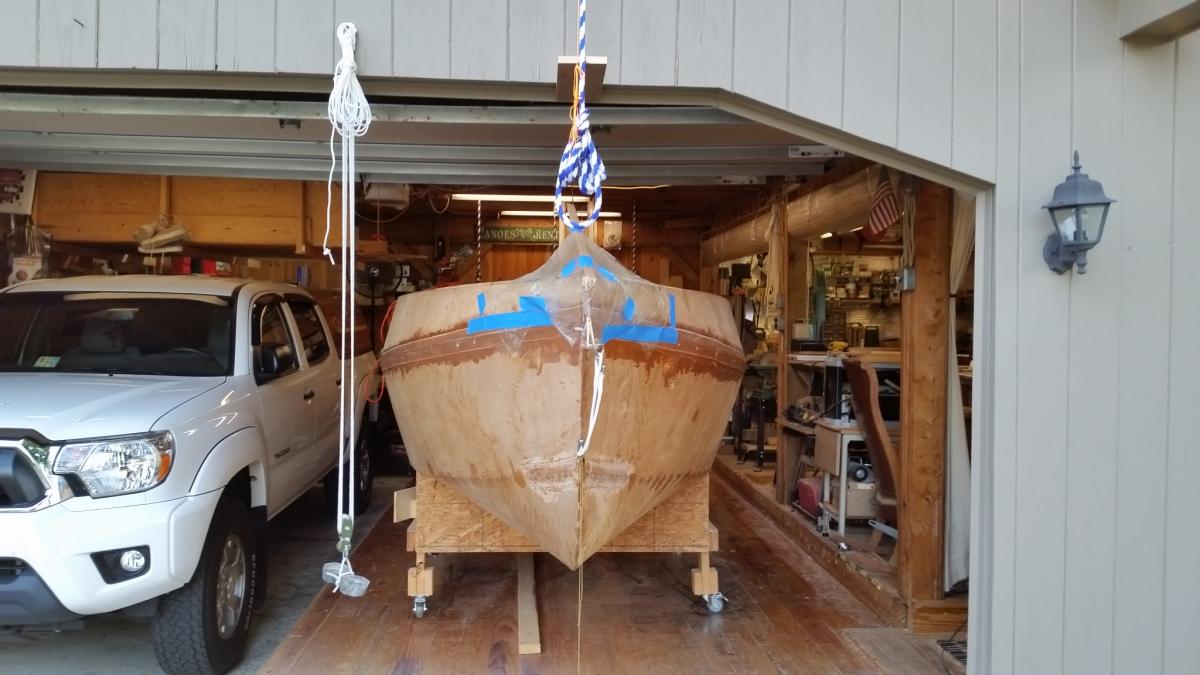
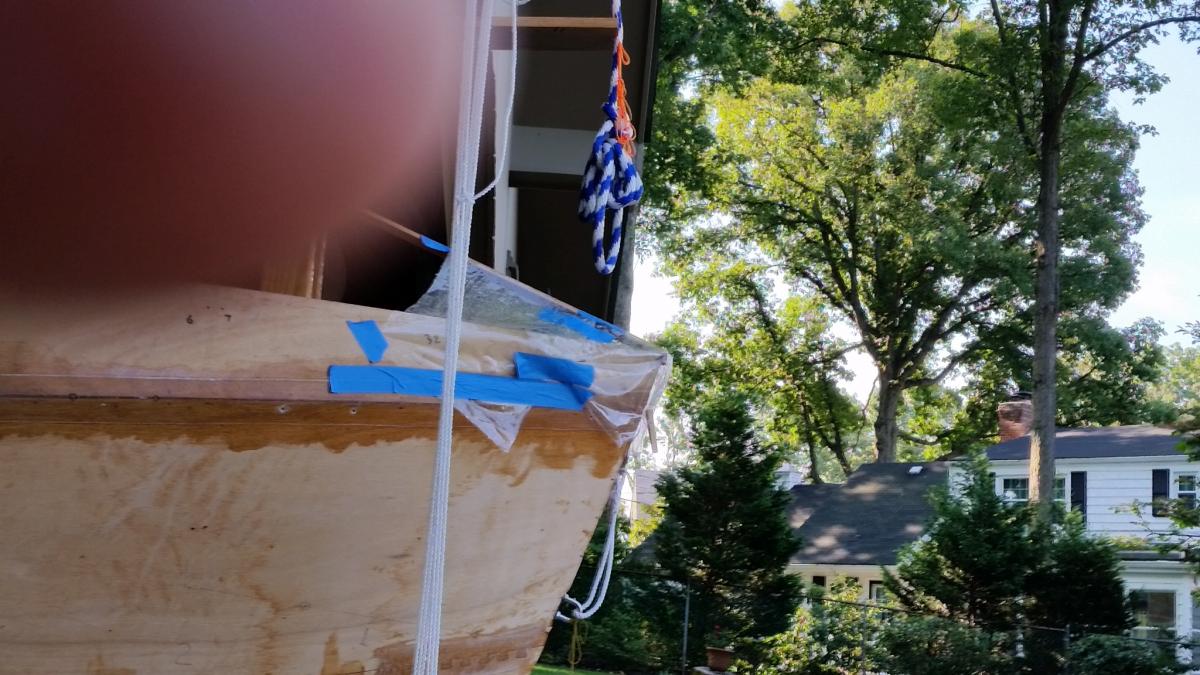
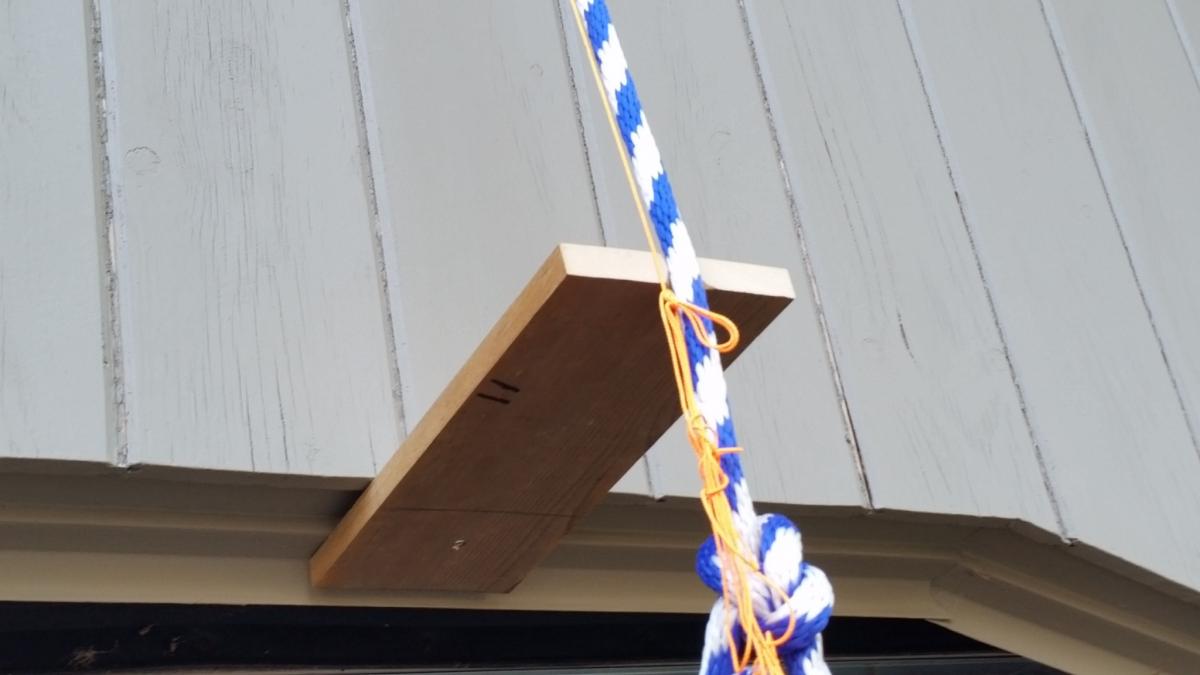
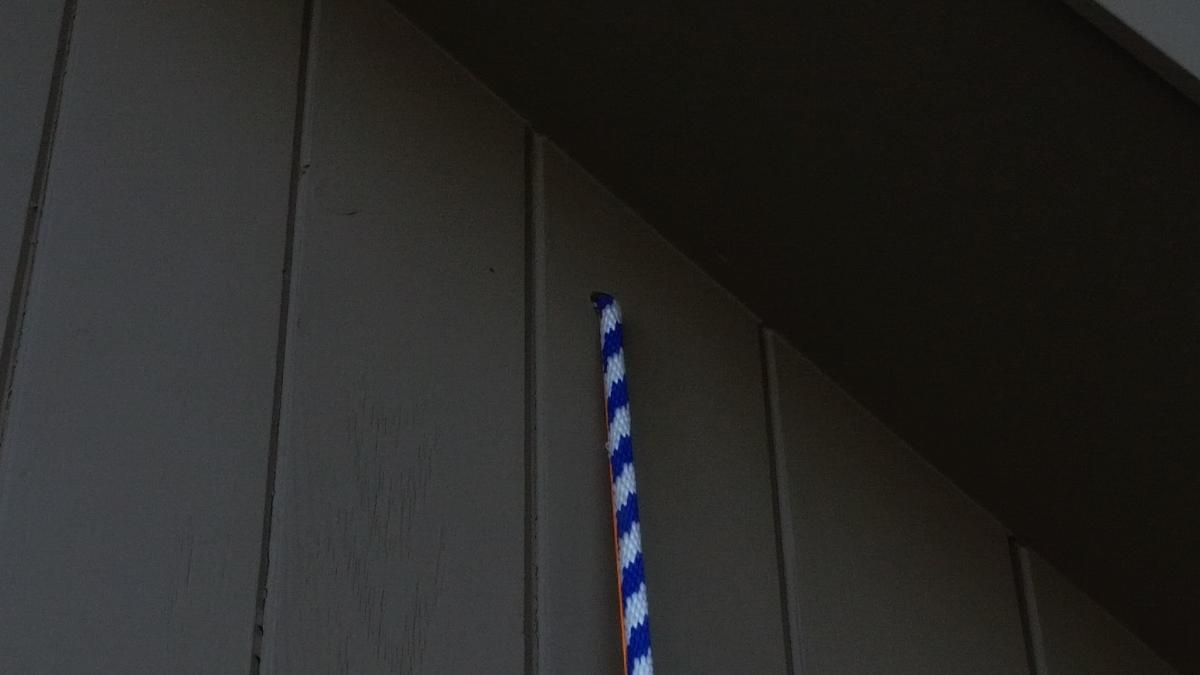
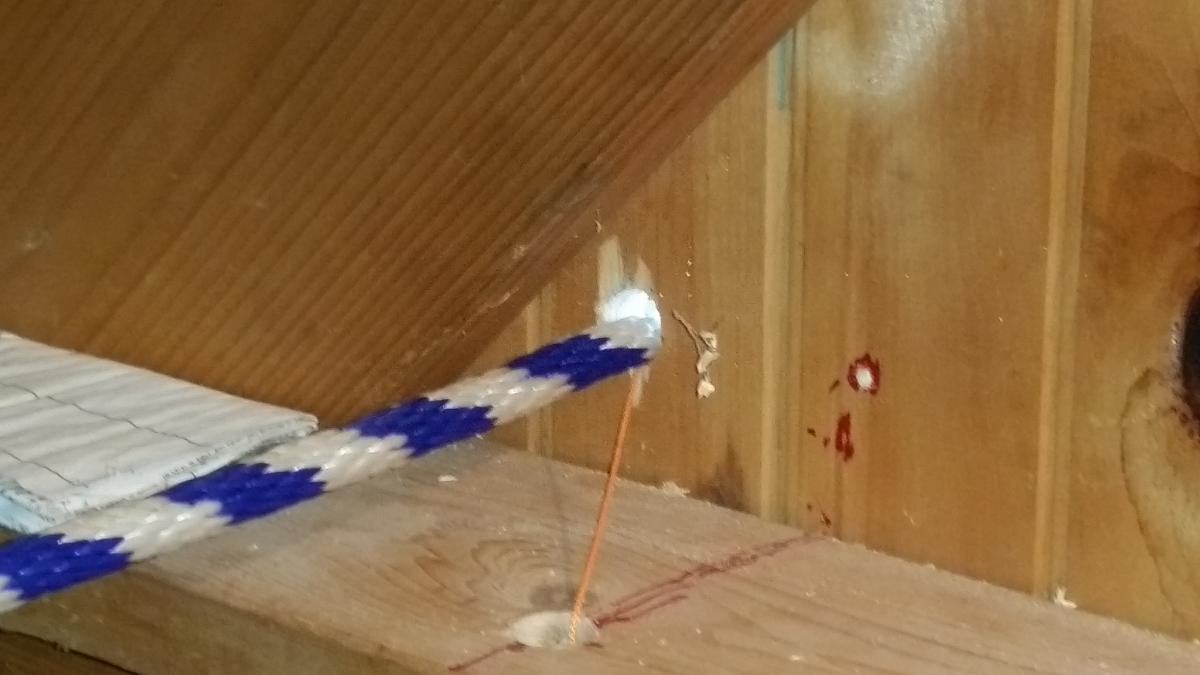
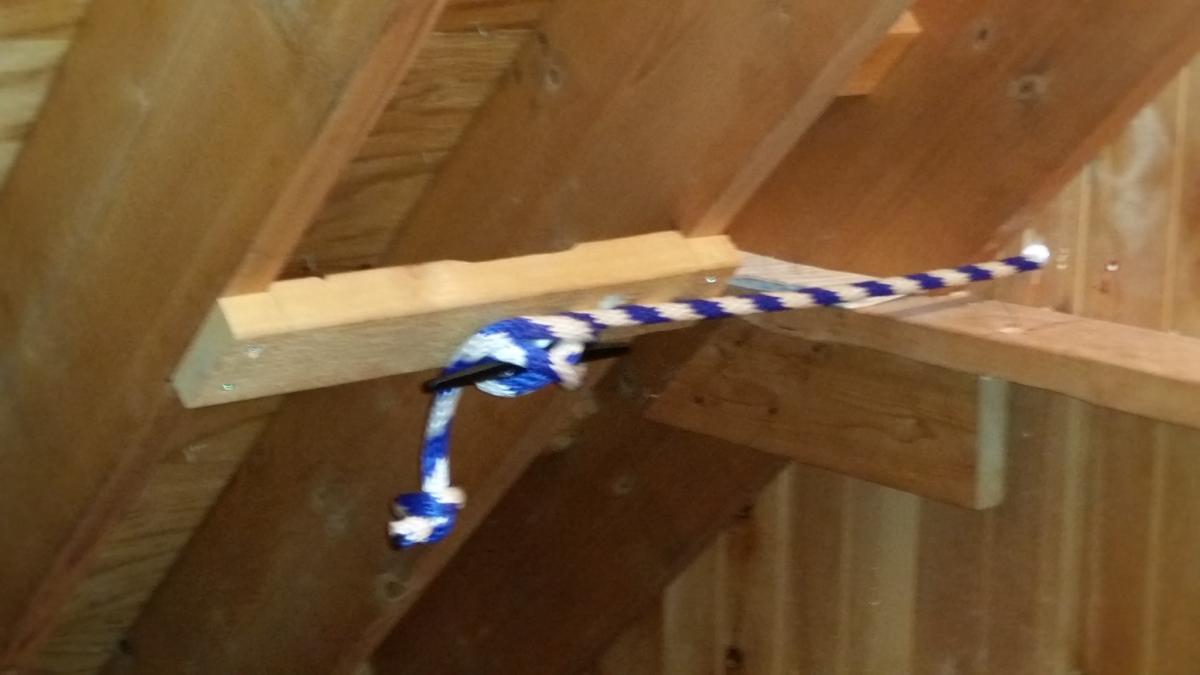
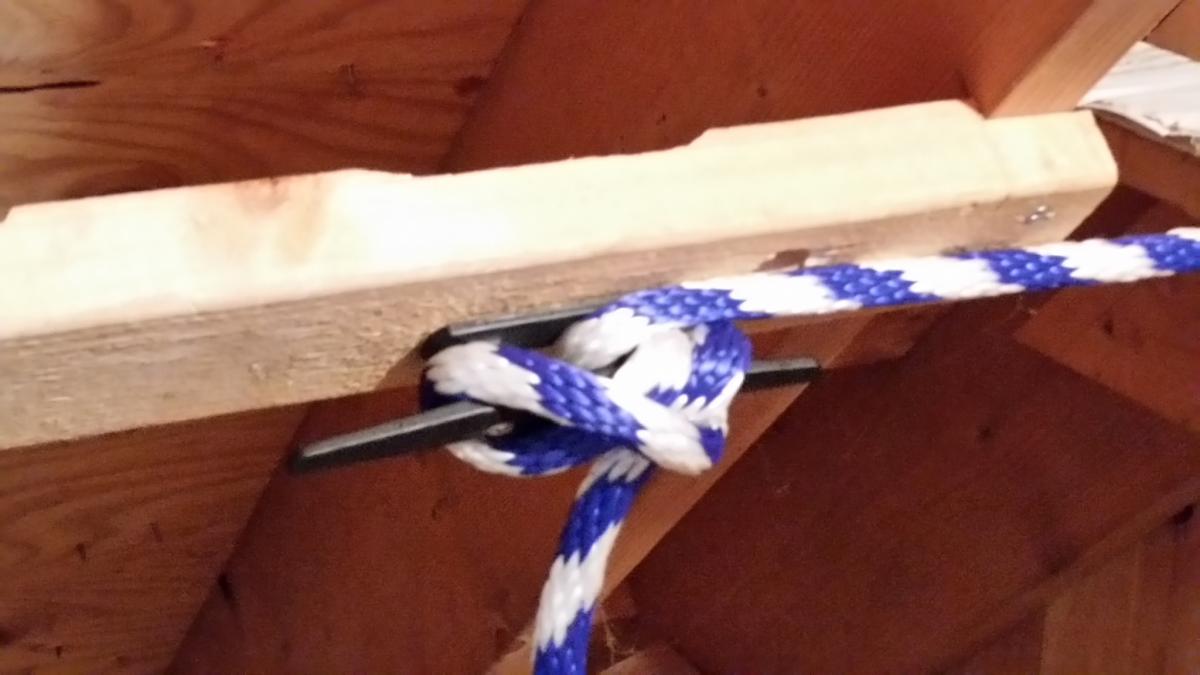
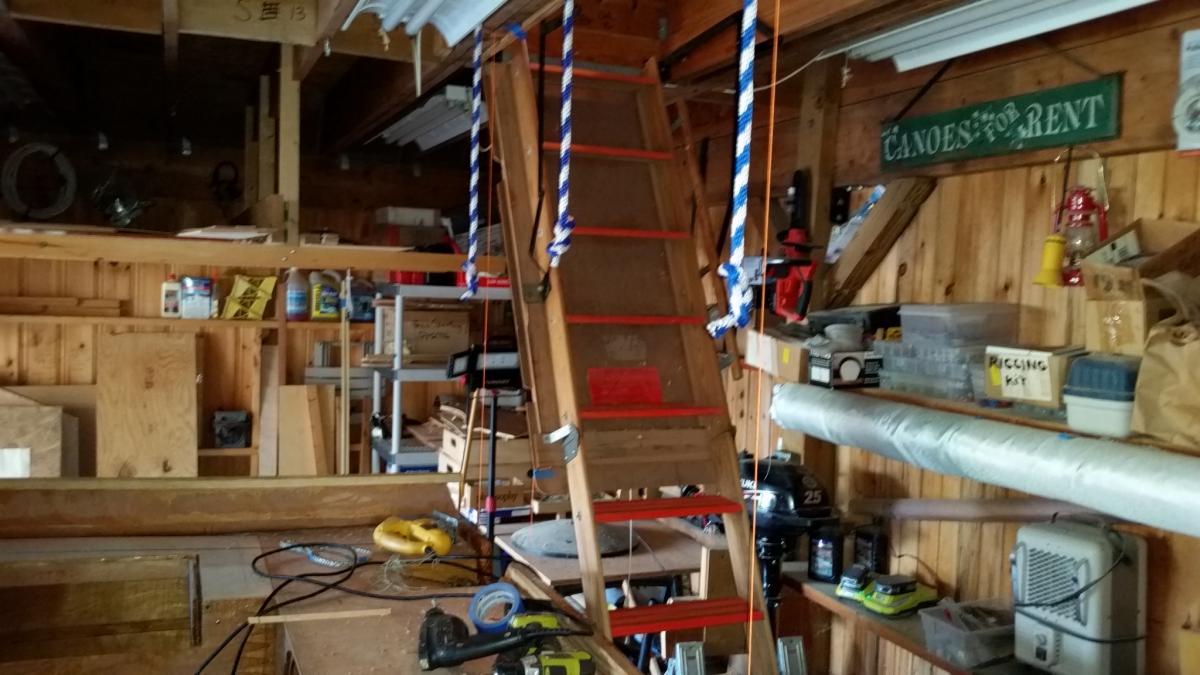
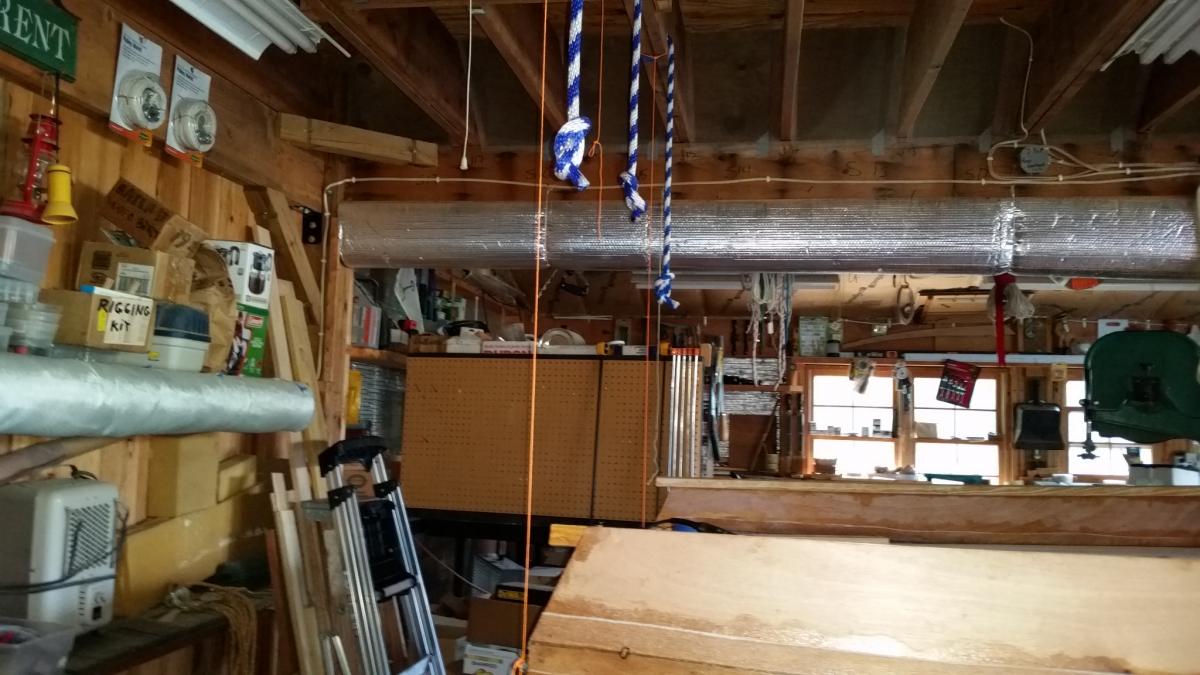
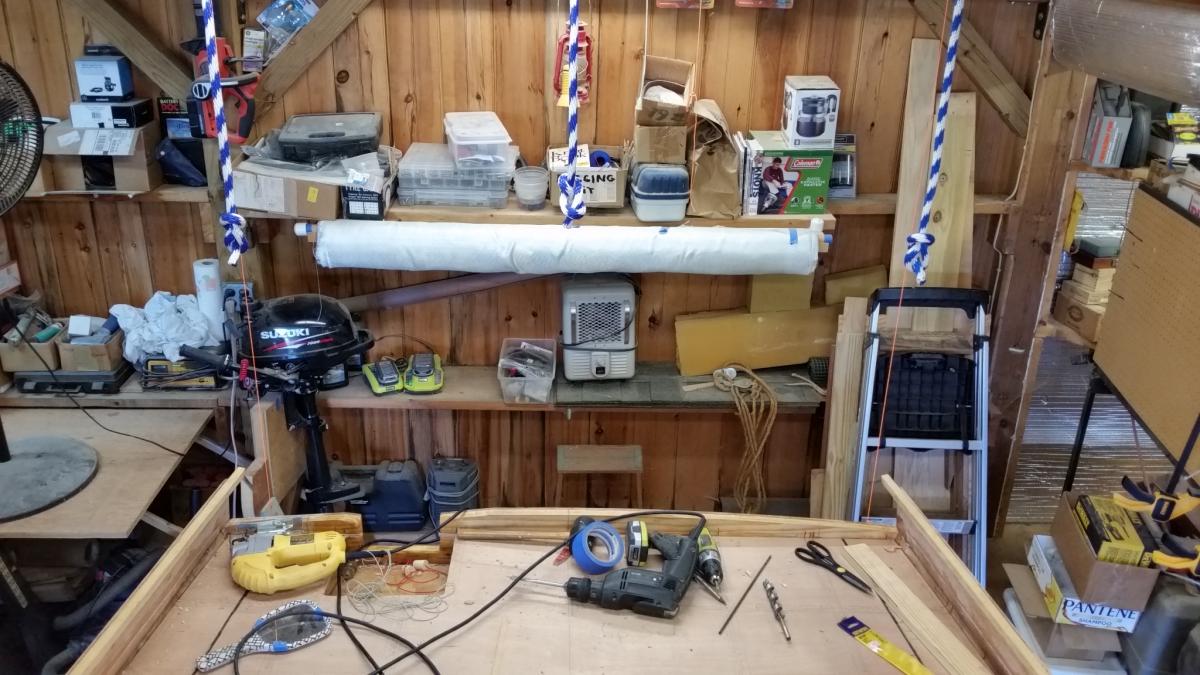
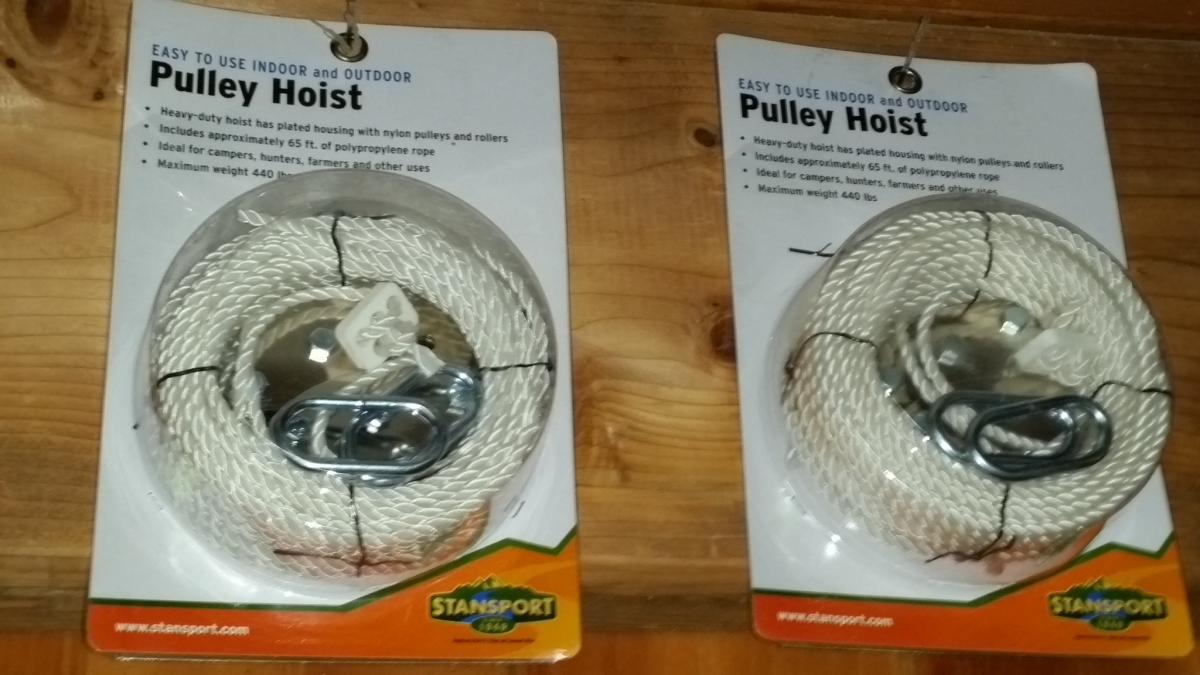
I've worked out a concept for "Chessie's" turnover and/or lifting on/off trailer or storage and/or maintenance, etc. it's a two or 3 pulley system. Paul (PAR) suggested the two-pulley, centerline method. The three pulley method was suggested by [i think] Steve. On Saturday, with help from son Jim, we drilled three rope-holes thru doubled 2 x 12 rafters, positioned over the centerline and each side of the transom. The position of this rafter (along the front edge of the pull-down ladder frame) is such that the bow eye is about 9" outside the plane of the front of the garage. So that the "pull" at the bow eye will be verticle, I'll have a "standoff bracket" over which the pulley support rope will hang. The photos should give a pretty good idea of the setup. Shown next is the outside concept: The next photos show how the bitter end of the rope holding the outside pulley is secured to the garage roof rafters. Note that the maximum pull is < 400 lbs. The horizontal thrust on the standoff bracket will be something like 40 lbs. The rope is about 5/8" diameter. The inside pulleys will hang from loops formed by the 5/8" ropes passed thru the holes drilled thru the rafters. These photos show the ropes hanging from the rafters (loops not yet tied). The position of the centerline "eye" on the transom will be about 9" above the keel. Alan sent me that position based on the CAD calculation of the boat's centerline balance axis (bow eye 19" down from top of stem). That accounts for all the plywood parts but not the yellow pine cleats, etc. With this setup two people should be able to lift or roll "Chessie." The pulleys have a x6 purchase and are rated to lift 400 lbs. Even when finished (empty and w/o masts and rigging) she should be < 800 lbs.


-
Core Sound 20 Mk 3 -- #4 "Chessie" . .
Pete McCrary replied to Pete McCrary's topic in B & B Yachts Forum
Jay, I'm doing the cabin roof and bridge deck UNDERSIDES with white epoxy primer on a table before installing either and before the rollover. I'll mask the glueing surfaces -- so that when she's inverted I'll again have gravity on my side when painting the roof and deck beams and the nearby [previously] masked areas. I hate painting, but I'm determined to do a good job. Wish I could contract it out. Some years back I asked for an estimate from an auto repair guy -- but his price was just outrageous !! -
Core Sound 20 Mk 3 -- #4 "Chessie" . .
Pete McCrary replied to Pete McCrary's topic in B & B Yachts Forum
Steve, my "to-do" list keeps getting longer. I'm less confident about making the MASCF. If she's sea-worthy, I'll the there even of she just has her underwire on or not fully rigged. I have lots more confidence in making the late October mess about. Glassing along the centerline won't preserve the crown of the roof when it's bent to the roof framing. The butt blocks are just 1/4" and the edges are softened with a 1/8" roundover bit -- not much intrusion into headroom. -
Core Sound 20 Mk 3 -- #4 "Chessie" . .
Pete McCrary replied to Pete McCrary's topic in B & B Yachts Forum
Paul,... Upon inspection and measurements, I can hang a pulley on the CenterLine over the transom of the boat if it is moved slightly out of the garage so that the bow eye is about 6" outside of the plane of the front of the (wooden face) of the garage. It will be easy to have a beam protrude out the front side of the garage (at the level of the attic floor) just 6 or 7 inches. Won't need a gantry. Thanks for your suggestions. -
Core Sound 20 Mk 3 -- #4 "Chessie" . .
Pete McCrary replied to Pete McCrary's topic in B & B Yachts Forum
The first three items (on the Before-Turnover To-Do List) were finished yesterday afternoon . . Of course, once the roof is permanently epoxied to the cabin framework, then the plywood and butt blocks in the spaces for the companionway and forward hatches will be removed flush with the framework.

-
Core Sound 20 Mk 3 -- #4 "Chessie" . .
Pete McCrary replied to Pete McCrary's topic in B & B Yachts Forum
I like that idea, Paul. But I may have a problem with hanging a single pulley over the centerline (at the stern) because a pull-down ladder (to the garage attic) may be in the way. Maybe I can figure a "workaround." Look into it this evening. Thanks for the suggestion. -
Core Sound 20 Mk 3 -- #4 "Chessie" . .
Pete McCrary replied to Pete McCrary's topic in B & B Yachts Forum
Deleted duplicate. -
Core Sound 20 Mk 3 -- #4 "Chessie" . .
Pete McCrary replied to Pete McCrary's topic in B & B Yachts Forum
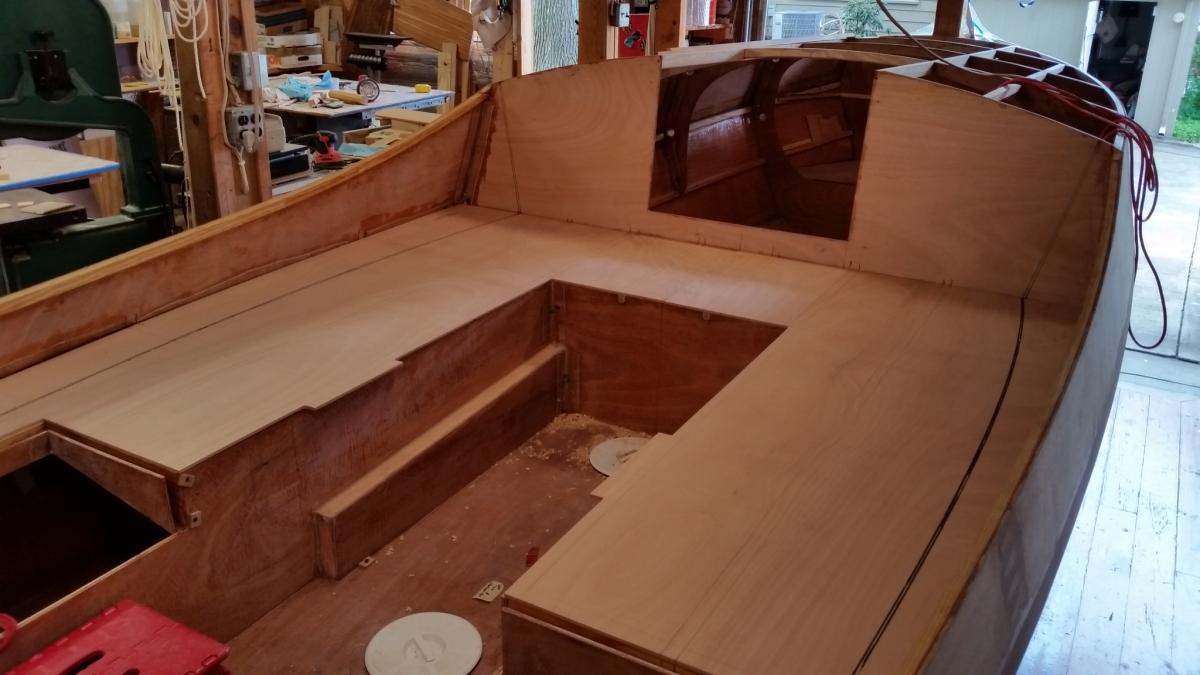
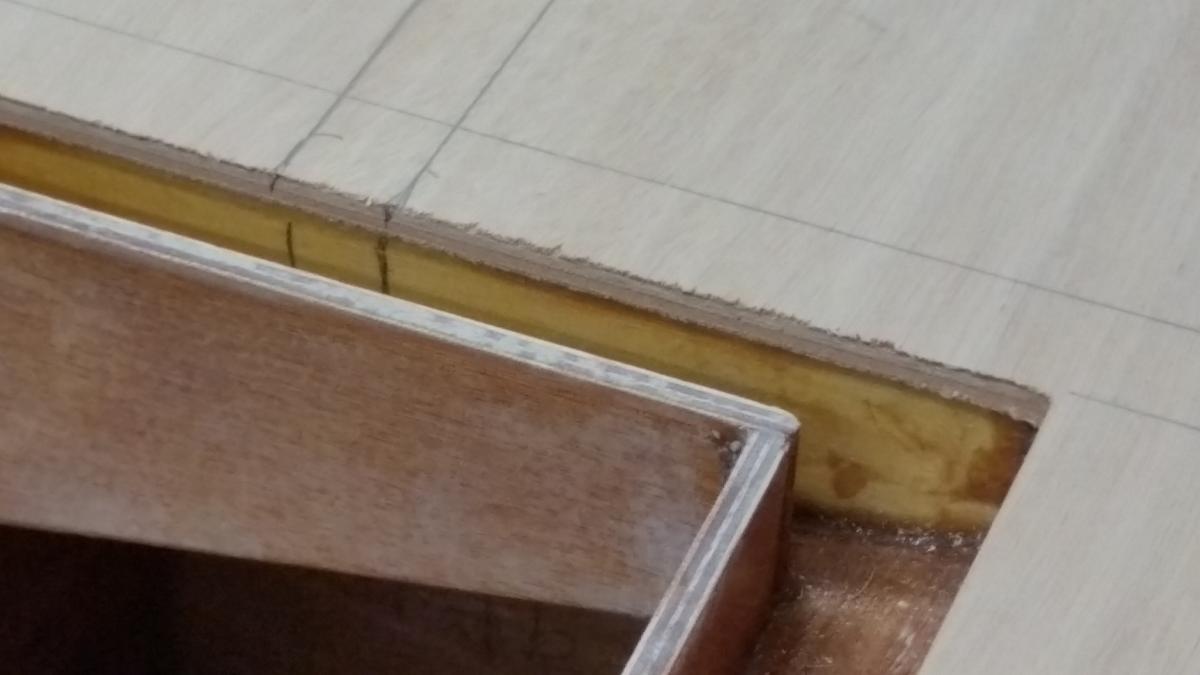
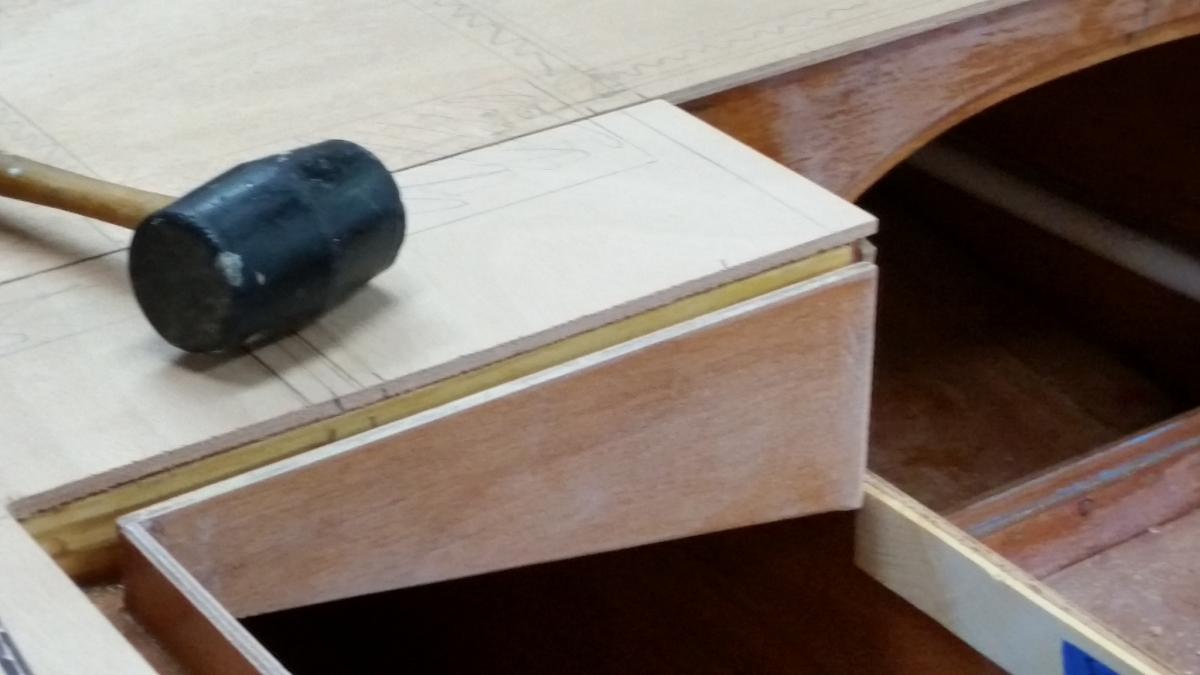
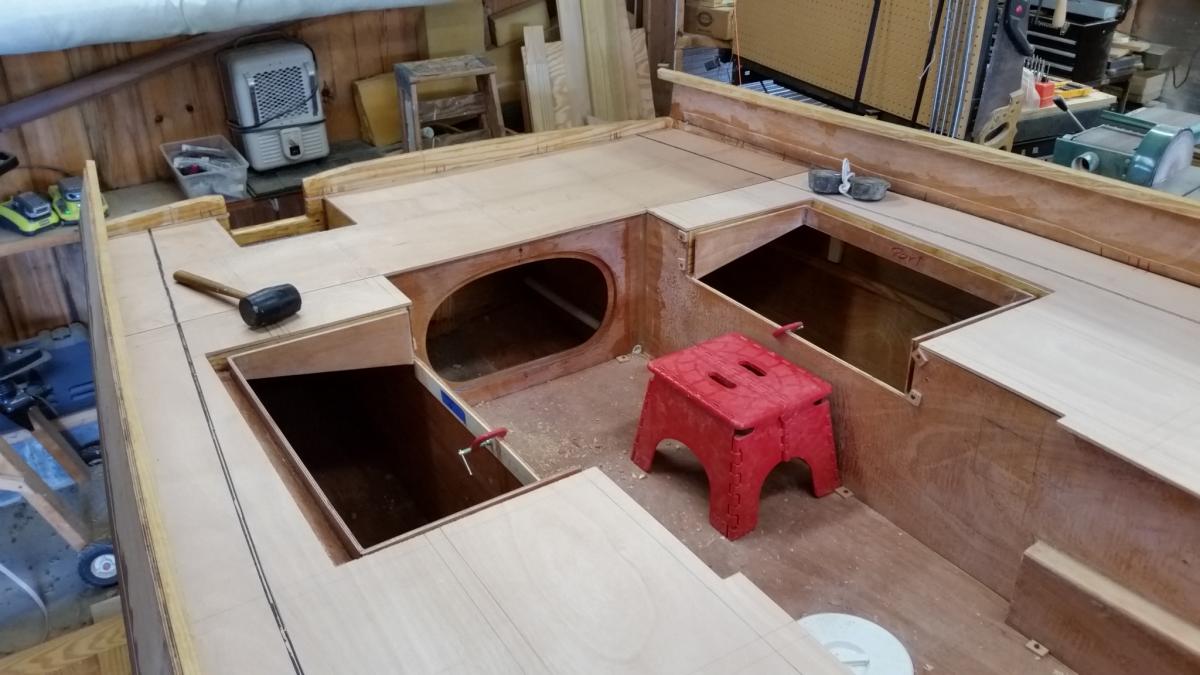
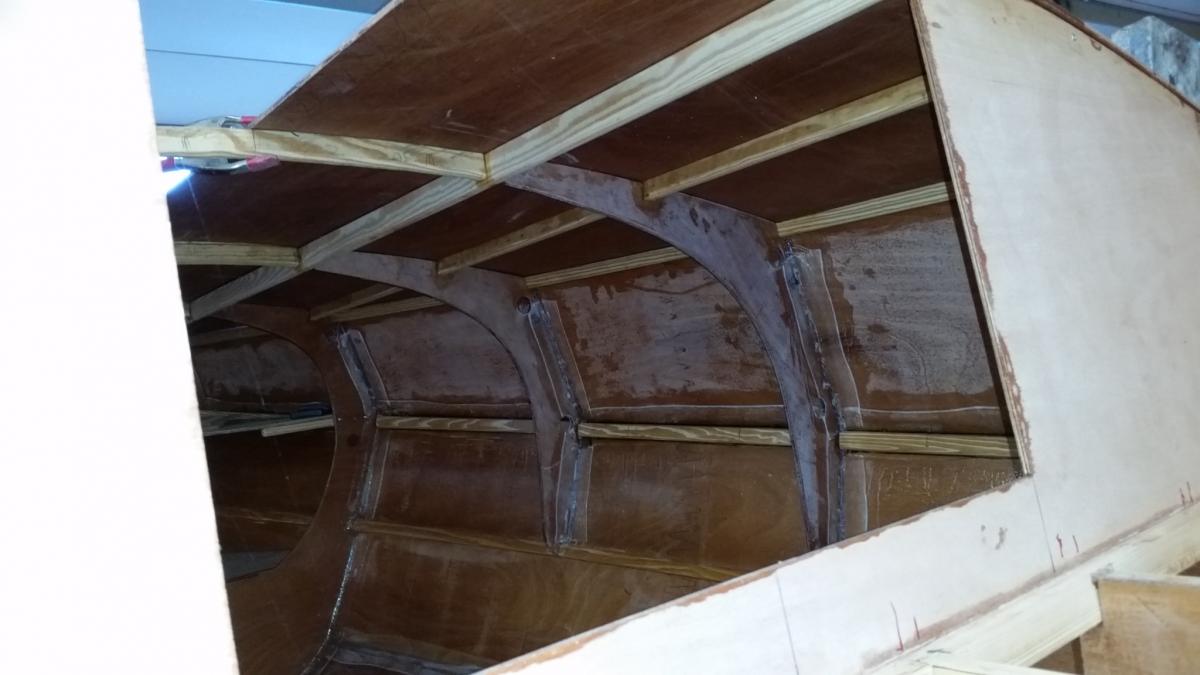
Making progress. This weekend my son will help me install the pulley lifting rig in the rafters of my garage over "Chessie." At this point I'm almost ready to put on her roof. Here are pixs of the "dry fit." An inside view. Almost touching everywhere. Showing the "fit" at the aft portside corner. Showing the "fit" at the tabernacle. I'm getting pretty excited and thought I just might "get ahead" of myself. So, I made this list. Those of you that have done this before -- please let me know if you see a "dead-end" or something missing that later I'd wish I had done earlier. BEFORE-TURNOVER TO-DO LIST ... Approximate sequence (start 7/20/2016) .. x = done 1...x Index (w/drywall screws) roof to cabin beams and the sheer inwales -- all 4 corners ++. 2...x Remove cabin roof. 3...x Apply epoxy to (bare) surfaces of the 2 permanent roof butt blocks. Use Peel Ply. 4.... Remove forward locker shelving (over & under). 5.... Foredeck beams -- trim, glue in place. 6.... Roof beams under foredeck -- trim , glue to side panels. 7.... Remove tabernacle -- apply packaging tape, replace (dry fit). 8.... Vacuum inside of cabin. 9.... Mark level of cushion tops (+ 3" above bunk tops). 10... Remove blush in cabin above level of cushion tops. 11... Tape faying surfaces on underside of cabin roof (use 2" tape). 12... Apply AWLGRIP epoxy primer to underside of cabin roof (2 coats). 13... Permanently glue down cabin roof -- when cured, remove plywood material from the hatch openings. 14... Install pulleys for turnover lifting rig. Do this whenever HELP is available. 15... Fabricate movable platform for shop floor extension. 16... Mark (permanently) the top & bottom of the waterline boot. 17... Complete fabrication of the CB and its rigging. 18.... Remove tabernacle. 19.... TURNOVER !! Then glass, primer, paint, install CB & Anderson Bailers, etc. POST-TURNOVER TO-DO LIST ... a... Replace tabernacle (permanently). b... Epoxy underside of all 3 cockpit deck panels. Use Peel Ply. c... Epoxy butt blocks to aft cockpit deck (2) and (1) on the portside deck. d... Tape the faying surfaces on the underside of the bridge deck (use 2" tape). e... Apply AWLGRIP epoxy primer to underside of bridge deck (2 coats). f... Etc. ... More pixs later as I go alone.


-
Core Sound 20 Mk 3 -- #4 "Chessie" . .
Pete McCrary replied to Pete McCrary's topic in B & B Yachts Forum
No, Robert. The butt blocks will be on the underside of the roof just painted bright white like the rest of the cabin interior. Yes, I'm thinking a lot about the cruises I'll be making. -
Core Sound 20 Mk 3 -- #4 "Chessie" . .
Pete McCrary replied to Pete McCrary's topic in B & B Yachts Forum
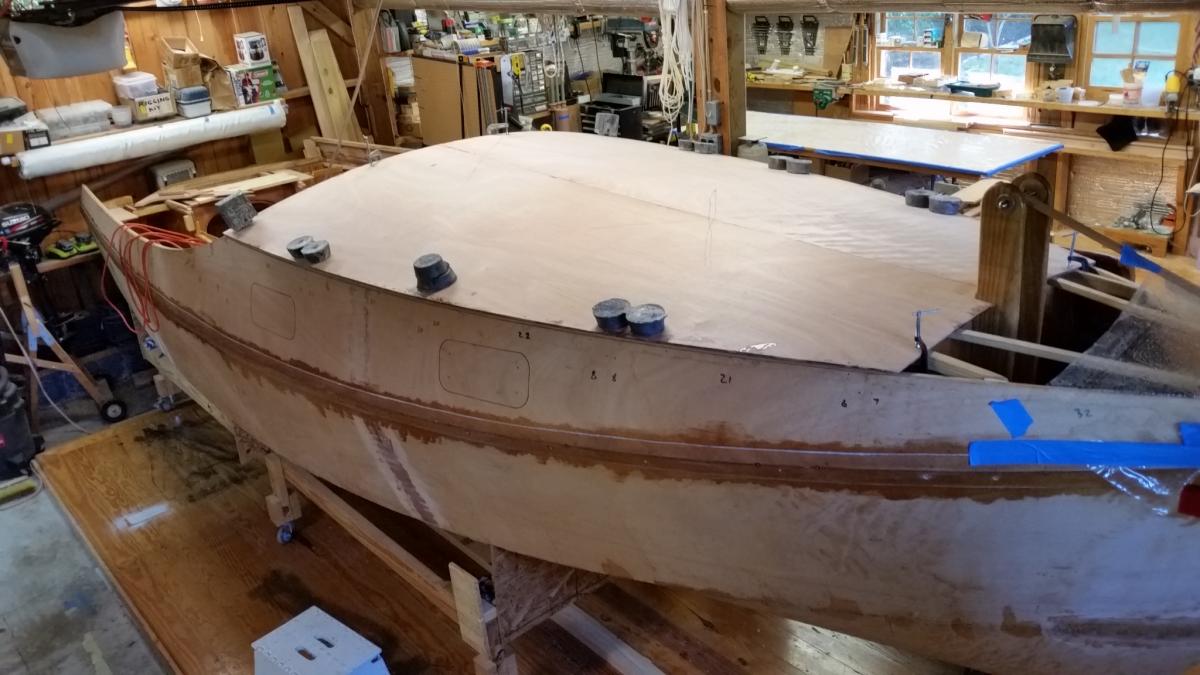
Moving right along ,.. I was going to do this on the floor. This seemed easier. Next will be to fine tune the surfaces of the roof framing -- then glueing it down.
-
Core Sound 20 Mk 3 -- #4 "Chessie" . .
Pete McCrary replied to Pete McCrary's topic in B & B Yachts Forum
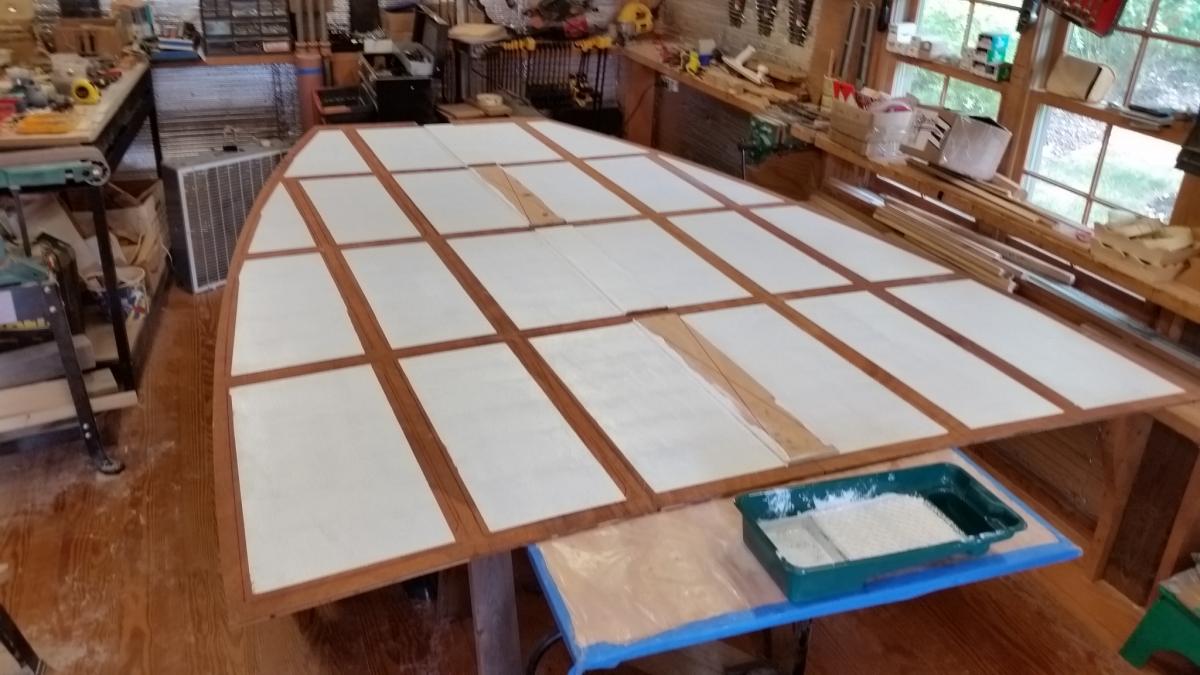
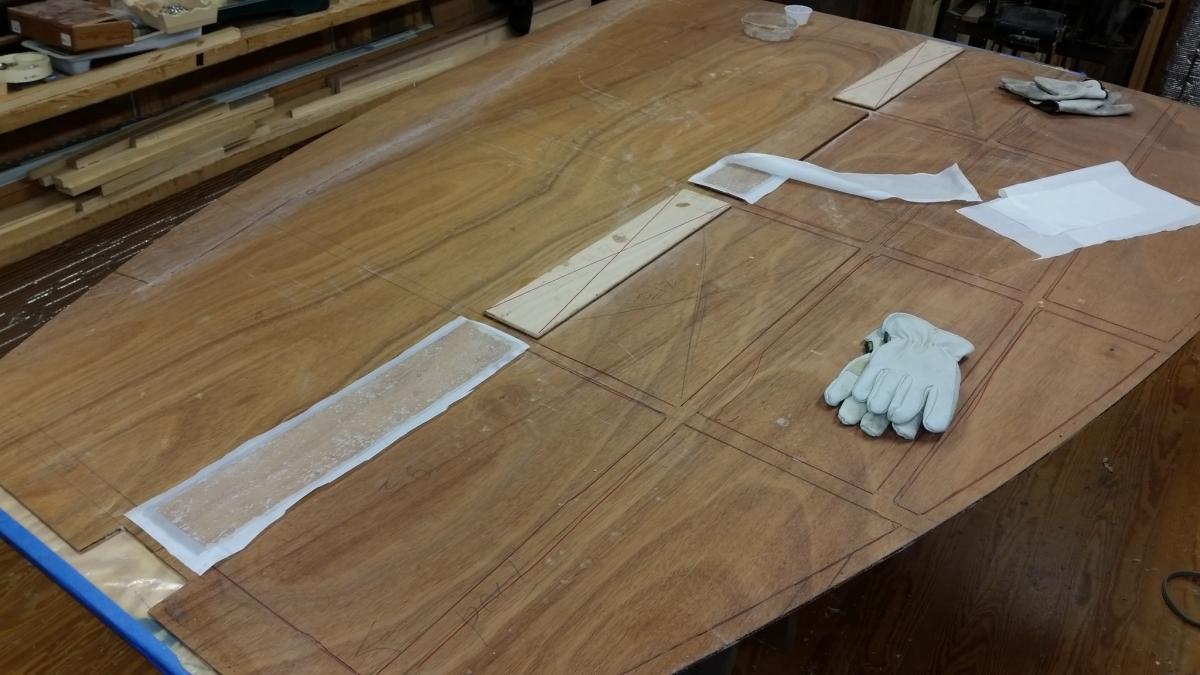
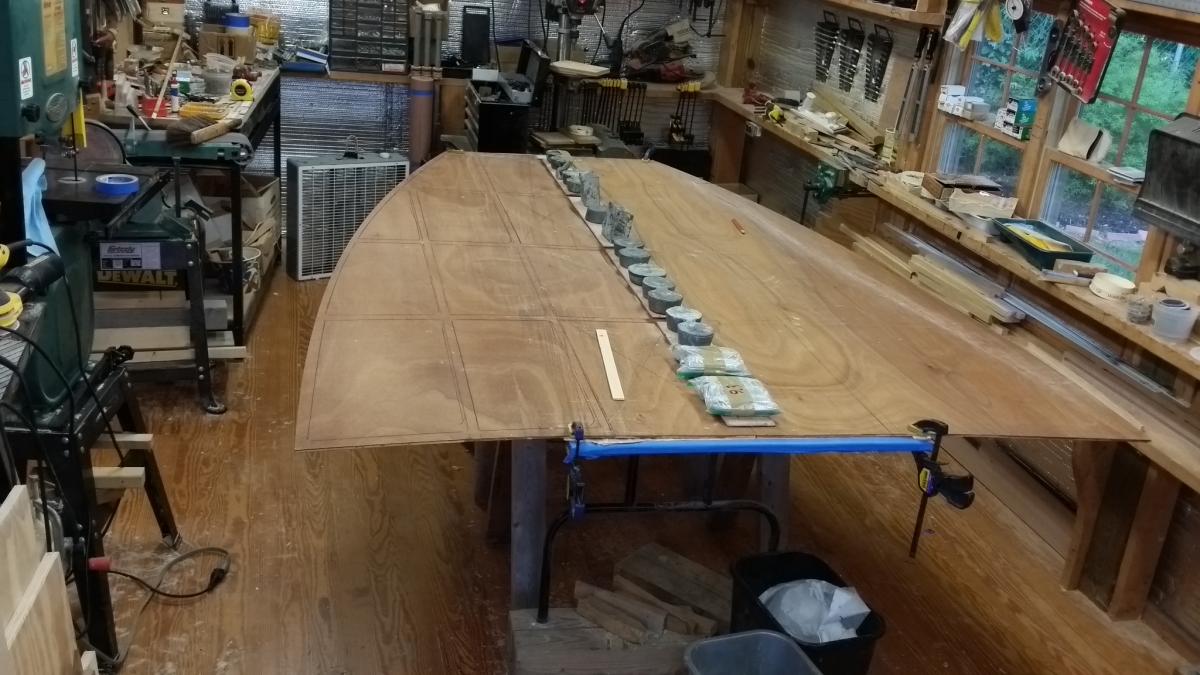
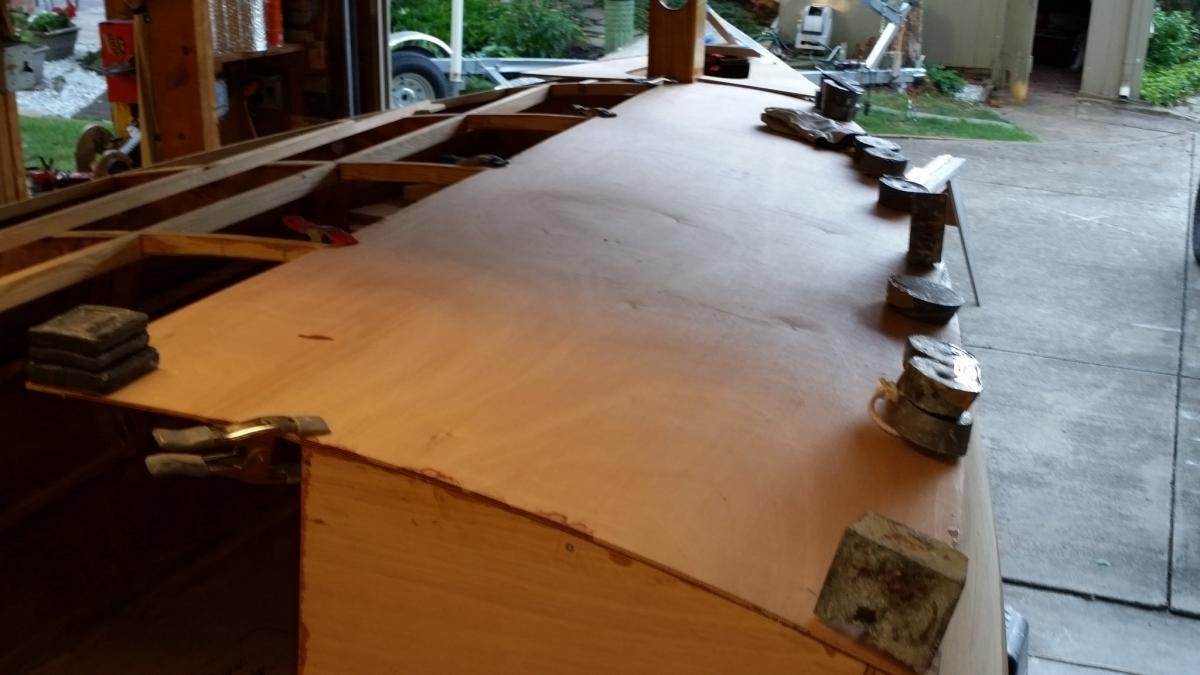
Beginning to look more like a boat that has a cabin. I'm using Peel Ply over neat epoxy for the underside of the roof panels. Photo shows the Peel Ply laid on with the cure at the "thin-film set." After an over-night cure, it peeled right off. A beautiful finish. This required 5 "pumps" of epoxy with the B & B pumps. A very nice dry fit. I just wanted to see what she may look like inside the cabin with half the roof on. Today the other half gets done -- and then both will be joined (on the garage floor) with four butt blocks along the centerline,. I may be ready by this weekend to have the roof on permanently. Then, I think, I should be ready for the rollover.


-
Core Sound 20 Mk 3 -- #4 "Chessie" . .
Pete McCrary replied to Pete McCrary's topic in B & B Yachts Forum
Jay,... It's hard to say. Hopefully !! I work some every day, but don't push it, keeping it fun. I'm actually hoping to have her sailable by September 30 (the MASCF in Saint Michaels). And, of course, the B & B Mess-about in late October. She could show up in her underware. -
Core Sound 20 Mk 3 -- #4 "Chessie" . .
Pete McCrary replied to Pete McCrary's topic in B & B Yachts Forum
HELP: Nautical rigging advice needed to assist in "Chessie's" anticipated TURNOVER. Here's my planed procedure for the turnover: I have 3 pulley rigs, each with a 6:1 purchase, rated at 400 lbs lift limit (1,200 lbs total). Two will lift the stern fitted with a "bow eye" on each side. The third will lift the actual bow eye on the stem. With two helpers, we will raise the boat high enough to remove her cradle. Then one of the stern pulleys will lift one side while the other side is lowered -- until the boat is at 90 degrees. Next, the bottom of the stern will be supported from the floor on a sawhorse. At this point the low stern pulley will be disconnected (snap hook) and reconnected to the higher side of the transom and its slack taken tightly up. The other stern pulley is then moved to the lower position. With both stern pulleys "snugged-up', they are then alternately eased and taken up such that the boat is rotated unil her bottom is up! Then all three pulleys together lower the boat onto staging supporting her at the stern (at the cockpit deck support framing) and the bow (thru forward hatch opening and up to the bunk top just aft of Blk 2). The boat at this point (cabin roof on but cockpit deck and coamings not yet installed) the boat will weigh probably < 600 lbs. About 300 at the bow eye, and 150 each at each side of the stern. With a 6:1 purchase, then the pulls will be about 50 lbs for the bow man and 25 to 50 lbs for each stern man. My rigging problem is this: The setup is not convenient for each pulley to have its own "cleat" to which its pull line may be belayed. Each pulleyman will have to continuislly keep a steady 25 to 50 lb pull while others move things around. With my Compac Eclipse the x6 mast raising pulley had a cam cleat as a built-in part of the movable pulley end. But I don't have anything like that. SUGGESTIONS and/or ideas WOULD BE APPRECIATED from fellow builders who have faced and solved similar challenges. I'm thinking of something like what is used to tension tent lines, or a knot that can be made on a line already under tension to another line under tension. ALSO, I would very much appreciate any critical comments concerning my proposed procedure for "Chessie's" turnover. Do you see any "dead ends"?