Chespearl
-
Posts
44 -
Joined
-
Last visited
-
Days Won
2
Content Type
Profiles
Forums
Events
Everything posted by Chespearl
-
Tom, The suggested reefing set up would work. However, I look at friction as the enemy in running rigging and I think a Harken 233 micro cheek block or similar would work better. I don't think the suggested approach would save any weight or much cost, and you're still putting two holes in the sprit. Cheers, Brian
-
Thanks Paul. Full disclosure: that is the way I did the king plank the second time. First time I figured one long piece bridging the hatch would be best to ensure a fair deck line but I happened to have two short pieces of 1x4 at hand ... anyway despite careful clamping they were not satisfactorily aligned when the epoxy cured. So I sawed 'em out and did it again. As our shop boatwright says: "It's just a piece of wood..."
-
Got all the deck framing done, now epoxy coating various bits. Hope to get the deck on next week.


-
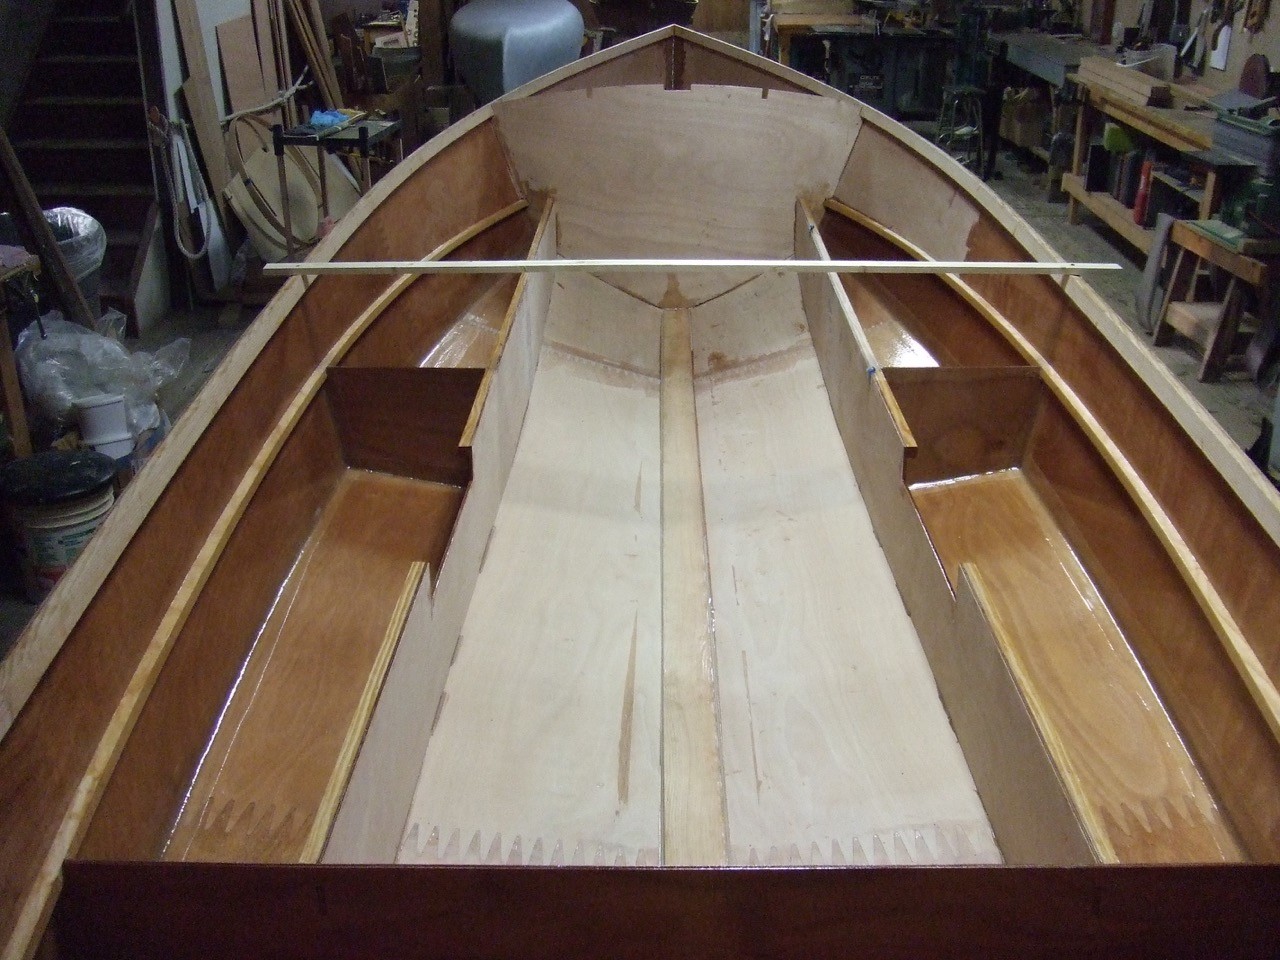
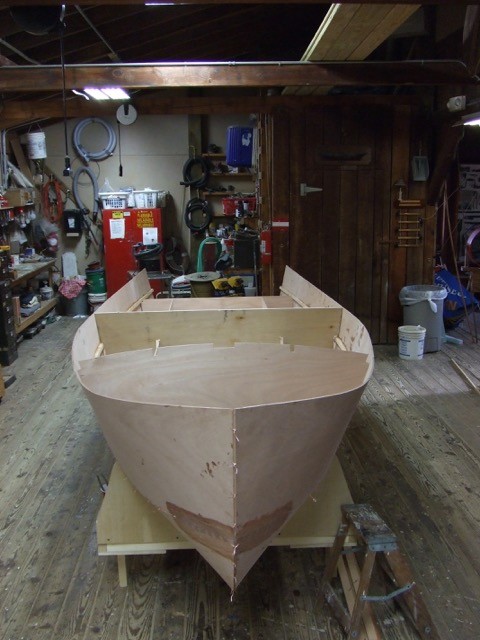
Progress (and learning) continues. My first attempt at making a mast tube did not result in a usable product. I used the method with the one inch wide strips of plastic arranged longitudinally underneath another wrapping of plastic. I made a few mistakes. First I figured since I needed a couple relatively short tubes I'd make one long one (about four feet long). I did not use new plastic and it was not 6 mil, more like 2- or 3 mil. I also wound my four layers of 10 oz glass tape on pretty tightly as I was wetting it out. Result: the cured fiberglass tube was not coming off my aluminum mast, no way, no how. I cut it into two pieces but no luck getting half of it off either. The one inch strips just stretched and broke. So after a phone call with Alan I cut the tubes off with a Fein tool and a chisel. Second try I first wrapped the mast with wax paper, then only five non-overlapping one inch longitudinal strips of new 6 mil plastic, then a complete wrap of new 6 mil plastic. I laid the glass tape on with only moderate tension, smoothing it out with a chip brush spirally, starting in the middle and working toward each end. The result was amazingly different. The one inch strips pulled easily out the next day and the tubes slid right off. I faired them with epoxy and micro balloons and they are nice and smooth, inside and out. Due to Graham's superior design skills, the finished tubes mic out at 2.75 inches OD, an easy match for a readily available hole saw. I also made the decision to go with the original arrangement for the main mast step and not put in a tabernacle. I think it will look better (subjective), and I really don't think I need the functionality that a tabernacle would give me. I am used to sticking masts in tubes from my Sea Pearl days and I don't plan on storing an anchor in the bow area. So here's a shot of my main mast step, using the ihandy level app on my phone to set the angle. This past week I got all my seat tops on and filleted and now I'm having a sanding party. On a sad/happy (sappy?) note, our youngest daughter Emma spent some time at the shop this week with me working on the boat. She left yesterday for Navy Officer Candidate School in Newport, RI. Hopefully she will be launching her new career at the end of June, about the same time I hope to launch the boat.


-
PAR, Thanks again. That is all great advice. I also read the "Painting" section on your website. Kudos to you for taking the time to write and share all that good info. I see you are located in Eustis, FL. We happen to have two sailboats built in Eustis here at our museum in Solomons, MD. They were built by Earnest "Dick" Hartge, a well known Chesapeake Bay designer and builder who retired to Eustis in the late 1960s. Witch of the Wave is a traditionally built plank on frame livery boat. He built five or six of them in Eustis that he kept on the shore of his property to rent out and earn a little money. He actually prefabbed a lot of the parts here in Maryland and built the boats once he got set up in Florida. He called that design the "Breadwinner" class. Spirit is a much more interesting boat to sail. He built her in his 80s by and for himself. It was essentially his last boat as he only built one more smaller boat after that. She is strip planked and weighs about what a Lightning does, ~700 lbs. Hartge was well known for designing and building several winning boats in the Chesapeake 20 class. Spirit looks a lot like one of his Chesapeake 20s except Spirit is double-ended and 2 feet longer (22 ft LOD). Our boatshop did a restoration on her a couple years ago and she has a nice new set of sails.


-
Lennie, Agree, I would disassemble / move the paint tent as required to turn the boat over.
-
PAR, Thank you for the paint tent photos and assembly tips. This looks like the way to go. I'm rethinking my "order of operations" for painting the boat. I was planning to prime and final paint the interior and deck before I flipped the boat and glassed the hull. I'm thinking now that I should just do interior primer, then flip/glass/fair/prime the outside. Then I could erect a paint tent just for the top coats on the whole boat. I would still have to flip the boat inside the tent at least once but I have lots of help and overhead hoists. Sound reasonable?
-
Amos, I'm a volunteer (Patuxent Small Craft Guild) at the boatshop at the Calvert Marine Museum in Solomons, MD where I live. The museum is renting me space in the shop to build my boat. It is a great arrangement in a well stocked shop and I get all the help I could ask for from my fellow guild members. Sometimes the shop is too well stocked. When I clean up at the end of the day I often find a couple drill-drivers, three combo squares and seven pencils in the bilge. The wood floor is great for working; easy on the legs and if you need to anchor something, just throw in a few drywall screws. The only thing I'm dreading is painting as the shop is always pretty dusty. I'm still looking for ideas on how to deal with that. Here are some photos from today after some sanding.


-
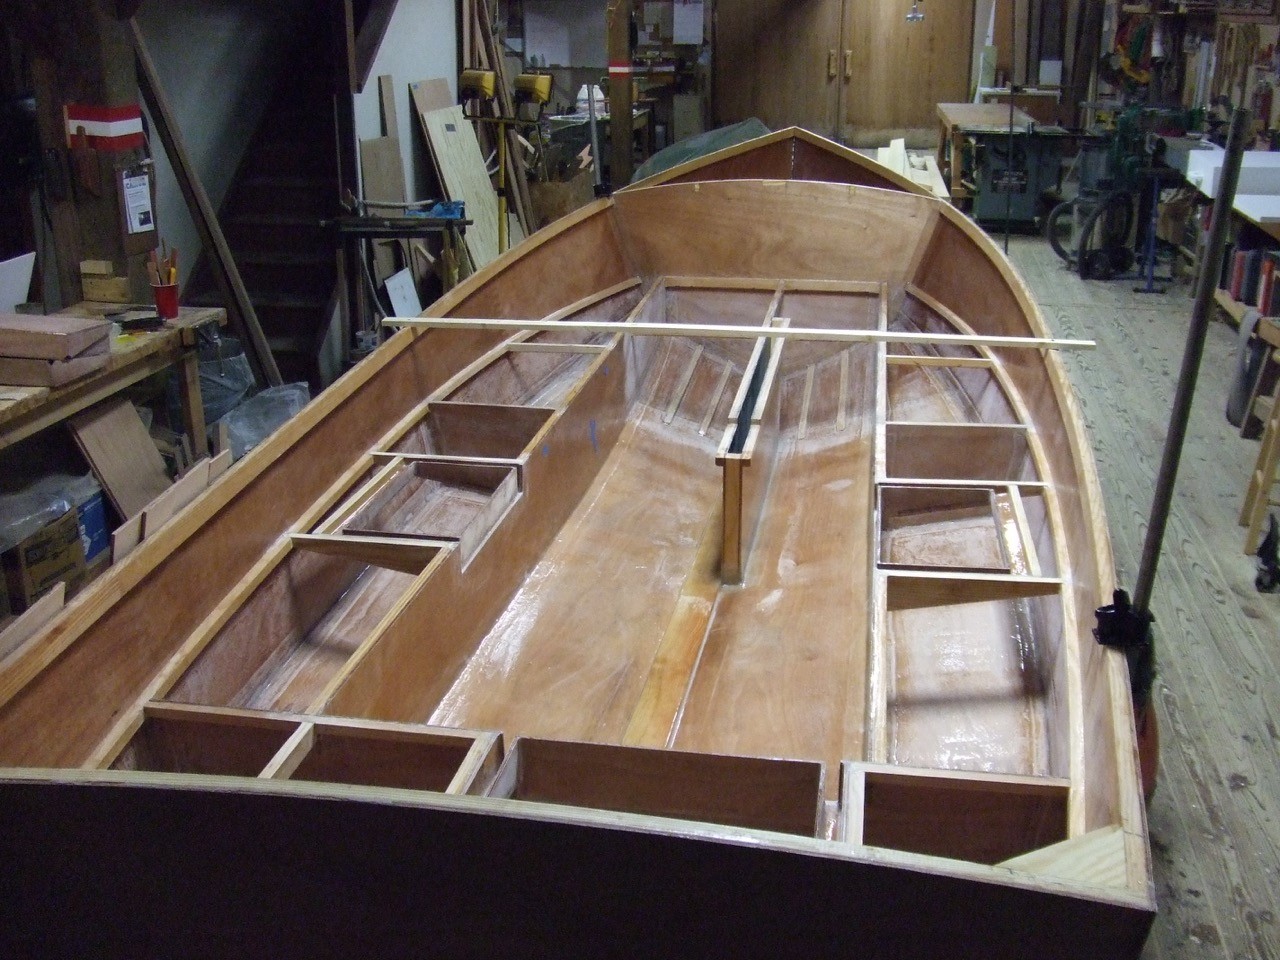
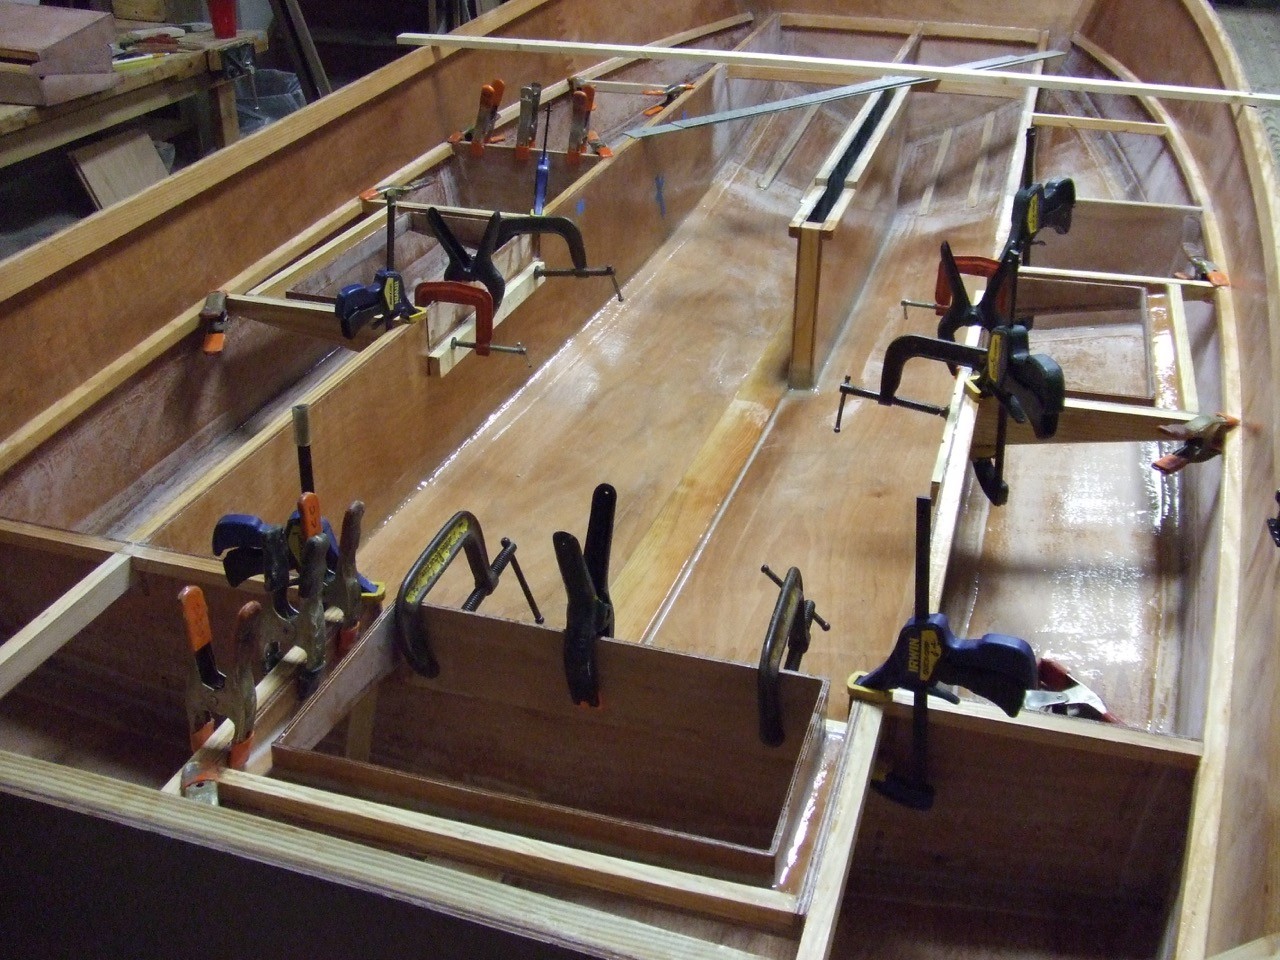
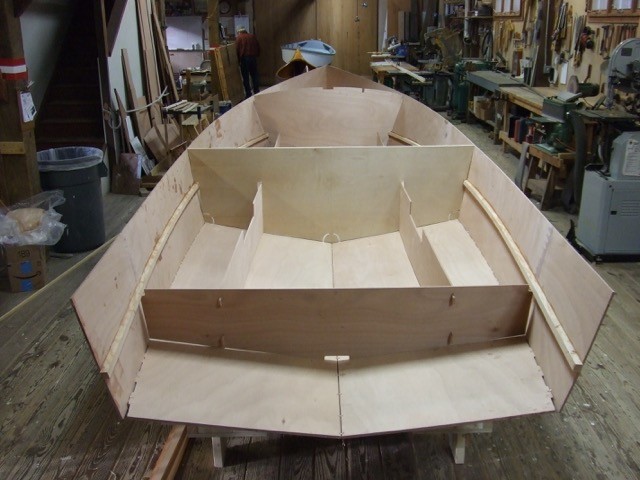
I'm behind in my updates so here goes: Took our annual two week trip to Florida to escape the Maryland winter (actually very mild so far) so I had a little break from boatbuilding and time to think through some things. In my first week back I got the centerboard trunk in. Just can't have too many levels! Then it was all about making hatch frames and covers. What a cool design! The kit-cut parts were perfect and Alan's video instructions about using the hot glue gun were just what I needed. I got the hatch frames installed this week along with some additional seat top framing. Next week: seat tops!


-

Wanted to contact Dale Niemann, cockpit tent
Chespearl replied to Jim Stumpf's topic in B & B Yachts Forum
Dale, I have similar desires re a cockpit tent for the CS17 I'm building. I also would appreciate any insights and details on your tent. As Jim said, photos of Lively have been an inspiration to me in choosing the CS17. I also wish you the best with your life changes as change is always hard. Regards, Brian CS 17 #191 -
Core Sound 20 Mark 3 Build - Chesapeake, VA
Chespearl replied to AmosSwogger's topic in B & B Yachts Forum
Nice work Amos! Your sons look like very proud boatbuilders. Priceless. Regards, Brian -
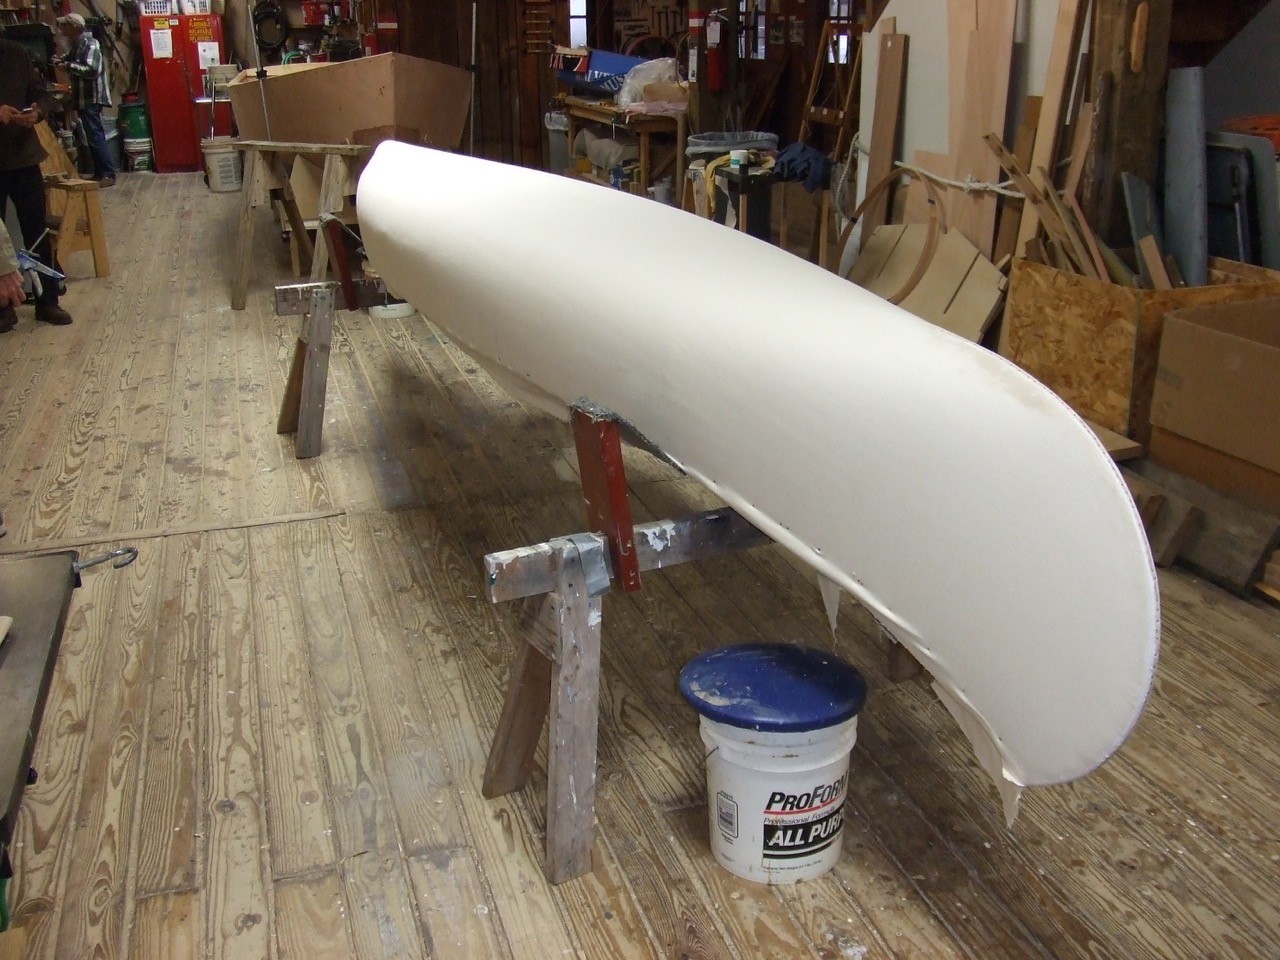
Got the keelson (aka keel batten) installed earlier this week. Will fillet and tape the center bay today. Now for something completely different... We've been restoring a 1927 Old Town canoe in the shop. We put the new canvas on this week. Good fun!


-
This morning we hoisted the wired hull out of the cradle so I could eyeball the keel line and bottom panel for fairness. Then more tweaking, leveling and plumbing. Last act today was tack welding the whole thing.


-
Got the inwales in today. The sheer is now looking good!

-
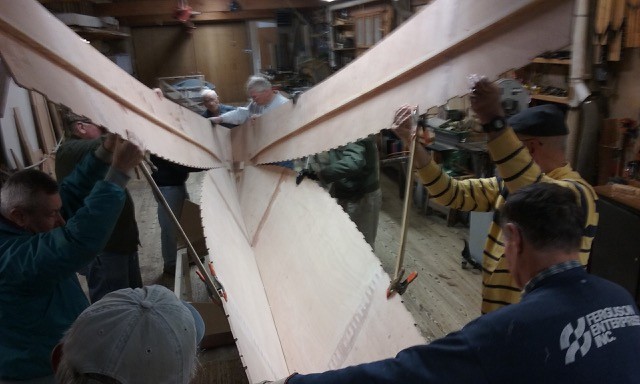
Did "the butterfly" with the help of several friends at the boatshop on Saturday. Only surprise was the boat ended up bow high due to misalignment of the cradle supports. I had calculated the heights of the three (fwd, mid, aft) supports from the hull construction plan drawing. As that didn't give a good result, I went back and watched Alan's CS15 videos. I repositioned the fwd and aft cradle supports as if their bottoms should be level with a 2x4 cradle (mine is made of 2x6). Looks pretty good now and the relative heights of bow and transom corners are in the ballpark. I still have some "perkiness" in the sheer at the bow that I hope will go away once I fit the inwales.


-
I found the "ring and bungee" thread with a good photo here. Thanks for posting David! Got my panels joined this AM. Will let the joints cure for a couple days.

-
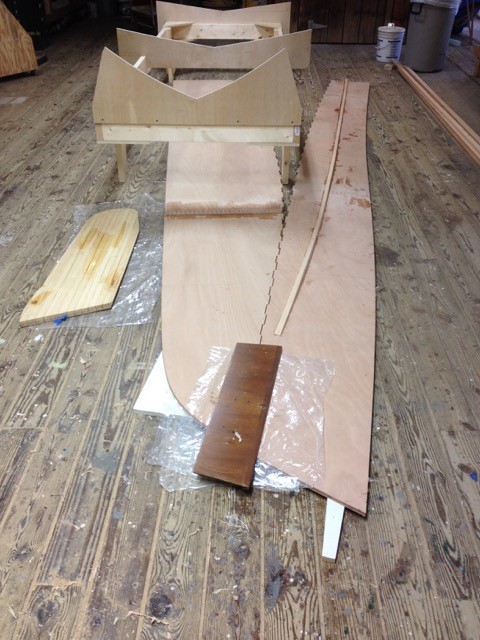
Don, Peter, Chick, Thanks very much for your replies and advice. I'm a few days away from wiring in the transom so I'm going to make a decision soon. One more outboard related question: every small boat I've had with an outboard has had the occasional problem with the mizzen sheet (or main sheet on boom end sheeted sloops) catching on the outboard. That is one of the reasons I'd prefer not to use a bracket. When the problem occurs I want to be able to reach it easily. Some one on this forum (can't find it again) suggested a bungee and ring set-up on the mizzen sheet to avoid the problem. Anybody have a photo/drawing/more info on this set-up? Here's photo from yesterday. I've got the cradle set up and leveled, and the panels ready to be joined.

-
Core Sound 20 Mark 3 Build - Chesapeake, VA
Chespearl replied to AmosSwogger's topic in B & B Yachts Forum
Amos, So sorry to hear about your friend Terry. I cannot imagine what this must be like for his wife and family. I appreciate his and your continuing service to our country. Regards, Brian -
Hi. My name is Brian and this is my first post on the forum. I started building my CS17 MK1 from the CNC-cut kit this week. As you can tell from my sail number I bought my CS17 plans back in 2006 but just recently got everything aligned to start building. I picked up my kit in October at the B&B Messabout. Had a great time and met lots of very nice folks. Thank you PeterP for taking me sailing on your beautiful 28-footer and thank you Alan for getting my kit together and loaded notwithstanding hurricanes and lots of things going on. My boat will be an "aft cockpit" model with a main mast tabernacle. Here's my first question for the forum: I intend to mount a Honda 2hp 20" shaft outboard (29 lbs) directly on the transom. (I know, I know. I hate motors too. But I live a mile up a narrow creek and the motor will enable me to go sailing on some days when I otherwise couldn't.) The plans say "For transom hung OB, further reinforce." I plan to use large radius fillets all around the transom and the transom and hull will be sheathed with glass. In addition should I 1) make the transom from 12mm ply instead of 6mm and/or 2) increase the area of the 3/4" transom framing (e.g., make the horizontal top frame piece from a 1x6 or 1x8 instead of a 1x4)? I also intend to add a UHMW plastic OB mounting pad. Here is a photo from Thursday after gluing up the bottom and side panels.