john_manchester
-
Posts
61 -
Joined
-
Last visited
Never
Content Type
Profiles
Forums
Events
Everything posted by john_manchester
-
Never mind, it was definitely the desire for boats. Do you think Joe would come help me sand? I'll pay his "Priority" air fare.
-
"Safety" was working for me for a while, but I'm back to crawling around on my belly--for both permission AND forgiveness. I wonder if the Vikings had the same problem. Is there any evidence of CFA influence in ancient Norse designs? And was it the desire to plunder that inspired the boats, or the desire for boats that caused the plundering?
-
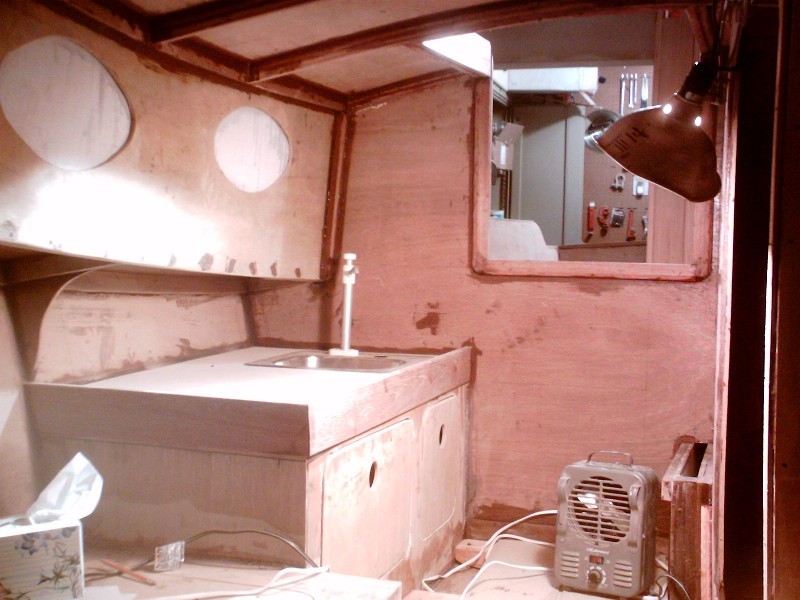
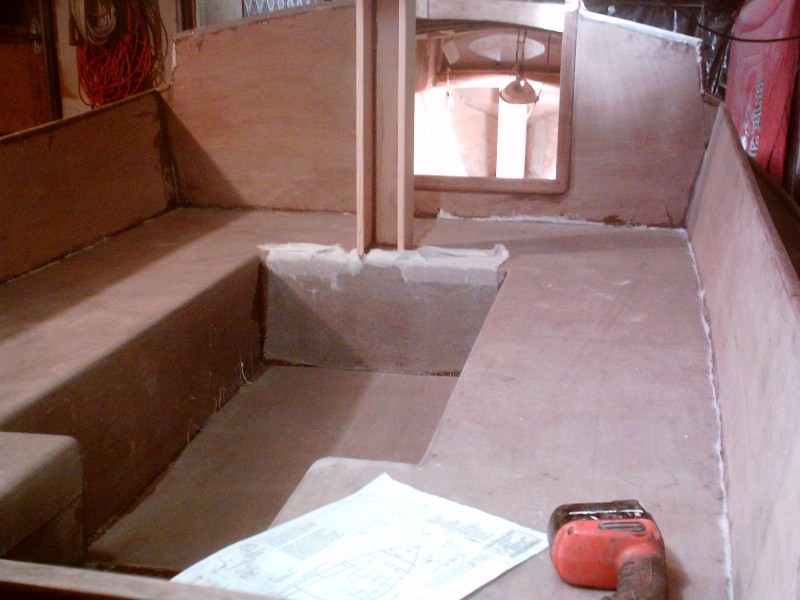
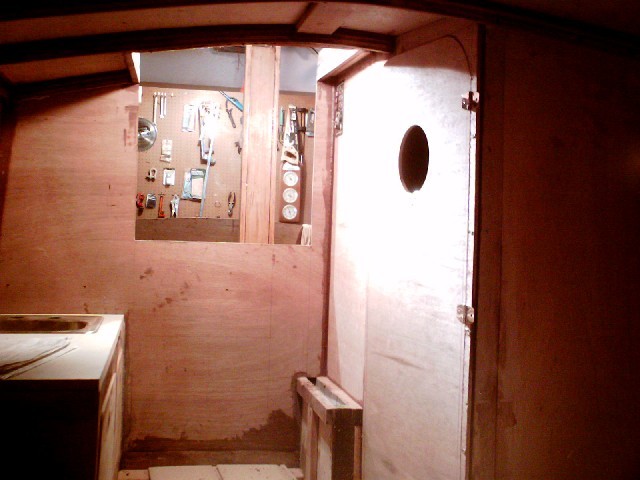
Here's a shot of the massive galley glued up and with the fiddles on (faucet's just sitting there). Have to invite you all over for supper some time.

-
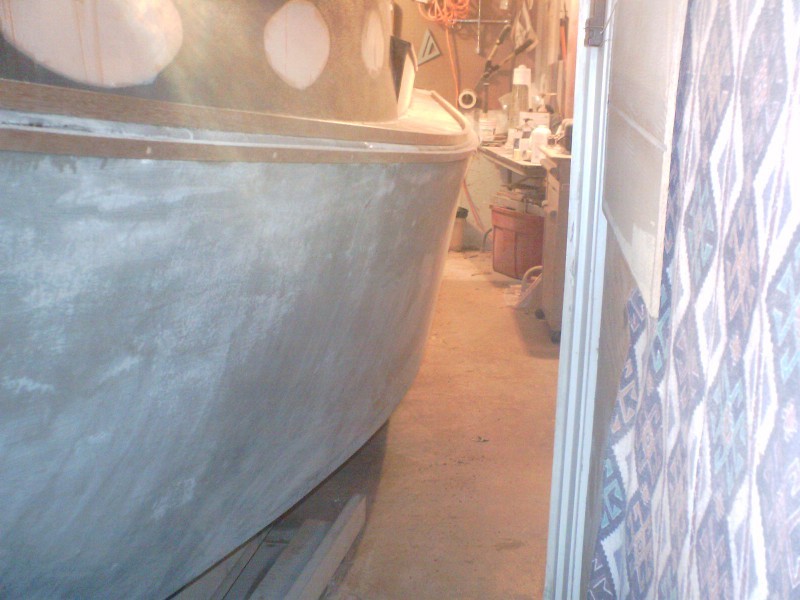
Got the topsides and cockpit glassed (or "Xynoled") but not quite painted. sigh. But over the holidays I did successfully test the cockpit for drinking beer (works great!). Today cut and fit the rails and the bowsprit. A small step for man, but there's something hugely satisfying about--like I may actually finish this thing! I'm afraid though that it probably looks a lot better to me than it will to you in the photos, but here goes. I was wondering whether I need to worry about water collecting on the deck behind the toe rails, and if so what to do about it? The pictures of #1 on the CD show full length rails, hard to see if there are any holes drilled in them though. It'd be a nice excuse to put a foot or so gap in the rail 11' back from the bow if I put another cleat on the deck there. But if I got the boat level, the lowest point seems to be about another 3' aft of that. I also kind of want to keep the deck clean since I'm a bit clumsy (especially after the cockpit test), and I think the rail looks better anyway solid full-length.


-
Charlie, which do you feel is better on a wood mast--external track or building the mast with a groove? Of course it's all relative but I found the stainless track to be a little pricey (I'd spend about twice on track vs. what the stock for the masts cost--doesn't seem right). Right now I'm planning to make external track using 3/4" aluminum bar (like $3 per 8' section), supported probably on 3/8" square Al bar. Graham checked out the fit with a 5/8" slide, says it'll work with a little rounding on the back edge of the bar--thanks again Graham. But maybe for the same effort would a groove work and hold up about as well? Would any extra maintenance be required for the groove?
-
Aren't two sheaves required on the mizzen, the extra one for the staysail halyard? Will there be enough meat left on the mast after notching for both? Or is it better to just mount a separate block a little ways down the mast? Depressingly I'm not very good at my day job, either. At least I can swim.
-
Do you think 1/8" aluminum would be strong enough for a masthead fitting? Something like in this highly skilled and artistic drawing?

-
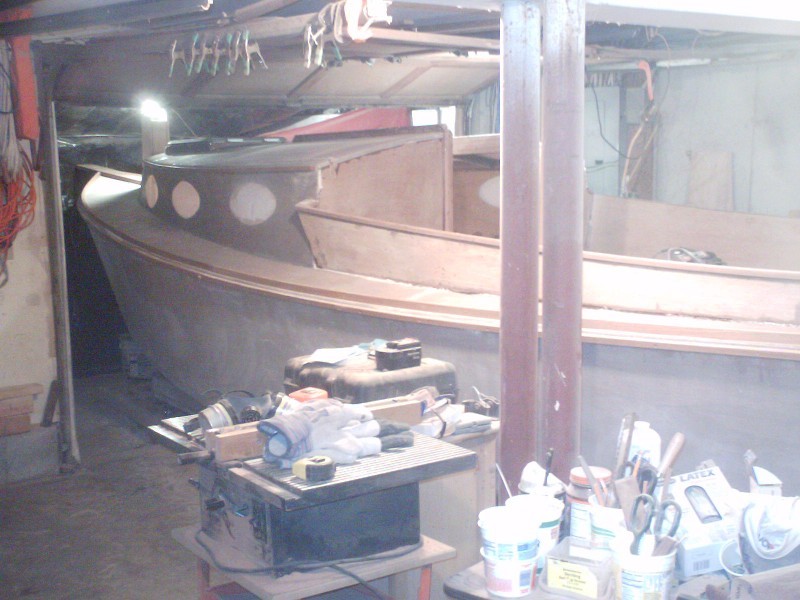
pictures of my messy shop (and boat)
john_manchester replied to john_manchester's topic in B & B Yachts Forum
Must feel great when it works. Guess I just need more practice. Man, why is building a boat so much fun? -
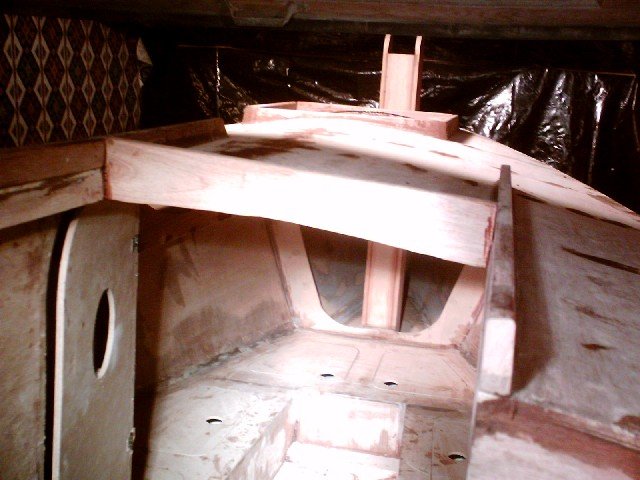
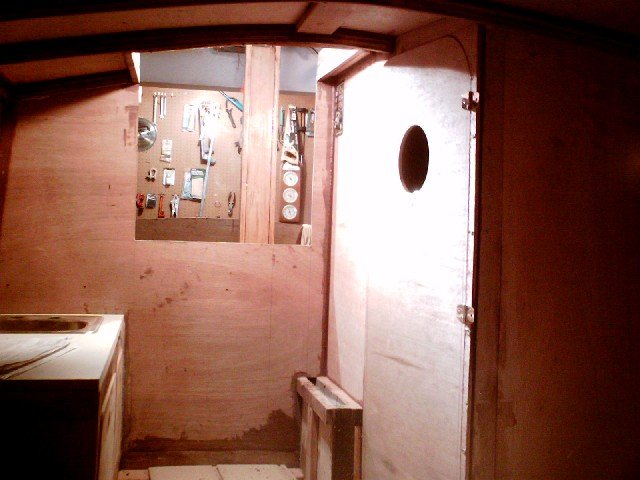
I keep saying I'm going to post more regular updates, and then don't. Sorry about that, just a bit disorganized. And selfish--she's MINE! Sicne the last update I poured and bolted up the keel, then finished painting the bottom. Also framed in the cabin and cockpit, running the cockpit carlins inboard of the cabin carlins (instead of outboard as on the plans) since they looked right that way, then found out when I went to install the coaming. I tried steam-bending the cabin roof beams, with entertaining results (again, if you're not me), and so gave up and just laminated them in place. Looks pretty good and seems to be plenty strong--we got a foot of snow yesterday and the "roof" to my shop annex collapsed onto the cabin with I'd say at least 500 pounds of snow. I don't think the boat even noticed, but I found it necessary to tap into my recently acquired "lightning medicine" (thanks for the tip Greg!) before repairing the shop. I hope to get her all glassed and maybe painted before the really cold weather hits. I can heat the whole thing up but it takes a long time. Should be able to finish the lockers one at a time with a space heater, and the cabin even with the hatches open is very cozy with a space heater.



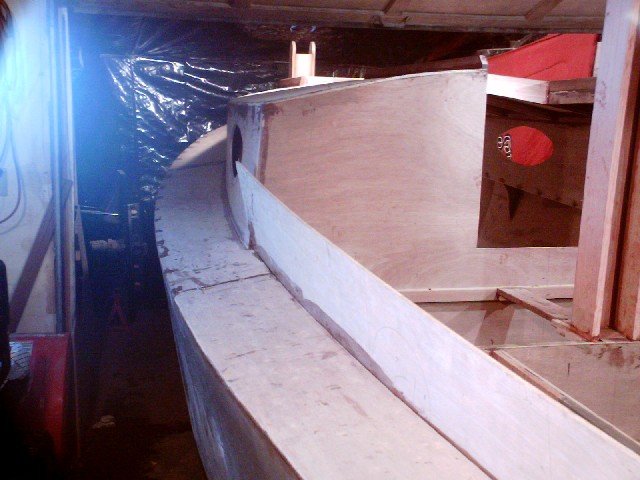
-
There's a big selection of overstocked and "second quality" Bomar ports and hatches available from Pompanette in NH, 603-826-5791. Availability changes each week and I don't think this site is updated as frequently, but it will give you an idea of what they've got: http://www.pompanette.com/pompweb.nsf/731d6514ff5a8481852567be000745b2/ec0f06b501c0c7b885256c76005ee4f2?OpenDocument The discount is pretty amazing--I got a 20" aluminum hatch for a little over 100 bucks, and 7x14 portlights for $30 each, complete with screens and trim rings. A quarter or a third of what they list for. "Second quality" means they have some cosmetic imperfection (they can't sell an incomplete or malfunctioning hatch, I guess just due to liability). Granted I'm not that picky, but I can't even find a cosmetic flaw on the ones I bought.
-
Duckworks is great--they have the Seadog 10-buck lights I was hoping to use, but was confused about where to mount. For around $30 it would be possible to spoof a tricolor light by mounting the cheap bicolor and the stern light both near the top of the main mast, with a separate cheapo all-around steaming/anchor light at the very top. But then there's 3 bulbs to burn, and would it look OK during they day? Or does it really matter how it looks. Either way it's sounding like the top of the main mast it the best bet. So since I'll have to run wires up anyway, it brings me to another question... You guys worry at all about lighting protection? Or can you avoid the danger by paying attention to the weather and/or dropping the masts if you get caught by surprise?
-
Thanks Graham, that's very helpful. I got the idea from my reading of the regs that the steaming light had to be at least a meter above the nav lights, and so a tricolor light couldn't be used while under power. This one's still 80 bucks but looks like it will completely solve the problem: http://www.defender.com/product.jsp?path=-1|65136|295769|320396|320405&id=64433. Although you're right that it'll probably be a bit ugly. I like your idea about separate bicolor, stern and steaming/anchor. However I think I have to keep the masts clear since it looks like I'll be using rope loops (maybe with wood beads to help prevent binding, was going to ask you about this when I get closer) to attach the sails for the first season or two. I keep reminding my wife the boat's better than a girlfriend, but she nonetheless meets my expenditures with increasing scrutiny... For cheap lights maybe this will help--there are a couple of sites that sell LED "replacement bulbs" to fit most applications. These guys for example claim their bulbs are as bright or brighter than the incandescent bulbs (but with much lower draw): http://www.superbrightleds.com/led_prods.htm.
-
I'm trying to figure out what I need to plan on for navigation lights on my Princess and starting to get confused and depressed. Can you guys help me out? If I'm doing my RRR right, the P22 is < 7m LOA (<22.9'). So according to the USCG regs I don't really NEED anything except a spotlight to light up my sails in time to avoid a collision. However, the wording is something like you "should" mount the proper lights on a boat <7m if it's "practicable". I don't get it--is this should like "you should brush after meals", or like "you should replace the drain plug after changing your oil"? I'm inclined to install the proper lights in either case, since it will make me feel like I know what I'm doing, but I also don't want to spend a fortune. You can get a bicolor light for 10 bucks, and a matching stern light for the same, but I'm not sure where to mount them. Would it be a bad idea to mount a bicolor on the main mast just at the hinge in the tabernacle? Or would it be better to mount separate lights on the rail? What's the best option for a stern light? If I mount a single all-around light atop the main mast, can it double as the anchor and steaming light? If so, could I mount that light instead on the mizzen?
-
Man, NICE job! Pretty good trick putting the gutters together outside the boat. What else did you prefab? It'd be nice if you could post more of your inspirational photos to the forum, although it does take time away from the boat. Don't the spiders keep the snakes in check down there?
-
The stretchy fibers like polyester are better for puncture resistance as well because they absorb energy and don't fracture like glass. There's a nice summary on the web of a backyard experiment on puncture resistance of various fabrics which you've probably seen ( http://www.oneoceankayaks.com/Abrasion.htm). And what about structural reinforcement--particularly joints like the chines that will take a beating from trailering? Seems to me glass is better in this application because it should prevent the joints from flexing, or rather do a better job of distributing stress around the joints, so they won't fatigue and eventually fracture. Of course, the glass will fatigue and eventually fracture, so you can't win. I wound up glass-taping my chines on the outside beneath the polyester sheathing (and then of course again inside over the fillets), but I have no idea whether it was at all worth it. Anybody know? Also the polyester doesn't give the hull much stiffness. Given that polyester soaks up a lot of epoxy, isn't glass the better choice for producing a stiffer, lighter hull?
-
Best Birder Picture I've gotten yet
john_manchester replied to John Weigandt's topic in B & B Yachts Forum
Man, that is a nice picture (and a beautiful boat!). Looks like you both have a lot to be proud of. Your daughter looks really happy, it's great that she shares your interest! -
OK, last picture. I didn't mention at all but I should that the plans are really superb, and it's been an awful lot of fun to work on so far.

-
Here's what should be the first part of the last post...


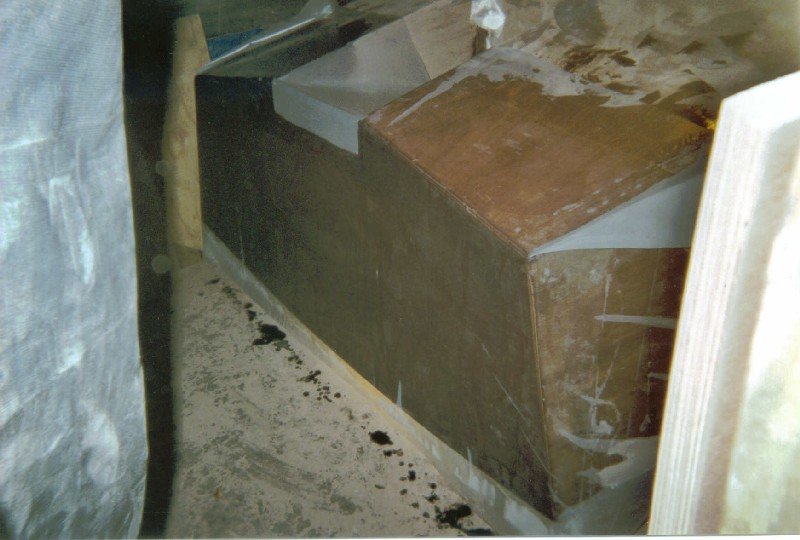
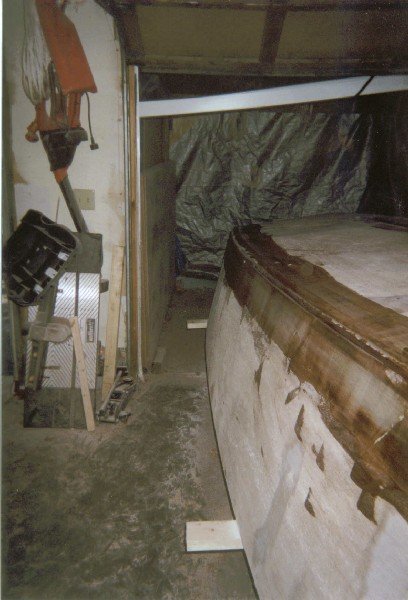

-
I epoxied the insides of the chambers pretty liberally, confident I'd never have to see the insides again. But not that you've mentioned condensation, I'll start having nightmares all over. Thanks. Charlie, did you worry at all about trying to balance flotation around the center of gravity, or were you just trying to keep it from going down? On the progress topic, I have a lot of the hull, but not much of the interior in stages so far, and only 1 roll still undeveloped. Not really keeping track of my time, but it seems I've spent comparitively much longer on the hull. I think I have to do this in 2 replies, getting an error on max upload size.
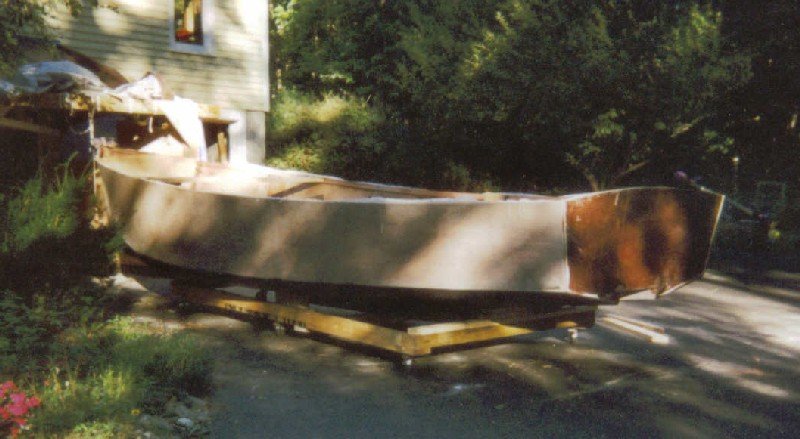


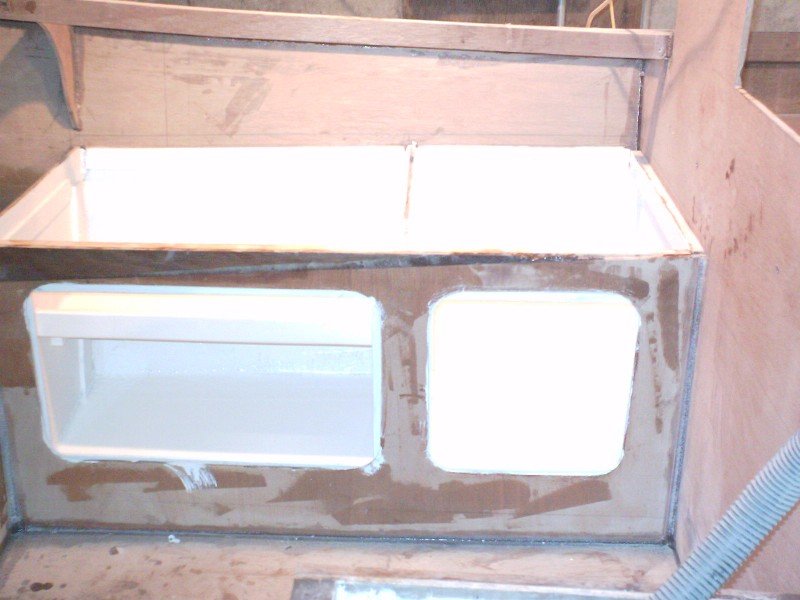

-
My choice, after reading the Coast Guard's safety guidelines for backyard boat builders (http://files.dnr.state.mn.us/education_safety/safety/boatwater/backyardboatbuilders.pdf). Most of the standards aren't required for sailboats >20 ft, but they point out that if you decide to include sealed flotation chambers, then any that contact the hull should be filled with foam. It's probably hard to rupture the hull under the cockpit, but I am also pretty good at screwing stuff up. The lead part of the keel is forward under the cabin. It bolts through the floors, which should all remain accessible under the sole. I used 2 4x4s for the keel, shaping them both in place. I took the forward one off and made a mold, but haven't yet cast the lead (need a non-rainy day when nobody is home). Speaking of screw-ups, I just realized that I forgot the keel bolt beneath the cockpit (actually 2, but I think I can squeeze in another under the quarter deck). That's what you get for hurrying--wife took the kids to Grandma's, and I wanted to get the most out of the day... Sorry about the gap--I just finally got a digital camera. I'll scan some of my previous ones and post them also. You want the mistakes too?
-
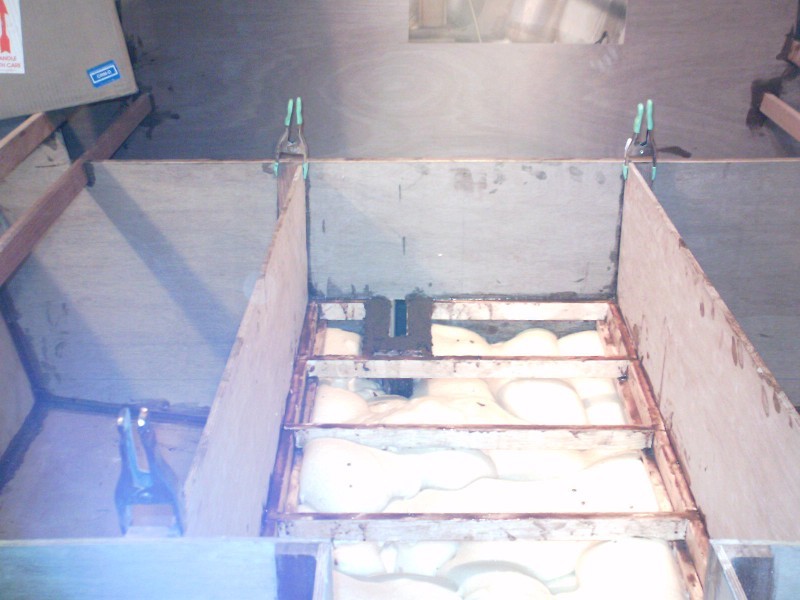
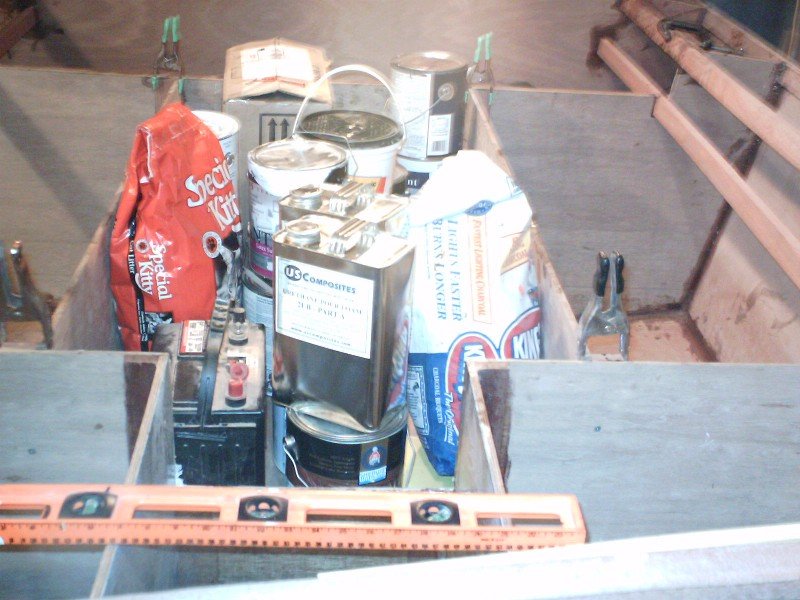
Fear finally got the better of me. I bought 4 gals of 2 lb. foam, which yields 16 cubic feet under ideal conditions. I'm hoping for 12-15 ft under my conditions (total ignorance), and will keep filling spaces until it's gone. The cockpit took about 2.5 gals. I mixed one big yogurt cup (about 24 oz.) at a time, let it get warm before pouring, and waited about 10 minutes between batches--long enough for it to harden up and go "tunk" under my mixing stick. Here's the sequence:

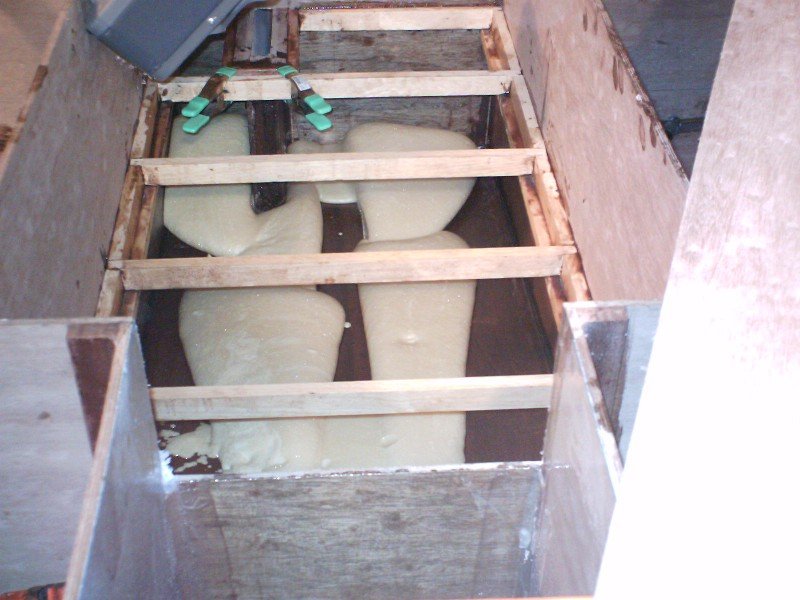
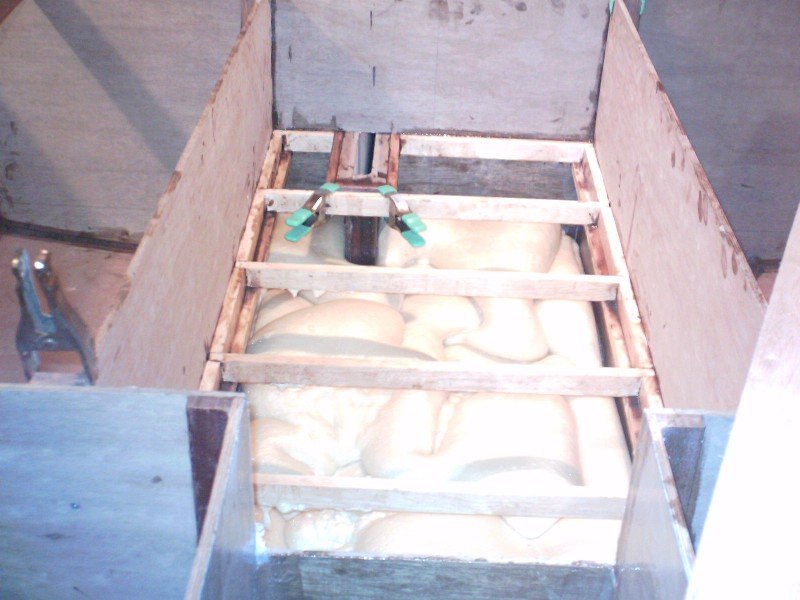
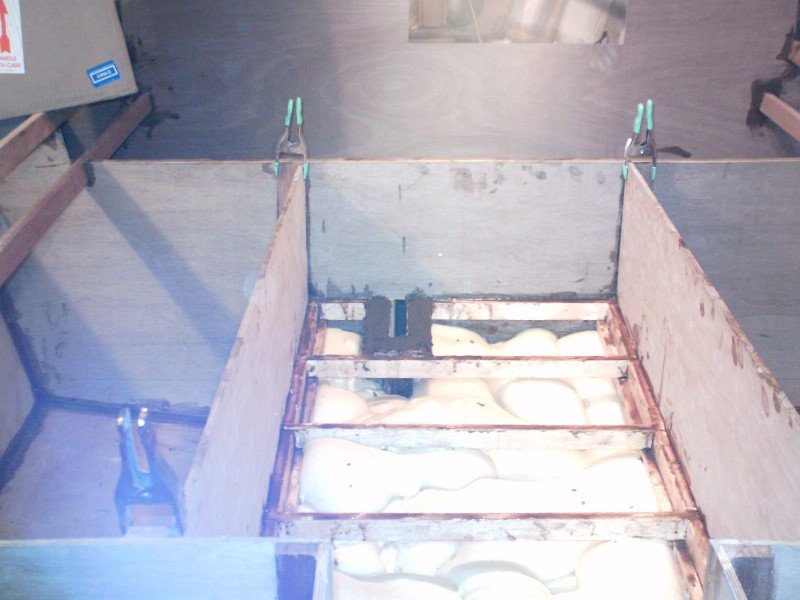

-
Thanks Ray--that's extremely helpful. Lots of things are not so intuitive for us "lubbers", like the fact that lead displaces water. Even though a capsize is less likely in a Princess, sounds like I should still plan for having it full of water at some point and adjust the amount of floatation (and junk I stow) accordingly. Sailing where it's cold (like off the coast of Maine), is there special safety gear you carry to keep you (and your crew) from freezing while trying to bail out the boat (or waiting for help)?
-
Couple of good threads recently on interior layouts, but no mention of floatation. On the Princess plans there's a floatation chamber under the cockpit. I've been interpreting this as meaning a sealed floatation chamber. But after the discussion around extending a quarter berth under the sole I'm a little confused. Is floatation optional? Seems like you have to have enough to float the boat when it's full of water, or you may as well not bother. How do you decide whether to include floatation? How do you figure out how much you need?
-
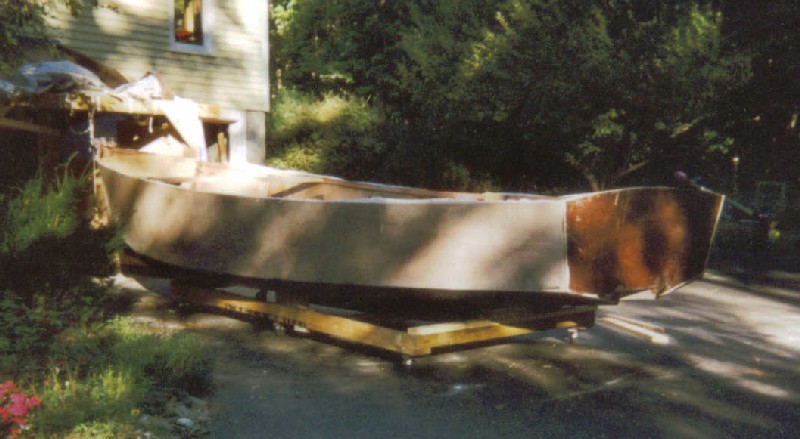
Meranti 1088 (Shelmarine). It's pretty stiff and I struggled a bit to bend it properly over the stringers forward. Only other real suprirse is the weight of the boat, although of course it probably seems heavier than it really is when it's hanging in the air and you can't get ahold of it. Should I be posting more updates?
-
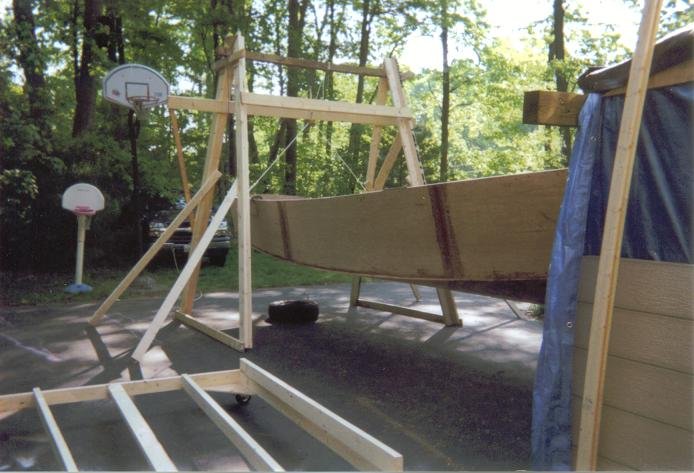
Hope these help. I didn't get any up close, I don't remember now out of shame or just plain fear. You run a rope around the boat and through a pulley suspended via a hoist to sometime solid. It's OK to knot the rope since you only have to turn the boat through 180 degrees (that didn't occur to me until I saw Charlie's (or Graham's?) pictures). I underestimated the weight of the boat (I had a 4:1 purchase, which isn't enough to raise it). It's a good excuse to buy a nice chain hoist, but if your truck just happens to be sitting there... The A-frame is made from 12' 2x6's reinforced with 12' 2x4's (looks like angle-iron). I used a landscape timber across the top, and then tied it all together with whatever I had laying around. The outriggers are just 2x4's tacked to the 2x6's with a single deck screw so they can run wherever they want to the ground, and believe it or not that makes the whole structure very rigid. I suspended the bow from the front of my "shop" and just used the one cradle, but I'd feel better with a second cradle. To be able to turn it by hand, the cradle needs to be near the center of mass (otherwise you have to lift the center of mass). Unfortunately on this boat that's in the biggest span between bulkheads, so that puts the strain on the sides as I understand in about the worst place. The first time I turned it I could take advantage of the temporary bulkhead, but the second time I'd removed it while installing the centerboard case, so put the cradle much further aft, and did have to struggle a bit to turn it. Maybe somebody else can verify this, but it seems like a second cradle with a decent (electric) hoist and enough ground clearance would allow you to manipulate height of the center of mass as you turn the boat, keeping it above the center of one or the other cradle, so it wouldn't take any real effort at all to get her over. Drive safe!