Fishman38
-
Posts
340 -
Joined
-
Last visited
-
Days Won
9
Content Type
Profiles
Forums
Events
Everything posted by Fishman38
-
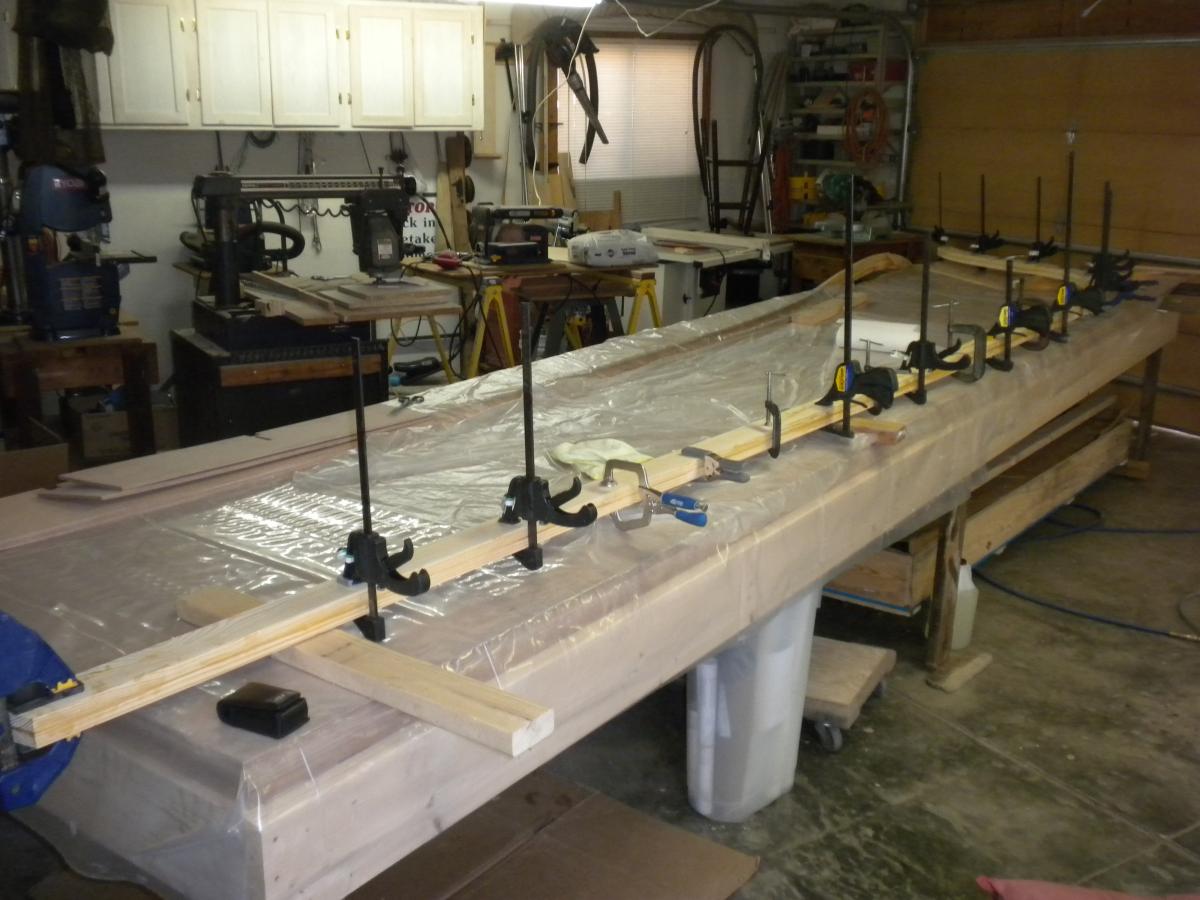
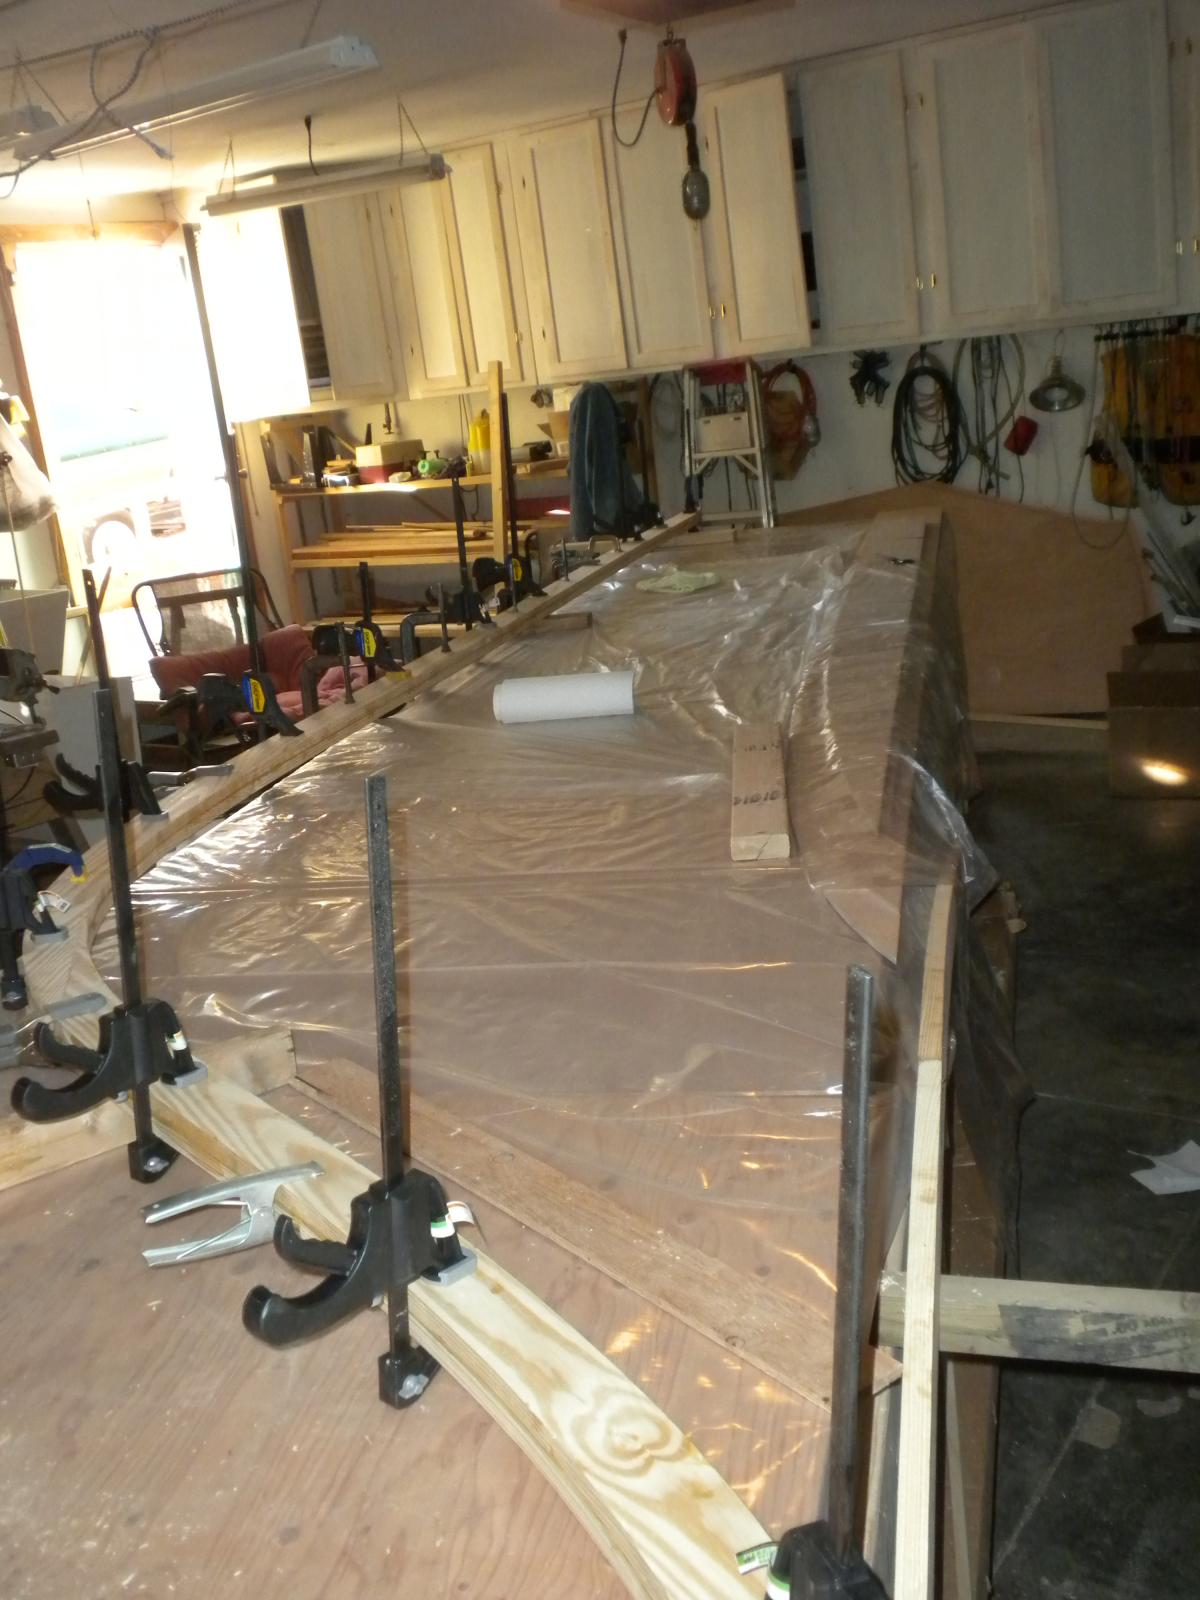
For the record, the pictures below illustrate the method(s) I used to form the keel/stem bevel. When I get to the planking I'll comment on how successful it was.... The saw blade is a metal cutter and the piece of angle iron clamped slightly below the bearding line provided an audible signal when the correct depth was reached. That left only the center line along the bottom of the keel to keep an eye on. Once I kind of got the feel of the process I no longer used the guide, just watched the two lines. It only worked on the straightaways anyway. One must really be careful when he gets into the curves and scarfs to be sure to work with the grain, not against it. I'm quite sure the spokeshave would have worked better there. I'm sure this all looks pretty crude to the pros out there but it seemed to work for me. If it turns out ok I thought the pics might be helpful to some other novice builder down the road. Later on I'll try to mention whether I recommend doing it this way depending on how it looks when I start planking. Someone on here said something like "with enough glue and filler you can fix most anything". I hope he's right! I think it took me 7 or 8 hours (to finish the beveling).


-
OK, this is pretty much the way I've always done it except I've always pushed toward the edge of the iron to remove the wire edge (I've always thought of it as a "burr"), that is, the same direction as when honing the bevel side (hopefully I'm not doing that a** backward too!), opposite to the way you describe. Also I've always skipped the stropping step. I'll definitely try it your way. I'll also see if I can find a bevel guide..........I've always "eyeballed" it with some degree of concern that I was getting it right. BTW I very carefully used the front end of a belt sander after the chisel on the concave part of the stem. Remains to be seen whether it worked satisfactorily. Seemed to. Thanks to all of you for all the wisdom! Jerry
-
Goobers I guess. Sharpening may not be rocket science but I don't know what you mean by:
-
Howard, from what I've read on this forum I'm sure you're right, and your comments on sharpening it are well taken. Sharpening tools not a strong suit for me. My father always kept a razor edge on his pocket knife (I've got a nice scar to prove it) but I never mastered the art. Just enough to get by. I just do the best I can with a whet stone. Any tips would be greatly appreciated.
-
Good question! Best answer I can come up with is: anticipation, speculation (and possibly arm stength deficiency?). As I'm familiar with neither the tool (spokeshave) nor the process (for that matter I don't have a lot of experience with a block plane since I try not to stray too far from power tools, but from the pictures, I assume the former is a two-handed tool and (at least I think of) the block plane as a one-handed tool), I'm trying to anticipate what I'm going to encounter when I'm trying to finish the beveling after the frames are in place on the keel, and thinking maybe a two-handed tool might be better in working from an awkward position. Or something like that. .....................jeez, I hope this makes a little sense! Could be Miyot was just saying the spokeshave is a useful tool to have in one's arsenal, not necessarily for the beveling process. Also although the name spokeshave implies a curved cutting edge, I gather they're also available with a straight cutting edge.
-
Too late on the keel/stem bevel Miyot., it's done. I talked to Graham just yesterday and he too cautioned about taking too much off in beveling. At the time I was about done with one side of the keel. After that I tried to be careful more careful but still may have to add a little material back in places. Which I will do just before planking and will probably need to buy a spokeshave then to remove any excess material. The reason I asked about the type of spokeshave I should get is I am totally unfamiliar with the tool and in researching it there seems to be umpteen different sizes and shapes, i.e. concave, convex, low angle, chamfer, flat etc. I'm guessing flat would be the one for general purpose and what I should get.? Regarding the staples, you're right about 9/16 being the longest Raptor sells. I know I said staples but I was thinking more of using the brads they sell which are up to 1" long, in lieu of or in addition to clamps to hold for instance the 1/2 inch aft bottom sheets and for the first layer where a second layer is to be laminated, until the epoxy sets up. The head of the nail or brad would be sanded off with the rest left in place, same as the staples. One major downside to doing that would be the $200 cost of the pneumatic nailer that I believe is required. A little steep to build one boat and I'm probably trying to solve a problem here that doesn't exist. BTW, have you decided yet if you're going ahead with the center console? If so, do you know whether any special consideration must be given in designing the console to accomodate the steering cable(s)/hoses for going under the sole vs horizontal to the gun'l, then to the engine. Seems to me if you use a hydraulic system there would be no problem but one could wind up with some pretty steep turns in a mechanical cable. Any thoughts on that? Thanks again for your input. Too bad about the broken intermediate sheer on your build. I'm sure that's very frustrating but otherwise it looks great. I just today found a source of clear straight grained doug fir, 3/4, 4/4 and even 8/4, right here in town. Hopefully it'll work well. Only problem, I think it has probably been in the warehouse a long time and in this climate it may be well below the recommended minimum 8% moisture content.
-
I have seen discussions on another thread about the pros and cons of using (Raptor) plastic staples to fasten the top layer of planking to the bottom layer. What about (1) using a (longer) staple to fasten the first layer and the only layer where only one is used, to the keel, stringers, chine, gunnel etc. (2) Using the plastic brads for that purpose. Does anyone have experience with that? I like the idea of not having to fill screw holes. Also I'm about to start working on beveling the keel and stem. The only tool I can think of that might be useful and don't have is a spokeshave. Do I need to spend that $50 -$100? The description in Gougeon has the keel/stem assembly installed in the set-up before starting this. Since Graham has drawn the bearding line on the port and starboard side of the kit supplied components, I can't see why not set it up at a comfortable working height on the shop floor. Am I missing something here? There may be a little difficulty in securing it well enough but I'm sure it can be done. J.O.
-
Oh yes I remember such a post, but where does one find those?
-
I wonder if anyone has tried using wooden pegs instead of screws?
-
Thanks guys! I've already seen enough to know this is good advice!
-
Actually I wasn't sure whether this was a commonly used technique in gluing the solid woods. I think "pre-drilled" is the operative word in your comment. Another might be "with a sharp bit". In edge gluing the stem components I was having trouble with the eel-like sliding around of the parts while clamping after the glue had been applied. I believe these parts are cut from Southern pine. I try to keep my drill bits fairly sharp but when I tried to drill a pilot hole the bit hit a hard grain and decided to go around it. Offset the two pieces by about 3/32 even with a clamp in place. BTW is it necessary to fill the hole after removing the screws and if so with what, or do you leave them in place? If so what type of screw do you use for this?
-
Tarbaby thanks also for your input. I thought maybe what I experienced was the result of slower heat dissipation due to the larger volume. Also I'm sure that the concrete floor issue was part of the problem. The first batch was mixed with resin and hardener that had been sitting on or near the concrete floor for several days. That night I left the components sitting on a table and turned the up a few degrees in the shop a few degrees. I'll pay close attention to those factors in the future.
-
Dave, I did use the thickener that Graham provided. The question is did I use enough. I tried to mix it according to the West System User Manual. I used a roller to spread it and it was thick enough that it was a little difficult to spread with the roller; might should have used the notched spreader , but there was quite a bit of squeeze out; a few places I would have liked to have seen more. I had cleaned most of it off before taking the pics. Also I had wet it all down then mixed a couple of batches with the microfibers. Hopefully it'll be ok. I have the Gougeon book. Haven't read it cover to cover yet but am trying to read the relevant parts as I go. Also have the West System User Manual and ditto on it. The only problem so far has been with the one stringer that I mentioned in my previous post. It was as if there was air trapped in the joint and the pressure kept pushing the two pieces apart. Because of the setup, I decided to let it be and if necessary cut that section out and redo it. The other three turned out fine. Thanks so much for your input. Please continue to point out any errors you see.
-
Results of todays 2 1/2 hours..........................Question: does the size of the epoxy batch affect the flash time? I mixed a batch of two pump strokes which was easily workable for 2 plus hours and hard set in 6 1/2 hours. This was with the "slow" hardener. The next day I mixed a batch of three pump strokes that kicked off in a little over an hour. The temperature was a few degrees, guessing 3 or 4, higher on for the second batch. Just wondering what I did wrong. I followed the recommended procedure of one stroke resin, one stroke hardener etc. Might I have not let the resin pump fully reset on one or maybe two strokes?


-
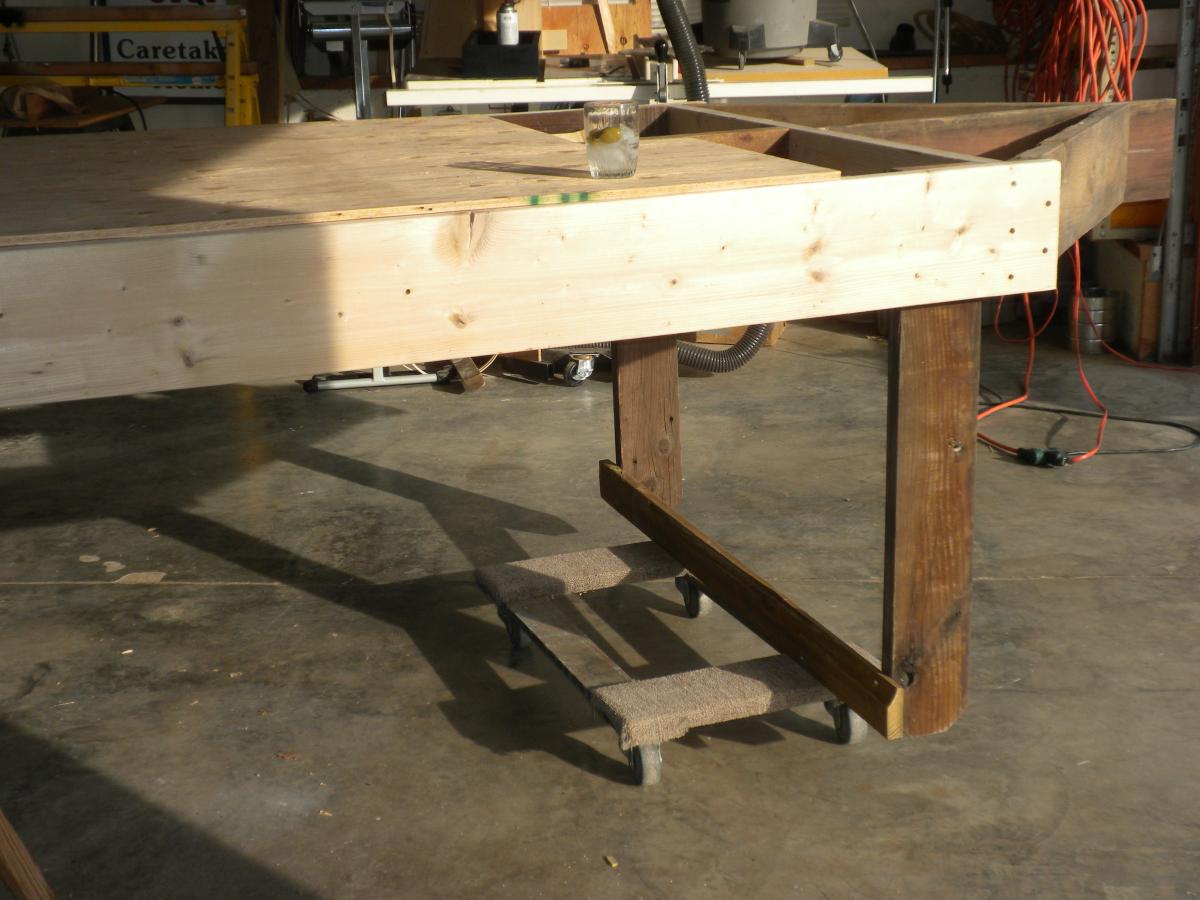
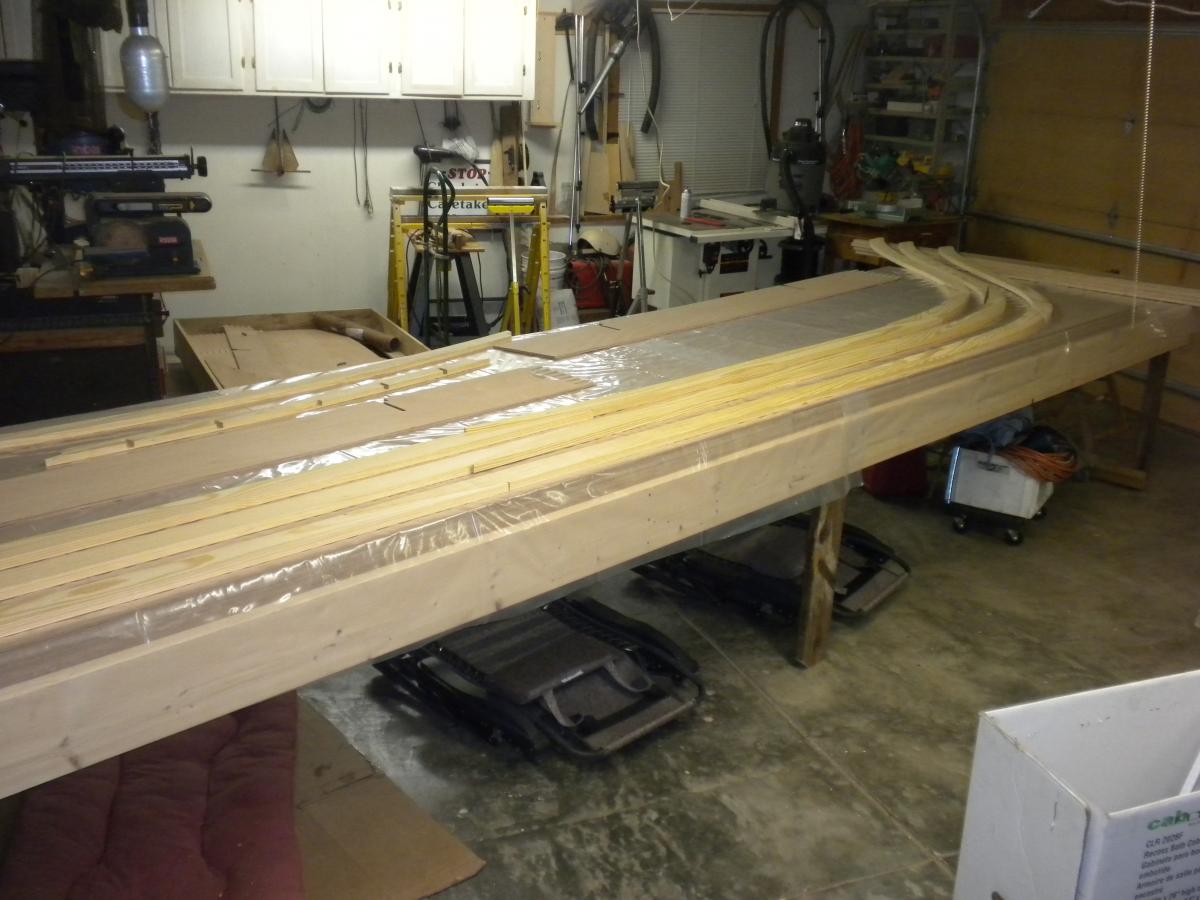
Finally getting started gluing up the keel, stem and bottom stringers. Once this is completed will clear the table, cut the legs off and turn it back into a strongback. Afraid I may have goofed on one of the bottom stringers. Looks like the finger joint may have moved and didn't realize it till after the epoxy had kicked off. I think it left the stringer mis-aligned, and if so will cut out a section at the joint and learn to scarf. The jugs of epoxy were used for weights.


-
Like Toomanyboats, although it's a long way down the road yet for me, I'm concerned about the technique(s) of fastening the transom to the frame, whether metal fasteners are needed and so on. I've not been able to find much on the subject in the publications I've seen so I really appreciate your input Miyot. Hightechmarine, thanks for the info on the console article. I've ordered the magazine. BTW please remind me what boat you are building and if you're doing a thread on it. When you get the T-top built I hope to see pictures. Jerry
-
Hightechmarine, can you provide a bit more info on the "building consoles" article? I've looked in the Professional Boatbuilders archive index under "consoles" and "building" and come up with zilch. Maybe the author's name and or issue date would help. Thanks, Jerry
-
Picture of the drwg of the jig I plan to use to laminate the 3 sheets of 3/16 for the transom. Very similar to that used by Miyot, building the OC 24. I am a few clamps short so thought I'd try this. I am puzzled about: 1) when the transom should be installed; I'm thinking after all the frames have gone in and before the stringers. Or maybe it doesn't matter? 2) how exactly it should be fastened to ensure adequate strength to support a 400 lb motor, especially while trailering. Any comments/pics would be appreciated. The pictures posted by NZ Lance are very helpful; however any additional info would be very welcome! After another long look at the plan, it's apparent that the weight of the motor is supported primarily by the bonding of the transom to all four bottom stringers, the keel, the bulkheads of the well in addition to the sides and bottom. I assume these bonds include some type of permanent metal fasteners (bronze? Stainless Steel? screws) as well as the epoxy, fillets and battens (I hope I'm using that last word correctly--not sure, I'm talking about say 3/4 x 1 1/2 inch solid stock used in the corners where two plywood panels meet at right (or other) angles.
-
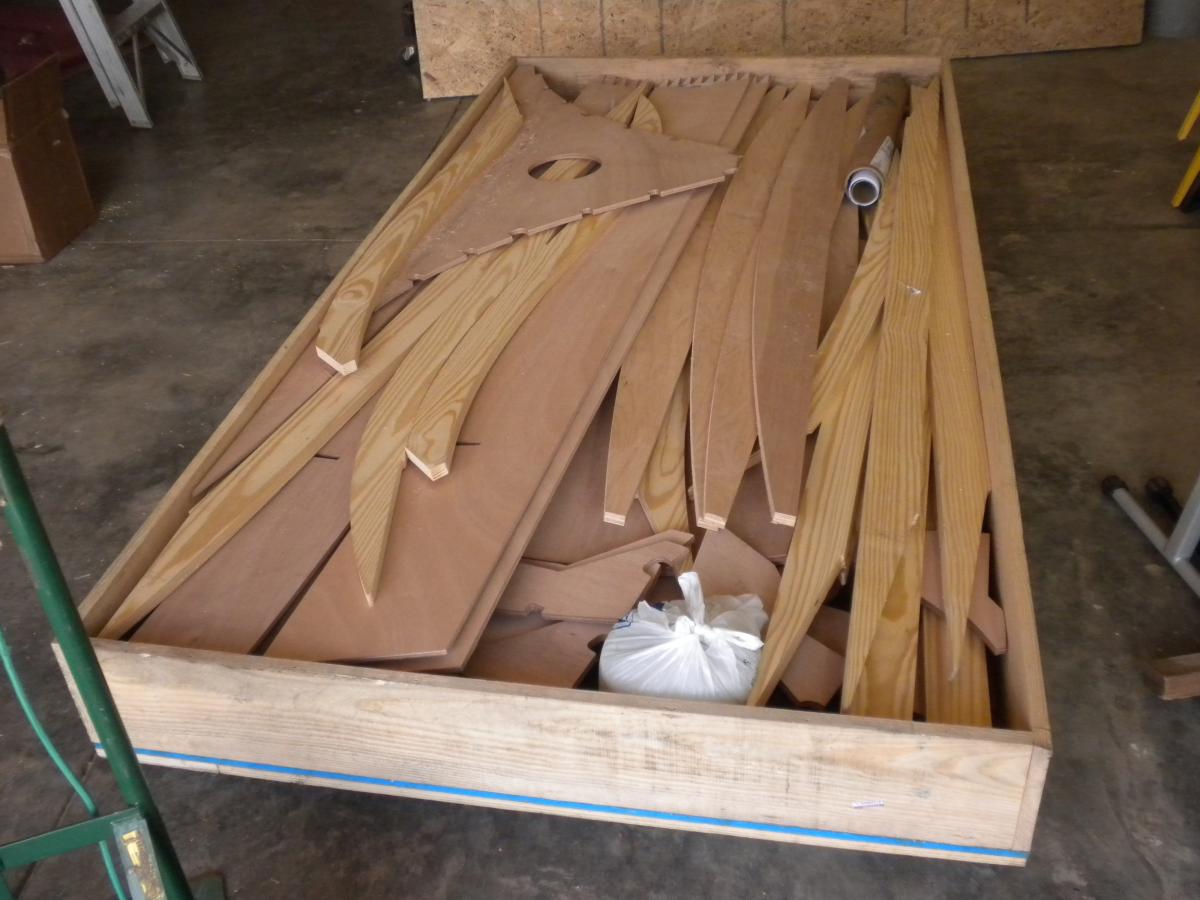
The CNC frame kit. Just about ready to get started. Oops. Not quite. This is obviously after a hard day of cleaning and rearranging....................... Just getting a feel for where to start.


-

Outboard motors adjustable for altitude
Fishman38 replied to Fishman38's topic in B & B Yachts Forum
That's amazing!..............and brings up a lot of questions. -
Outboard motors adjustable for altitude
Fishman38 replied to Fishman38's topic in B & B Yachts Forum
PAR, a tip of my hat for a great post sir, exactly the kind of information I was looking for. And gee, I've always had the impression it was a relatively simple issue in small airplane engines! Now you've got me wondering why it has to be so much more difficult in a boat motor. Don't think I want to dig deep enough to find out the answer to that! Of course what little knowledge I have of airplane engines derives from '30's, '40, and maybe '50's technology! Hydrohokey, thanks for supplying the MAF translation. I have 3 or 4 boater glossaries in my favorites list and still sometimes can't find the answer. I'm still trying to figure out what a "beard line" is, also a "breakshear". -
Outboard motors adjustable for altitude
Fishman38 replied to Fishman38's topic in B & B Yachts Forum
Thanks for the input PAR. The only reason I might want a turbocharged boat engine would be to compensate for the power loss due to lower air density at higher altitude and I assume they'd have to be designed to adjust fuel to air ratio as well. I don't remember the exact rate of power loss with increasing altitude but I once calculated that my 70 hp sea level rated Johnson would rate about 45 or 50 hp at 9000 feet where I often fish. I think it's 3% for every 1000 feet. And that's only if the fuel mixture is correct. BTW I read that one company is marketing or about to market a turbocharged outboard but only in the 300 hp range. But no, at some point I'll be looking for a larger motor probably 90 to 115 hp, for the Ocracoke 20 I'm building and hoping to find one that can handle the high altitude better than the '83 Johnson 70 I have as well as near sea level occasionally. Also a new boat warrants at least a newer motor . I'm just trying to learn more about what's available so I know what to look for when that time comes. What does MAF mean? I've seen lots of motors for sale that claim EFI, some I think in the 90-115 range but don't remember seeing the MAF part. I guess I more or less assumed that any Electronic Fuel Injection system would adjust for changing atmospheric pressure. -
Outboard motors adjustable for altitude
Fishman38 replied to Fishman38's topic in B & B Yachts Forum
I found an article online that answers the first two questions and they are "yes" and "yes". The article didn't address the third question but the answer to it is probably "no" since the answers to the first two are "yes". BTW this article talked about two stroke engines only. The article also didn't address how these new technologies handle performances at different altitudes so if anyone out there has experience with that issue I'd love to hear from you. Seems to me that these motors would handle altitude changes as well as modern cars do. -
This may not be the most appropriate place for this topic but being impressed with the knowledge base I find here, thought I'd give it a go. The 1983 70 hp Johnson on my old johnboat is a very good machine............at or near sea level. However the only way to adjust for altitude is basically by trial and error changing high and low speed jets, a total of six of them since its 3 cyl with a carb for each, as well as prop size and/or pitch. Not very convenient if you want to fish occasionally at sea level as well as in the mountains! There's probably nothing to be done about the prop issue, which is no big deal anyway, but can anyone tell me whether any of the later model outboard motors are equipped with electronic controlled fuel injection systems that may solve the fuel mixture problem and/or possibly equipped with a turbocharger? Or even with manual hi and lo speed manual mixture controls as we (at least used to) find on the small single carb motors.
-
Would you happen to know where this motor, E-tech, is built? i.e. U.S.A. or elsewhere, and if elsewhere, where