brucee
-
Posts
27 -
Joined
-
Last visited
brucee's Achievements


-
I laminated the gunwales for my S10N using 1/4 x 1" strips. There was a fair amount of force required to get the laminated to bend along the sheerline curve and the bow to stern curvehull curve. I am getting near doing the big cut into two halves but other projects and cold weather have put things on hold. Two of my buddies used 1/2 x 1" successfully. Good luck! Bruce
-
Way to go Clarence! Your boat is looking good. I hope cutting it in half wasn't too terrifying an experience! My 10N is soon ready for the big cut too. I need to install the keel first but I keep finding other things that need doing around the house so, somewhat thankfully I've been able to put it off. For joining the two halves I am going to go with Gary's connector clips on the bottom of the hull so I don't have any holes below the waterline. I'll use bolts by the gunwales for joining the upper hull halves together. I'm long overdo for posting some photos. Keep up the good work. Bruce
-
Hey Garry, That's a fine yacht you have there. I'm sure you'll have a great time with 'er...a dream to reality. I've enjoyed your contributions to the website. You have offered some great comments and advice. One of the Sprindrift 10 quints under construction slowwwwly at my place will use your connector design for joining the two halves together. (So far, construction of three of the quints are progressing well. I'm overdue for posting pics.) Good to hear you have aquired a Spindrift 10N. We're happy about that 'cause you will be constantly reminded of your online friends on this blog! All the best Garry. We look forward to your future photos, adventure stories and postings. cheers, Bruce
-
Hi Rod, Pretty slick method for flipping your boat. Thanks for sharing. Your boat is looking great too. Keep up the good work! cheers, Bruce
-
Hi Dave, Your canoe is gorgeous. It must be a joy to paddle. Thanks for sharing the photos. Does the skin flex when in the water? How does the skin keep tight? Does the boat twist at all? Where do you get the vinyl skin? How is it attached to the frames? Sorry for so many questions but I've had it in the back of my mind to build a super-light canue like your someday. cheers, Bruce
-
Hi Larry, Your Spindrift is looking great. Congratulations! It's an inspiration. I'm at the centreboard-trunk-installation stage on my Spindrift 10N. The project is slowwww going, but I have a couple of questions: Does your centreboard trunk feel secure with the only lateral support at the nesting bulkhead? It looks like you have no inspection ports in your rear seats/buoyancy tanks. Did you do anything special to the insides of the tanks? Thanks for sharing your photos, Cheers Bruce
-
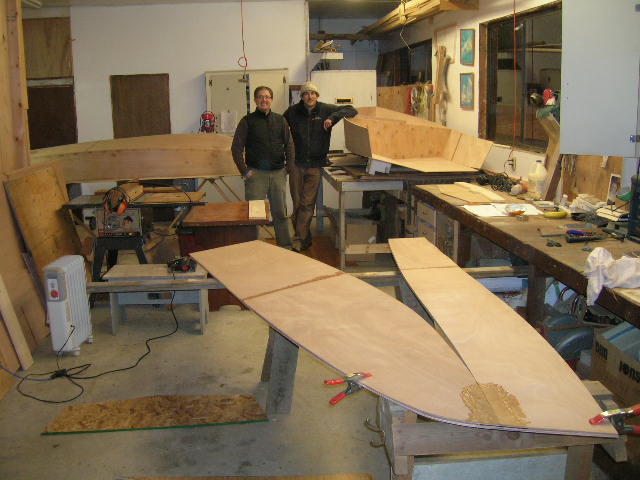
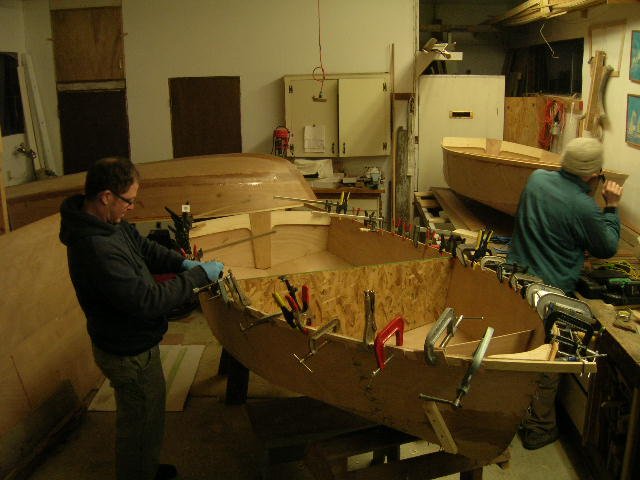
More clamps! More clamps! I need more clamps! The guys didn't like the PVC clamps I had made so they raided every clamp they could find in the shop and brought along a few of their own. They even found a couple of vice grips that worked well. #4 and #5 of the Spindrift quints are soon to be at the butterfly stage. Then things will get crowded!
-
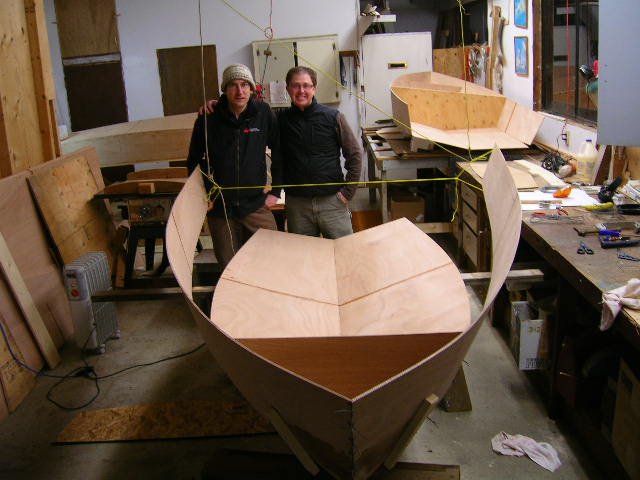
We are getting some progress, having committed one evening per wintery week to working on the boats. It's amazing how you forget about your fingers after they have been cold for a while. Here is a photo of #3 of the Spindrift quints. Numbers 1 and 2 are in the backgrount. This is at the start of the evening


-
Spindrift 12 - It's very slow but it's progress.
brucee replied to Ambler's topic in B & B Yachts Forum
Hey Alexander, Thanks for sharing your latest photo. Your spindrift looks good floating on the sawhorses. I'm sure it'll look even better floating in some wetter stuff! It doesn't look like you have too much left to do before a launch is viable. Keep the progress and blog photos coming. I know I am overdue for posting some pics. cheers, Bruce -
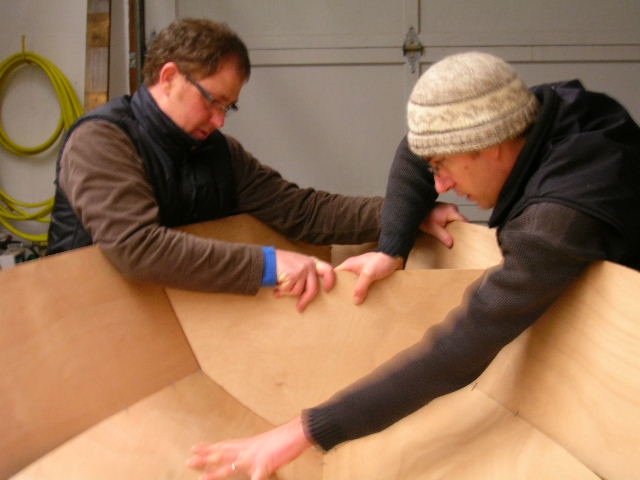
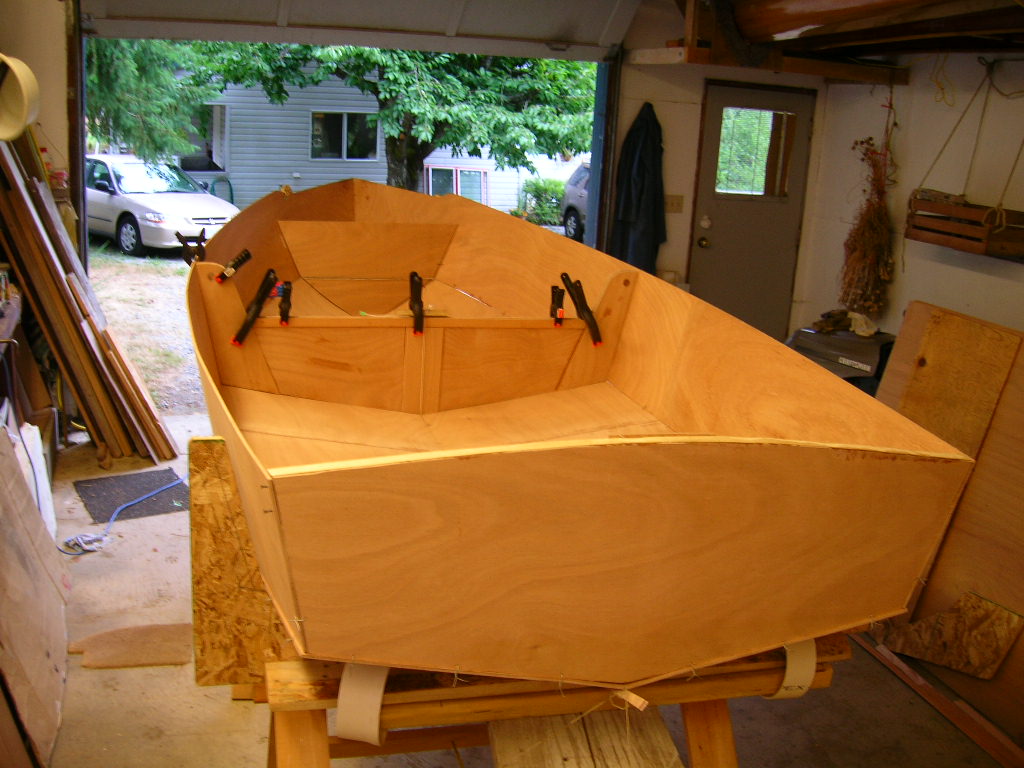
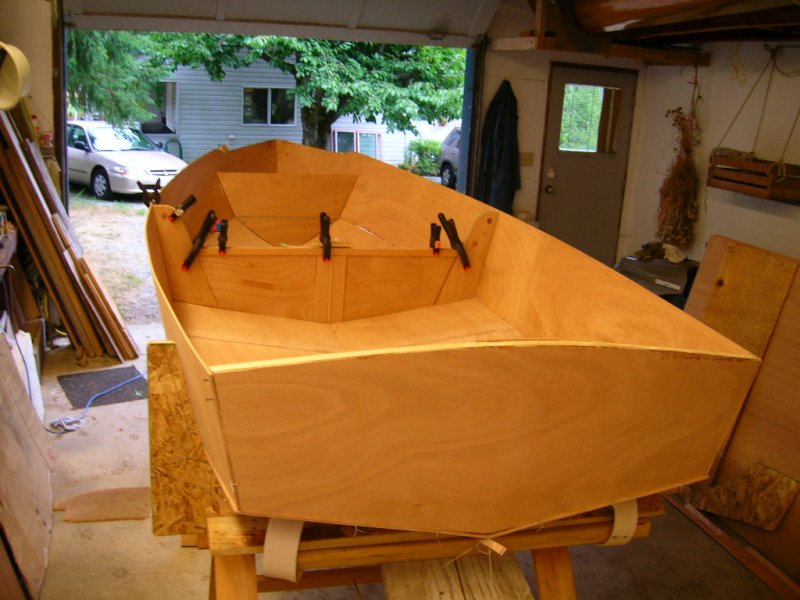
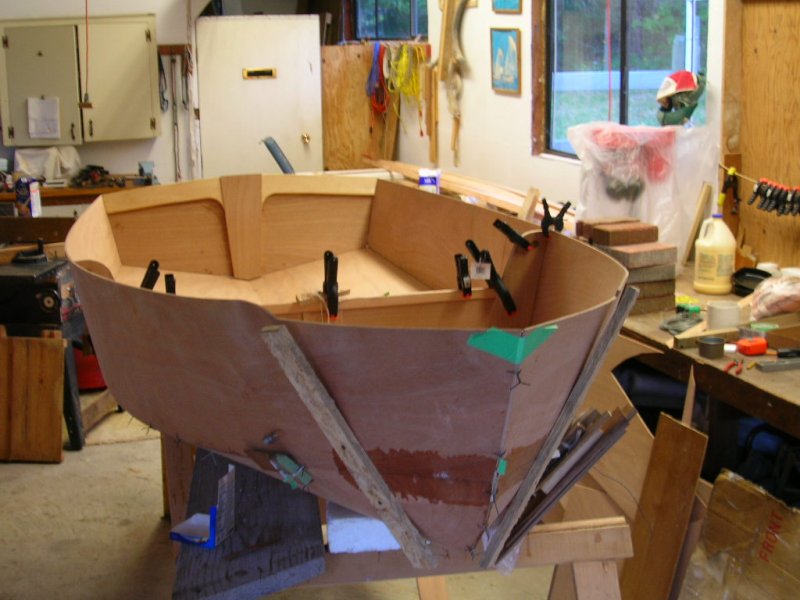
And with everything going so well I forgot about the camera and soon a bunch of plywood pieces began to look like a hull! The transom was already glued up, so on it went. The wiring goes so quickly it's really quite an amazing concept.
-
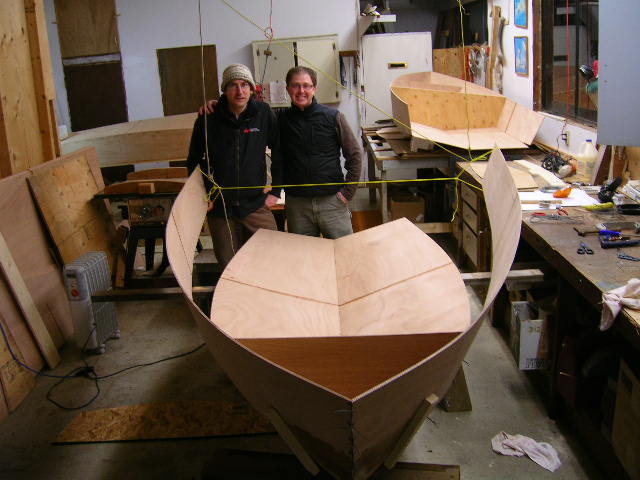
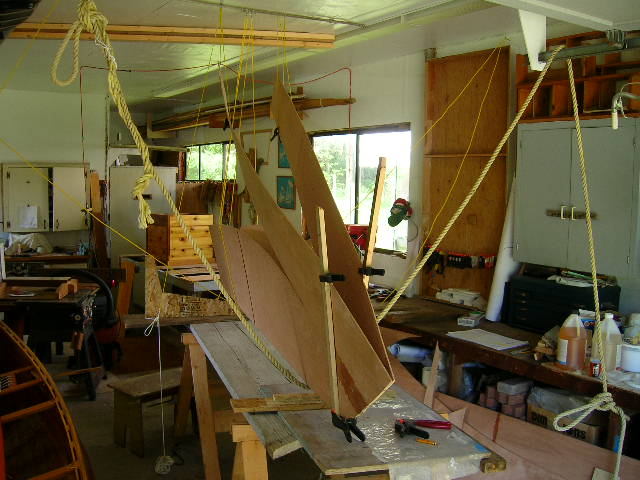
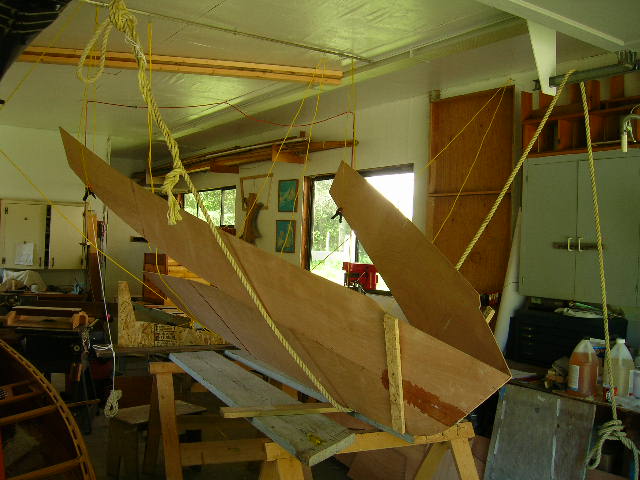
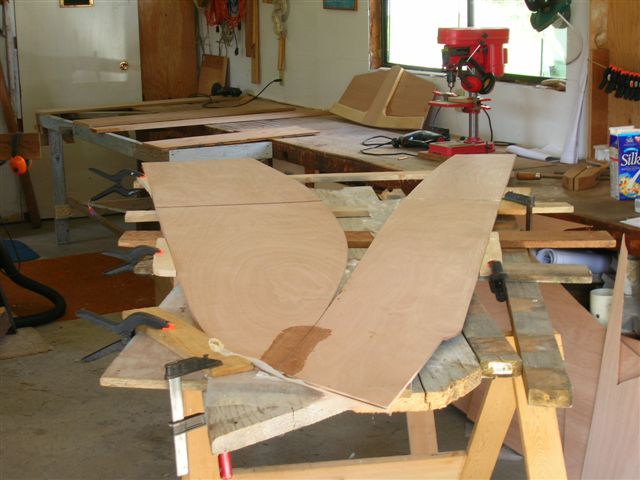
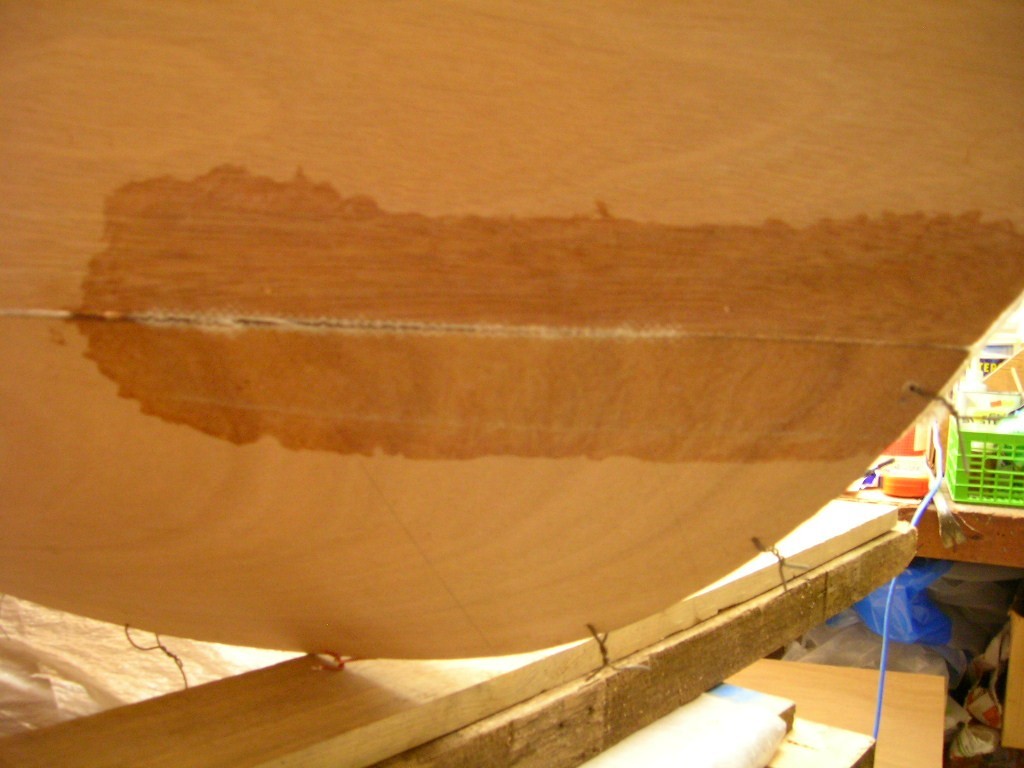
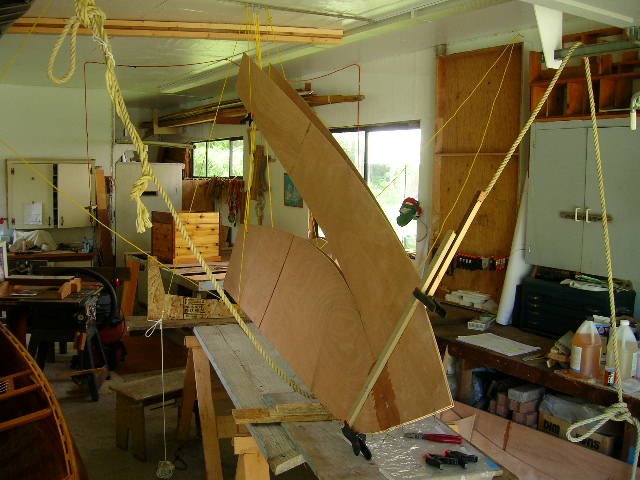
The summer was a write-off in the boat-building department, but I did get some keel-boat sailing done and lots of stuff fixed up around the house. Now it's time to get going in the shop before the weather gets too cold. After my butterfly joint broke, I took the grinder to the fibreglass and carefully ground it down to the plywood. It was easier than I thought. I re-fibreglassed the butterfly and screwed a stick across the joint to keep it from bending. I was concerned about loose wings of plywood stressing the butterfly joints so I hooked up an old curtain rod on the ceiling and hung the plywood wings with ropes so they always had some support. Here's the opening sequence:


-
Hi Bryan, I am building (when I get back to it) a Spindrift 10N on Vancouver Island and had some 5 mil okoume ply shipped from Noahs Boat Building. The 5 mil is 6 lbs per sheet lighter than the 6 mil and is still five-ply. Stitch and glue kayaks are often built with 4 mil ply but it is only 3 ply and I think would lack stiffness and strength. I too intend on using fibreglas cloth (probably 6 oz) on the bottom and maybe the whole hull to increase toughness. Graham has endorsed the thinner ply with the suggestion of maybe adding bottom stiffeners on the rear section of the boat if it is felt to be necessary. My boat is currently wired together and collecting too much dust. I am itching to get back to it soon. Bruce
-
Hi Greg, Given that the inside of the daggerboard trunk is awkward to maintain once assembled and installed, and has a board sliding up and down it, I intend to use some fibreglas cloth inside the trunk on my Spindrift before assembling. I'll probably use 4 or 6 oz cloth. The cloth also guarantees a uniform thickness of resin on the surfaces. See the attached table for additional weight added, which I figure will be maybe two or three ounces for the daggerboard trunk. http://www.boatdesign.net/forums/attachment.php?attachmentid=3985&d=1126213824 Now if I can just slow down the weekend summer fun and busy days at work, I'll be able to make some progress on my Spindrift. cheers, Bruce
-
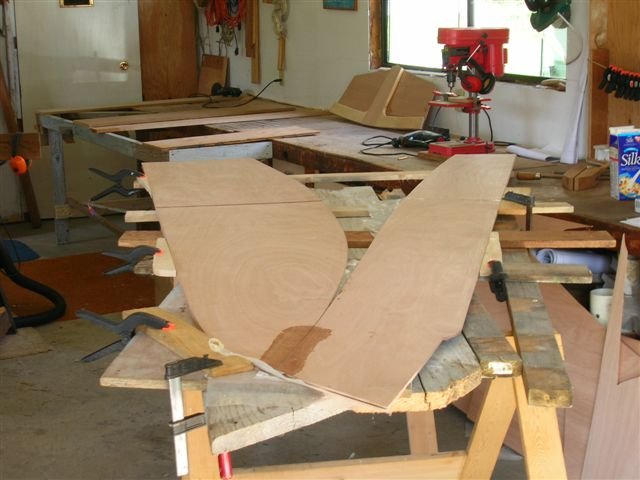
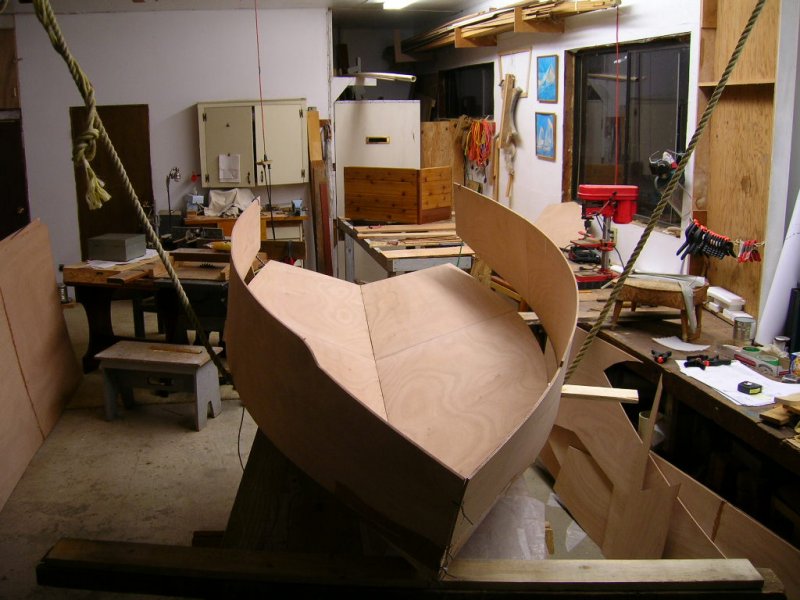
After too many weeks absent, the first Spindrift finally took shape last night. The butterfly joints were done weeks ago and felt strong. Opening up the butterfly to make it look like a boat came together really easily with no creaks or groans. The ropes I hung from the ceiling helped support things during the unfolding. Unfortunately it looks like the stress was too much for the 10 ounce fibreglass tape as the cloth fibres on the outside of one of the butterfly joints have torn. The inside of the failed joint doesn

-
Hi Randy, If you are doing a scarf joint 8:1 is a recommended minimum. We are building five Spindrift 10s and have most of the scarfs done and they worked out well. When gluing (with epoxy resin) we layed down a flat piece of 2 x 10, put some poly on it so the epoxy wouldn't stick to the 2 x 10, applied glue to both scarf edges, aligned them on the poly then tacked them down at each end with a one-inch finishing nail. We did a couple of joints at the same time by stacking them one on top of the other then piled up a couple of rows of bricks on a board to weight the whole thing down. I like the scarf joint as it is smooth and barely needs fairing. Bruce