bagarre
-
Posts
96 -
Joined
-
Last visited
-
Days Won
1
Content Type
Profiles
Forums
Events
Gallery
Everything posted by bagarre
-
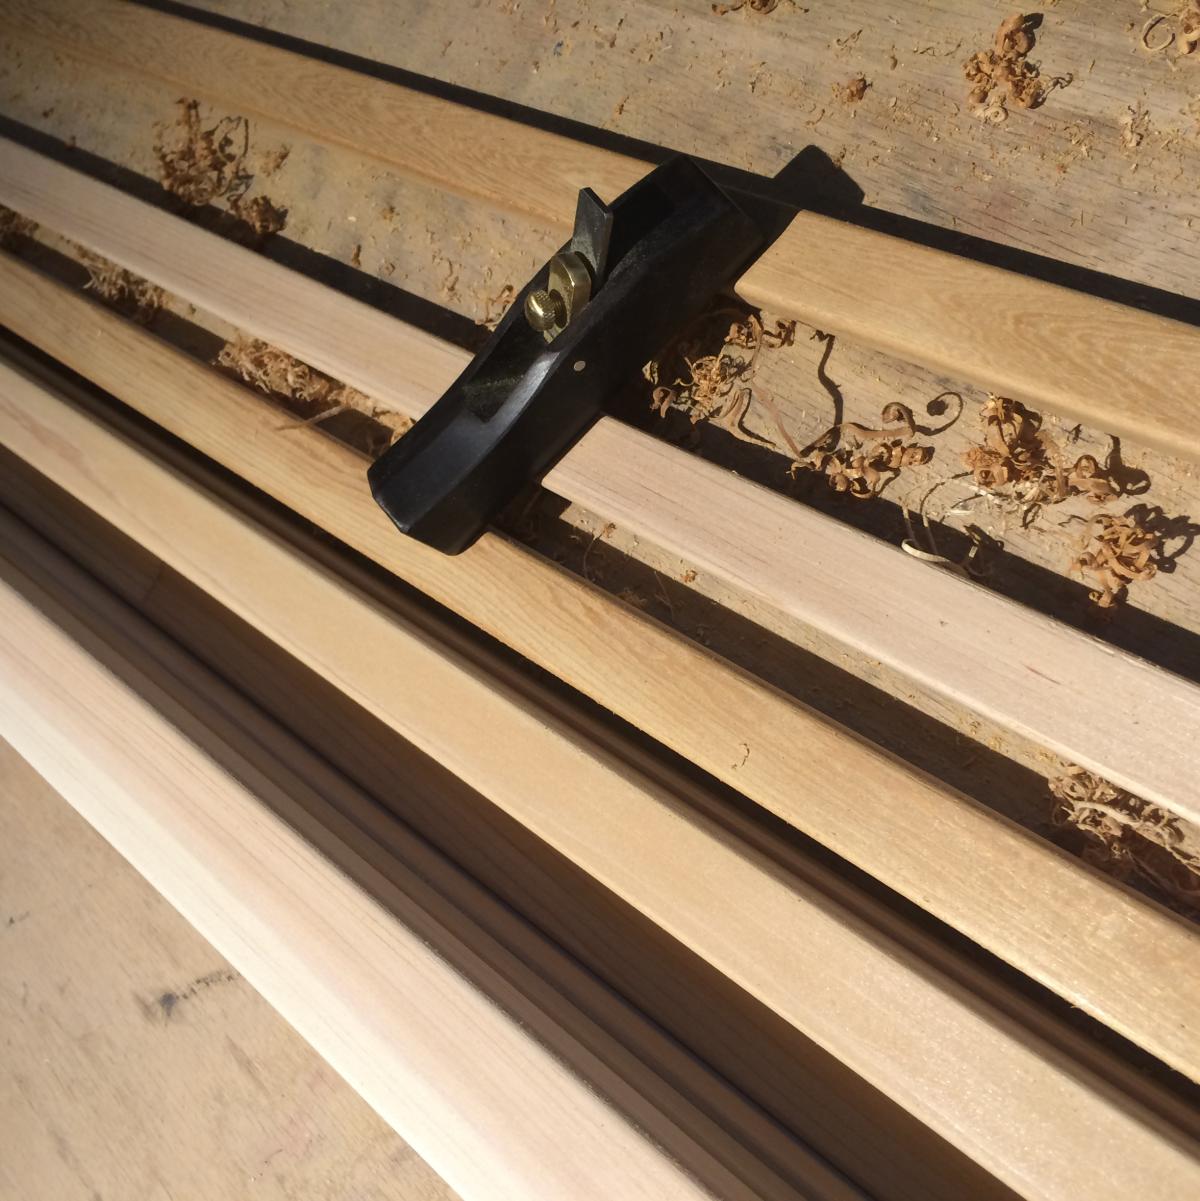
I think it's really cool that you're making one. I didn't think to do that but, I might have to try making a rabbit plane for when I laminate the coamings
-
Are you trying to beat my UPS guy? Cuz, he dropped off the planer this morning. This little tool goes into the "where have you been all my life" category. It took about 15 minutes per stringer including a quick go with 80 grit to clean it up a little. The cedar does tear out a little more than other woods but nothing terrible. After a few passes, you get feel for the grain and know which way and how hard to push.


-
Should I consider it on the two Ravenswoods I'm building? Laminating a masik isn't difficult, neither is cutting a new bulkhead if the current one can't be modified. I'd be interested in any opinions you have for putting one in the RW.
-
What is the advantage to a masik on a Ravenswood?
-
Because one can never have too many tools...I just ordered a Radius Plane. http://www.fastcap.com/estore/pc/Radius-Plane-8p9969.htm It should be here tomorrow so I'll post my opinion after pushing it over a few hundred feet of cedar.
-
I definitely found this to be true yesterday as well. A 1/8th round would be more appropriate for the stringers but, that's accomplished with 80grit just as quickly IMO.
-
I ran a test piece thru the router, I forgot how much material gets blown off with a 1/4 round. And then I thought about pushing over 500 feet of wood thru and grabbed some 80 grit paper instead
-
I have a lot of respect for that kind of work but it may take more time than I have
-
Already have that bloody t-shirt from the table saw. Luckily, I just shut it off and it was barely turning but it still got me three stitches in my thumb. I have a comprehensive collection of blocks, push sticks and feather boards now. It'll give me something else to do until the kits arrive in the mail. Routing the stringers that is, not cutting my fingers off.
-
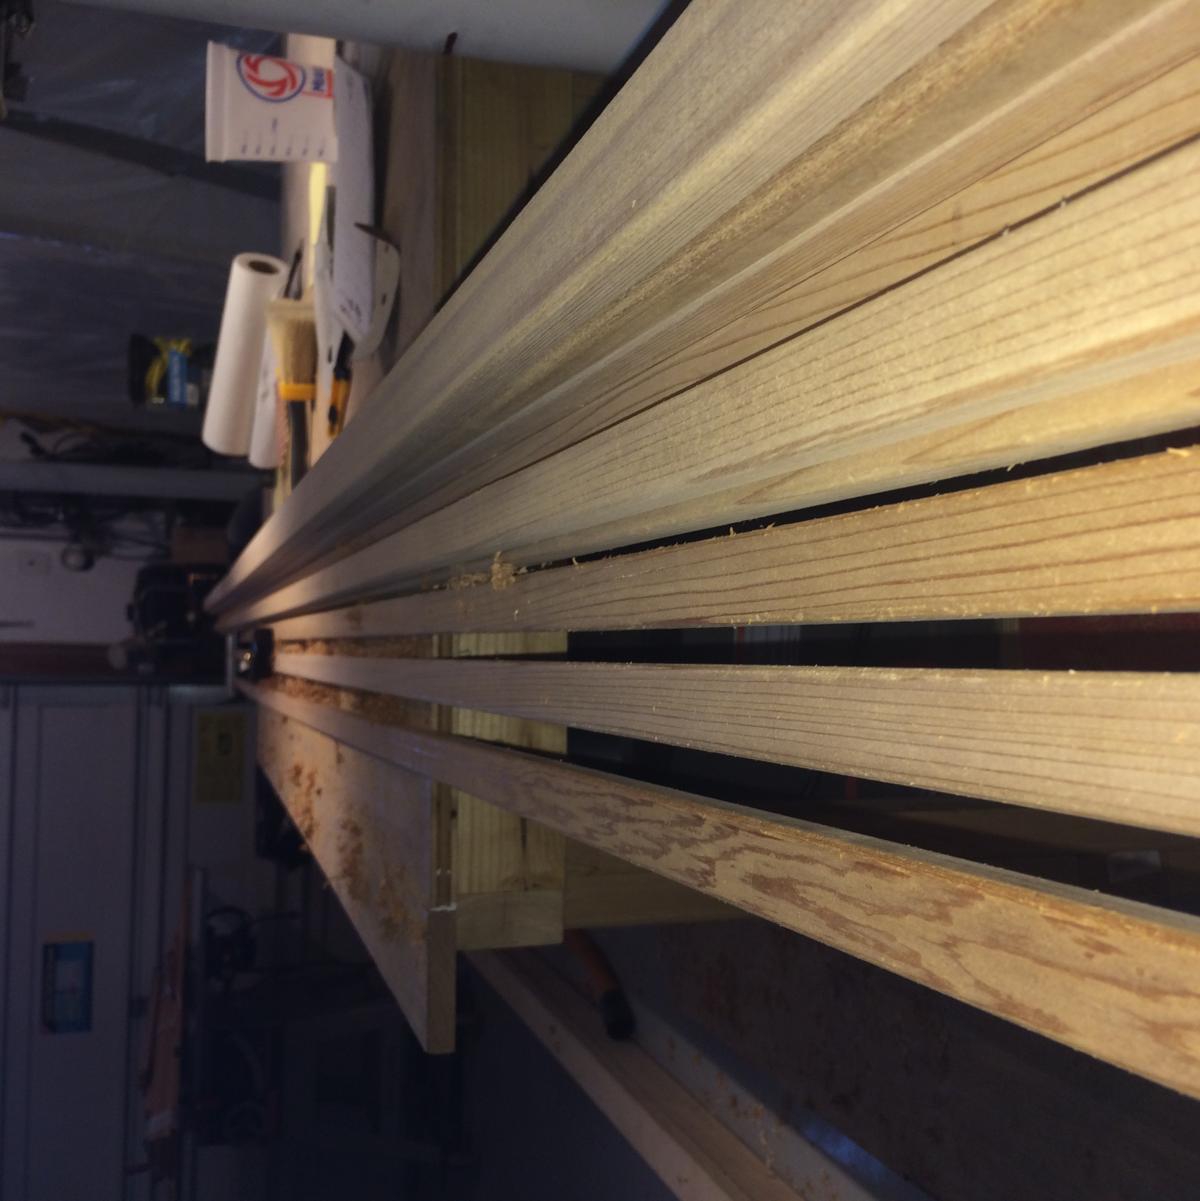
I have all my stringers scarfed and ready to be resawed to final dimensions and sanded. Is there any value to putting a 1/4" round on each corner? I was thinking of running them thru the mounted router and profile them a little. No edges for the fabric to fray against. Saves a little but if weight (might add up) Looks a little more finished IMO. Is there any reason to not do this?
-
Not all of them but all I have so far. Need to raid another Home Depot. I know scarf joints are stronger than the wood but I'm trying to keep them to a minimum of 1 per board.

-
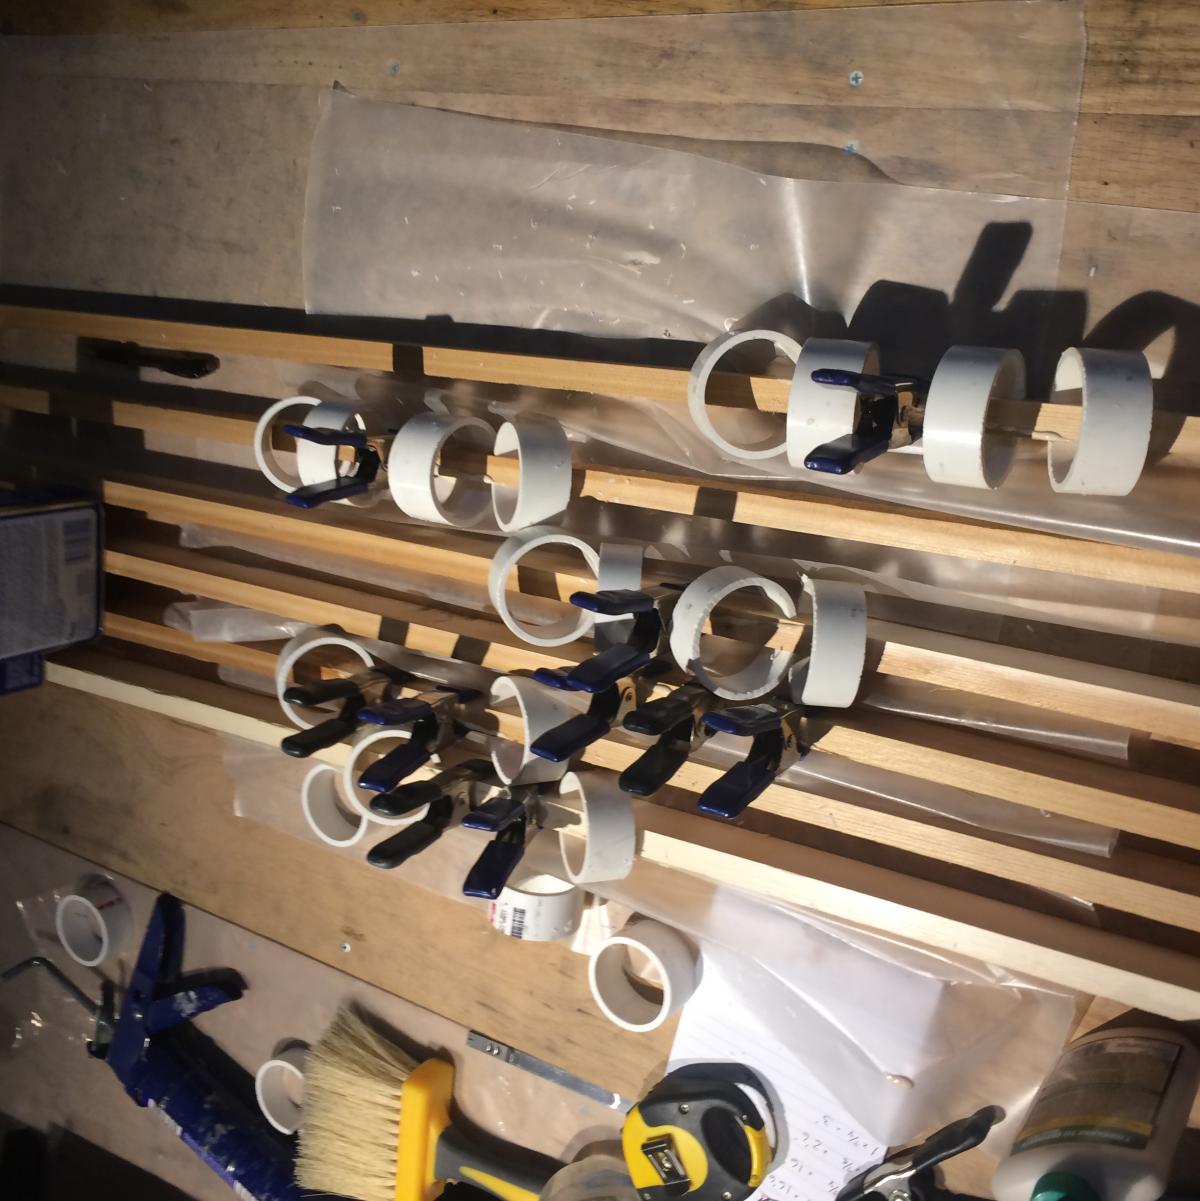
Did a test joint last night and it was much easier than I thought. I expected the joint to slip all over the place while setting it but it didn't at all. Plenty of glue, let is soak in for a minute, line i up and put a few hand clamps on it. Will be cutting PVC clamps to night to do up the rest.
-
Thanks! I completely forgot about the PVC clamps. So, just eyeball it straight on a flat table and make sure the joint doesnt slide.. I may have been over thinking the problem. When I dry fit each one, I'll strike a line across the middle of the joint to help lines things up with glue oozing out. A long time ago, I was told the difference between an amateur and a professional is knowing what's good enough. The amateur will tend to over or under work a problem where the pro will have the experience to know when enough is enough.
-
Day One: 5 Hours including set up, strong back building, scarf jig making, stringer cutting and clean up. https://goo.gl/photos/1oBbrN99NxPDBRzs7 Q: Any tips on gluing scarfs? I was planning on using some aluminum angle stock and a bunch of hand clamps to keep things straight and then run them thru a planer to final dimensions. Q: Do I paint the stringers in boiled linseed oil before trying to the frames?
-
At first I was thinking about running the scarf on the 6" side but, that would use 4 feet of the board. Not very practical. Using a jack plane, I could scarf the 1" side (8 inches) but it might be more work to make it as precise as needed to be strong vs a quick pass thru the table saw for a stringer. So, scarfing after the fact might be the easier way to ensure the joint is tight and strong.
-
I plan to start building stringers this weekend using HomeDepot Red Cedar as I saw some pretty clear and straight boards there. Is it easier to scarf the entire 1x6 and then rip the stringers or rip the stringers and scarf them separately? It would seem that scarfing the whole board at once would save time.
-
Thanks. The hull was the S&G Guillemot numbers. It was a fun. Does anyone have the stringer dimensions for the Ravenswood? I could start building those before the kit arrives.
-
You could snug and pin it in place until you got the spline locked in and shrink it tight with heat. I think there would still be sewing to do on the bow and stern but it could simplify the long deck seam. I once saw a sewn boat where the guy put the seam on a deliberate curve across the deck to avoid it looking 'not straight' I've never sewn a skin on so this might be adding complexity to a simple process. But it would give you a very flat deck - if that was what one was after.
-
I wonder if you could make a single spline top center on the boat on the central stringer and tie both sides in at once. The spline is permanent with the glue so you'd have to stitch a replacement skin - if you ever needed to replace the skin.
-
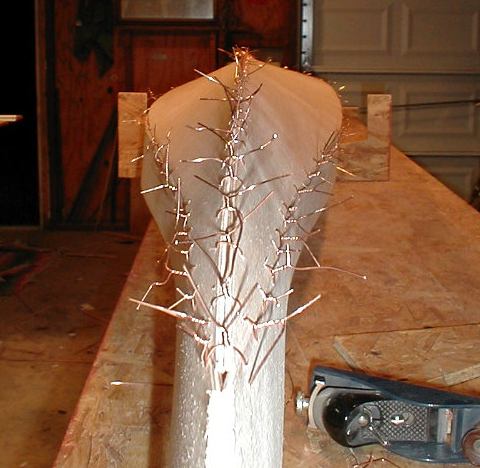
Hello all. New to the forum. I just put my order in for two Ravenswood kayak kits. I built a one off stitch and glue hull with skin on frame kayak 15 years ago and I though it was time to jump back in. That one took 9 months because I had to solve every problem along the way. No kit, no plans. Just lofting number for the hull and figure out the rest. I never built another one because of the work involved with the first one. I'm really excited about the Ravenswood kit and build time should be very quick indeed which lets us get back on the water in nice boats quickly. As things progress, I'll share photos here and maybe folks will find it useful but the builds are already very well documented. In the mean time, here is a link to the 1st Kayak I built. Lots of lessons learned along the way. https://goo.gl/photos/jYLtrJgas31vXx5f8 cheers!
-
Do you see folks having more difficulty in cutting the scarf joint or glueing them straight? Either one done wrong can compromise the boat. Cutting the scarf requires skill in building a jig for a table saw...and having access to table saw. Or being good with a jack plane, and having a good bench to work on. Or a belt sander and a good bench. The table saw requirement knocks out a lot of customers already so I'd think having pre scarfed pieces would be more appealing. Glueing straight is simplified with a length of angle aluminum to keep things aligned and a handful of clamps. If one could get pre-scarfed pieces that only needed cut to length after gluing, they could build your kayaks in their 200 sqft New York apartment with a few simple hand tools. Just a few thoughts.