mattp
-
Posts
221 -
Joined
-
Last visited
-
Days Won
8
Content Type
Profiles
Forums
Events
Everything posted by mattp
-
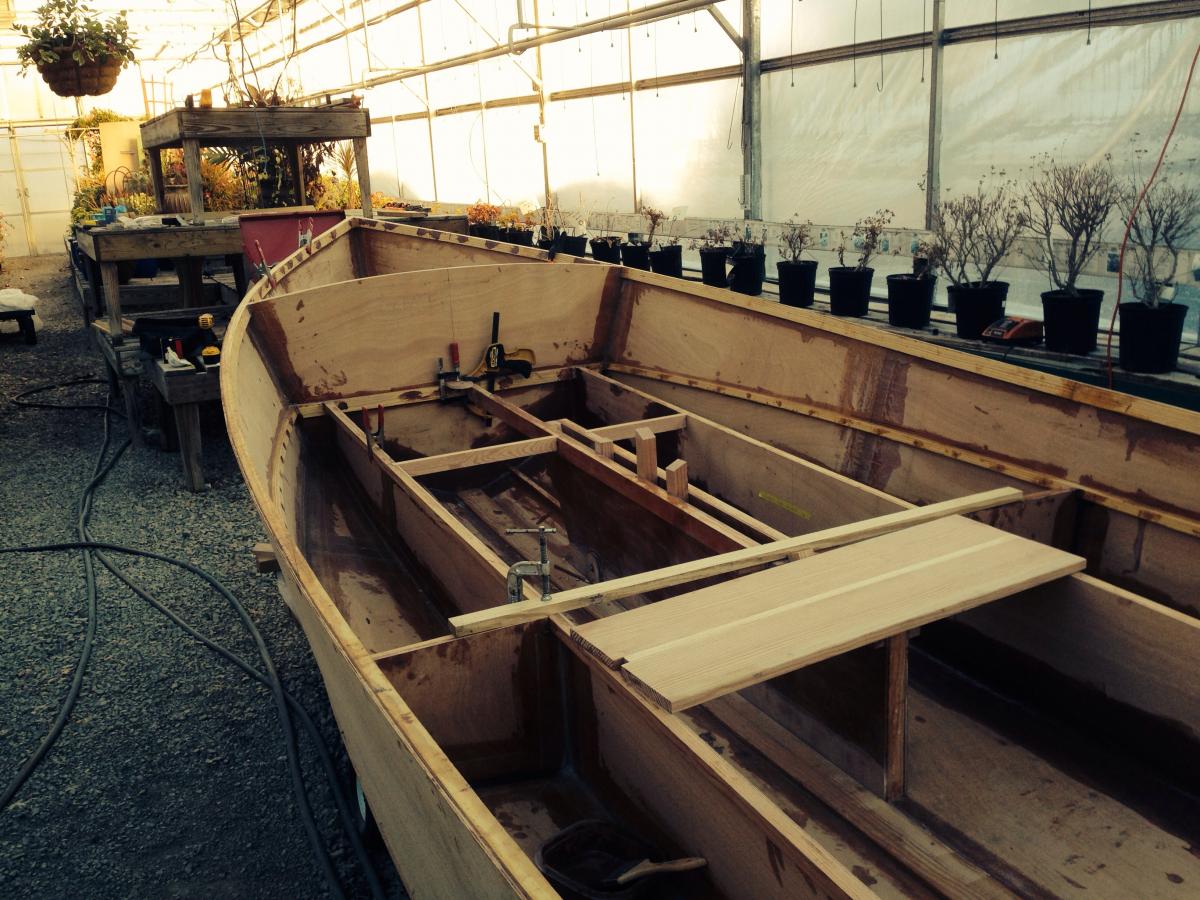
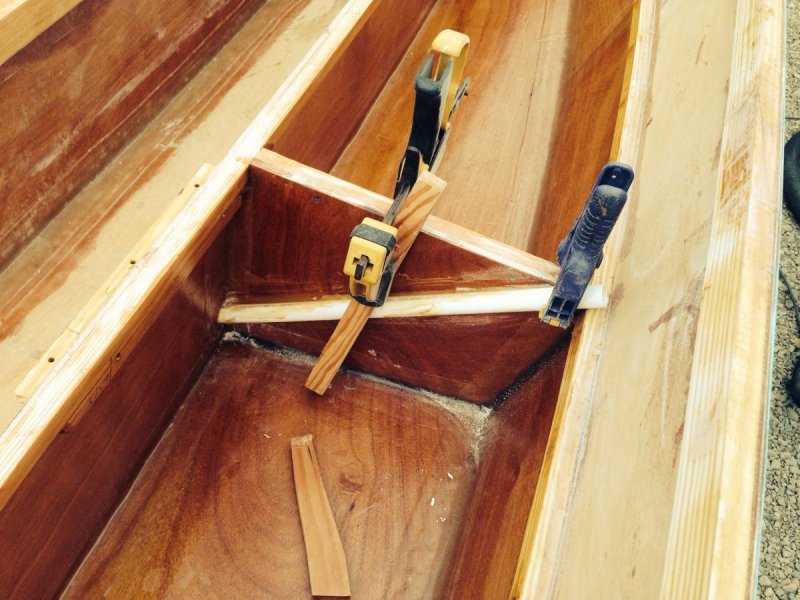
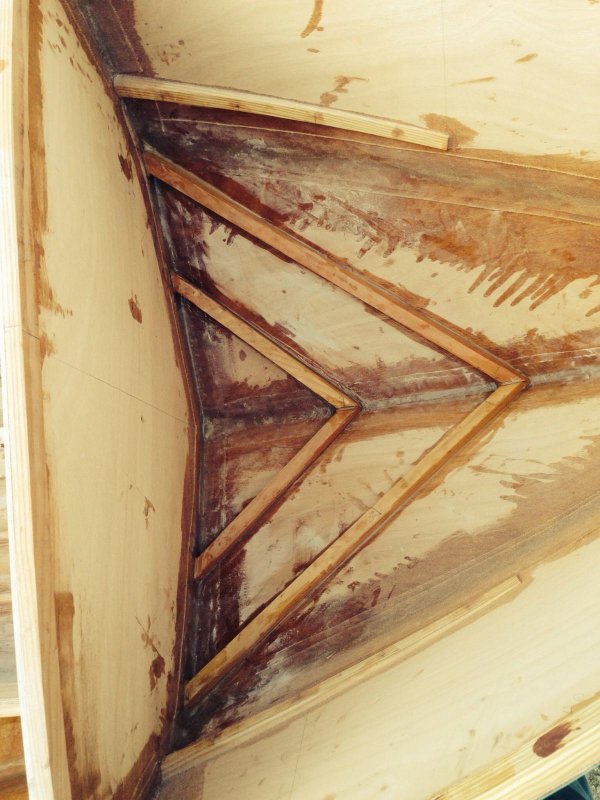
Today's visual progress report. No explanation necessary.

-
I know! The nerve of them growing plants in my shop!
-
Off and on now for a while I have been trying to source a trailer for the CS17 that my friend and I are building. This has unexpectedly been one of the more difficult task of the project! I started off thinking I would just find a used trailer on craigslist but that search hasn't come up with anything worth looking at. Then I thought we could just pony up and buy a new trailer with details speced out for this very boat but that hasn't been easy either. The closest thing I can find is from Road King Trailers from their jon boat and skiff trailers selection, specifically the RKT-14 or RKG-14 models. So, please, tell me what has worked for you. What are some good quality but reasonably priced manufacturer's? Any pictures of your trailer boat to share?
-
Thanks again Lennie. A looming deadline helps with progress. Apparently they want to grow some plants in the greenhouse come March. "That boat would make a nice planter!"
-
I've wondered if something like this was possible. Rolling and tipping sure didn't work. Of course it could have been technique or lack thereof. We ended up relying solely on small and cheap foam rollers. There is some fine stippling but not perceptible at 5'+. It's a good match for our reasonable but not perfect fairing job.
-
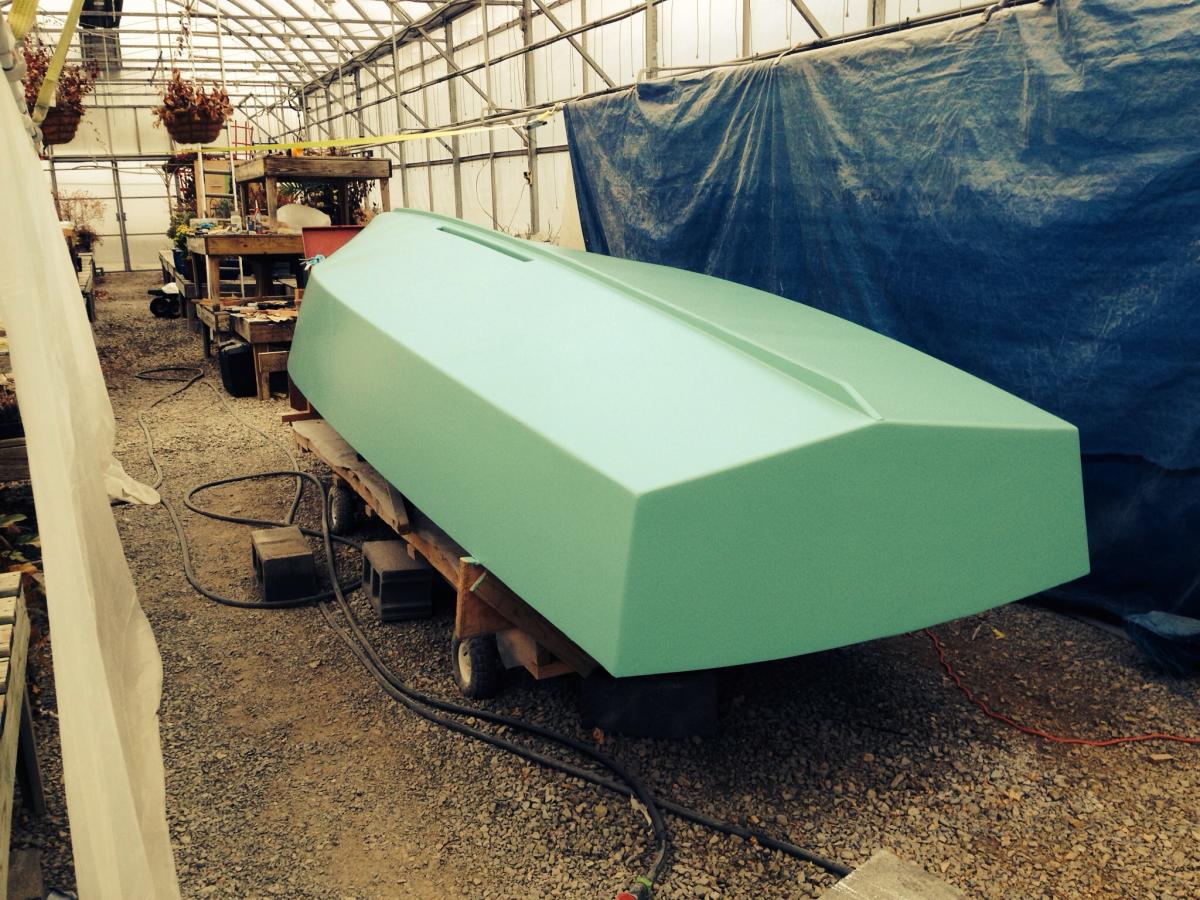
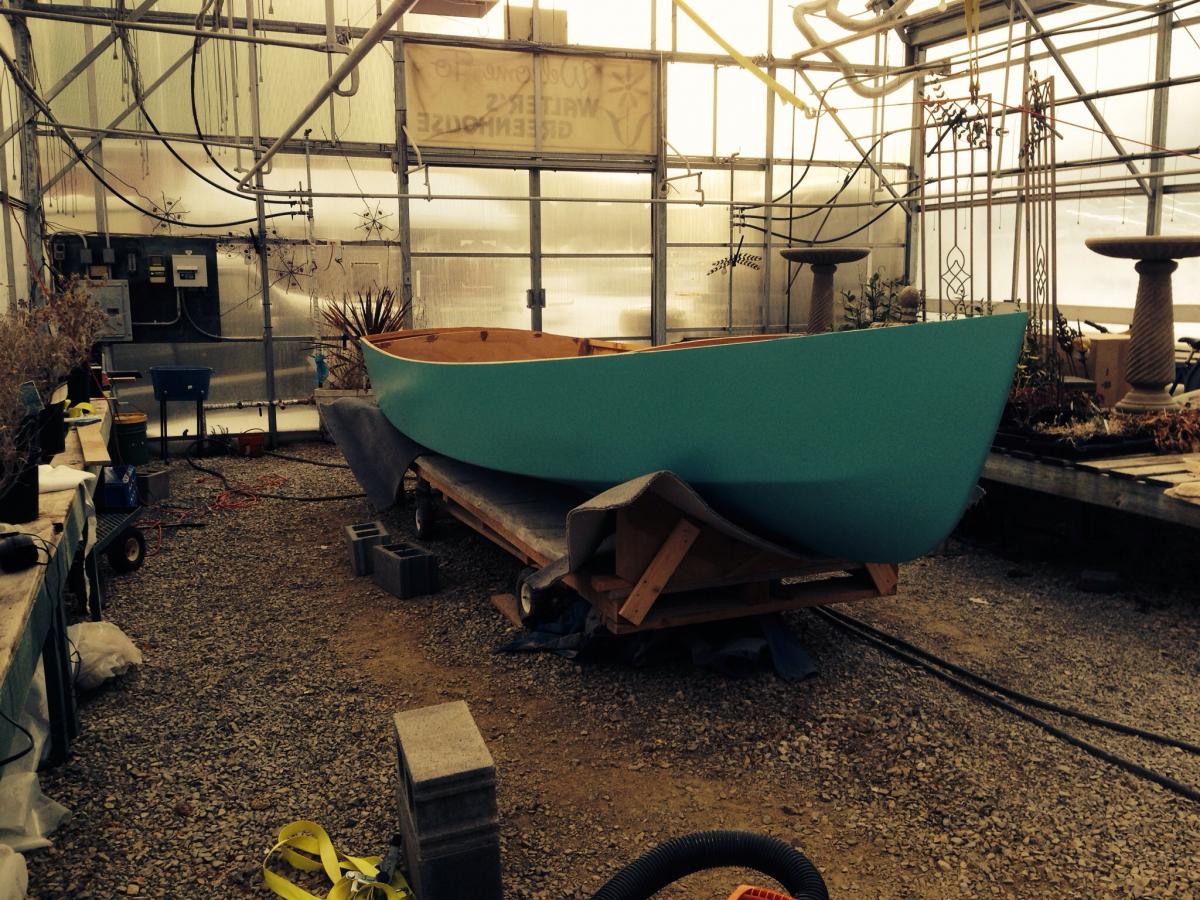
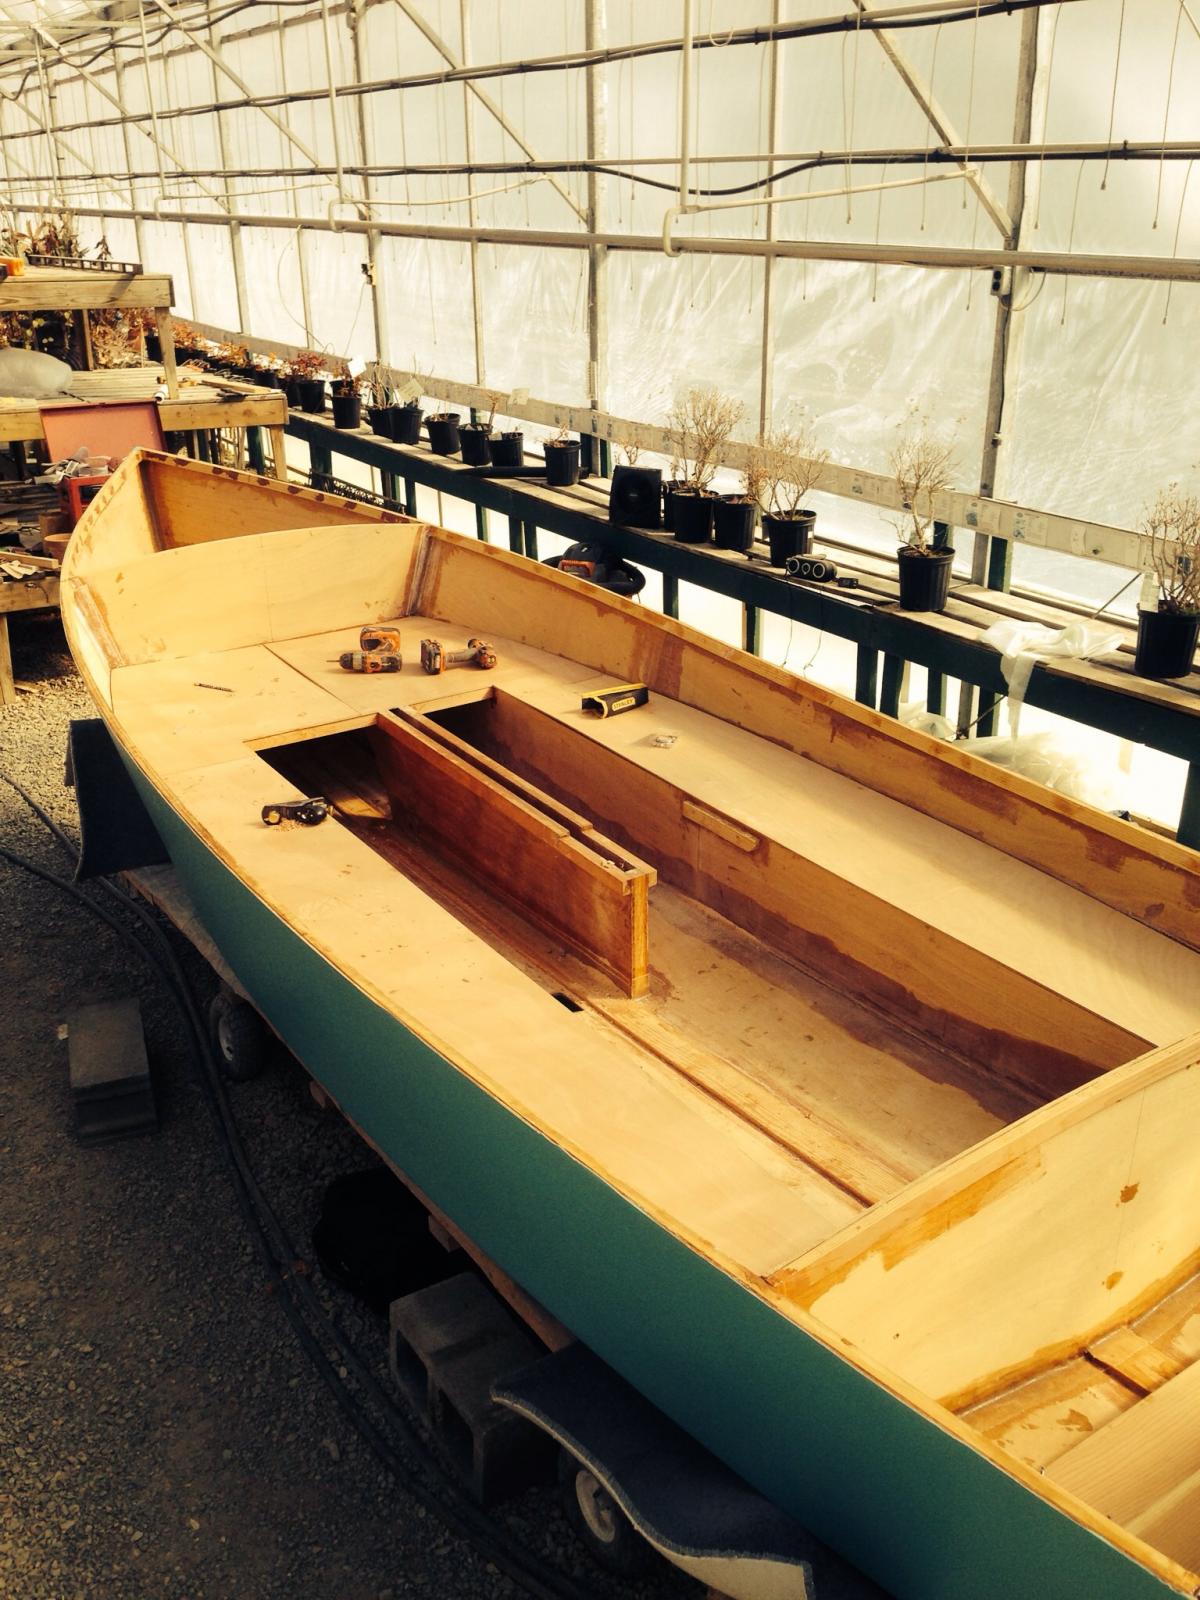
I haven't updated in a while. Here is a condensed version of the last couple of weeks. Hull painted. Don't worry. No long boards were harmed in the finish of this hull. We used Benjamin Moore acrylic house paint which I have used on three previous boats. It's not a glossy showboat finish but I am pleased with how it turned out. This past weekend, the green house saw its second ever boat flipping party with beer motivation and YooHoo for the underaged participants. Today I dry fit the seat tops then epoxy coated the tanks.


-
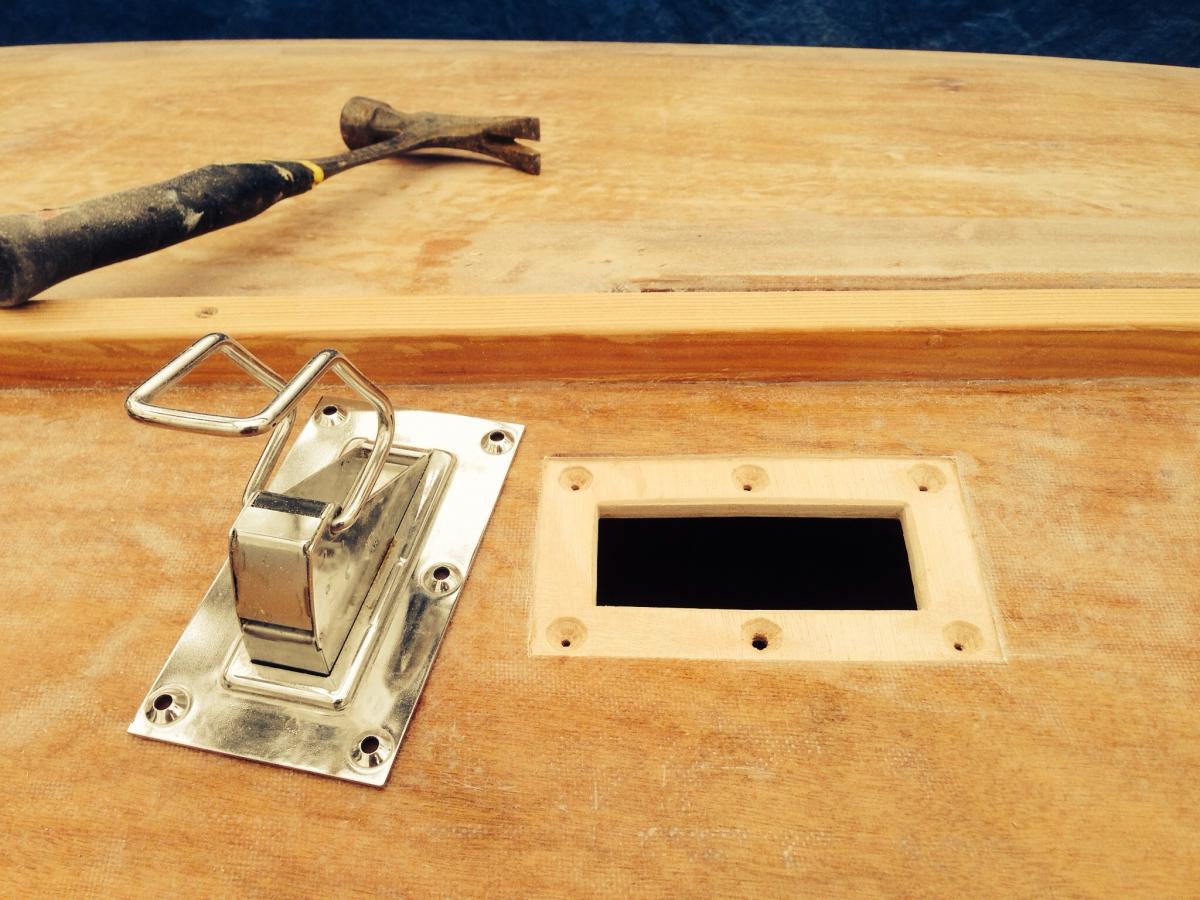
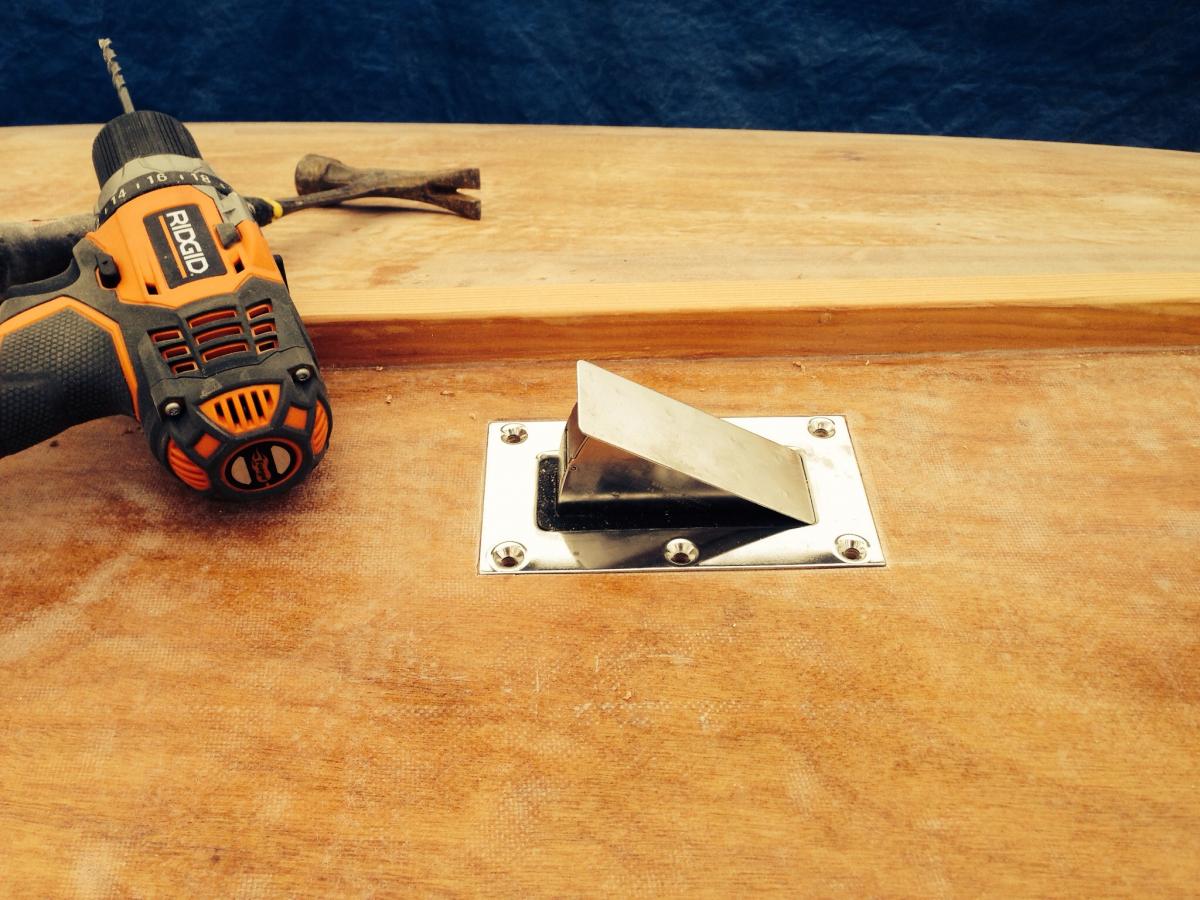
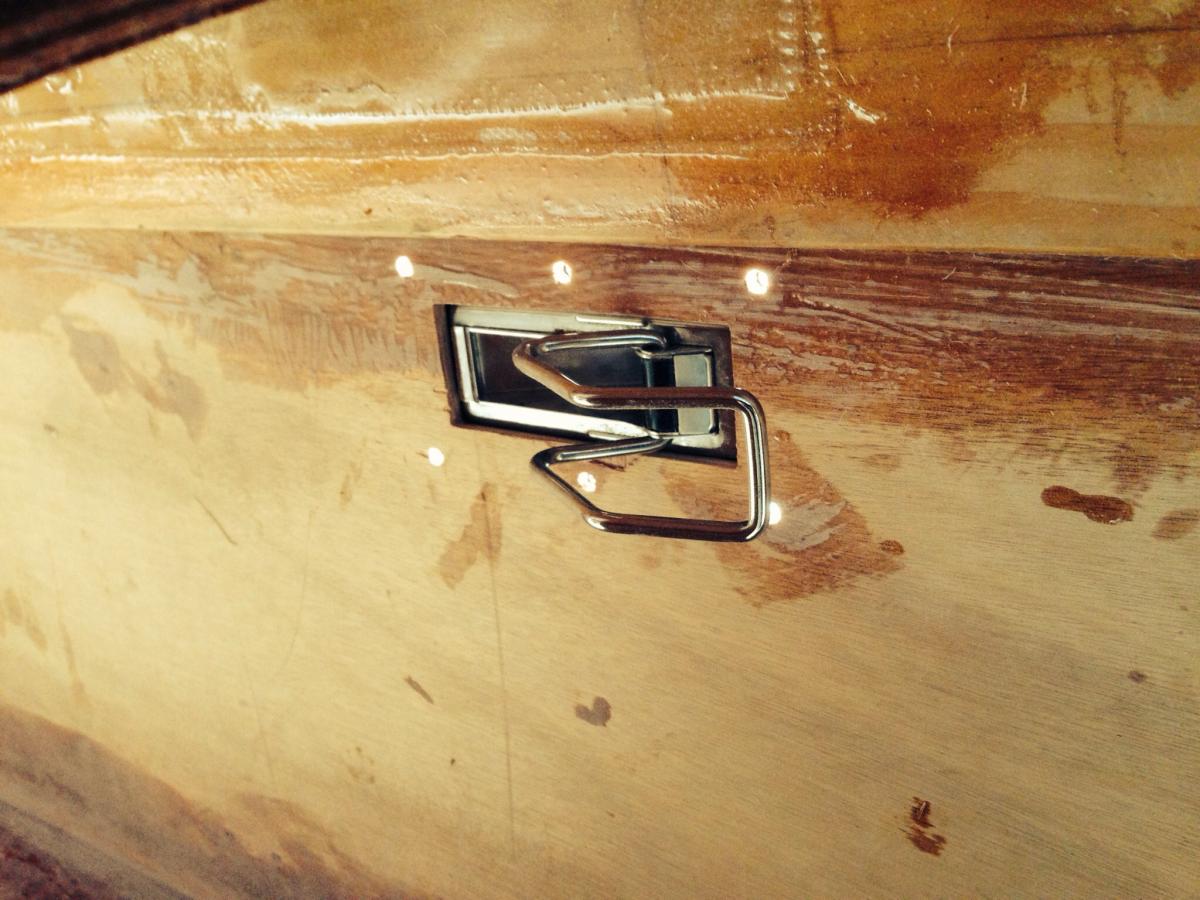
It does mount to the bottom of the hull. This is the reason for the pocket cut into the outside of the hull which is to make the plate flush for smoother flow. The idea is that when open and with a certain amount of boat speed, the bailer sucks any water pooled inside using the Venturi effect. This will be my first experience using one.
-
I have some of those invisible tubs but I can't remember where I put them...
-
And I should note that when we "tacked" it in place, we put a thick bead of goo along the batten to make sure that that was a good, strong joint.
-
Yes, I made my notches 3/4" deep, half the depth of the material, and made a matching notch on the cross members. I don't know if this was necessary for strength but it made everything easier to drop in place when gluing.
-
I think the screws are for the port side of the case, alone, into the side of the keel batten. Then you would attach the starboard side separately. If you shaped your batten to fit the V bottom like I did, then the side of the batten is quite narrow and trying to hit it with screws, at least for me, seems a little unnerving. So I said screw that (pun intended), glued the two halves together outside the boat, fitted to the bottom, ripped some spacers to jam down between the halves to hold the appropriate gap for the CB, then tacked the whole thing in place. I held the bottom in place by jamming some scrap pieces against the starboard seat side and made a jig to hold the upper aft end in place. I also pre fitted the forward cross members to hold the spacing right at the forward end.

-
For me, cutting the slot was pretty complication and stress free. I just measured over from the CL, drilled a large enough hole to get my pull saw in, and cut out chunks until I was within 1/8" from the case. Then I sanded it close to flush with a drill and sanding disk, and finish sanded by hand to get a good radius. Whole operation probably took an hour and was quite satisfying.
-
Thanks Lennie! Quality always appears better in pictures. I picked up the webbing at a local outdoors store. It's just the flat (not tubular) nylon stuff that is used with Fastex buckles. We played around with a couple of other ideas like screwed in UHMW strip but I am happy with the way the webbing has worked out so far. Installation was simple. I'll let you know how it looks in a couple years!
-
Fairing complete...or maybe we are just tired enough of it to say its complete. At some point you have to stop sanding and just start painting. We are at that point. She's not perfect, but I am really happy with how it's turning out. Put second sealing epoxy coat on this morning. Should have some color by next weekend. Close up of our keel protector. It's a piece of 3/4" flat webbing soaked in epoxy. Not sure where I heard of this idea. Probably here. Also still plugging away with the steering assembly. It's refreshing to be shaping wood again. I tire quickly of epoxy work.


-
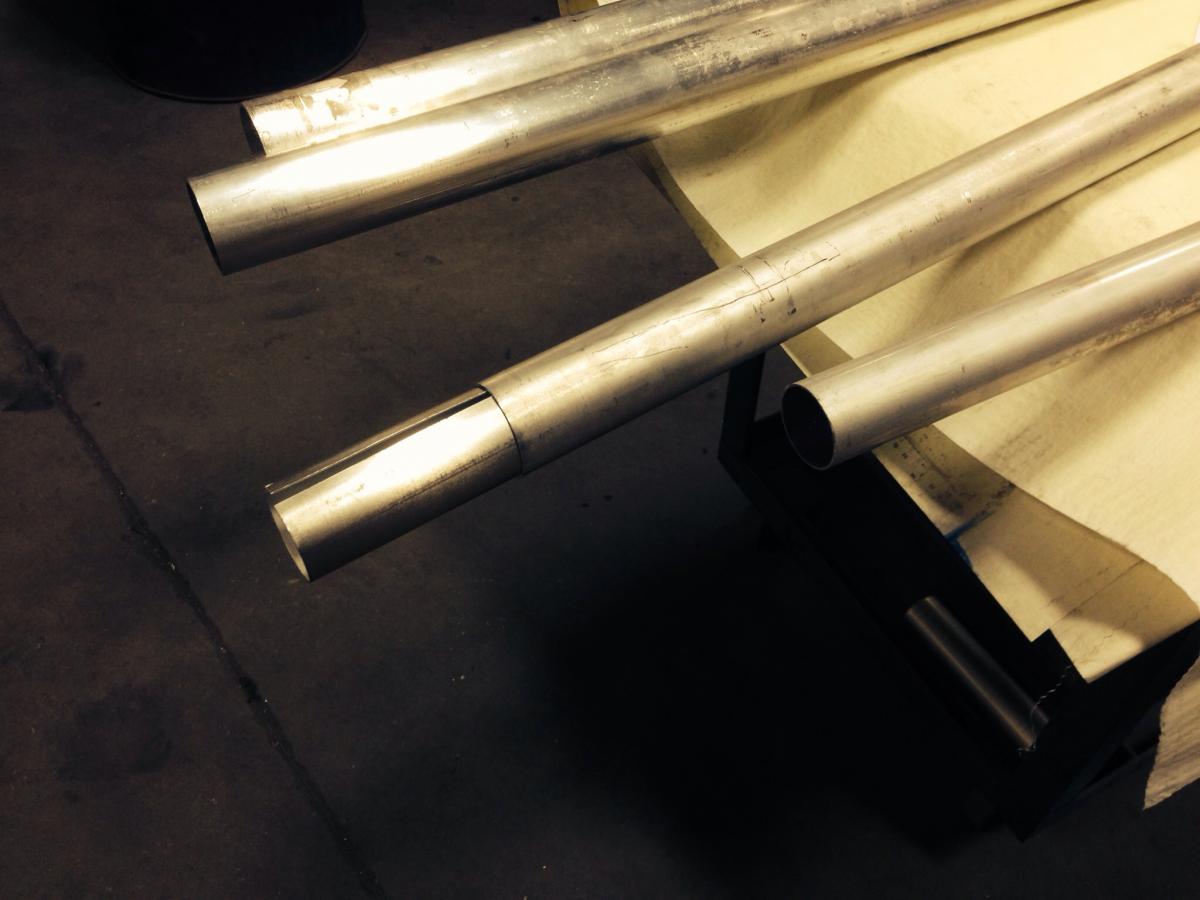
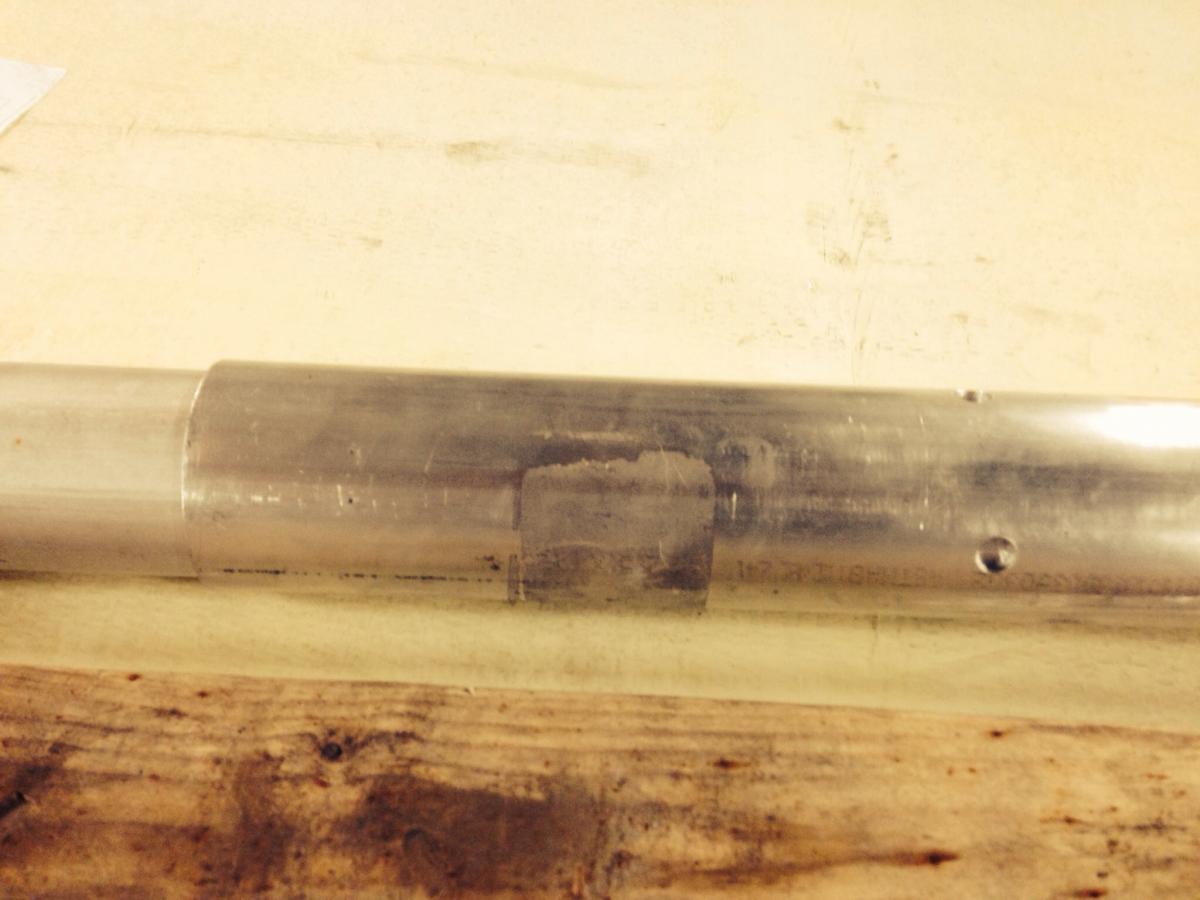
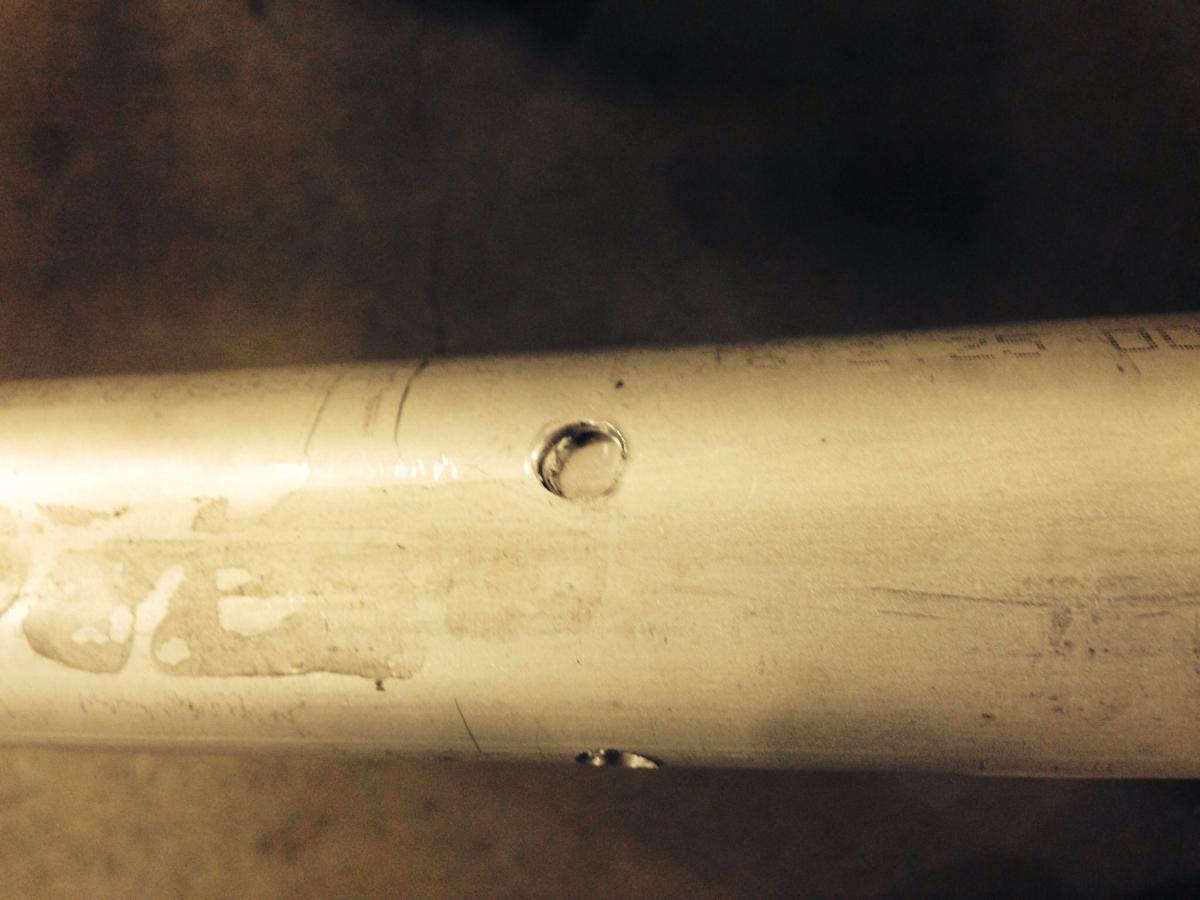
Took the mast kit to the fab shop this morning for assembly. Since we are powder coating which is a process that uses high heat, we are TIG welding the joints instead of using epoxy that would likely melt. As planned, they rolled me some aluminum sleeves to fill the gap in the upper joint. This fit worked out better than I expected. I had some concern that if there was any opportunity for the joint to rock under load that the weld might crack since it was not fastened anywhere else. Because of this, we decided to drill 4 holes spaced 90 degrees apart about an inch above the hidden end of the smaller tube. The holes were used to plug weld the outer tube (and sleeve for the upper joint) to the inside tube. We did this for both joints on both masts.


-
This was a "things coming together" kind of step for me too. Is the batten off center with centerline but parallel or is it not parallel with centerline?
-
Looks great! Looking forward launch pics!
-
I am no help but I certainly want to see pictures when you're done!
-
That sounds like a great idea. I did bevel the bottom inside edge to make clearance for the radius of the bailer. I guess that would minimize the thickness of the sealant when we install for good.
-
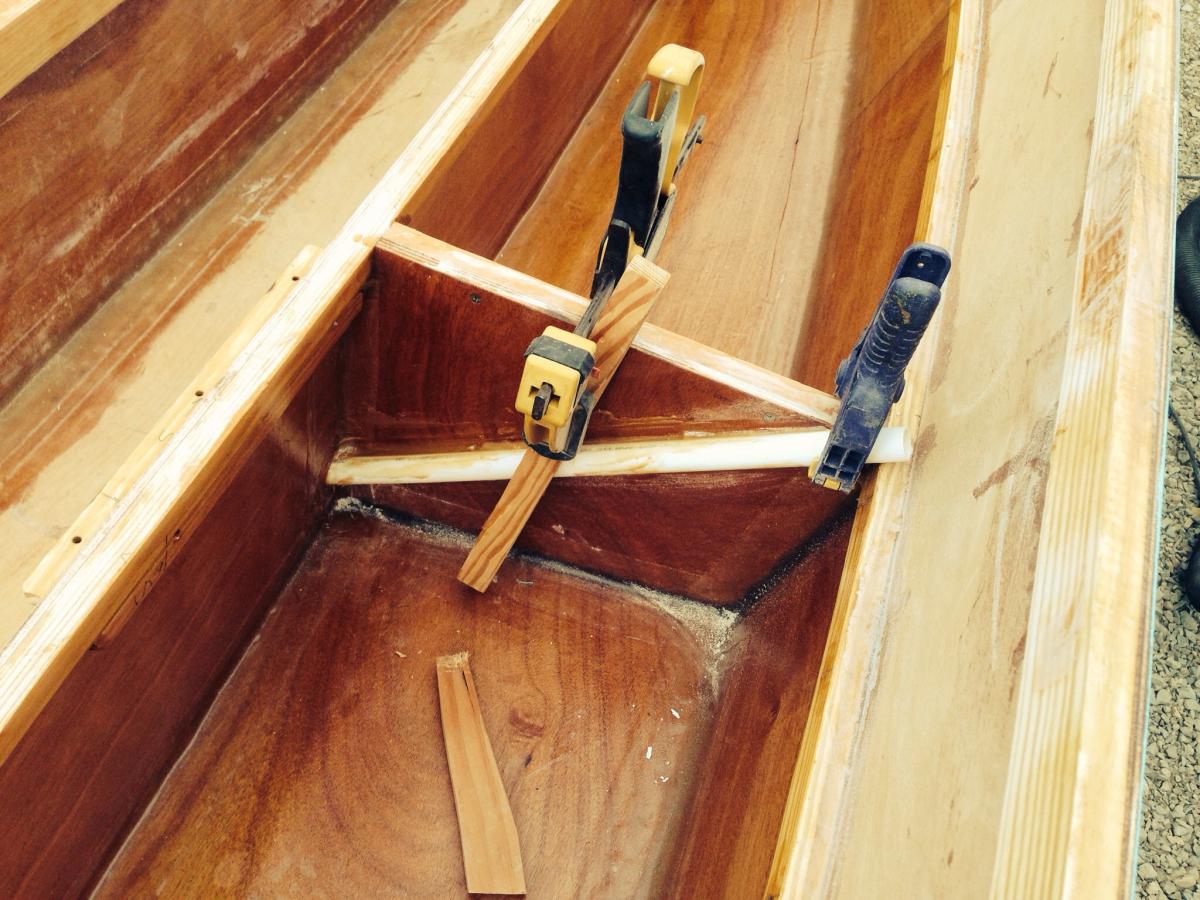
Update: - Mast kit came in this week from B&B. Next Saturday, I plan to take the pieces to my local fab shop and have them welded together. To fill the gap in the loose fitting upper section, we will roll a sleeve out of sheet aluminum. This replaces the fiberglass/epoxy bushings that would melt during the powder coating process. - After months of stop and go work on the rudder assembly, things are finally starting to come together. Sorry, no pics at the moment. - The hull is the fairing process. Tomorrow we will do a final skim coat with "special purple", a mix of phenolic microspheres and silica from the good folks at Duckworks. Then epoxy sealing coat(s) and paint! - Also made the cutout and other preparations for the bailer. I couldn't find (m)any pics on the internet for this so here is my contribution:


-
Philip: Did you powder coat the masts on your CS17?I also have a little concern about the coating affecting or being affected by the flex of the masts.
-
Anybody have experience with this? We have a local fab shop that has an operation that can handle the finished length (minus end caps, wooden plugs, and epoxy that would probably melt) and I know it would be a very durable finish. My concern is about the extra weight in the worst place; up high.
-
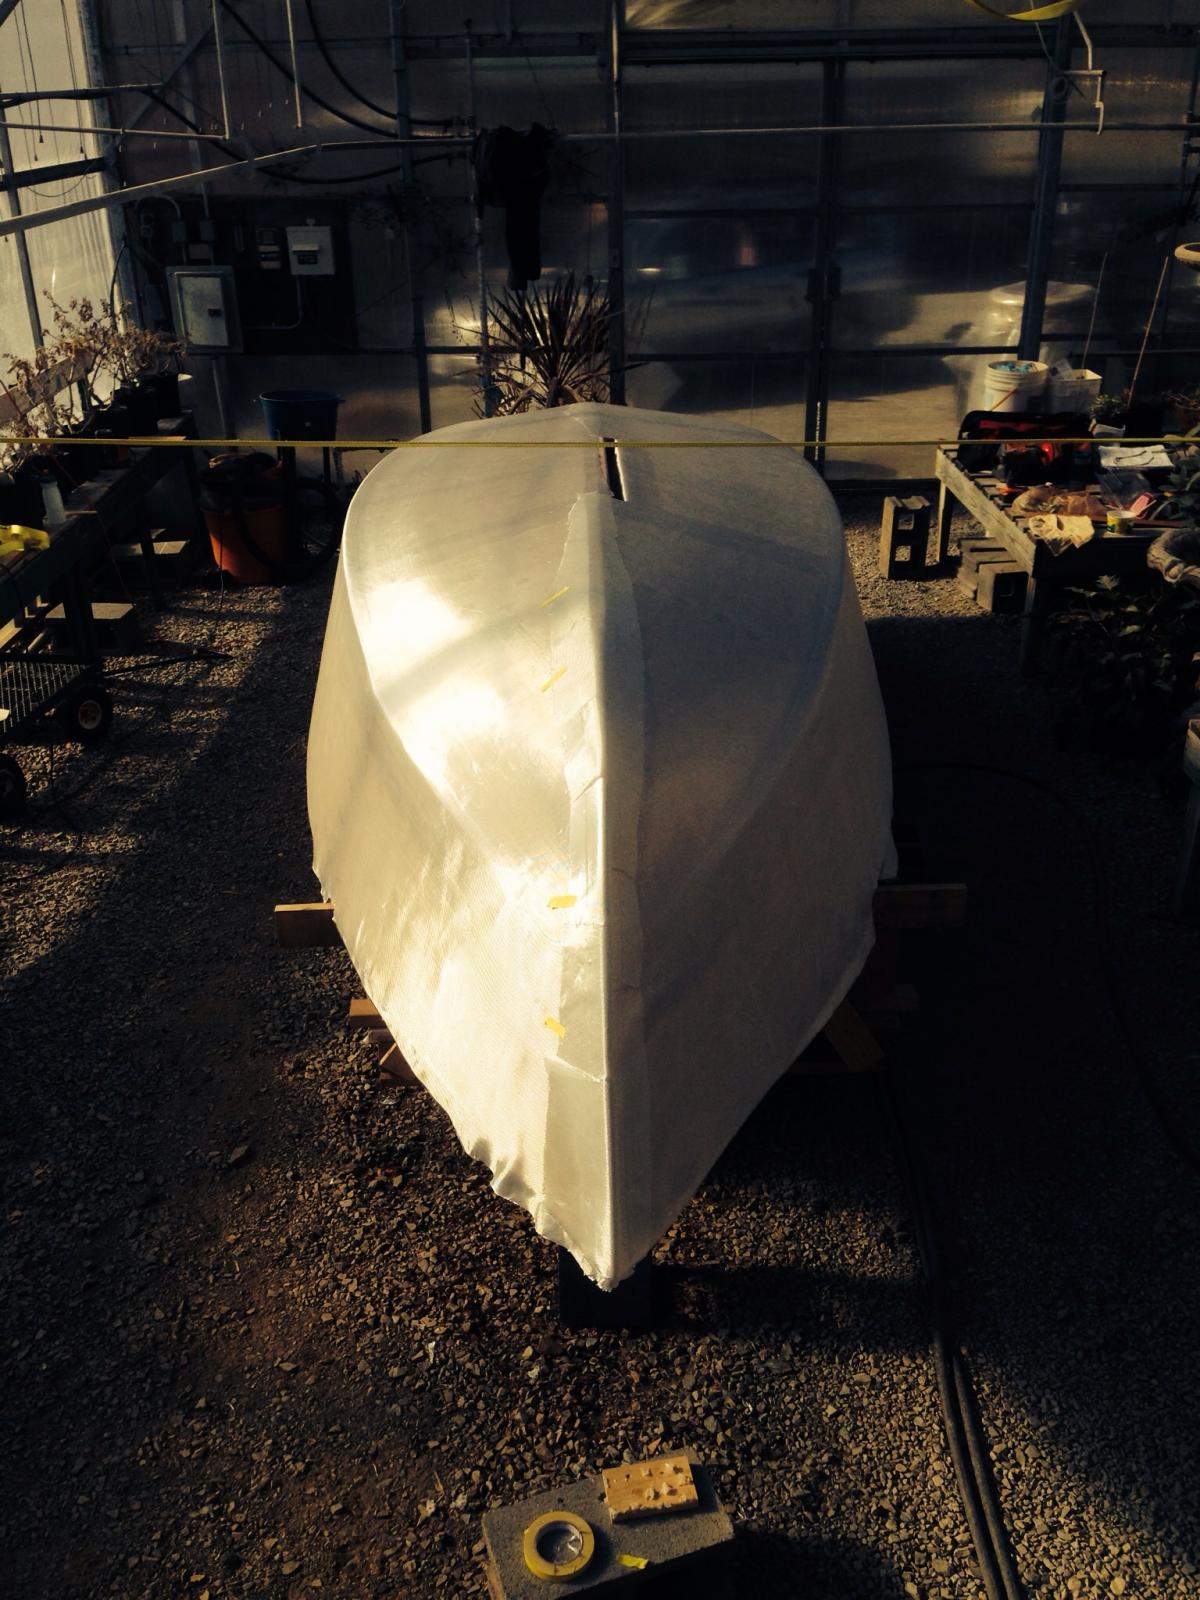
Fiberglass day! I didn't get a picture of the tarp heating tent for overnight curing.


-
My thinking with that radius was for an uphaul but probably the better way is to just keep the line outside. Of course, it would be difficult to add the radius later.
-
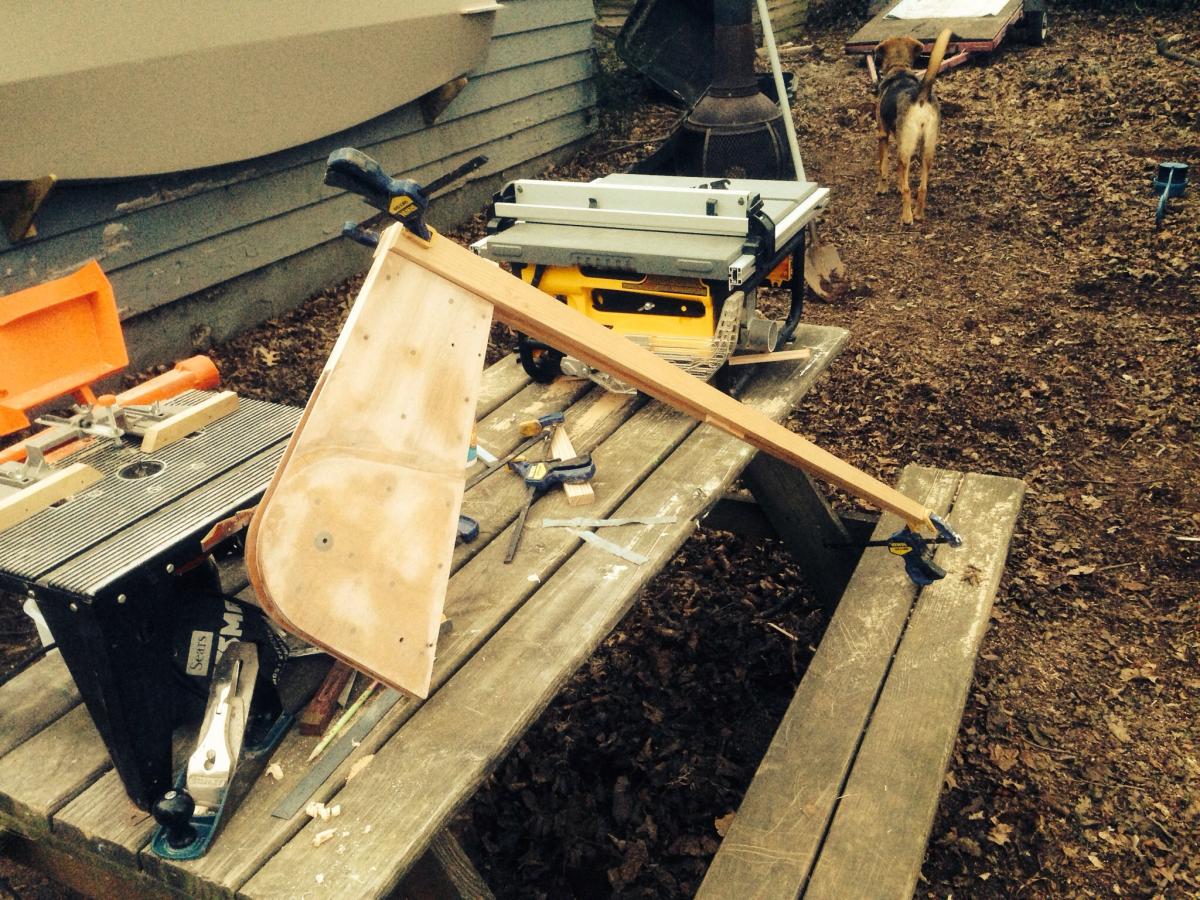
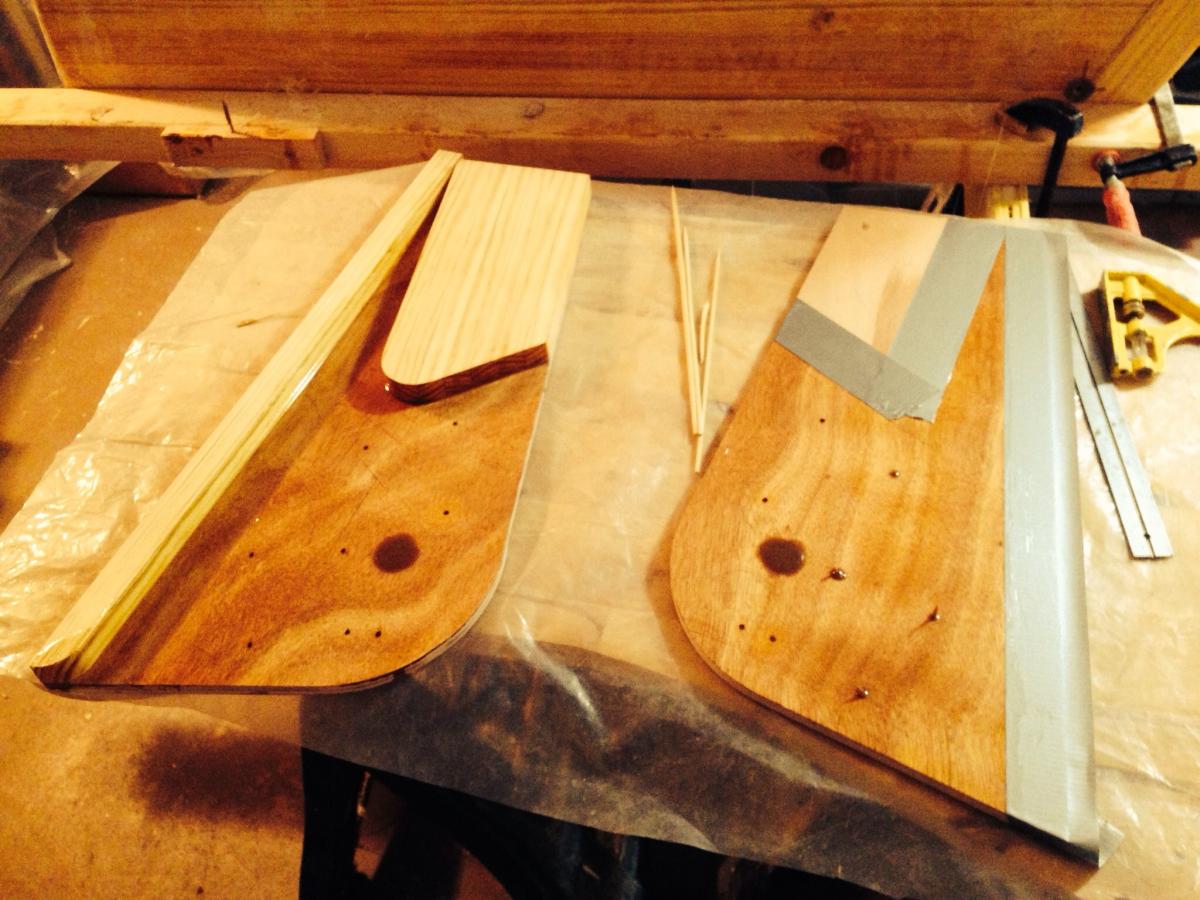
These comments are reassuring and informative. Thank you. Tomorrow should be sunny and in the 50's which means mid seventies in the green-boat-house. A good day, we think, for fiberglass sheathing! Meanwhile in the satellite shop (my house), progress is made on rudder components: