Noklin
-
Posts
137 -
Joined
-
Last visited
Content Type
Profiles
Forums
Events
Everything posted by Noklin
-
My brother picked up the 35 HP motor in a boat trade and had no use for it. He was going to give it to me for free if I wanted it. Doesn't it figure that it would be too powerful to use. How large a motor would you recommend for the CS 20, just in case he comes across another good deal?
-
I checked out the B&B web site and did not see the answer to my question. What is the maximin recommended motor size, HP wise, for the CS 20. I saw that the CS 15 has a maximum recommended of 15 HP. I have access to a cheap/free older 35 HP motor and was wondering if this was too much for the CS 20. In this case, the boat would be used only as a motor powered fishing boat, no sailing. I am building the after deck version, not sure if this would make any difference.
-
Congratulations I know that little things like that can be very irritating and disappointing on a first sail. But looking on the bright side, the boat has been in the water, it floats, no damage was done and it sounds like most stuff worked out OK.
-
That is one great looking boat. I love the color.
-
Gorgeous boat. With modern materials, how much actual work is it to keep that much bright work looking good over the years? What seat hatches did you install? I was looking at the plans for my CS 20 to see how big a hatch I could fit into the seal tops?
-
Thanks Ray The hull is glued up. I was working today to install the after bulkhead. The seat stringer was butt jointed with a 2:1 angle joint. I guess that I should have made it at least an 8:1 joint. The hard spot is small and below the level of the seat top. I guess that I will just take care of it when I fair the entire hull.
-
Today as I was working on my CS 20, I found a hard (unfair) spot on the side. This spot corresponds to the joint in the seat stringer. I checked the other side and it is fair. The spot is small and almost impossible to see. I found it when I ran my hand down the side as I walked toward the transom. What are my best options here? I could do nothing and fair it in when I do the rest of the hull. If I do nothing is this hard spot likely to increase over time? Since this spot will be out of sight inside the seat compartment I was thinking that I could add a reinforcement stringer on the inside of the seat stringer that overlapped the joint and try to pull the hard spot in with screws from the inside stringer. Any suggestions?
-
Scott I love that color. Seeing your boat has made me decide to paint my CS 20 the same color. I think I will go with a yellow hull and a light tan inside and on the deck. Of course, I have another reason to paint the boat yellow

-
Welcome I checked out the link, great looking place to sail. I had never heard of eucalyptus plywood, so I can not answer your question. But I did a search on the net and came up with a lot of hits. This is from one of the sources: Eucalyptus plywood has excellent strength properties. Eucalyptus plywood is particularly suitable for applications requiring great strength and stiffness, and in which the appearance of the plywood is not of primary importance. Did not see anything on its resistance to rot.
-
Gary, your plans for the electric motor in a motor well reminds me of the Emergency Propulsion Motor (EPM) used in the nuclear submarine I serviced on back in the 70s. It was an electric motor in a motor well that could be hydraulically lowered and trained 360 degrees. If it worked for the Navy, why not your boat.
-
As we say at work, read the @#!%^ instructions before asking dumb questions. Another case of quoting what I though the plans said instead of actually looking at the plans. This moved the stringers down toward the keel line where the curvature is a lot less and it should be no problem installing them in accordance with the plans. Thanks again.
-
Per the plans, the 4 stringers aft of the forward bulkhead are installed parallel with the centerline and equally dividing the distance between the keel line and the chine. But on my CS 20, this area has enough curvature that the stringer will not lay flat. I must have something wrong with my hull shape. They might be pulled down with screws from outside the hull without dishing the hull or they could be bedded in a large bed of epoxy to fill the gap (laying straight the gap is about
-
Great!! I want one!! Will the mast be free standing or stayed? Will the mast be tabernacle mounted for easy dropping or this too much to expect when you get to a boat this size?
-
I installed the keel batten in a bed of epoxy. The plans do not indicate that fiber glassing it is required (unless I just miss it). I hope to use and trailer the boat many miles over the next several years. Is it necessary or advisable to fiberglass it. What are other people doing?
-
It is usual in the US southeast summers to have temperatures in the lower 90s with RH also in the 90s (at least inland away from the coast). Yesterday as I was working on CS20 # 67, sweat fell into the fillet that I was working. I noted the location and today I have a discolored spot at that location. This is a small spot about the size of a US dime. Since we are just now getting into summer and this is going to be an increasing problem, I was wondering if there were any studies/tests on how different contamination affects epoxy performance?
-
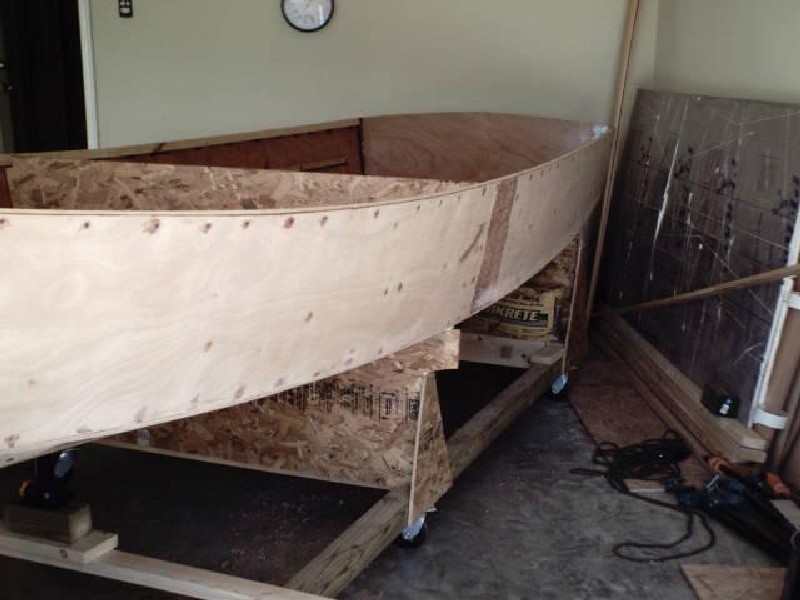
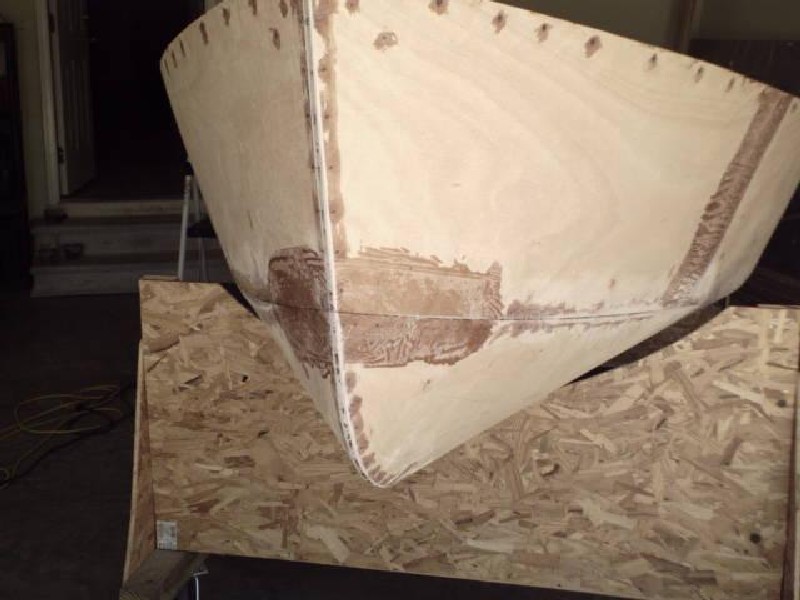
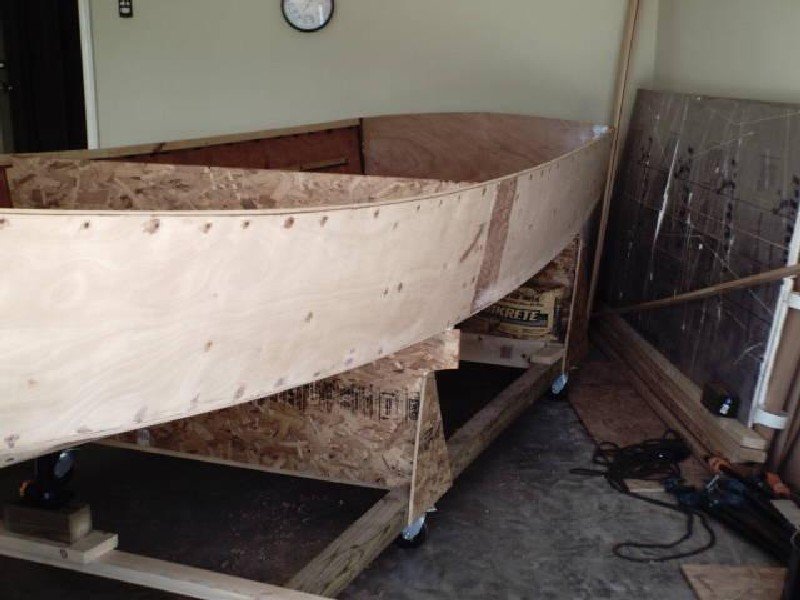
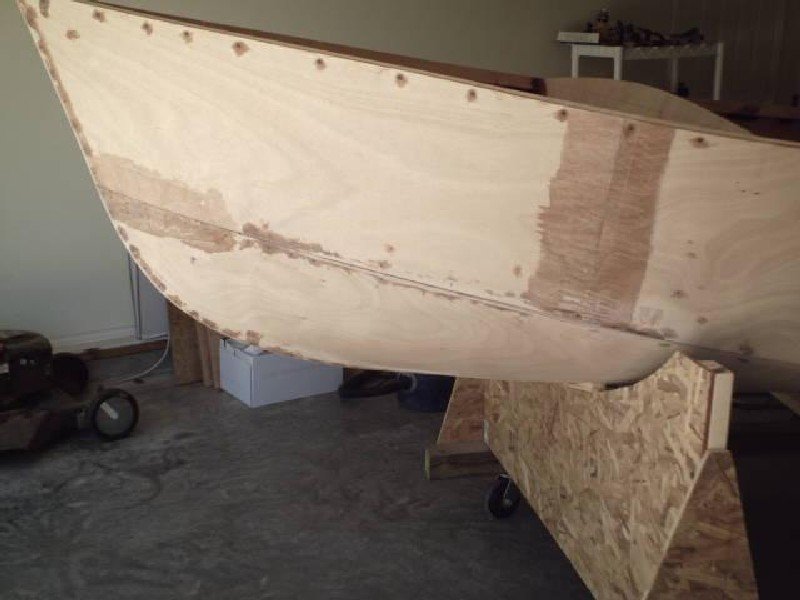
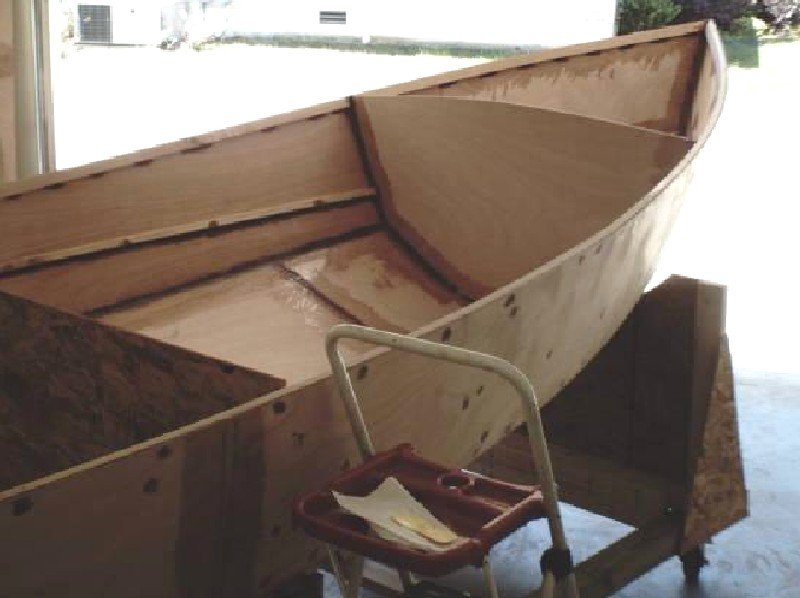
This is my first attempt at building a boat and my first experence at working with epoxy. So far it has been a lot of fun and interesting. Since I am about 200 pounds, I was concerned about getting in the boat to tab between the wire stitches along the keel line. Following the advice given here, I worked from outside the boat to fillet and tape the entire chine and transom and as much of the forward bulkhead, the bow and the keel line as I could reach. The bottom of the boat as it sits on the cradle is 18 inches off the floor. This allowed me plenty of room to tab the keel line from underneath the boat. I added two additional temporary supports to the 3 station cradle so that the hull was supported about every 3 feet. Only then did I get in the boat to finish the tabbing/filleting/taping of the keel line aft of the temporary bulkhead. After that had set up, I worked on the keel line forward of the temporary bulkhead, the forward bulkhead, and bow. I still have a little work to have the bow completed. My fillets are not pretty, I used a maple wood flour so the fillets are a dark brown, they are much wider than others that I have seen here and their width is not perfectly consistent, but I think that they will be strong enough for their intended purposes. Thankfully, most of the fillets will be out of sight inside lockers or under the deck and the others will be covered with paint. Have to get film developed before I can post any better pictures, these were taken with a very cheap digital. Of course, I am not sure that it will look any better with a better camera :shock:

-
I am not there yet on CS20 #67, I am still tabbing, removing wires, then doing fillets and taping. I am just trying to plan ahead. Painting inside the compartments would look better, but no one is normally going to see them. Since they are out of the sun, is there any reason to paint inside lockers other than cosmetic? Leaving it un-painted would allow better inspection of the wood condition, cost less and be easer. Is it just a case of personal preference?
-
I have no personal experence with this product, but it sounds simular to something that I used back in the 80s. According to their web site, it is 10 pounds per gallon. A gallon covers 60 sq ft. That comes out to .17 pounds per ft of coverage. That is at a finish depth of 29 - 39 mils (1/16). That does not sound to bad.
-
Back in the 80s, I got tired of slipping and sliding when moving about on my FRP boat. The molded in non-skid was worthless. I found some oil based paint with granulated natural rubber suspended in it in one of the marine catalogs. It came in a light gray, but could be tinted to any color. I used it on the foredeck, side decks and seat tops. The stuff worked great. Since the natural rubber was soft, it was not uncomfortable to set or lay on, but the stuff would grip anything. The color faded after about 10 years in the sun, but the non-skid still works after more than 20 years. I discovered later that putting it on the seat tops was a mistake. It gripped so good the you could not slid down the seat to change positions, you had to raise up to move. I worn out the bottom of two swim suits in one sailing season.
-
Being only a coastal and inland water sailor, I have always read the stories of cruisers such as Joshua Slocum, Lin & Larry Pardey and Eric & Susan Hiscock as adventure stories. I never thought of them as travel logs. To me, their books and magazine articles were never about the places they visited, but the journeys they took getting there. Anyway, I am looking forward to reading the article in Small Craft Advisor.
-
Graham, I am currently building one of your designs. I love the looks of the Core Sound boats and hope to use my CS 20 for many years to come. I think that I have seen references to you living aboard and sailing around the world many years ago. Are there any magazine articles or books written on your experiences? If so, are they still in publication or is it possible to get reprints of them.
-
I just spend this afternoon shaping and dry fitting the inwales on CS20 #67. Even after reading all of the post here about how important the inwale was to getting the proper shape, I am still amazed at how much difference there is. It went from something that looked like a boat to a boat with the lines that originally caused me to purchase the plans. I may be partial, but even now it is a good-looking boat. It took me several hours and all of my clamps to dry fit both inwales. I am not sure that I can take it off and reinstall it before the epoxy kicks off. Are there any secrets to quickly getting the inwale installed after applying the epoxy? Before any one else says it, I know the one about just working fast. I am hoping to have another pair of hands for the permanent fit up, that should speed things up.
-
I have the fir for the inwale. Since the total length is 22 feet, do I need to scarf the two pieces that I have and install each side as one piece or do I install each side as two pieces? Since the inwale is so important to the final shape of the hull, I assume that it has to be installed as one piece.
-
My CS 20 is ready to have the inwale installed and then to be glued up. I am about 200#. Is that too heavy to be inside the wired hull doing the tabbing between the stitches while its on the 3 station cradle? Do I need to recruit someone lighter for that job? Just how strong is the stitched up hull? It appears to me that it would be impossible to do a good job working from the side.
-
I was wondering at what stage of construction it would be safe to move the CS 20 about 700 miles on a trailer with little chance of damaging the boat. This is assuming that the trailer has been adjusted to properly fit the boat. In an earlier post it was suggested that when the boat was completed up to having the centerboard case installed it is strong enough to turn over for bottom work. Is it strong enough to trailer at this point. I am not planning on moving it at this time, but in my occupation you can never tell when you might have to change jobs/locations.