GPStick
-
Posts
44 -
Joined
-
Last visited
Content Type
Profiles
Forums
Events
Everything posted by GPStick
-
I have done that on my curlew and another skin boat. I found the bronze at a canoe supply but don't remember where right now but a google search will turn them up. I stitched the Curlew down the stems and the put the strip over that. Bulky looking but it works. On my other boat I stopped the bronze at the base of the stem and the stitching. Not sure I like the idea of stapling even if you overlap. I would be afraid of leaks. plus I found that stitching to be necessary to pull the final tautness in the skin. Try a flat stitch. Joe
-
I have used both nylon and polyester. For color the polyester is the best. I used the 8oz and it was tough to fill the pull holes in the stitches. Still draw water somewhere on day paddles. Jeff had some 11 oz for a while and I used it to re-skin a boat. It held up well and my colors were great. I don't remember it leaking but I had to re-skin again after a couple years due to a broken deck beam. I went with nylon that time from skinboats but the dye wasn't what I wanted but I was able to paint over Corey's goop with Rustoleum and get a good bond that is still god after 3 years. If I remember my decision then Jeff was having some trouble with suppliers plus I had just reskinned a friends boat with the nylon and liked it. I will I'll add though that spending just a little more for good material will save angst in the long run and you'll be happier with the results.
-
Some pictures for the previous post.


-
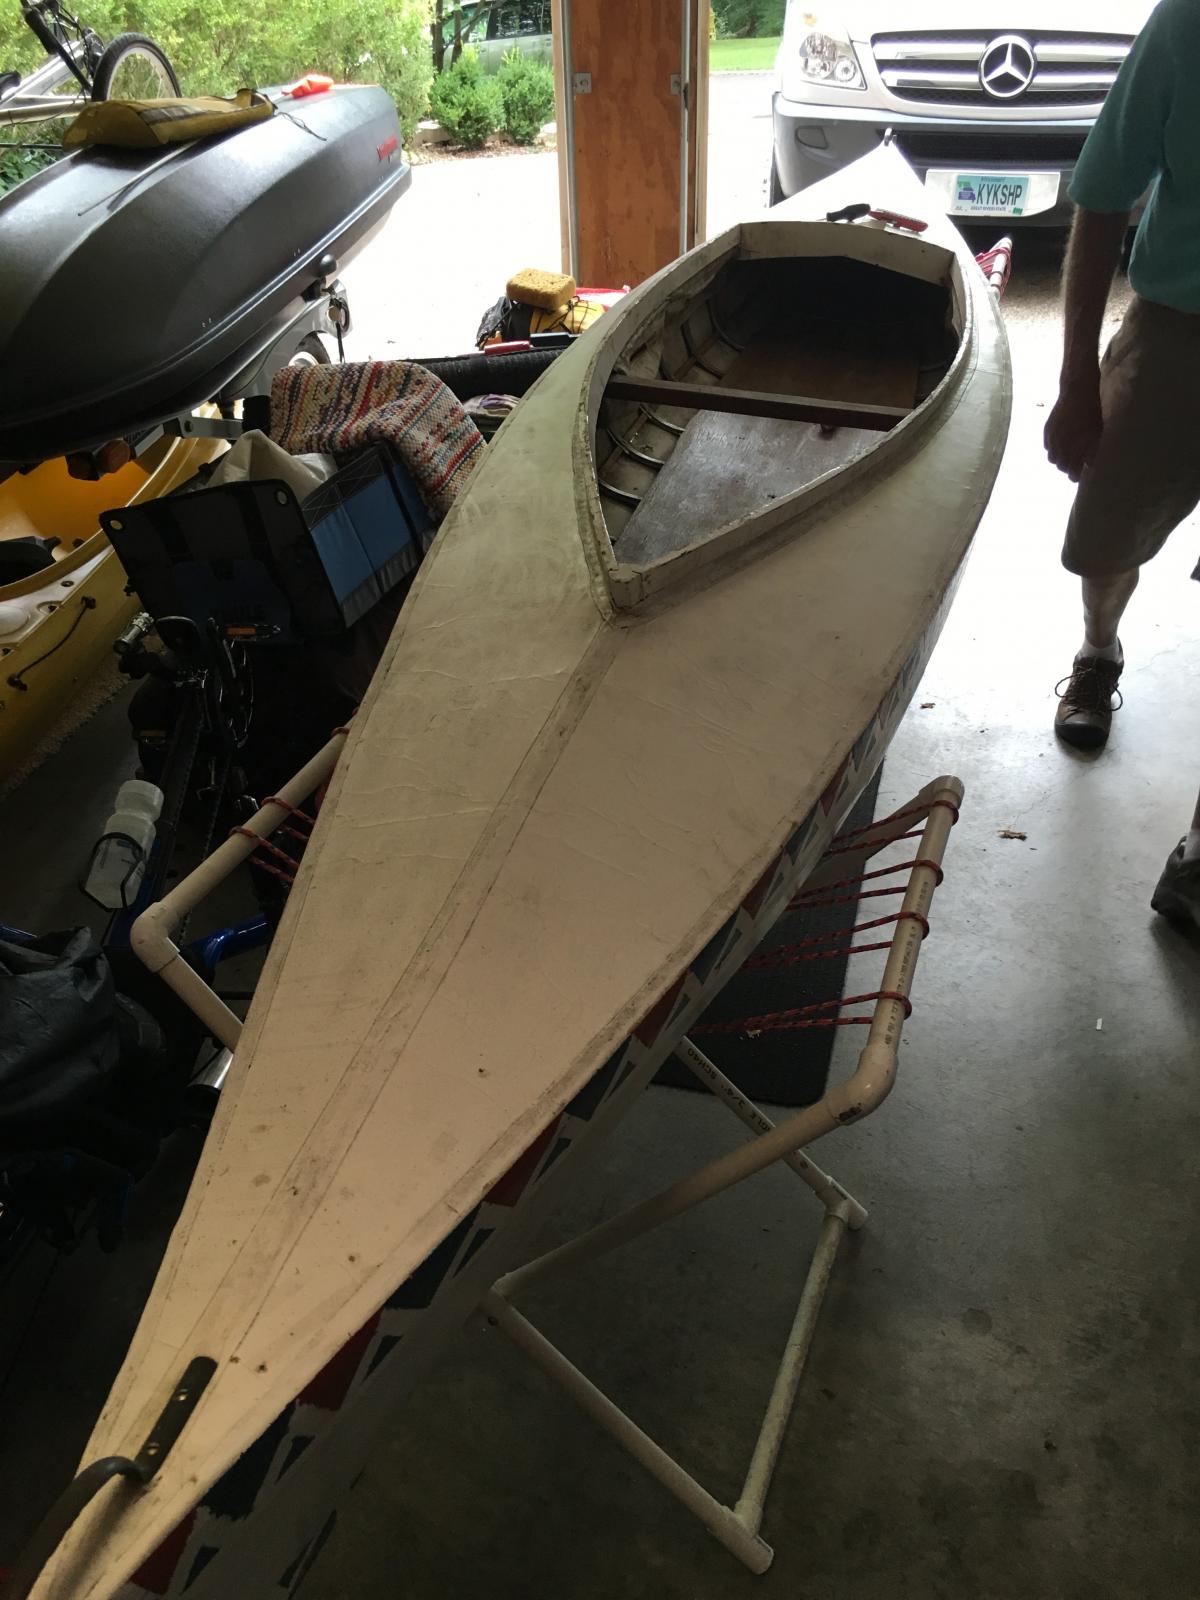
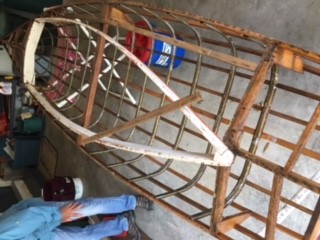
A friend picked up a homemade Kruger type SOF with canvas over wood stringers and aluminum ribs. Now that it is all stripped I need to re-cover. Kind of leaning towards the polyester as this will not be a hard used craft and the color options are more varied. (It was painted white with some decorative trim along the sheer). The tricky part is going to be around the coaming as it was originally attached to the plywood decking shown (completely rotted) and I would like not to replace the decking. However, floating the coaming in and sewing it to the fabric may not work. So I'm looking at the birch plywood option in 1/4" to duplicate the original build. The stern section of the coaming is permanent and extends below the level of the skin. The previous skin was tacked to the exterior of the coaming and then covered with a strip of canvas and painted in. (If there was any filler used we couldn't tell) i'm posting to get some ideas other than mine. Also, Jeff, having worked with both your 8 oz and 11 1/2oz I will need to make a selection of cloth. I found the 8 oz too open a weave and subject to pulling with the stitching but it did shrink. The 11 1/2oz was better in that respect but didn't seem to heat shrink as well. I have not gone to your store yet because the need is a little time away. Thanks for any tidbits, Joe (well I tried to insert some pictures but they didn't upload. I'll include them as a follow up.)
-
A friend came up with a design for some drip rings that we have been using for several years now. He used some material from a caulking job at the airport but I have had good luck with inner tube material. Cut in length about 31/2" by 1" and slit the center longways about 2", or what is needed to stay snug up past your hand position.Before or after the slit is done use a hole punch to make holes at the end of the slit. Helps with tear out. I can get a couple years out of a pair.I swear by Pogies, but since I prefer shouldered GP's I had a friend sew in some triangular gussets to allow them to fit over the shoulder on 1 side of the Pogies. My hands sweat so much they might as well be wet and that goes for mittens too. Plus mittens make it a bear to put on the spray deck.JoeSent from my iPad using Tapatalk
-
You put that up and someone else will put notes up. Sent from my iPhone using Tapatalk
-
Nice looking job. I tried the auto parts striping but ended up with some decal material for my striping. They suggested a hair dryer to help with adhesion. Worked well.Sent from my iPhone using Tapatalk
-
I tried Frog and the blue. Neither worked well. I had an old roll of shuretape and it held best on bare fabric and better on paint. With the curved lines I had it was time consuming but the result was great. As I said before , not a Kudzu but did use Jeff 'a hatches and construction tips. His 11.5 oz fabric was good to work with. I didn't 't find the tip in the archives about not stretching out on the boat. It didn't stretch much any way.Sent from my iPhone using Tapatalk
-
I've done 2. Didn't sand glass but did sand the epoxy. Use random Orbital. Sent from my iPhone using Tapatalk - now Free
-
I made a plywood strong back. Hung it from garage ceiling with the boats. Like your plan. JoeSent from my iPhone using Tapatalk - now Free
-
Red cedar didn't steam well for me a few years ago. Ash is better. I used cypress this time. It took a while to find the formula. Soak and heat gun. And I mean, SOAK. Sent from my iPhone using Tapatalk - now Free
-
I found some Rustoleum and it does say acetone. I'm going to try it. On the Curlew I used too expensive a paint and bought a gal of each color. I can paint it every year for the rest of my life. Sent from my iPhone using Tapatalk - now Free
-
Good to know Sent from my iPhone using Tapatalk - now Free
-
Found a YouTube of Jeff painting a boat. Don't know how I missed before. One thing mentioned was thinning first coat but I swear he said use Acetone. That is a new one for me as a thinner for oils. Comments? Sent from my iPhone using Tapatalk - now Free
-
I used the braided polyester cord from Wally world. Don't recommend it but too late to switch. Doesn't have enough body and can't feel it when rolling the fabric. In hindsight I'm not sure if stretching this fabric is needed. Closing up the stern stem stitch was hard work. Then I had to blend in stitching changes from the corded to non-corded to a flat overlap. It turned out better than I thought and I spent a lot of time worrying about it as I was sewing. It does look nice though. Now, if shrinking won't crush my frame I good to go. If anyone wants pic's contact me off line. Since it's not one of Jeff's designs I don't want to post here. Joe
-
I haven't been here for awhile and part of my subject is not a Kudzu design but I did want to comment on Jeff's 11.5 oz polyester. That stuff is TOUGH! I had used a 12 oz nylon on this frame before but I don't remember how it sewed now, too many years gone by and maybe a few too many others things as well. Since this boat has typical Greenland stems there were big puckers along the sheer when the fabric drapes over. I had read in Jeff's book about tight weave fabric and sewing a pocket on each end and following those instructions gave it a try. The 2 1/2" or more was too much. I didn't have enough "ass" to pull that out. So, back to the thinker pose, and some internet research from old sites I had been too before. With the pucker along the sheer where the fabric breaks over the Greenland style stems I knew I was going to have to do something different. (why I didn't have this trouble with the nylon I don't know) Hit upon cutting the fabric, pulling out the pucker, cutting along the stem with about a 1/4" overlap and sewing up the bottom of the bow stem with a flat whip stitch that I varied by doubling it creating the X look. Then did the pocket in the bow and went to the stern after removing the pocket from the bow. I settled on a little less than the 2 1/2", pulled the fabric up and took out the pucker but didn't cut it yet. Then sewed in the pocket with a running stitch and gave it a try. My last grunt was just enough to get the fabric pulled tight and set in the pockets. After standing back and admiring my work I found the nerve to cut the fabric open and trim it off like I did on the bow and started sewing down the stem toward the pocket. I didn't lose any tension doing this which had worried me. I'm going to sew up to the pocket and stop. Then flip over and start on the deck seams. Once I get to the stems I'll remove the pockets and continue the new stitch around and down the stems to connect with the other stitch. I'm hoping all that will work. Still haven't decided upon whether to use the corded stitch Jeff has in his new vid as that was what was on this boat the first time or just go with a flat stitch. Needless to say there is a lot of down time studying and thinking before I make a move so this part of the process has been slow. But, I do like this material better than the loose weave 8 oz. Joe
-
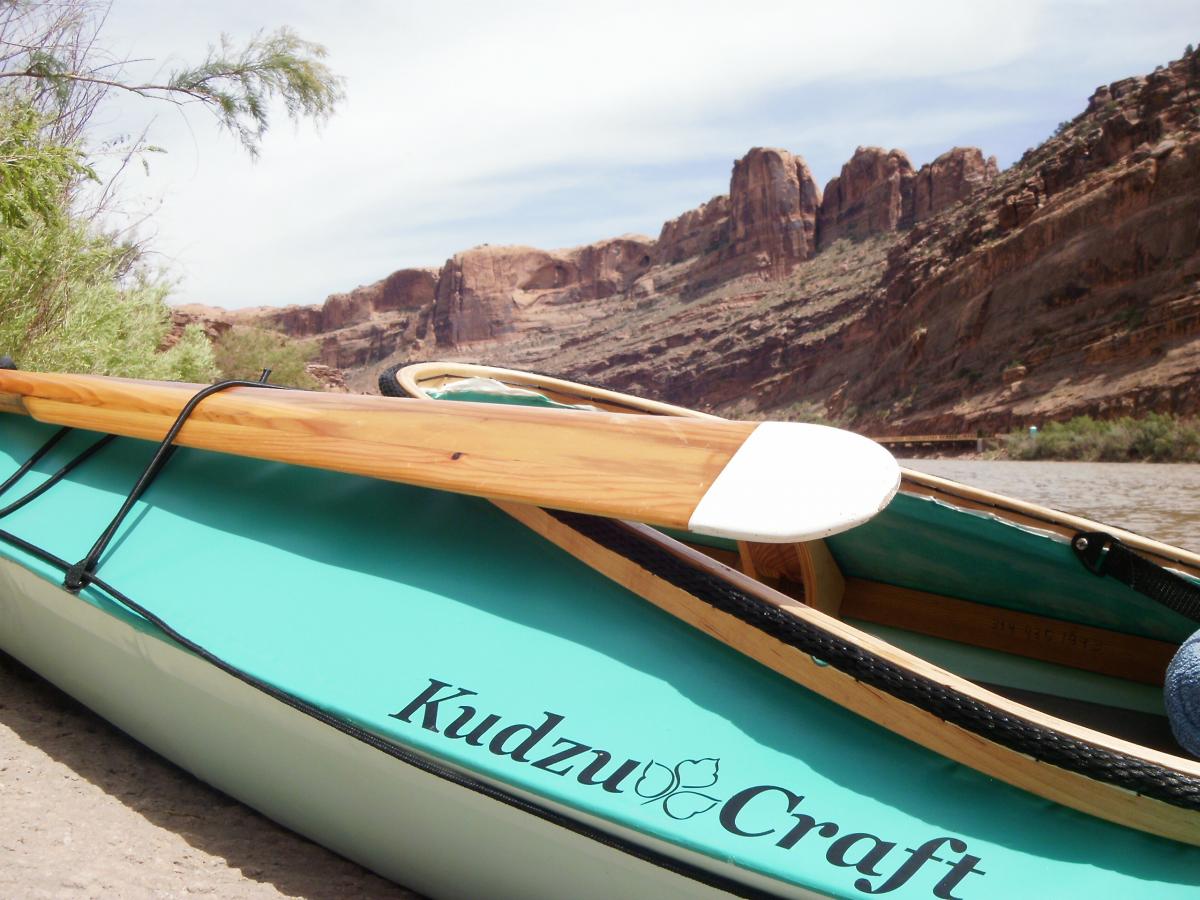
OK Dave, no truck. Colorado River, Moab, UT

-
Crop outside my capabilities.
-
Paul, Looks good. Yes, I did decals and also put Kudzu Craft with leaf on both sides of the cockpit. I just thought including the bow in the foreground of the snowy peaks would make an interesting picture. Joe
-
We are on a trip and I'm snapping photos like mad. Started to frame one and had an idea. See photo.

-
I can get my 13's through there. I do have to sit on the back deck and slide in though. Can't just sit on the seat and put my feet in but I'm 6'5" tall. Joe
-
Far from alone. I can build two boats or very close from one roll. So it is obvious that I trust the sinew more than everyone else. ;-) About 8-9 turns around the joint is all I use. I suspect most use A LOT more than that. Probably just doesn't look strong enough to most of you. I don't think I went more than 6 turns. More seemed overkill when reinforced by the skin. Maybe I went too light. Time will tell. Joe
-
Like what you've done. What is your white wood? And, how thick are you leaving the edges? See what you mean about the T&G now.
-
Good Ideas. Best I came up with was to laminate some sliders for the deck lines. To use all the left overs i need to build about 20 more boats. But that won't work as there'll be more leftovers. Oh well. Joe
-
Dave, I have done hardwood tips a couple times. Just used dowels and they worked well. Also, tried maple edges on a paddle. It is retired now due to size but quite effective. I have thought a biscuit joiner would work well on hardwood tips but don't have one. For the little I would use not worth the purchase. On my "commercial" paddles I have gone with epoxy and wood flour similar to BB's Rock Guard Tip. No one has had trouble so far. I made a form and then do a pour and tap around it to settle. Next day rough shape while soft and then finish with the paddle. All my paddles now are laminated as quarter sawn is a phrase most in the lumber yards here are not familiar with. I get good strength and less flex that way. The one in the picture was my first attempt at hollow shaft in order to shave weight. Since I have a large frame and hands I leave a lot of wood and I can only get them so light. It worked well but I have to come up with a better method.