slaterturf
-
Posts
73 -
Joined
-
Last visited
Content Type
Profiles
Forums
Events
Everything posted by slaterturf
-
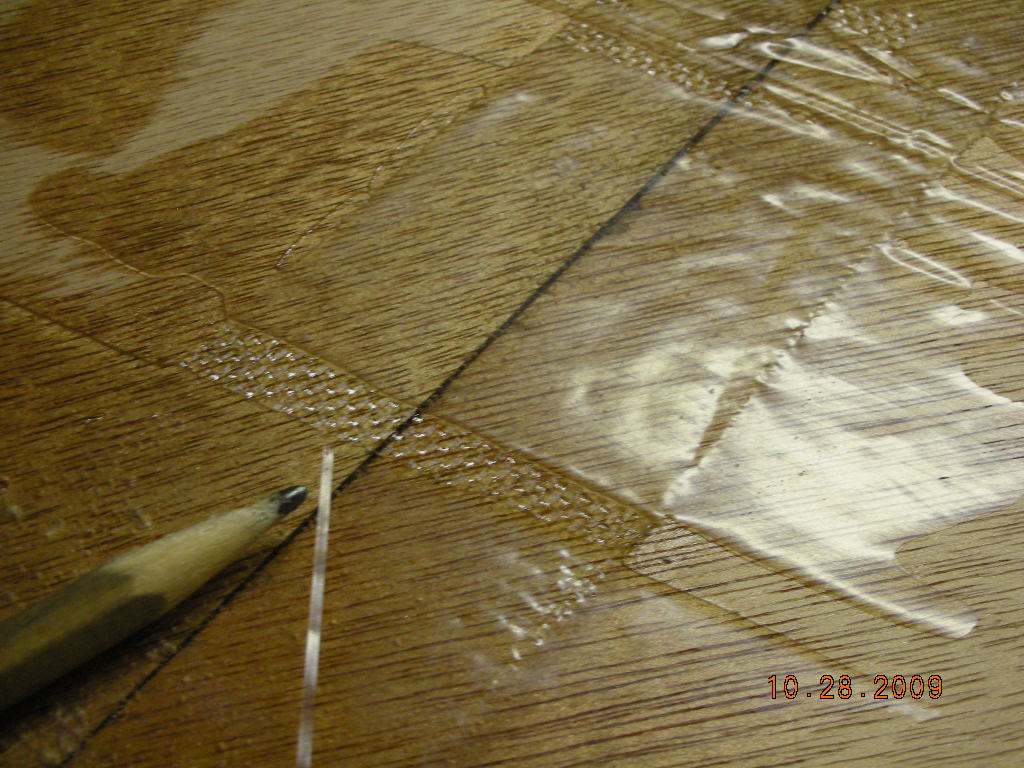
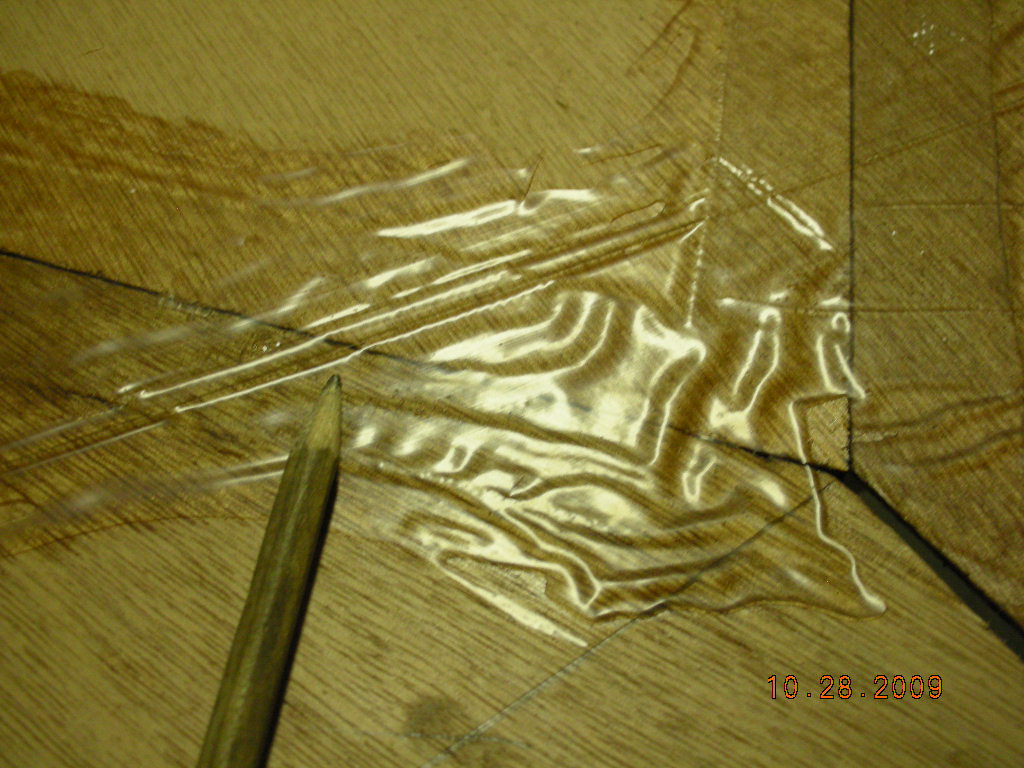
I lifted off the weight this evening from the tape and epoxy. Looks good. What I called a flaw last time is more prevalent, so I guess that is good. I can feel and see the texture of the tape. Now I can stitch it up. Fun.
-
I taped the joints on the other end last night. Larry, thanks for the clarification on the mission of the glass, i.e. adhering to the wood. I focused on that concept more on this second effort. I won't see my results until Sunday as we will be traveling until then. Now I am projecting my next steps... folding the bow and stern, tying the sides and bows together, taping the butt ends of the sides, installing the breasthooks, tracking the wood for the inwales and gunwales, envisioning filleting the chines, interior bow and stern, laying the doubler inside the bottom, painting the epoxy on the panels, and planning the paint for the boat. Still fun.
-
Thanks John, I hope to do the other end over my lunch hour today or else tonight after work. I will increase the epoxy a little.
-
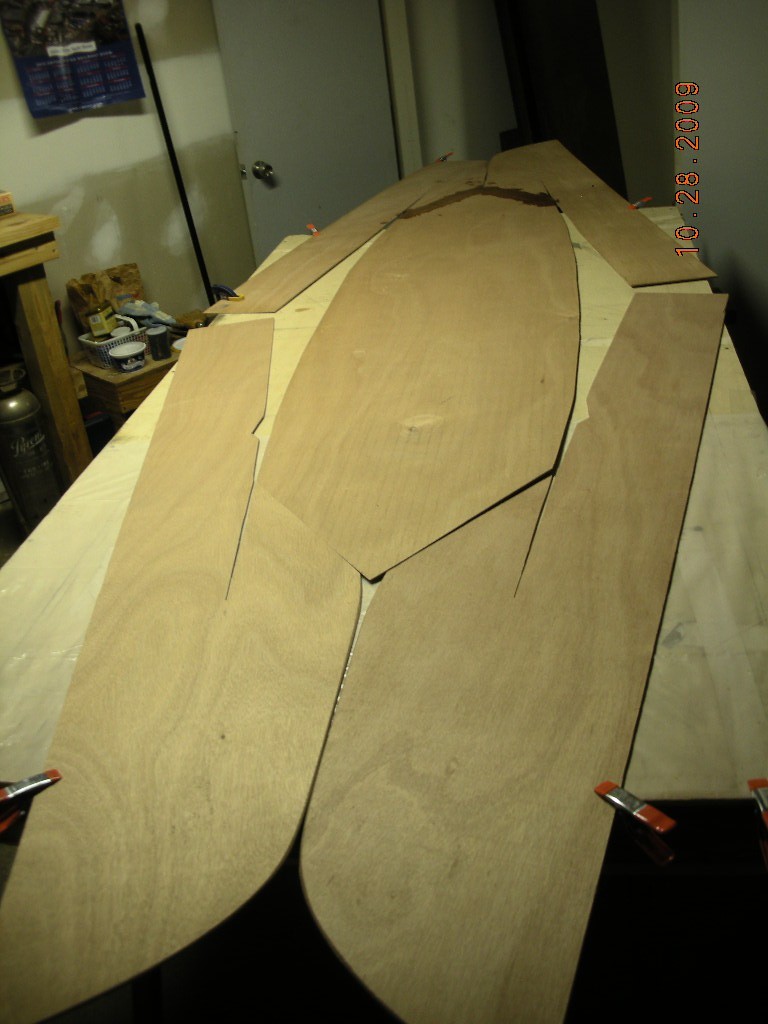
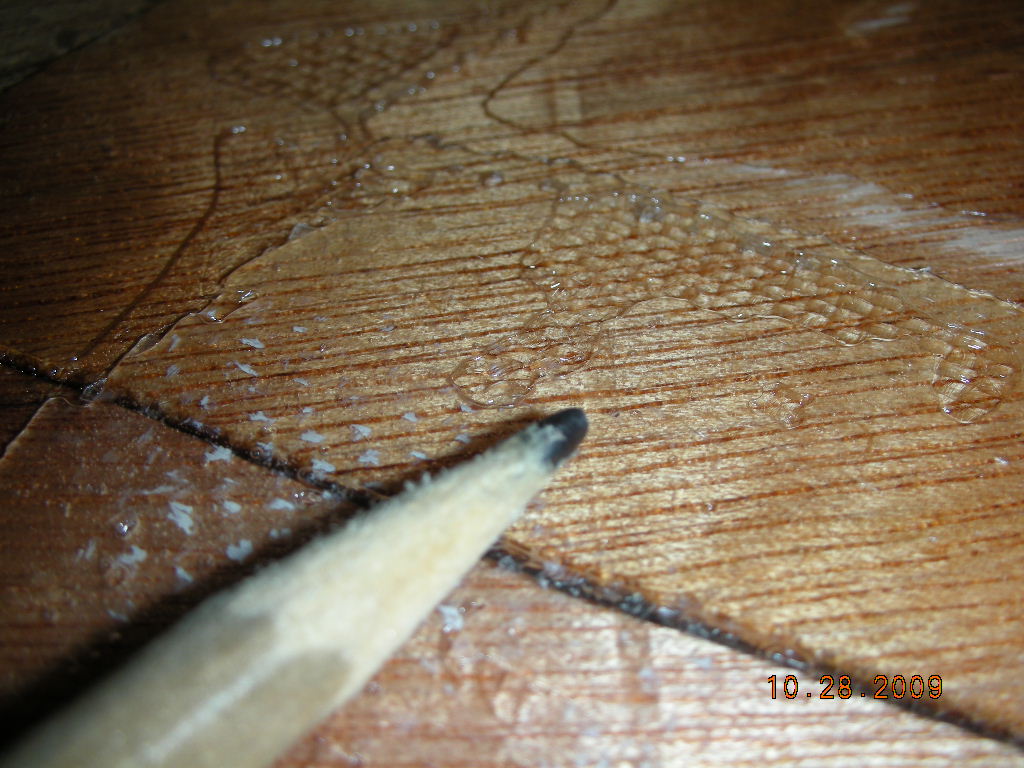
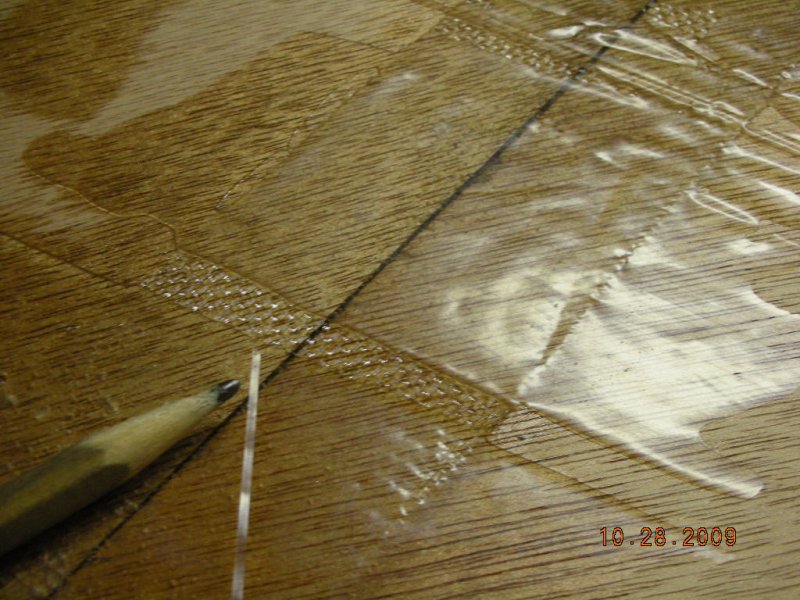
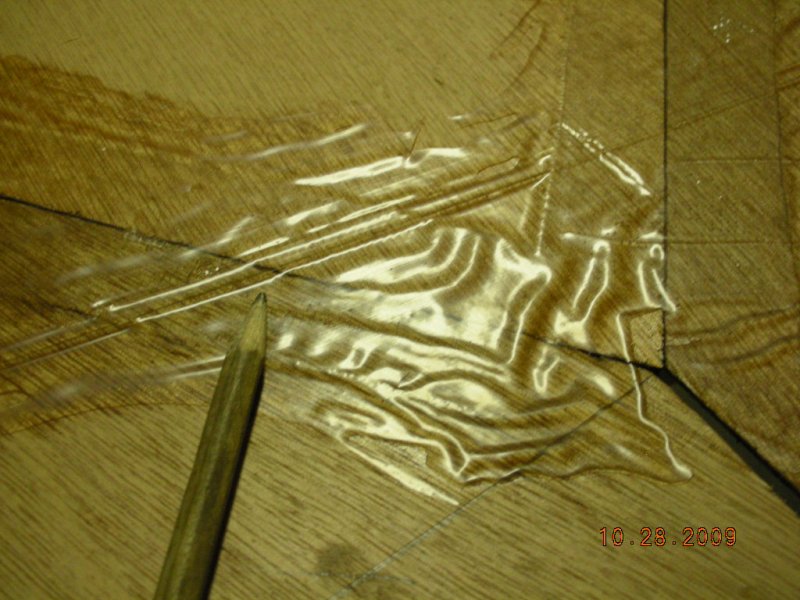
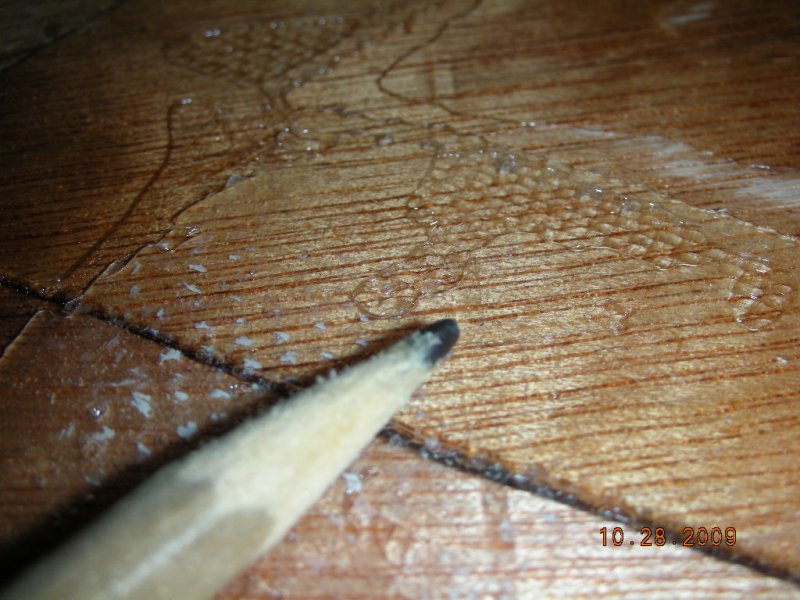
Now I have the boat turned around to tape and glue the other end. The boat is growing longer than the small shop in which I am working. here is another closeup of the epoxy showing the fiberglass tape.

-


-
As I think about what will occur folding the side up into their positions, I think the plywood must flex and curve to a bend. The five inch cut on the bottom center line at each end will contribute the ability of the sides to bend into "boat" shape. I have wondered if the five inch cut could be done before the taping and gluing, but I think I have answered my own question. The five inch cut has to be done after the tape and glue have cured. If it were done beforehand it would simply be taped and glued over. Any thoughts are appreciated. Thanks.
-
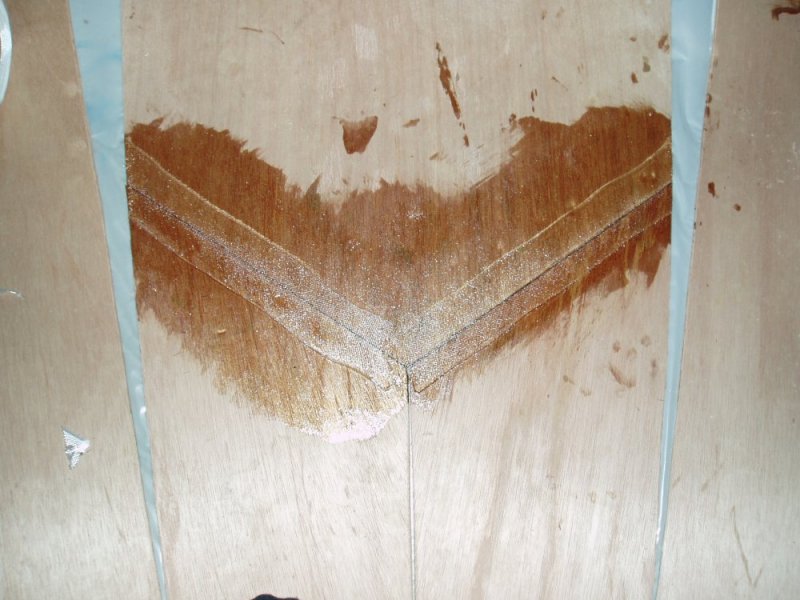
I am trying to visualize how the side folds up from the bottom once the epoxy has set. Here is a photo of one of my samples of gluing two scrap pieces of plywood together with glass tape. I did the sample on both sides as I am planning to do so for the boat. I did the experiment two times learning how to mix the epoxy, spread it, lay the tape in place both on the bottom and top, and learning how long it takes in my little basement shop to cure. It cured overnight enough to pick it up. It would slightly bend, but it was tough. By the end of the day today, it is so hard and set that the two scrap pieces will not bend.

-
I have been preparing to tape and glue the bottom to side/bow joints. Practicing with mixing the epoxy, applying it to fiberglass tape on two pieces of scrap plywood, locating mixing containers, timing the cure rate, and more fun learning. As I look beyond joining the bottom and the sides, I am wondering about the "fold". I have seen and read in some of the threads here that is will be a good idea to secure the front of the cut to be folded with a block of wood so that it won't crack as I fold it up into position. Two questions to those who might know, 1. do I place a block of wood on each side to the plywood and screw them together through the plywood, and 2. if I were to place a piece of sponge under the plywood on one side and then wet it with water, would that help in bending the wood when the time comes to do so? It seems it might add moisture locally to the wood fibers giving them the chance to flex easily with the fold? Oh, and another question. I will buy some brushes to paint on the epoxy. Is there a way to reuse these or do I have to dispose them after each use? Can I keep the one I am using in water temporarily and then come back and use it again. For example, over a lunch hour? overnight? Thanks.
-
Thanks Chris and John. I am ready to tape and epoxy. I have to clear out the garage this weekend in order to have more space to fold up the bow and stern. This is so much fun, and it is amazing that via this forum we can have a conversation and I am able to gain guidance. Thanks again.
-
John, thanks for the comment. I have not pulled the boat into 3D.
-
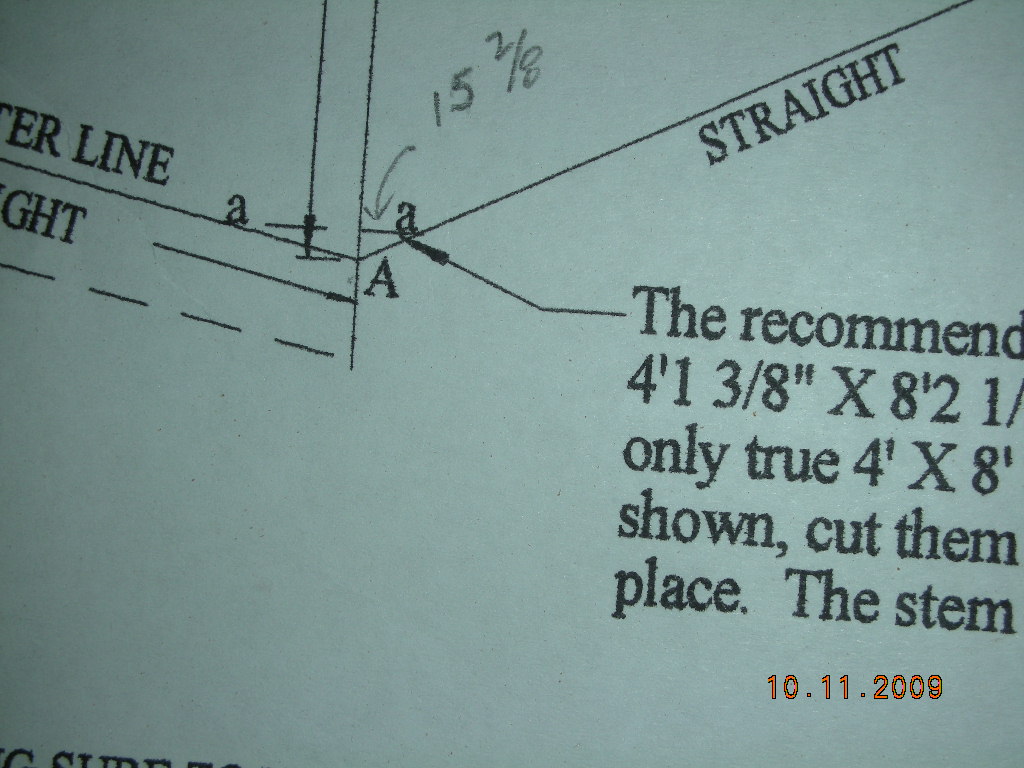
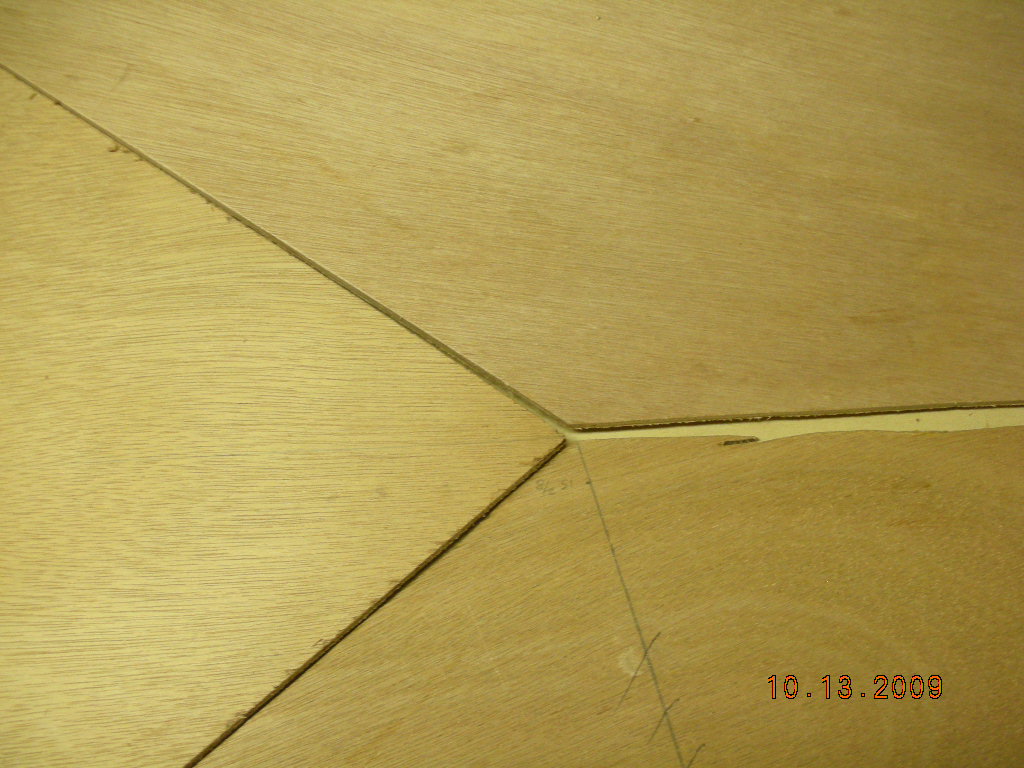
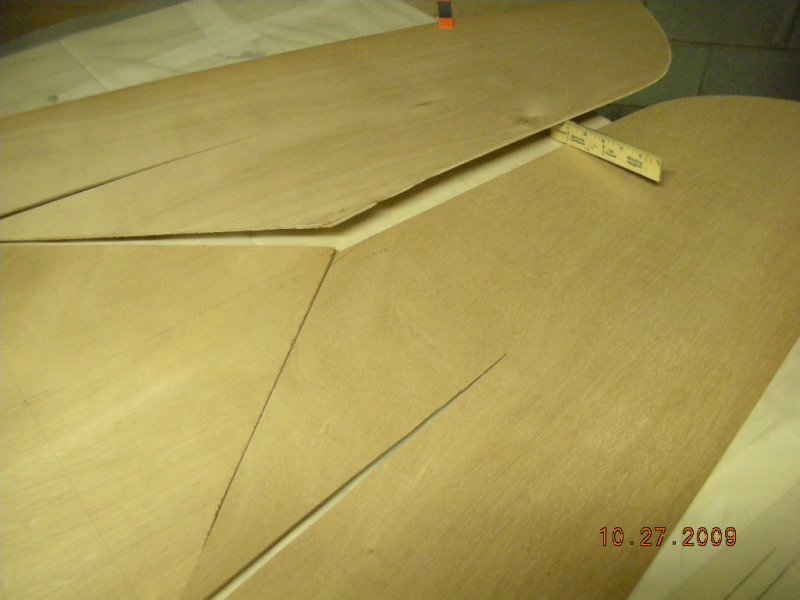
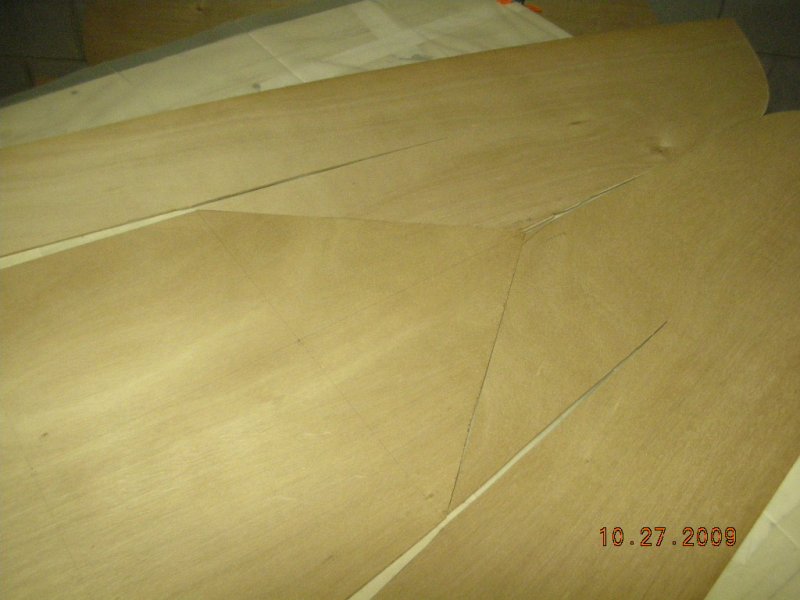
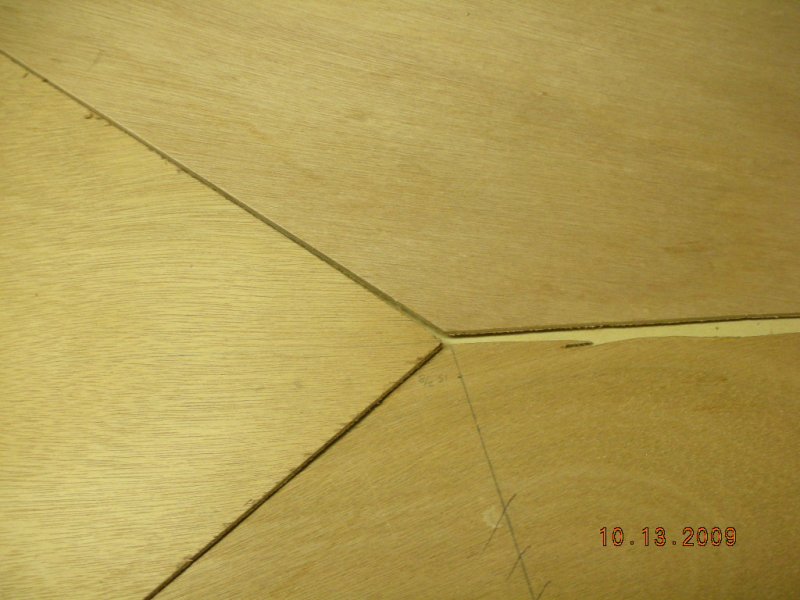
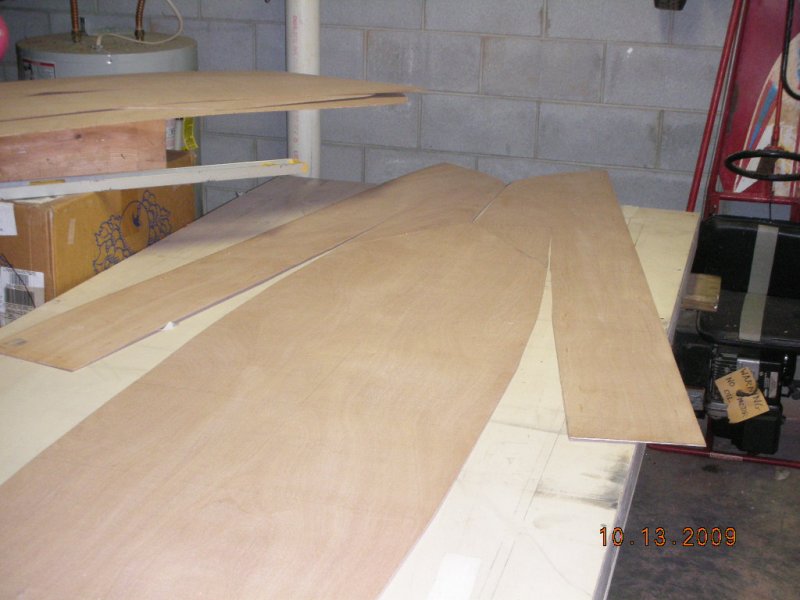
I am making headway. These photos illustrate the current status. The gap at the side/bow is pretty big. It resulted from the a-a line being cut. Do I fill this in with thickened epoxy? and then tape it over? Or do I try to first cut a piece of wood that is close to the gap shape, plug it in and then epoxy the remainder? I got confused over the a-a line. The consequence being that two of the Side/bow pieces have a gap and two do not. The ones that do have a gap also have a V shape cut out of the side that will become the chine with the bottom, although you cannot see it in these photos.


-
Wow, that is the first time posting one of my photos worked.
-
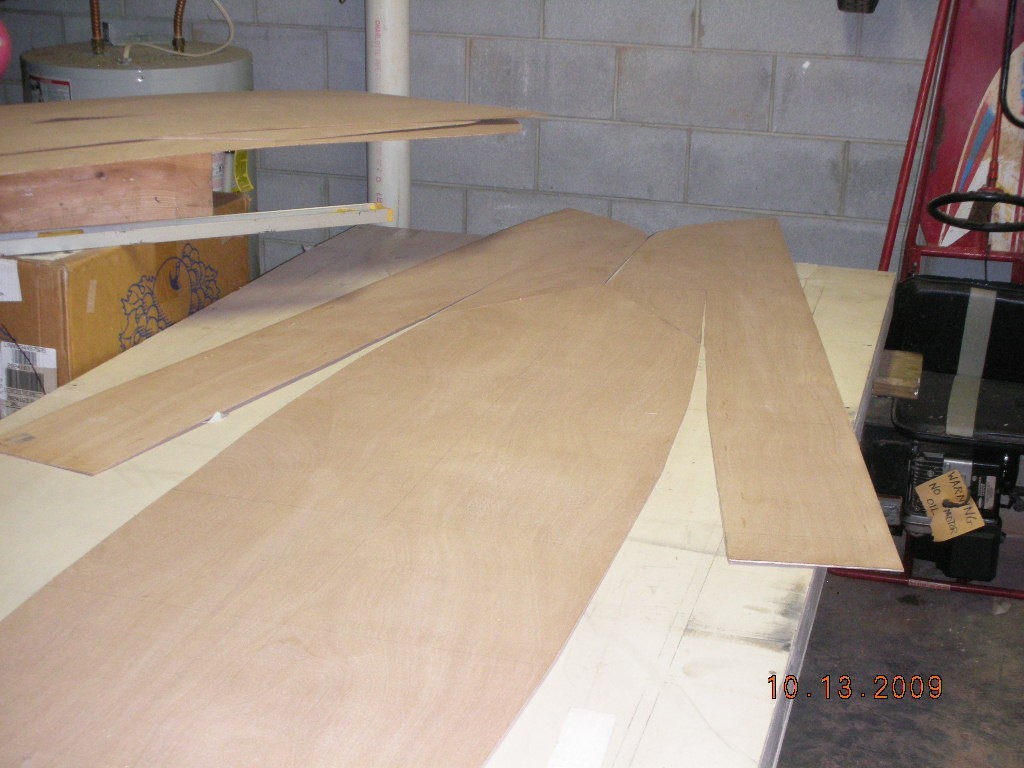
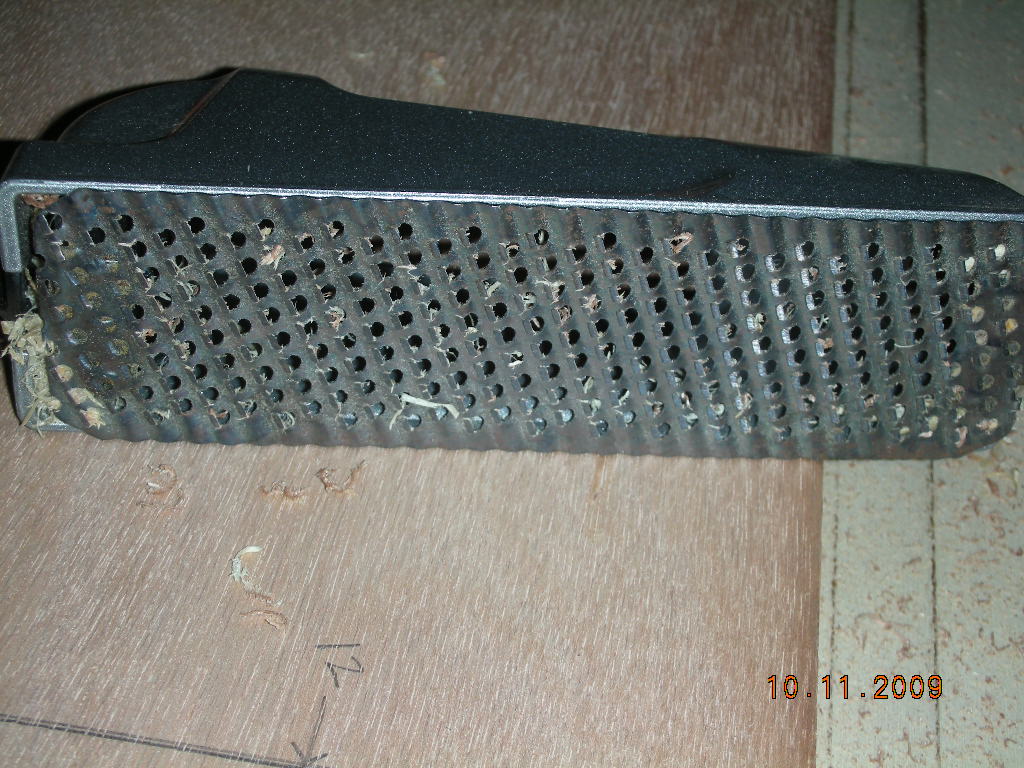
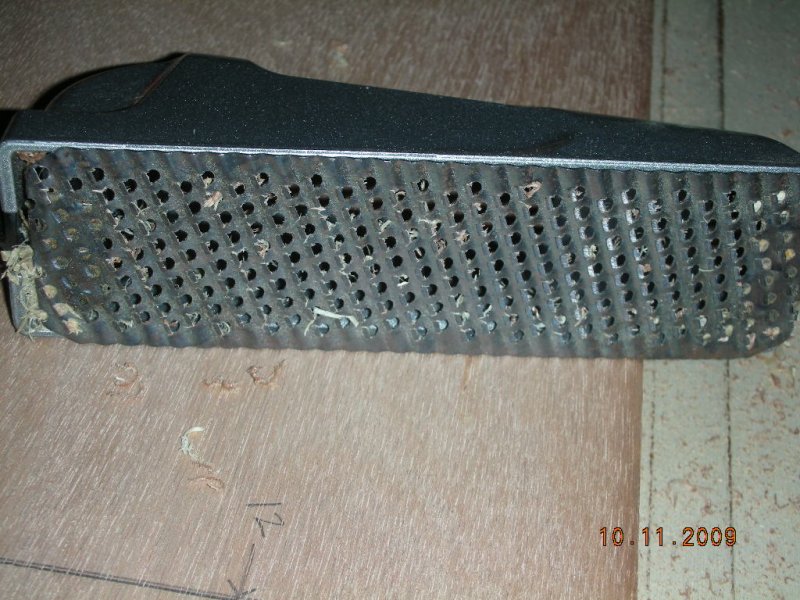
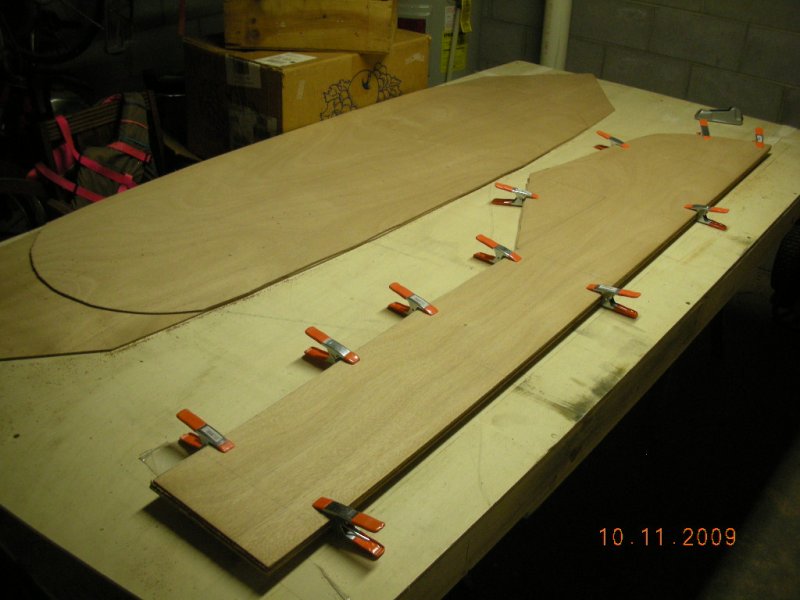
Today I cut all my pieces of the Mocassin. The jigsaw worked fine. In some places it tore the wood a little bit, but nothing I cannot plane or sand off. The next step is to plane the bow/side pieces. I have all four clamped together so that I can finish the edges together. I have rasp in the form of a plane. I will try to post a photo here of what it looks like. I tried using the rasp but it did not seem to provide much action.
-
I think I have answered my own question. The radius is not impacted. The intersect of the radius and the edge of the doubler is not 13" away from the centerline of the doubler. I believe that is what I was trying to clarify. I have simply scribed the dimensions of the doubler and realized that the intersect is on the 13" radius, but not 13" away from the centerline.
-
I have drawn my radius. I discovered I have a nice steel ruler with a hole at the 0 inch mark. It worked nicely for a push pin to keep it in position while scribing the radius. I will be building my boat the extra length available to it as pointed out to me by Graham. That means the TCL is 48" from the four foot plywood edge. If I am figuring this right, the TCL is now 33.25 inches from either end of the doubler, rather than 29.5 inches. Would this impact the radius measurement in any way? Thanks to those who know.
-
Thanks for the help BillB. I now understand more. I have made a small batten out of the shirt cardboard I have. I will cut it to 13" and use it to draw my radius. I may also be able to build battens of different lengths out of the same material to draw other lines. I had an actual batten out of an old windsurfer sail, but it was to stiff. I now think I am ready to draw the lines for the doubler.
-
OK, I made my first measurements, spotted my first dots, and drew my first lines. What fun. Bob Dylan playing on the radio in the background. I did enjoy it. But I better compose my questions now before I get distracted by the new Jay Leno show. I have studied this effort over and over, so I was glad to step into the process. Here are a couple of questions: I am starting with the bottom, and the plan suggests using push pins or brads at the chine marks. Are these to hold the flexible batten in place which I then trace in order to mark the chine line? And second: The front of the doubler has a 13" radius curve. Can someone explain to me a method for drawing that line. Do I cut a 13" batten and curve it into place and then trace a line along that curve? Finally, does anybody have a suggestion for a everyday household material I might use for a batten? I built a scale model of the Moccasin 12 out of the cardboard that comes in a folded shirt from the dry cleaners. The little boat is about 17" long. I cut the cardboard to the scale of a piece of plywood and then built the boat. The seams are taped with scotch tape. So I am wondering if there is something I can transform into a batten. I don't have a table saw with which I could cut a thin piece of wood off of which would then work as a batten. Thanks. :read:[move][/move]
-
I have received my jigsaw, some clamps, epoxy, and filler material. I bought some measuring straight edges today. I have the plywood and am clearing a space in the garage in which to stage the building platform. I am now wondering about what is appropriate to mark the plywood. I am concerned a pencil will not show up well. Can I use a sharpie marker and expect to sand out the ink? It does not seem that would pose a problem. I was concerned that the black ink would continue to show. However, it seems I could either sand it out or it would be painted over in the end.
-
I have clamps coming and a jigsaw on its way. As I study the various photos posted on building a Moccasin I realize I need marking and measuring tools. I have a tape measure and a ruler. However, I need to make some precise measurements. I wonder what those of you with prior experience might recommend for marking and measuring tools. It looks to me that what I see described in catalogs as a 12" combination square might be useful. Any thoughts or recommendations?
-
Thanks fellows. I just ordered my Bosch jigsaw from Amazon. I am glad to have some agreement. I am sure there are several good jigsaws to turn to, but I had no reference to go by. I ordered my epoxy, tape, and pump from B&B on Friday. I have also ordered from Amazon some clamps and jigsaw blades. I will use extend the boat the additional 7 inches Graham provided for in the plans. I am still thinking and visualizing the whole process of building the Moccasin, however I am almost ready to draw my cut lines.
-
I don't yet have the tool I will use to cut the 4mm Okume plywood. I wonder what some of the more experienced would recommend to me? I don't have a jigsaw or table saw or sabre saw. What is going to be a good tool for the job of cutting the plywood for the boat? Thanks.
-
Excellent, thank you Graham.
-
I am preparing to build a Moccasin 12. I have read other threads by those just learning to build and that is my case. I purchased my plans in July. I have enjoyed studying about how to build the boat since then. I built a cardboard scale model which is 18" long. I have purchased my Okume plywood. I have found old threads about building Moccasins, read the posts, and followed the photographs. I have viewed the CD that came with the plans. There are a couple of questions I have. 1) In one of the older threads the boat was built, covered with epoxy, and then painted. What I did not understand was why cover it in epoxy and then paint over that. If marine plywood is used, can the boat not simply be painted without the use of epoxy? I learned in that thread that some people have an allergic reaction to some of the components in the epoxy and the builder had to wear an epoxy protection suit. I don't aspire to have to battle with epoxy in order to build my wooden boat. Would somebody comment on this process? Secondly, I am trying to understand one part of the "cut out sheet" plan. The plywood is cut out into the butterfly layout. As I look at the dimensions of the cutout for the "side/bow" panels I see two measurements which represent the longest dimension of a side/bow panel: 77 and one eighth and 73 and seventh eighths are the two dimensions along the top of the plan page representing longest dimensions. This impacts the "butt" joints as the butterfly panels are folded up in the shape of the boat. If I cut to the longest dimension, it seems I would have a bit of overlap at the butt joint. If I cut to the shortest dimension shown, there would only be a overlap of 1 and seven eighths inch for each panel. It seems to me in that case the butts may come together nicely by the time the butterfly panels are folded into place as the bow and stern curves pull the butt joints into the right position. One of these dimensions is the right one to which I cut, what is the other dimension for? So, what I don't understand is to which dimension do I cut when I cut out the butterfly? Thanks for the help and the clarification. I have really enjoyed reading the various threads here. I hope the detail is understandable to someone who has some experience building one of these boats.