slaterturf
-
Posts
73 -
Joined
-
Last visited
Content Type
Profiles
Forums
Events
Everything posted by slaterturf
-
What about that Dremel brand? I have seen it in the stores and on line. It appears very small. As I look around my new canoe I find some small areas needing TLC with a sander, areas of epoxy. Up under the breasthooks is one example. It is tight and narrow. I was looking at the Dremel in Lowe's the other day. It appears smaller that the Fein, so maybe I could get to those small, tight areas to smooth them out properly. Have you guys used one of those? It seems an array of tools is necessary to reach all parts of a boat. I started this canoe with the determination that I would only buy the tools necessary to get this one boat done, just in case I did not like boat building. Well, so far I like it plenty. I am already planning my next boat. I realize the finish work is a huge part of the task. Building a shop for a beginner like me is fun, but I want to be careful about jumping into tools that might be unnecessary.
-
John, Thank you very much. Actually, I have taped one end on the inside and not the other. I have filleted the inside without the tape, but I think I will add more fillet to improve the roundness of the inside of the chine. I will study further on the paint. I will do my painting outside during good weather. Thanks.
-

-
And, by the way, are there other power tools or hand tools that you find useful, especially in a start up shop?
-


-
Thanks John. I have been thinking this through this evening. I trimmed the sides of the doubler and it is beginning to fit in nicely. I think I need to trim the sides more so that they will clear the plastic ties. It seems that I would install the doubler first? or do I tack the seams and come back for the doubler. It looks as if the doubler will require a lot of epoxy. As I install the doubler, I would wet out the wood on both the boat and on the bottom of the doubler with epoxy. Then I would mix some thickened epoxy and come back to paint this on the floor of the boat and the bottom of the doubler. At that point I would slide the doubler into place and secure it with the temporary prop and some other weights, curving it into shape and position. I read in the plans to score the bottom side of the doubler with a sharp knife to improve the curvature of the doubler as it is pressed into position. It seems placing and gluing in the doubler will use a lot of epoxy.
-
So, when I fit the doubler into position, it will just clear the plastic ties at each side. Then I would fillet and tape the inside seams, over the plastic ties. When this is done, I would pull the plastic ties out from the outside and fillet and tape the outside seams??
-
Well, I am back to the next step. Sorry I have not posted any photos. I have the gunwales, inwales, and breasthooks in place. Next is the doubler. As I try to fit the doubler into position, I find it does not quite fit. I am shaving off the sides a little, but am wondering how far to go with shaving. As the doubler bends with the curve of the bottom of the boat it seems to fit better, but then the edges are up against the plastic ties. I was reading some of the previous posts and it seems I should wait to tape and glue the edges until after the doubler is in. Does it matter how close the doubler edge is to the side of the boat? Can I shave off enough of the edge of the doubler to fit inside the plastic ties at the chine? Thanks for any tips.
-
That is helpful. I have a cross piece to the designated beam width secured on to of the gunwale to hold the boat to its beam. I could see a few different directions to go and began wondering which road to take. The plans provide good guidance as to setting up to install and glue in the doubler. Thanks.
-
Thanks for the info and tips. I have fit the breasthooks, the gunwales, and the inwales. After reviewing the plans it seems to me that I now need to fit and glue the doubler into its place. The plans refer to four parts of the doubler, however I cut mine out as one piece. I presume my plans show it as one piece because I am building the 12 foot model, while the larger model doubler must be in four parts. It also looks to me that I don't yet glue in the breasthooks and wales until I have the doubler in place and secured. Once that is done then I would install the temporary prop to help shape the hull properly. At that point I would glue in the breasthooks and the wales. From there I would tape and glue the outside seams, then come around to the inside to fillet, tape, and glue the interior seams. Any thoughts, comments, and guidance are appreciated. Thanks.
-
Actually, the tip I am looking for is how to measure the 8 degree angle on the sides of the breasthooks. I expect I will use a plane to shave the wood off. Thanks.
-
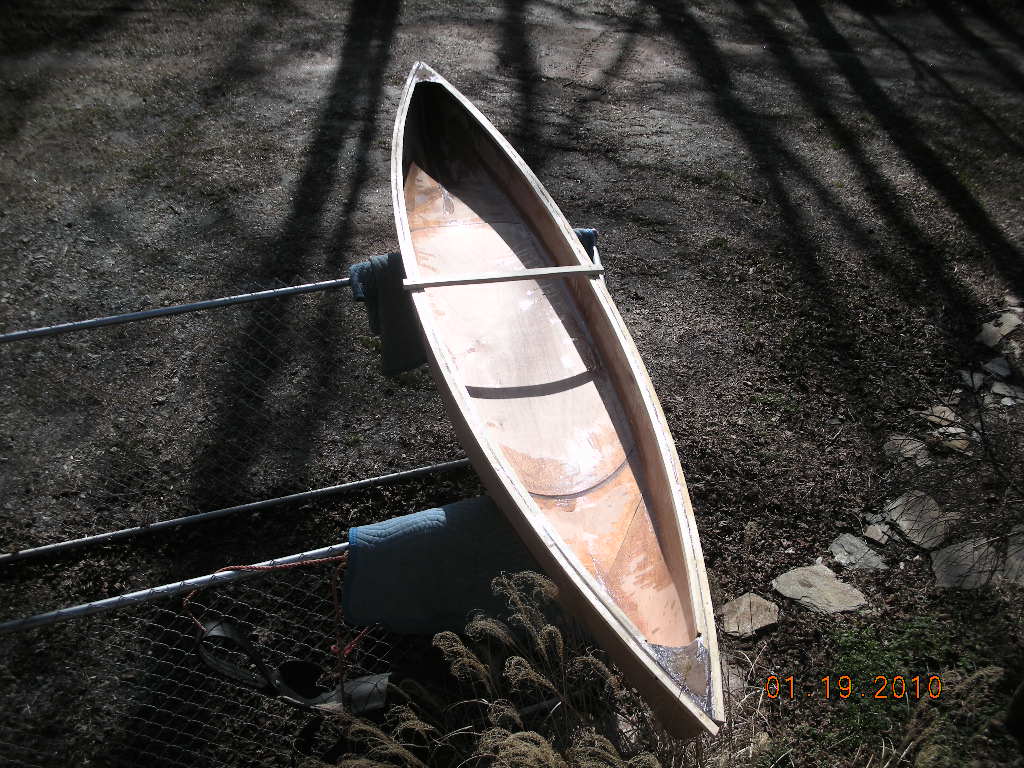
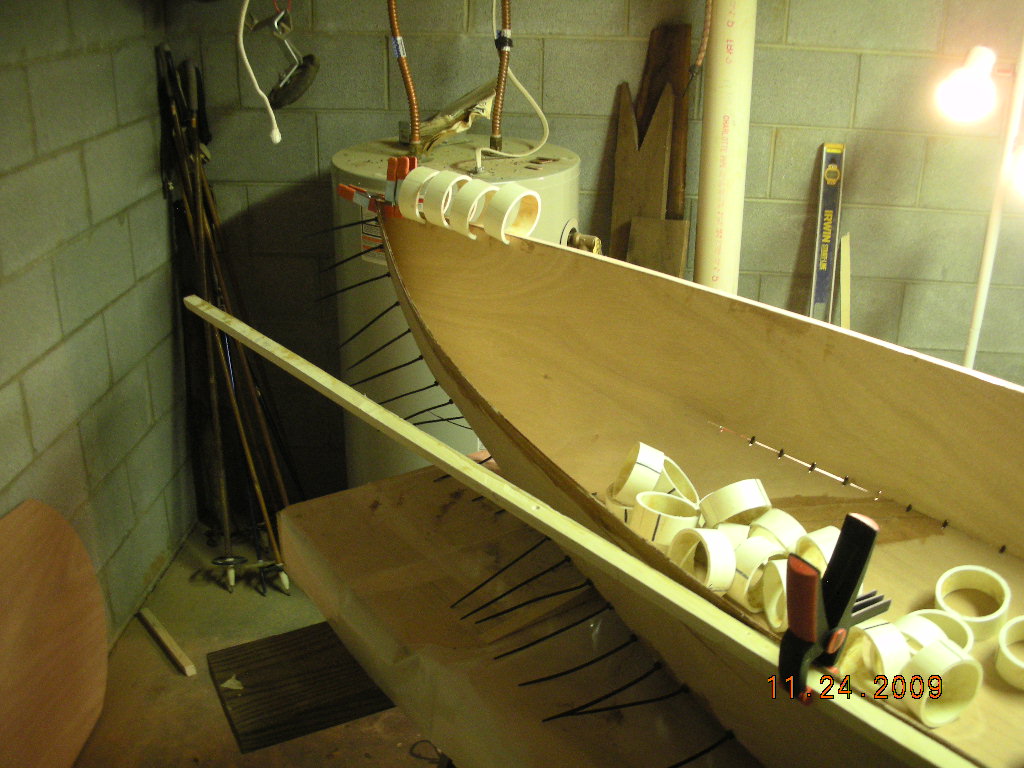
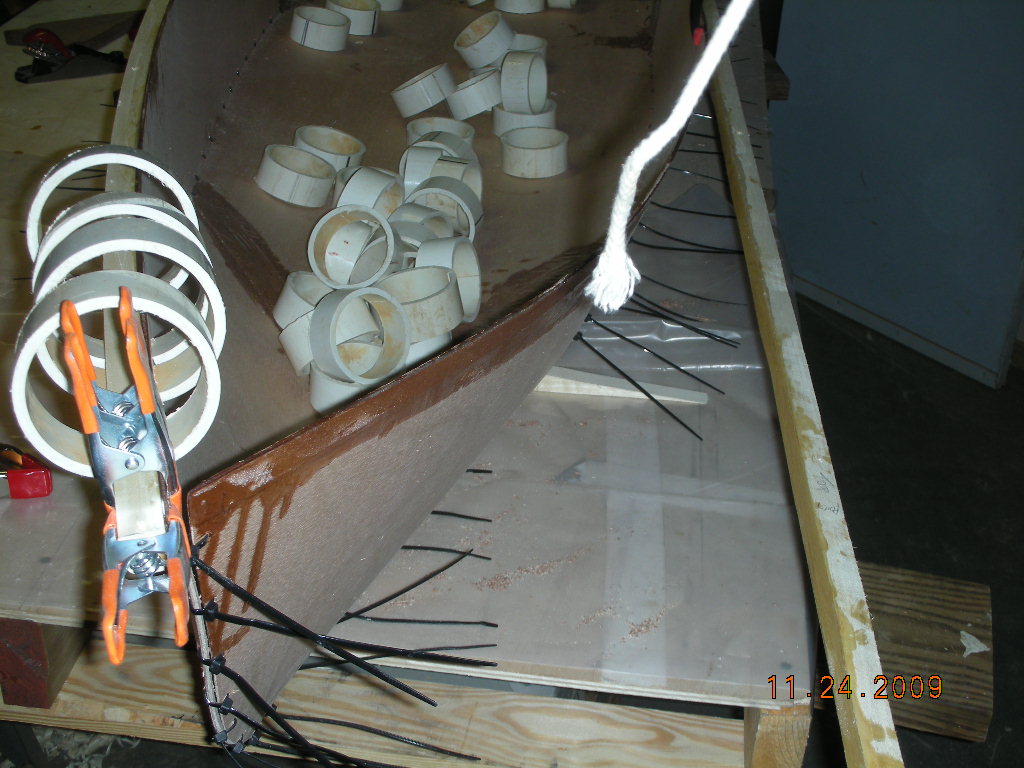
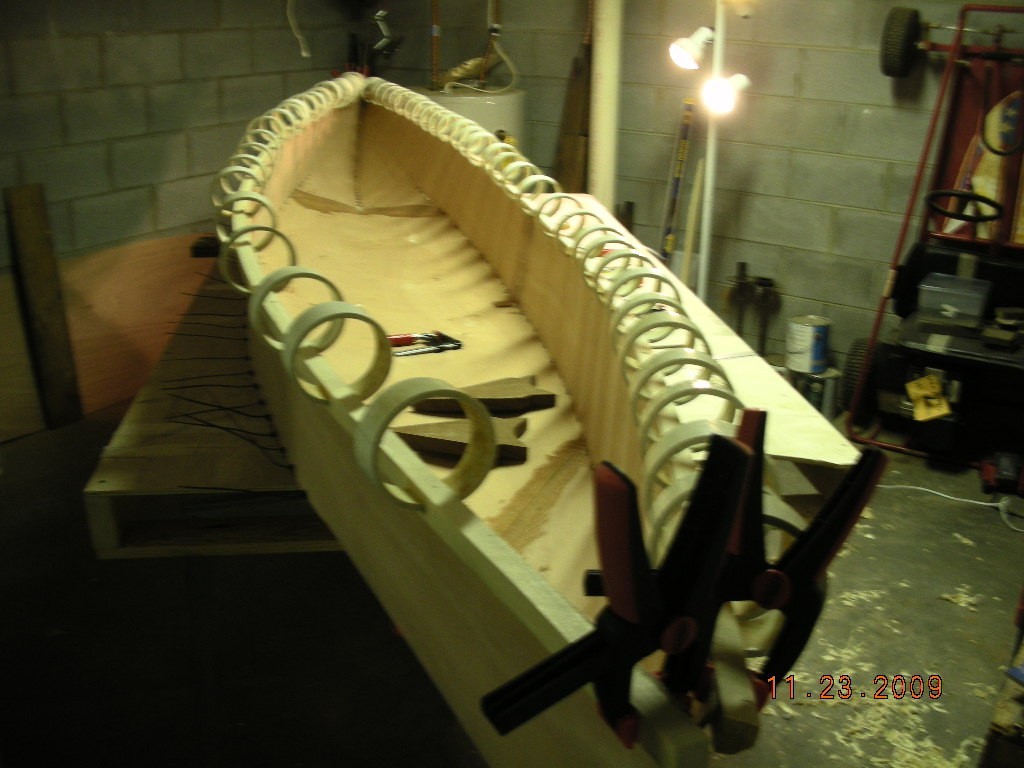
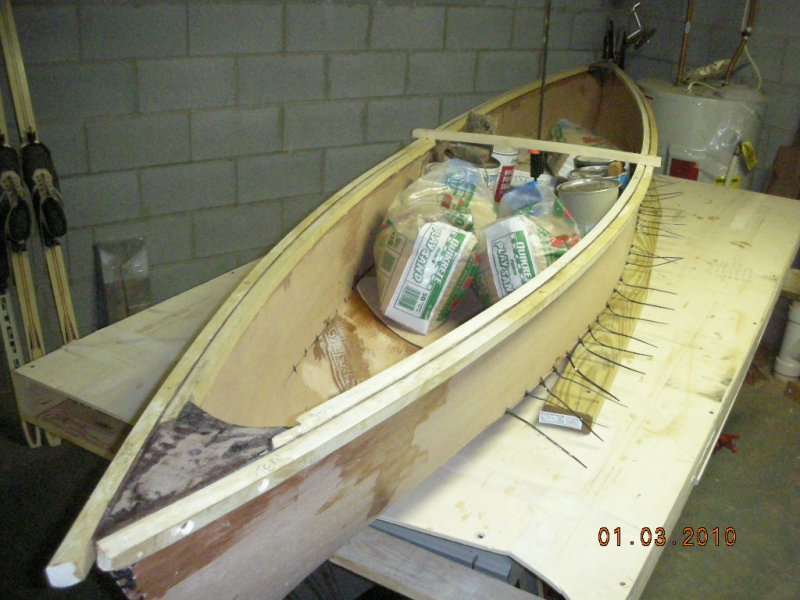
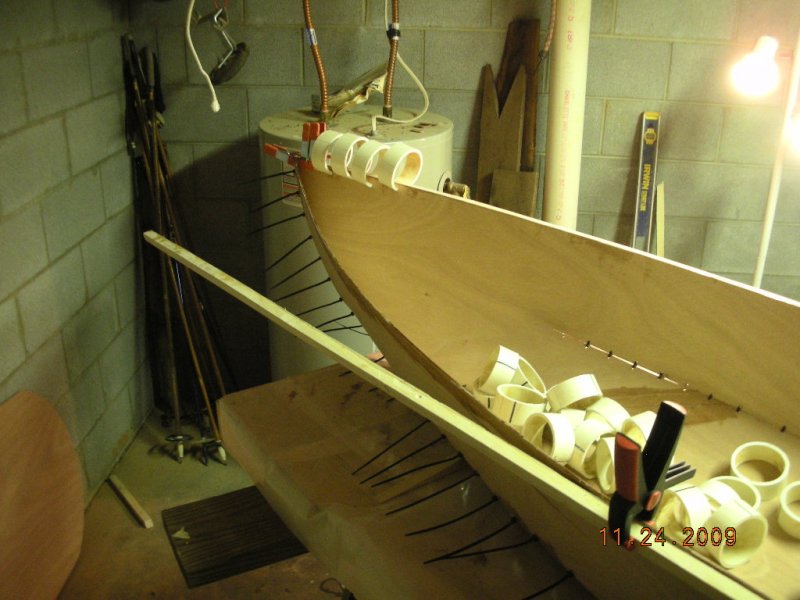
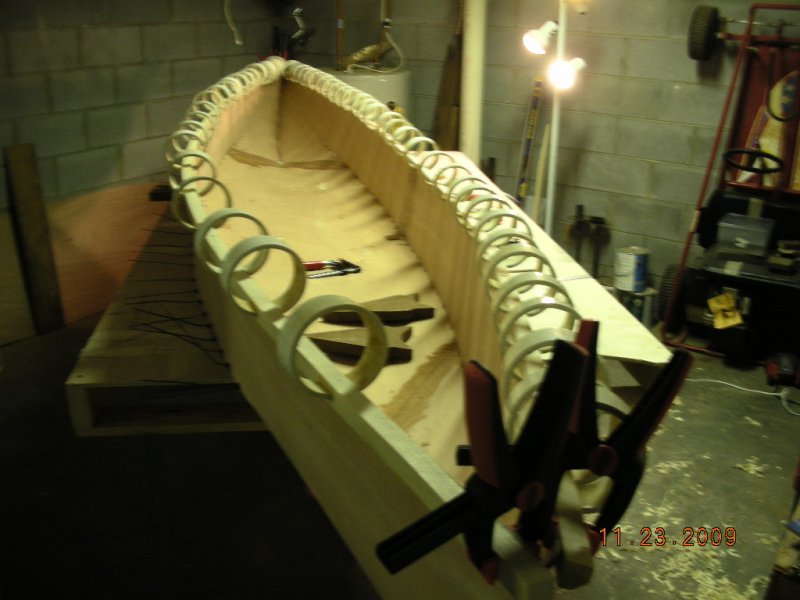
Here are some recent photos. I have been delayed in my progress, but I got started again yesterday. It was raining the other day so we cut up 65 three inch PVC pipe into clamps. They have worked really well. I cut and fit the gunwales. Then I epoxied the gunwales and held them on with the 65 clamps and then some. My epoxy had been setting up for me in about 18 hours. When I took off the clamps the gunwale sprung off the bow. So I have re-epoxied the gunwale, clamped, and will wait longer.

-
Thanks John. I have been using the epoxy and hardener I got from B&B. It has worked great and I have not noticed heating. I noticed that when my two units arrived the hardener had a stop installed on the pump. The prescribed ratio was two to one, epoxy to hardener. The stop allows me to use one full pump of epoxy and half a pump of the hardener due to the stop on the pump shaft. My guess has been that B&B provided that extra bit of service by placing the stop on the pump shaft of the hardener, which I appreciate, because then I don't use as much epoxy as I might otherwise have done. The epoxy is pretty cool. I have never used it before, so it is cool in what it can do. I have enjoyed learning to use it. I have not even started with the thickening agent learning curve. That will be next. I cut my 10 foot, 1x6 poplar board with my jigsaw. The cut line is a bit wobbly, but I will make it work. I will scarf the gunwales and inwales together as you recommended at 8:1. I am going to have to come up with a whole lot more clamps. I think I know where some big PVC pipe is that i can turn into clamps. It is raining a lot today, so maybe I can go the pipe now. My goal it to have as much done on the canoe by Thanksgiving as I can in order to show it off to the gathering family at that time. Thanks.
-
Is there a fire hazard to this situation? I mix the epoxy in the shop I have in the basement of my house, use it, and if there is any left over I just leave it to harden. I guess I should take any left over mixed epoxy outdoors to leave it to harden. I know old oil rags left in the corner are fire hazards, this epoxy is new to me.
-
Gap-filling is like filleting - no thickener, the epoxy drains out when it gets warm curing. I can use a little education here: as the epoxy cures, does it release heat? I read in another thread somewhere about epoxy boiling. I was not clear what they were talking about, unless there is a reaction that causes heat. I have not figured out how to do the quotes properly, yet. I have cut out some of the tape at the butt ends gap and will need to fill the gaps with thickened epoxy. I have not mixed any epoxy with thickener yet. Any suggestions on the ratio? I would guess until it mixes like peanut butter. I must of read that somewhere. If I do that and paste it into place, does it spread out a little as it cures, thus filling in the tiny missed spaces? Thanks.
-
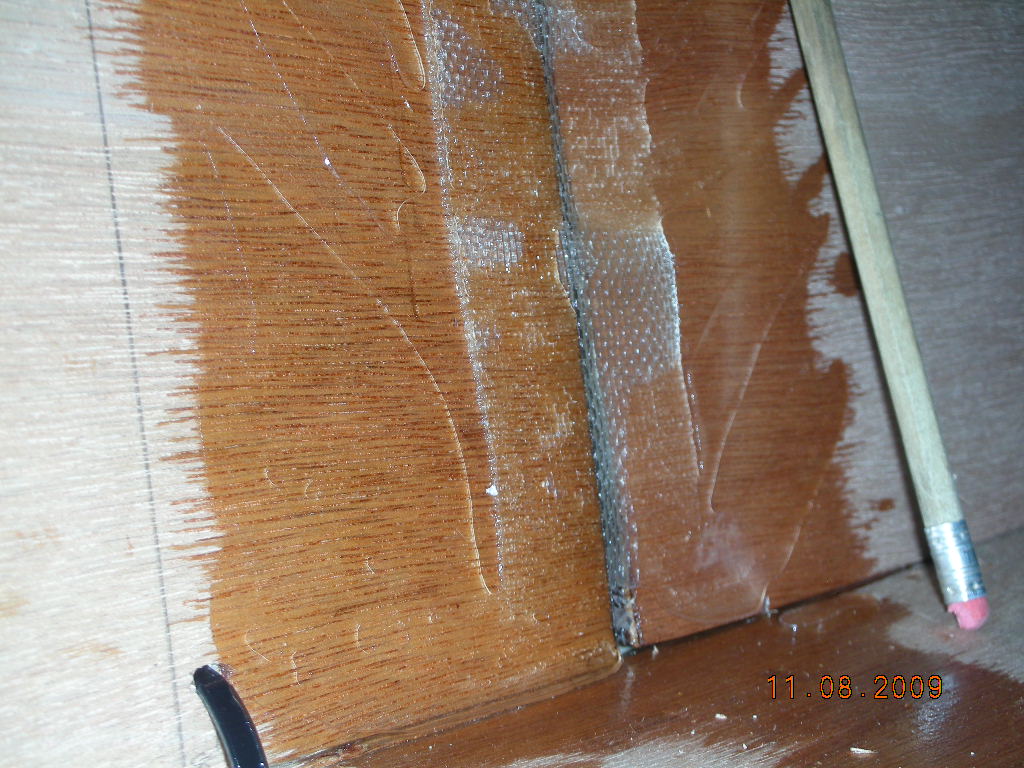
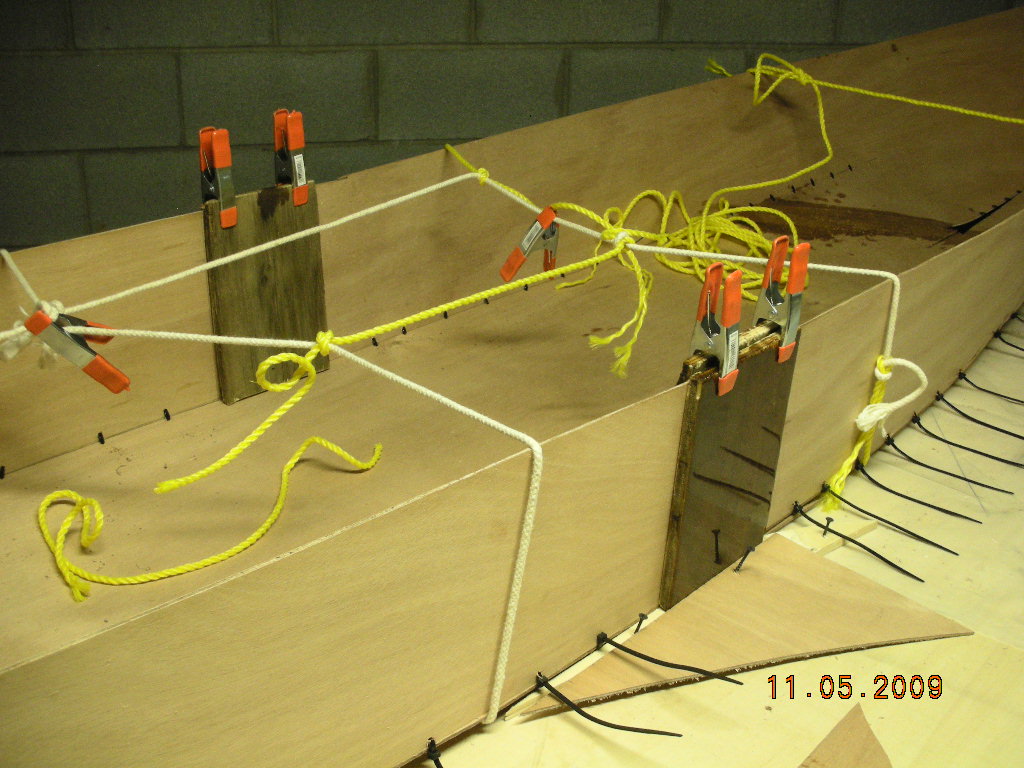
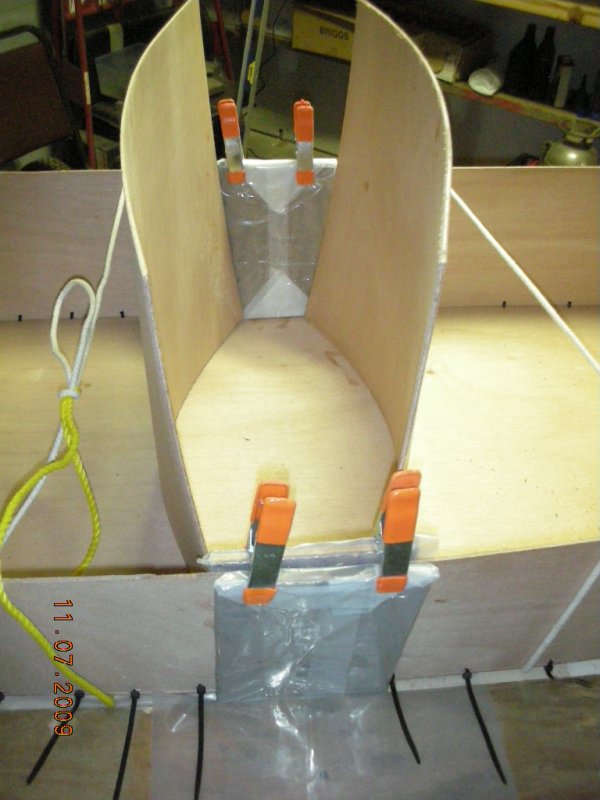
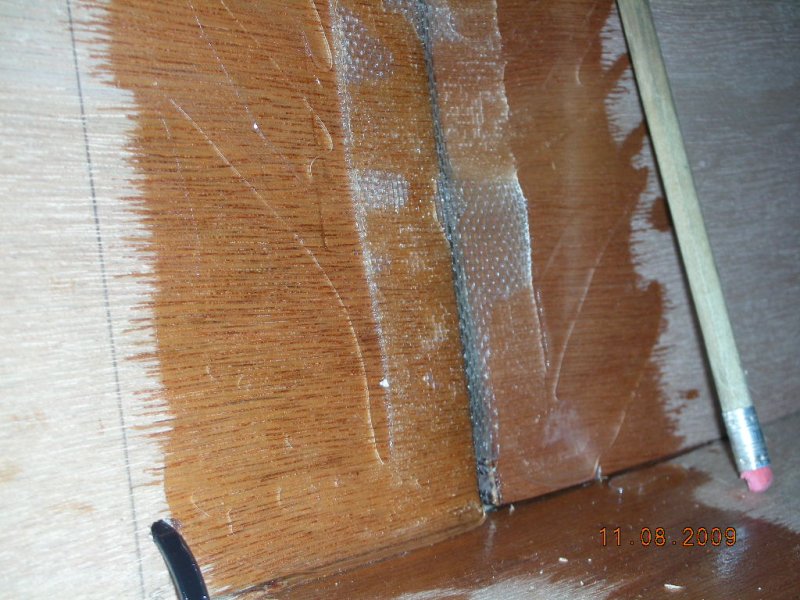
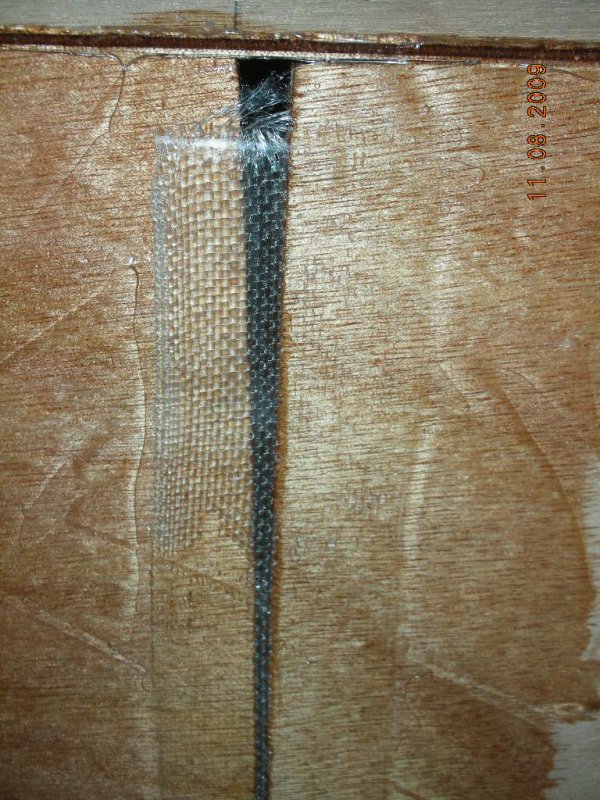
I taped and glued the sides on Saturday. The photo shows the plastic covered panels used to back the epoxy and tape on the side. I did not have clamps with a deep enough throat to clamp down half way or more on the side. I priced some but it looked to me that I was facing $50 to buy clamps to suit the job. So I screwed some wood down on the work bench and use it to back up the bottom of the boat against the outside panel on both outsides. For the inside, I clamped the tops of the panels and used two pieces of left over plywood to fit down into the bottom of the boat. The bottom of the scrap plywood pushed into the inside panel to hold the bottom of the panel in position.


-
Thanks John. I got excited and went off in another direction. I just glued and taped the sides using a rigging that seemed to work to hold the butt ends in place. I took some photos, but I will post them tomorrow when I remove the setup and see the result of this effort. What does a hard spot in the shear mean? Is that a flat area, rather than a curved shear line? Thanks.
-
I can't thank you both (and others) enough for taking interest in this project. I have commented to my wife what an amazing process this boatbuilding/forum conversation is. I am teaching myself to build a boat and through this forum I have the ability to effectively be in a classroom and ask questions anywhere along the process. Even the designer chimes in offering guidance, I think that is fantastic. I have never built anything out of wood, but I am determine to learn as much as I can about building boats. It is really fun and a great diversion from my regular, every day tasks of work etc. I love my work, don't get me wrong, this is just a really fun diversion, and I am learning something productive at the same time. The learning of building a boat for me includes gathering the right tools, reading and understanding the design, finding the space, buying the materials, understanding about epoxy, learning the language, and more. I had not contemplated that there is a vocabulary and language to go along with boatbuilding, although it should not be surprising. I just realize that is an area I lack in as well. So, John, in regards to your post about springing gunwales around the shear to bring the boat into shape. How do I do this? Do I tie the boat up with more rope and wrap to develop the shape until the butt ends come together? Do I cut the gunwales and install them ahead of taping and gluing the butt ends of the sides? I can conceptualize what you are saying, but I am not clear yet as to how to go about it. Thanks.
-
Thanks Chris. That is a big help.
-
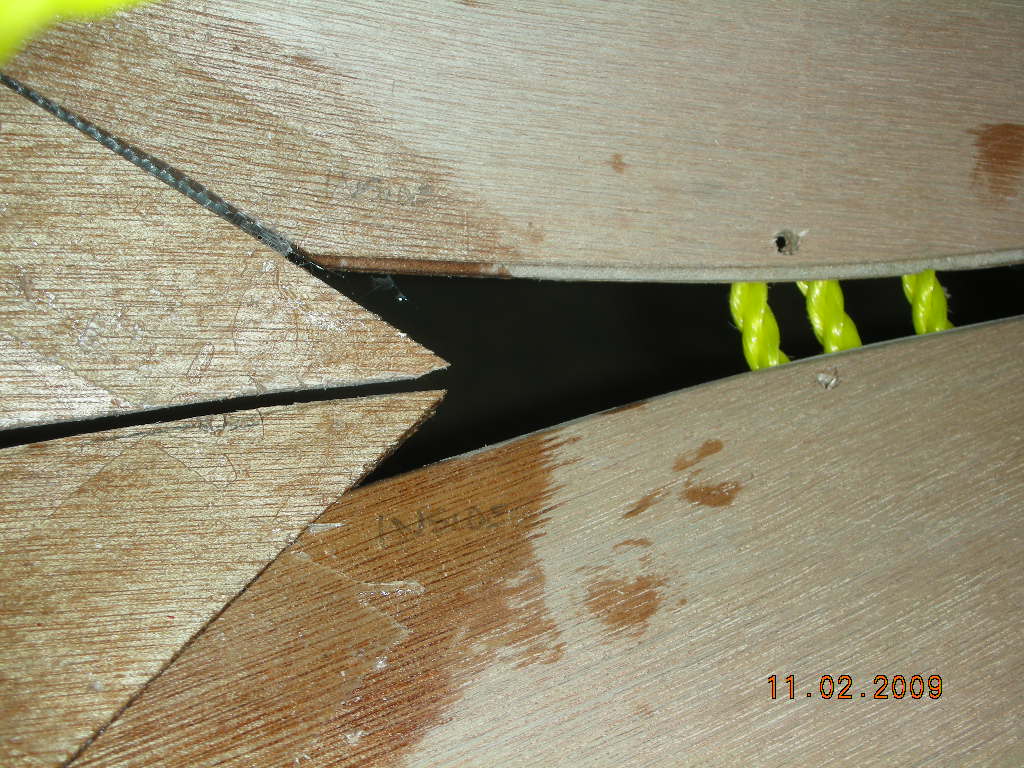
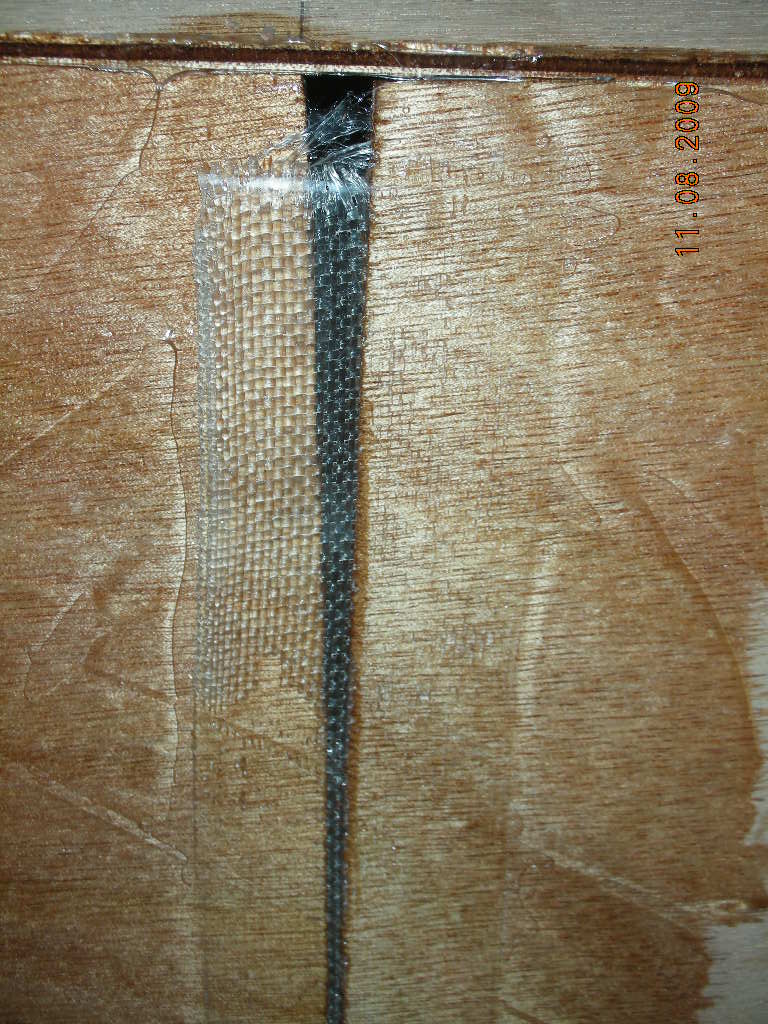
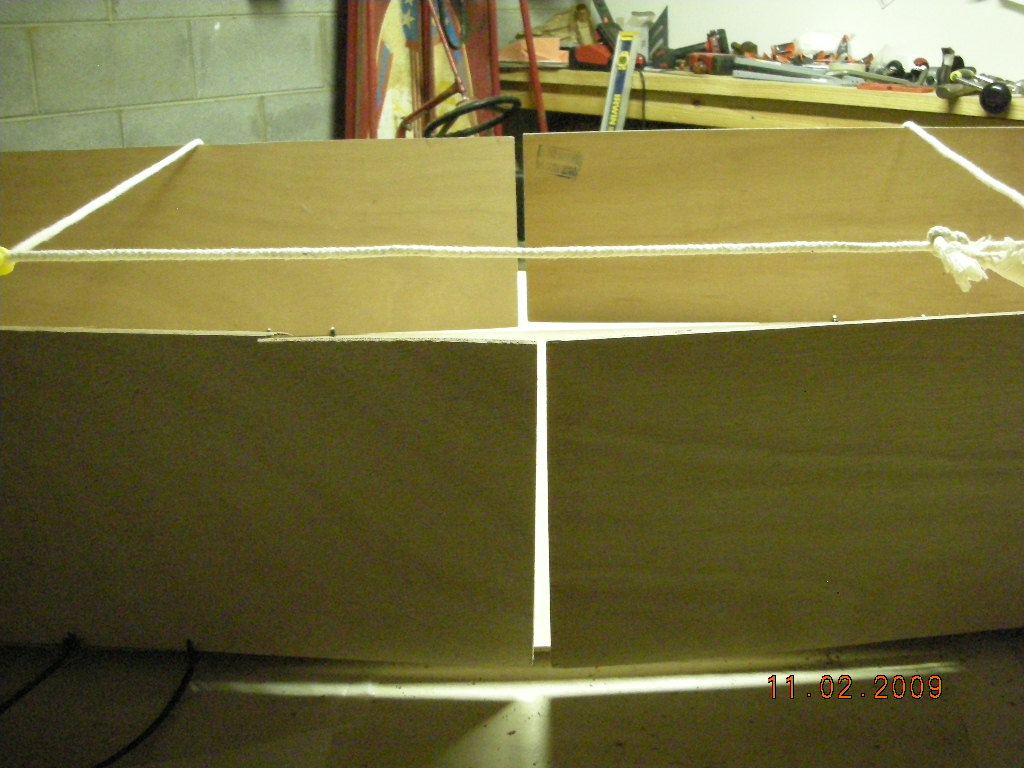
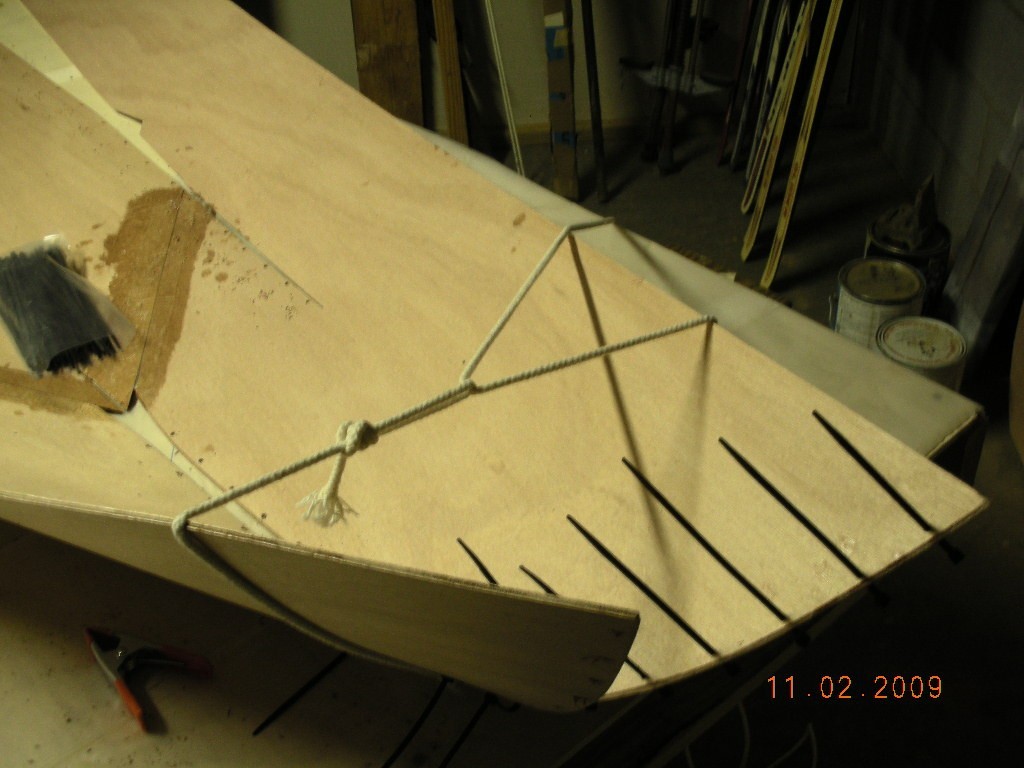
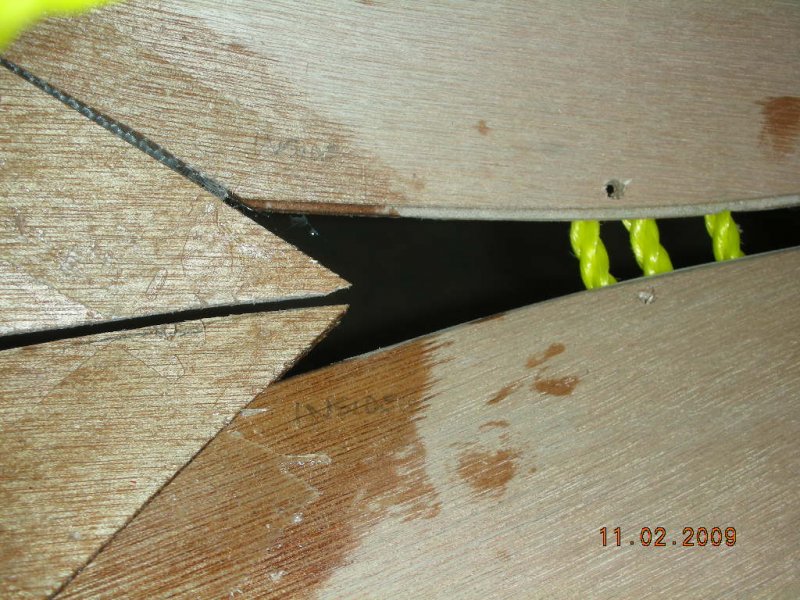
Here is a closeup of the butt ends of the sides coming together. I was pleased that they came that close, especially since I ended up with a big hole in the stem line at the bow. However, this gap is large enough to let in water also. It seems to me that I should mix some thickened epoxy and fill the gap here. It is the same on both sides of the boat.


-
John, This is the view of the sides butting to each other. I was pleased that they came so close, however they do have a small gap. Based upon your comments, I should fill in the gap with thickened epoxy. This gap is not nearly as large as the one in the bow stem, but it is still a gap. If I only tape and epoxy it, would it not be somewhat a weak joint? Or is it close enough that it would not matter. Thanks.

-
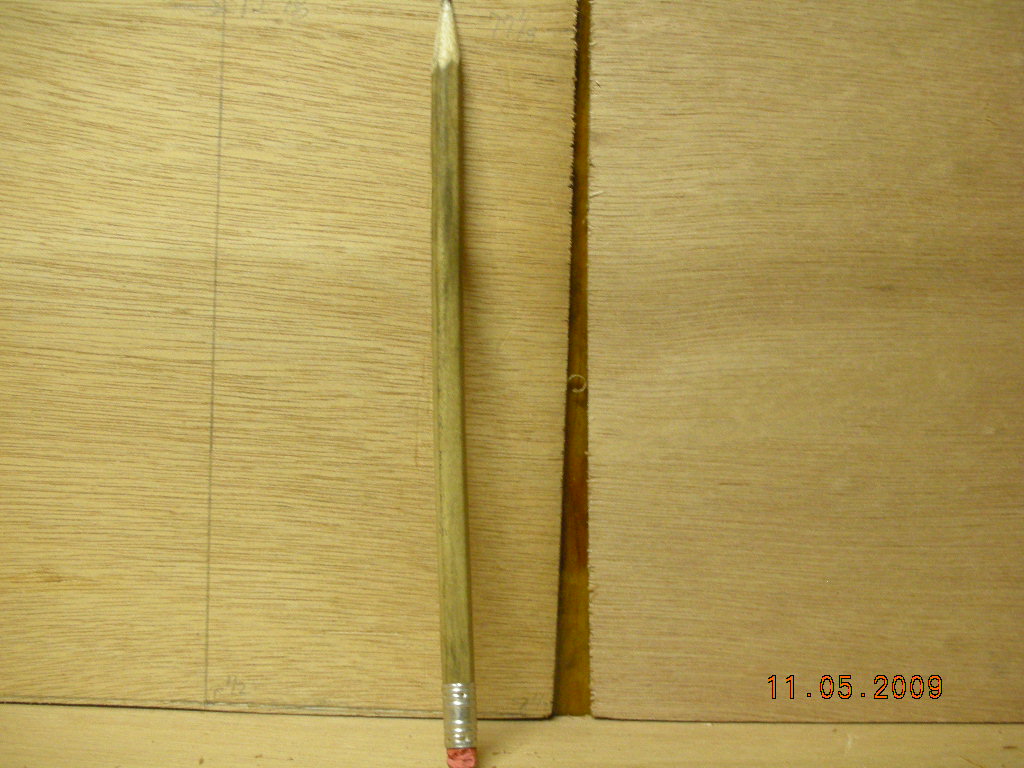
I have a big gap, a hole in my boat. It is shown here. What are my alternatives? Do I cut a filler piece of plywood the shape of the hole and glue it into the hole. Or should I tape the outside and then fill it in with thickened epoxy? That seems like the best idea to my inexperienced thinking. And one more question: is fillet, as in filleting the hole, pronounced as filleting a fish? or as "fill it", that is filling the hole? I understand this to be the process of mixing thickener with epoxy to a spreadable paste and then using that to fill gaps and holes as needed.


-
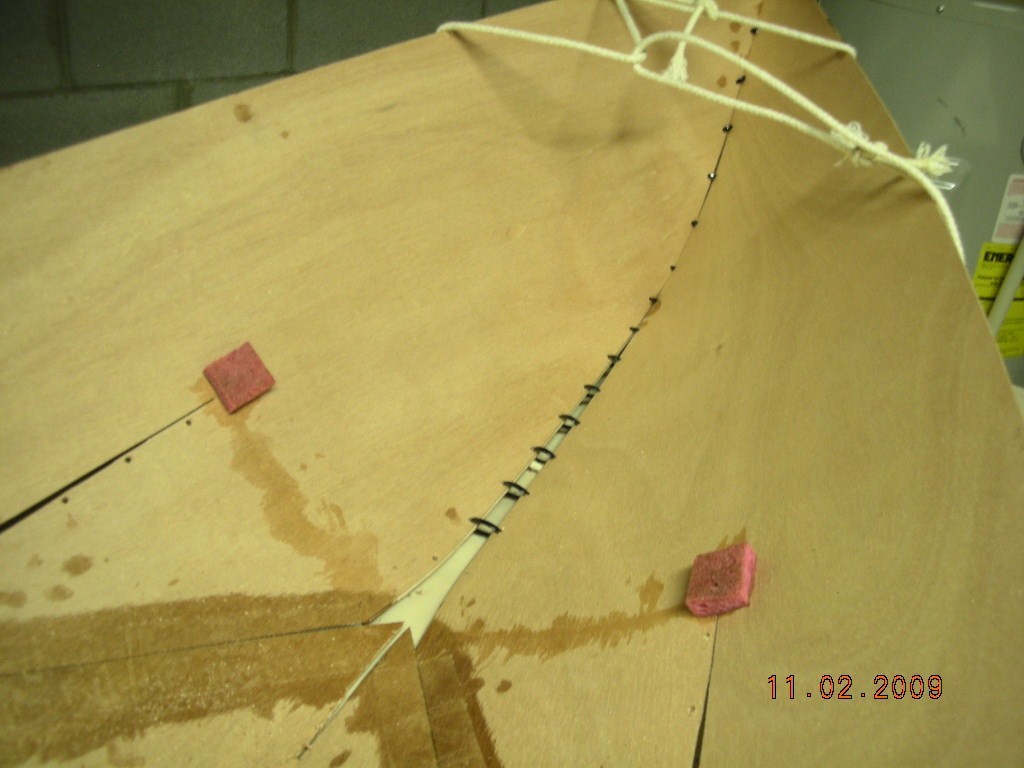
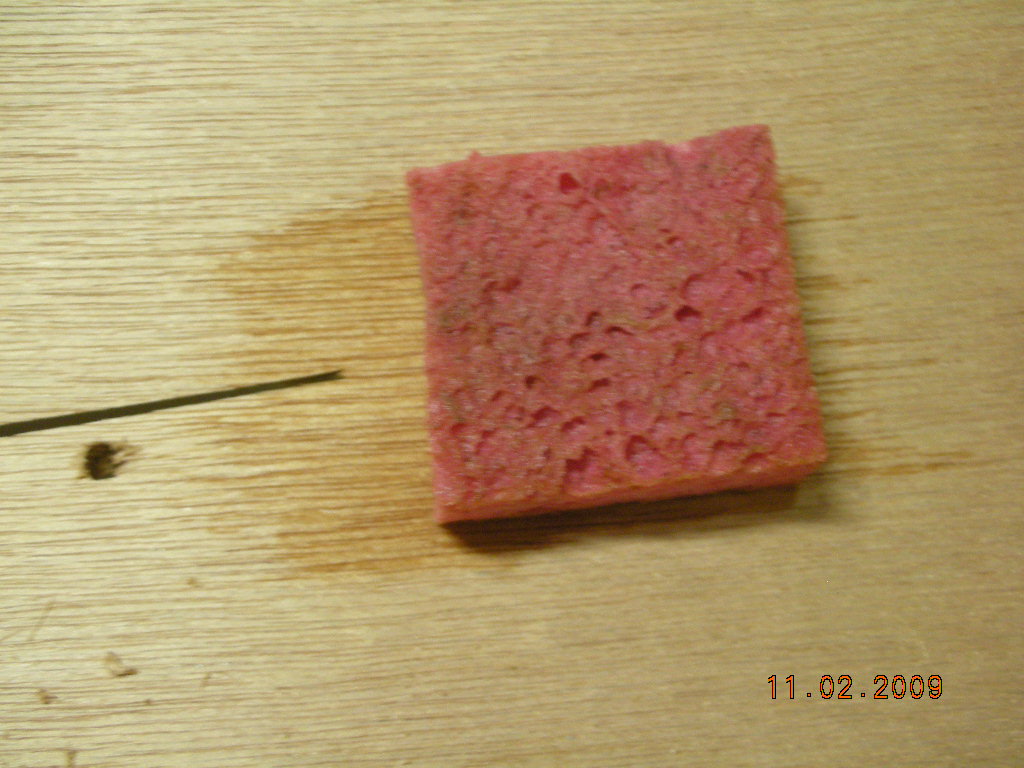
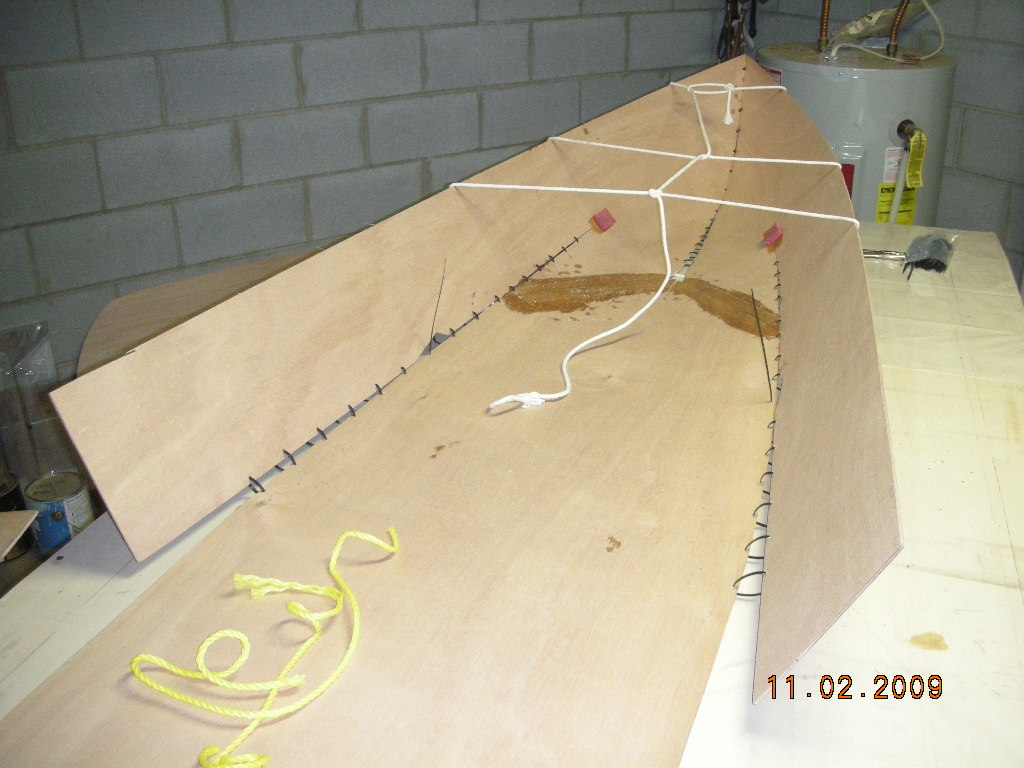
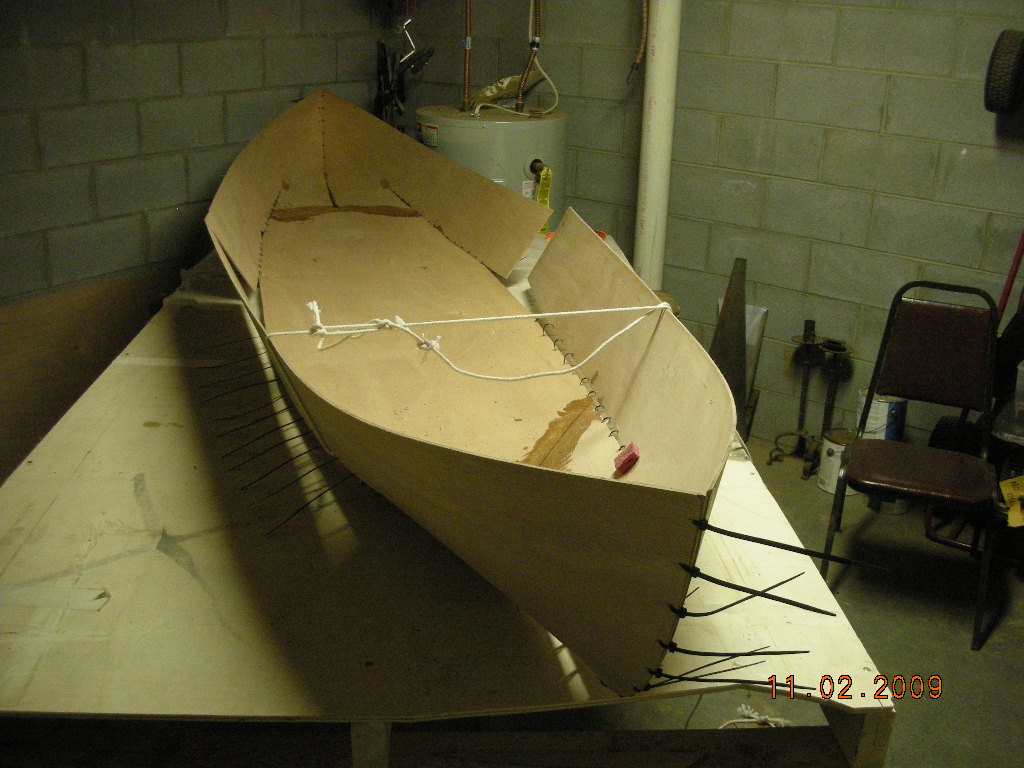
Here are more photos. The sponge worked well at the point where I have seen a block of wood screwed into the panel to keep the plywood from cracking from the stress of bending. I believe the water softens the fibers enough to allow them to bend to the new shape of the canoe. I simply took the kitchen sink sponge and cut two squares, soaked them in water and laid them on the plywood. They did not slid so I did not hve to secure them. That was good because I could not figure out a way to keep them in place. It turns out they sort of stuck to the panel very easily.




-
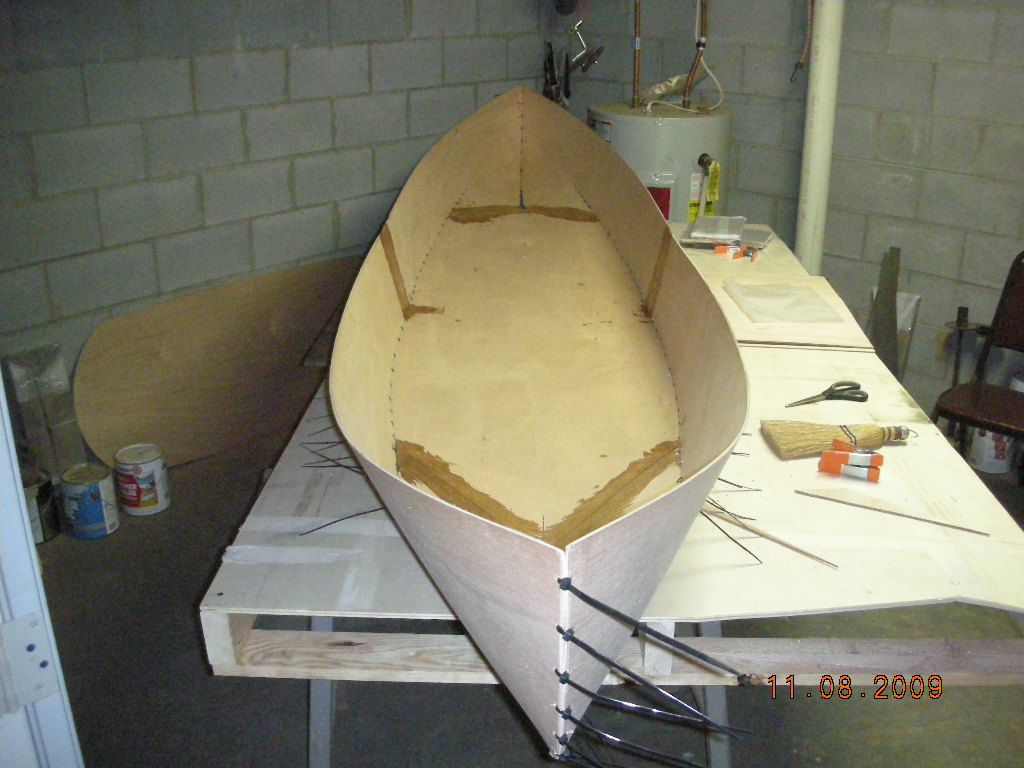
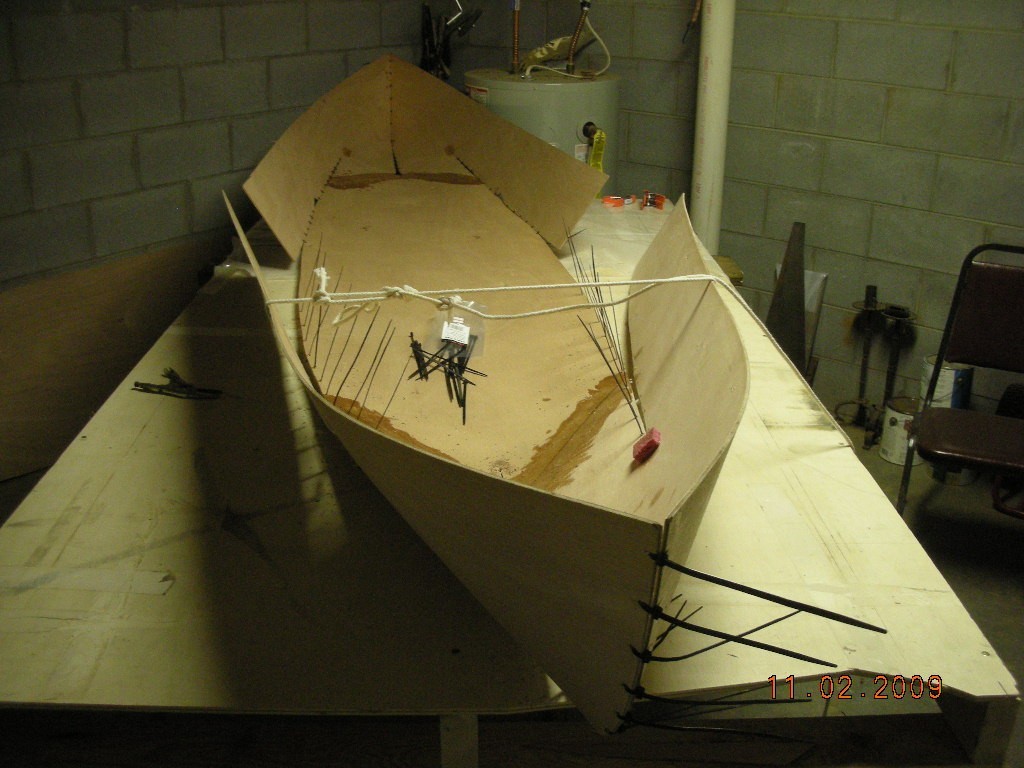
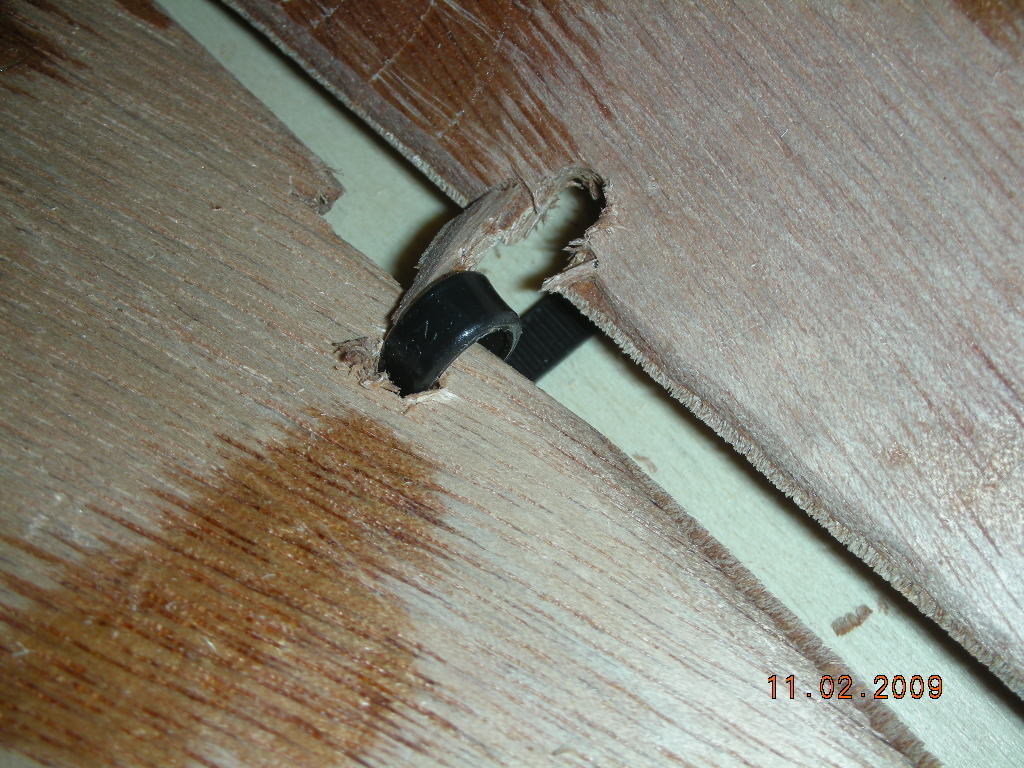
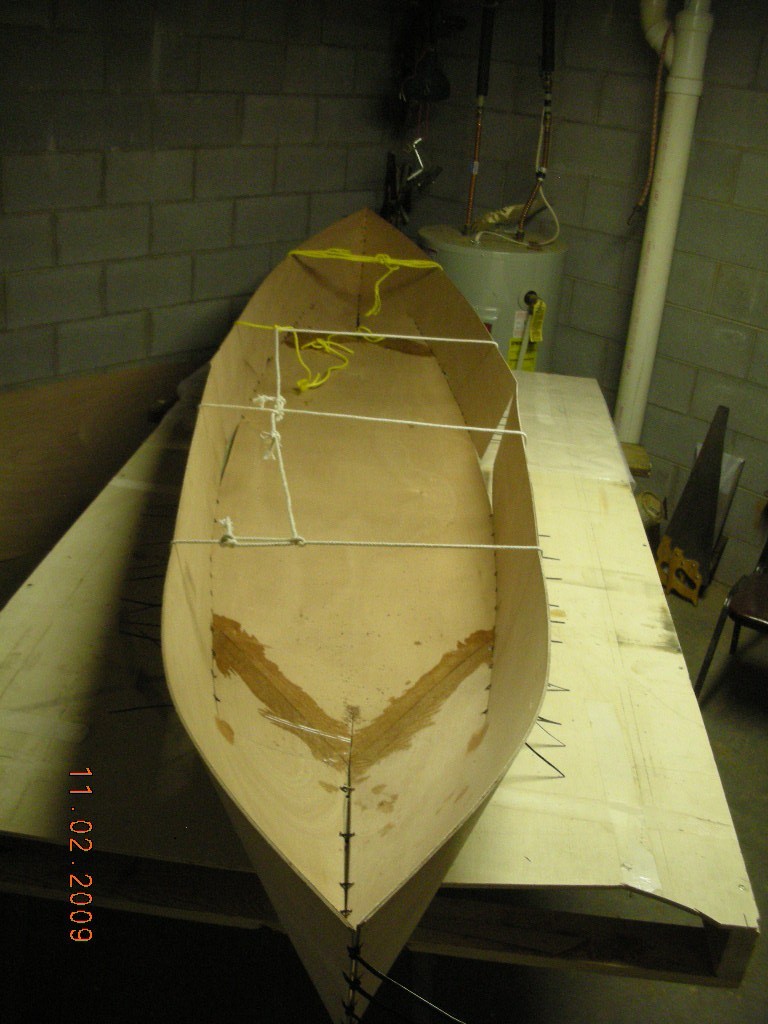
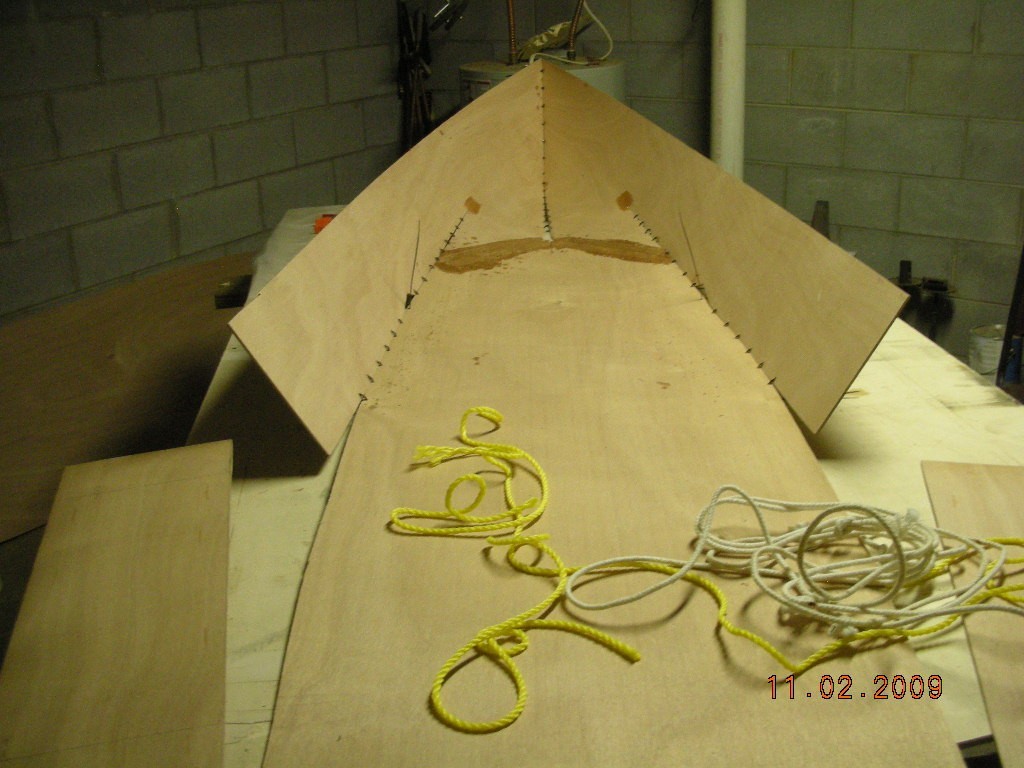
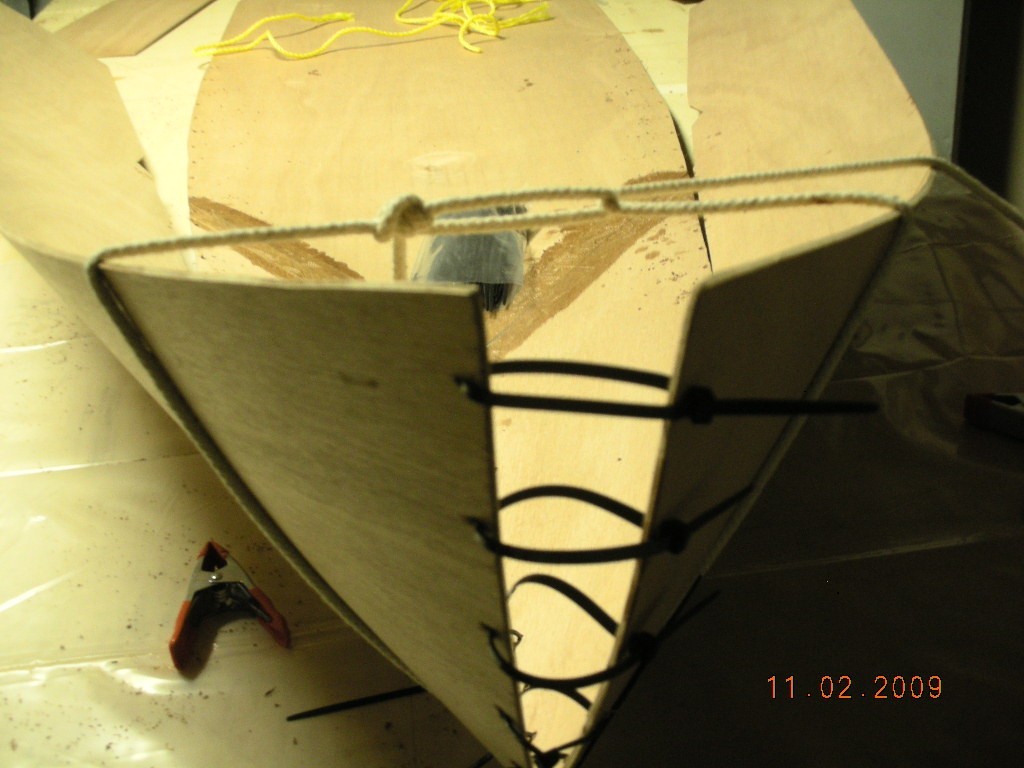
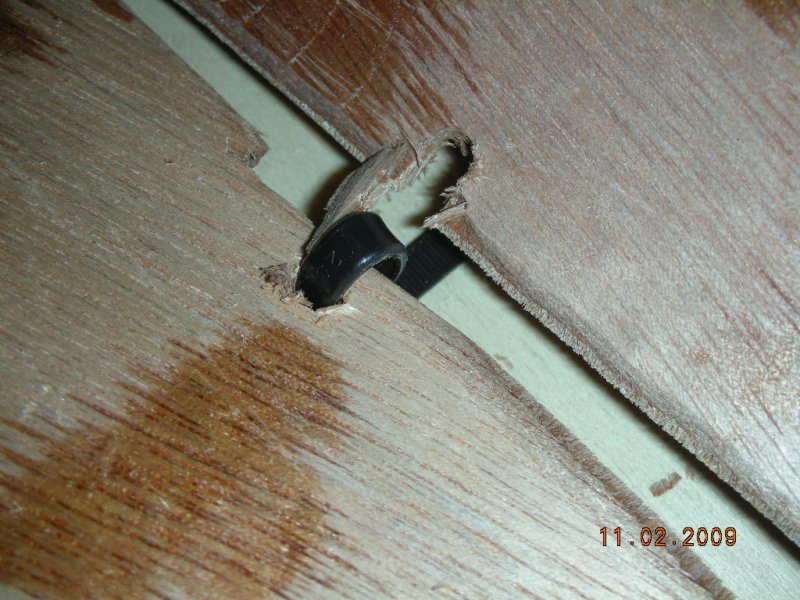
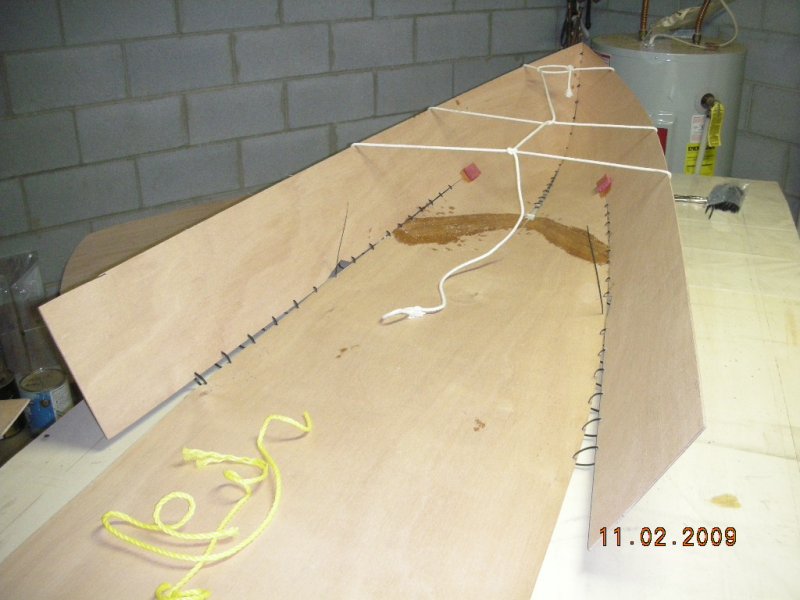
I folded and tied the canoe this evening. It worked well. I have the bow and stern completed. The butt ends of the sides are pretty good. I have some gaps in one end along the stem line. A cut out on two sides at the chine show in one of the photos. Here are some pictures.

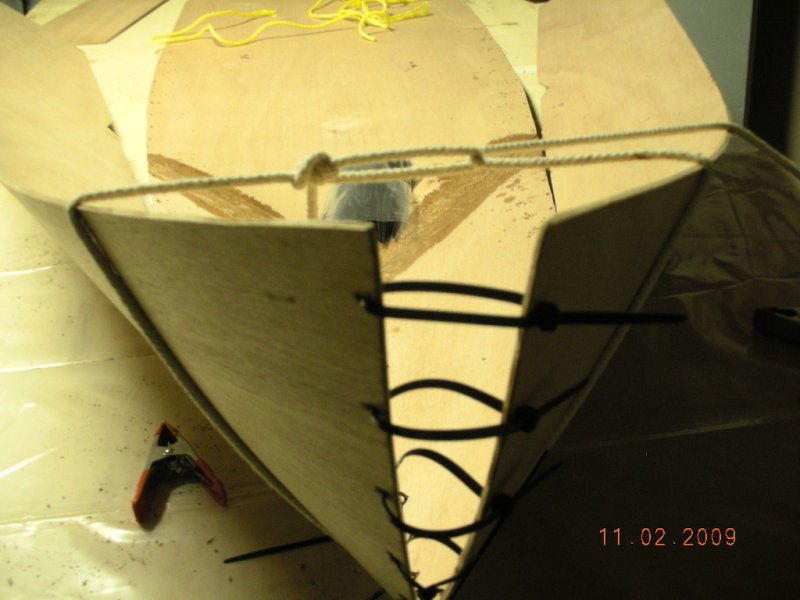


-
I am ready to fold and tie the boat. I have looked at several photos trying to determine how far apart to place the ties. There seems to be some variability. I have read the plans several times, but I have not found a reference in there as to how far apart to place the ties. The plans do say to drill holes in the bottom to match the ones in the side, so I would have to drill the holes in the side first, then fold it up to identify the hole location on the bottom. I have gleaned from the photos that came with the plans that on the bow the ties are about 3 to four inches apart. In other photos I have found in the forum, the ties appear to be much closer along the bottom. So, how far apart should the holes be drilled? Can I expect to drill the holes all at once, or should I do this as I go along in some manner? Thanks.